Custom walnut bindings for an 1800s German guitar
Issue 238 March 12, 2015
You’ve got to see this German guitar from the 1830s! Dan removed the back to repair it, and now he needs to duplicate the wood binding that’s nearly 200 years old. He shows how he started from a plank of walnut to create custom-sized wood binding strips.
About the guitar in this video: This guitar was built around 1835 in Markneukirchen, Germany, which is the birthplace of the original C.F. Martin. (This was not made by Martin.) This guitar was badly damaged, and never will have great resale value, but its owner has brought it to Dan to get it playing and repair much of the damage it’s suffered in 180 years.
- This 1830s guitar has a bolt-on neck!
- Choosing wood cuts from a walnut plank.
- Bending, shaping and baking in a teflon-lined drying form.
- Cutting and squaring strips of custom wood binding.
Video Transcription
[on-screen text reads: Stewart-MacDonald - Trade Secrets!]
Custom wood guitar bindings
Dan Erlewine: I'm making bindings to replace the binding on this old German guitar that I removed in order to get the back off. It was a dark, light, dark wood that looked like walnut and that's what I'm using here. I'm using walnut and a piece of poplar, I think, because it matched the color. The wood on the back was the same color as the wood on the top here. This brown color. To me, it looks like walnut. That's the wood I have that'll match it. So that's what I'm making it out of. I have no idea what the original wood was and it sure was hard to get off.
Look at this thing, it's just beautiful. It's the earliest bolt-on neck. It's that old ice cream cone heel [on-screen text reads: Bolt-on Acoustic Guitar Neck from StewMac - New neck for project or repair]. This was made by Karl August Glaesel in Neukirchen Germany around 1835. That's the same town that Stauffer shop was in, I believe, and C.F. Martin was there. It's in that style.
These tuners are just gorgeous. It must be hammered brass and it's hand engraved and they actually work. They still turn and I haven't had any strings on it yet, but I hope to by spring.
Bending, shaping, and baking in a teflon-lined drying form
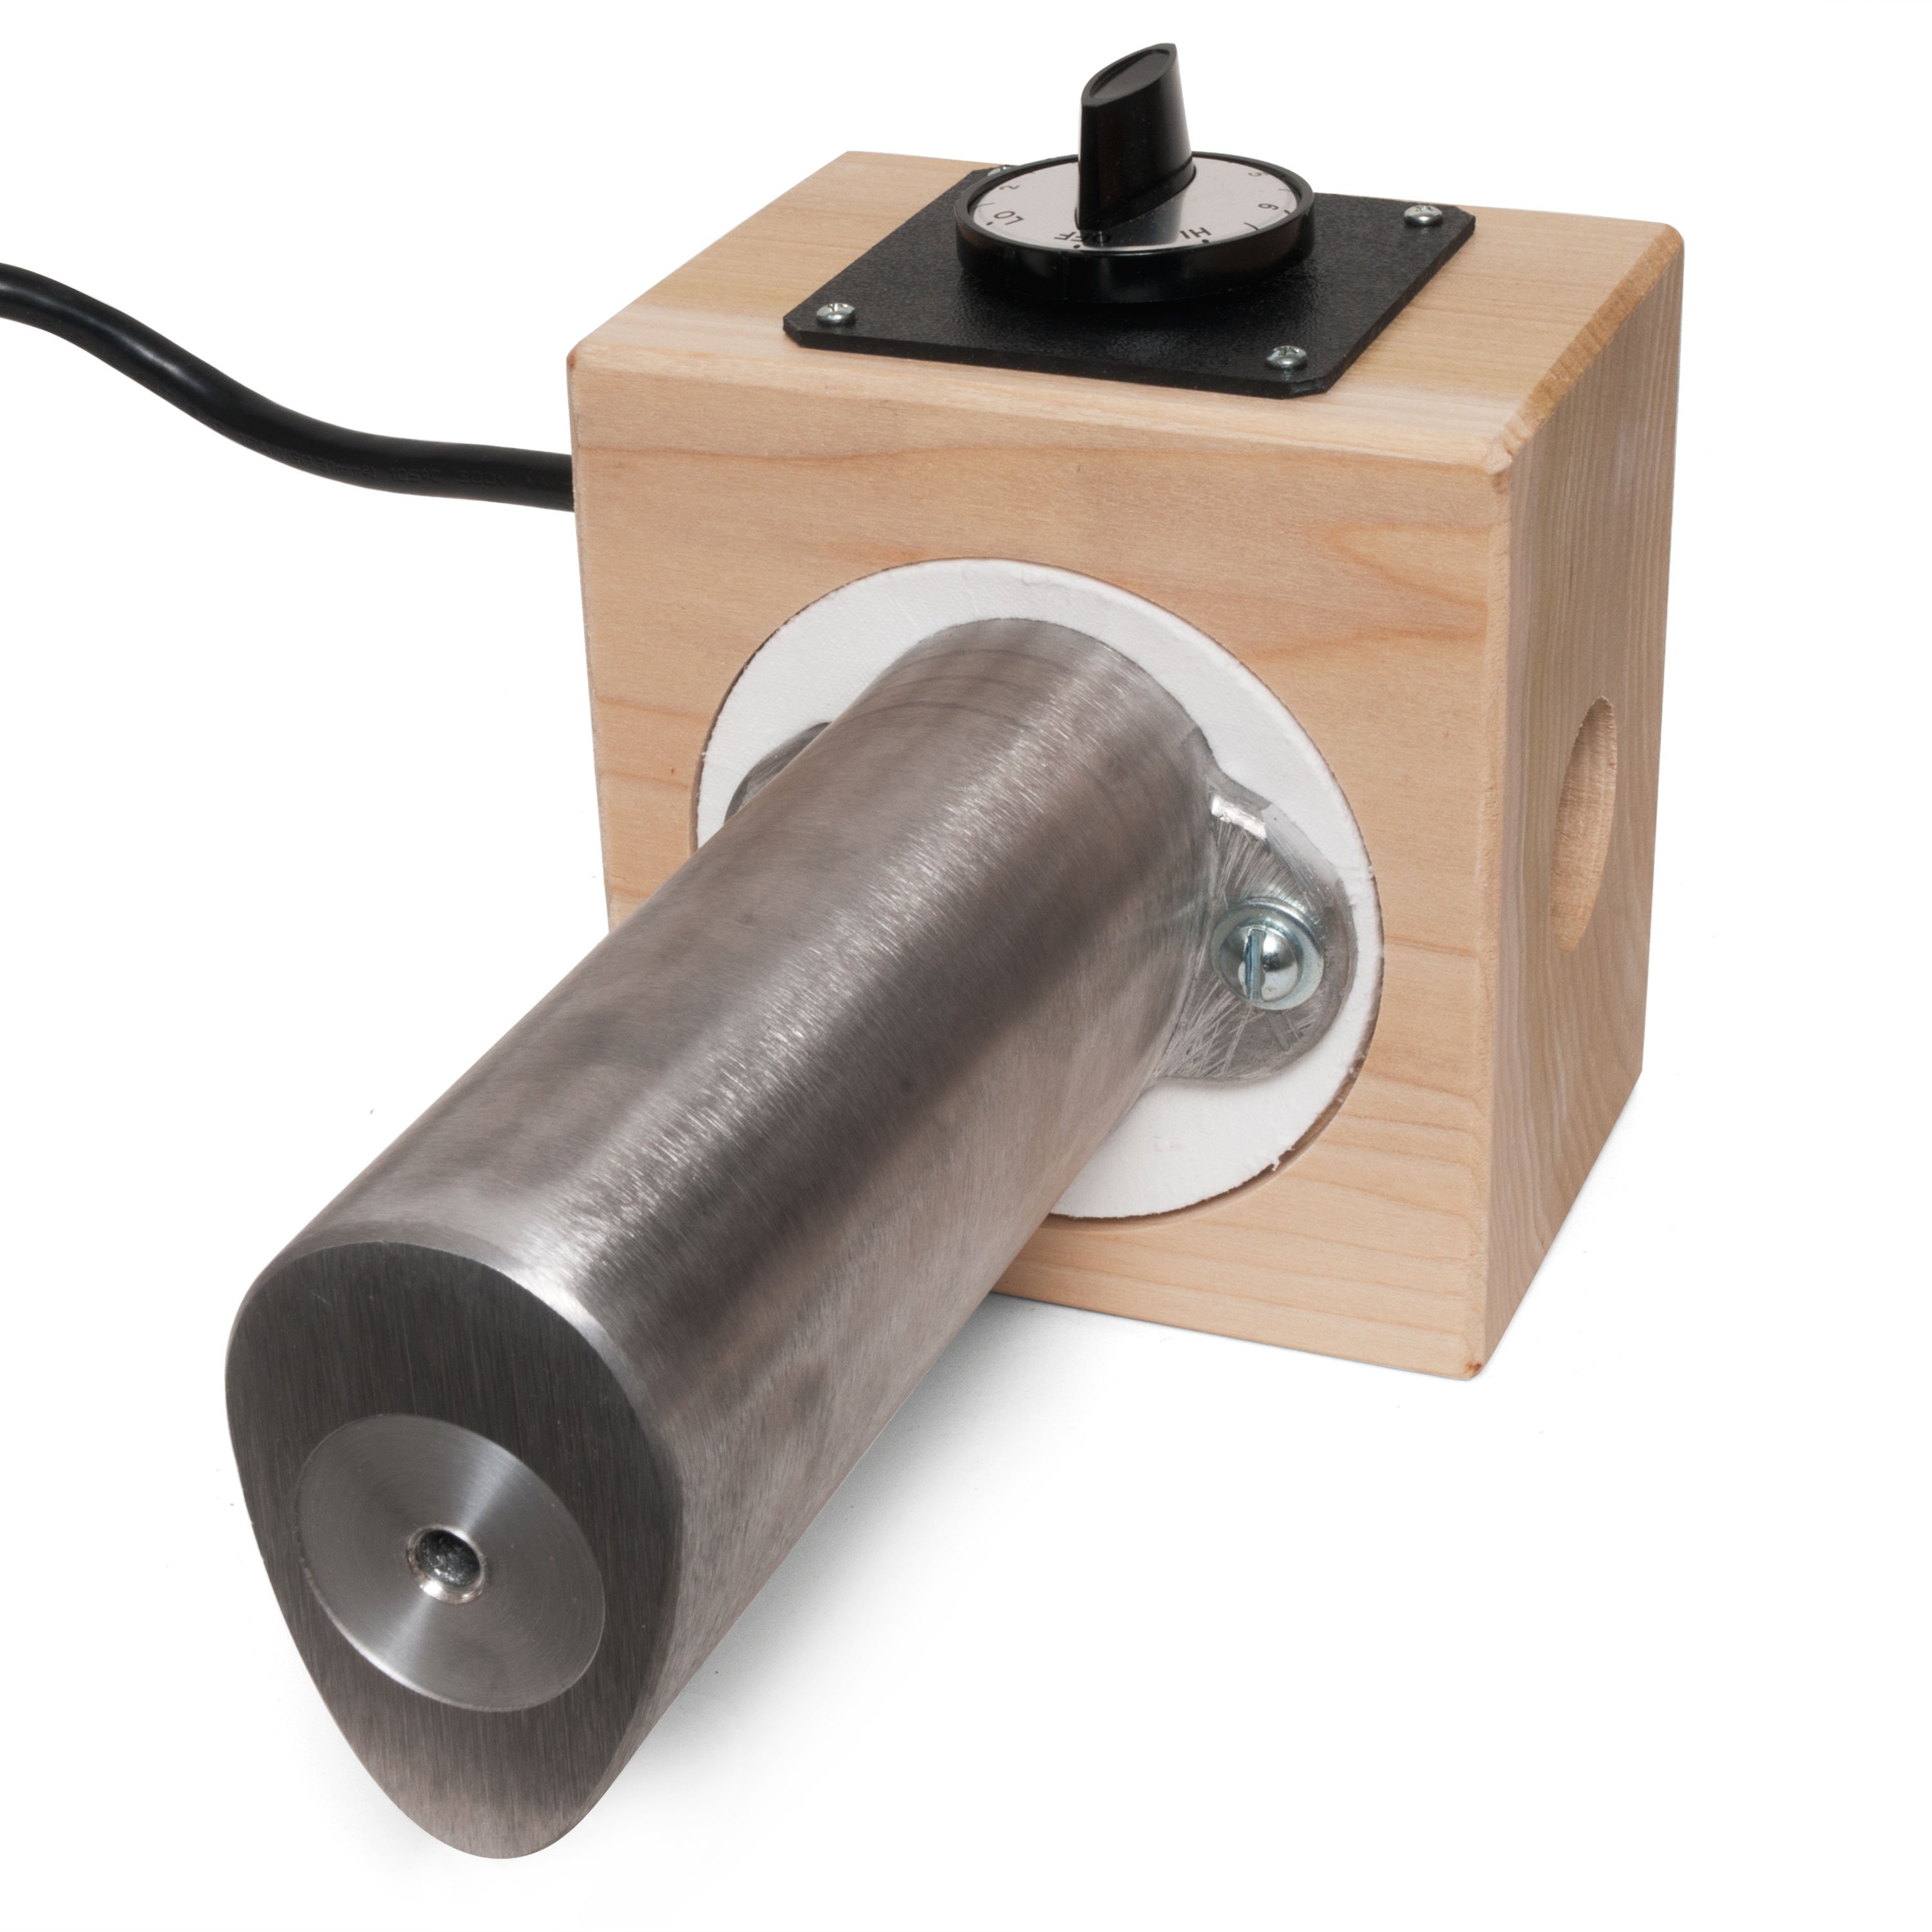
So these are the strips I'm making. This is how they end up after I take them from a rough board [on-screen text reads: Natural Wood Bindings from StewMac - Pre-cut binding in many colors]. I planed it down to about 220 thousandths. It needs to be thick to match the thick binding on both the top and back of this guitar. Luckily for me, walnut bends easily so I was able to take these thick pieces, wet them with the brush, and bend them in sections on a hot Bending Iron. I bent them to fit this plywood mold I made to fit the guitar's purfling channel. When they're bent just right to fit the mold, I clamp them into it and put it all into a 170 degree oven for about 45 minutes to bake.
Choosing wood cuts from a walnut plank
The mold is lined with strips of Teflon I cut from a fret dam sheet [on-screen text reads: Teflon Fret Dam] and then attached with Double-stick Tape. The Teflon protects the mold from the hot walnut and the water, and plus it makes it look really nice too. This is the one-inch slab of walnut that I cut the strips from [on-screen text reads: Wood for Stringed Instruments at StewMac]. Looking at the end grain, I beam-sawed my blank several different ways, so I had a better chance of getting a piece that held up well to being sawn, and planed thin without breaking. From left to right, the names of the saw cuts I used were rift, quarter and flat-sawn. The best cut so far has been the rift cut, but I'm not finished yet either.
Cutting and squaring strips of custom wood binding
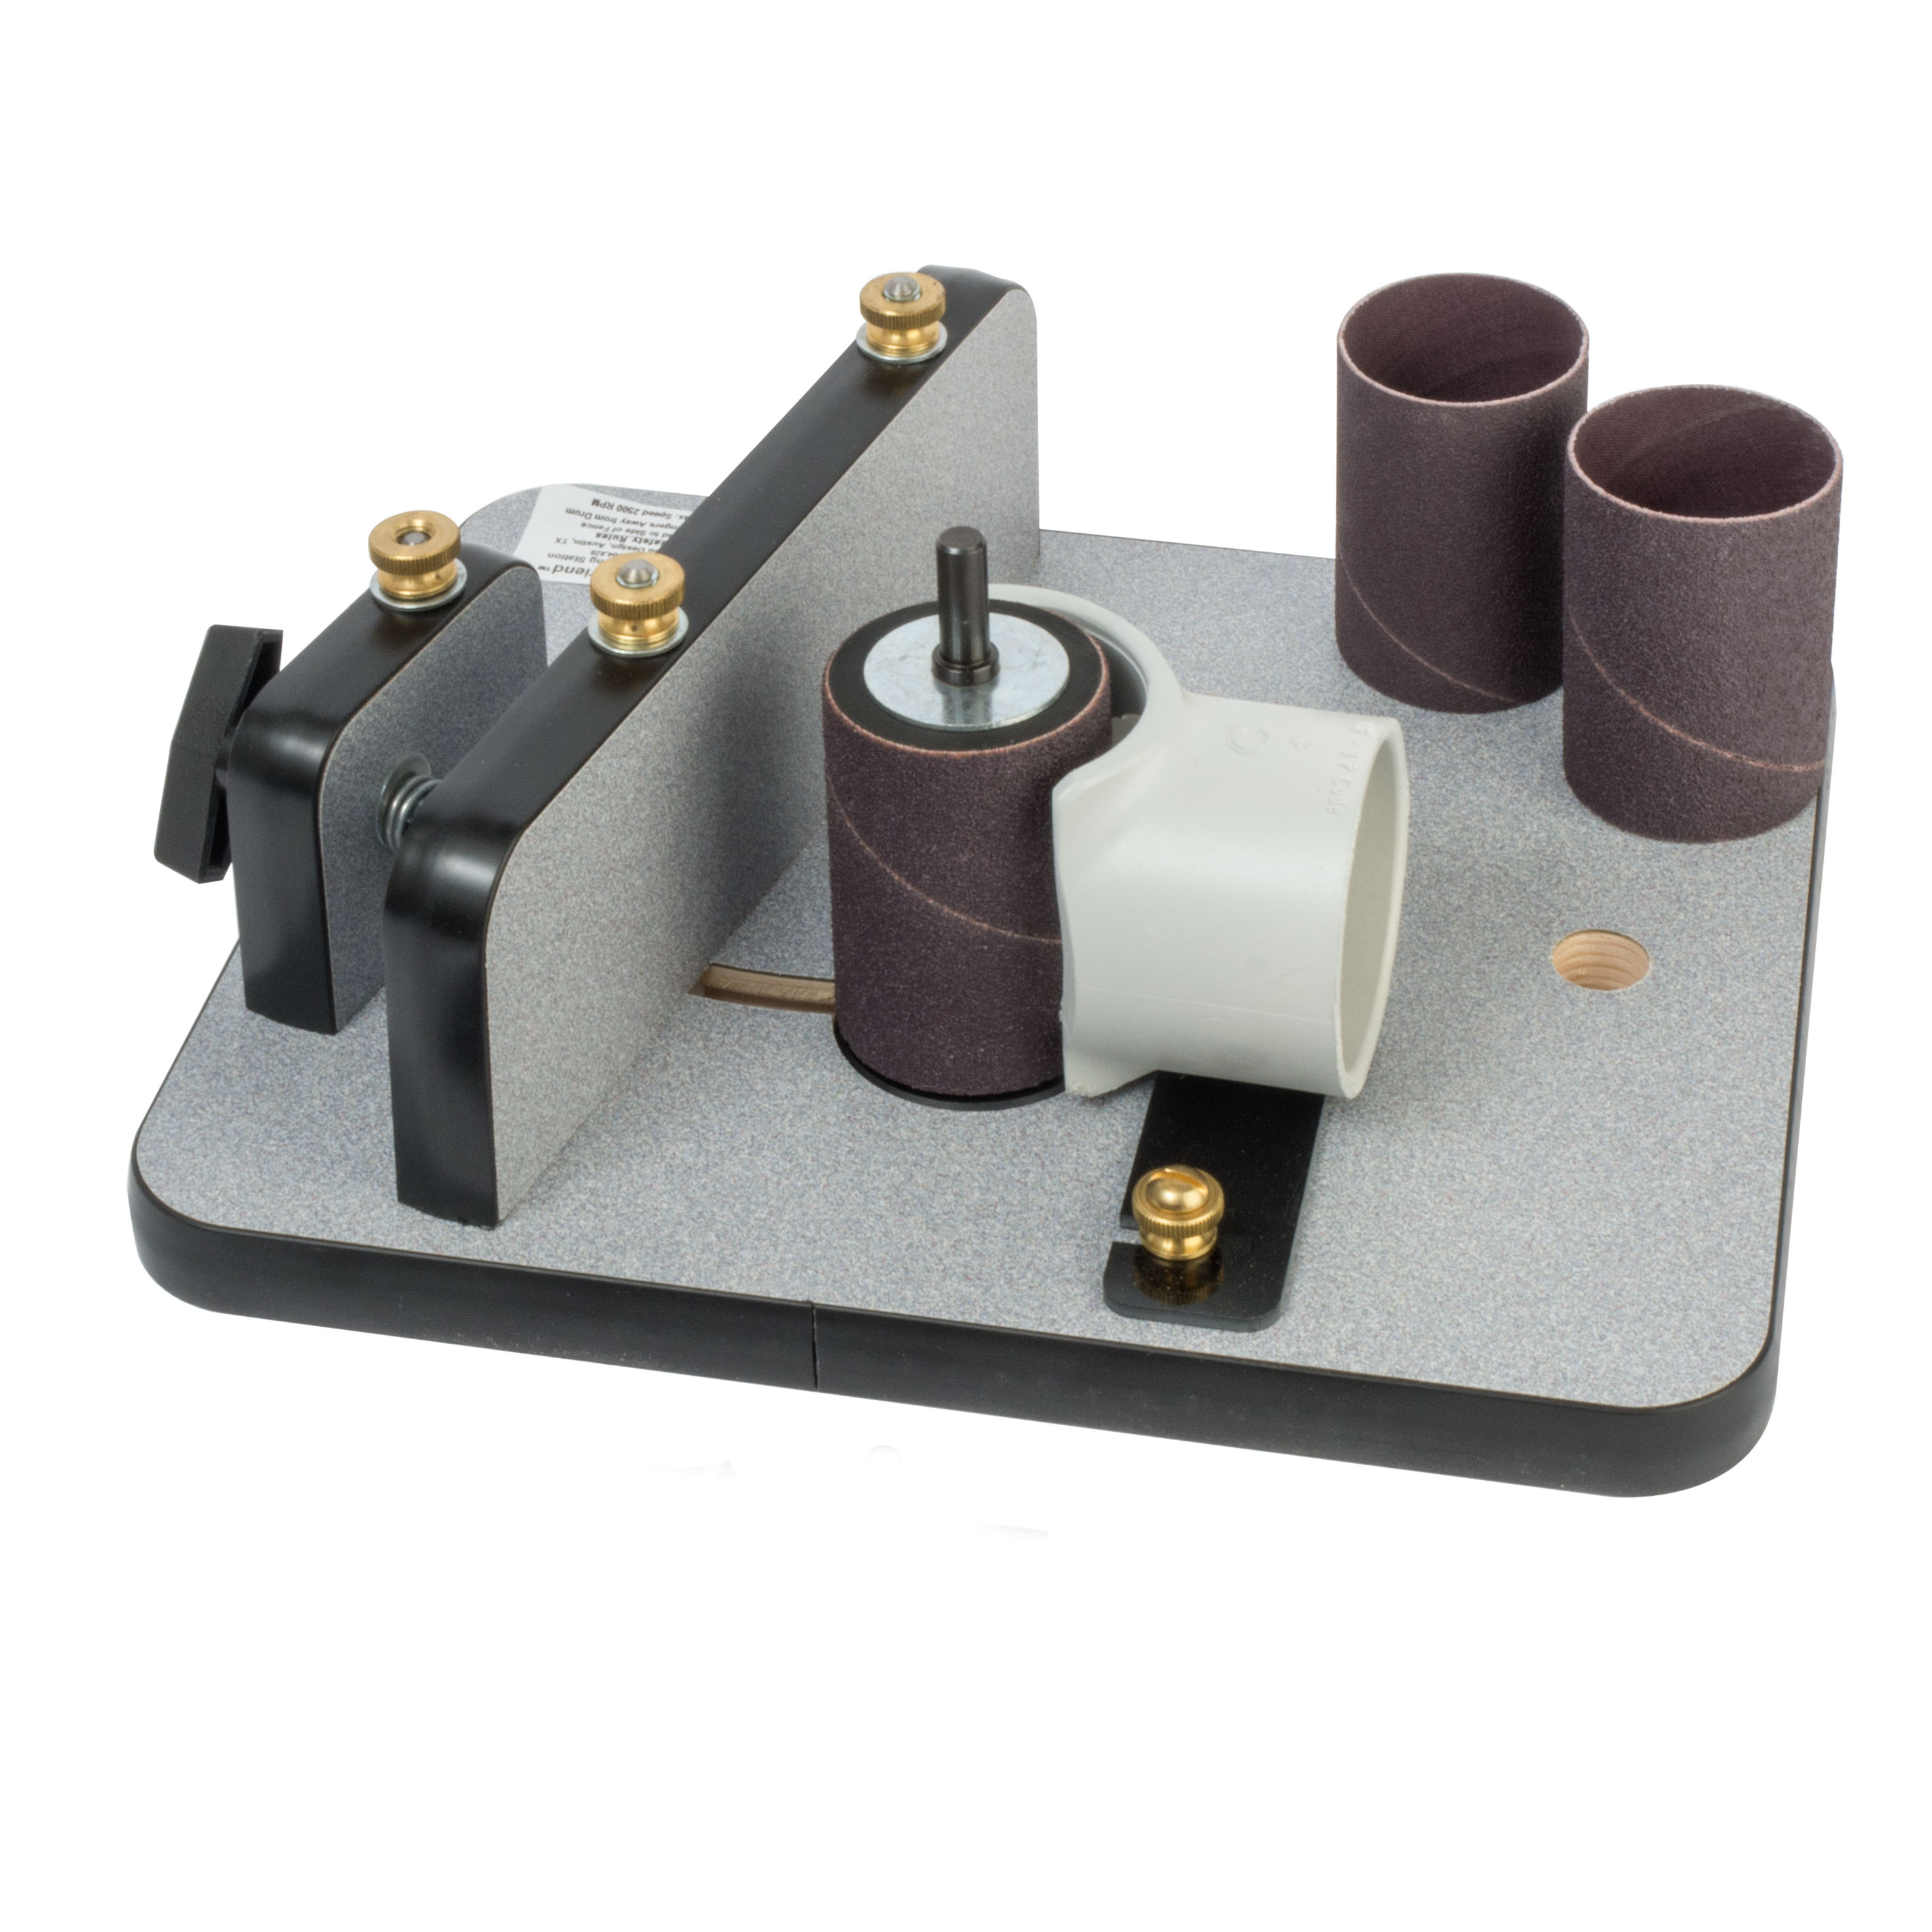
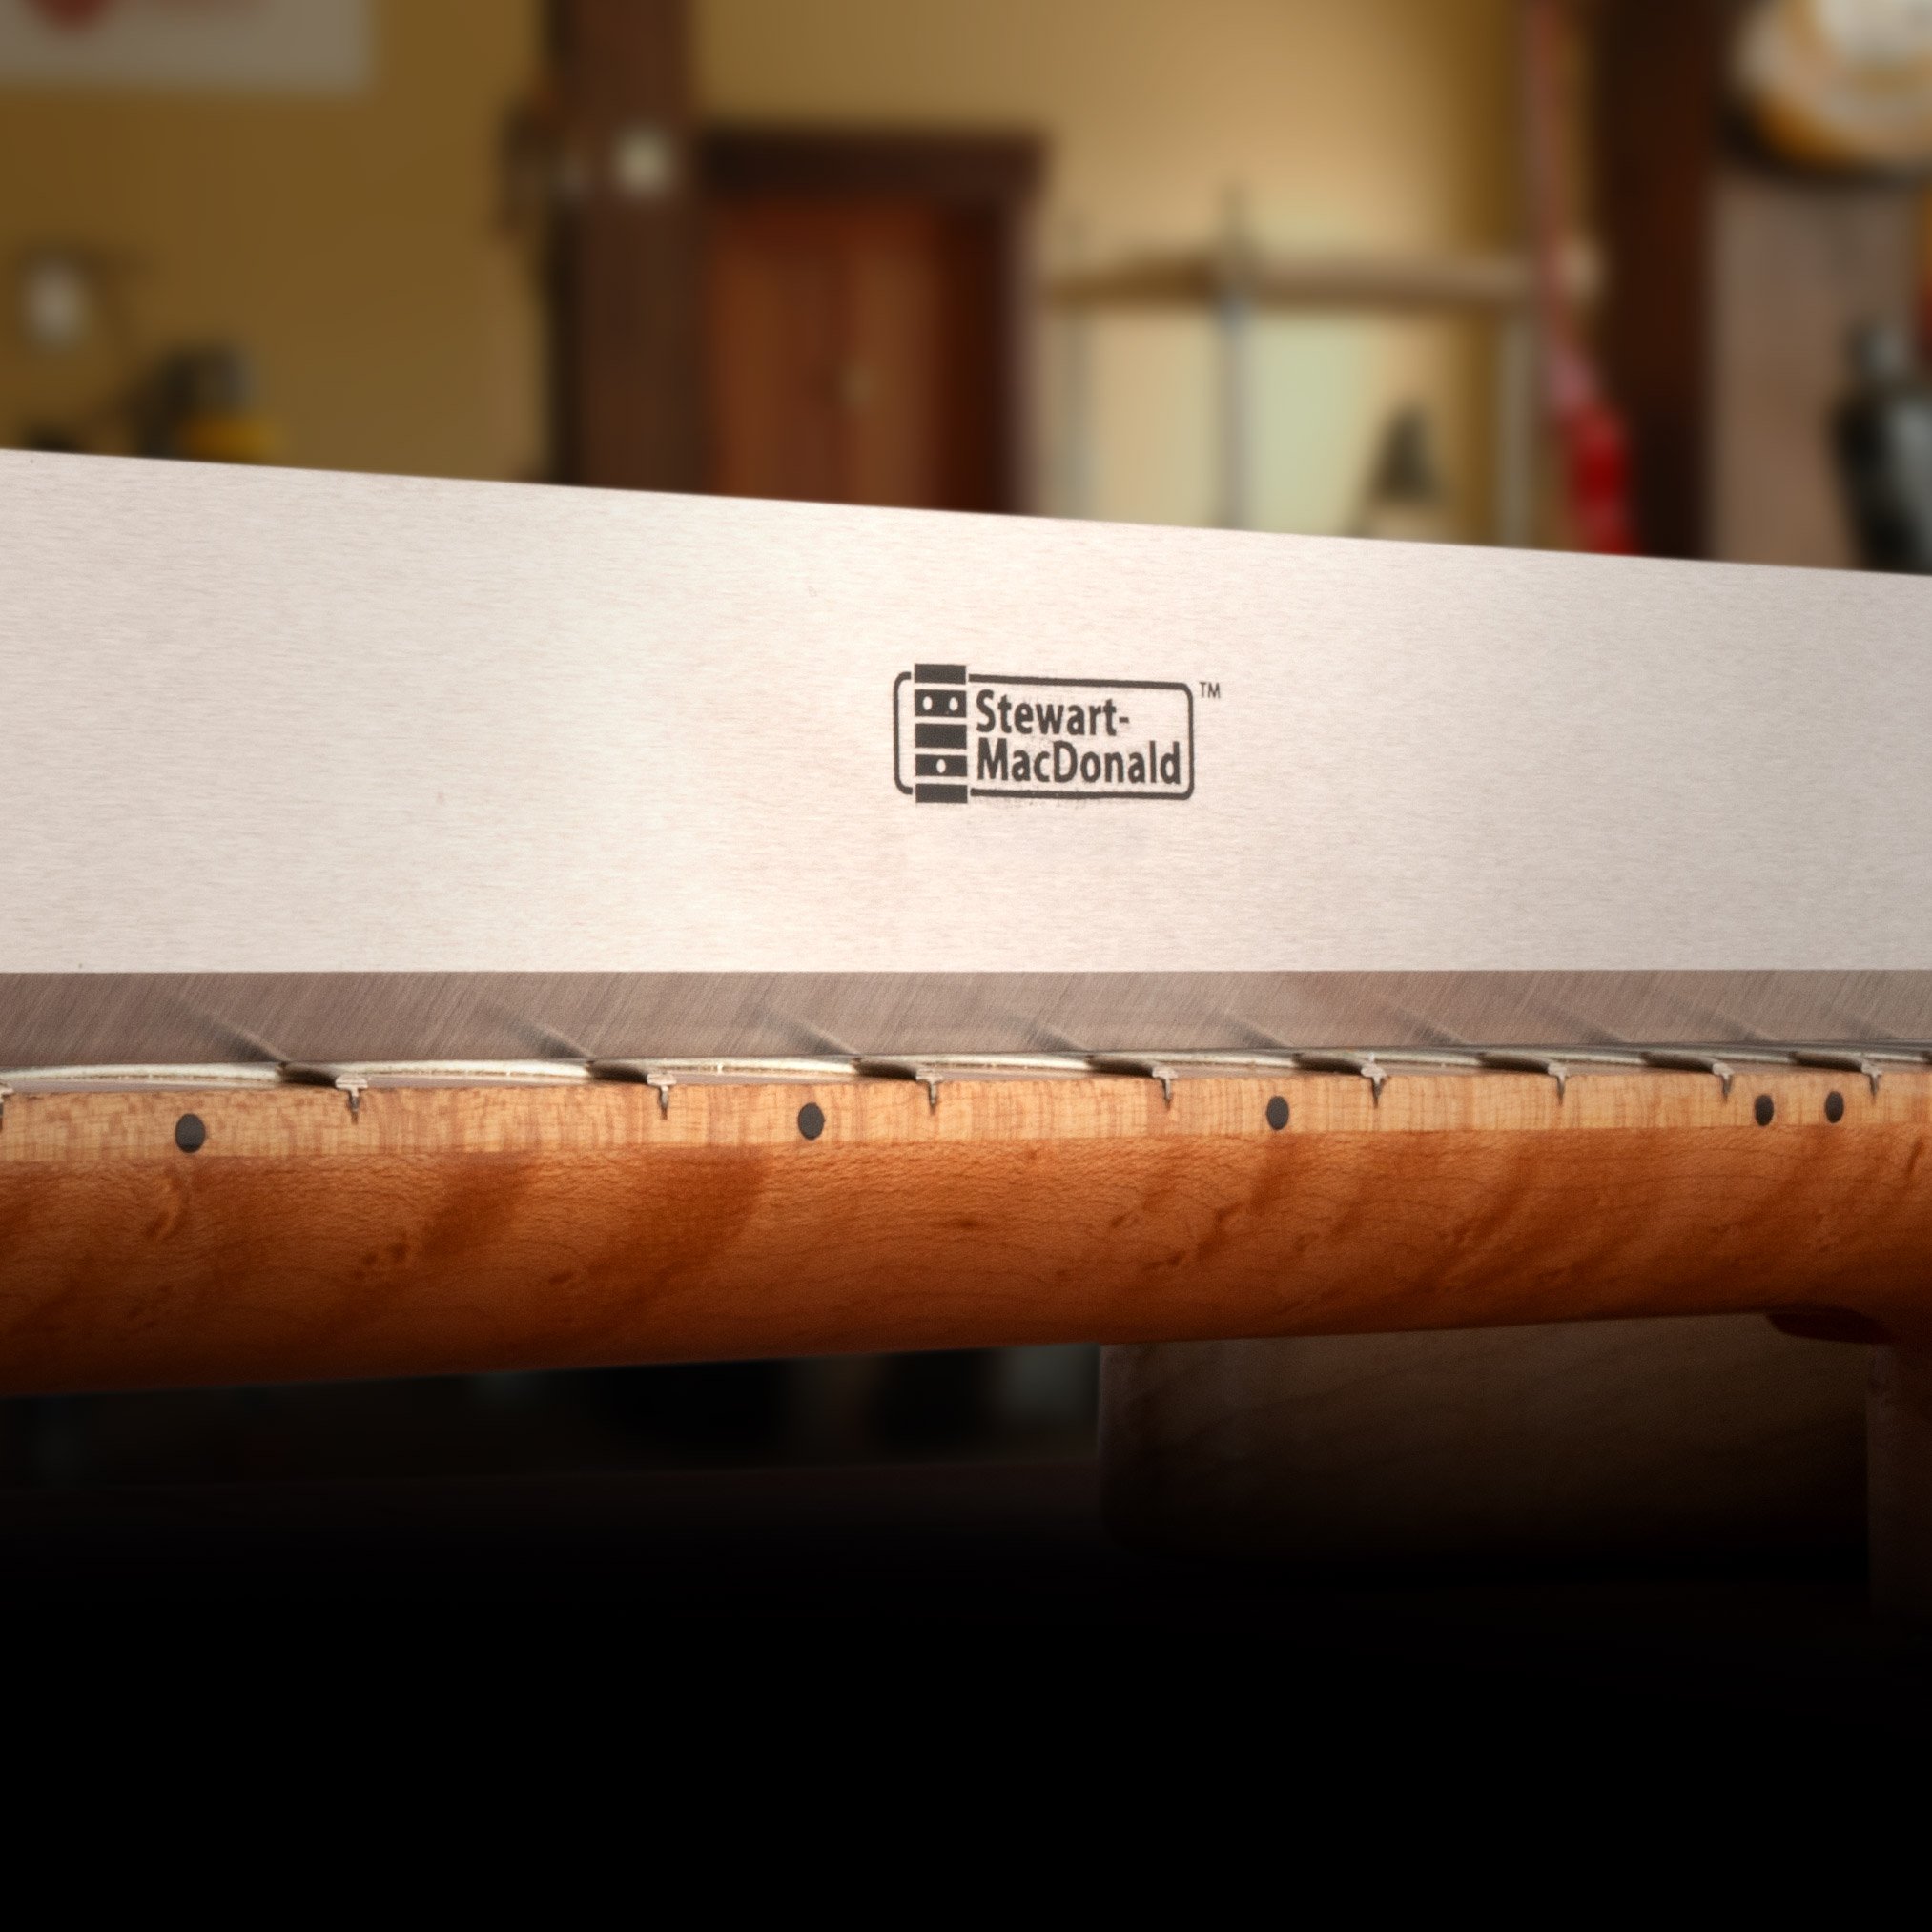
For the thin strips, I cut as close as I could on a bandsaw [on-screen text reads: Luthier's Friend Sanding Station] down to about 80 or 90 thousandths, and then I went to the sander to take them all the way down to 45. My final pieces are like veneers [on-screen text reads: 36" Precision Straightedge] and I cut them into binding widths by putting them on top of a quarter-inch piece of maple to space it up off the bench, clamping a long straight edge on top to hold it in place. And then I take a block plane and run it along and get one true edge. That's my good glue edge.
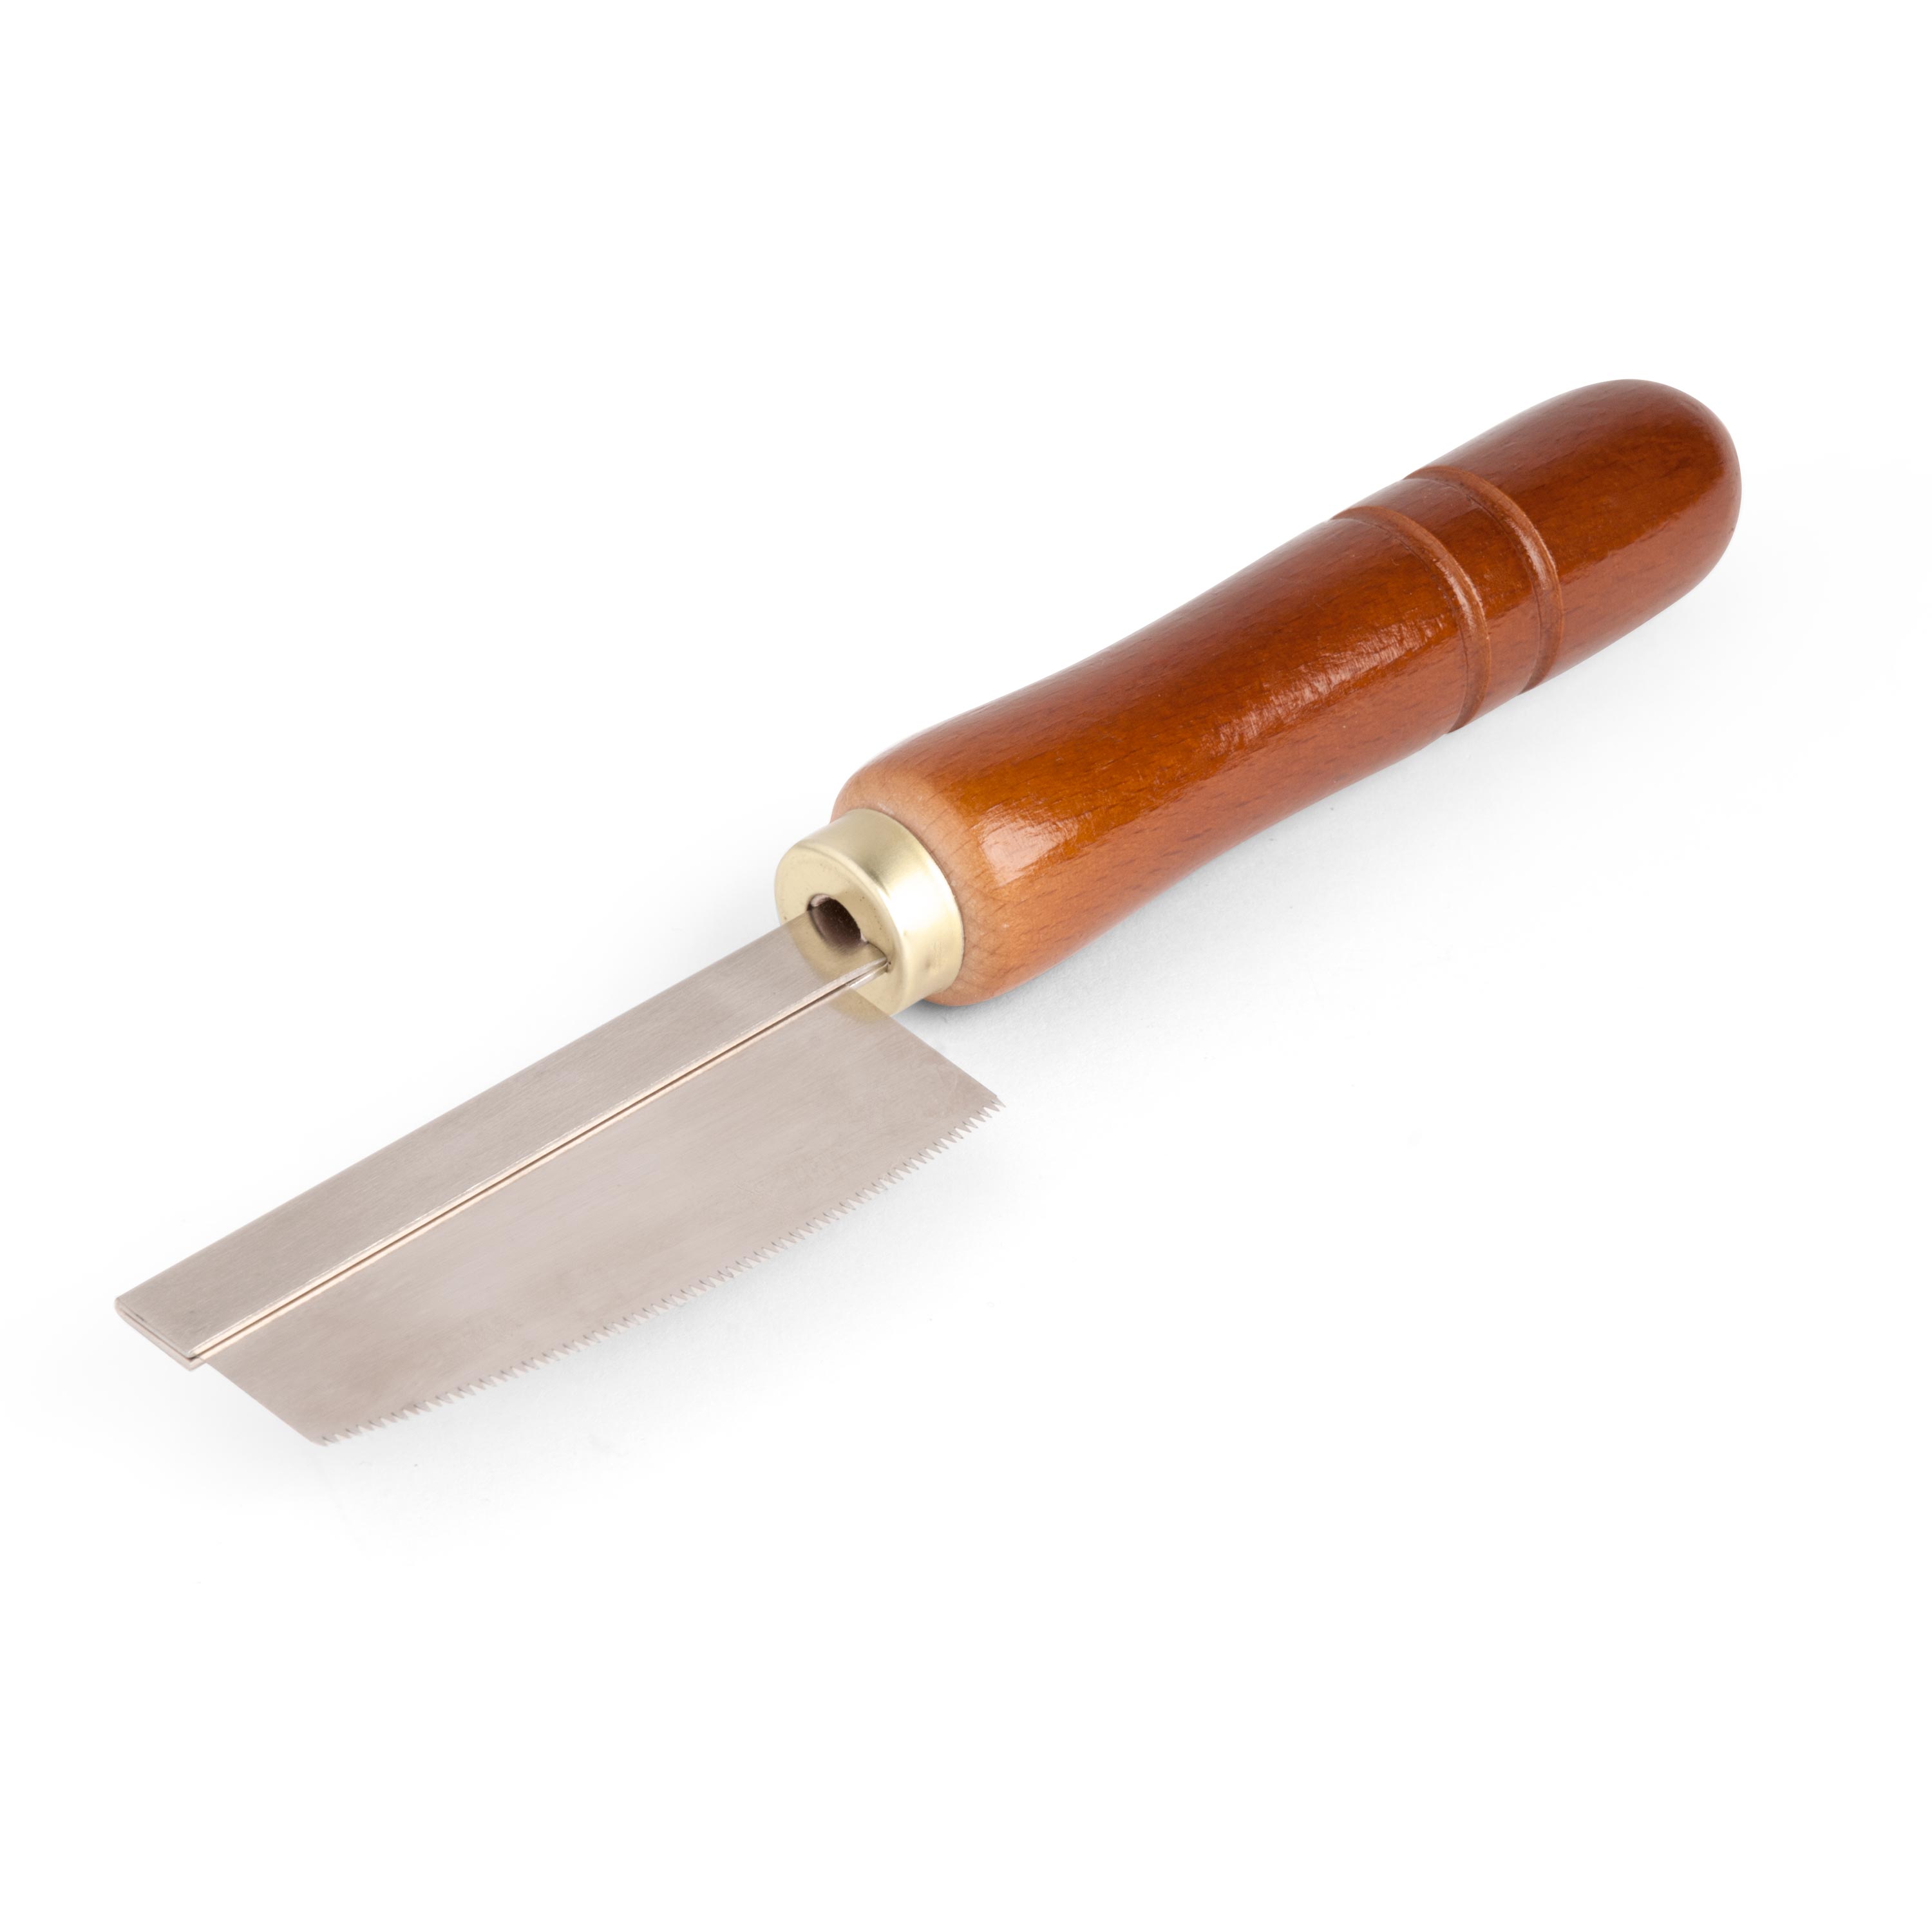
Then I unclamp it, lay the veneer flat on the table, put the straight edge back on it again, clamp it up, and this time I'm separating it from the blank. I use a Japanese Curved-edge Mini Saw to draw on the length. It tears wood out in a straight line, and then I often will follow that up with a number 11 X-ACTO blade, slice right through it, and it pops the piece free. Then I repeat the process with the plane, the saw, and the X-ACTO knife until I have enough strips.
So what I've got is a bunch of walnut binding and a few pieces of a lighter colored wood, and I'll probably cut this up in the next few days and make more binding.
If you like this, let me point out that this is trade secret number 238. So there's 237 more trade secrets for you to see at stewmac.com.


