5 Shop Tips From Santa Cruz Guitars
Issue 285 May 04, 2017
Richard Hoover, founder of Santa Cruz Guitar Company, gave us a tour and we captured tips from the skilled luthiers that make up the Santa Cruz team. Watching them hand-building exceptional guitars was inspirational!
- How to get a soundhole rosette to fit when it's too tight
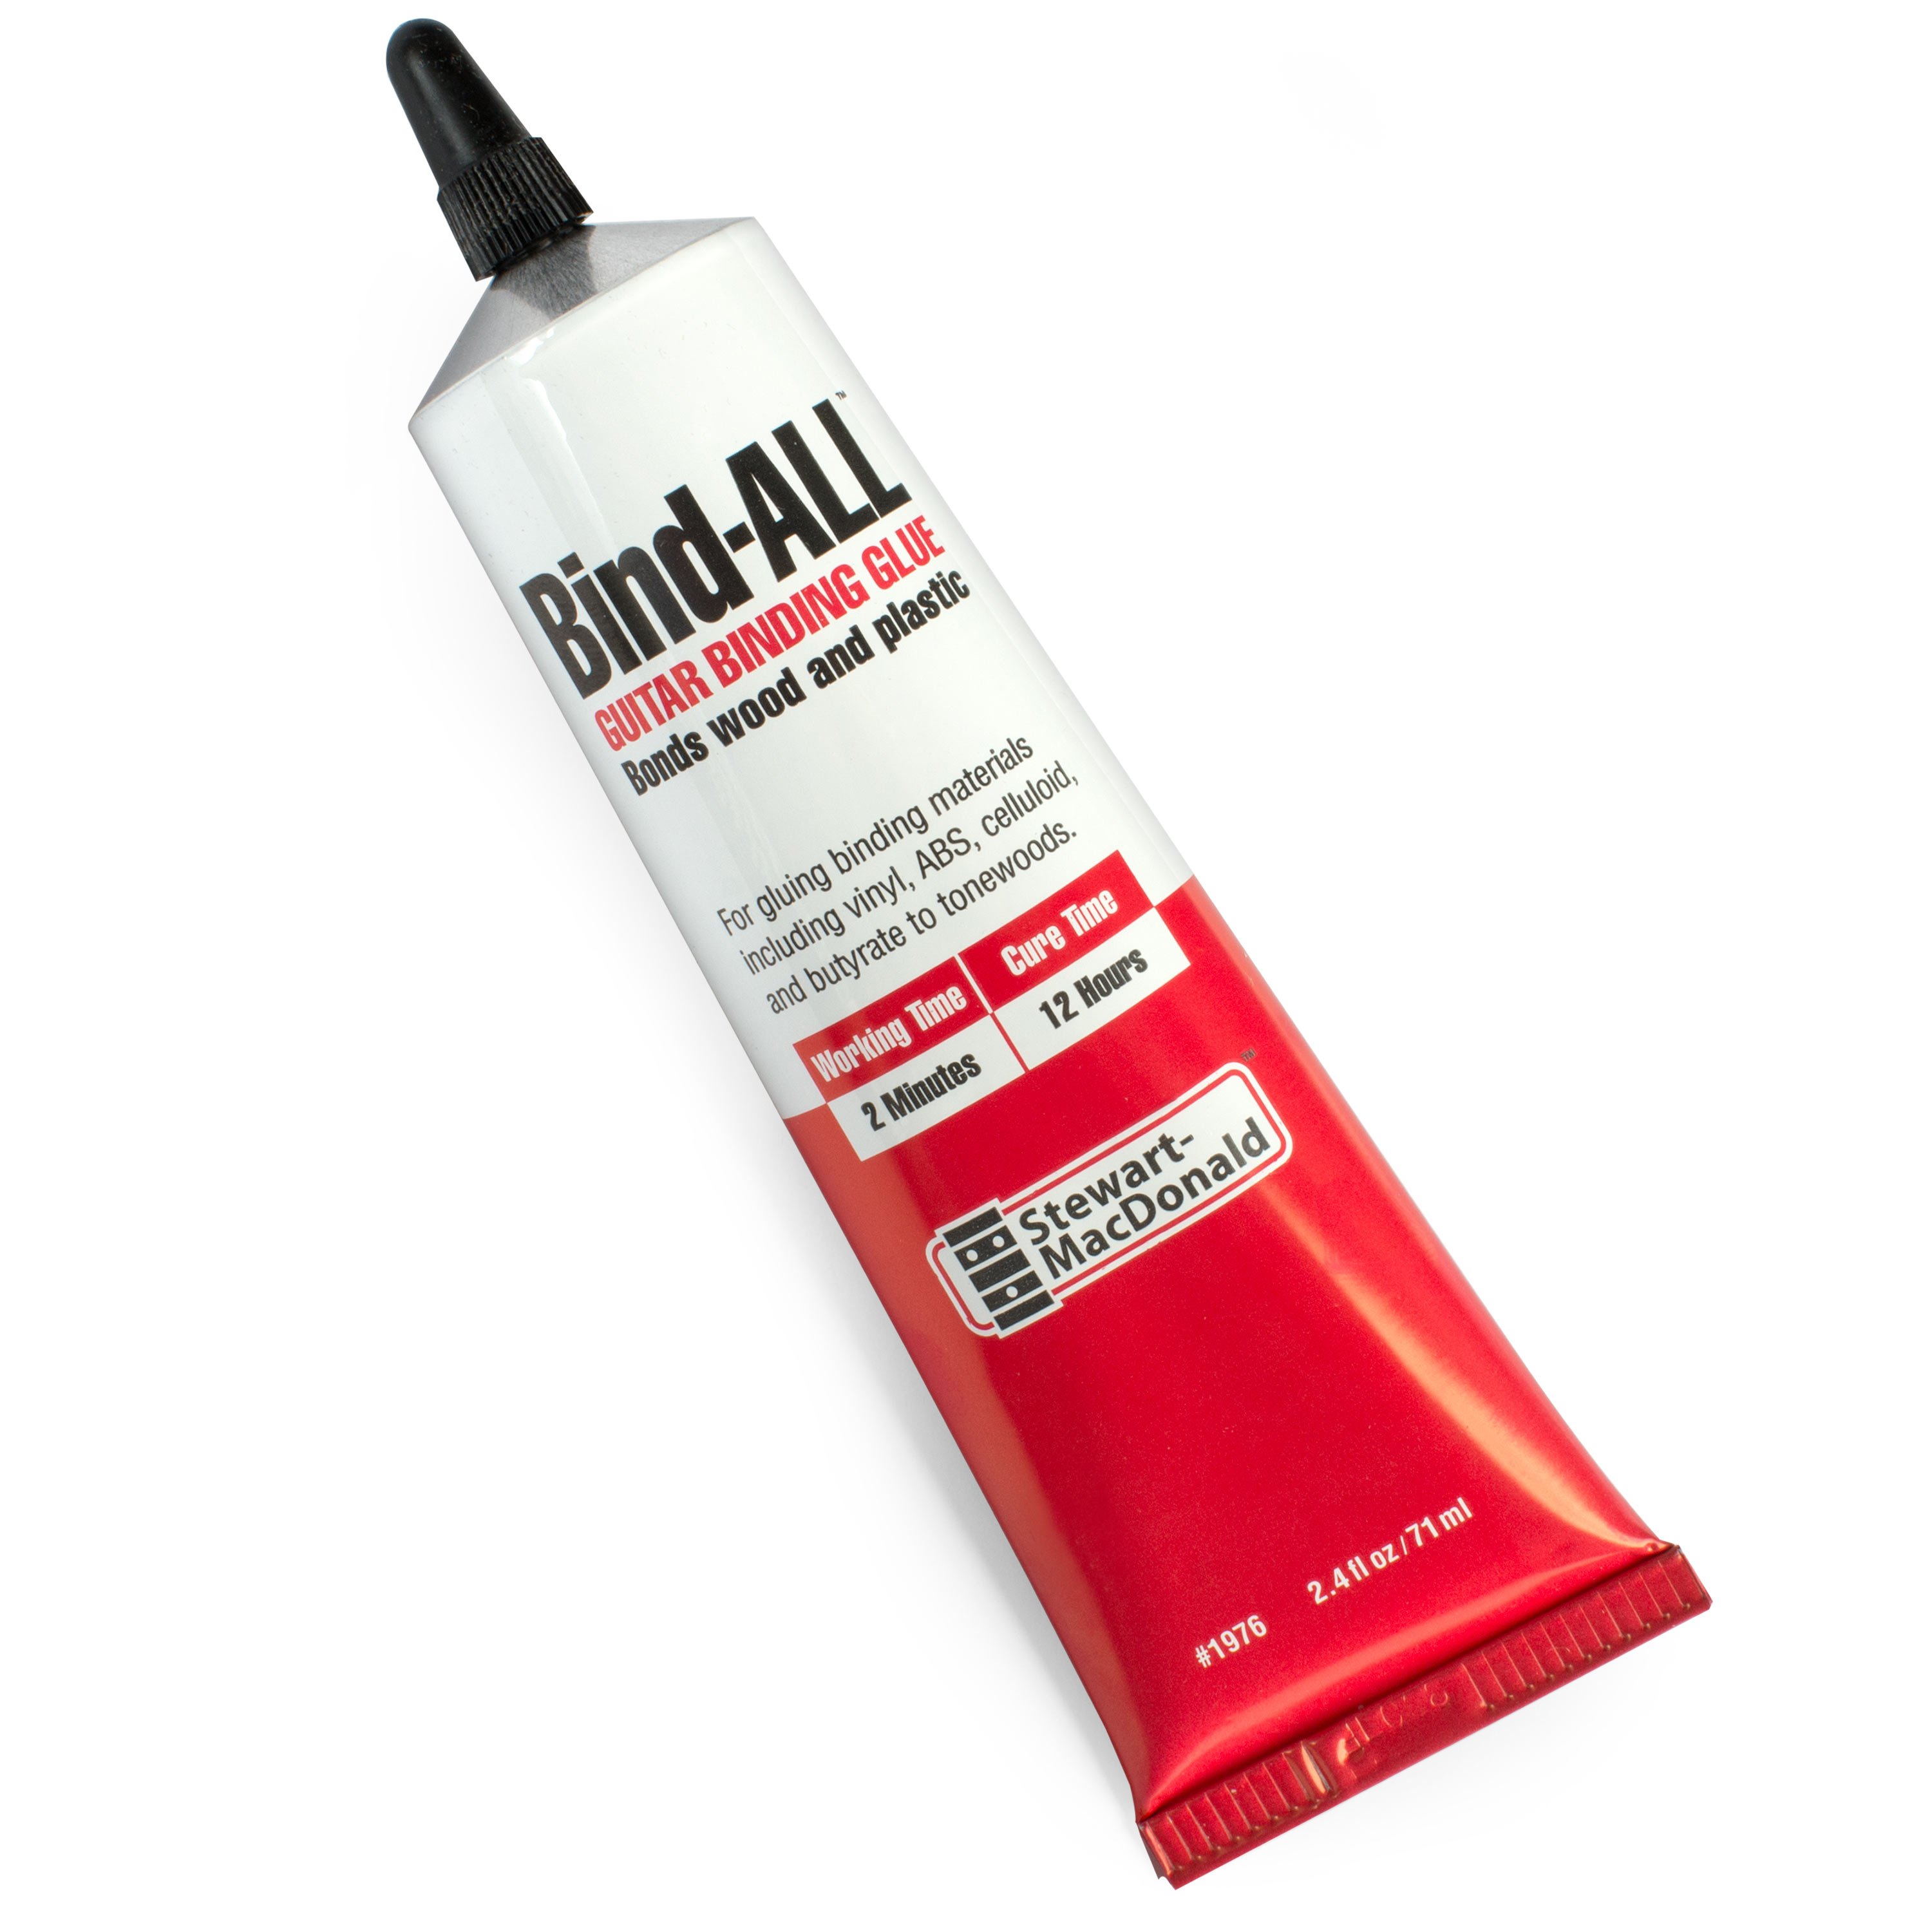
- How to disappear a gap in ivoroid binding
- The secret reason for using black purfling
- Using a micro-pen for tiny finish touch-ups
Video Transcription
[on-screen text reads: Dan Erlewine - Guitar Repairman, Author]
Dan Erlewine: We visited the Santa Cruz Guitar Factory recently to see our friend Richard Hoover, and he gave us the grand tour of the factory. I shouldn't really call it a factory because all the guitars there are hand built and their guitars are awesome, as everybody knows. We were collecting trade secrets as we went around to factory, like this one from Brad who showed us how he fits a sound hole rosette when it's too tight to go into the channel.
How to get a soundhole rosette to fit when it's too tight
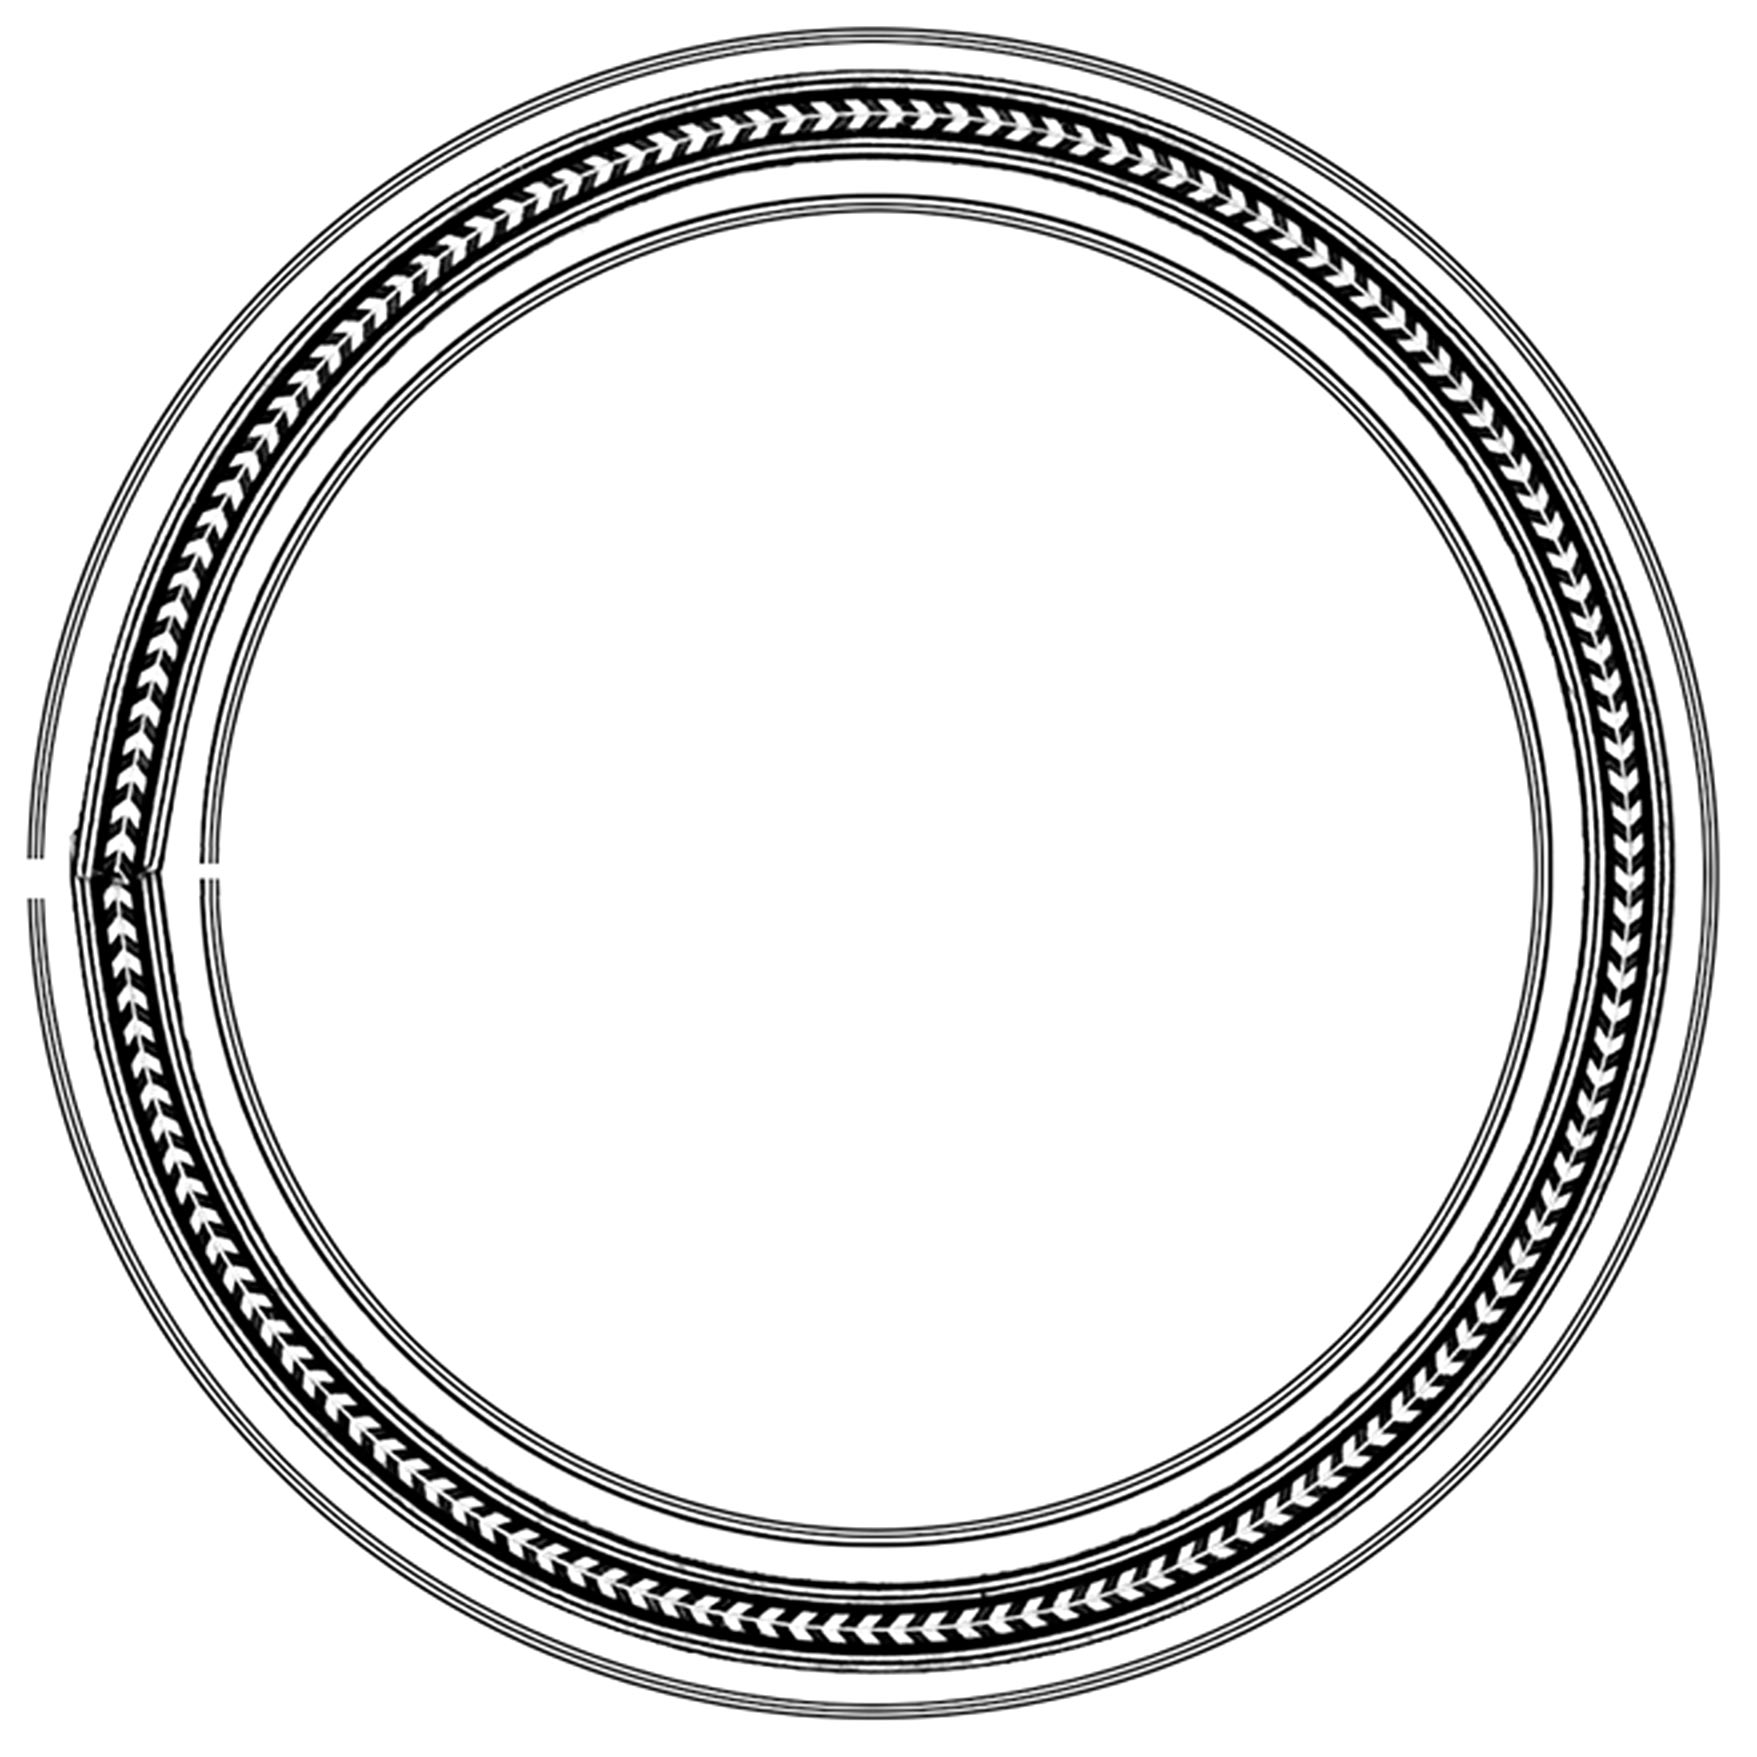
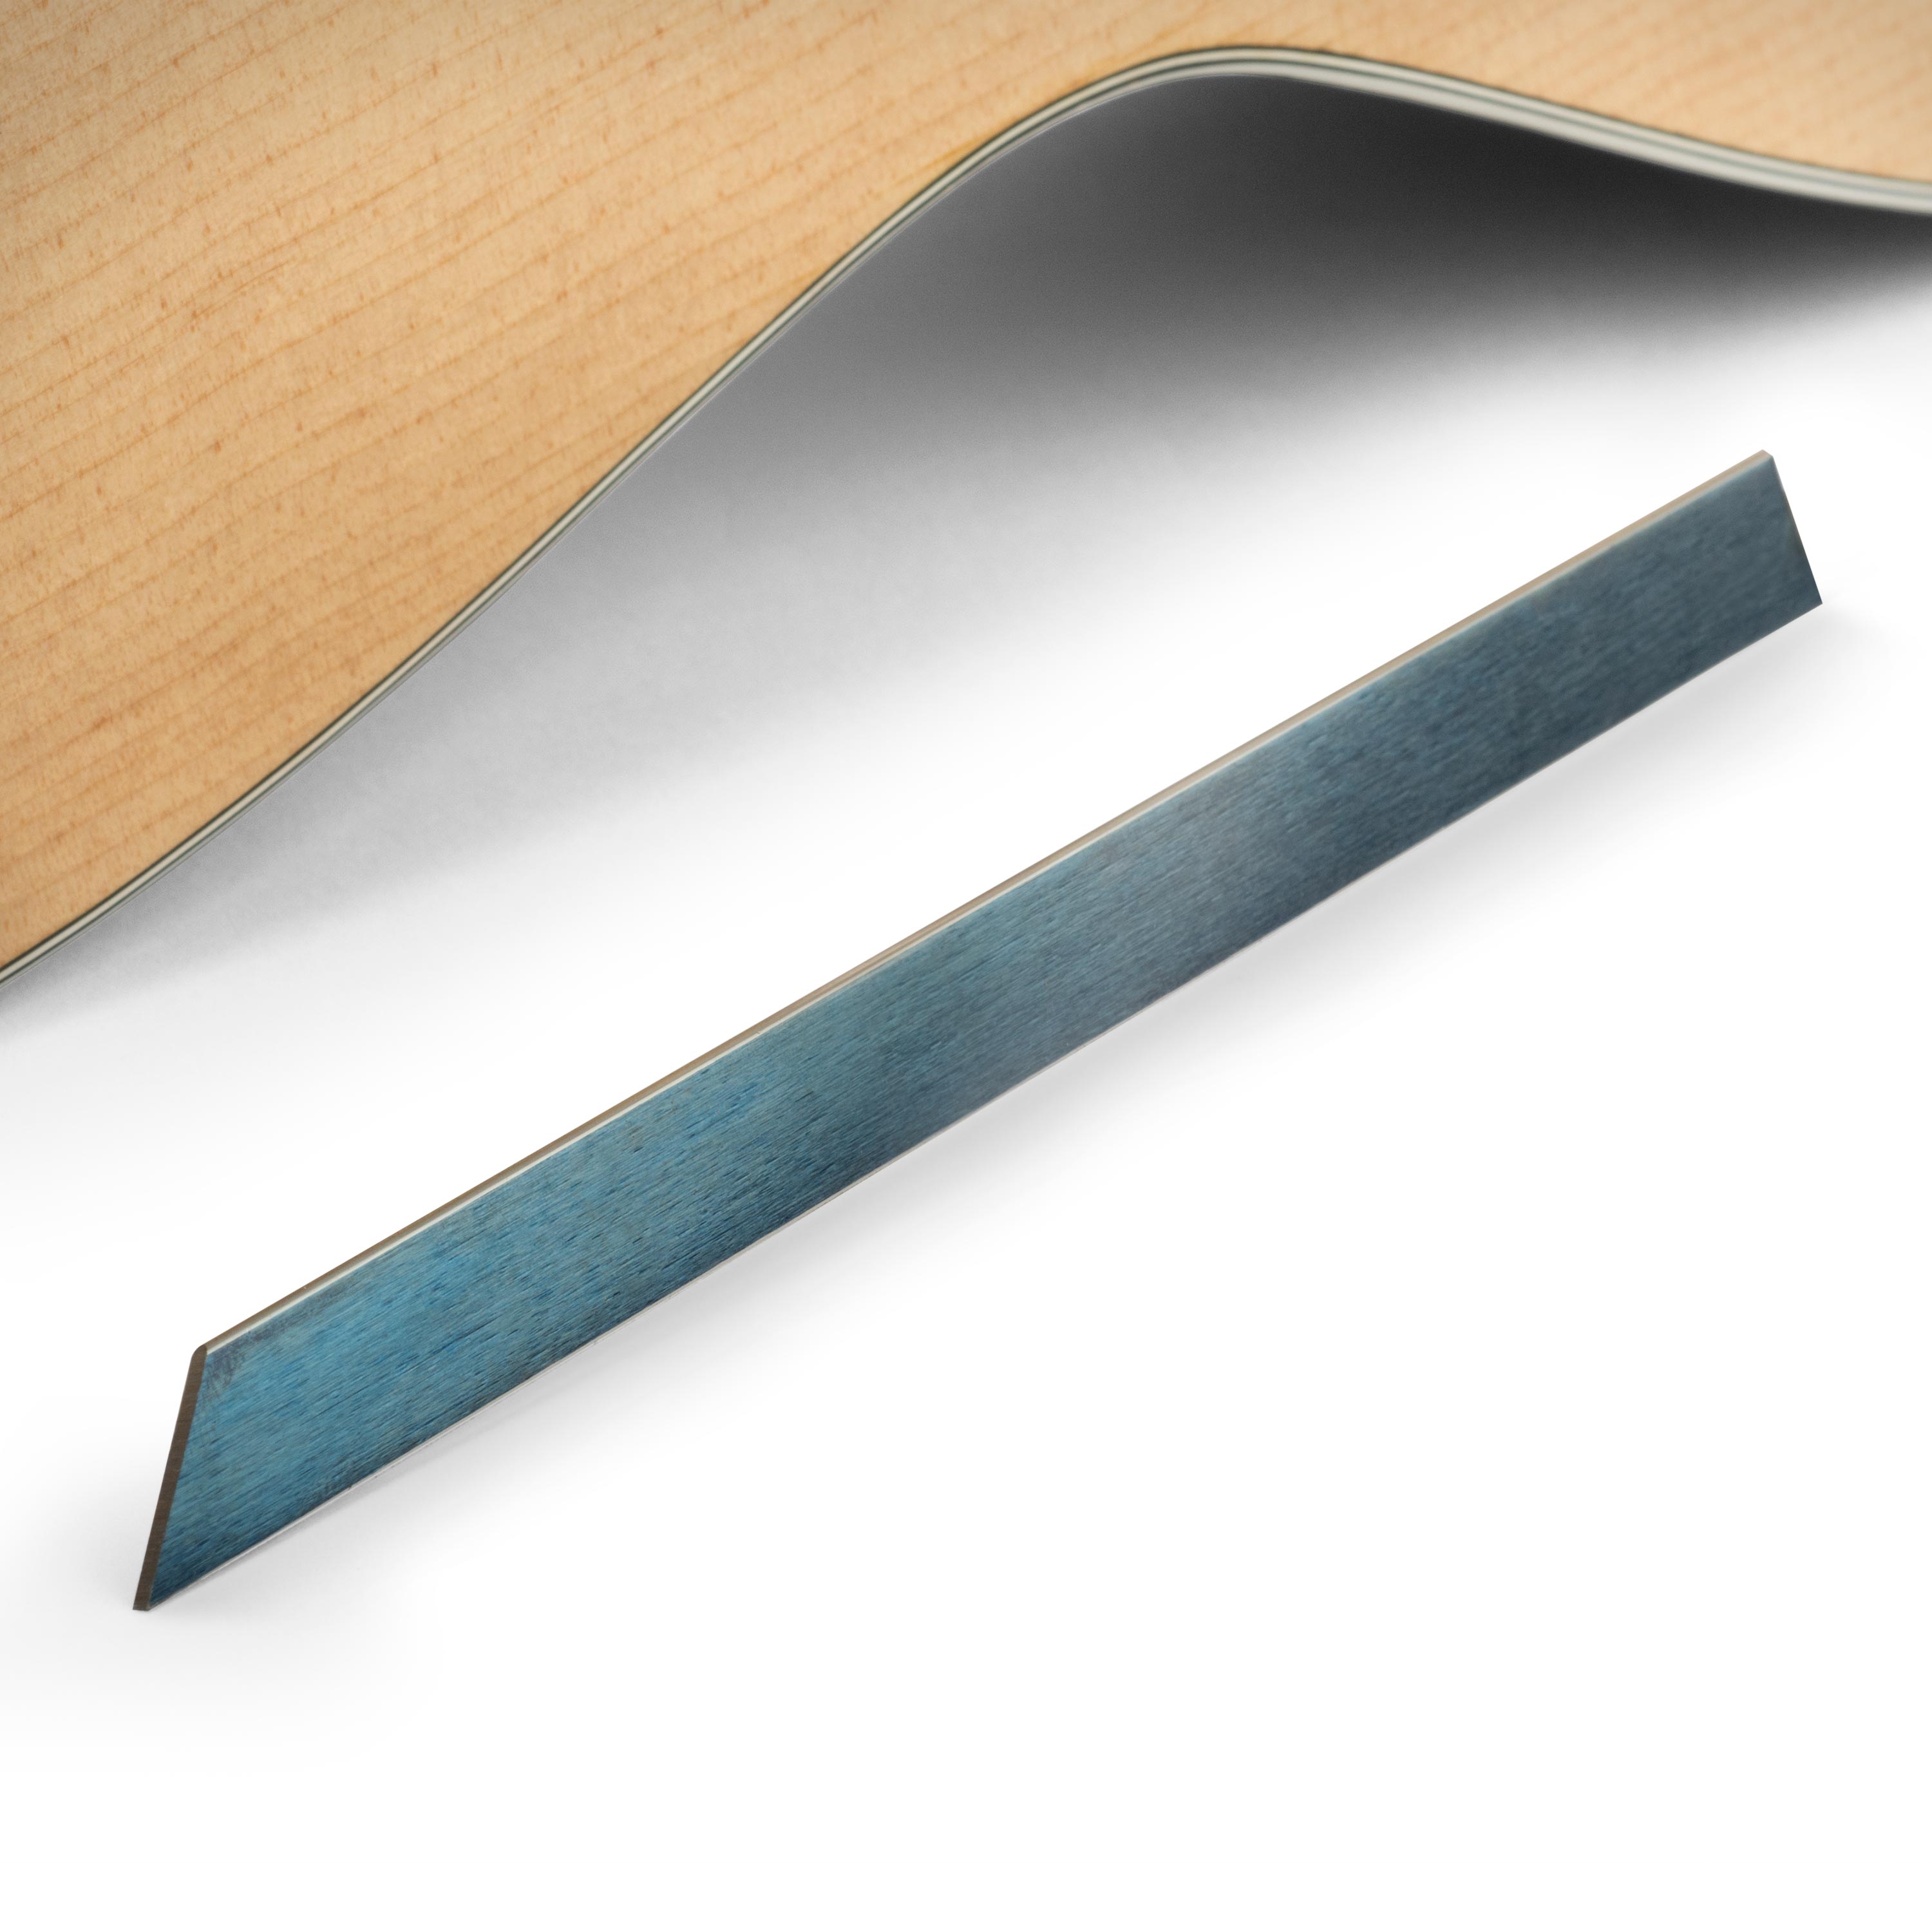
Brad Corney: Hi. I'm Brad Corney here at Santa Cruz Guitar Company. Today, I'm going to show you how to get a Herringbone Rosette fit when it is just a little oversized. We'll start by cleaning up some of the frayed edges. For the inner ring, this is our combination here consists of some maple black purfles and some ivoroid with the herringbone ring. I'm going to go ahead and test the current fit. It is a little tricky to get it to line up. I wish I could show you this, but I can only feel that it's going to have to be forced in, which would damage the channel. I'm going to go ahead and thin out some of these purfles in order to get it to fit properly. The first thing I will do is grab a fresh razor blade, and then I will go ahead and create a burr on it. With the burr facing away from me, I will go ahead and start removing a little bit of material from the purfle. Now, as you can see, it's a very thin shaving.
I'll just take a couple passes on each one [Brad slides the razor blade down the entire length of the purfling], then I'll try to fit it again. It fits in pretty well, but there will be glue added so I would like to take a little bit more off, so that once the glue is installed, I'll actually still be able to get it fit. Now, that's a good fit and it's ready to install with cliffs.
How to disappear a gap in ivoroid binding
We've got a old mahogany Single O here, and I'm going to show you how to repair a little ivoroid gap we have up here. What we have, in order to do that, is some shavings leftover from sizing our ivoroid binding. I'll take some of them. I've just got the bottom of a soda can here, drops them in there. And then acetone, we'll use as the solvent.
I can see I added a little too much acetone. I'm just going to add a little bit more ivoroid. I'm just trying to mix it to the point that it's not chunky anymore. The best comparison I can think of is like a booger, and that's the consistency we're going for. It's there now so we're ready to do the repair. Now that we have this mixture, I'm just going to scoop a little bit up with the scalpel here and just apply it to the gap. I'm actually trying to push it in there a little bit. I'm actually going to leave it with a little bit of access on there in order for it to cure, and then I'll have the ability to sand it back without it shrinking back further. Just some ivoroid shavings and acetone and we're good to go. It can also be pre-mixed in a bottle here too.
The secret reason for using black purfling
Dan Erlewine: Some Santa Cruz models use a very thin black purfling next to ivoroid or white binding. It's a good look, but there's another reason for doing that. Certain oily woods like cocobolo can seep into light bindings and discolor them even after the guitar's been complete. That little black line creates a dam that keeps those oily woods from discoloring the binding. I never knew that. Now, Darren Webb has been repairing guitars at Santa Cruz since the 1990s. He's loaded with trade secrets. In fact, I plan on calling them up one of these days and try to get some more out of them. Darren glues a microscope slide to a flat block of ebony to make a mini sanding block. It's really flat and it's hard. It's a perfect thing for small touch-ups and spot fills. That's a good tip, Darren. Now, I've got one for you.
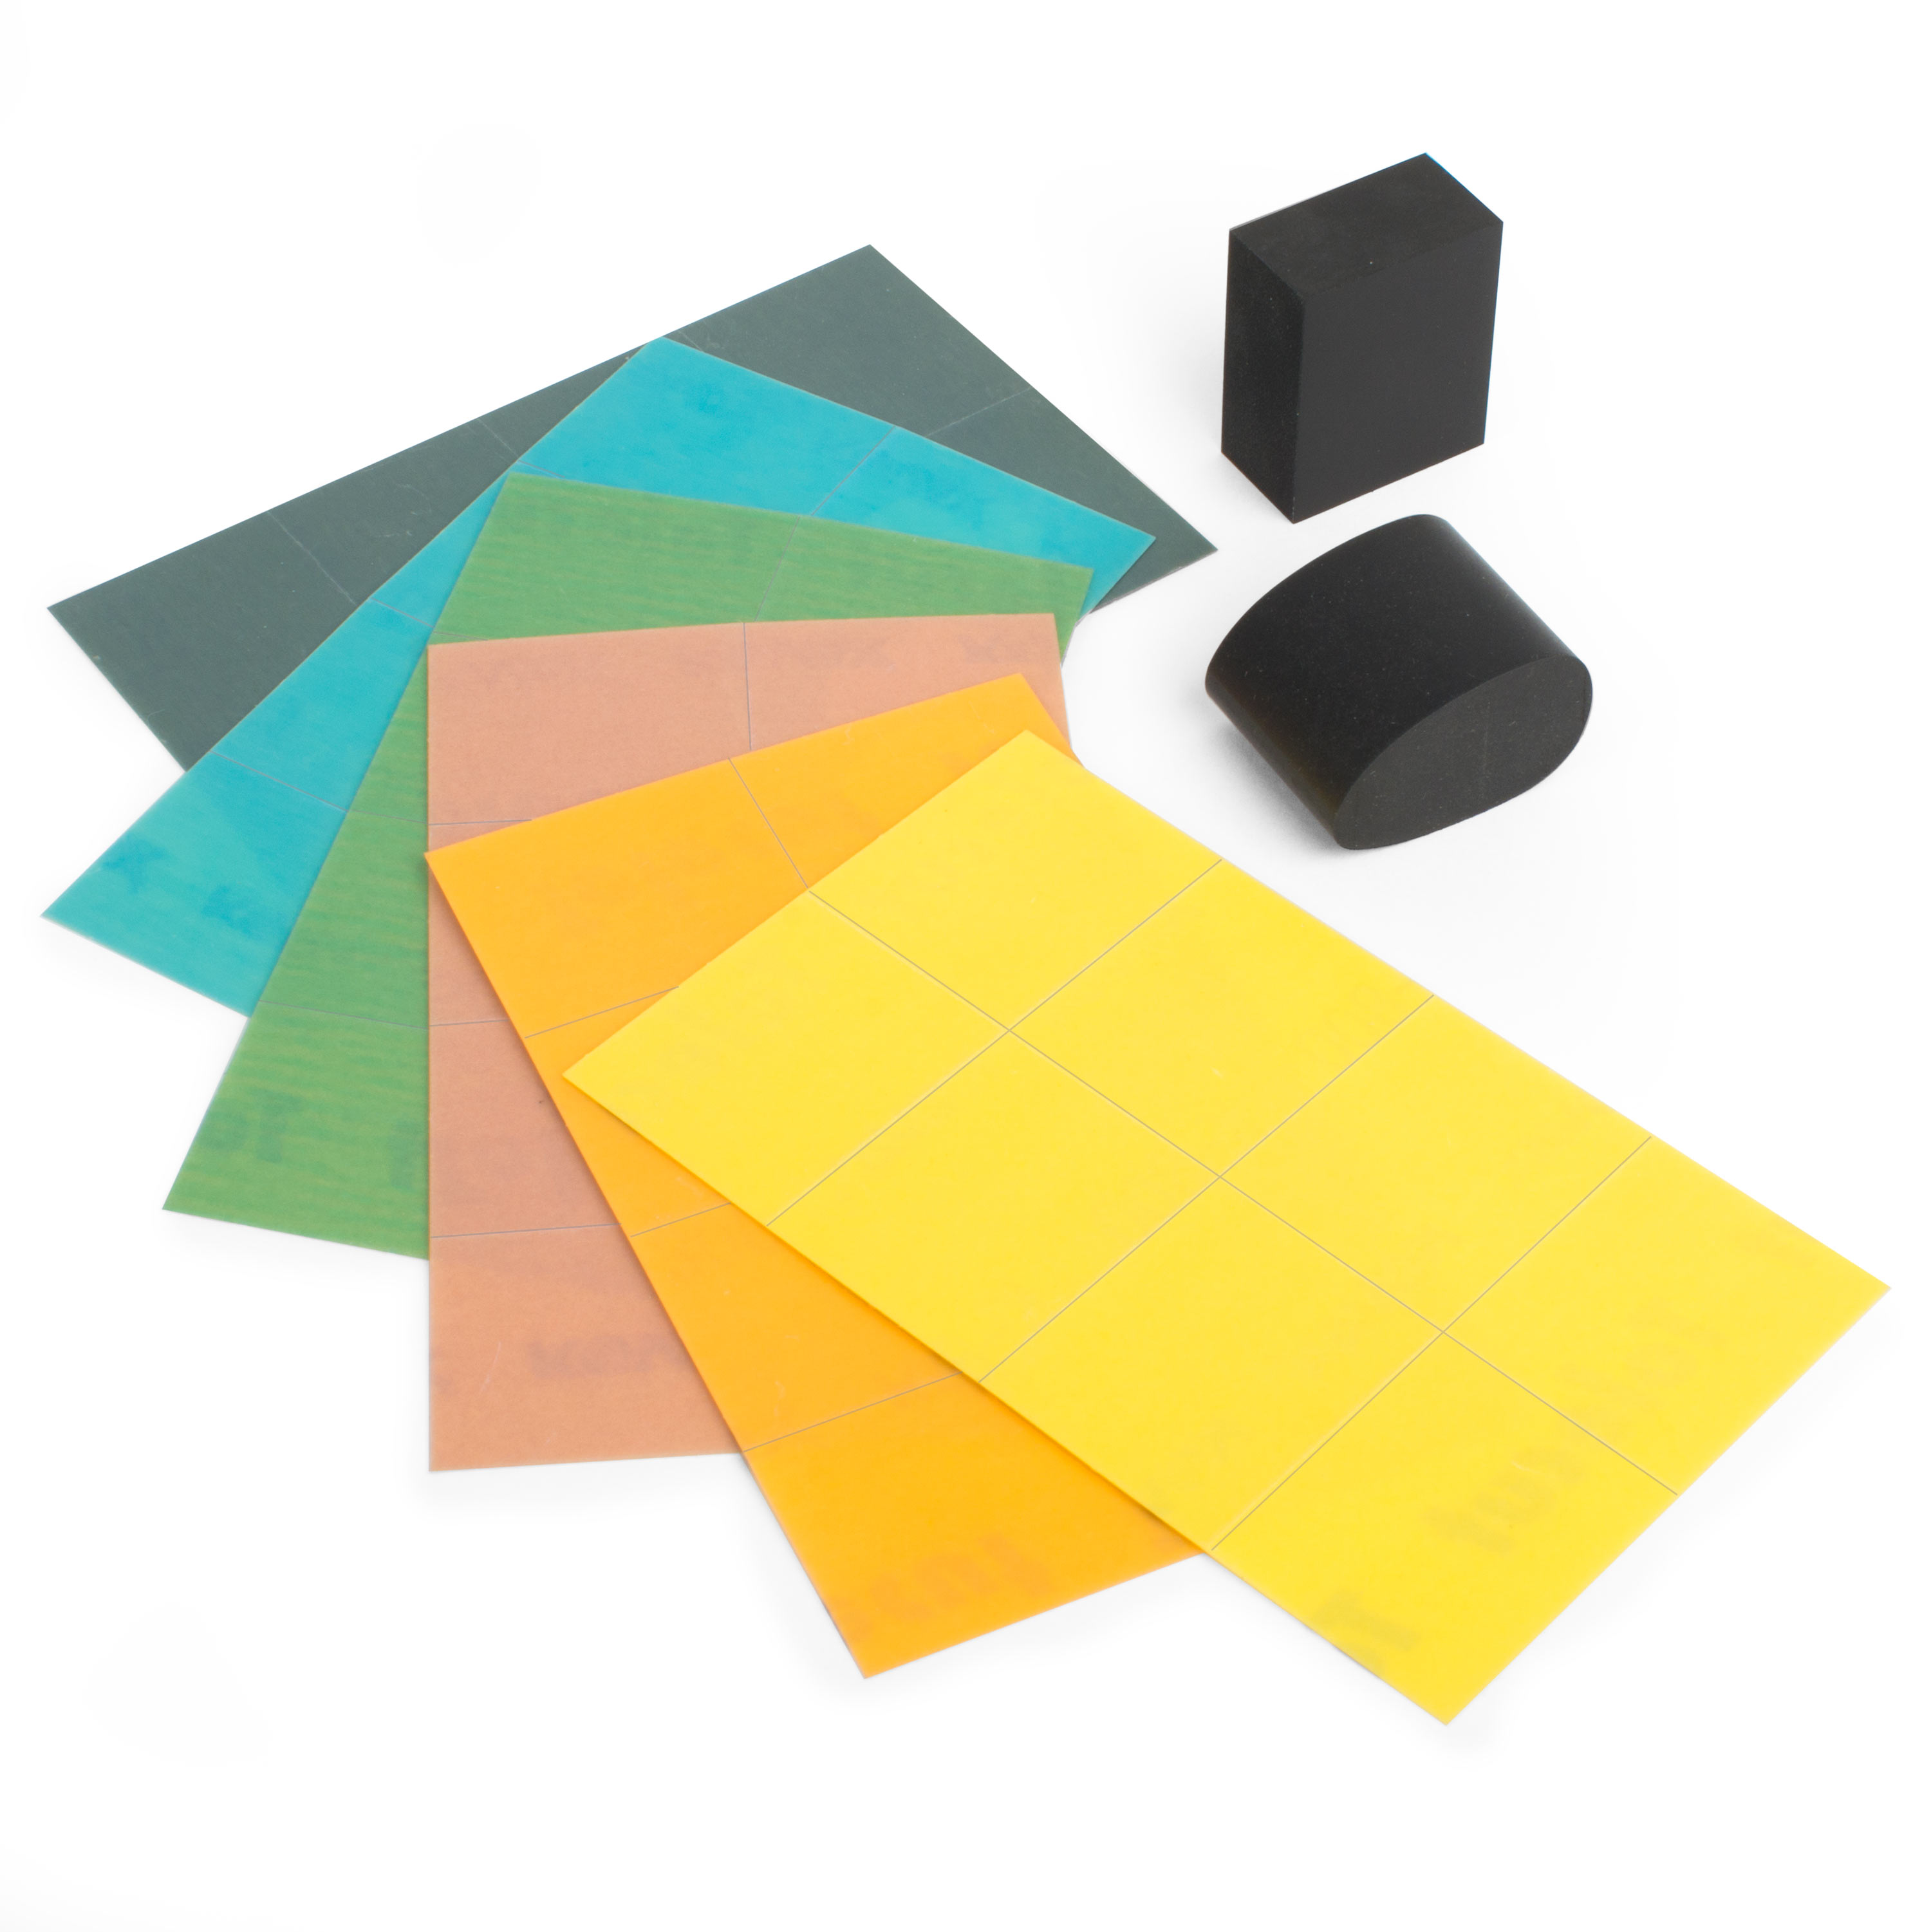
Actually, it's going to be a present. I'm sending you these new sanding blocks that we just got [on-screen text reads: Kovax Tolecut System - stewmac.com]. One's round edge for spot touching little areas and other's a flat rubber block, and it comes with micro sand papers with a stick them back and there's no rolled edge of sandpaper to catch on the finish. I set of these are going out to you, Darren, and another set to Rick Bartow in the spraying room. Man, he does a killer sunburst. You have such a beautiful spray room and perfectly clean. Still, there's little dust specs that come into the finish. Rick shows us how to take care of those with pens from the art supply store.
Using a micro-pen for tiny finish touch-ups
Rick Bartow: Hi, I'm Rick Bartow [on-screen text reads: Santa Cruz Guitar Co.]. Today, we are going to deal with a problem of burning through and damaging color. When working with nitrocellulose lacquer, it is easy to burn through the top coat, and get all the way down to the color, and come up with little things like this, a burn through that goes all the way down to the wood. Since our color is not penetrating the wood, it is sitting on top, we can come up with little spots like this that we'll need to fix. To fix this little problem here, we have these Micron pens. The Micron pens are archival ink, which means that they're going to last forever. They don't fade over time like a lot of inks can. Also, it is acid free, which means it will not eat into the lacquer like some brands can eat throughout your top coat, sometimes even eat away at the color around the area you're penning.
All right. To apply the pen, we're going to come in at an angle. If you come in straight down with the pen, it tends to leak the ink out too much and you'll have a modeled effect. You want to use the very tip, very edge of the tip of the pen, and we're just going to darken it right in. You'll see that the edge of the area I colored has become a little bit darker because we have color on top of color. To do that, it's as easy as dabbing your finger on it, or you can use a micro brush, or any kind of smudging tool. This is the smudging tool, that's got a little nub at the end, that can push around the color and make sure that it looks good along all the edges. The smudging tool has a little nub at the end of it that you can use to push the color around. That way, it'll soften the edges and make it look like it's supposed to. These Micron pens are really great for the tiniest of touch-ups [on-screen text reads: Find archival pens and color shapers at Art Supply dealers].
Dan Erlewine: Thank you, Santa Cruz, for letting us visit and it was a great time. We can't wait to get back.


