StewMac Guitar Buffer: buffing tips
V-3080
Dan Erlewine with some tips for using the StewMac Guitar Buffer to get a high gloss guitar finish.
Video Transcriptions
[on-screen text reads: StewMac Guitar Buffer]
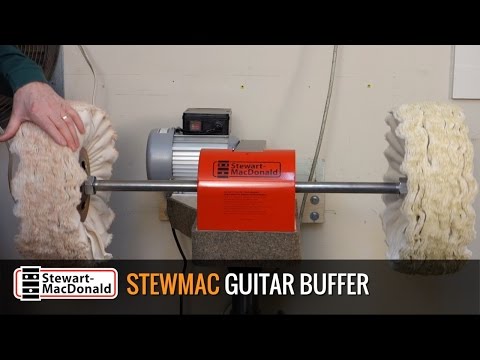
Dan Erlewine: Here's my Guitar Buffer. It's a pedestal buffer, a big one for buffing guitar finishes [on-screen text reads: Dan Erlewine, Guitar Repairman, Author]. I'm going to show you how it works.
Buffer setup
Right now, I have three buffs on each end to get a wide surface that's great for the back, top and sides. The left wheel has a medium compound and the right has fine compound. That's all I need, because before I buff I sand to at least 800 grit and sometimes as fine as 1200.
Now I'm switching to the fine wheel, that's the one on the right. I can't tell you when to switch from one wheel to the other, your eye will tell you. You just can't get that kind of a gloss or wet factory look without a buffer.
Let the finish cool down after buffing
Your first impulse when you buff is to wipe that dust off and look at the beauty, but don't do that, wait 15, 20 minutes till the finish cools down. If you do this when it's warm, it'll scratch.
Keep the buffs true
This is three buffs, but I change to one or two buffs for tight spots like cutaways, neck hills, and the waist. Once a set of buffs is broken in, always clamp them together when you remove them so you keep them true, otherwise you'll have to break them in all over again.
I'm going with one buff this time. You see it's clamped together and you're going to need a big wrench that opens to one in five eighths of an inch, because of the size of that shaft and the nut. I'm not using the medium compound for this one, only the fine. I don't get as much lacquer in the tight areas and I give them extra attention when I'm sanding, so the fine compound's really all I need.
Using dirty wheels for different jobs
A lot of times I'll use the wheel to remove dirt from a guitar or from this guitar neck. This wheel was a little dirty anyway, so I'll call this my dirty wheel from now on, and as it gets dirtier I'll switch and start using it for frets. Once you do that, you have a dirty wheel that's going to be dedicated to only frets. See it, how it's turning gray already? I'll use that for a month or two until it's black and then it becomes a metal buffing wheel.
Rake and flatten the buff face
You rake a wheel when you first install it to get the fluff out and to flatten the face of the buff before you add the compound. Then you rake periodically to remove the hardened compound and keep the face flat and fresh. To warm up the buff so it accepts the compound better, I like to buff on a smooth flat board. This is plywood, it could be hard maple, and then it's warm when I go to buff on the finish. You don't want to over-buff a finish trying to warm up the wheel. Now, it takes compound like crazy.
Buffer base setup
The heart of the machine is underneath this cowl. There's some machine work, man. It's got cast iron ball bearing pillow blocks, big ones, a steel pulley that we had made for a one inch shaft. It's three feet long and this whole deal bolts onto a half inch aluminum plate. Then that bolts onto the base, which is made of two layers of plywood, equals one and a half inches thick. We have plans for that so you can make your own.
My base is a little bit longer than the plans, because I went all the way back to the wall, came across with a 2x4 and leg bolted into the studs in the wall with four inch leg bolts, so it's super solid. Watch that run. That's a big buffer.


