How to Put On a Guitar Strap (Electric & Acoustic)
A guitar strap does two vital jobs: it lets you stand comfortably while you play and it keeps your instrument off the floor. Yet the deeper you look, the more there is to getting it right: different body types, different strap button layouts, and a dizzying range of strap materials. Below is an end‑to‑end guide that covers installation, security, adjustment, and even choosing the perfect strap for your needs.
Why Straps Matter
Standing to play changes the way your hands, wrists, back, and even your breathing work. A good strap positions the guitar where muscle memory feels natural, prevents accidental drops, and—when adjusted well—reduces repetitive‑strain issues. Whether you’re busking on the sidewalk, belting out stadium anthems, or recording in your bedroom, learning the correct attachment method will help your playing and protect your investment.
Electric Guitars — Two‑Button Setup
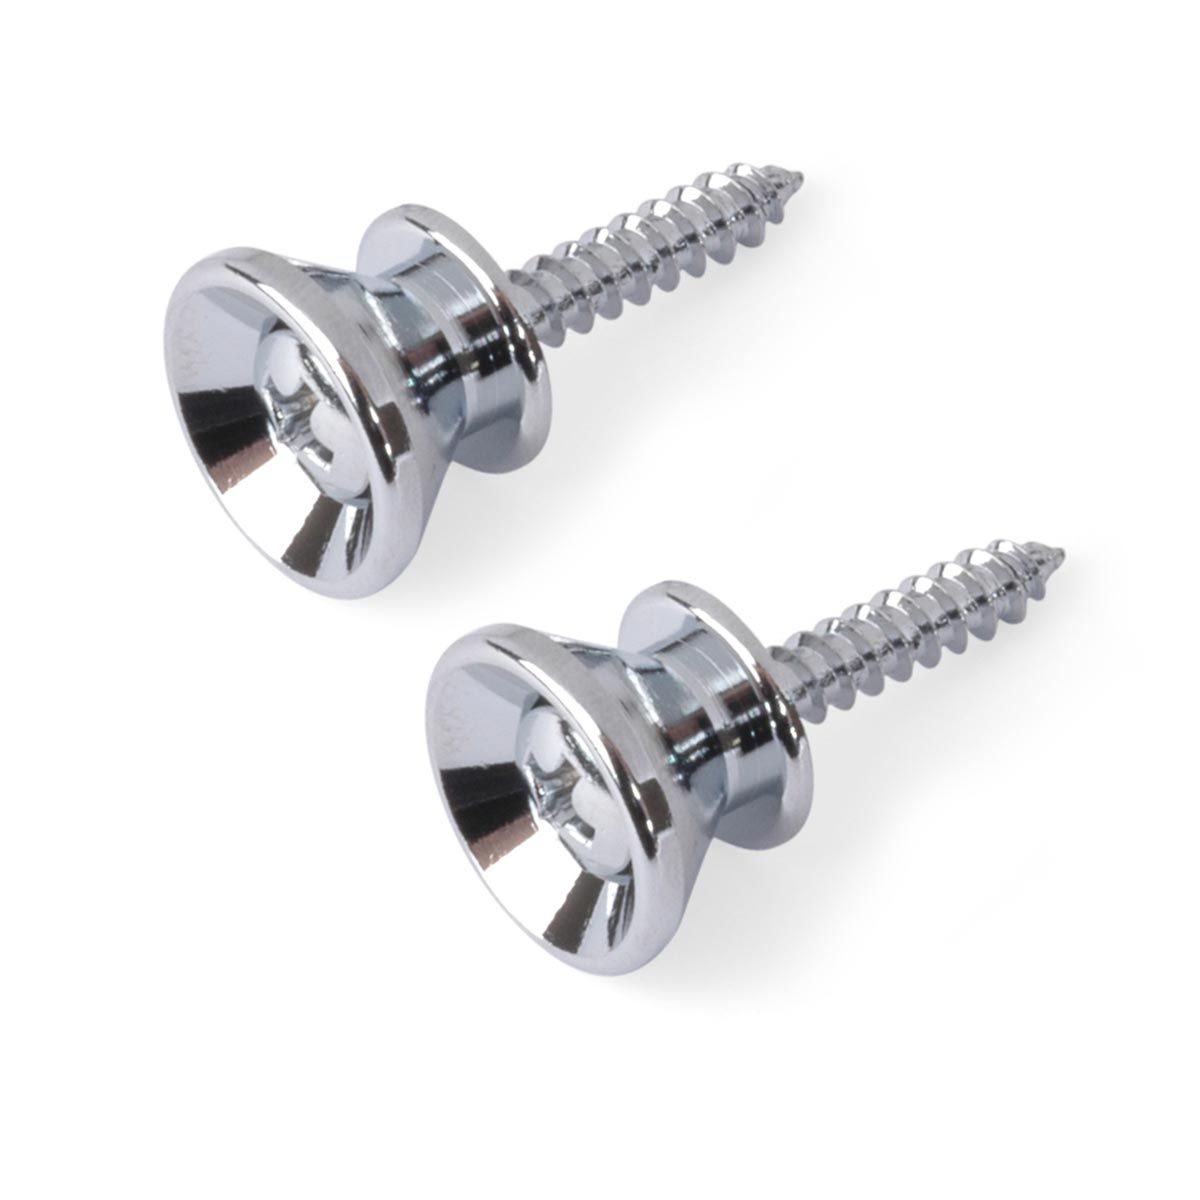
Most factory-fresh electrics ship with two pre‑installed strap buttons—one at the lower bout and one at the upper horn or heel. Follow these steps:
- Locate Your Buttons: Find the metal studs at the body’s tail and near the neck joint.
- Attach the Bottom End: Press the strap’s first hole over the lower button. If the hole is tight, twist gently while pushing until it seats flush.
- Attach the Upper End: Repeat for the top button. Make sure the strap isn’t twisted; the leather or synthetic tab should lie flat against the finish.
- Safety Check: Tug firmly on both ends. The strap shouldn’t shift or pop off.
- Play‑Position Test: Stand up, strum lightly, and make micro adjustments until the guitar hangs where your picking arm and fretting wrist feel neutral.
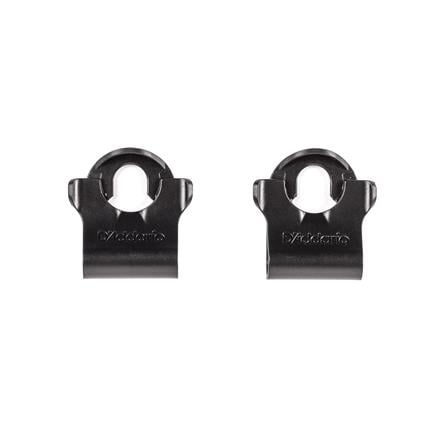
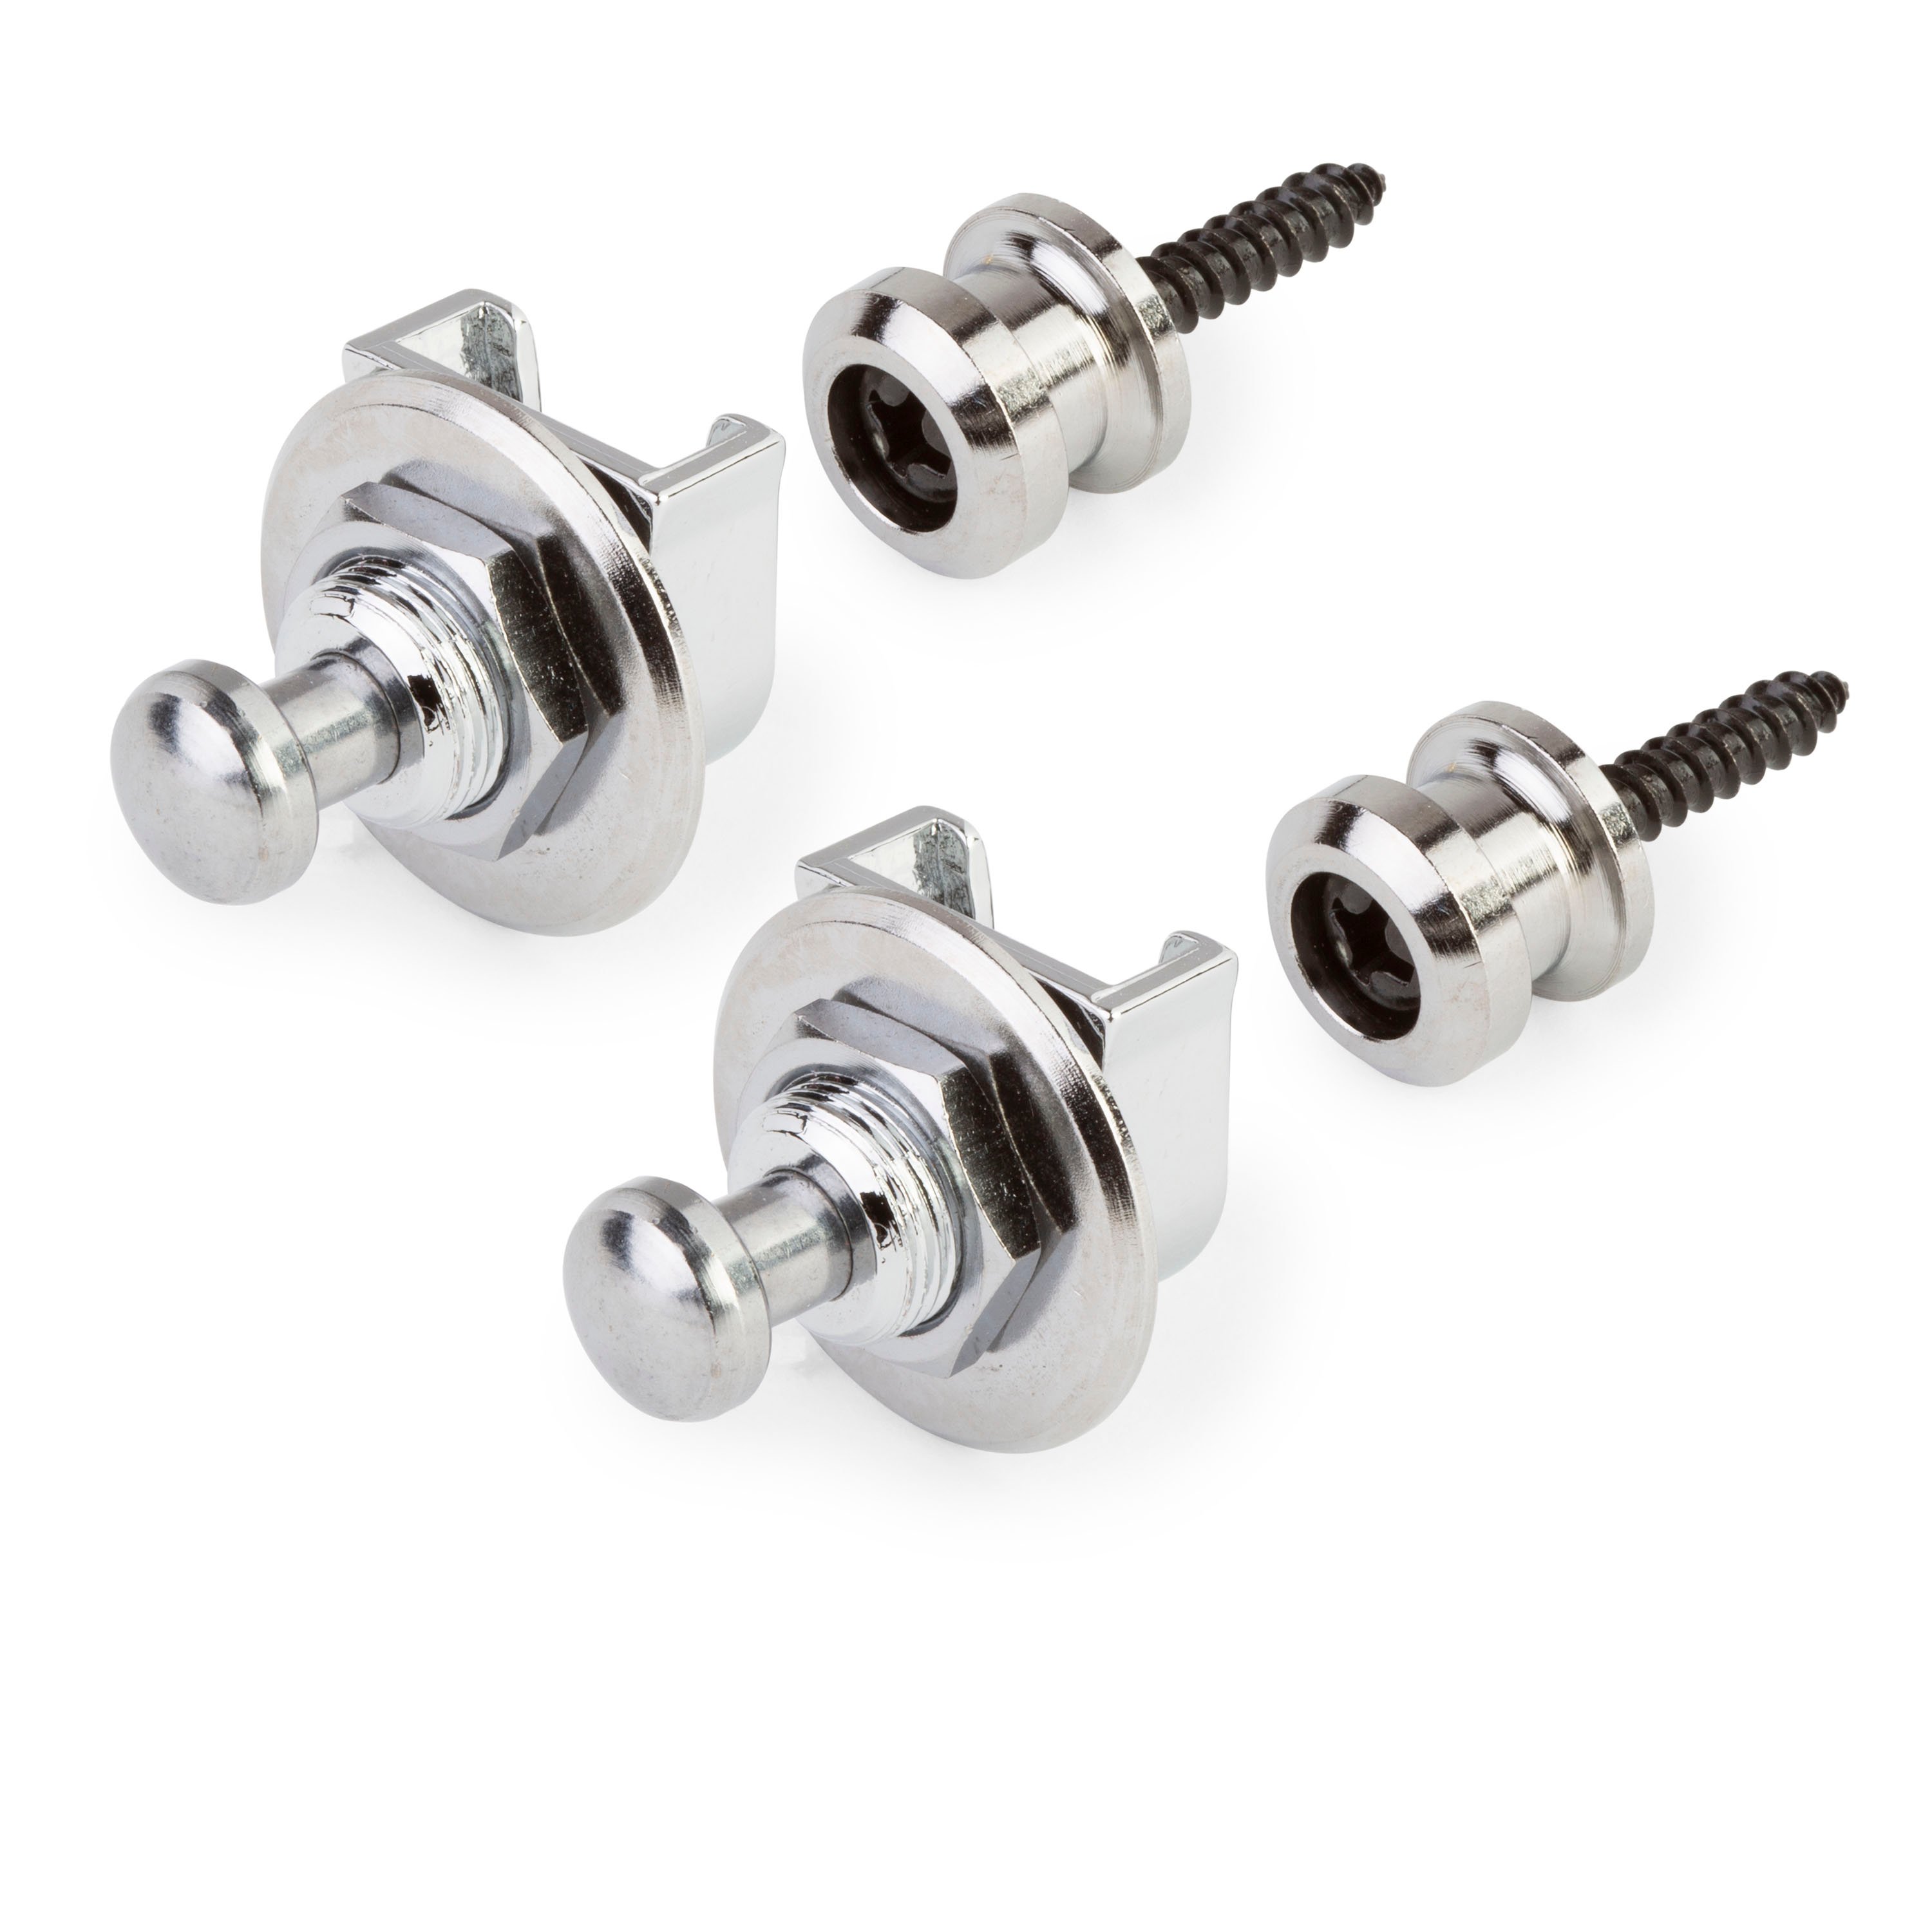
Need extra security? Add Grover Quick‑Release Strap Locks. The strap physically locks onto the buttons, stopping mid‑song accidents before they start.
Acoustic Guitars — One Button or No Button
Many acoustics arrive with just a single button at the tail block; older vintage instruments sometimes have none. Let’s look at both common solutions.
1 Button + Headstock Tie (No‑Drill)
If your acoustic has a single button at the tail block and you’d rather not drill the heel, use this classic method:
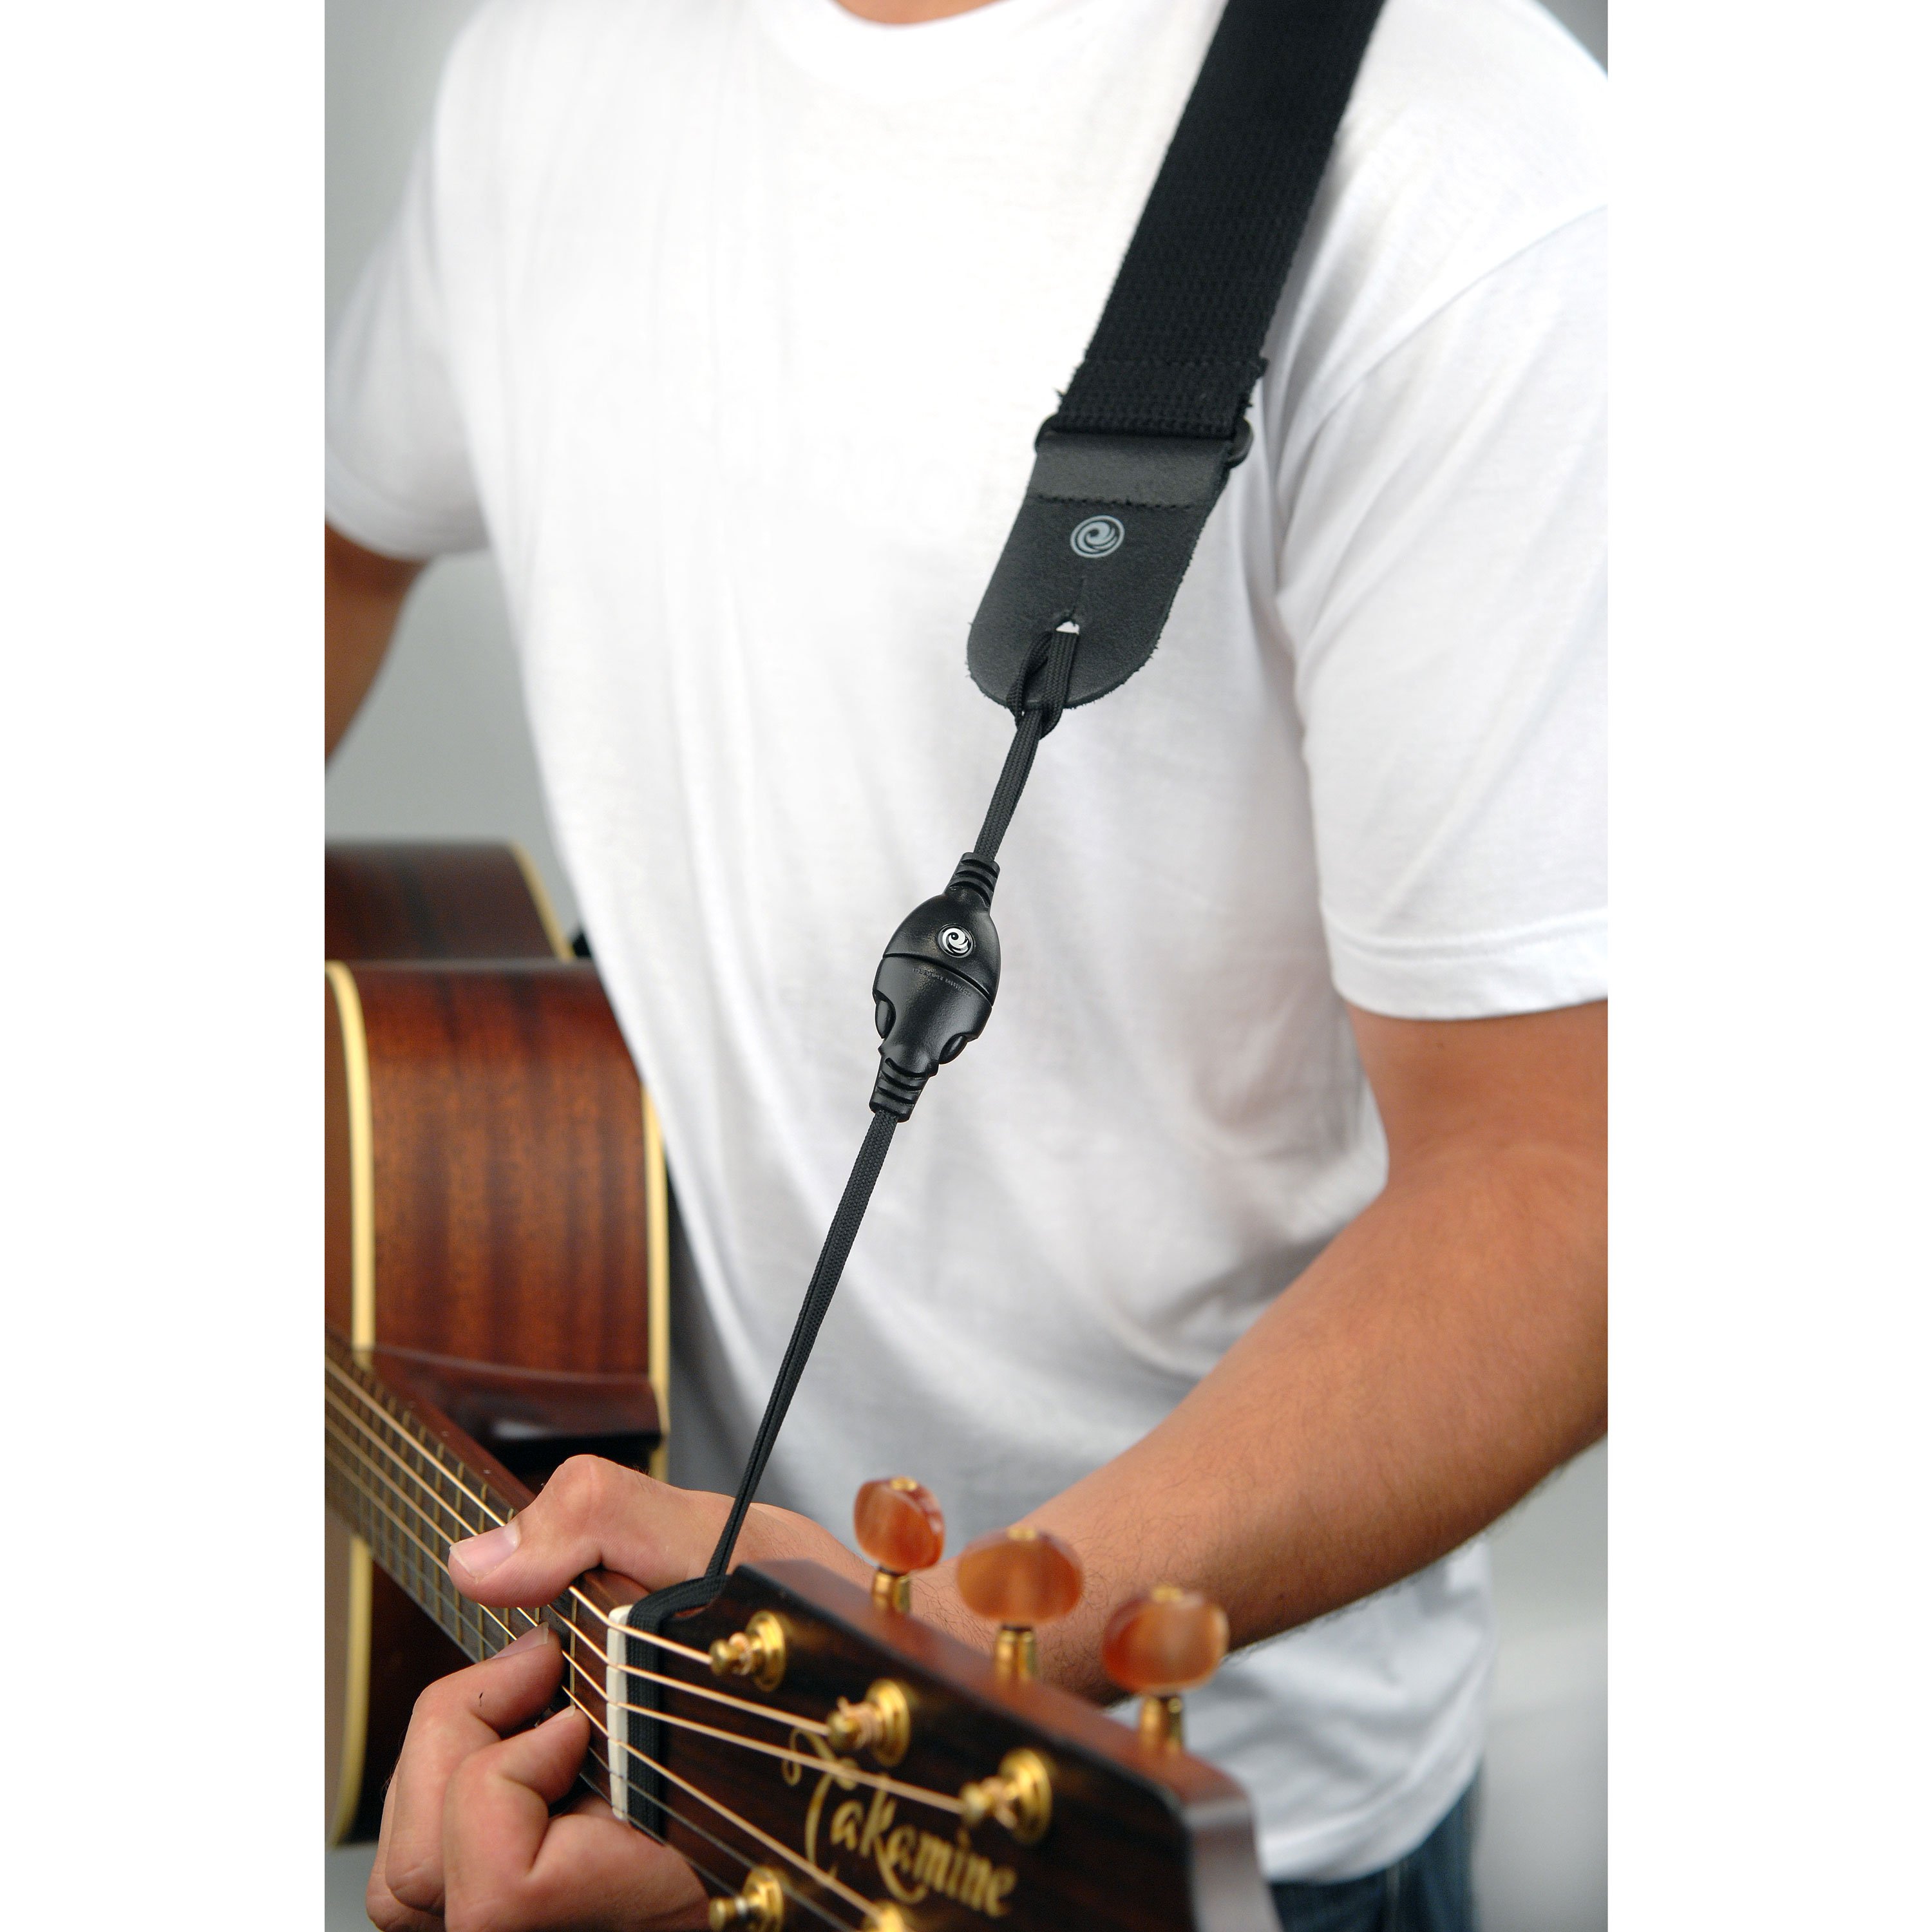
- Headstock Lace Method: Thread a shoelace or the D’Addario Acoustic Quick‑Release System through the unused strap end.
- Loop it behind the nut, under the strings, and tie or clip it securely. Make sure the knot sits on the bass side to avoid muting the first string.
- Attach the other strap end to the tail button.
- Balance Check: Stand and test. If the guitar body tilts forward, shorten the headstock tie slightly.
Adding a Heel Button (Drill‑In)
Players who gig regularly often prefer the balanced feel of a second strap button at the neck heel. Another benefit is that the neck is free of clutter in the first position with the button on the heel, ridding any potential obstructions while playing.
- Consult the Maker: Many builders publish safe screw points. If the guitar is valuable, get professional advice first.
- Locate the Spot: On most steel‑strings, drill into the heel’s treble‑side “shoulder,” roughly halfway between fingerboard and back.
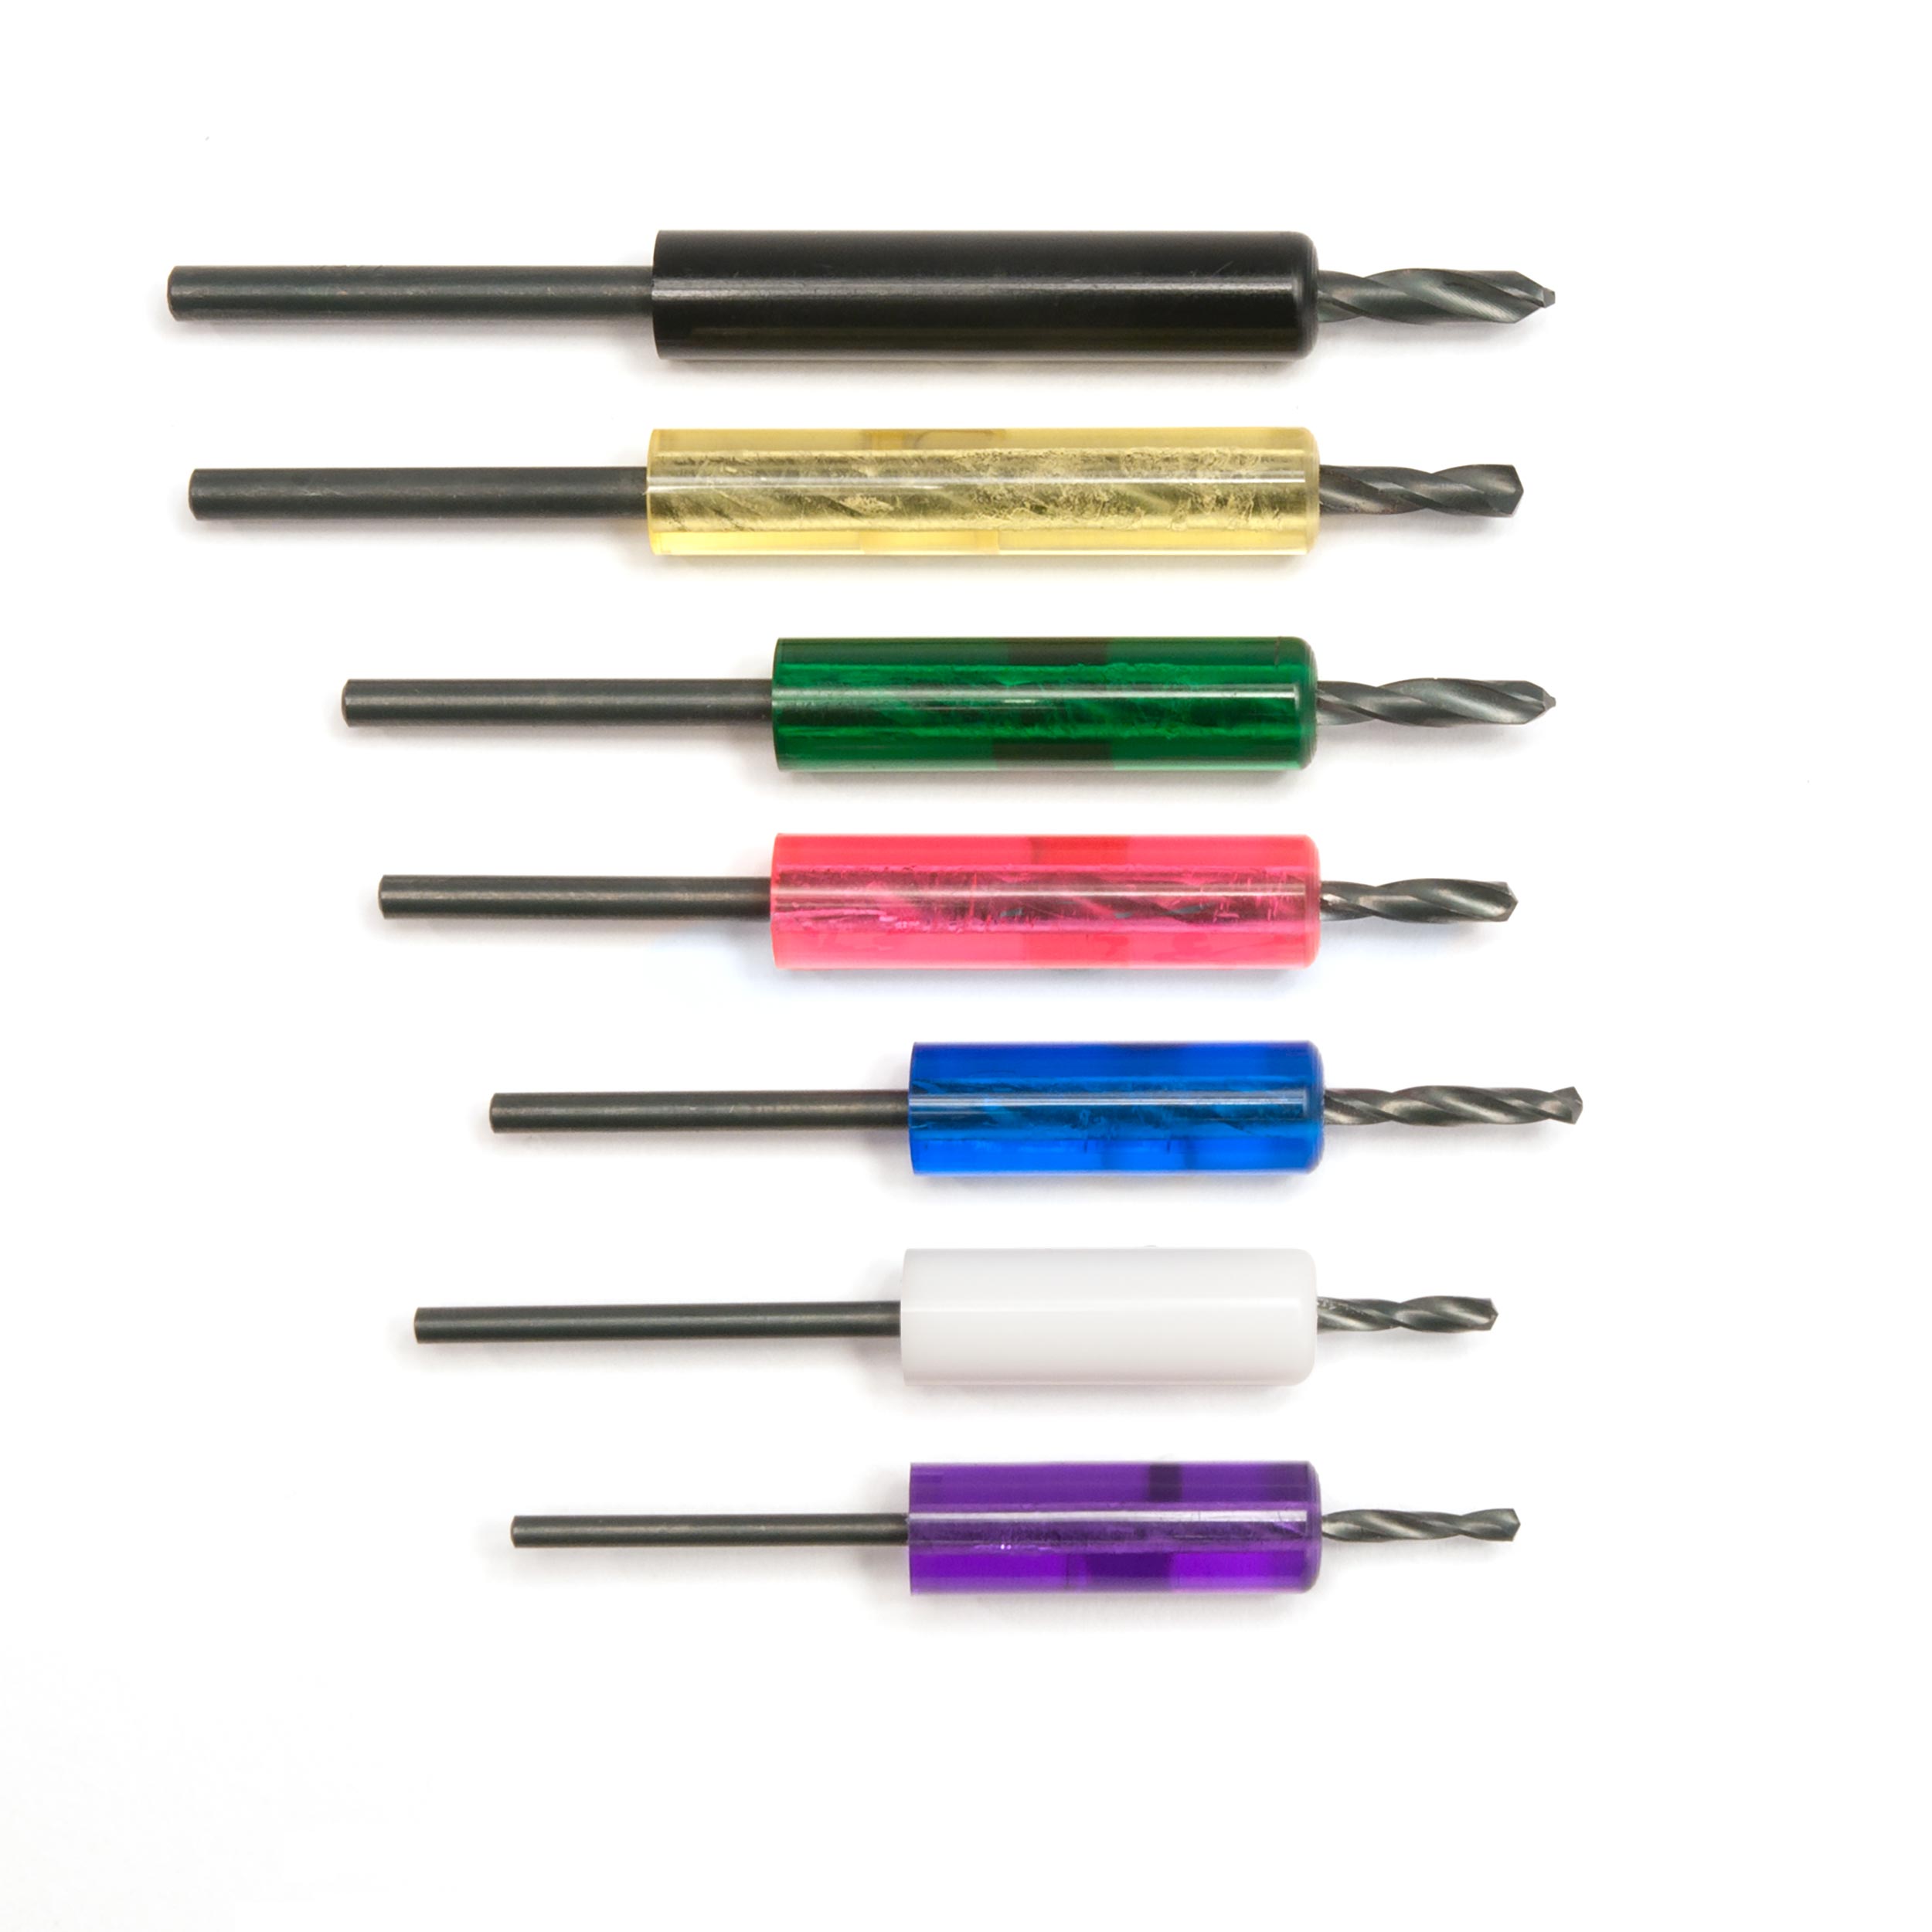
- Pre‑Drill: Use a bit slightly smaller than the screw shaft; wrap tape around the bit as a depth stop to avoid punching through.
- Install: Drive the screw until the button sits snug, but don’t over‑torque—the wood can crack.
(If you’re not comfortable drilling, any good guitar tech can add the button in minutes.)
Strap Security Upgrades
|
Upgrade |
Best For |
StewMac Option |
|
Strap Locks |
Stage players, heavy instruments |
|
|
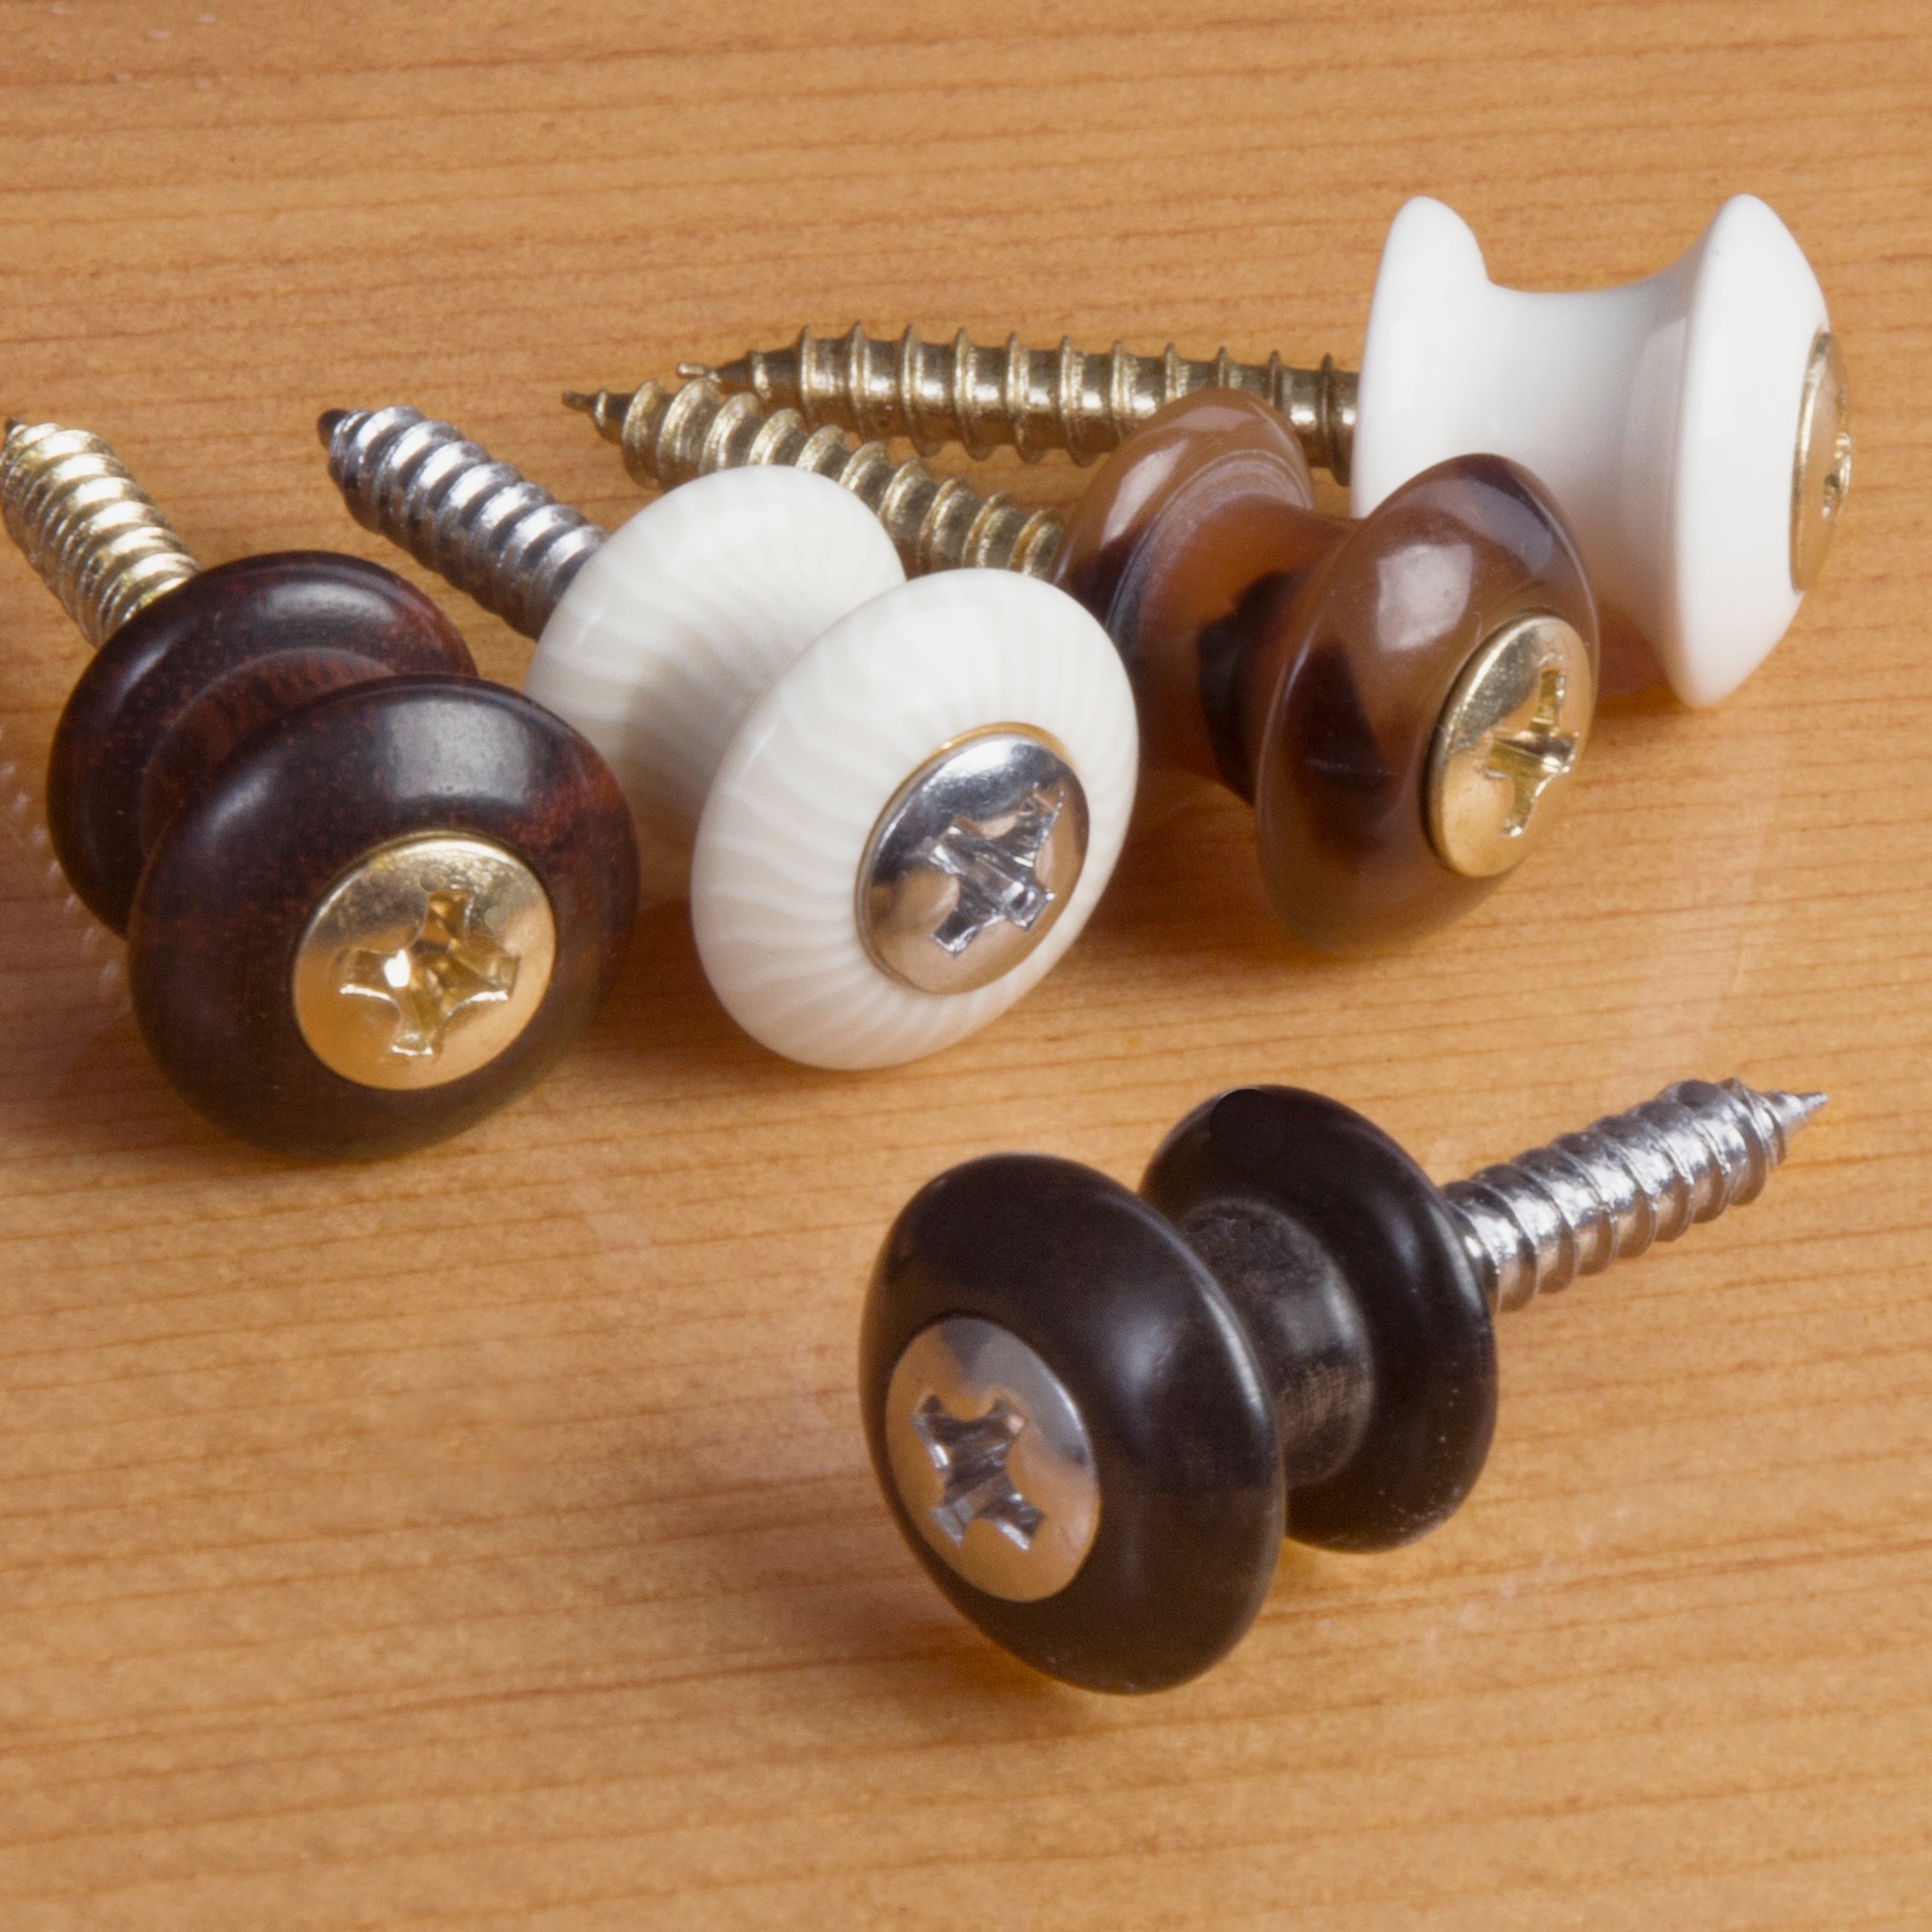
Strap Stoppers |
Vintage guitars, occasional giggers, acoustics; low‑cost fix |
All these solutions keep the strap securely fastened to your guitar without touching electronics or altering tone.
Adjusting Strap Length & Comfort
- Match Sitting Height: Set the strap so the guitar sits the same standing or seated—your fretting hand will thank you for consistent positioning.
- Wrists & Shoulders: Raise the instrument if your fretting wrist bends sharply; lower it if your picking arm feels cramped or if the guitar tilts away.
- Spine Alignment: The guitar neck should angle slightly upward; extreme low‑slung heights may look rock‑and‑roll but can lead to poor technique that can cause repetitive stress injury and strain the lower back.
- Final Tug Test: Before every set, give the guitar a gentle drop‑catch under the body to confirm that the strap, buttons, and locks are engaged.
How to Choose the Right Strap for You
There’s far more to choosing a strap than picking a cool graphic. The material, width, padding, and hardware all change how the guitar feels after an hour on stage.
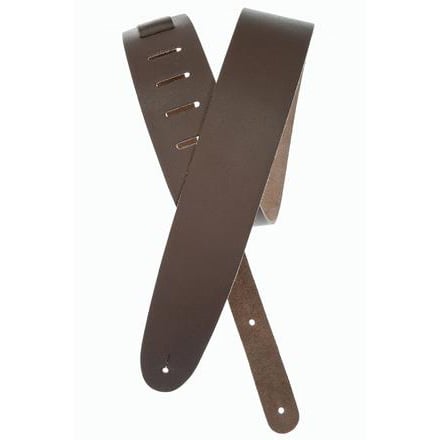
1. Material Matters
|
Material |
Feel & Look |
Pros |
Cons |
|
Leather |
Classic, ages beautifully |
Durable, molds to your shoulder, slides smoothly against clothes |
Costly, heavier |
|
Suede |
Soft, matte finish |
Non‑slip surface keeps neck from diving |
Collects lint, can darken with sweat |
|
Cotton/Poly‑Weave |
Vintage seat‑belt vibe |
Lightweight, colorful prints, budget‑friendly |
Less padding, can fray |
|
Neoprene |
Modern, stretchy |
Excellent weight distribution, great for basses |
Aesthetics not for everyone |
|
Nylon Seatbelt |
Slick & strong |
Extremely durable, bright colors |
Neck dives easily with headstock-heavy guitars such as SGs |
Tip: Heavy solid‑body electrics and basses often pair best with neoprene or 3" padded leather to spread the load. Light acoustic parlors feel fine on 2" cotton.
2. Width & Padding
- 1.5"–2" Standard Width: Fine for guitars under 8 lb (3.6 kg). Compact, fits vintage cases.
- 2.5"–3" Wide: Adds shoulder real estate; ideal for Les Paul‑style or extended‑range instruments.
- Integrated Gel or Memory‑Foam Pads: Cut shoulder fatigue on long sets. Look for reinforced stitching at stress points.
3. Length & Adjustment Hardware
Most straps cover 38"–60" (96–152 cm). Tall players or low‑slung shredders need extra‑long versions up to 70".
- Slider Buckles are quick to adjust but can slip if cheaply made.
- Vintage Ladder‑Style buckles lock solidly—great for road use.
- Quick‑Release Clips (as on the D’Addario system) let you detach in a heartbeat when switching guitars.
4. Strap Locks & Button Compatibility
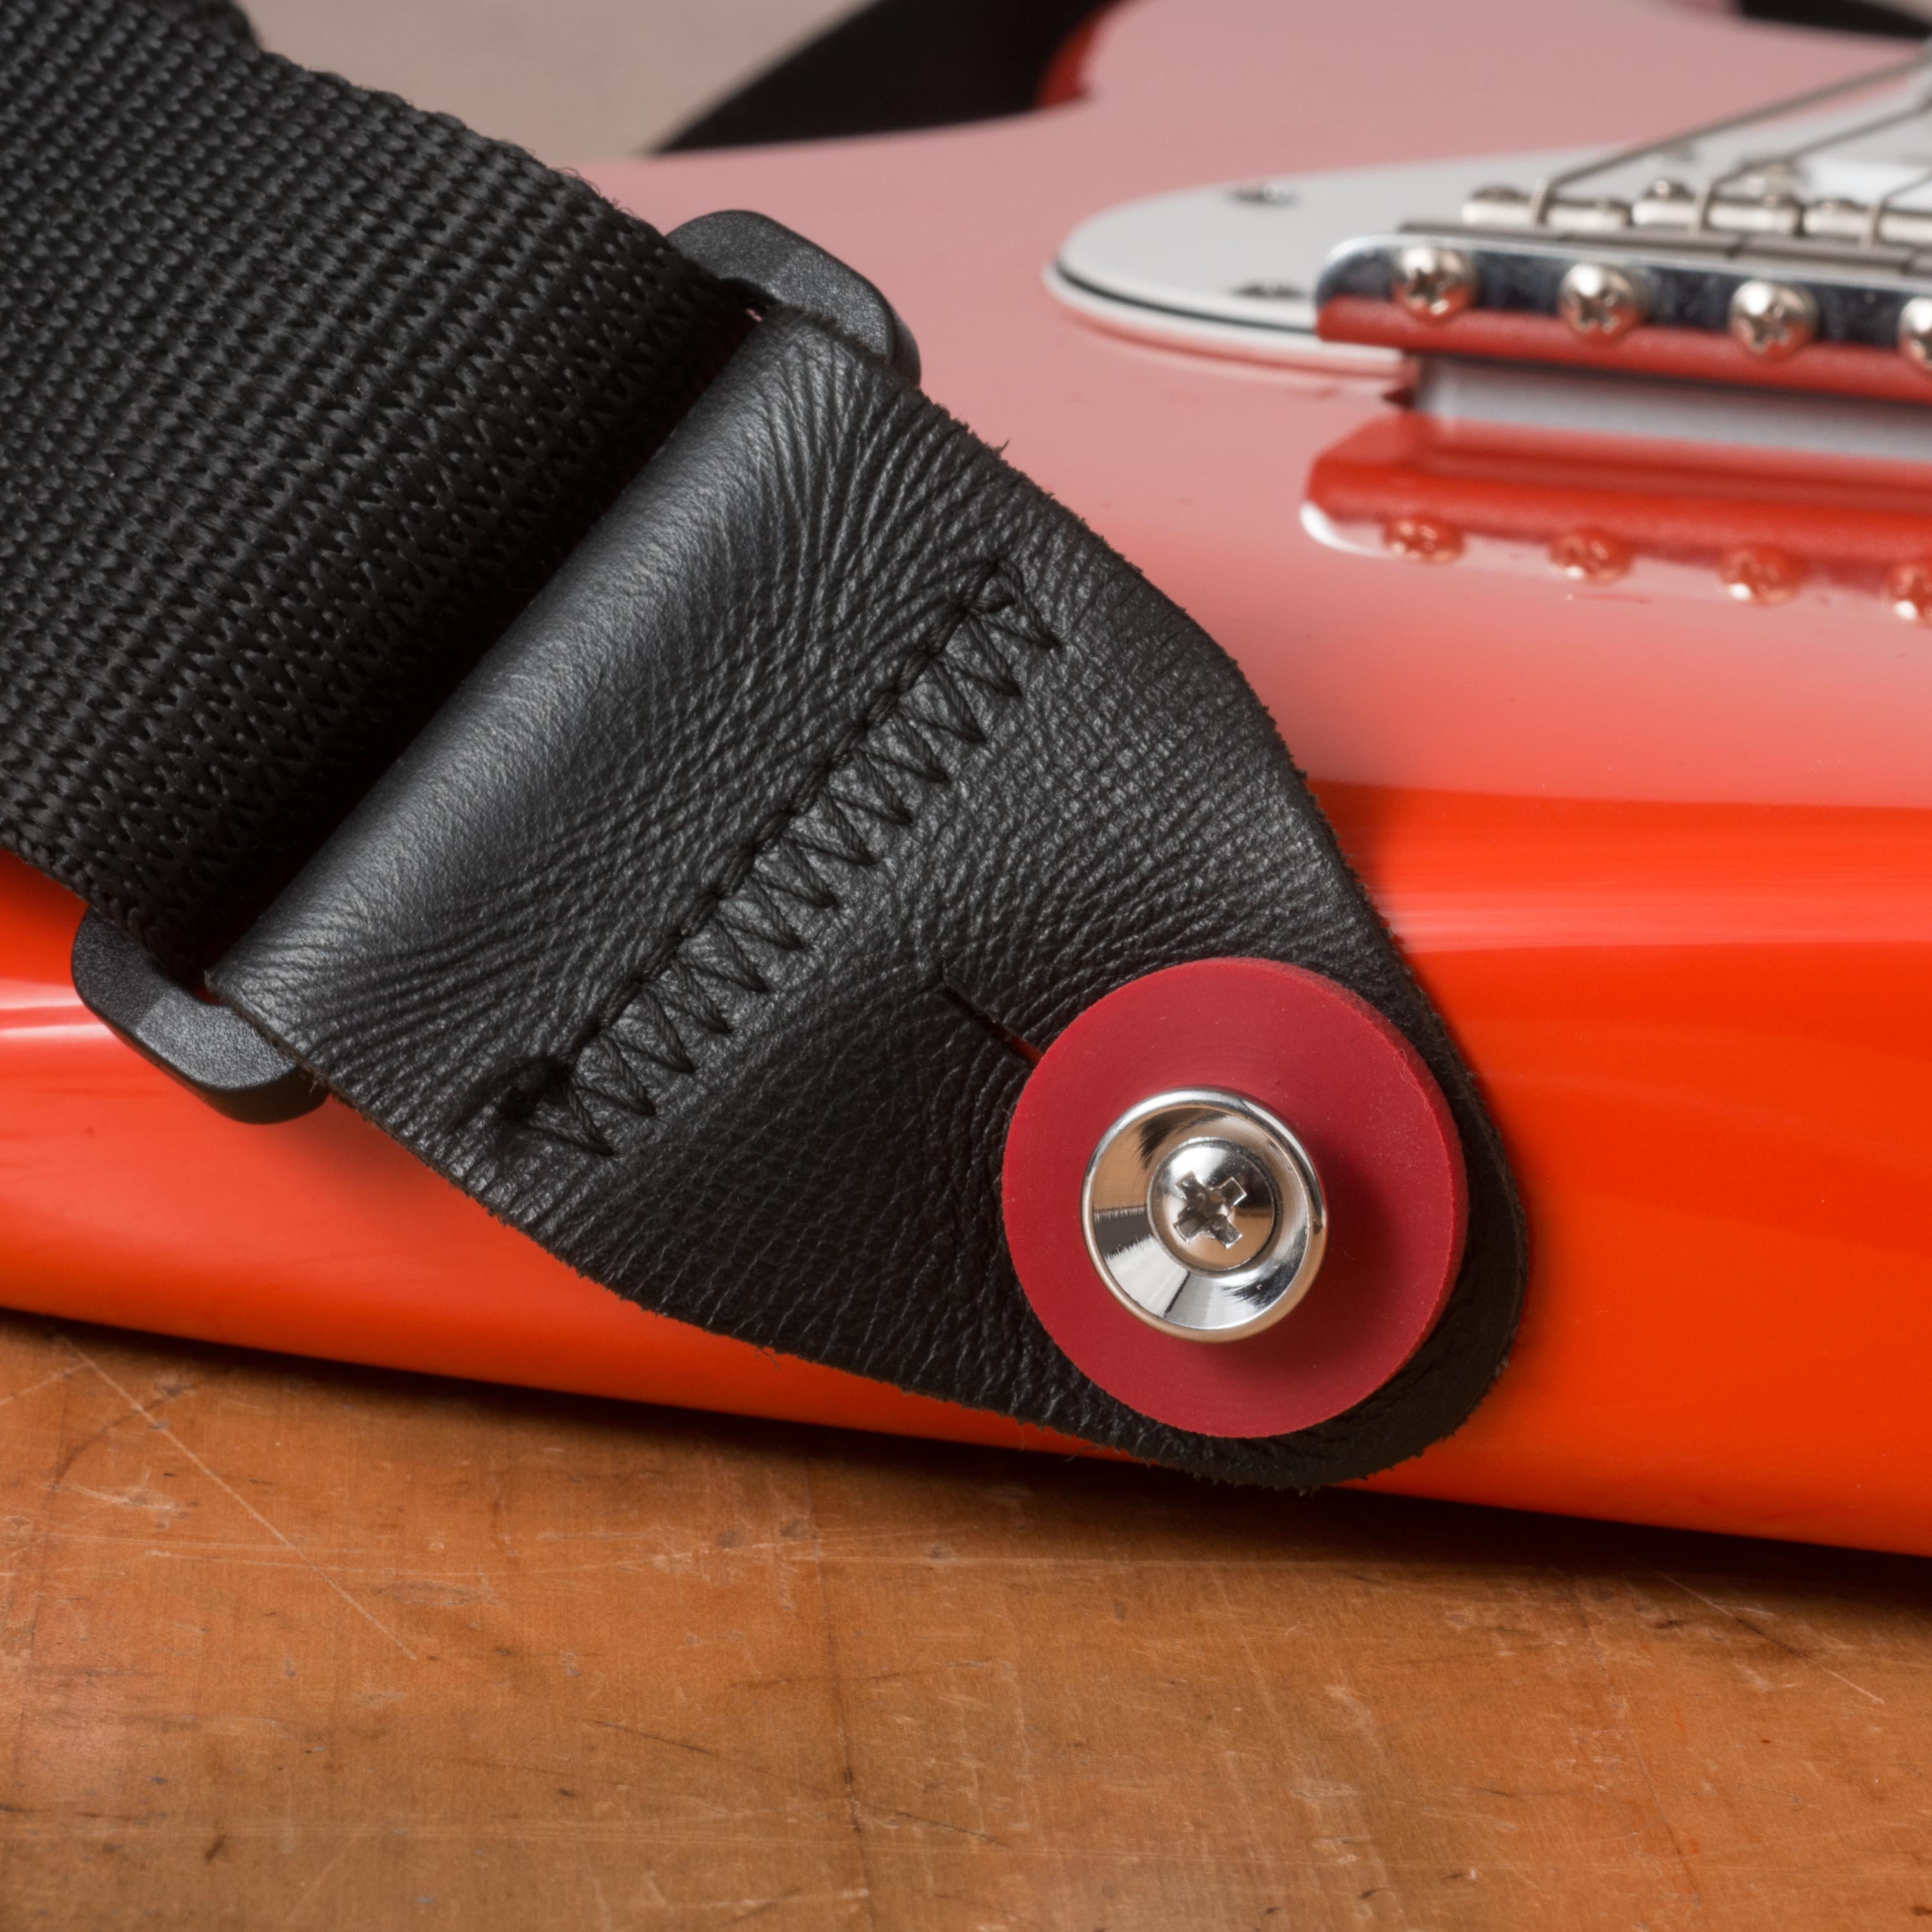
If you already upgraded to Dunlop or Grover strap‑lock buttons, make sure your new strap’s end tabs are compatible or easily modded. Many high‑end leather models ship with oversized holes that accommodate lock hardware; cotton straps may need strap stoppers for reinforcement.
5. Aesthetics & Branding
Finally, the fun part: finish matching. A tweed strap under a butterscotch Tele® screams ’50s vibe, while a black suede strap pairs well with stained mahogany acoustics. Choose a look that inspires you to pick up the guitar—you’ll practice more.
Strap Care & Maintenance
- Wipe Down: Salt from sweat shortens leather life. A quick microfiber wipe after rehearsals keeps straps fresh.
- Condition Leather: Use a pH‑balanced leather conditioner twice a year to prevent cracking.
- Check Hardware: Tighten strap‑lock nuts and button screws every few gigs.
- Rotate: If you practice daily, rotate between two straps; the material will rebound and last longer.
Play with Confidence
Now that your guitar strap is securely in place, it’s time to play with confidence! Whether you're practicing in your living room or rocking out on stage, a properly attached and adjusted strap ensures your guitar stays exactly where you need it. You won’t have to worry about your guitar slipping or becoming uncomfortable—just focus on making music. Take a moment to adjust the strap to your preferred length and test the fit before you get started.
With the right strap setup, you’re all set to play comfortably and confidently. So grab your guitar, get the strap just right, and play on!

