CA Glue on Fret Ends - Luthier Tips du Jour Mailbag
In this episode, Robbie O’Brien demonstrates how to use CA glue to fill gaps on the ends of frets.
Video Transcription
[on-screen text reads: Luthier Tips du Jour Mailbag]
Mailbag question: I'm having trouble filling the gap under the frets at the edges of the fretboard. Can you offer some advice?
Robert O'Brien: Today's Tips du Jour Mailbag question comes from Peru. "Dear Robert, I'm enjoying your online video course and I have arrived at the chapter on fretwork. I'm having trouble filling the gap under the frets at the edges of the fretboard. Can you offer some advice. Eduardo from Peru."
Eduardo, this is a great question. If you don't fill the gap at the edges of the fretboard, under the tang of the fret, then you have gaps there when you go to do your finished work. Any gaps in the finished look terrible, so you have to level that and there's a few ways you can do that. Let me show you a way that I do it.
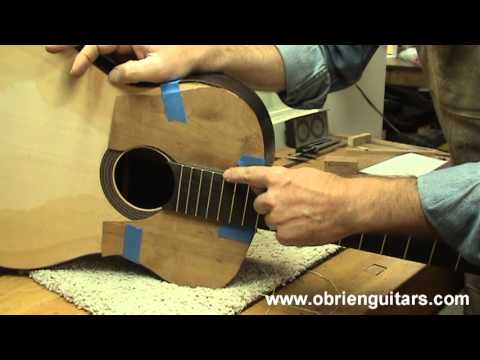
How I fill the gaps on the side of the fretboard
All right, Eduardo. So, to fill the gap on the side of the fretboard, what I'm going to use is CA glue, or cyanoacrylate glue, and the glues that I'm going to use come from a company called Satellite City, and I get them from LMI. They come in different viscosities; thin, medium, and thick.
For this particular operation, I like to use either the medium or the thin, but thick would also work. There are a couple of different methods you can use to apply the glues. I'm going to be using a small pipette, which allows me to strategically place just a drop or two, in the location that I want. But you could also use this type of micro tip that goes on the bottle itself and functions also as a micro pipette, allowing you to strategically place a very small drop. That way you don't glue yourself to the bench. I had a friend once that did that.
Fill the gap with sawdust
Okay, so the first thing I'm going to do is fill the gap and I'm going to fill it with sawdust that I create myself, with some sandpaper. This is about 120 or 150 grit paper. When you're working over the top of your guitar, be very careful. You want to protect the top, so that you don't damage the top.
Apply the CA glue
Now that the gaps are filled, it's time to apply the CA glue. So, like I said, to apply the glue, I'm going to use a small pipette and strategically place just a very small drop, right where the gap was because now the gap has been filled with sawdust.
So, when you're applying the glue, you want to be very careful that you don't get happy with the glue and put too much on. If you get too much on it could roll down onto the top and damage your soundboard and the technical term for that is bad. And for my South American friends, the technical term for that is cagada. When you're working down here, you're not over the soundboard anymore. You don't have to be as careful, but you also don't want it dripping down the front side of the fretboard.
Now, because I'm using the thin viscosity glue, it has a tendency to roll down in the gap a little bit. So what you can do is come back your sandpaper, lightly sand again with the glue. That will fill the gap and create more dust over the top, so you have a very level surface to apply your finish. If you need to, you can also do a second, or even a third application, until you're completely level, but this is a very easy way to close that gap.
So, Eduardo in Peru, I hope this information has been helpful for you, and I want to see some nice clean fretwork on the side of that fretboard now. Happy building.
[on-screen text reads: More Luthier Tips and online courses available at www.obrienguitars.com]