Purfling/Soundhole Router Guide Instructions
Set up instructions for the Purfling/Soundhole Router Guide.
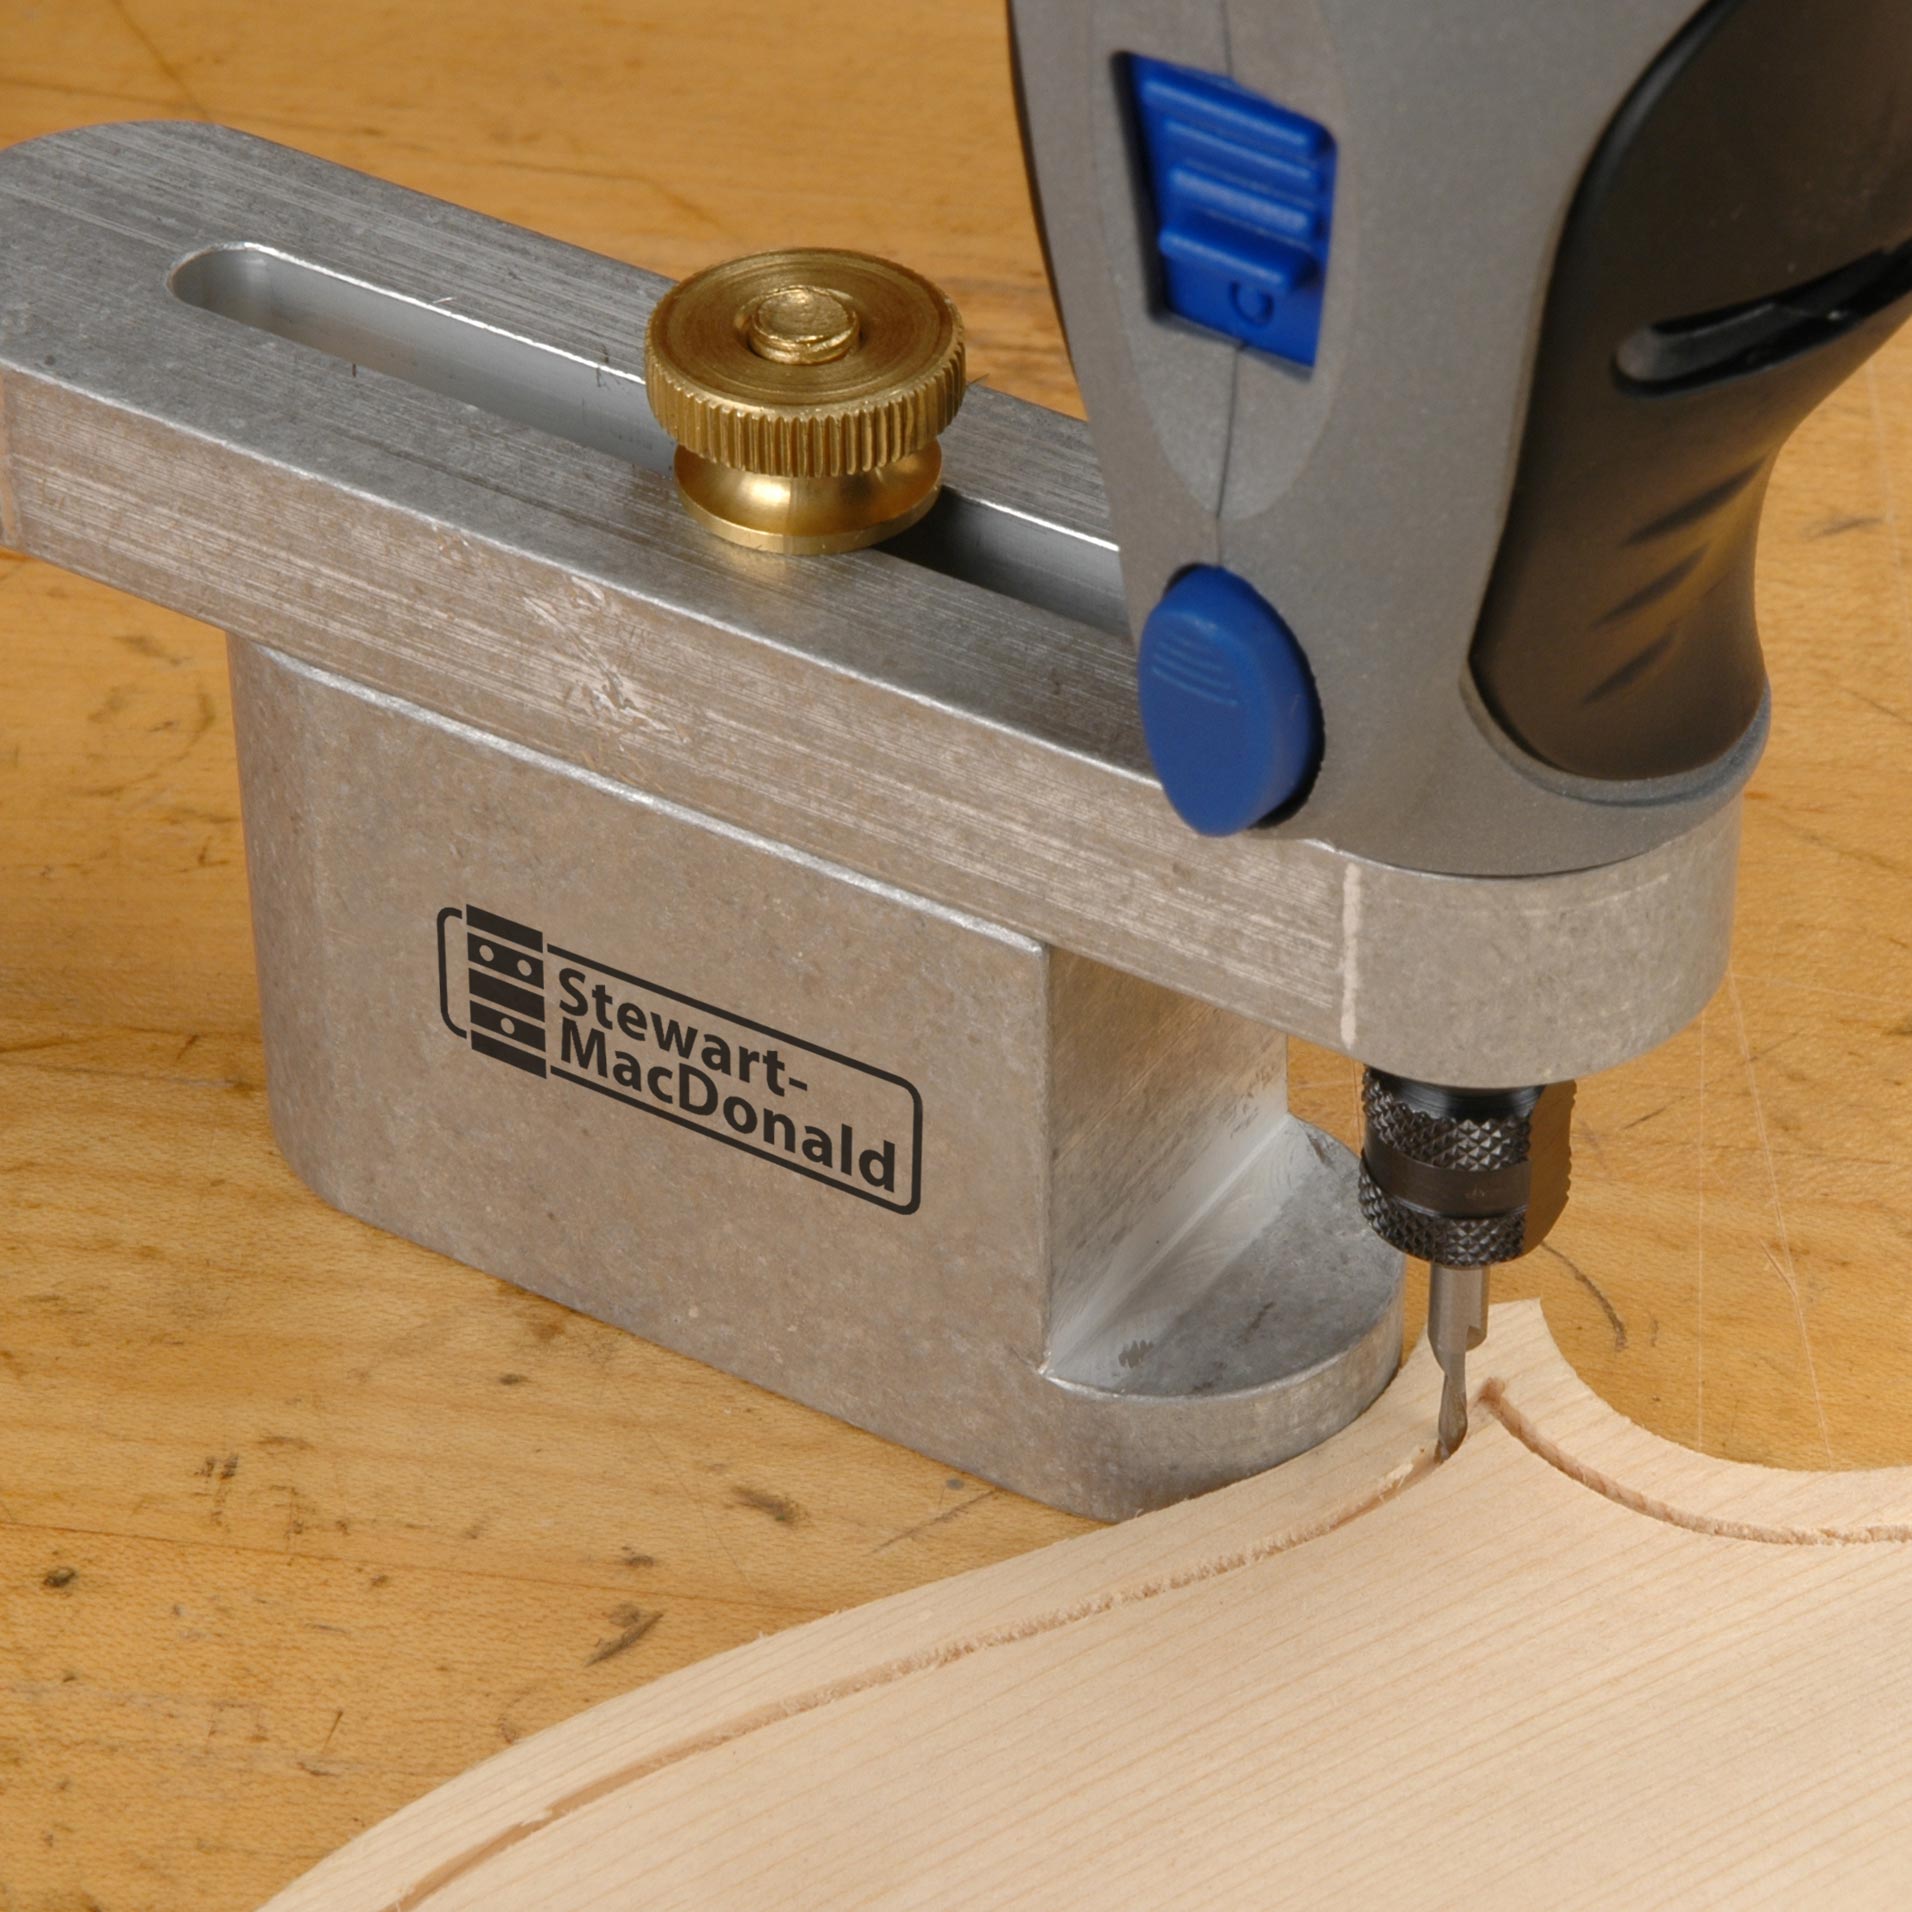
This jig is designed as a companion to the Dremel® Professional and MultiPro™ tools, Black & Decker Wizard™ and RTX™. Together they cut purfling channels along the edge of a profiled, unglued violin plate; an unglued fingerboard; or for rosette channels around a guitar soundhole. The diameter of the bit and depth that it protrudes from the Dremel determines the width and depth of the purfling channel. The thumbscrew on top adjusts the distance of the cut from the edge of the part. Remove the plastic collar from the Dremel. Screw the Dremel into the jig until the threads of the Dremel bottom out on the jig. Chuck the necessary bit into the Dremel. We recommend the Carbide Downcut Inlay Router Bits. Choose the bit that best matches the width of your purfling. Adjust the amount of bit protruding from the chuck of the Dremel to control the depth of the channel. The tool is used by placing it flat on the benchtop and moving the tool around the part, keeping the 1" diameter guide on the bottom against the wood being routed. It is essential to keep the tool's axis perpendicular to the edge of the part being routed, and in constant contact with the guide. See illustration below. The final profile of a violin plate must be carved prior to installing the purfling. Guitar soundhole purfling channels can be cut with this tool, if the soundhole is large enough to accommodate the tool. Soundboard edge purfling channels must be routed before the soundboard is glued to the guitar sides. To rout for purfling along the edge of a fingerboard, first shape the fingerboard to its final size.

