Quick fix for a loose bolt-on neck
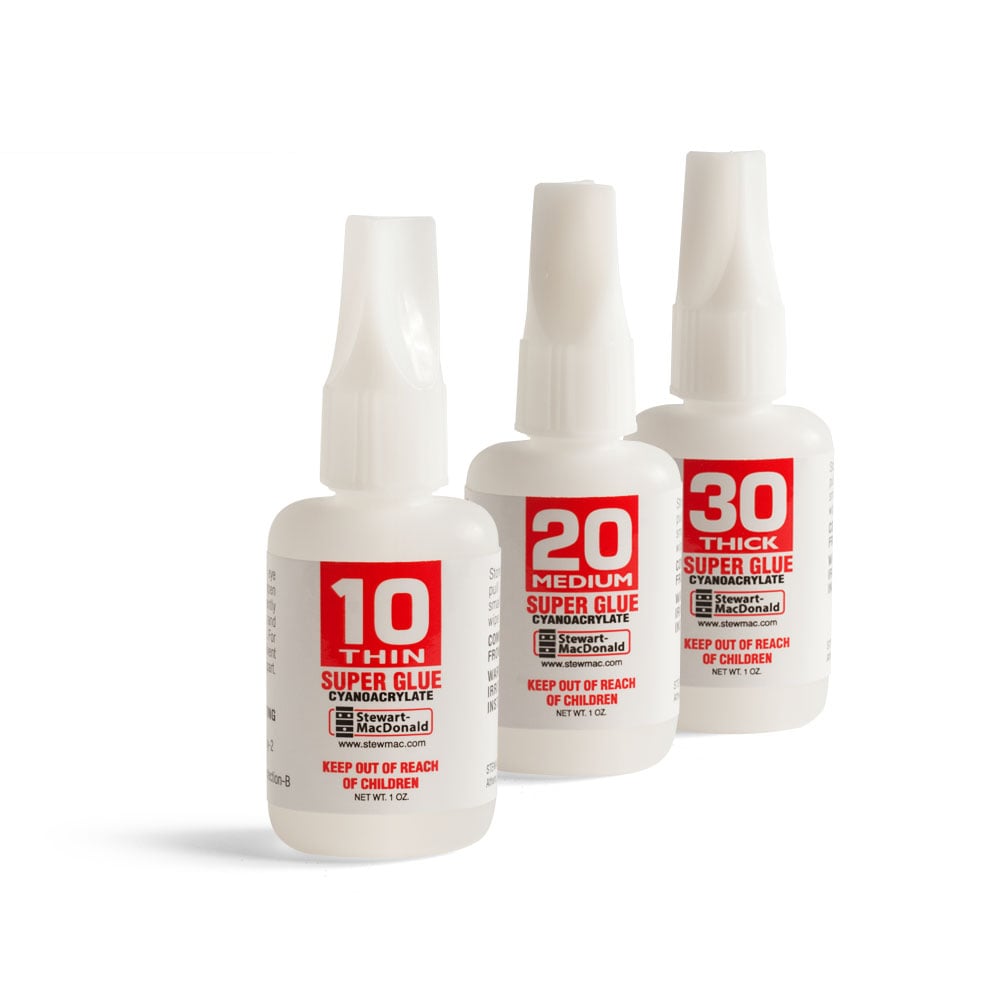
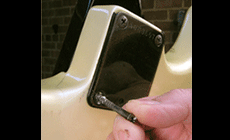
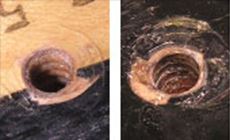
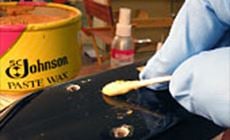
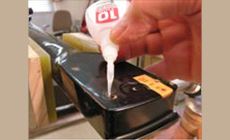
Quick fix for wobbly bolts. A loose neck will drive you crazy! Here’s a simple fix. The screws holding this neck are losing their grip. I’ll bet this has happened to you, too... One’s even ready to fall right out. These screwholes are stripped, or maybe they were drilled too big in the first place. To repair this, you could: That’s a sure-fire solution, but here's the easy way: get the screwholes working again by hardening them with super glue. The hole on the left still has decent threads in the wood, so a quick coat of #10 water-thin super glue will harden and preserve those threads. The hole on the right is really stripped: there’s very little thread left in the wood. It’s probably not bad enough to have to be filled and re-drilled, but it may require several coats of super glue. For really stripped holes like this, a thicker glue will help: after the #10 soaks into the wood, a second coat of medium-viscosity #20 will lay on thicker, giving this screwhole new life. Blow or vacuum the dust out of the holes, then use a Q-tip to apply paste wax to the finish around them. This protects against an accidental glue spill. Be careful not to get wax in the holes. Apply #10 super glue with a whip tip applicator to aim the glue down into the hole. If the hole’s badly stripped, use plenty of glue and let it soak in for 10 or 15 seconds (you’ll siphon out any excess glue in the next step).
Swirl the applicator tip to coat the sides of the hole; you needn’t fill the hole with glue.
Some of the screws holding this bolt-on neck have become too loose.
Let’s get started!
Hot Tip: a glue drip cup
Before you start gluing, make yourself a glue drip cup (it'll come in handy in a minute).
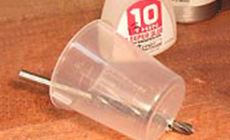
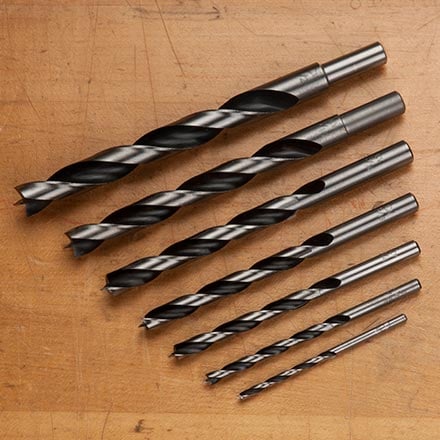
Drill a 3/16" hole in the bottom of a stain mixing cup. I suggest a brad point drill bit because brad points cut clean and they don’t hog into the plastic the way twist drills do.
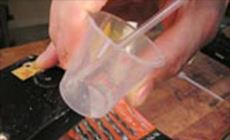
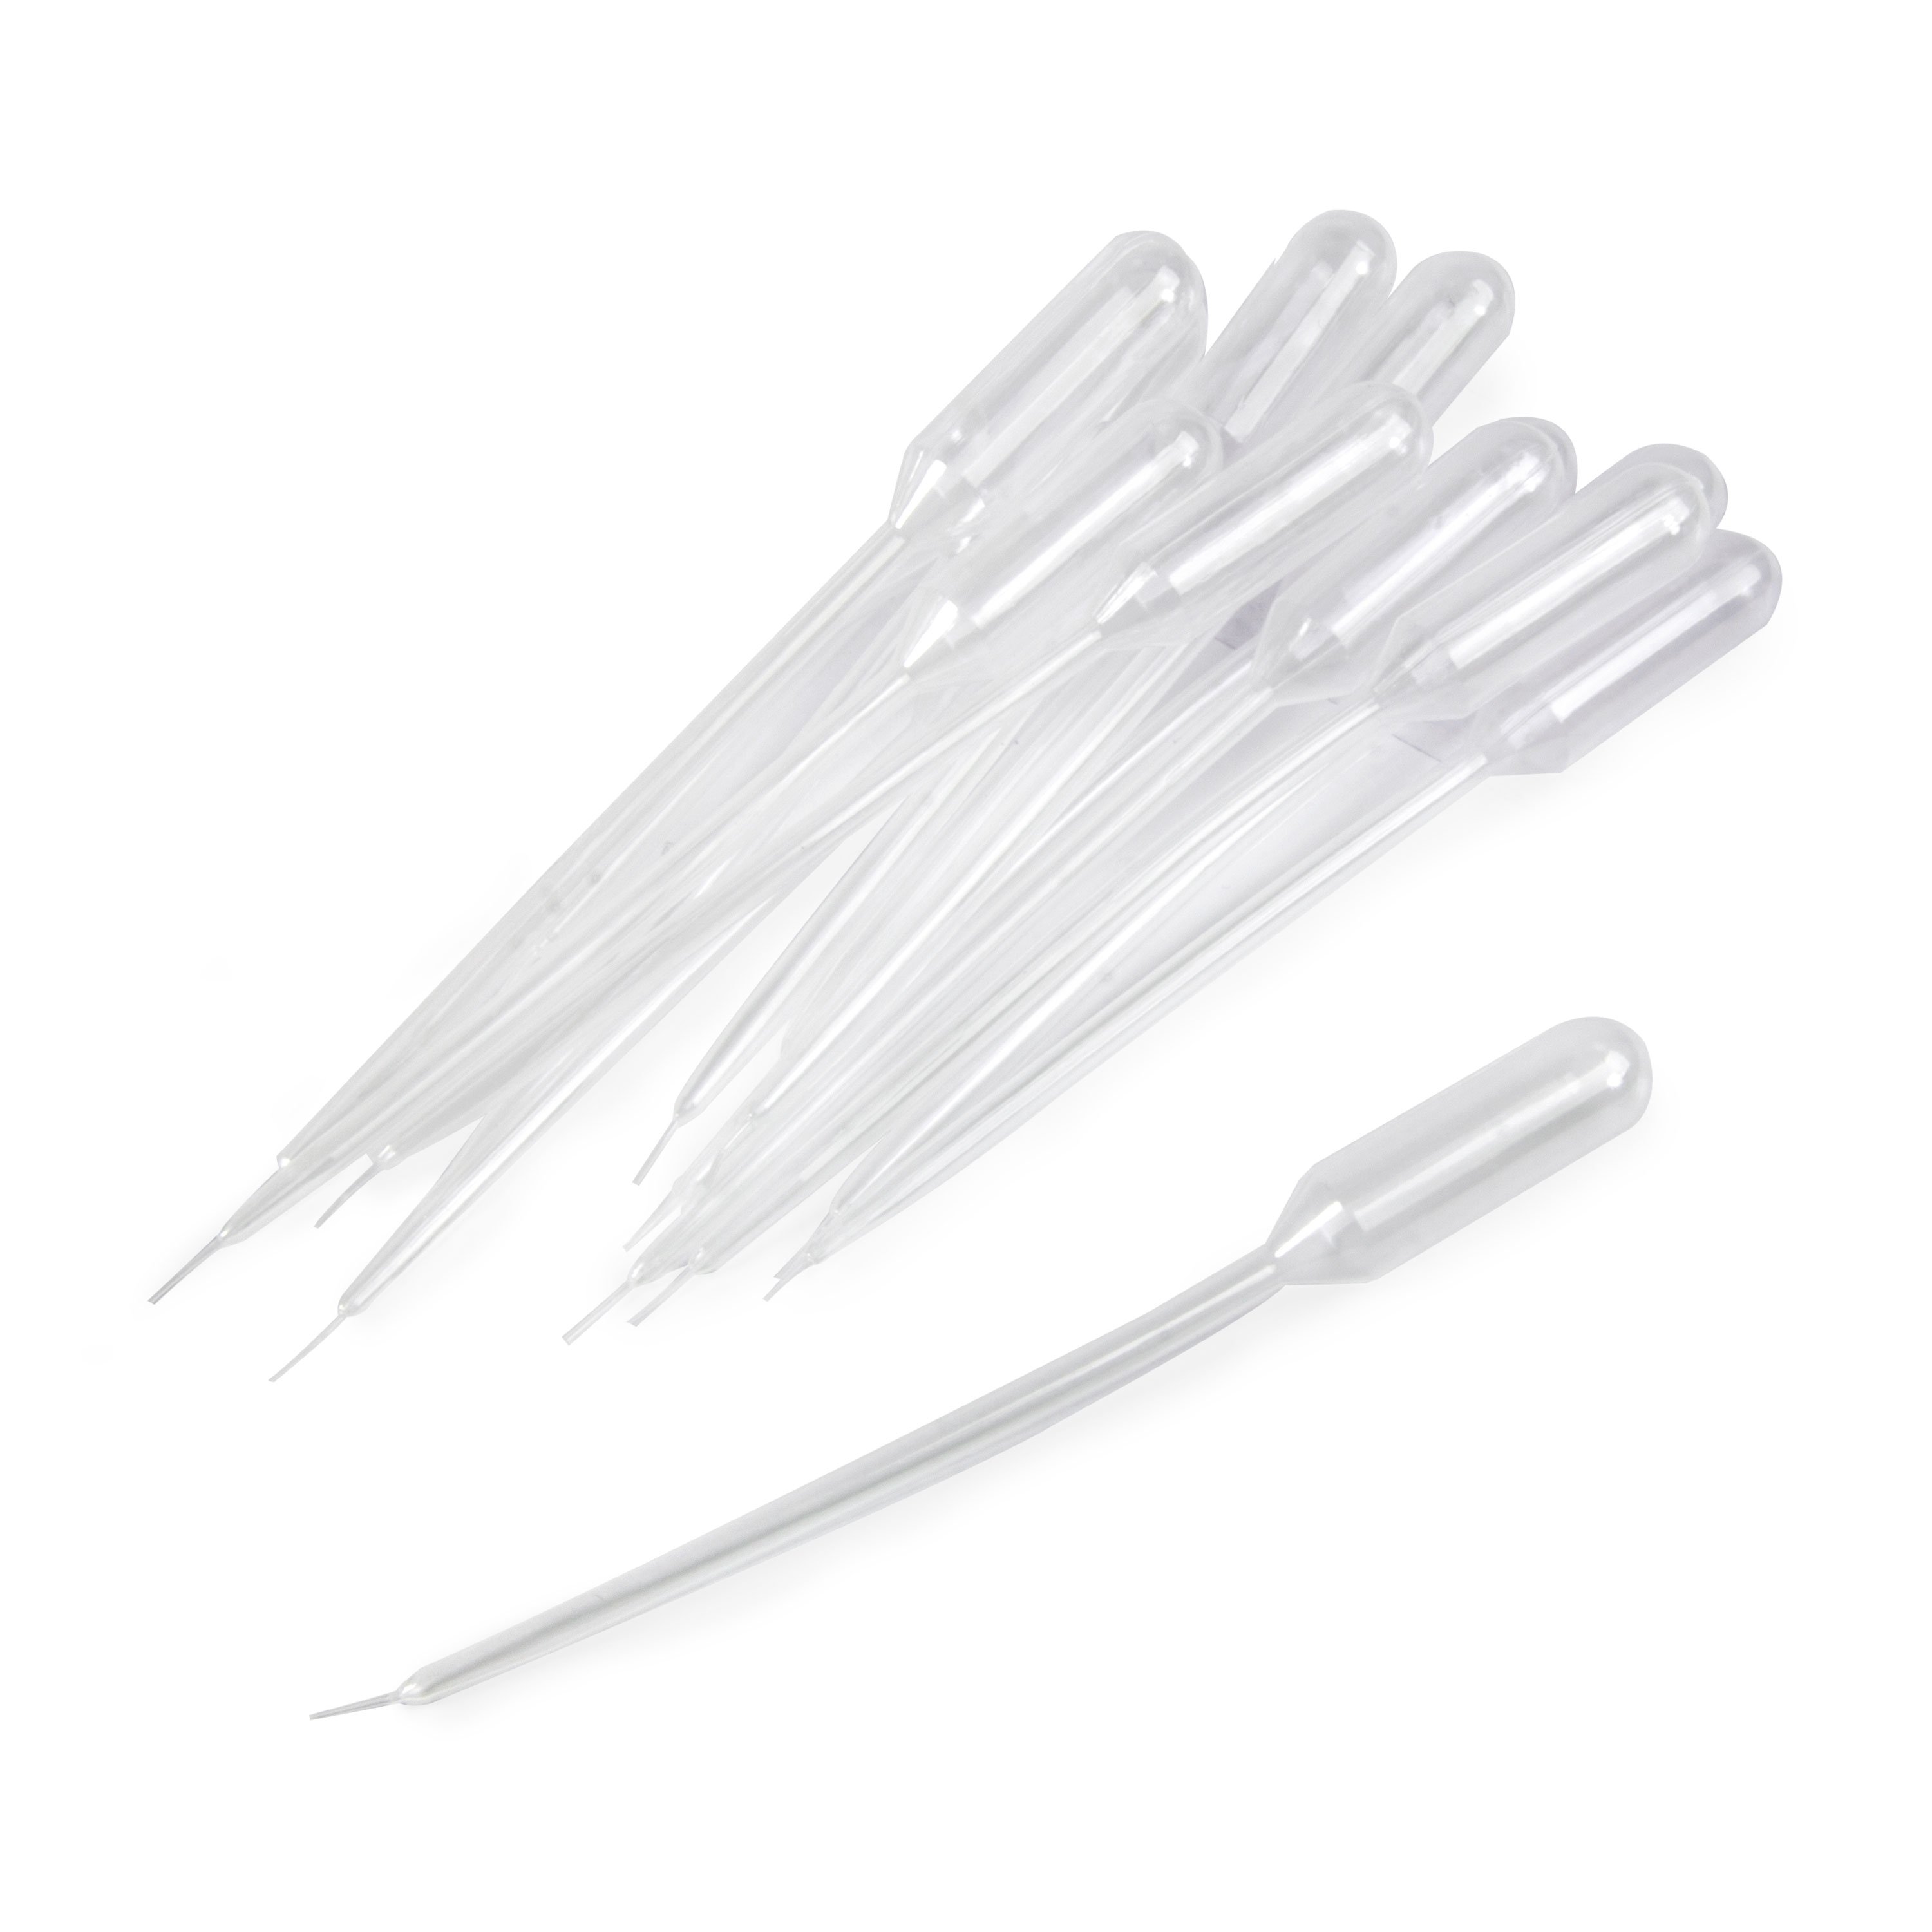
Poke a pipette through the hole in the mixing cup and suck the glue out of the screwhole. Lifting the pipette tip up into the cup, you can deposit the glue. I do this cup trick because water-thin glue runs freely from a pipette, and easily squirts out when and where you don’t want it to. Working through the drip cup is safe and clean, lets you concentrate on removing the glue fast, and gives you a place to hold the super glue for squirting into the other screwholes. (Don’t put the used glue back into the bottle with the clean glue.)
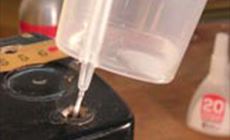
Drying Time:
Let the holes dry for about 20 minutes. Most holes won’t need more glue, but nearly-stripped holes should get a second coat.

Check it out!
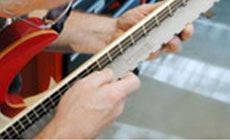
Developed in our shop, the Notched Straightedge is the most versatile tool ever for evaluating necks. The notches fit over the frets, reading the straightness of the fingerboard itself without interference from worn frets. It even works with the strings on. Or lift it up onto the frets as a precision straightedge for fret leveling.
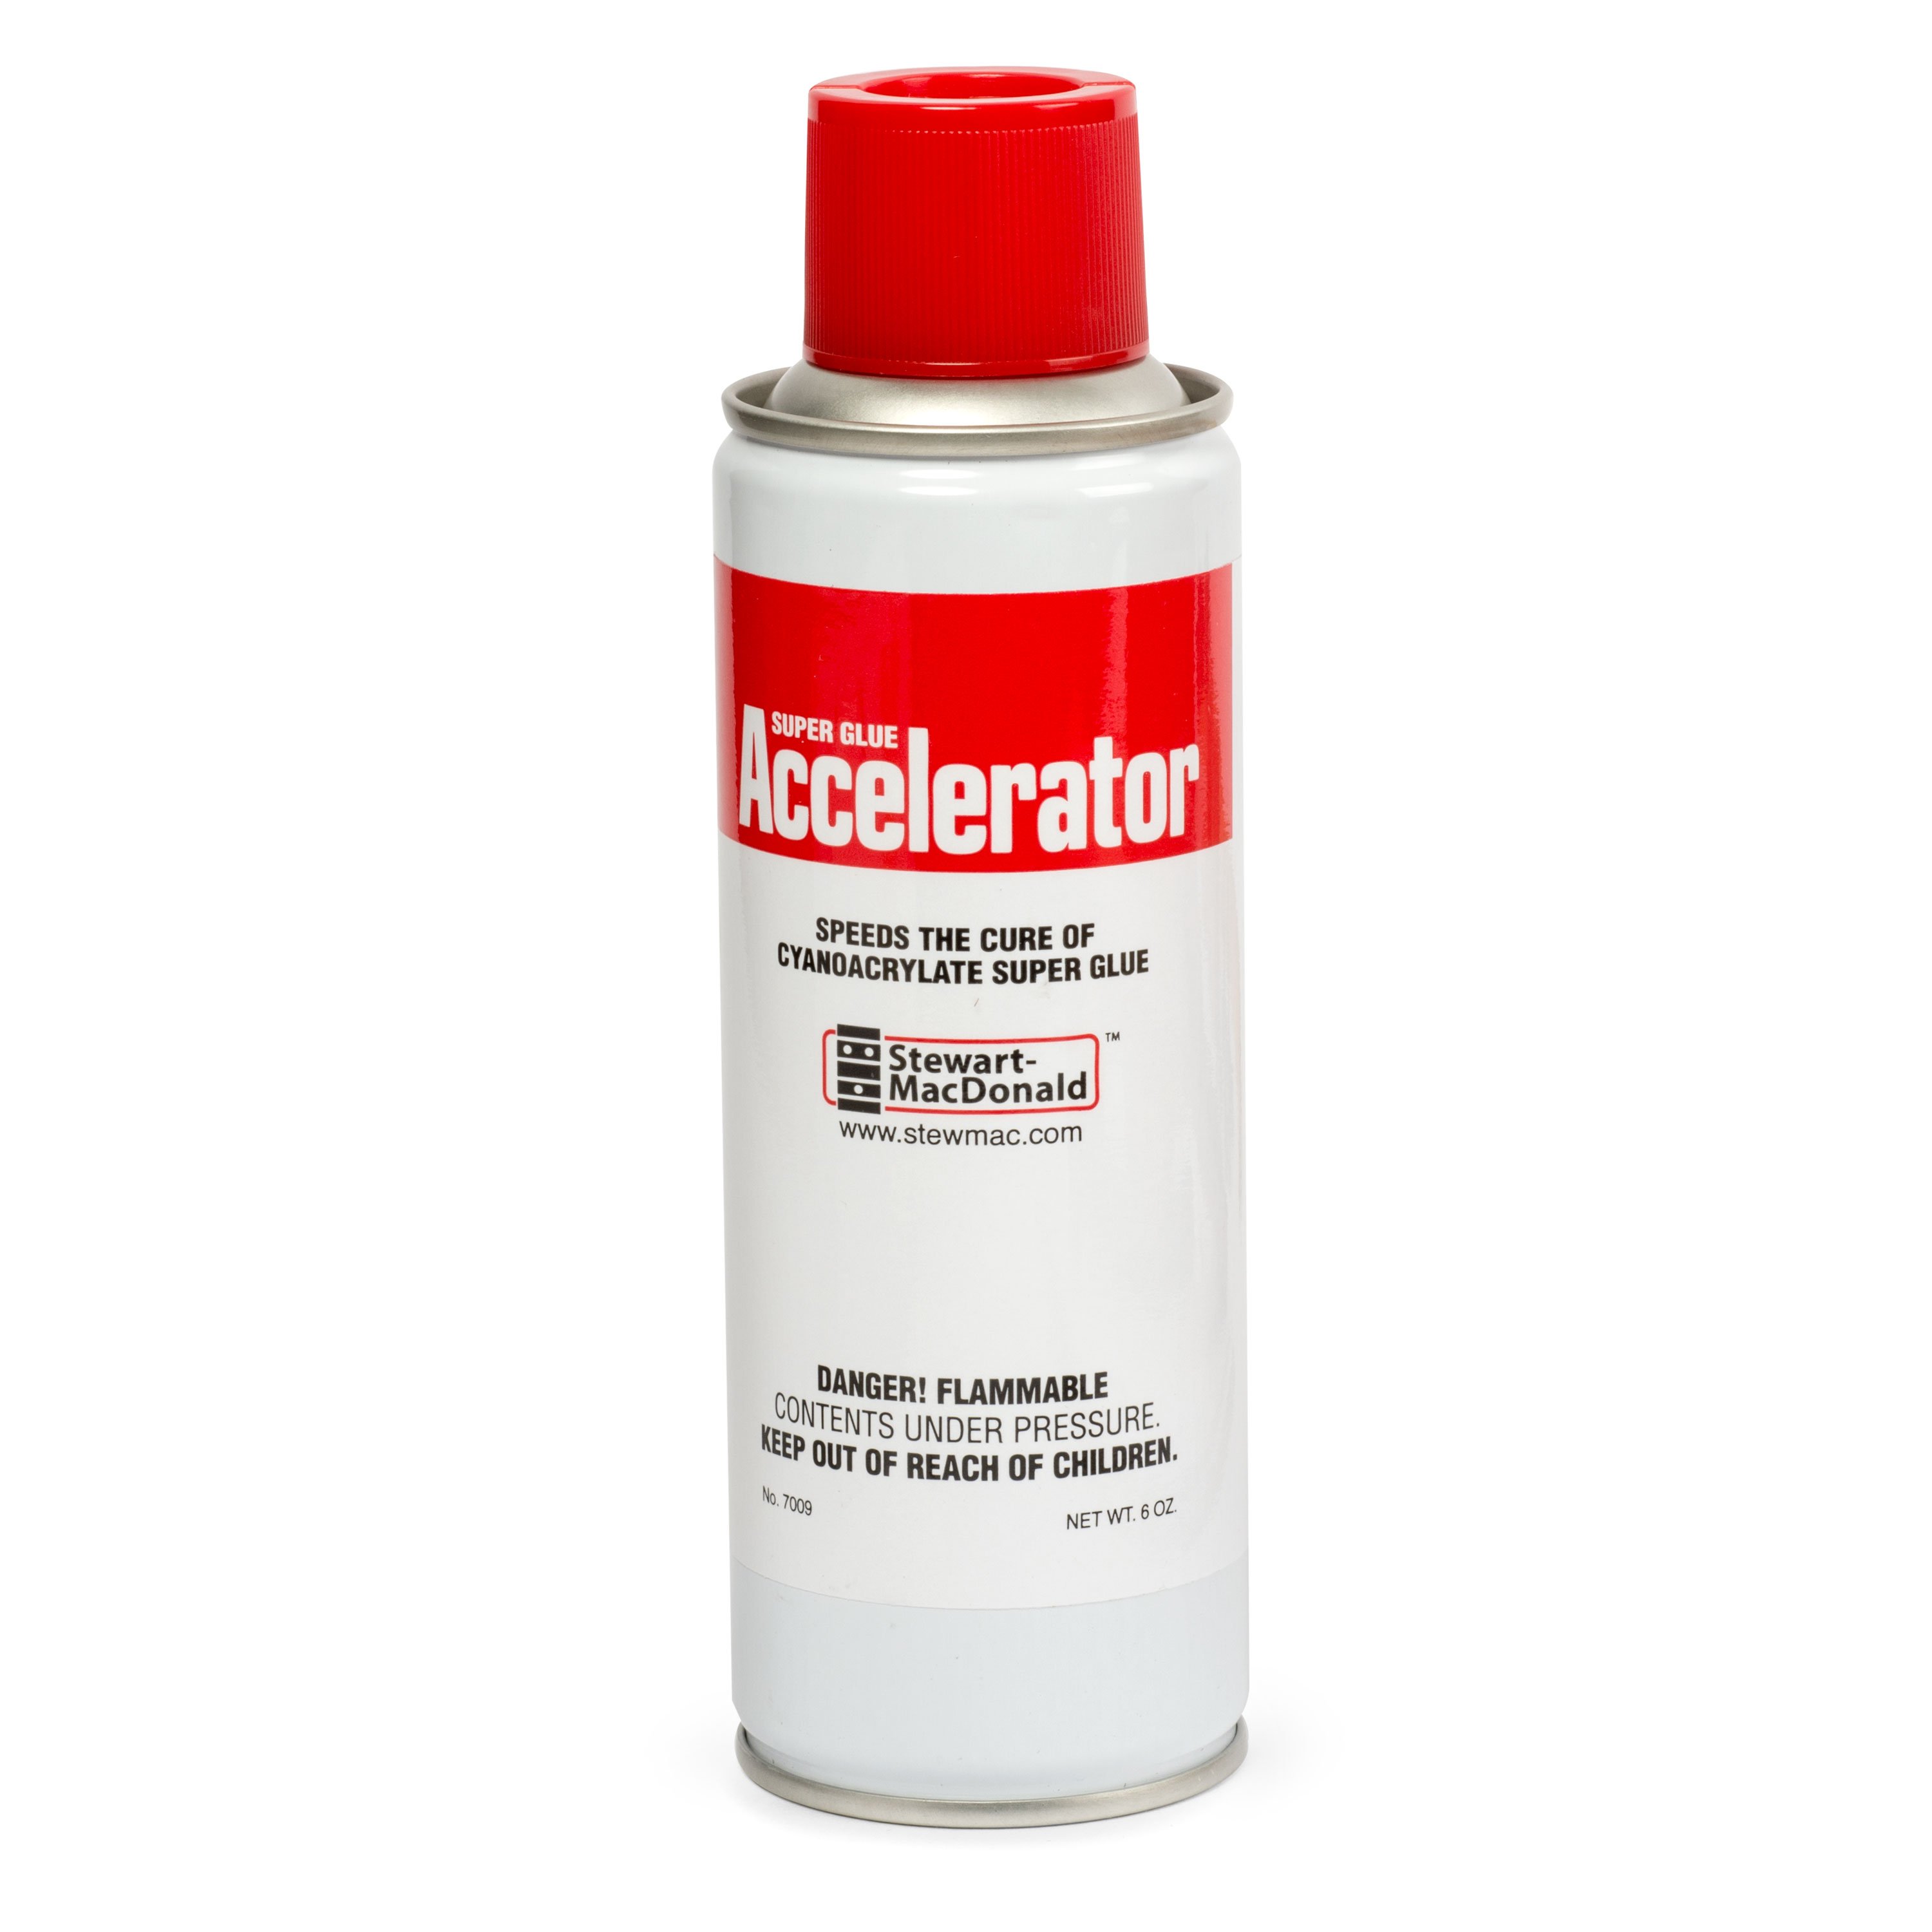
After the 20 minute drying time, apply some super glue accelerator to the holes to be sure they aren’t wet with glue.
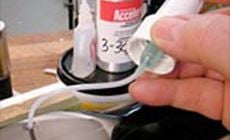
Learn from my mistake!
A pipe cleaner would have been a much better applicator than what you see me using here! I pulled the pump sprayer tube out of the accelerator bottle and dabbed it on the glue to harden it. It worked great, but of course glue hardened on the accelerator tube and clogged the pump. I should have known better. Use a pipe cleaner or toothpick instead!
Remove the paste wax with a soft rag dampened with naphtha.
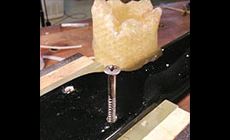
When the mounting screws go back in the holes, they’ll re-cut the threads nicely in the glue-hardened wood. In the background of this photo is an old beeswax candle I keep in my shop: I scraped the screw threads on the wax as a dry lubricant to make them screw in easily.

Even the totally stripped mounting screw held firm, and this whole job was done in less than an hour!
