How to String an Acoustic Guitar
V-STRINGACOUSTIC
Looking for a fast, accurate method for stringing an acoustic guitar? Look no further.
Video Transcription
[on-screen text reads: StewMac - How To Change Acoustic Guitar Strings]
Aaron: Today, we're going to be talking about how to change acoustic guitar strings. Now, just to clarify, there are different types of acoustic guitars that you'll come across. Some have steel strings, but they have a slotted head, and some are classical, and they have nylon strings. Today, we're going to be covering the most common type that you'll come across, a solid peghead acoustic guitar with steel strings and bridge bins.
Step 1: Loosen and cut old strings
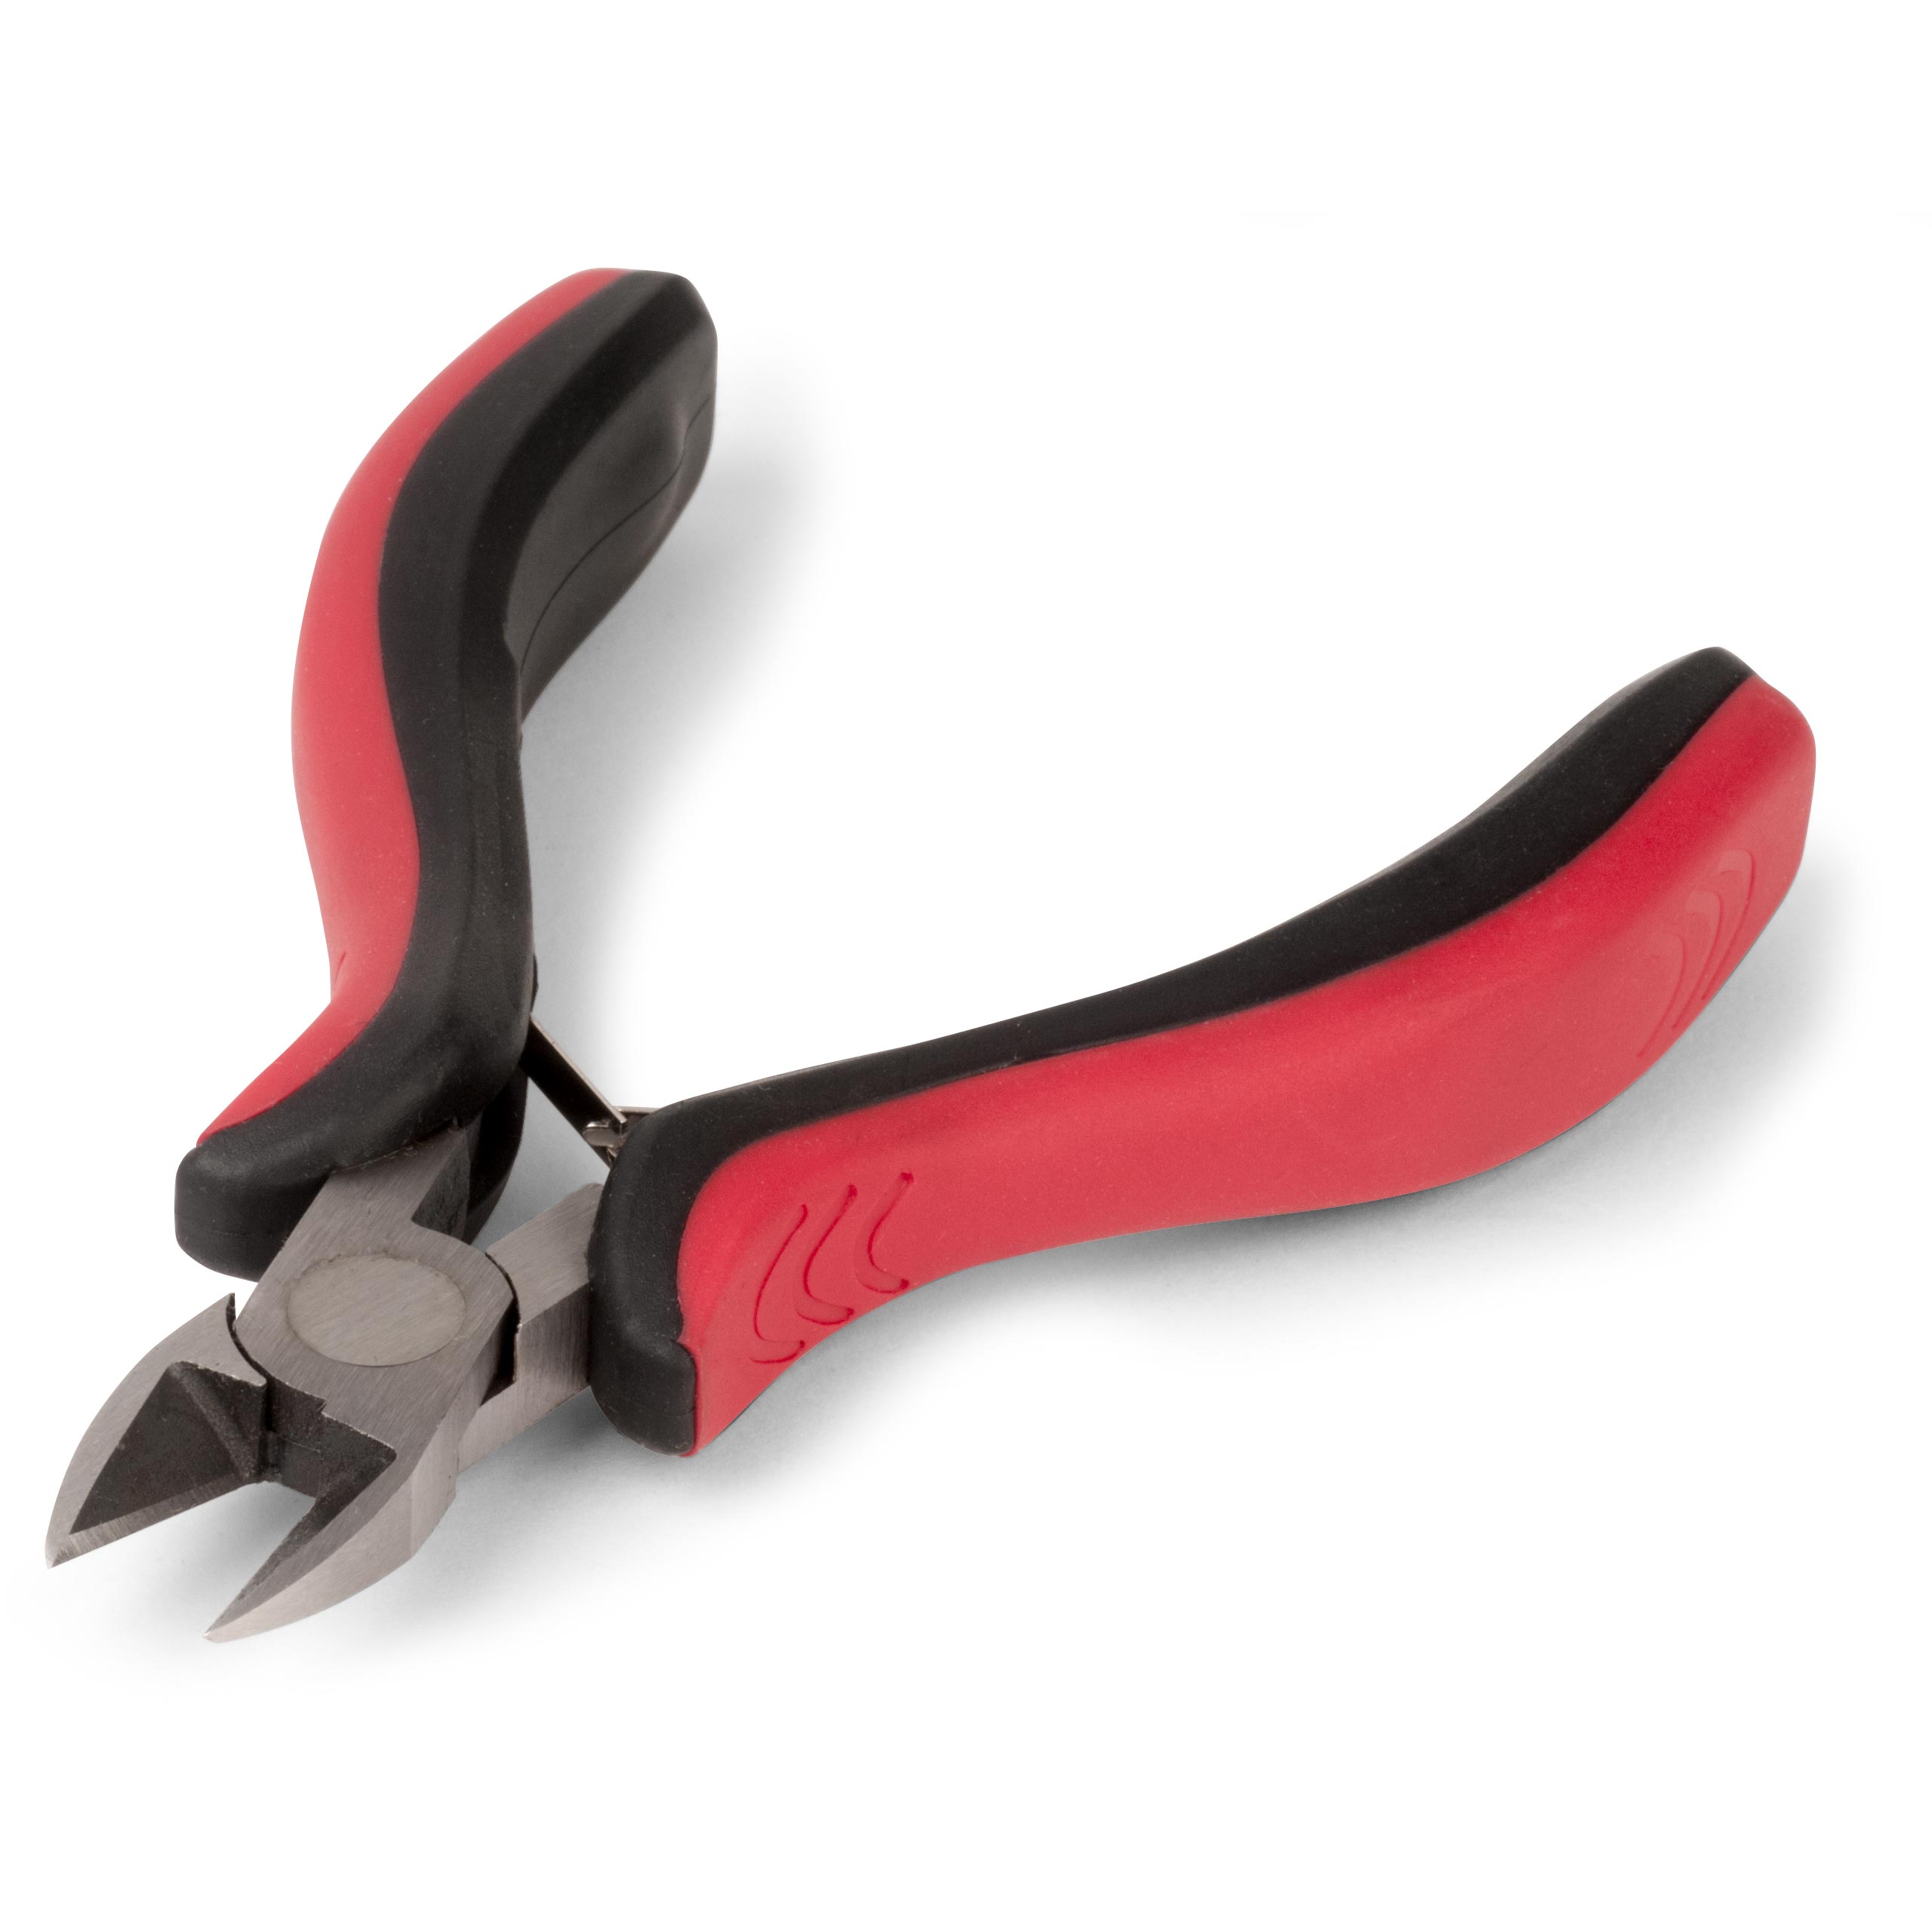
The first thing we need to do is loosen the old strings, so we can take them off. I like to cut them because they're easier to take off the peghead that way, and they take up less space in the garbage can, but you don't necessarily have to cut them. Loosening them first is important, however, because if you do cut them at full tension, it could snap, and hit you in the eye, and you don't want that. At StewMac, we sell a cutter designed specifically for strings, but if you have a set of wire cutters that you got from the hardware store, those would work perfectly fine.
Step 2: Remove bridge pins
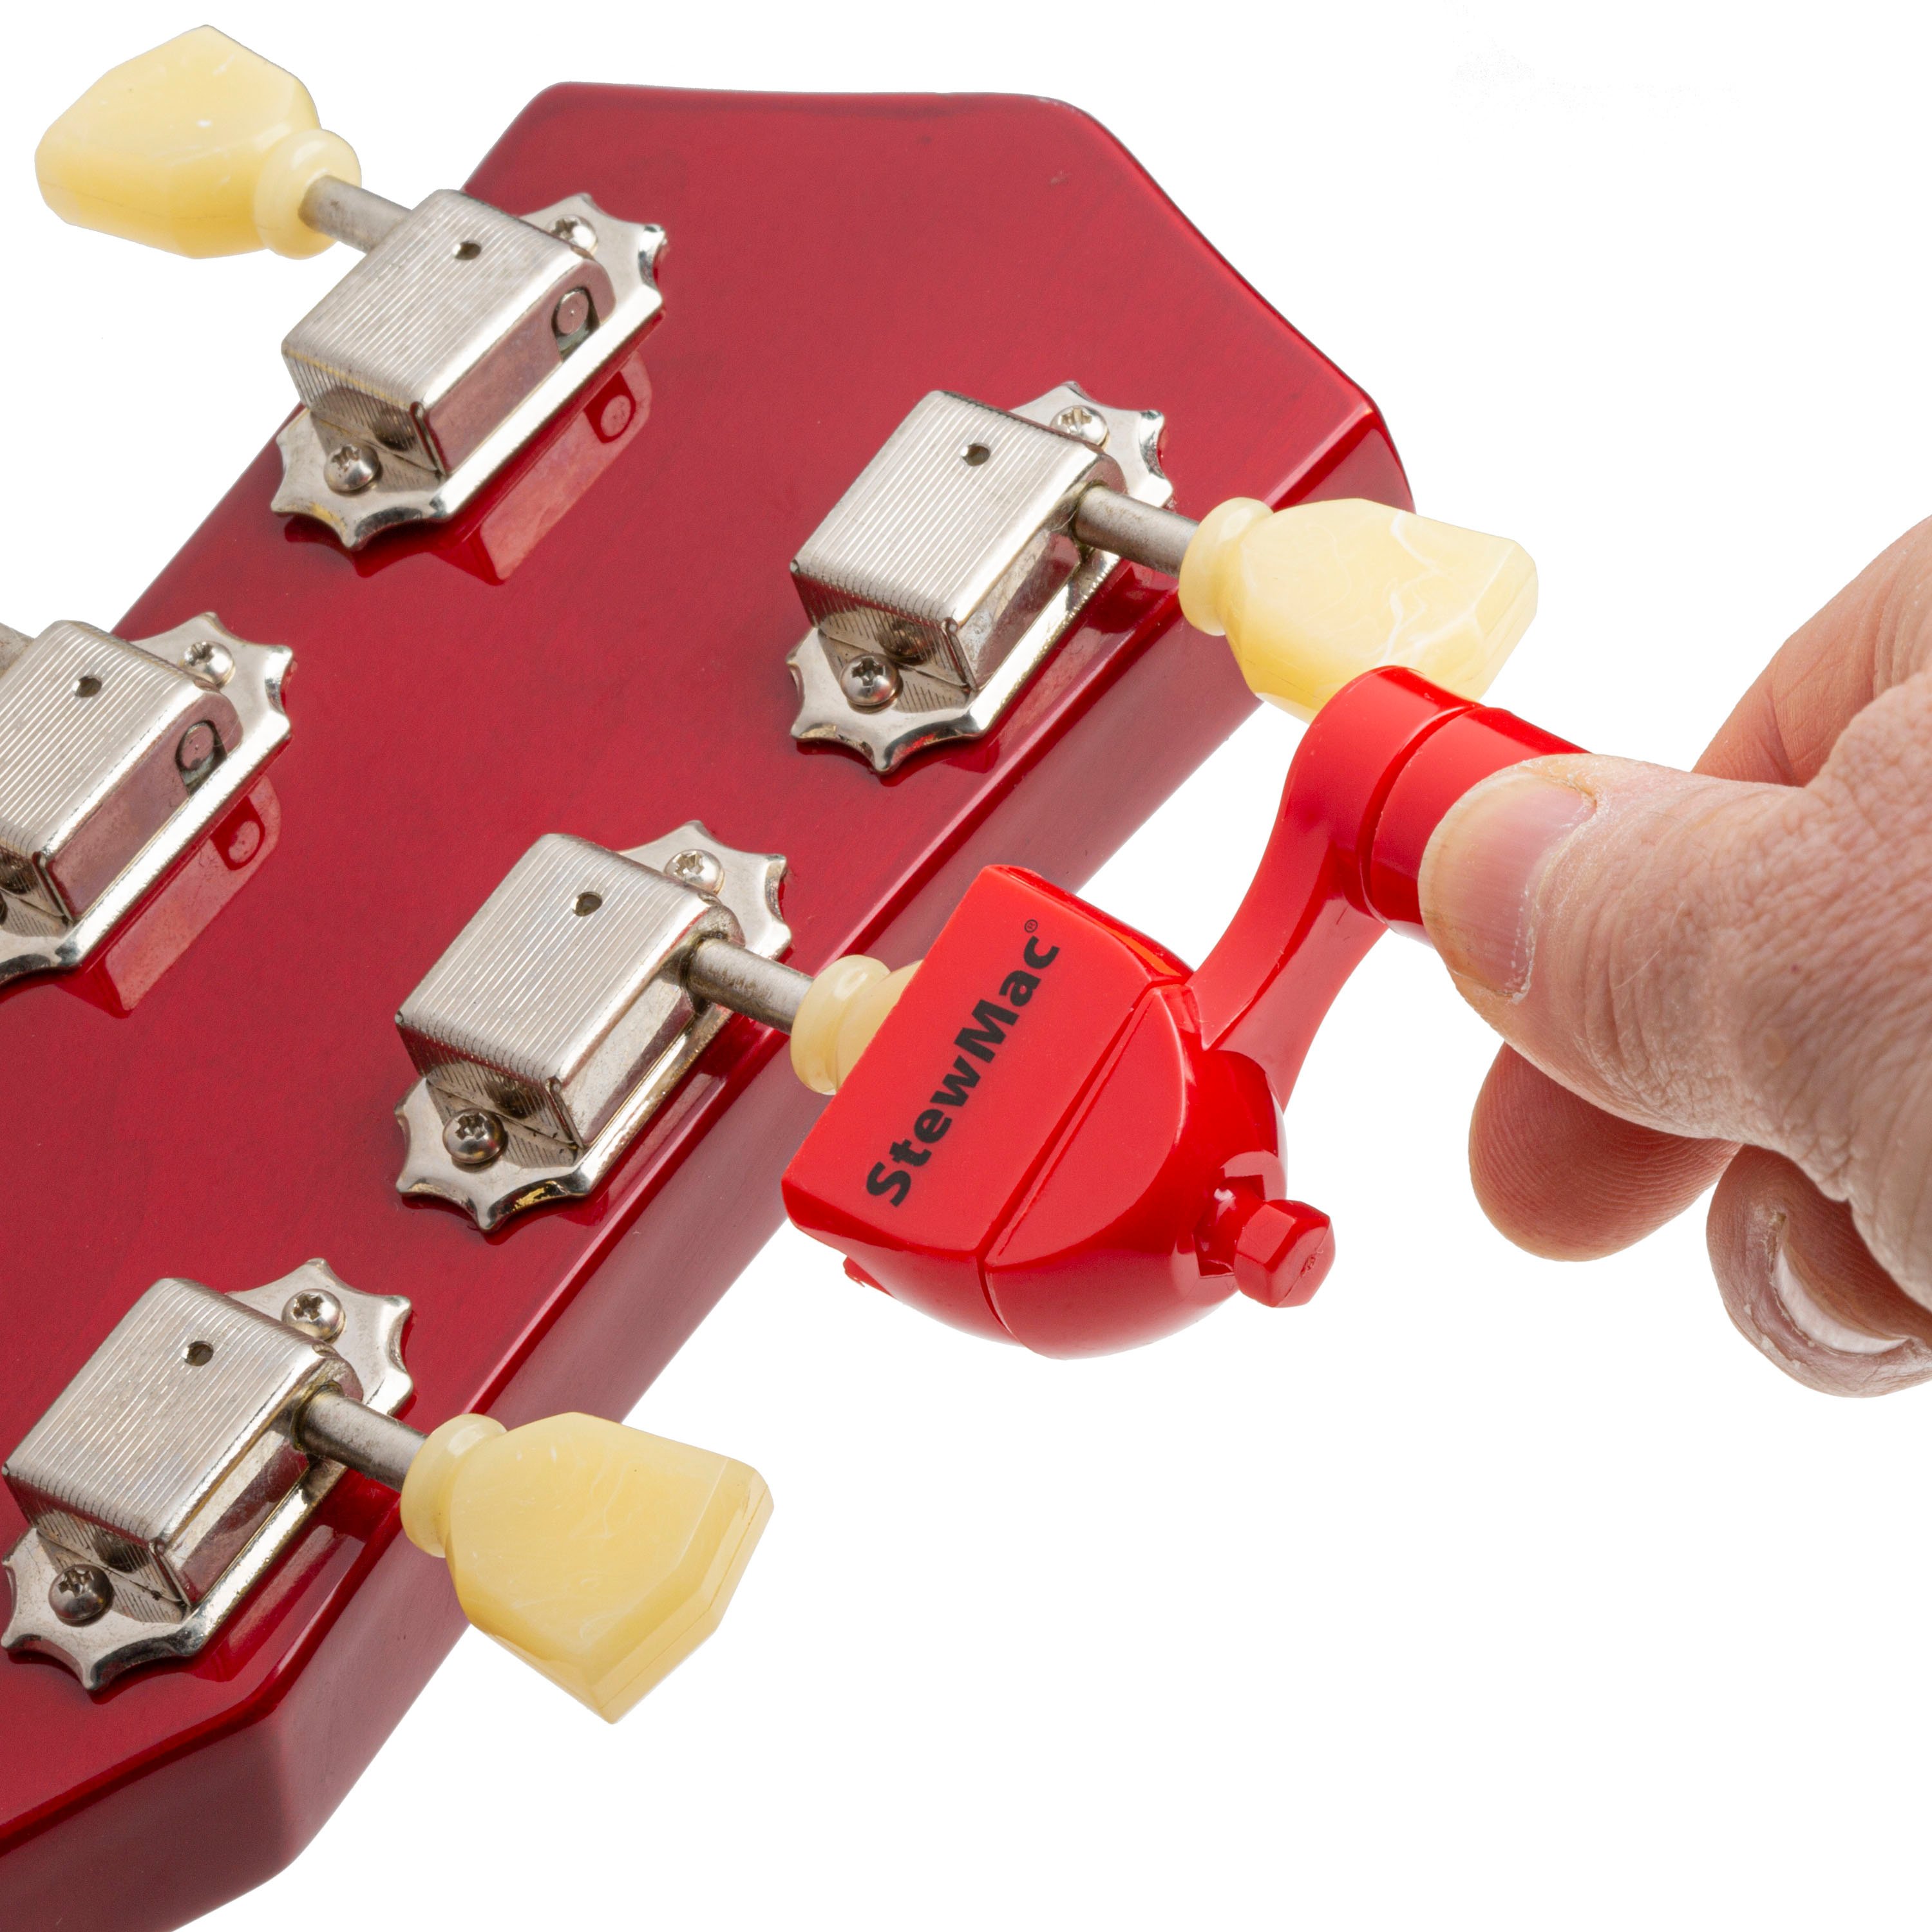
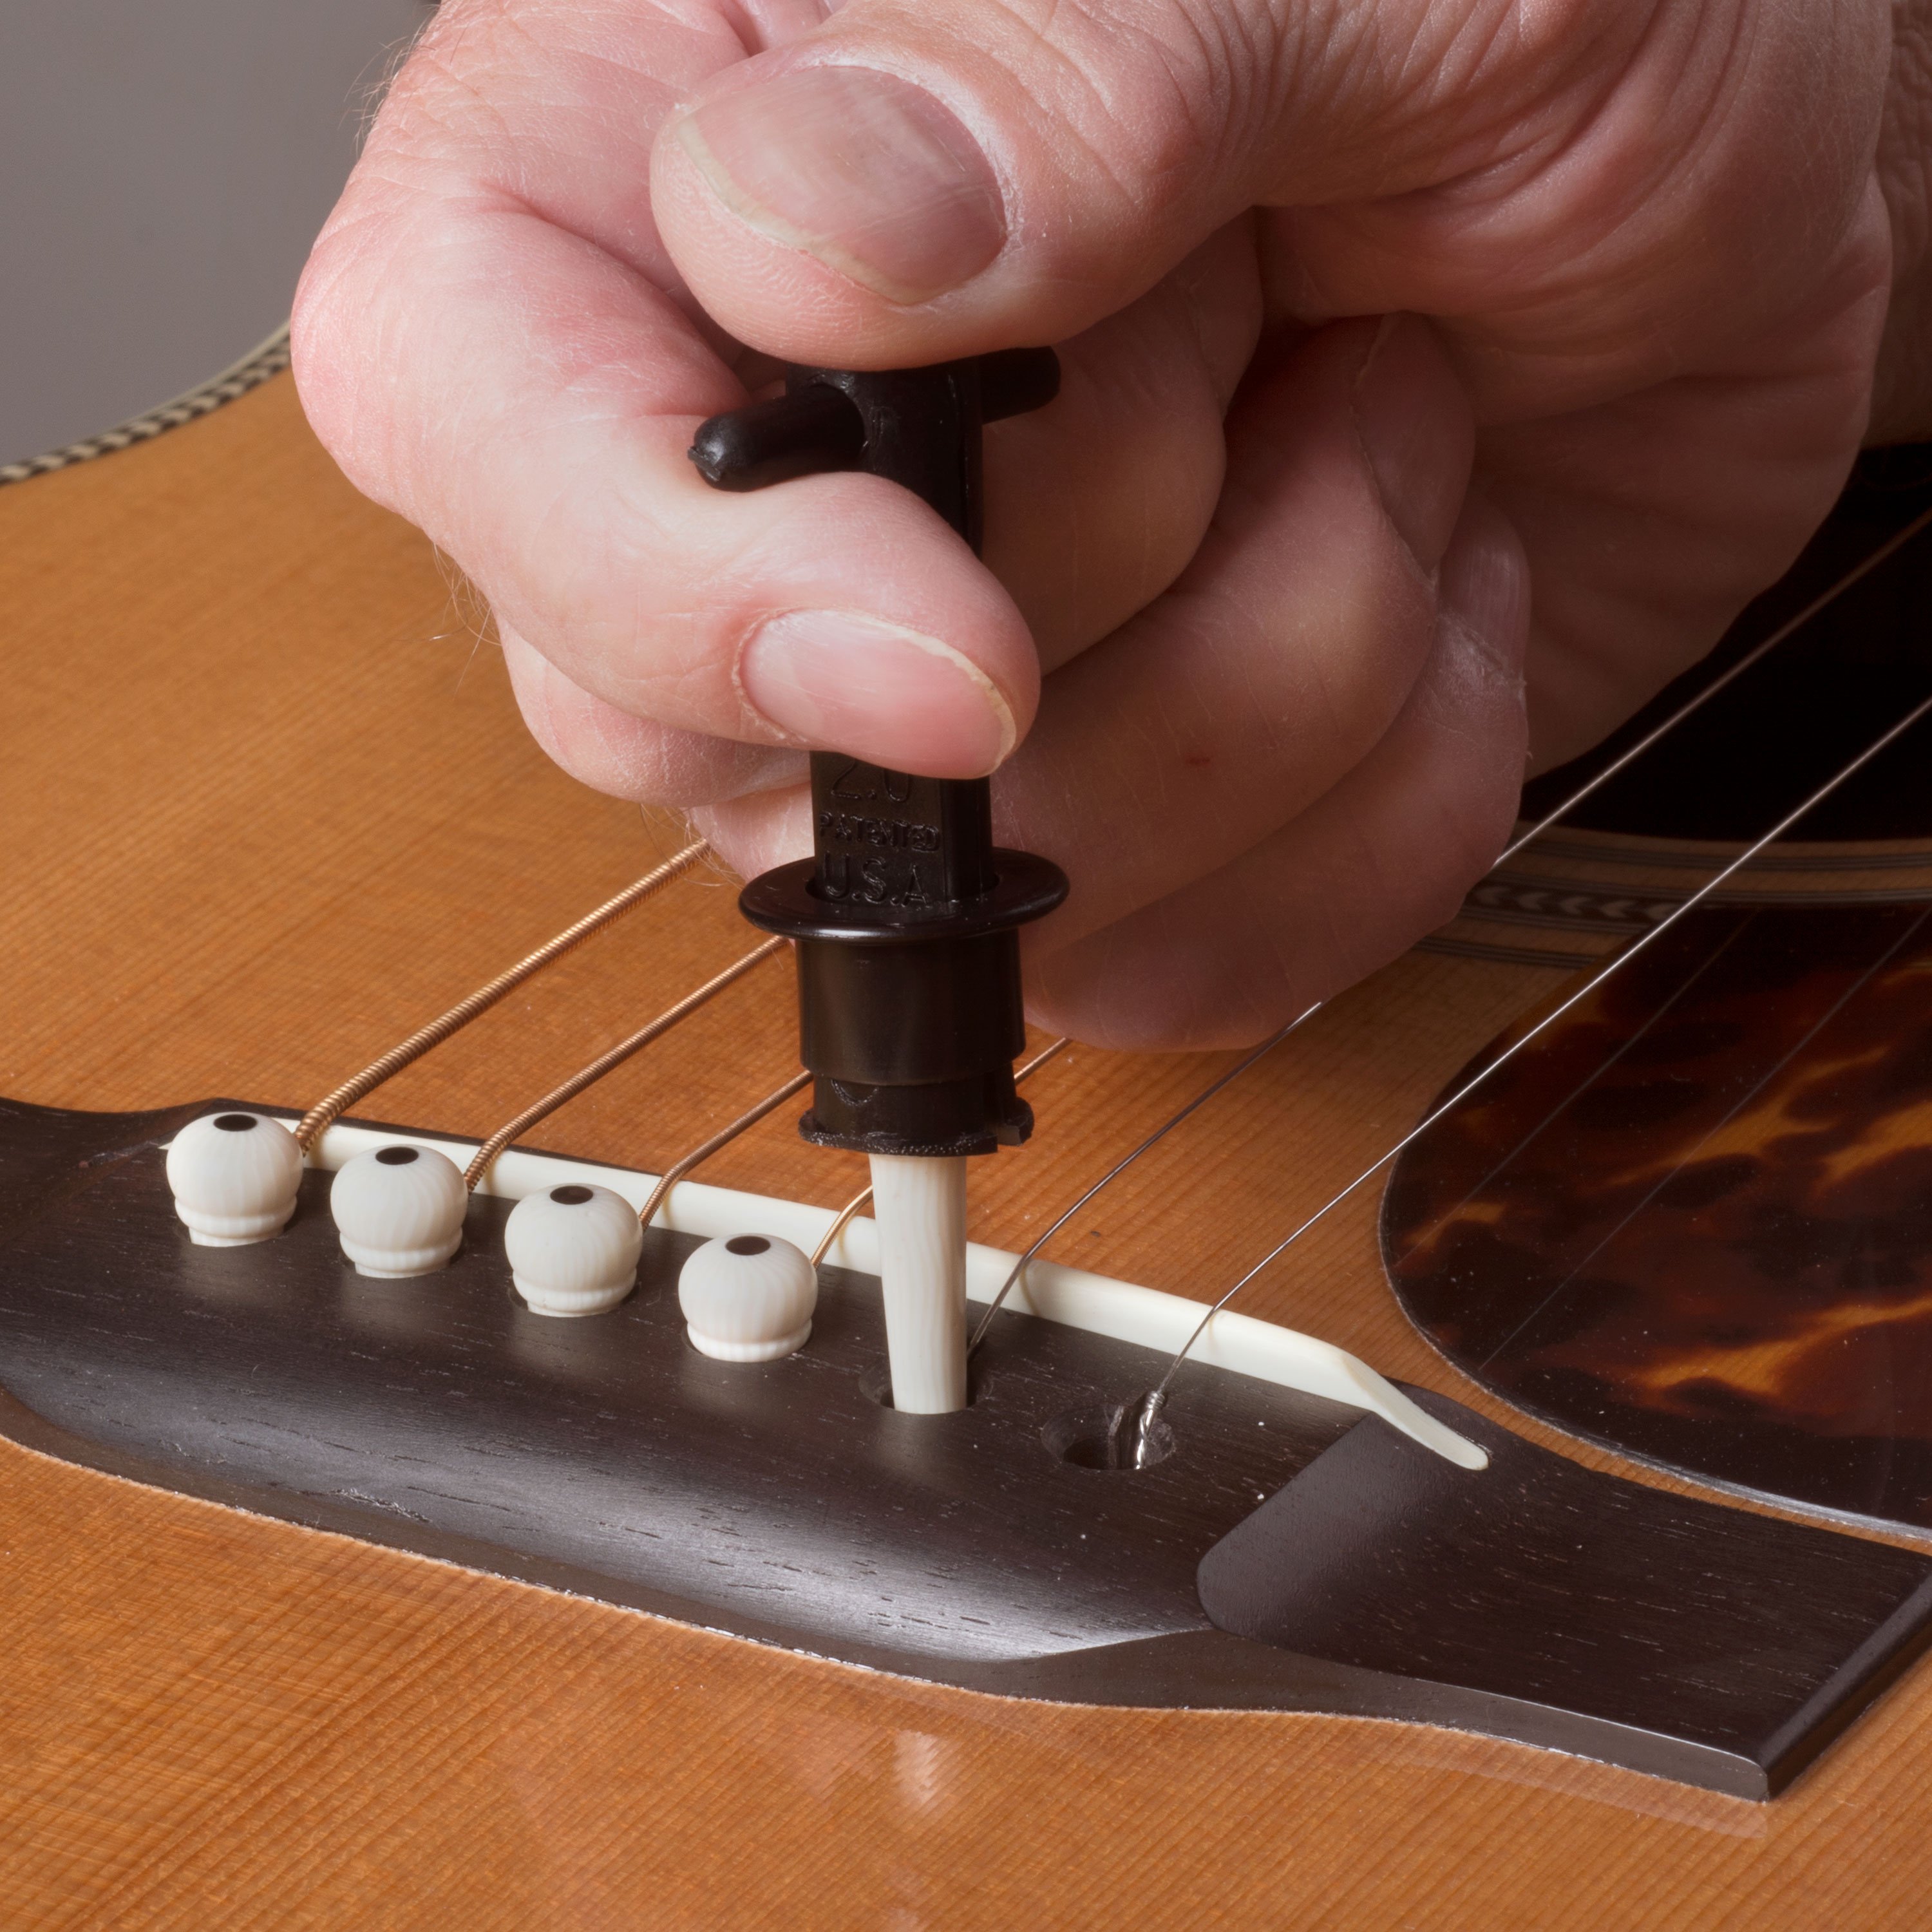
Now, we have to remove the bridge pins. You can do that with a Bridge Pin Puller like the ones we sell at StewMac. You might have a bridge pin puller on the end of your String Winder if you have that. But personally, I like to get inside the sound hole and push the bridge pins from the bottom to come out. And I have an old leather wallet that I use for this. It works perfectly fine, and it pushes all of them out pretty easily. When you pull the pins out, make sure to keep them in order. Sometimes, the pin holes can be a little bit different sizes, so this ensures that when you put them back in, they have the same fit that you did originally.
Step 3: Clean guitar
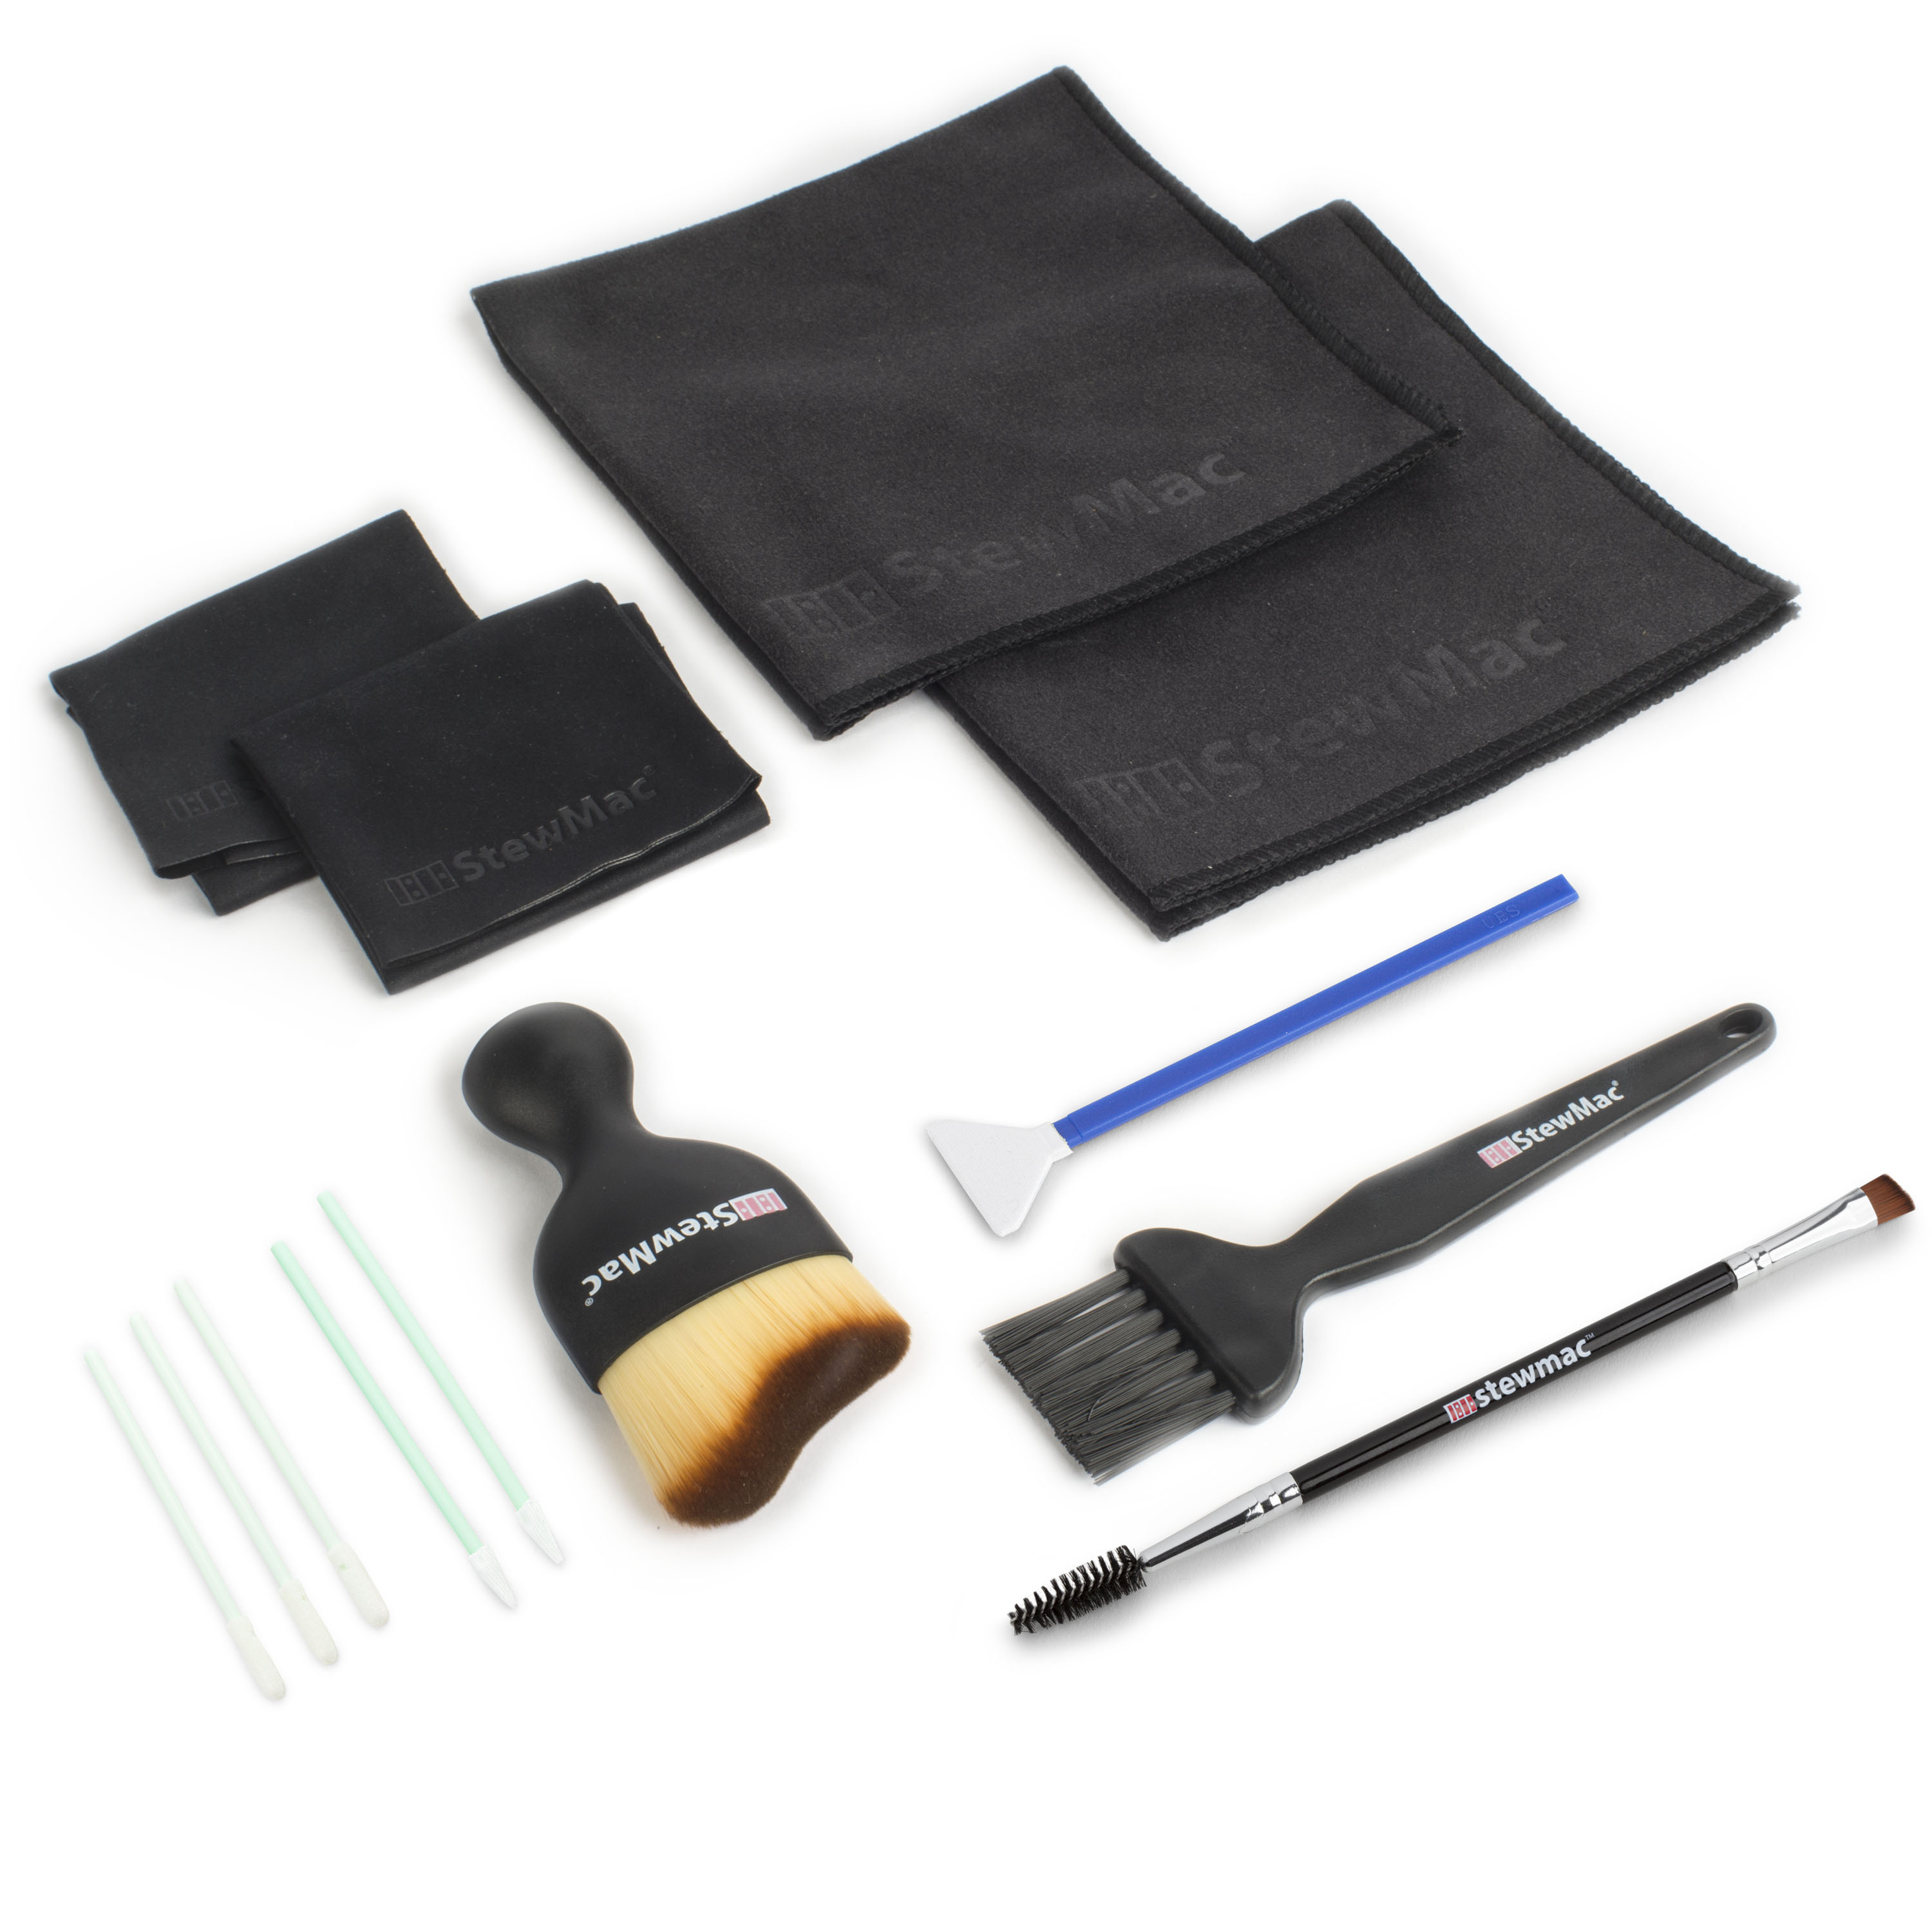
Now that the strings are off, and the bridge pins are out, it's a good time to clean off any dust or grime that's on the fretboard, or under the strings by the sound hole, or on the headstock. Basically, any place that you couldn't get to easily when the strings were on.
Step 4: Seat ball ends and re-install bridge pins
Once you're ready to put the new strings on, put each one of them in their respective slot, and install the bridge pins. Now, it's important that the ball end of the string is seated properly, which just means that it's making contact with the underside of the top. There's a couple of reasons for this, mainly for tone and for the structural integrity of the top. So, if you're not sure if you've seated properly, just reach inside the sound hole and feel for that ball end. As long as it's making contact on the bridge plate, on the underside of the top, you're good to go.
Step 5: Wrap strings and wind to tension
Now, take the first string and pull it through its own string post. It's important to leave enough slack for this particular winding method to make sure you get the right amount of wraps around the string post. The way that I like to do that is pull the string tight, hold it at the tuning machine, and then, place my other finger one tuning machine forward of that one, pull it back, and then, I have my slack. Once you have the right amount of slack, wrap that part of the string towards the inside of the headstock over the end of the string that's already going through the tuning machine. Then, I like to bend that excess string up because it stops it from scratching the headstock while I'm tuning, and it just keeps it out of my way. Now, it's time to start winding, and it's important to keep the new winds underneath the parts of the string that are already on the tuning post.
Now, this creates a clamp between the top wrap and these bottom wraps, which holds the bent part of the string in place, so it doesn't want to slip out later on. So, right now, you don't have to get the string perfectly in tune. You just want to wind it so that you're getting some tension on the string, and it's making a note. And once you have that done, you can clip the bent end of the string as close to the tuning post as you can, and it should hold in place perfectly fine. From there, we're going to move on to the rest of the strings. And remember, you always want to wrap towards the inside of the headstock. So, once you get to the treble side strings, it's going to be in the opposite direction as the bass side. Now, this is important because you don't want those strings to be in the way of each other, and when you're tuning the guitar up, having the keys all turn in the same direction makes it a lot easier to do.
Step 6: Stretch and final tune
Now that the strings are at tension, it's time to final tune them. But once you first get them tuned, they're not going to stay in tune quite yet. The strings aren't used to being at this tension, so they'll want to stretch themselves out while you're playing. So, I like to give them a little stretch ahead of time, and then, retune them. Usually, once or twice for steel strings will do it, so that way, when I'm playing, I don't fall out of tune. These days, it's easier than ever to get your guitar in tune. You could get a headstock tuner that you can find at your local guitar shop or StewMac's website. There's a lot of apps that you can get on a smartphone, and some of them are even free, and they're pretty good. Or you can find a video on YouTube so you can tune it by ear. And that's it. You're all done. Your strings are in tune, and you're ready to play.


