Video: Gluing a Martin D-35 back brace
Issue 173 September 13, 2012
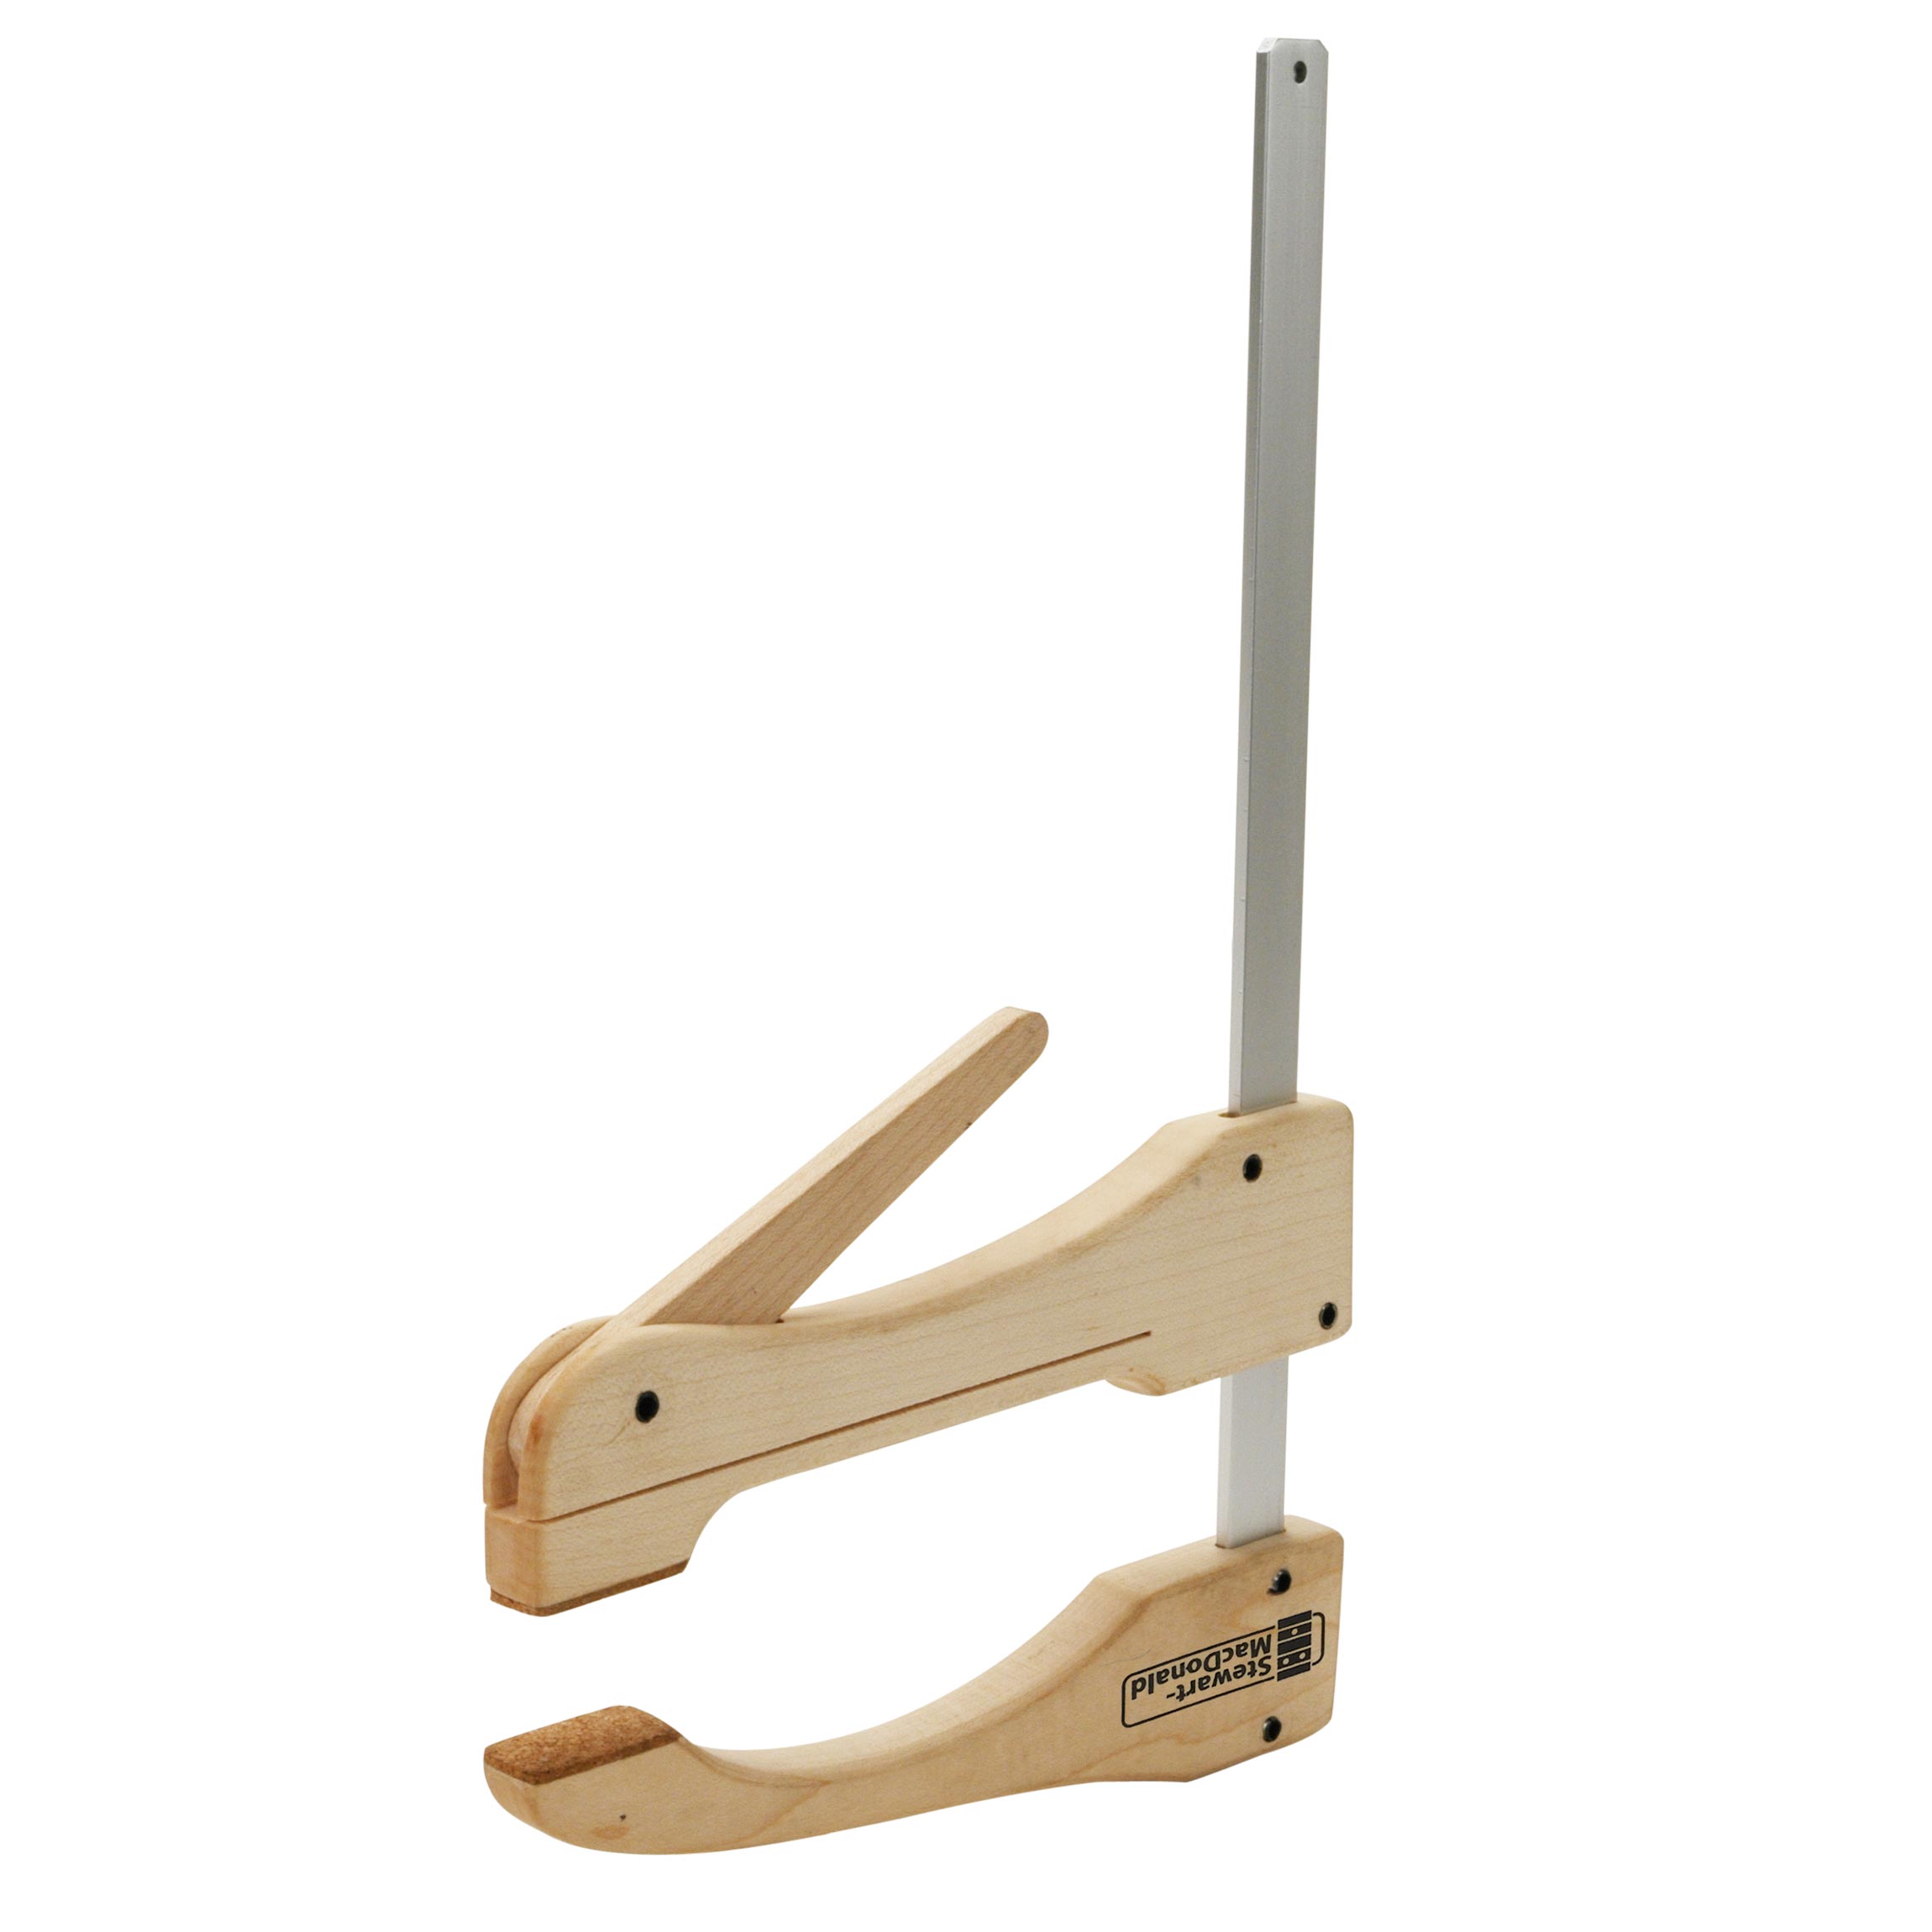
This issue of Trade Secrets is a video: Dan Erlewine glues a Martin back brace, using Scissor Jacks along with tools you can make in your own shop. After this video, we developed the Brace Gluing Wedge to simplify this job and reduce the number of tools needed.
- Loose back braces are rare on Martins
- Vacuum inside before gluing
- Dan's shop-made tools for cleaning under braces
- Hot Tip! Finish buildup leveled with a razor blade
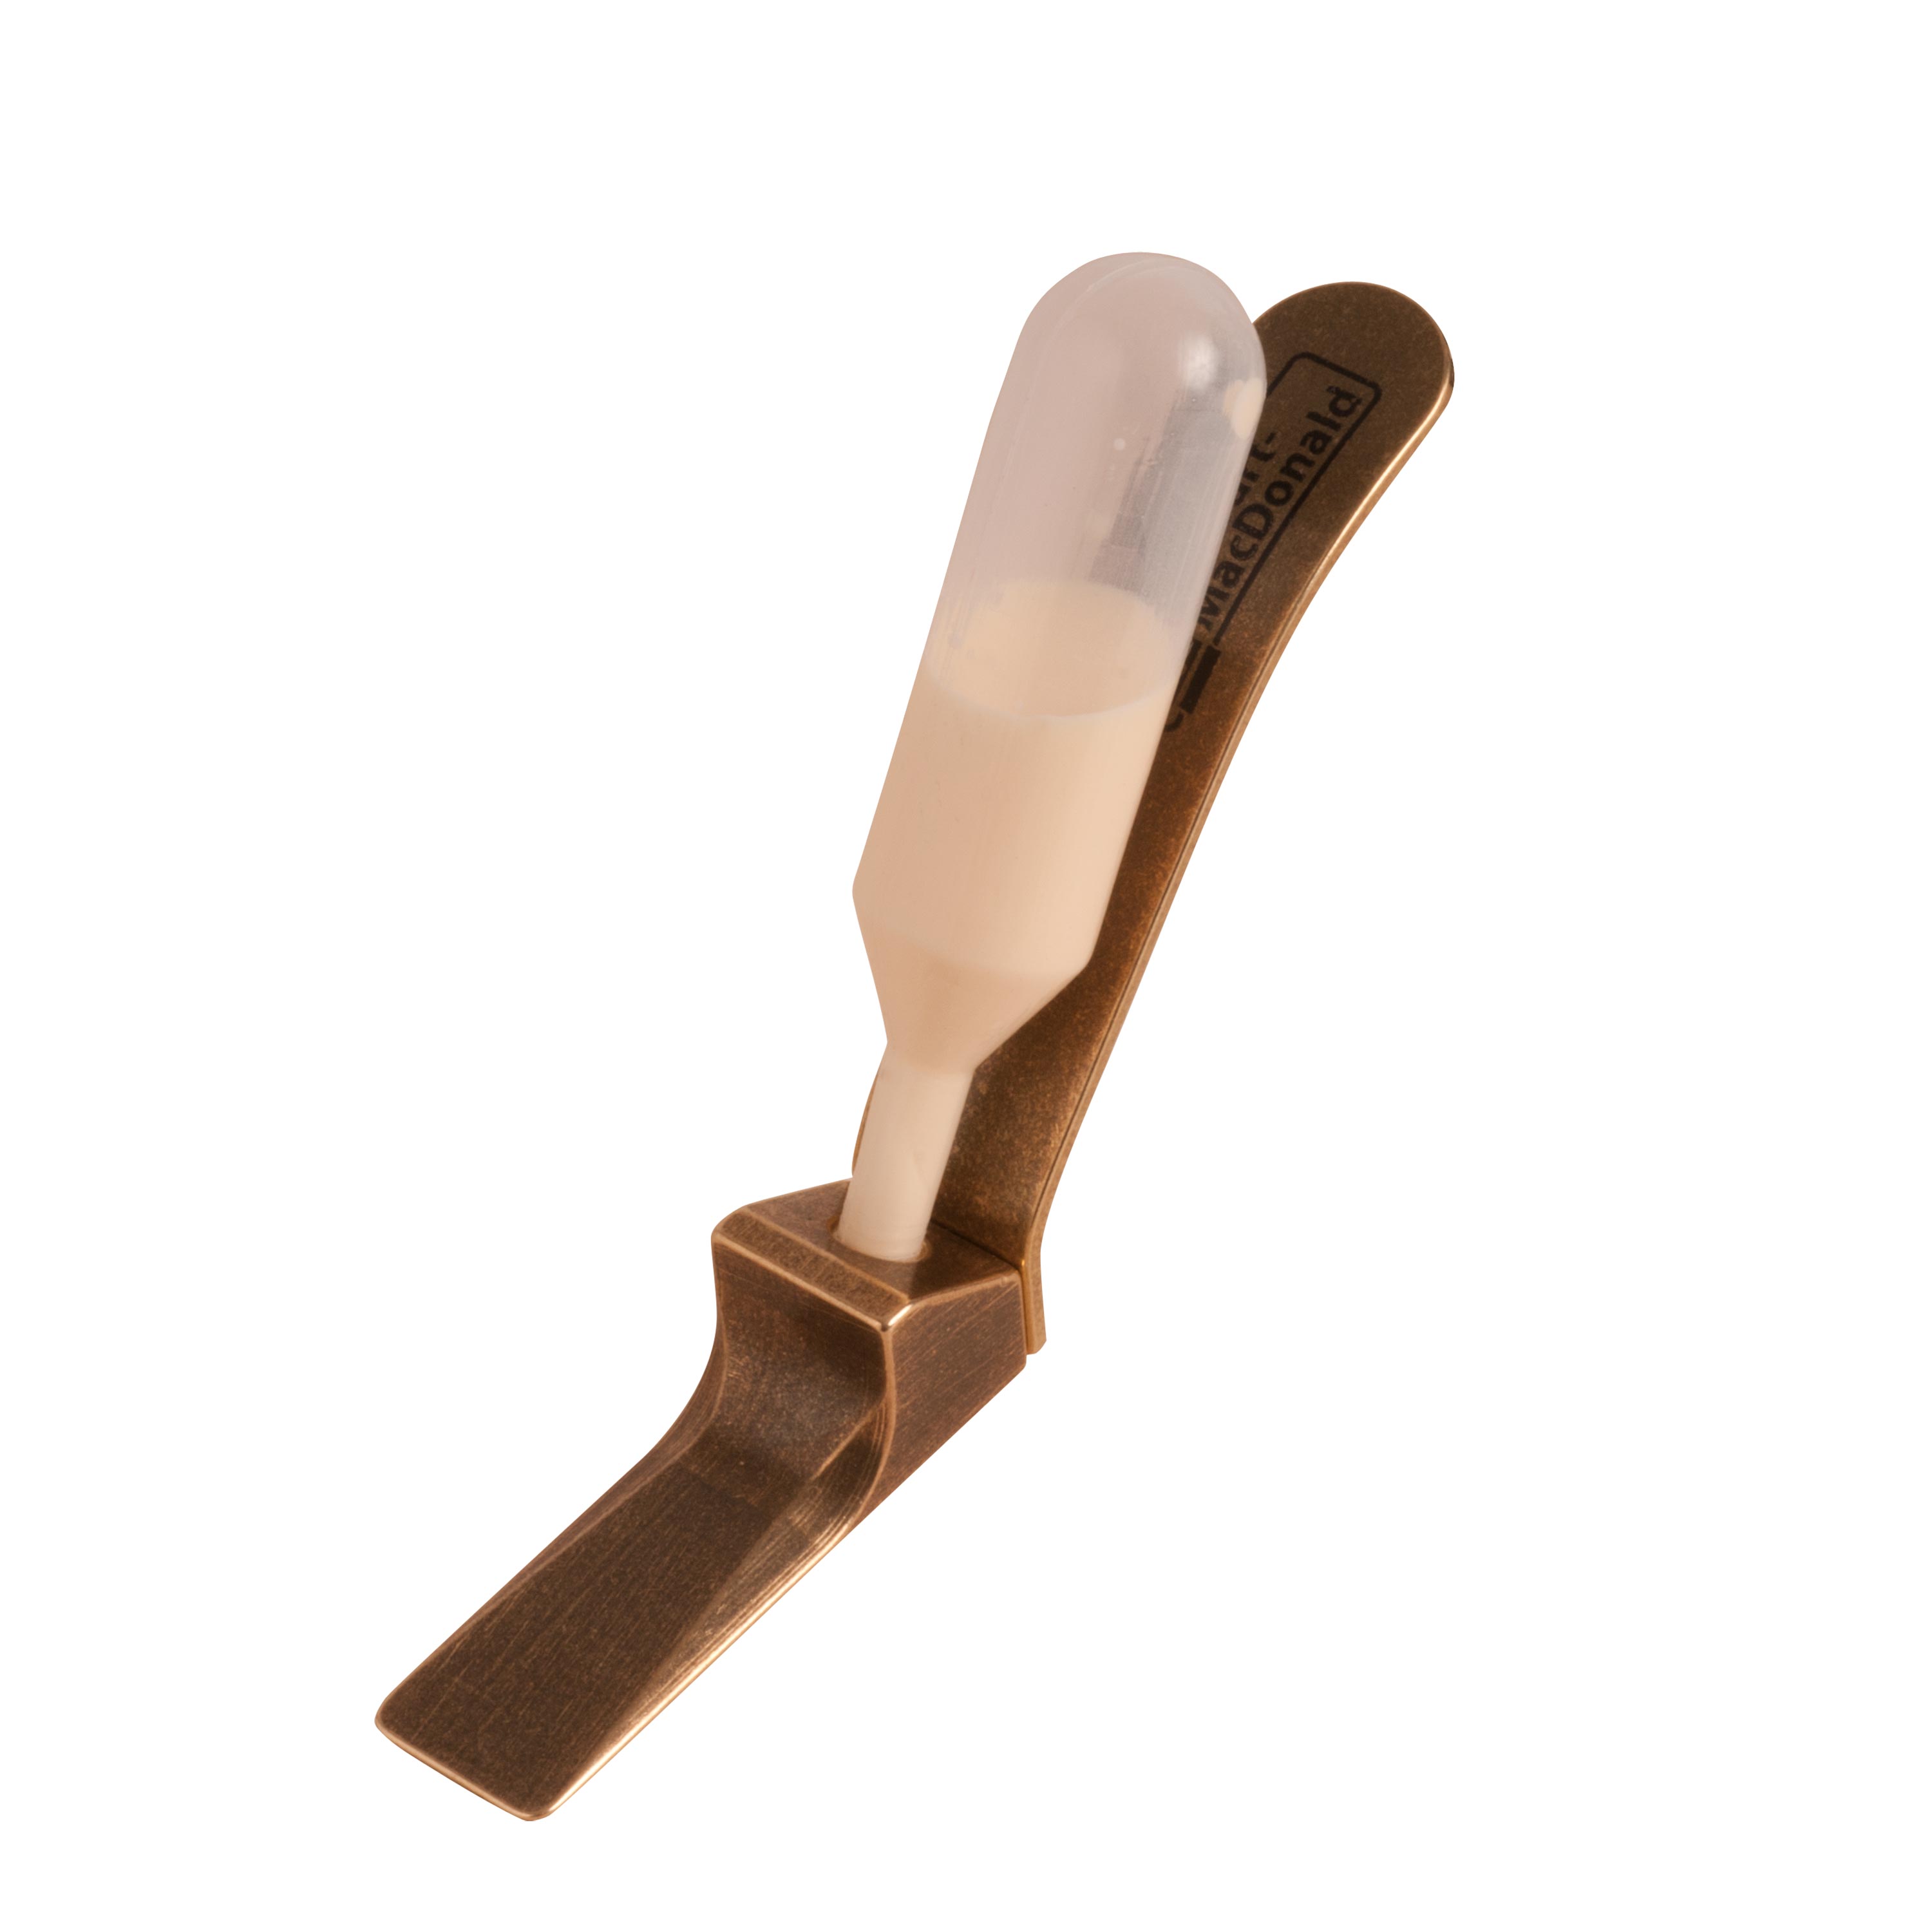
- Dan's shop-made acrylic gluing wedges
Video Transcription
Dan Erlewine: Here's a 1973 Martin D-35 with some loose braces on the back. That's pretty rare really, because Martins seldom get loose braces. I'm going to fix them all the same with a technique that I'll show you now, but it'll probably take me three days to get them all, there's four loose braces and I can only get one at a time, then I have to let it dry all day. You might find loose braces on a Martin top, because you have all that string tension and the rotation of the bridge, the humping, but the back braces, that's pretty rare.
Vacuum inside and clean before gluing
The first thing I'll do is vacuum very carefully because once I go in there with my probes and put glue under a loose brace, if there's any dirt, it's going to find its way there and it won't glue up. I'm going to clean the area between the brace and the back of the guitar of all the old glue with all kinds of tools and you'll see them. One of my favorites is a cut down X-acto knife. And I can reach in here and see what I'm doing without my arm in the way and get right underneath that brace.
Prep the back brace for gluing
You could make this with a hacksaw and a file and you need a tap and a dye. I made them on my metal lathe so I could trim things, bore it, tap, but you could do it much more simply and it's a valuable tool. This is masking paper with Masking Tape along one edge and I rolled it up backwards on a dowel and then unroll it inside like a carpet, and that'll keep my glue mess down to a minimum. This is Titebond Glue, that's what I'm using, and I'm squeezing out way more than I need. Something that's really important are wedges, that's half inch thick acrylic fan sawed down and filed to shape. The lug on the end gives me something to hold onto and I use the wedges when I'm gluing. Everything's clean, I'm ready to go.
Glue the back brace in
I'll shove the wedge in two or three of them down the length of that brace so I can get in with a whole big glob of glue and have easy access. I have glue on the spatula but I can't see it because my arm's in the sound hole. I'm just sort of feeling my way along. There's more glue. The tightest part is here in the center because that's where I'm approaching a good glue joint, now I'm under there, that's good. I'll start clean up with paper towel, let's get some of that stuff out of there. I'm not in a hurry yet, I've got time.
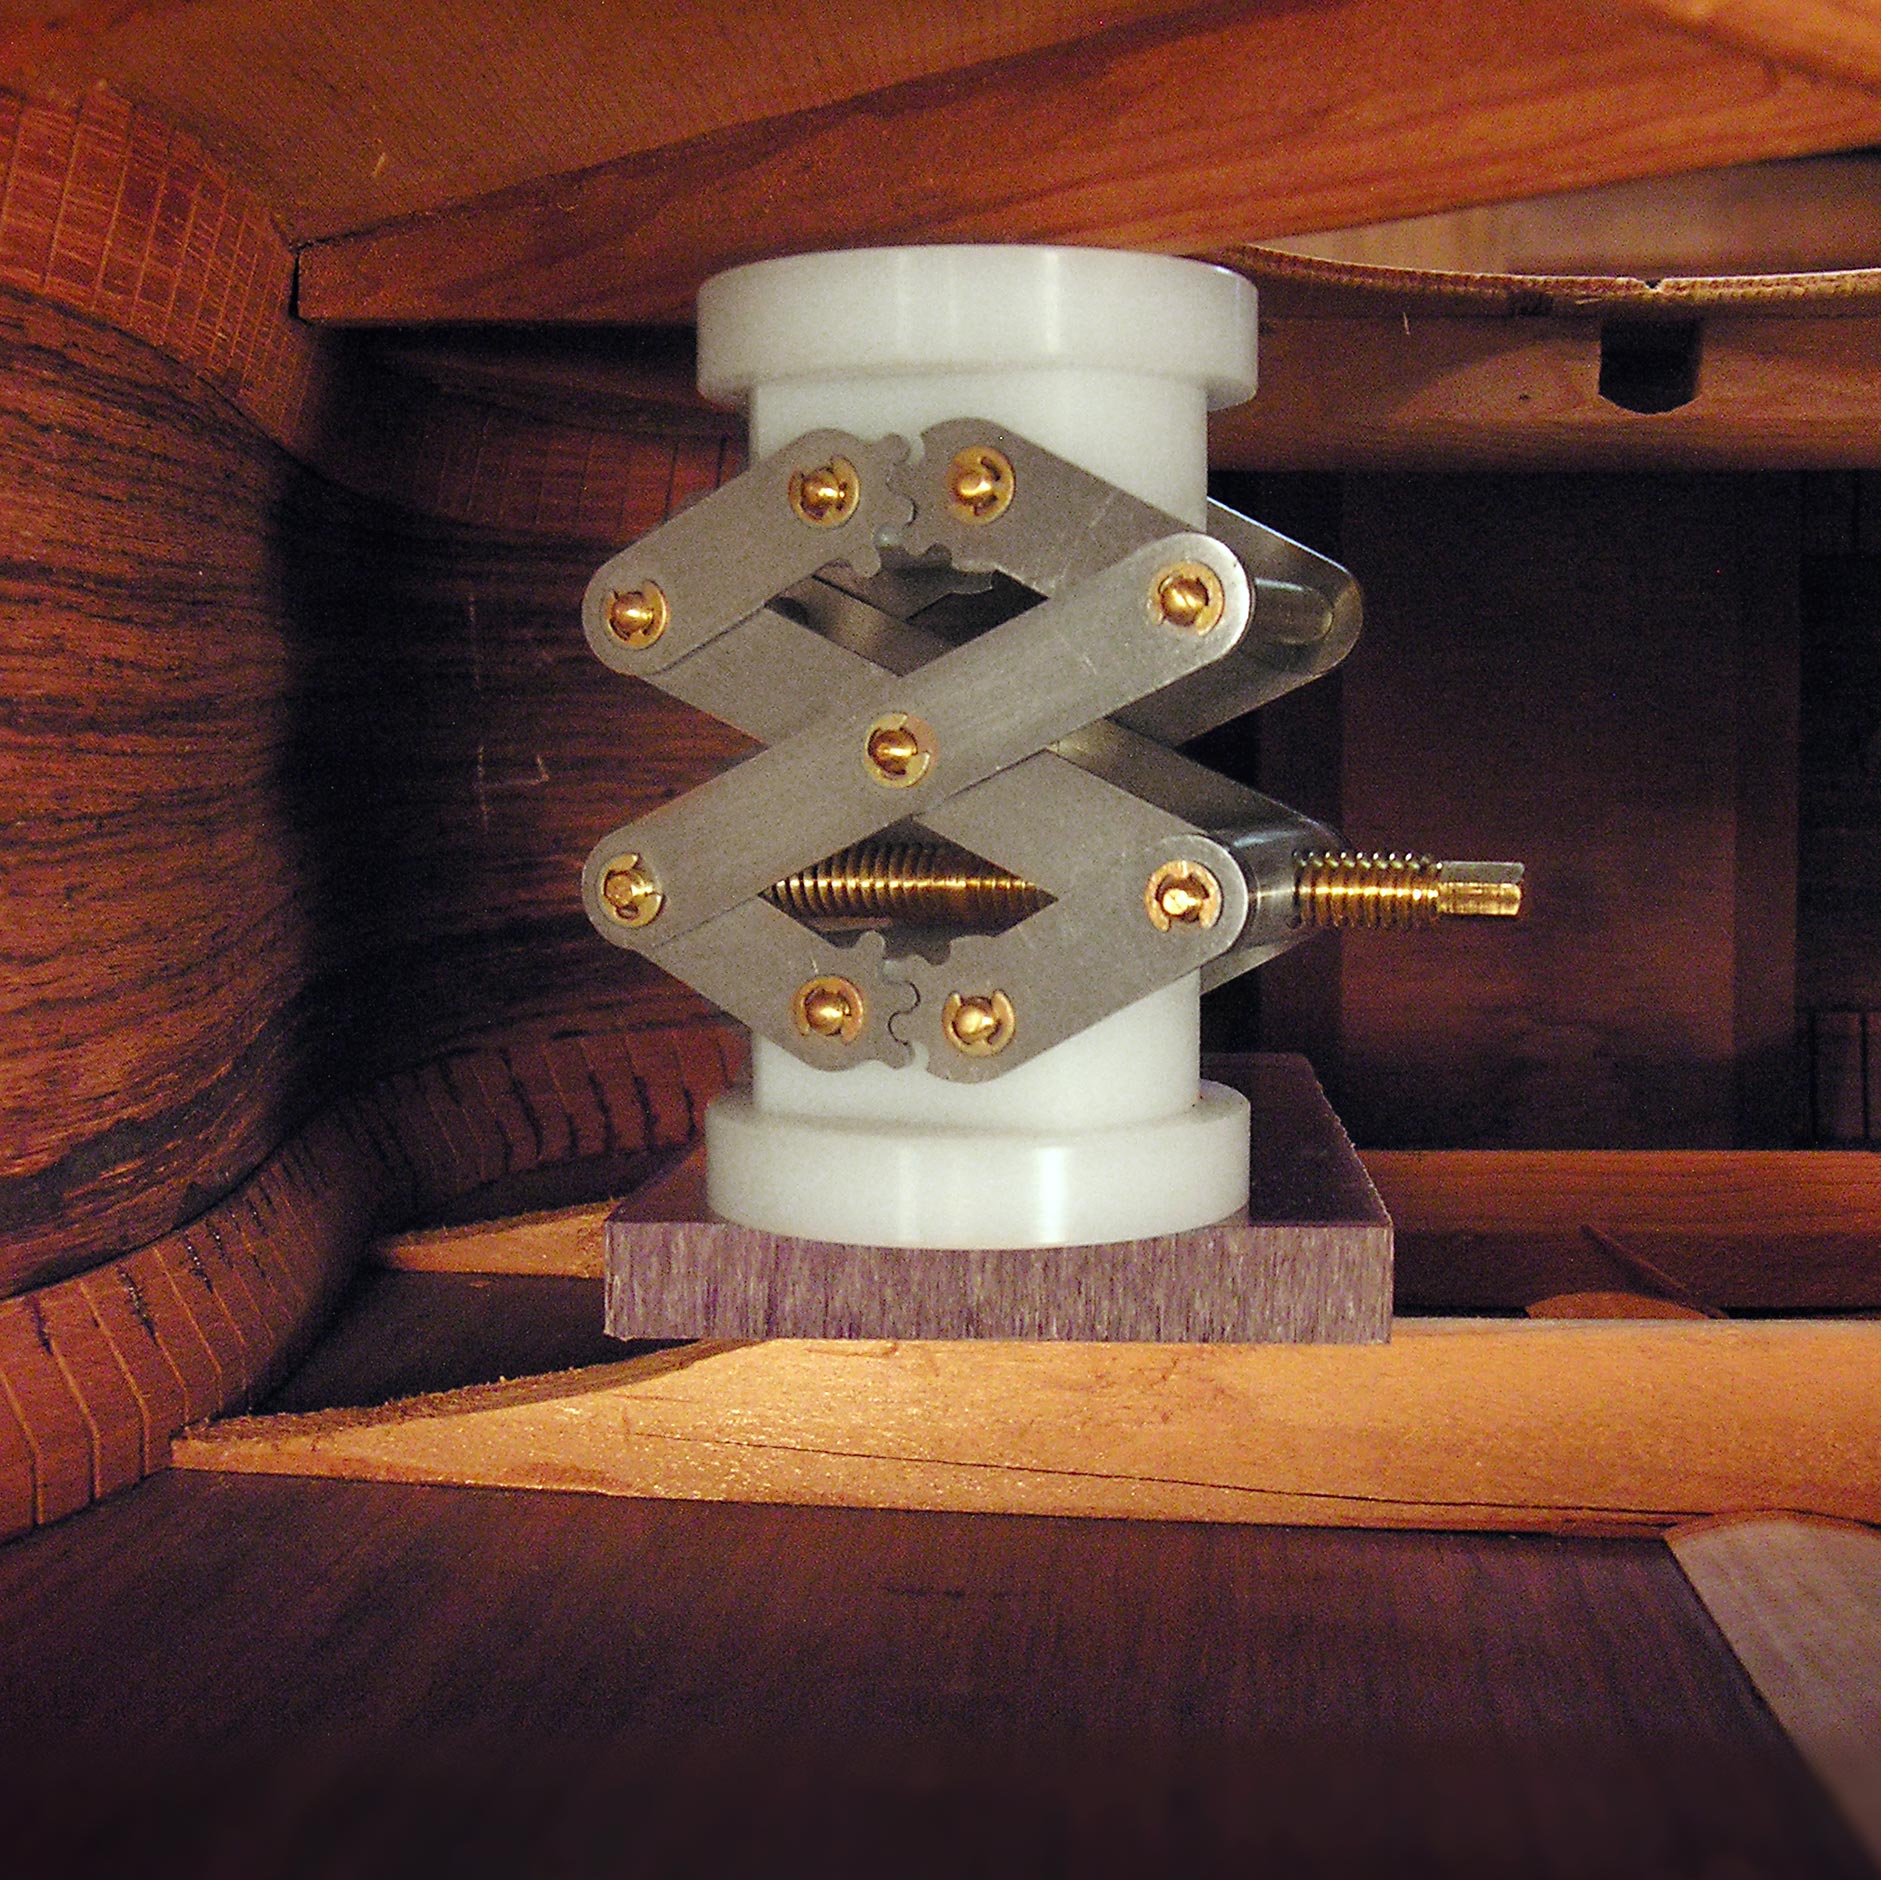
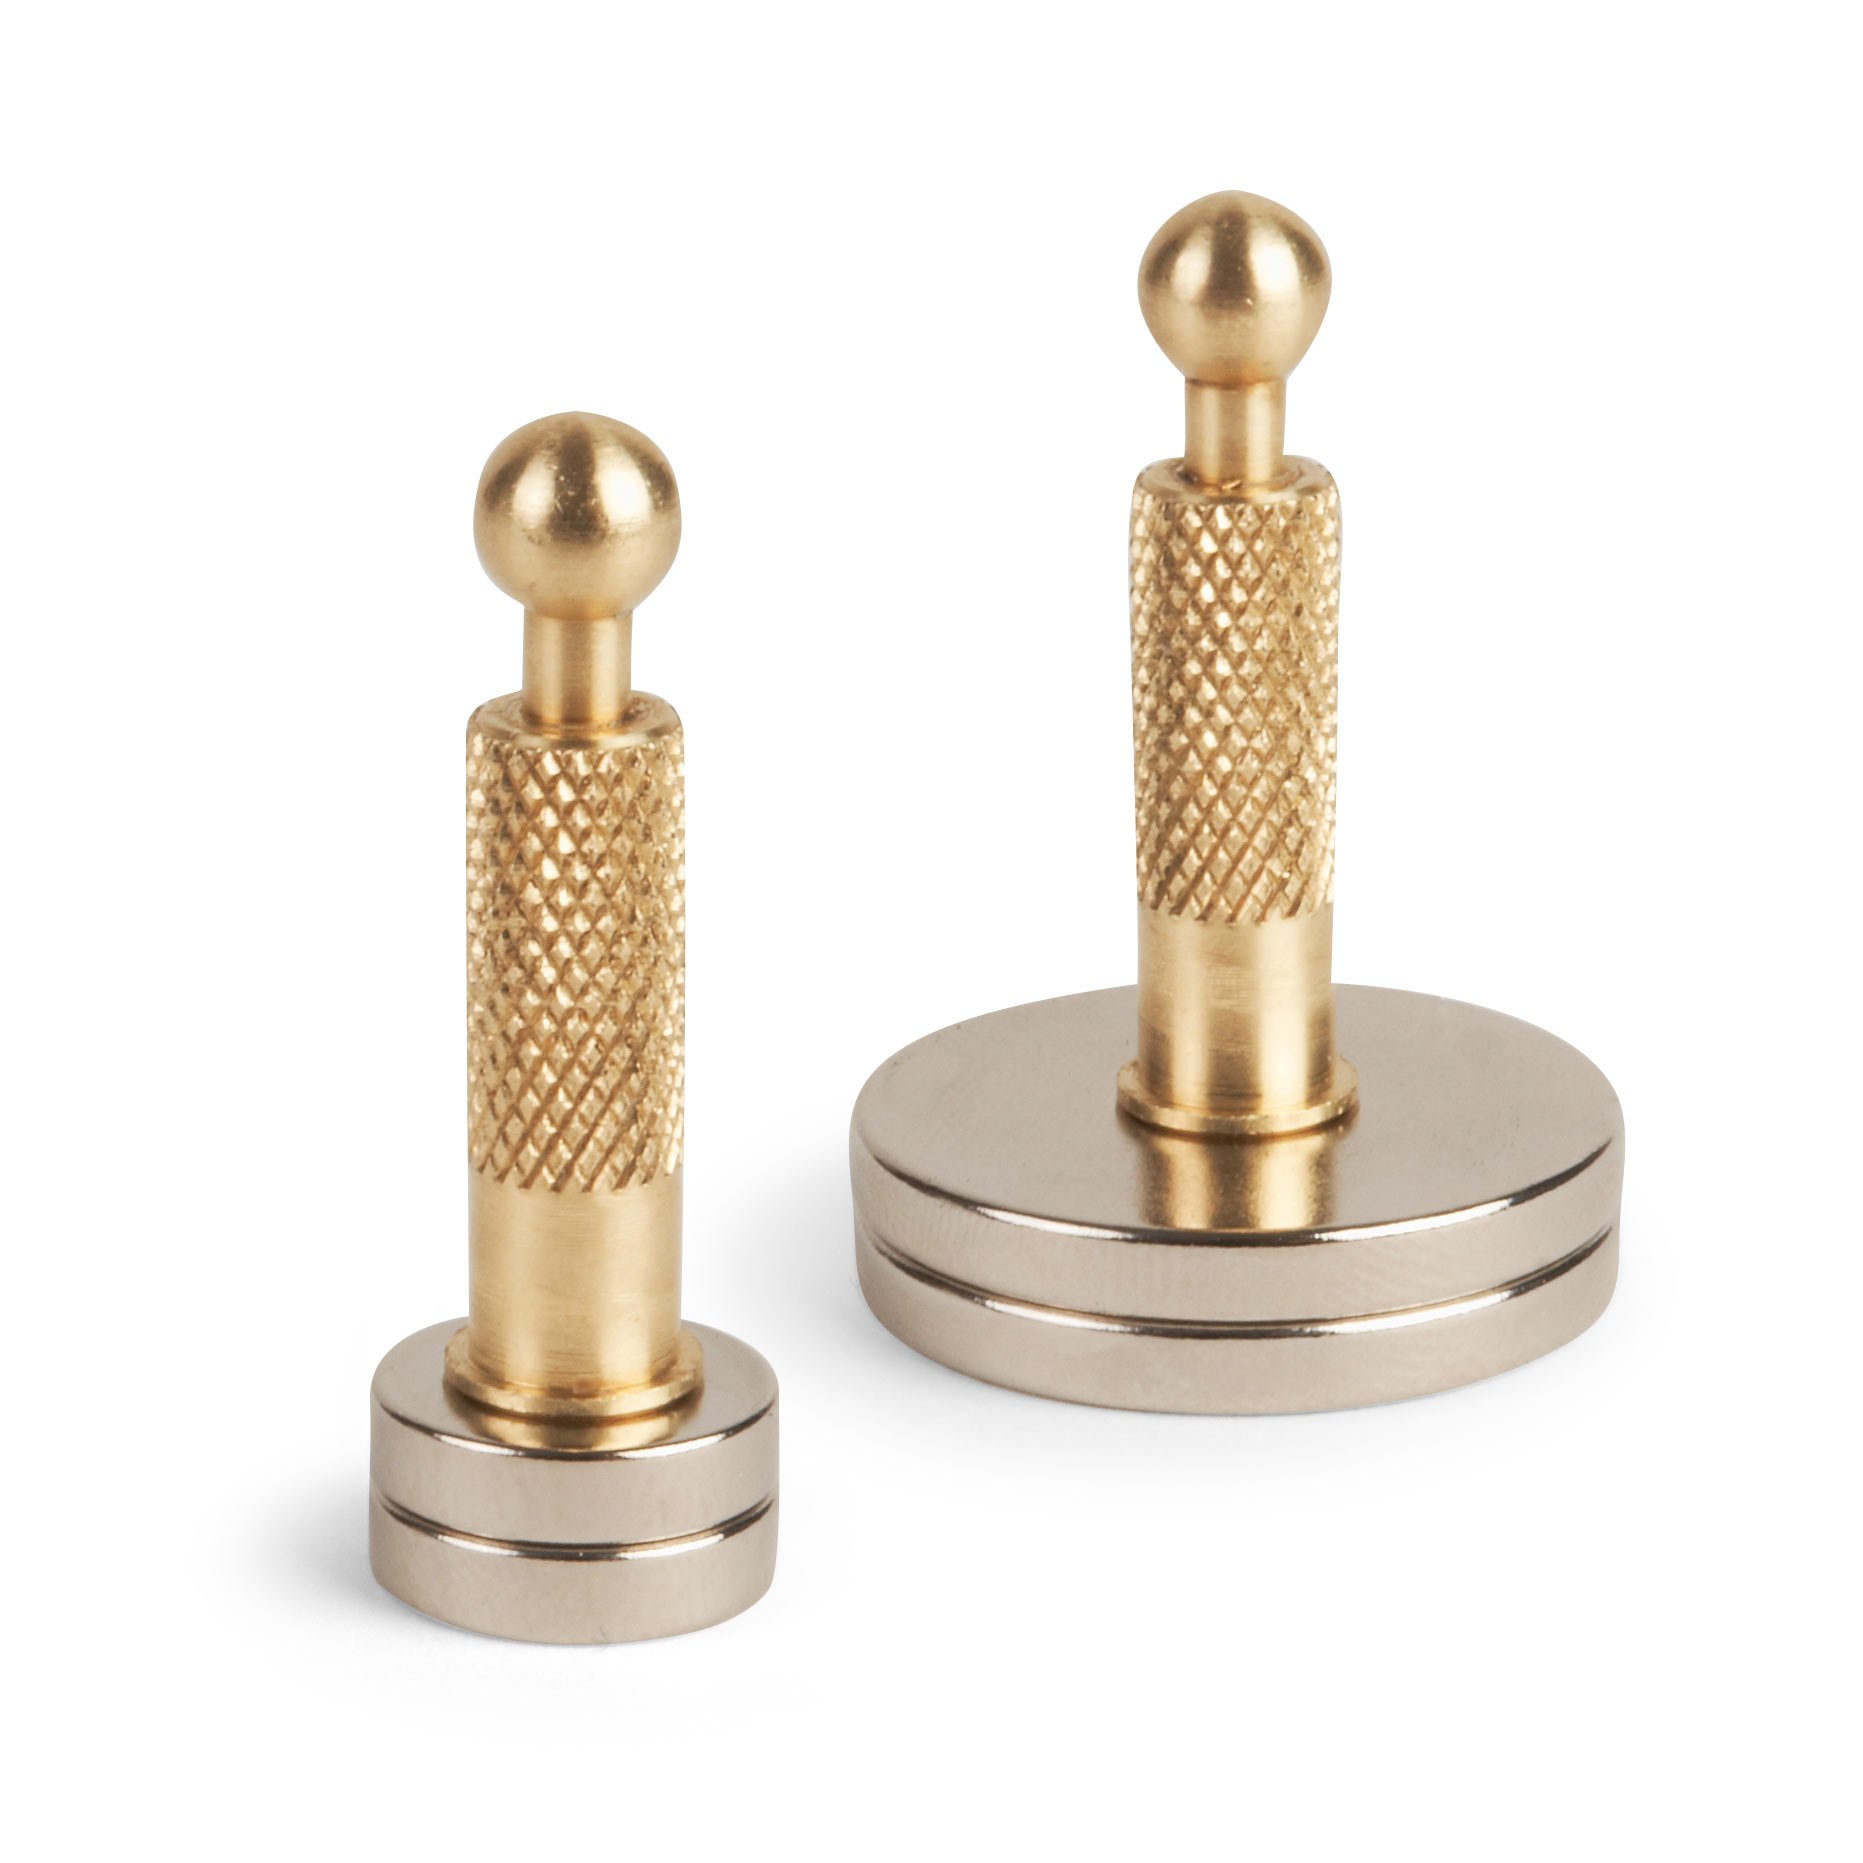
Now I'm going to go in there and get some squeeze out. Now I've got to force some of the glue out of that and to do that I'm going in with Scissor Jacks. I have my Scissor Jack on the inside and held it in place with a magnet on the outside and that held it where I wanted it right over the brace so I could just reach through the sound hole and bring it down for pressure. I've used spring loaded toilet paper plungers like to hold the toilet paper roll, use them, cut them to shape. This is the best.
Now I'm coming in on the outside with my exterior caul. Now I'm getting a lot more squeeze out, of course. Those flat cauls on the outside of the guitar, especially on the back spreads the load. You've got two Scissor Jacks coming down bearing on that brace, it spreads out their pressure a bit and it supports the back from the outside so you're not pressing too hard on the back.
Now it's all just clean up and I can kind of relax now. I have to do a lot of cleanup on my tools, but I don't worry about that right now. Each time you clean up, squeeze out, it opens up the edge from drying out and lets more glue come out. I'm going in there with little Straightedge and I'm going to try to see if I can scrape a little bit more. And right up to that edge, right into the corner. When that all dries out tomorrow it's going to look pretty darn good. I've done some of this stuff thousands of times and I still get nervous. That's the best I can do though, and it's the best I did today. That's it.


