Rotten old vintage plastic: fabricating replacement parts from pickguard material
Issue 189 April 25, 2013
After nearly 60 years, old celluloid parts start to crumble. The pickup risers on a '55 Gretsch are rotting away, and Dan Erlewine builds new replacements from a sheet of tortoiseshell pickguard plastic.
- Stinky, "off-gassing" celluloid destroys metal, too!
- Laminating acrylic material to fabricate a 3D shaped part.
- Hot Tip! The advantage of bending the plastic while gluing.
- Quick way to sand and buff acrylic to a high gloss.
Video Transcription
[Dan Erlewine - Stewart-MacDonald]
Dan Erlewine: Today I'm making a set of new pickup risers for this 55 Gretsch Roundup. A pickup riser goes underneath the pickup and holds it up on the plane of the top to bring it closer to the strings. It's not like a mounting ring that goes around a humbucker. It's different. And in this case, it's curved on the bottom and flat on the top because these old Dearmond pickups are flat on the underside.
Plastic rot
These risers were made out of celluloid in 1955 and they've rotted to pieces. They smell, they have fumes coming off of them, and that rots all the plastic on the guitar eventually. It's even happening right here on the pickguard and that'll go. As that celluloid dries out and gets old, it rots and these fumes come out of it. It's the solvents that are in there. Some people call it off-gassing and they come out and infect all the metal parts with gold plating, it's really bad. They turn green, there's rust and corrosion. And then if the case has been closed for many years and the guitar is trapped in there, it's even worse. The neck pickup's the same thing, but it's in a little better shape. It's corrosion and rust all over the metal parts. And gold plating really gets it bad from the pickup rot.
Fabricate mounting rings by laminating acrylic material
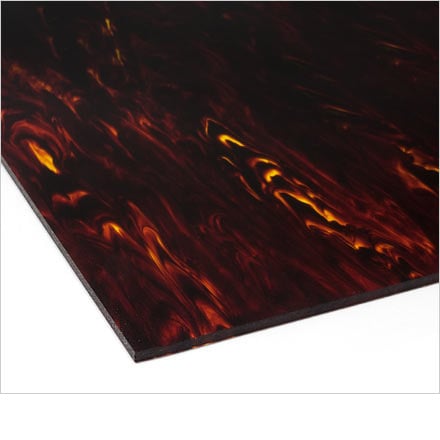
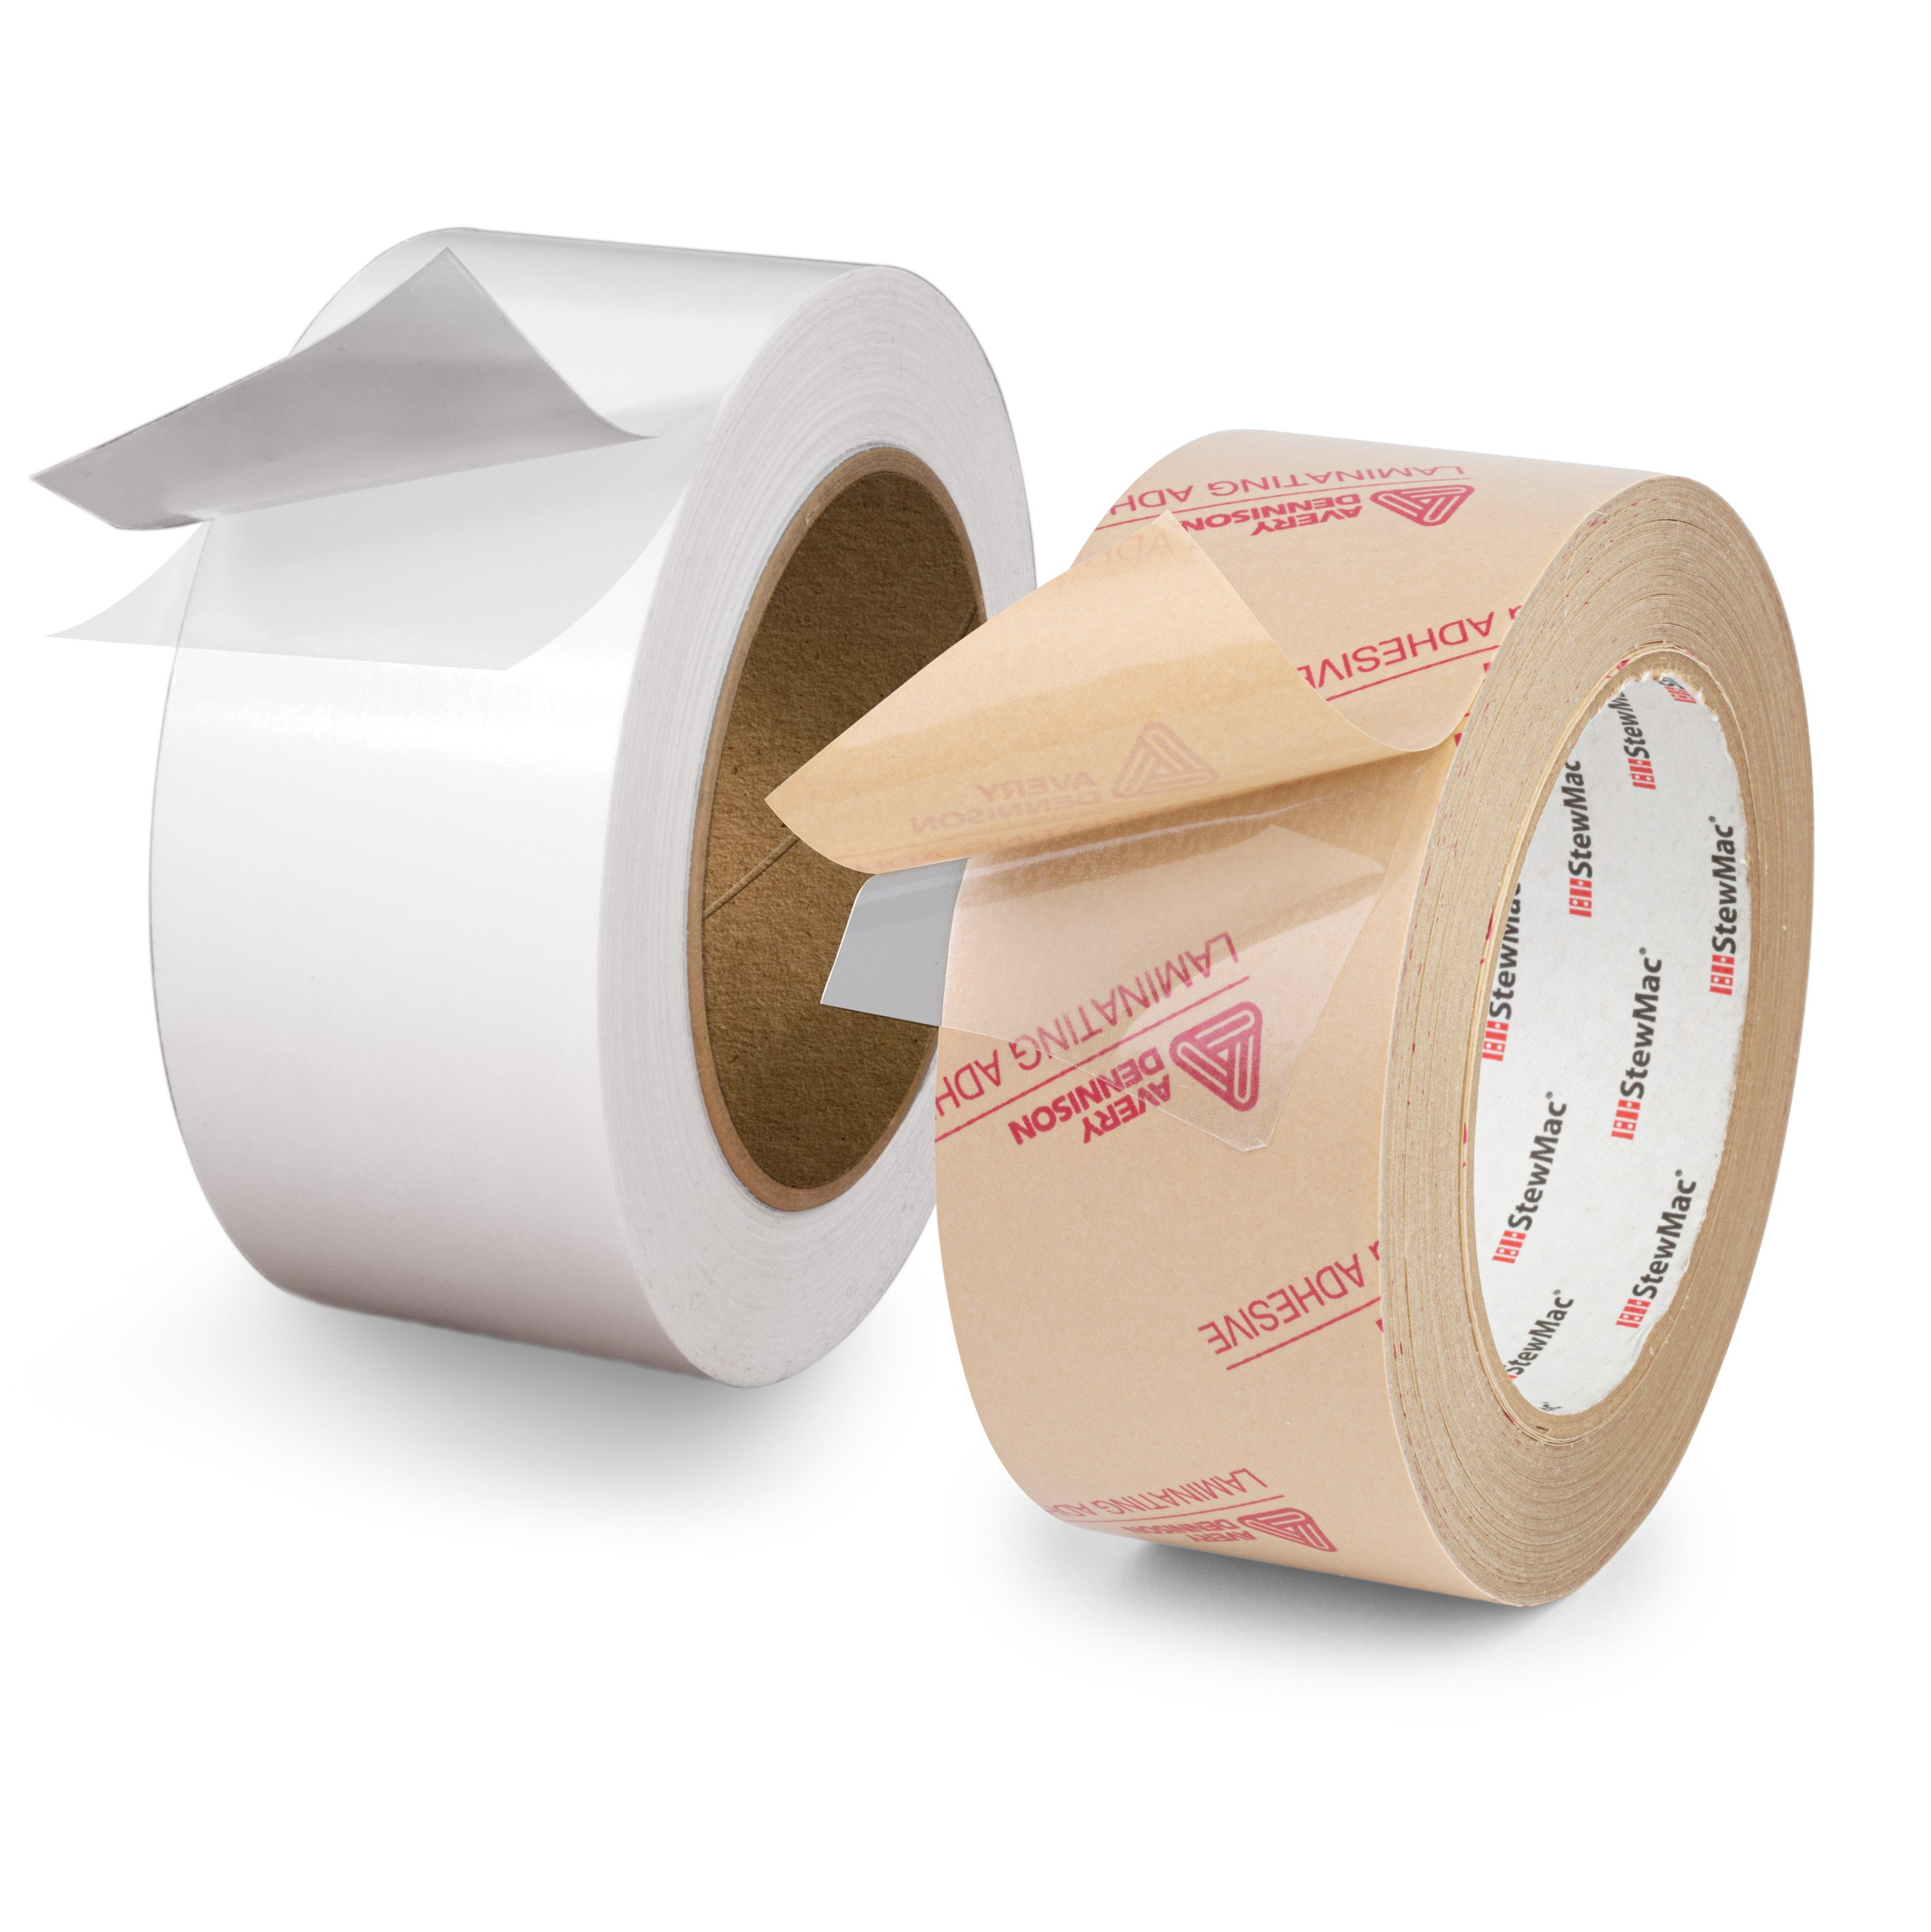
So what I'm going to do is make my mounting rings out of tortoise acrylic [on-screen text reads: Tortoise Acrylic Blanks at StewMac. It's a modern material that doesn't do all that rot and it's easy to machine. And I tried something new today. I found out that the radius on the top is a 16 up here at the bridge and it's about a 25 up here. And I did that by taking the shape copier and picking up the shape. And I made two blocks to those curves and that's what I double stick taped down my plastic to. I took some mahogany and cut it to a curved radius of the top, a tighter one on this bridge one, a little flatter on the neck. Then I could Double Stick Tape onto the curve and put the plastic down, clamp this in my milling machine vice and cut all around and get the accurate shape and then cut the centers out.
Glue the bridge riser pieces on a curve
All I needed was the double stick tape to hold this one down because it's so skinny. This one is two layers glued together and that's how Gretsch did it back then. That's a little stiffer and I don't think that would've stuck too well to the tape. So what I did was I glued the bridge riser pieces together on a curve. I used to take a thick piece of plastic and bandsaw it to a curve to get this riser bottom and then sand that to the shape [on-screen text reads: Clamps are a must have - Swivel Handle Clamp from StewMac]. I had a new idea here. I took the two pieces and I glued them together on a curve with three blocks to hold them down, three clamps and a couple of drywall screws to keep the two pieces in line when I glued them. And then the next day I had a curved blank that fit the top perfectly and is very rigid and I didn't have to do any sawing. It's just the shape and it was perfect for going about and doing the machine work.
Sand and buff the mounting ring
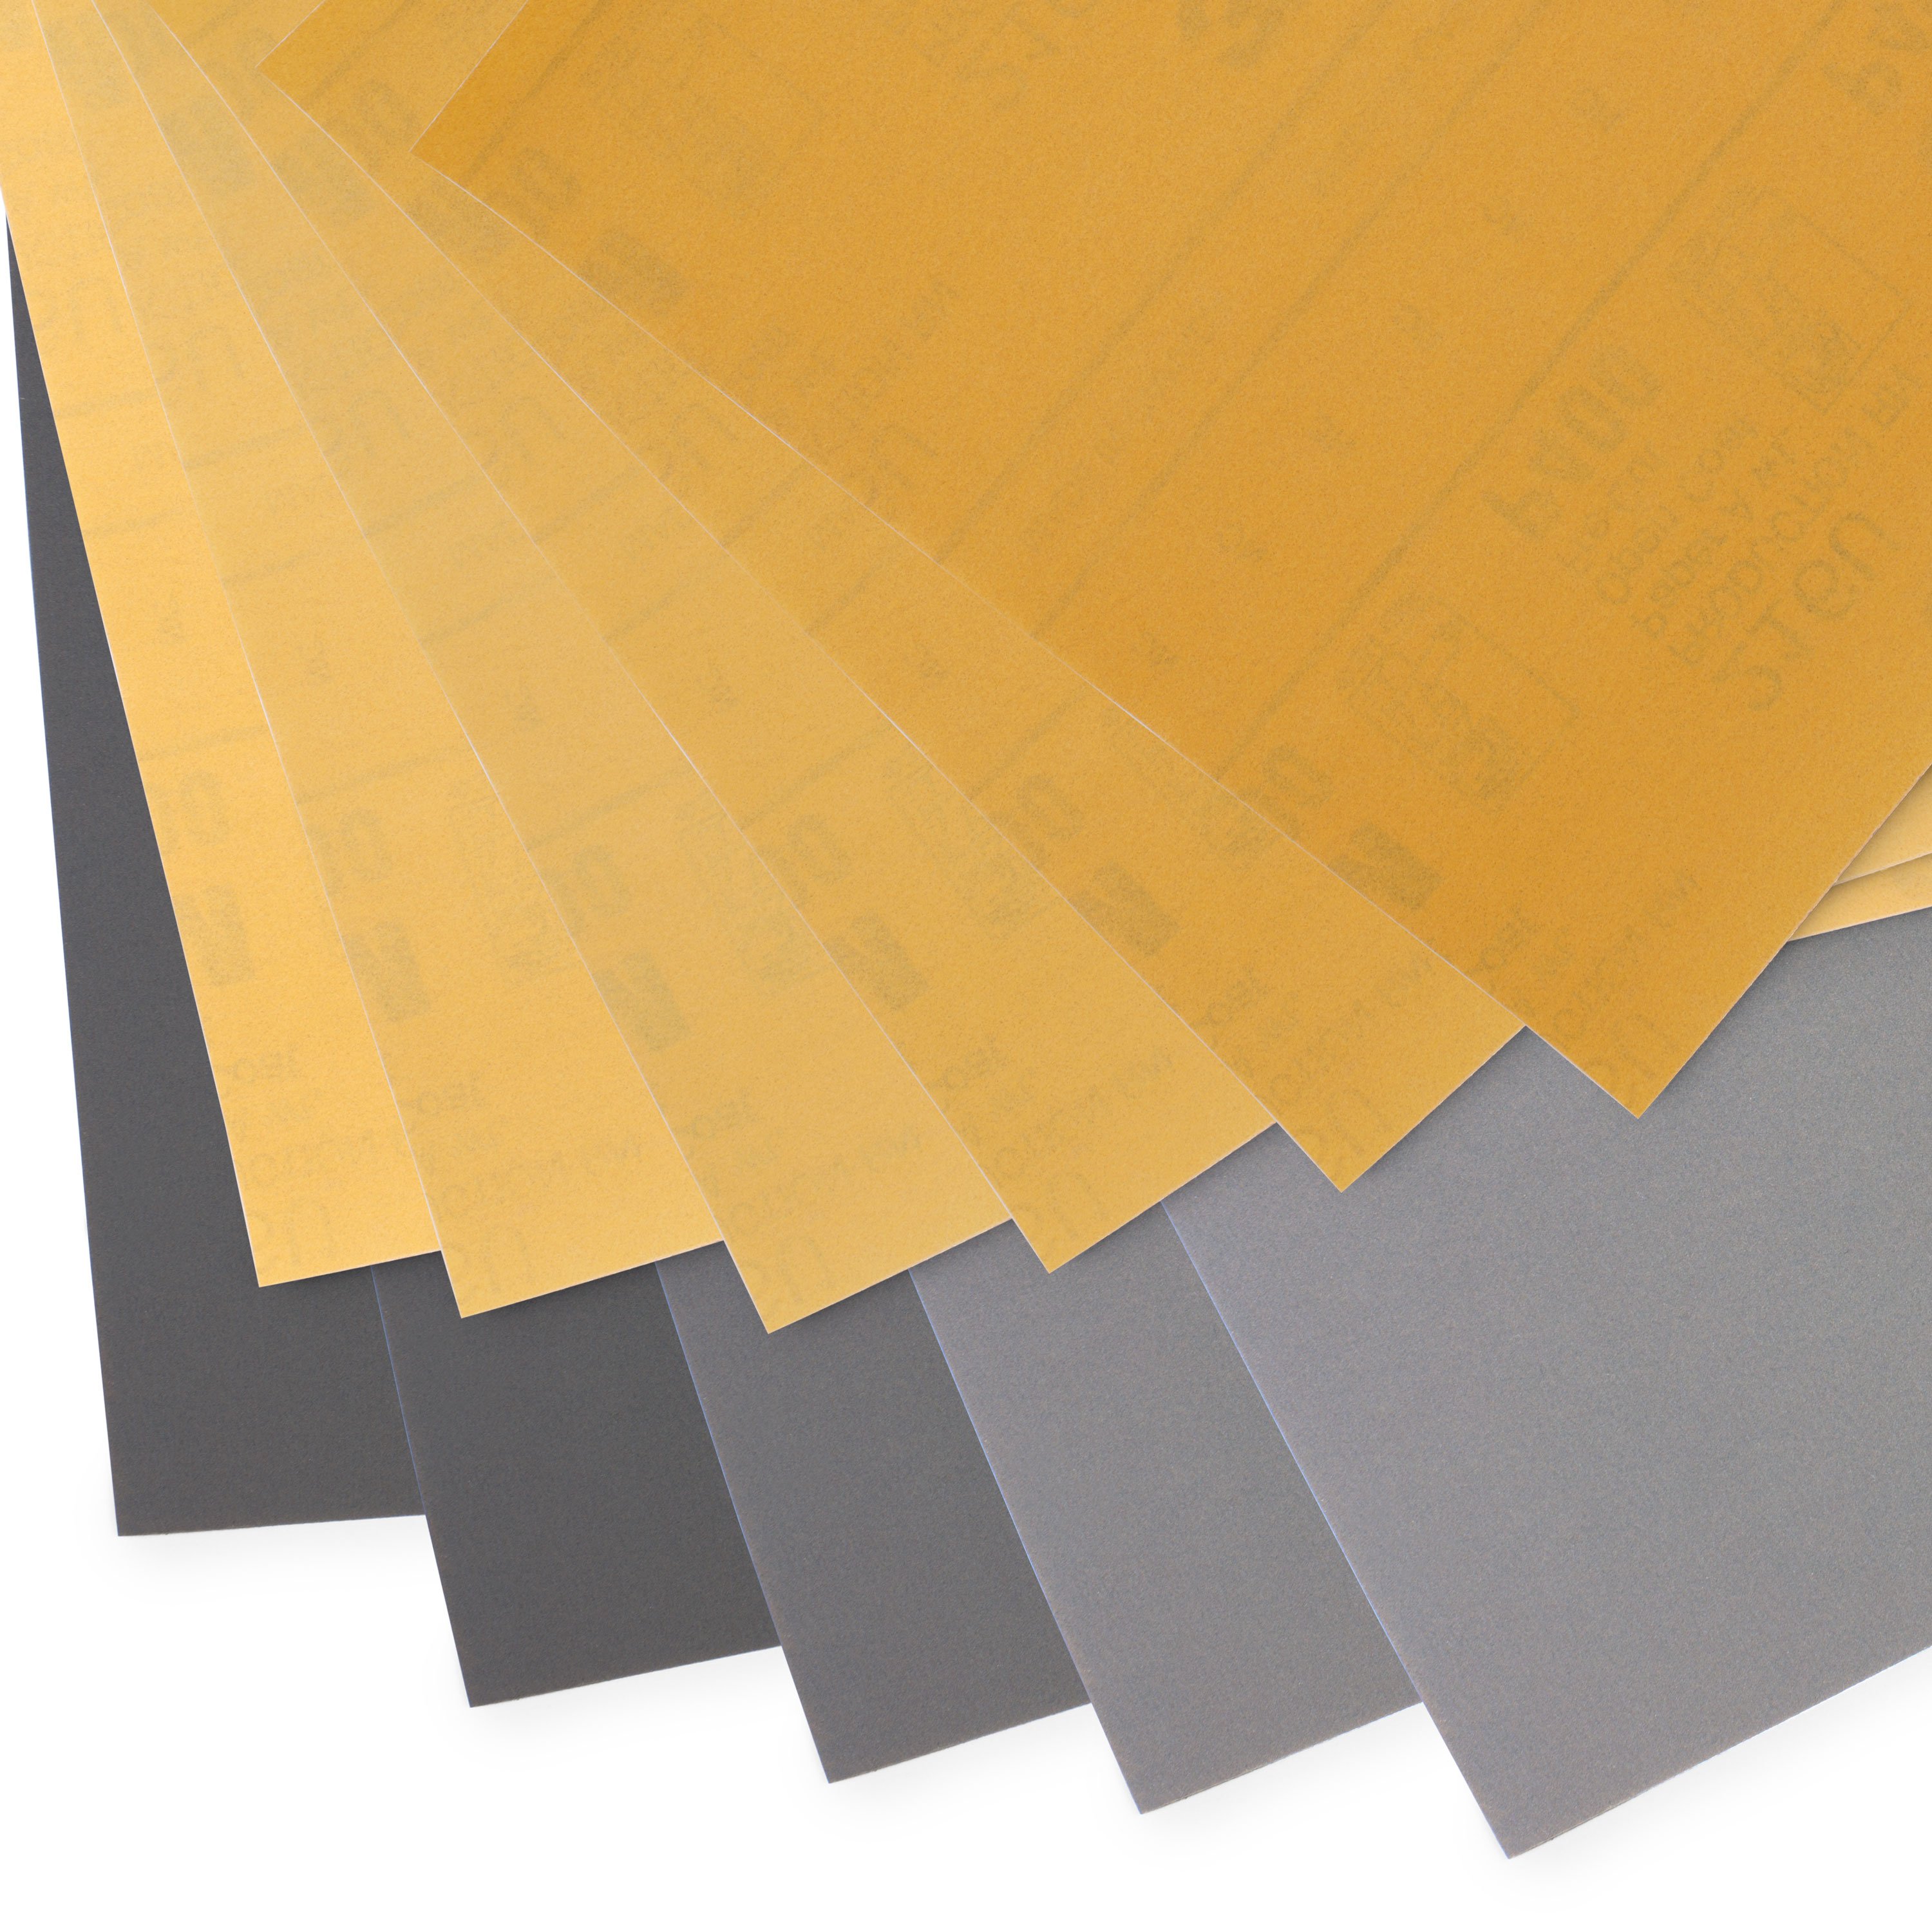
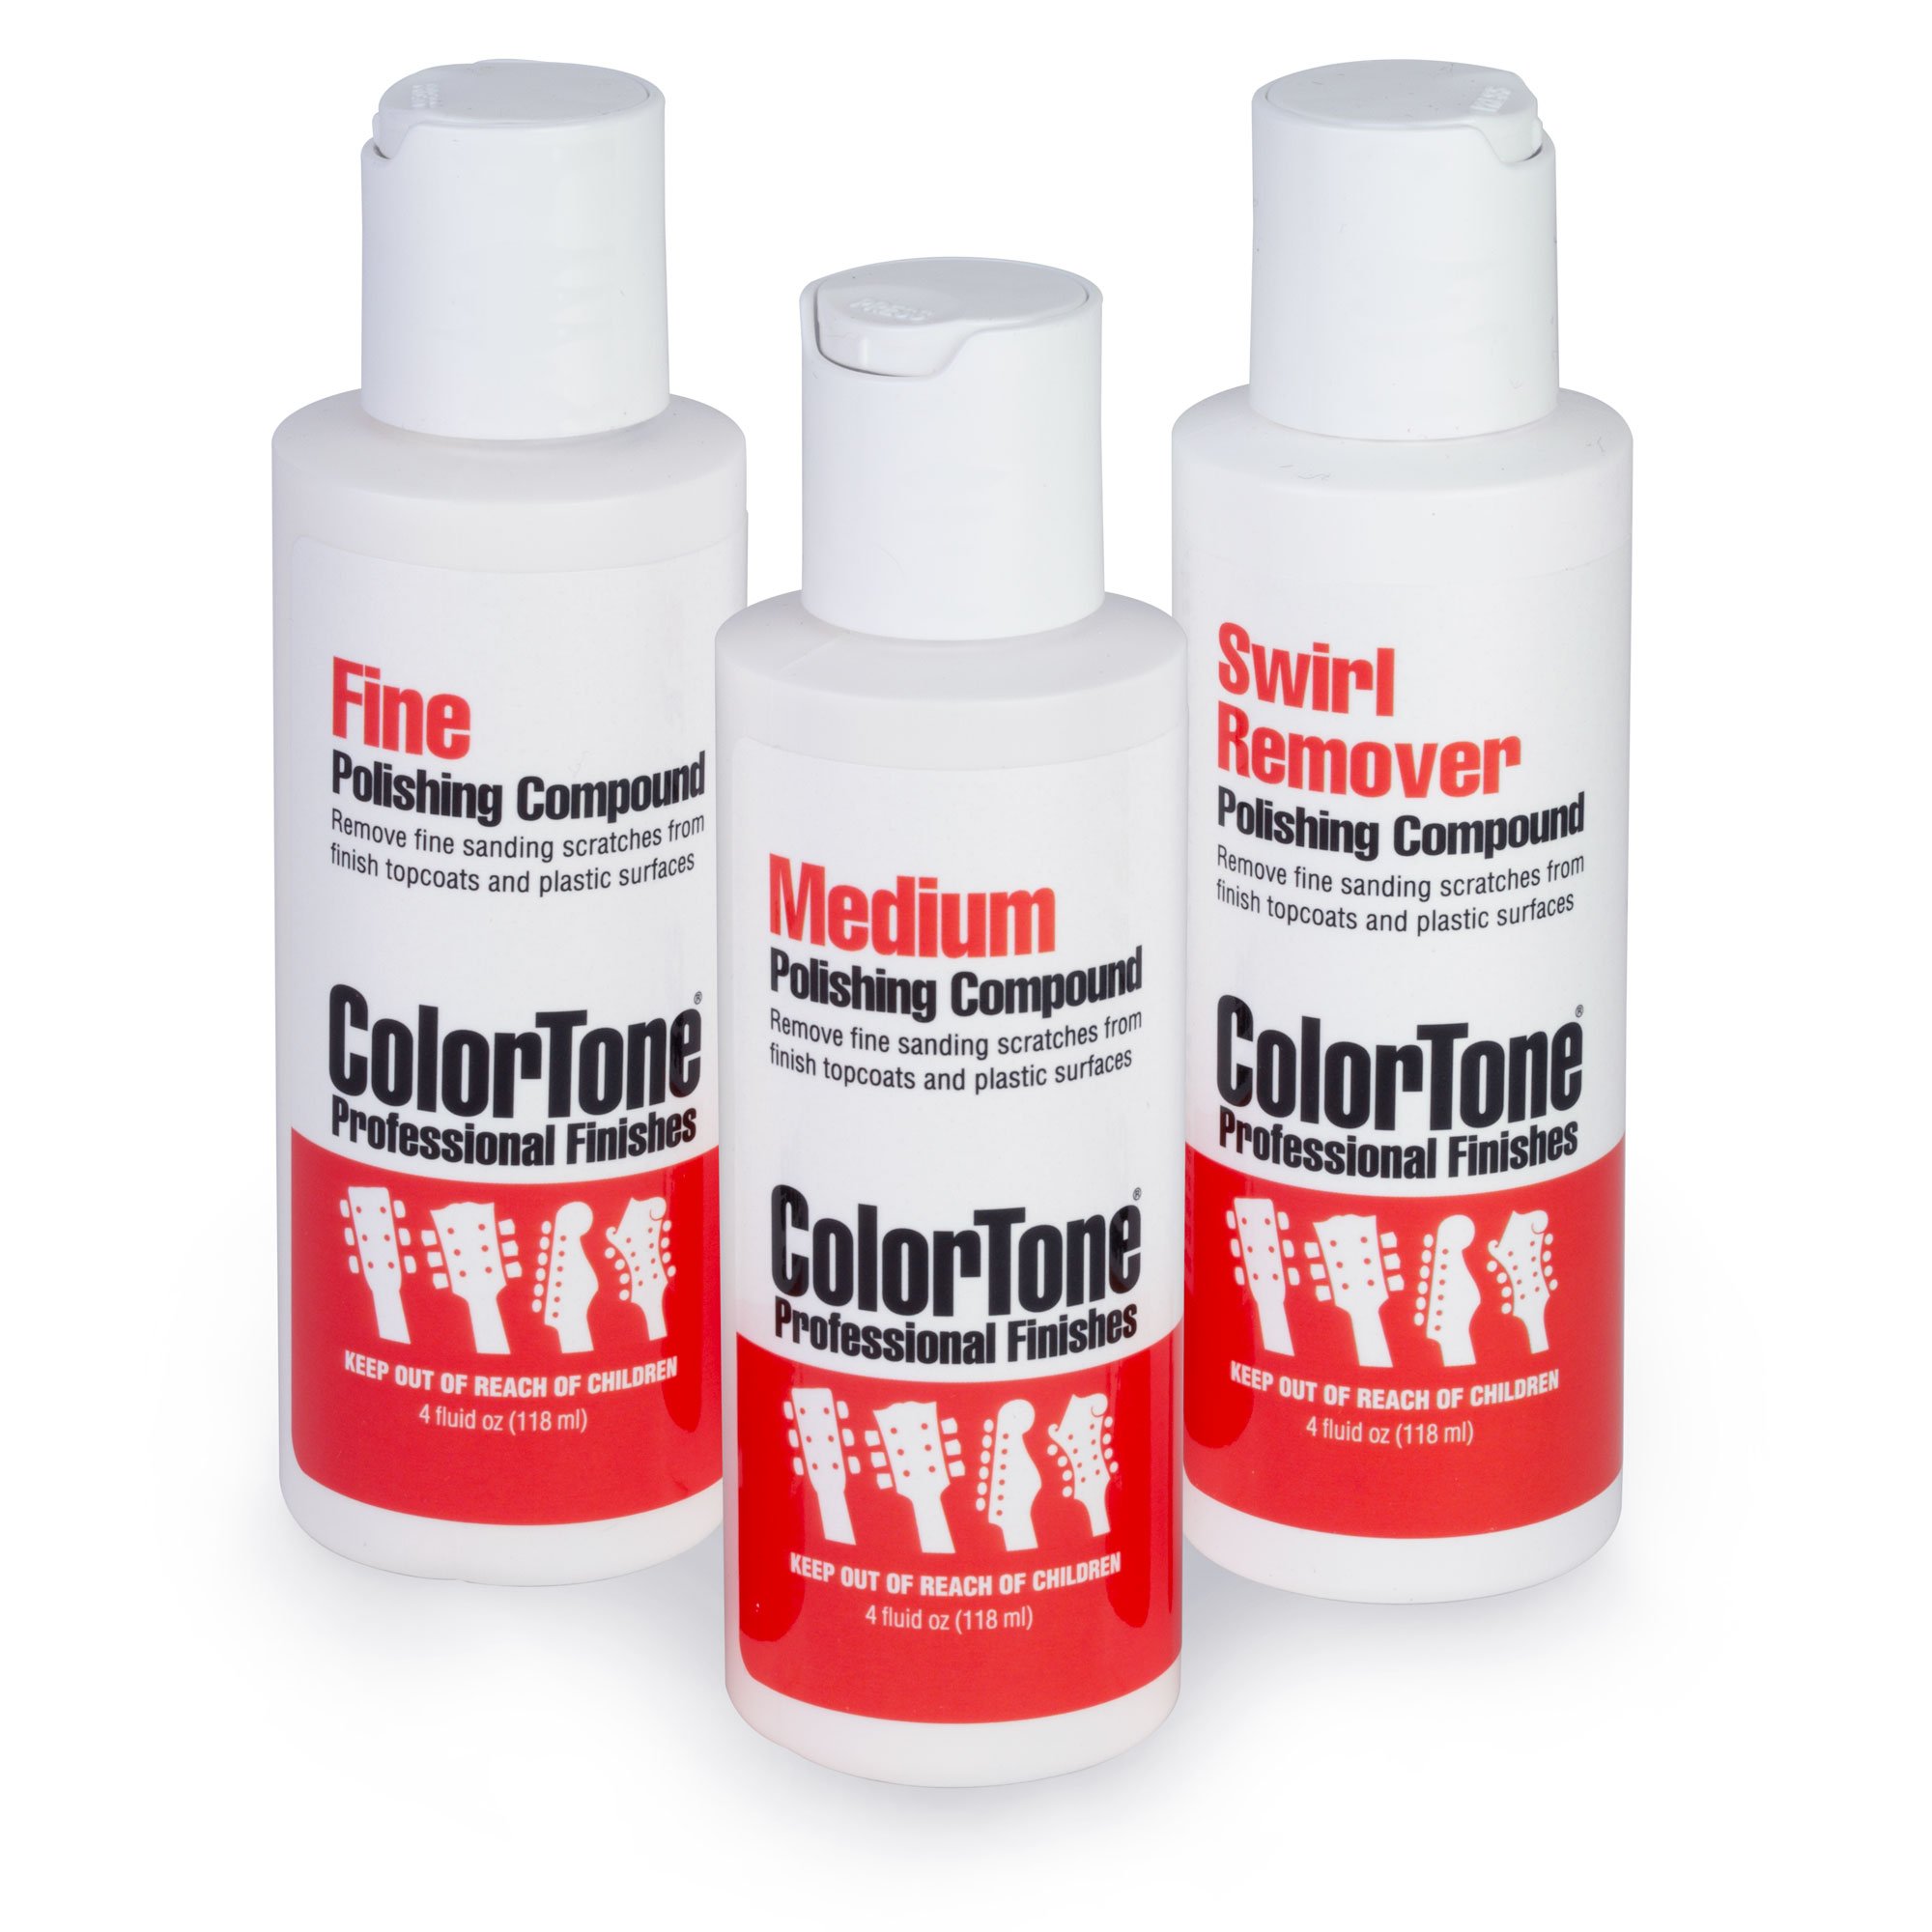
Then I bandsawed away the block and sanded right up to the plastic. So I have a holding block now that's got the riser on, it's still stuck there. And I traced out the little radius on the ends using the old ring and shaped that on my little belt sander. It's an edge sander, a tiny one. And when that was right it was pretty easy to take it out and get five different grits and a stick of gold paper and put it on a block from 120 up to 800 and just sand [on-screen text reads: Countless uses for sandpaper. 3M Stikit Gold Fret and Finishing Set of 4]. 30 seconds here, 20 seconds there. Before you know it, I've smoothed out all the rough marks and I'm ready to buff. Then I buffed it on the wheel with a medium and a fine polish and I have a good looking mounting ring that is easily as nice as the ones they made 58 years ago.


