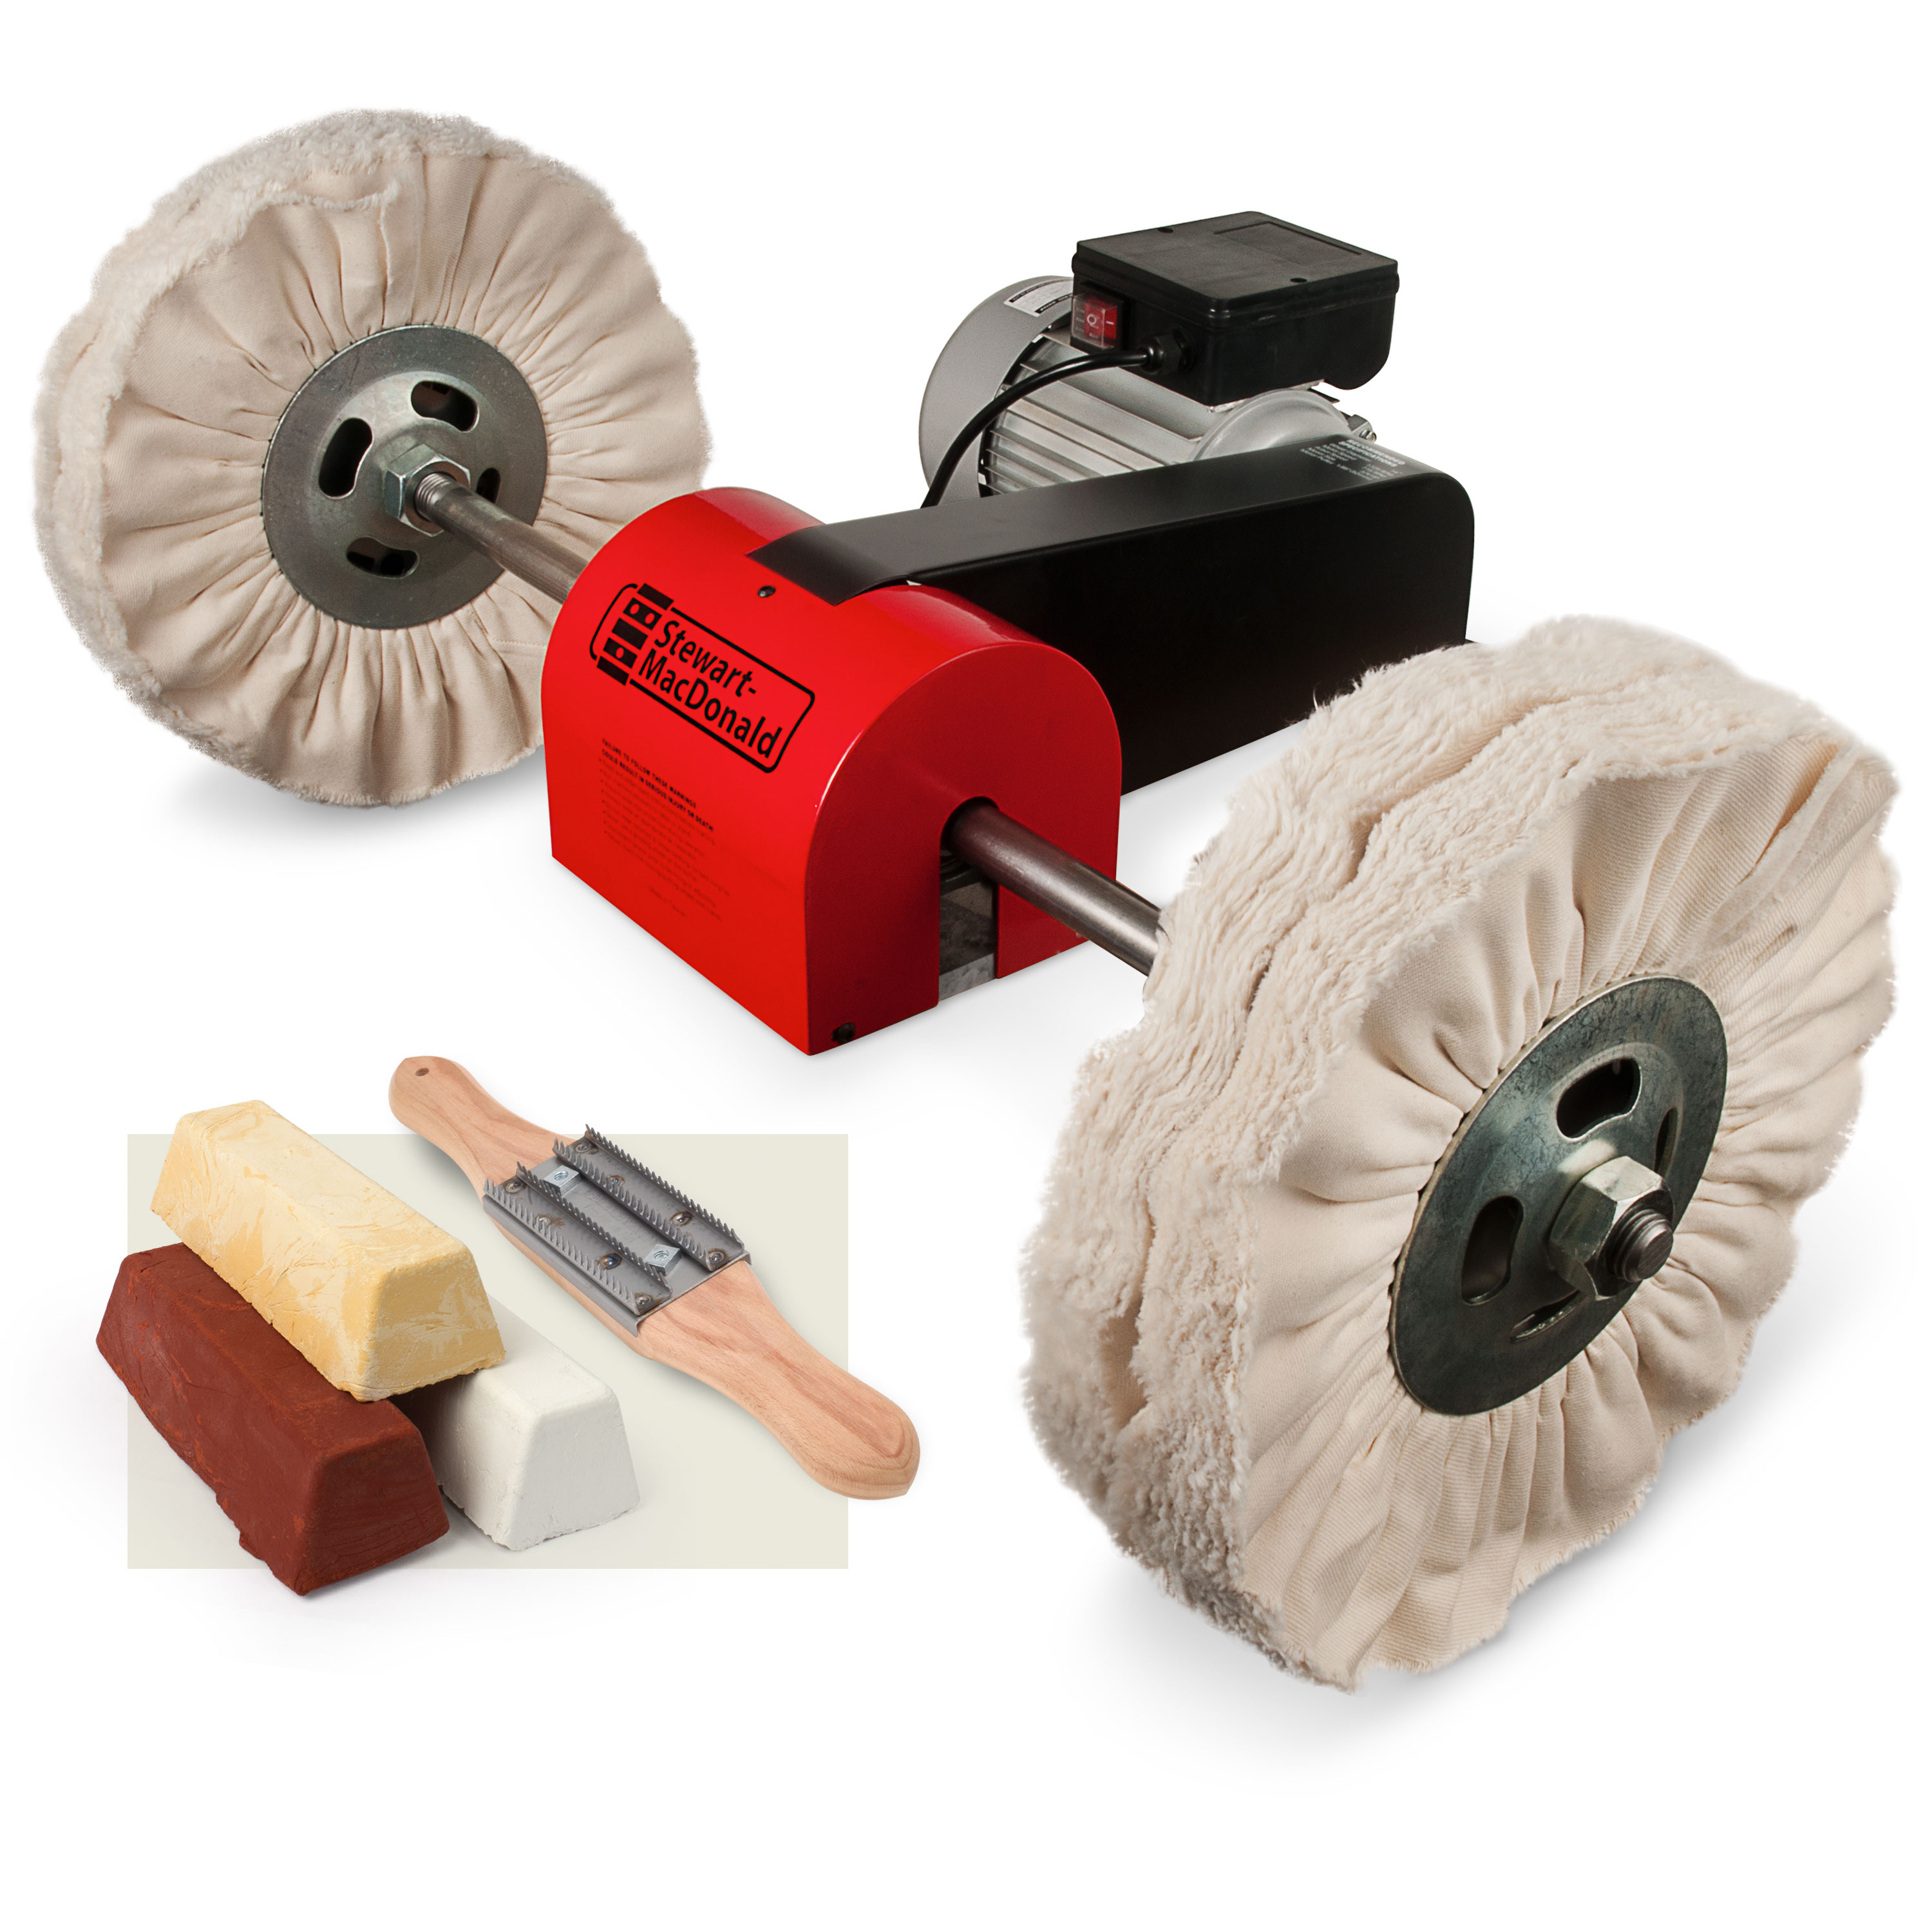
StewMac Guitar Buffer
Installation and safety instructions for the Buffing Arbor System.
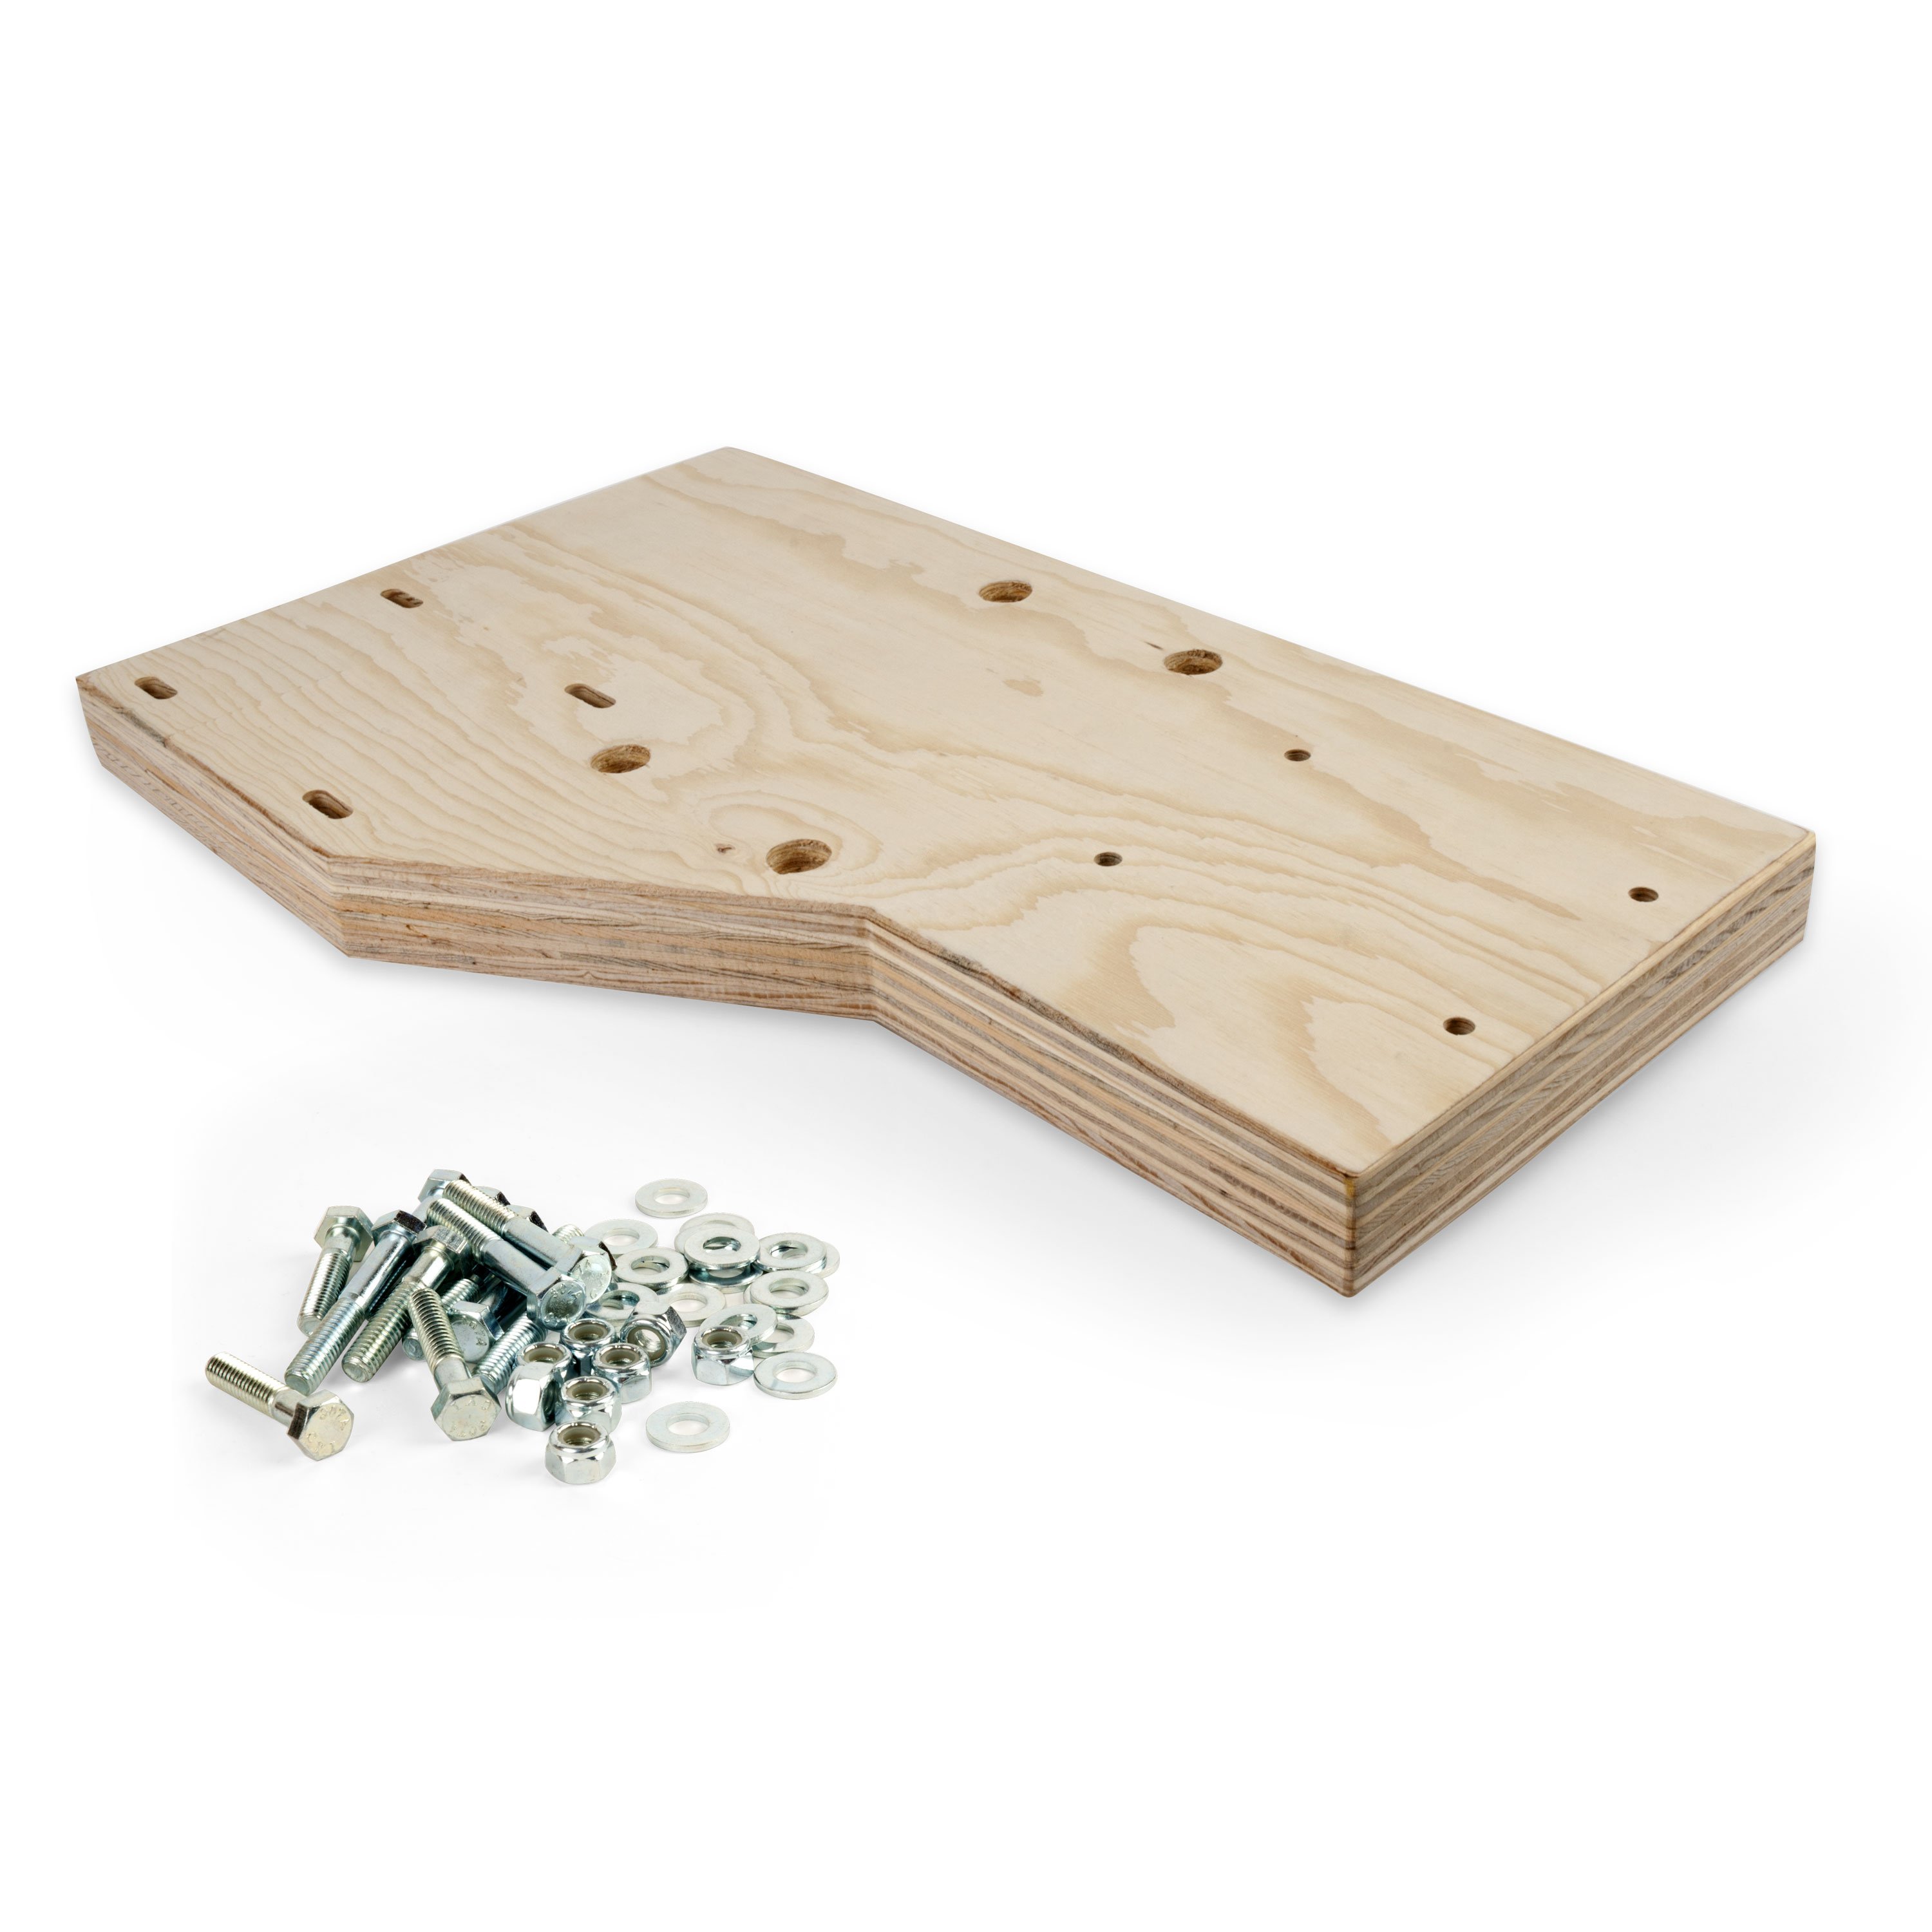
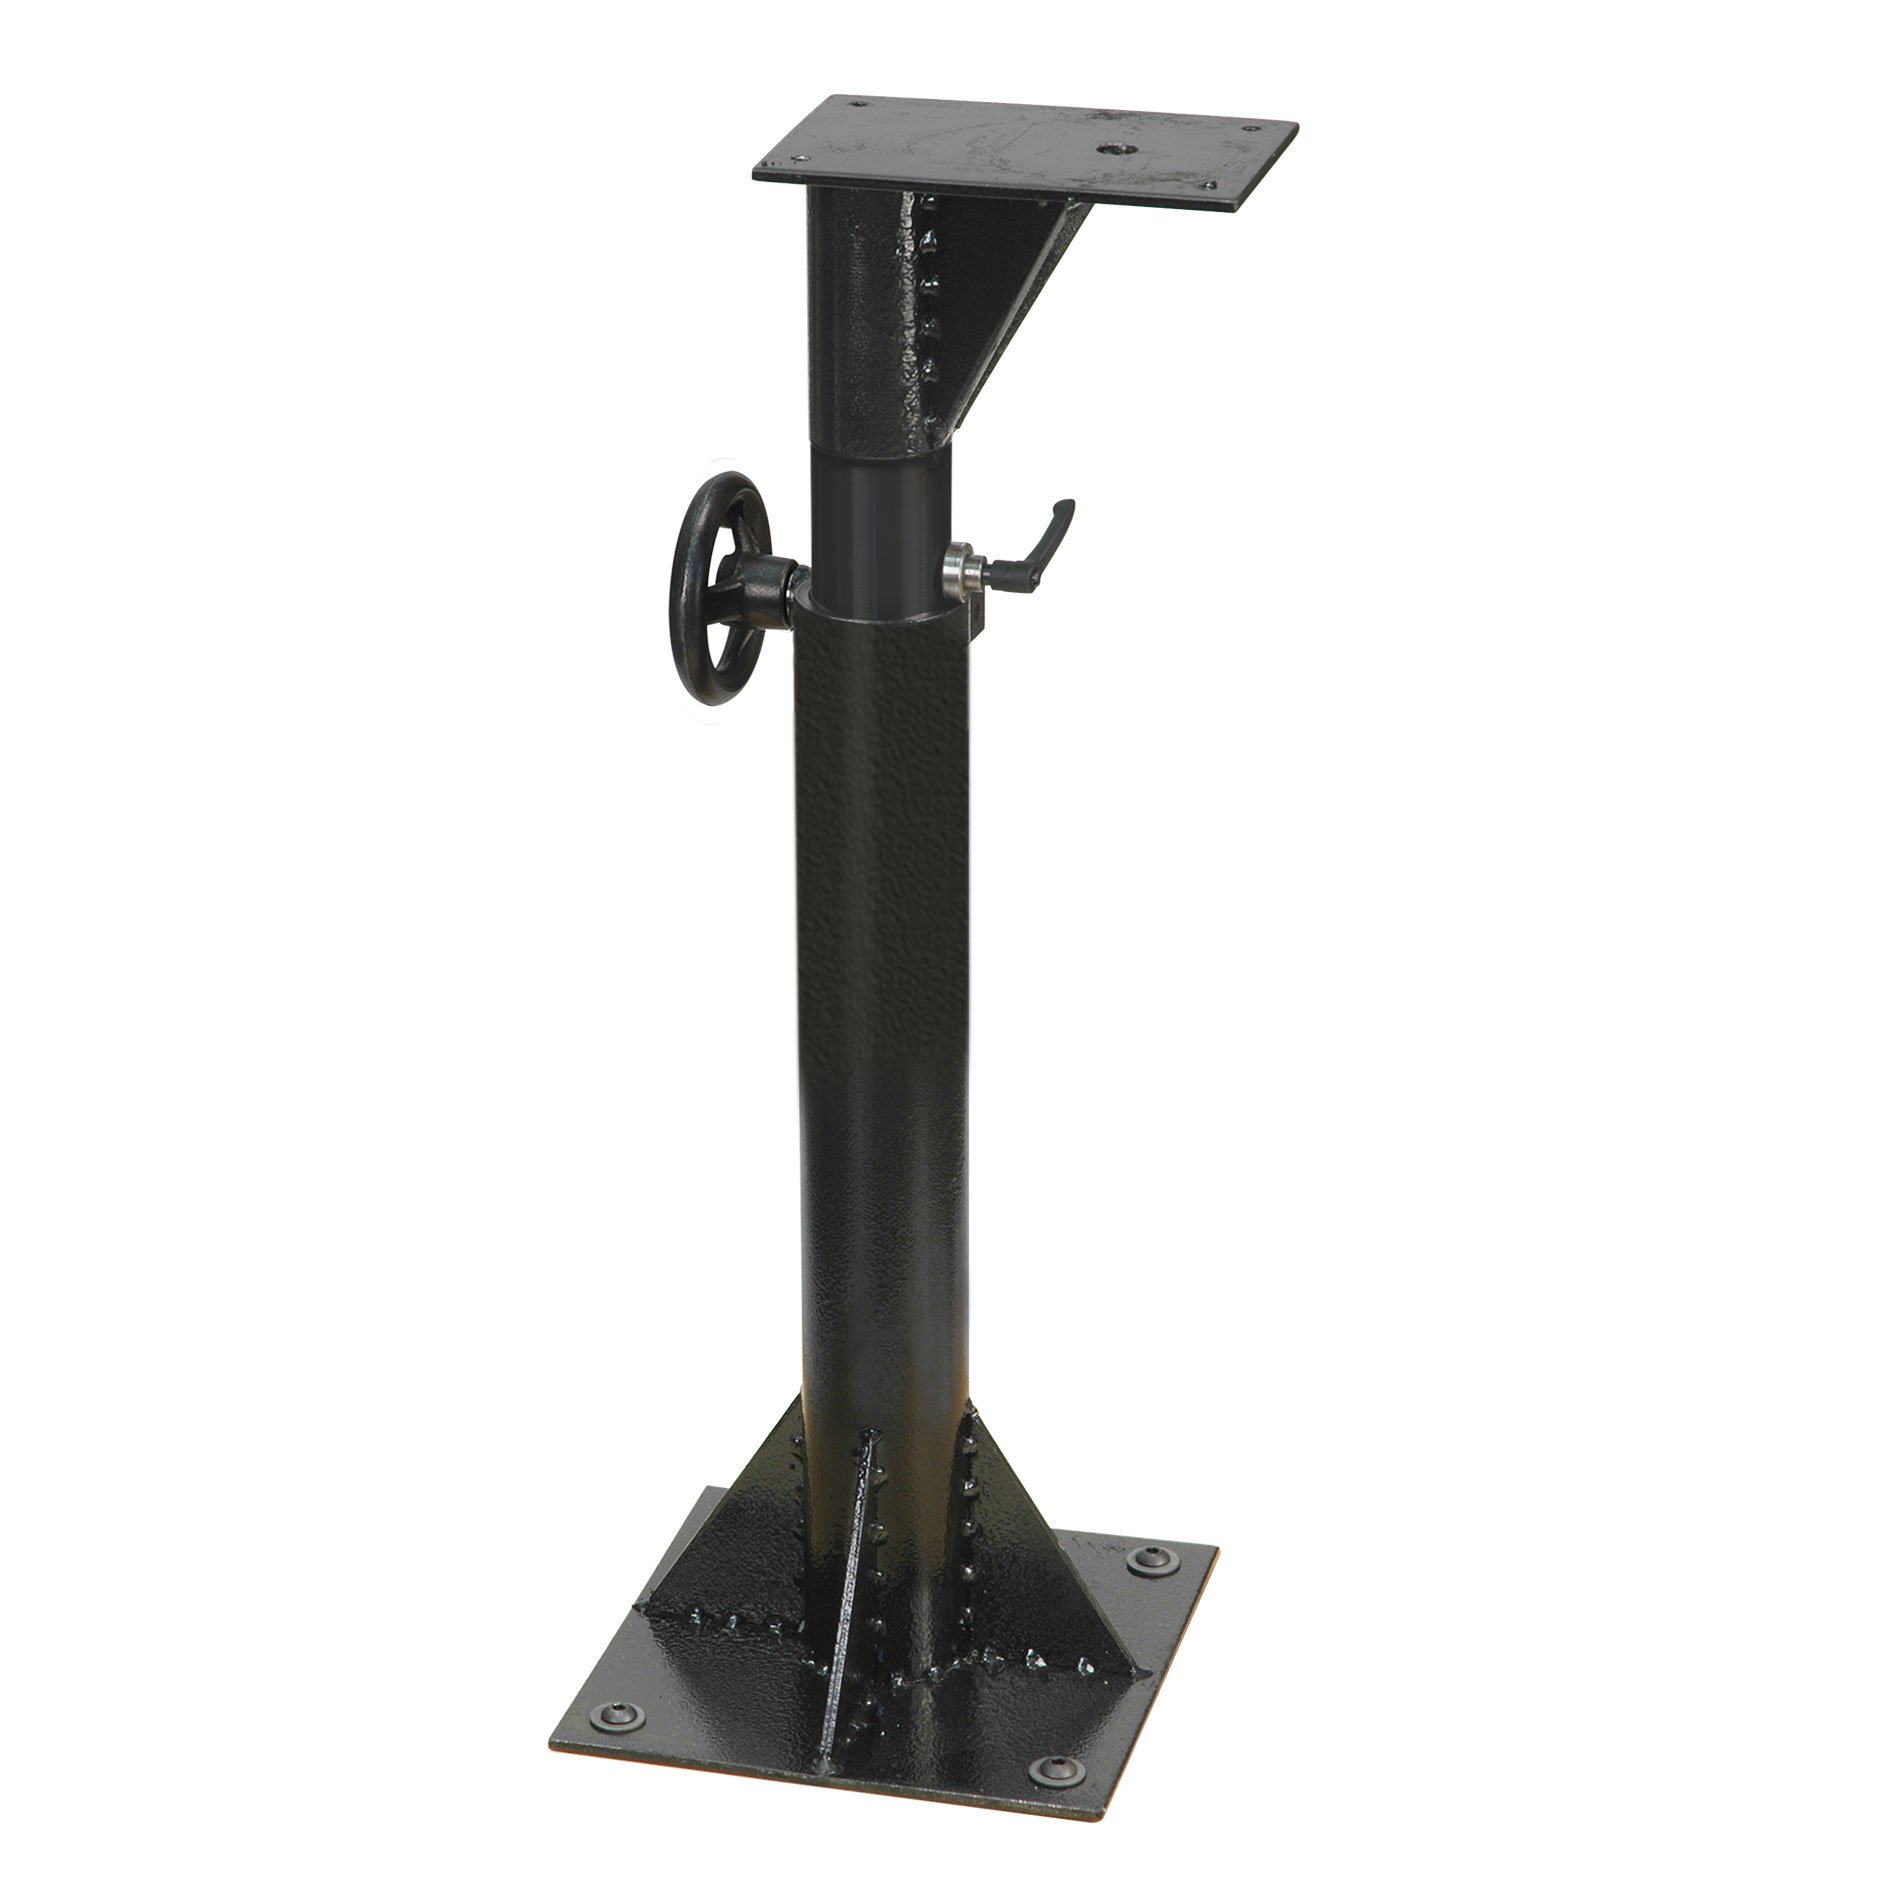
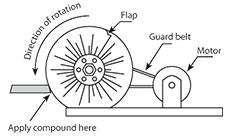
The StewMac Guitar Buffer is sizably larger than other buffers available. If you are mounting this new system to an existing buffing setup, please take care to handle the extra size and vibration. Our R&D team designed a simple platform to securely mount your buffing arbor and motor (see scaled drawing below). We call it the Buffer Base. This platform should be made of two thicknesses of 3/4" plywood laminated together for an overall thickness of 1-1/2". The edges should be rounded over for safe and comfortable handling. We mounted our arbor and motor to the wooden base with carriage bolts. Download the free Buffer Base Instructions. For mounting the buffering arbor and motor onto the ShopStand Secure the Buffer Base to the stand of your choice, making sure the stand is secure enough to eliminate vibration. We highly recommend bolting your stand to the floor and attaching it to the joist of an adjacent wall. Be sure all bolts are tight. Follow all safety guidelines when working with tools. We recommend our 3/4 horsepower motor with matched pulley and belt (item #3083). Attach a 1.89" pulley to the motor. Position the motor so that the arbor's V-belt is stretched tightly over the motor pulley. This should run the buffs at a good safe speed, about 715 rpm. When the wheels run too fast, the buffs can overheat an instrument's finish. When you face the buffing arbor, with the motor in the rear, the arbor's spindle should turn downward on the front, and upward in the rear. This tightens the nuts as the buffs rotate. The flanges are essential when using buffs with metal centers, and must be positioned between the shaft nuts, with the buffs between the flanges. Notice that the buffs have a flap of fabric on their outside edges. This flap should be placed so that it will lay back from the wind created by the shaft rotation. You can install one or two buffs on either shaft of the arbor, as needed. Prepare your instrument by applying a sufficient amount of finish (lacquer, etc.) and allow ample drying time. Wet-sand the finish. (Learn why, what, and how to wet-sand in this article: Wet-sand before buffing.) When you wet sand to 800-grit, then you should start buffing with a coarse polishing compound. If wet sanded to 1200-1500 grit, start with medium compound. (In both cases proceed through all buffing stages.) Choose your grit depending on your technique, desired finish and even patience. Buffing is relatively simple. Apply the buffing compound to the wheel by holding the bar of compound in contact with the spinning buffs (see the diagram below). Dedicate one set of buffs to each compound, don't mix compounds on the same wheel. You'll soon get a feel for how hard and how often to apply the compound. You can polish in any direction, with or across the grain. Let the compound do the work! First, use the medium pre-polishing compound (butterscotch colored) to remove sanding scratches and to establish a uniform dull luster over the entire instrument. You can polish in any direction, with or across the grain. Then, use the fine (brownish ivory) polishing compound to bring the instrument to a high gloss. It doesn't take long, so be sure to have ample compound on the wheel. Too much pressure and too little compound can cause heat build-up, which will soften the finish and allow the buffs to drag the finish right off the surface. Buff from the center to the edge. Don't start right on an edge; it's delicate, and if you buff through the finish it will most likely be on an edge. The buffs also may "grab" an edge and possibly throw the instrument to the floor. Move the instrument up or down as you buff the finish. For the highest polish, the last movement should be in the downward direction as you take the instrument away from the wheel. Don't wear loose-fitting clothes that can get wrapped up in the rotating spindles. Wear a dust mask to filter the lint and other airborne particles that come off the wheel when in use. Wear appropriate eye protection. Don't present a corner or sharp edge of the instrument to the wheel, because it can catch the instrument and throw it at you!Make a Buffer Base or platform
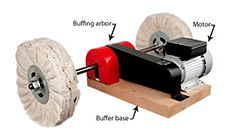
Buffer base plan
Power the buffer
Installing the buffs
Basics of buffing with compounds
Important buffing precautions
Buffing safety
