Scraping for sharp looking binding: here's how it's done!
Issue 200 September 26, 2013
The king of Gibson relic finishes: Tom Murphy is well known as Gibson's go-to guy for relic finishes: perfectly worn and age-cracked. Tom's business, Guitar Preservation, makes this a specialty. In this week's Trade Secret he shows us how to make and use a scraper for cleaning binding after spraying a sunburst.
| Extra video: StewMac went to the Northwoods Seminar, an intense week of workshops at Galloup Guitars in Michigan. Over a dozen great luthiers gave workshops, and we brought back Trade Secrets! Here's a short video to give a feel of the 2013 Northwoods Seminar. Trouble viewing video? View it on YouTube |
|
|
|
- Masking tape won't do the job; you need a scraper!
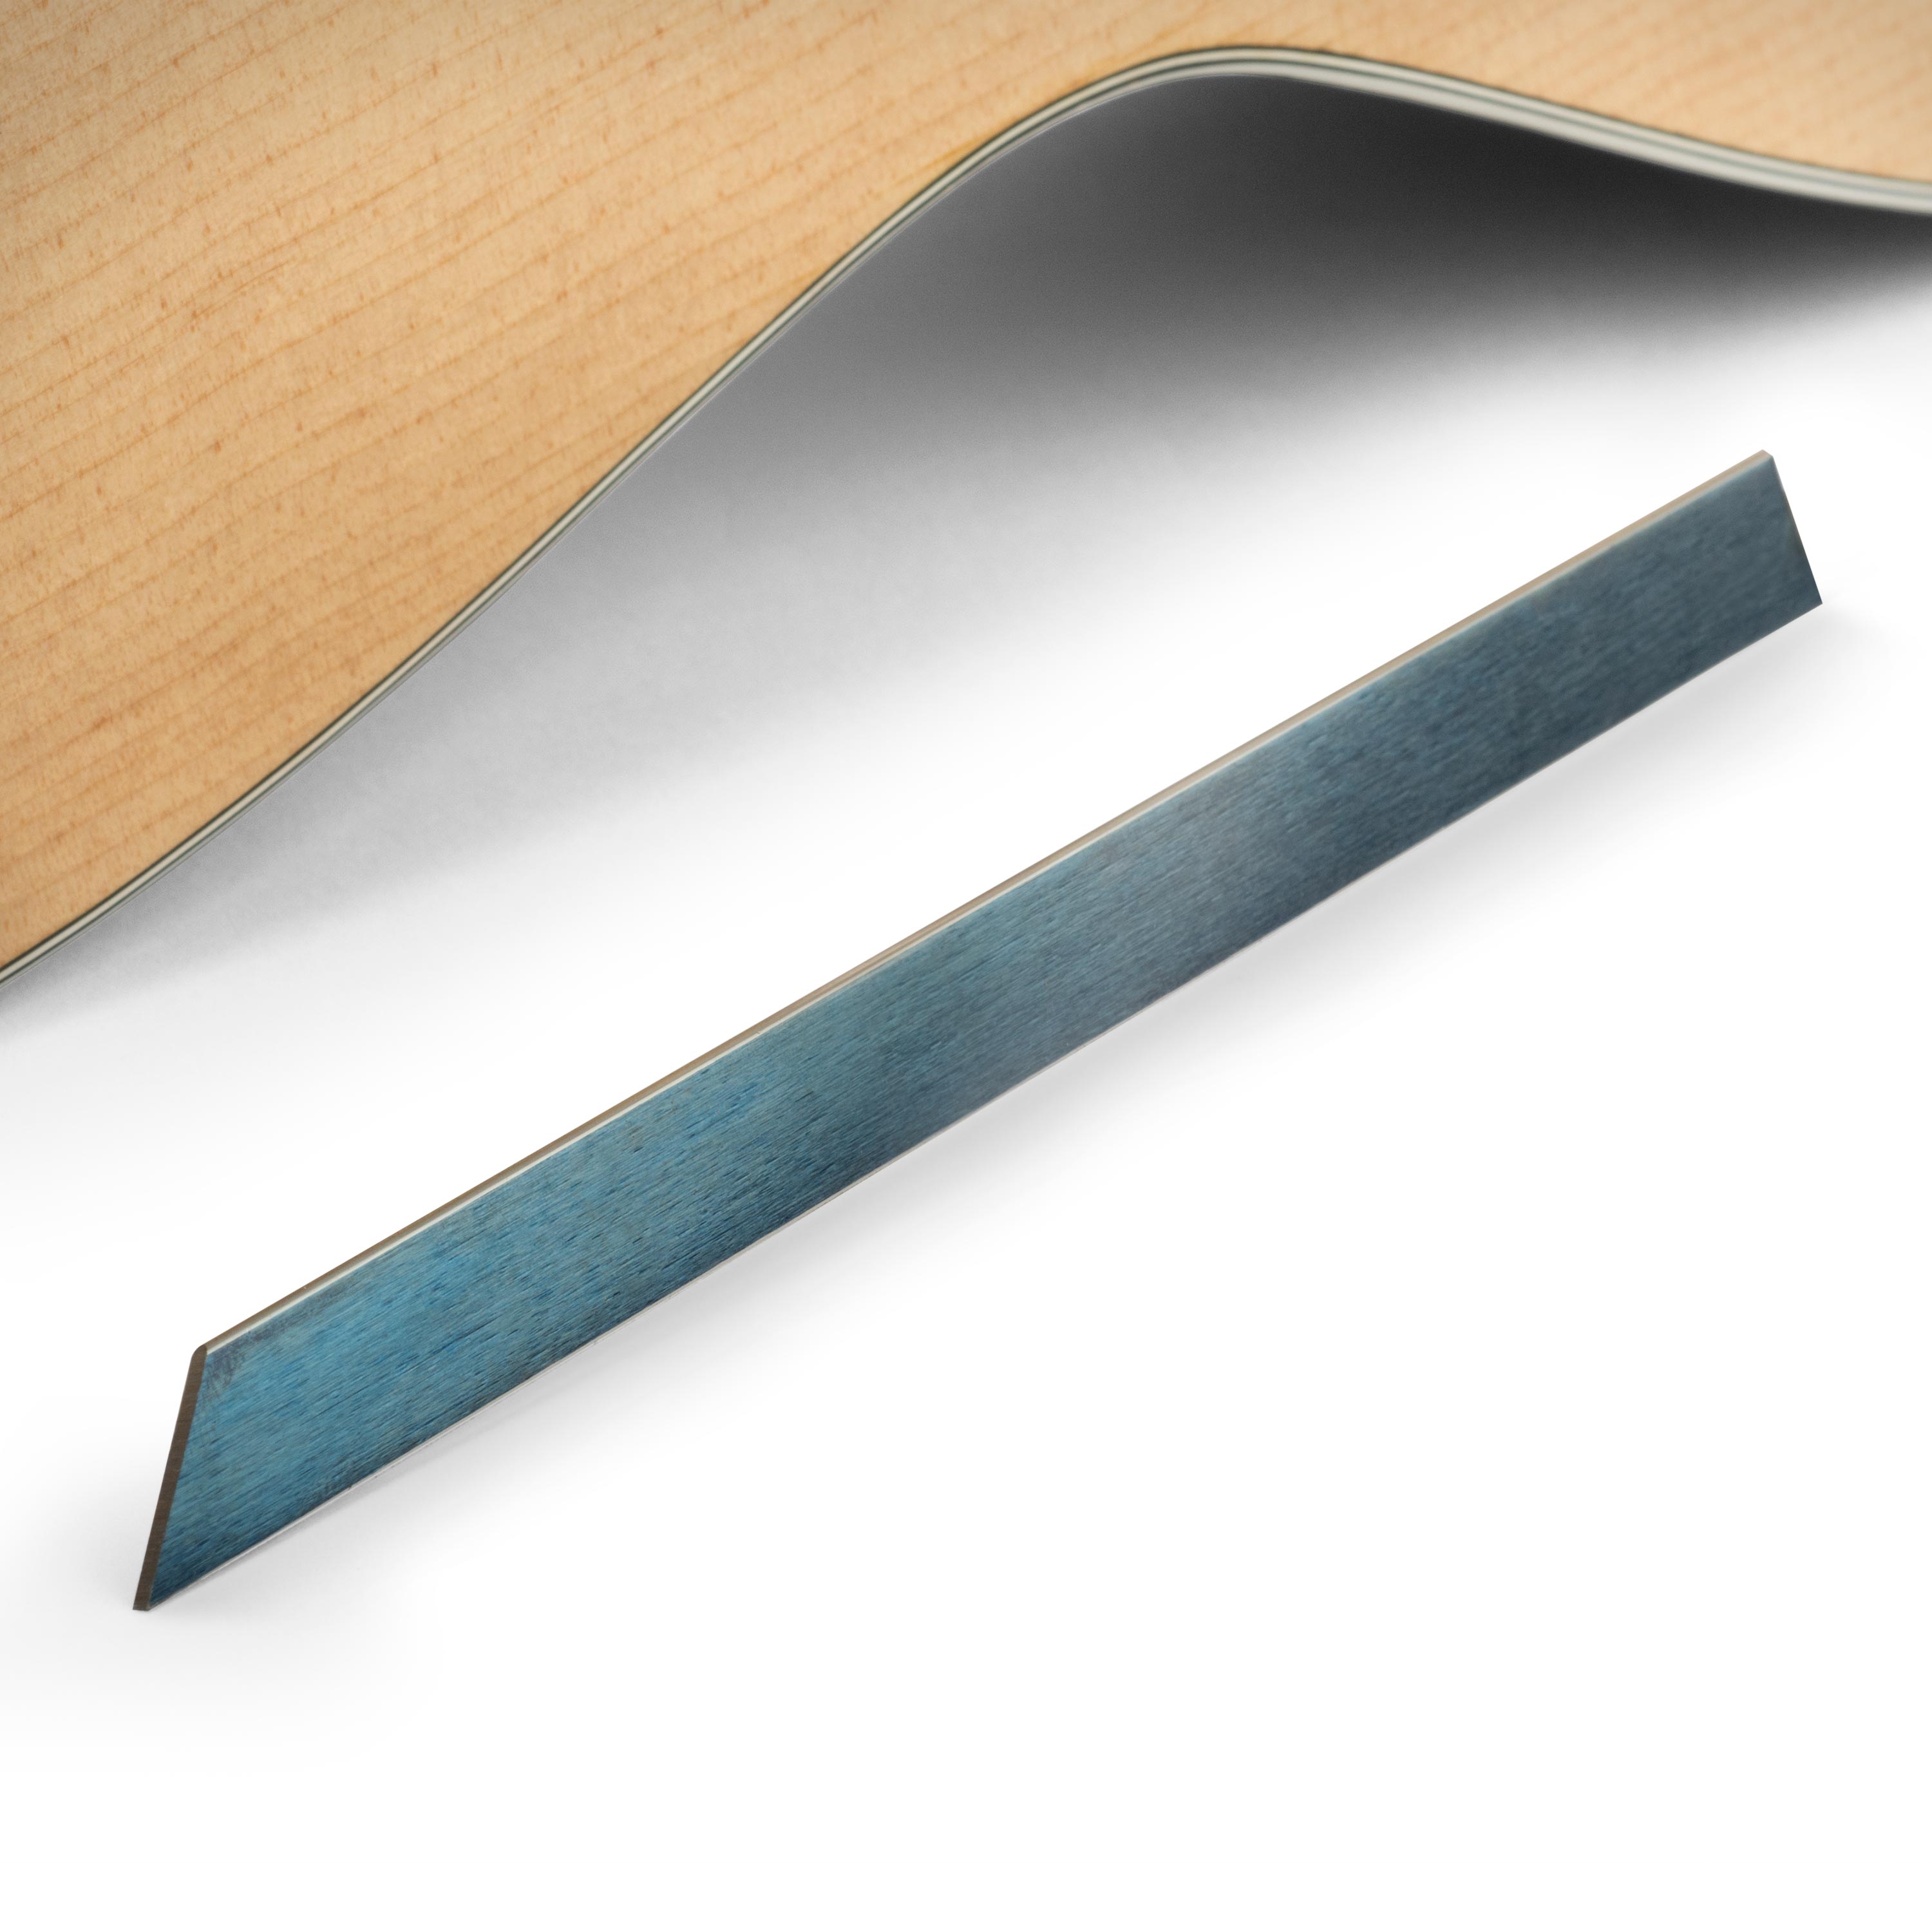
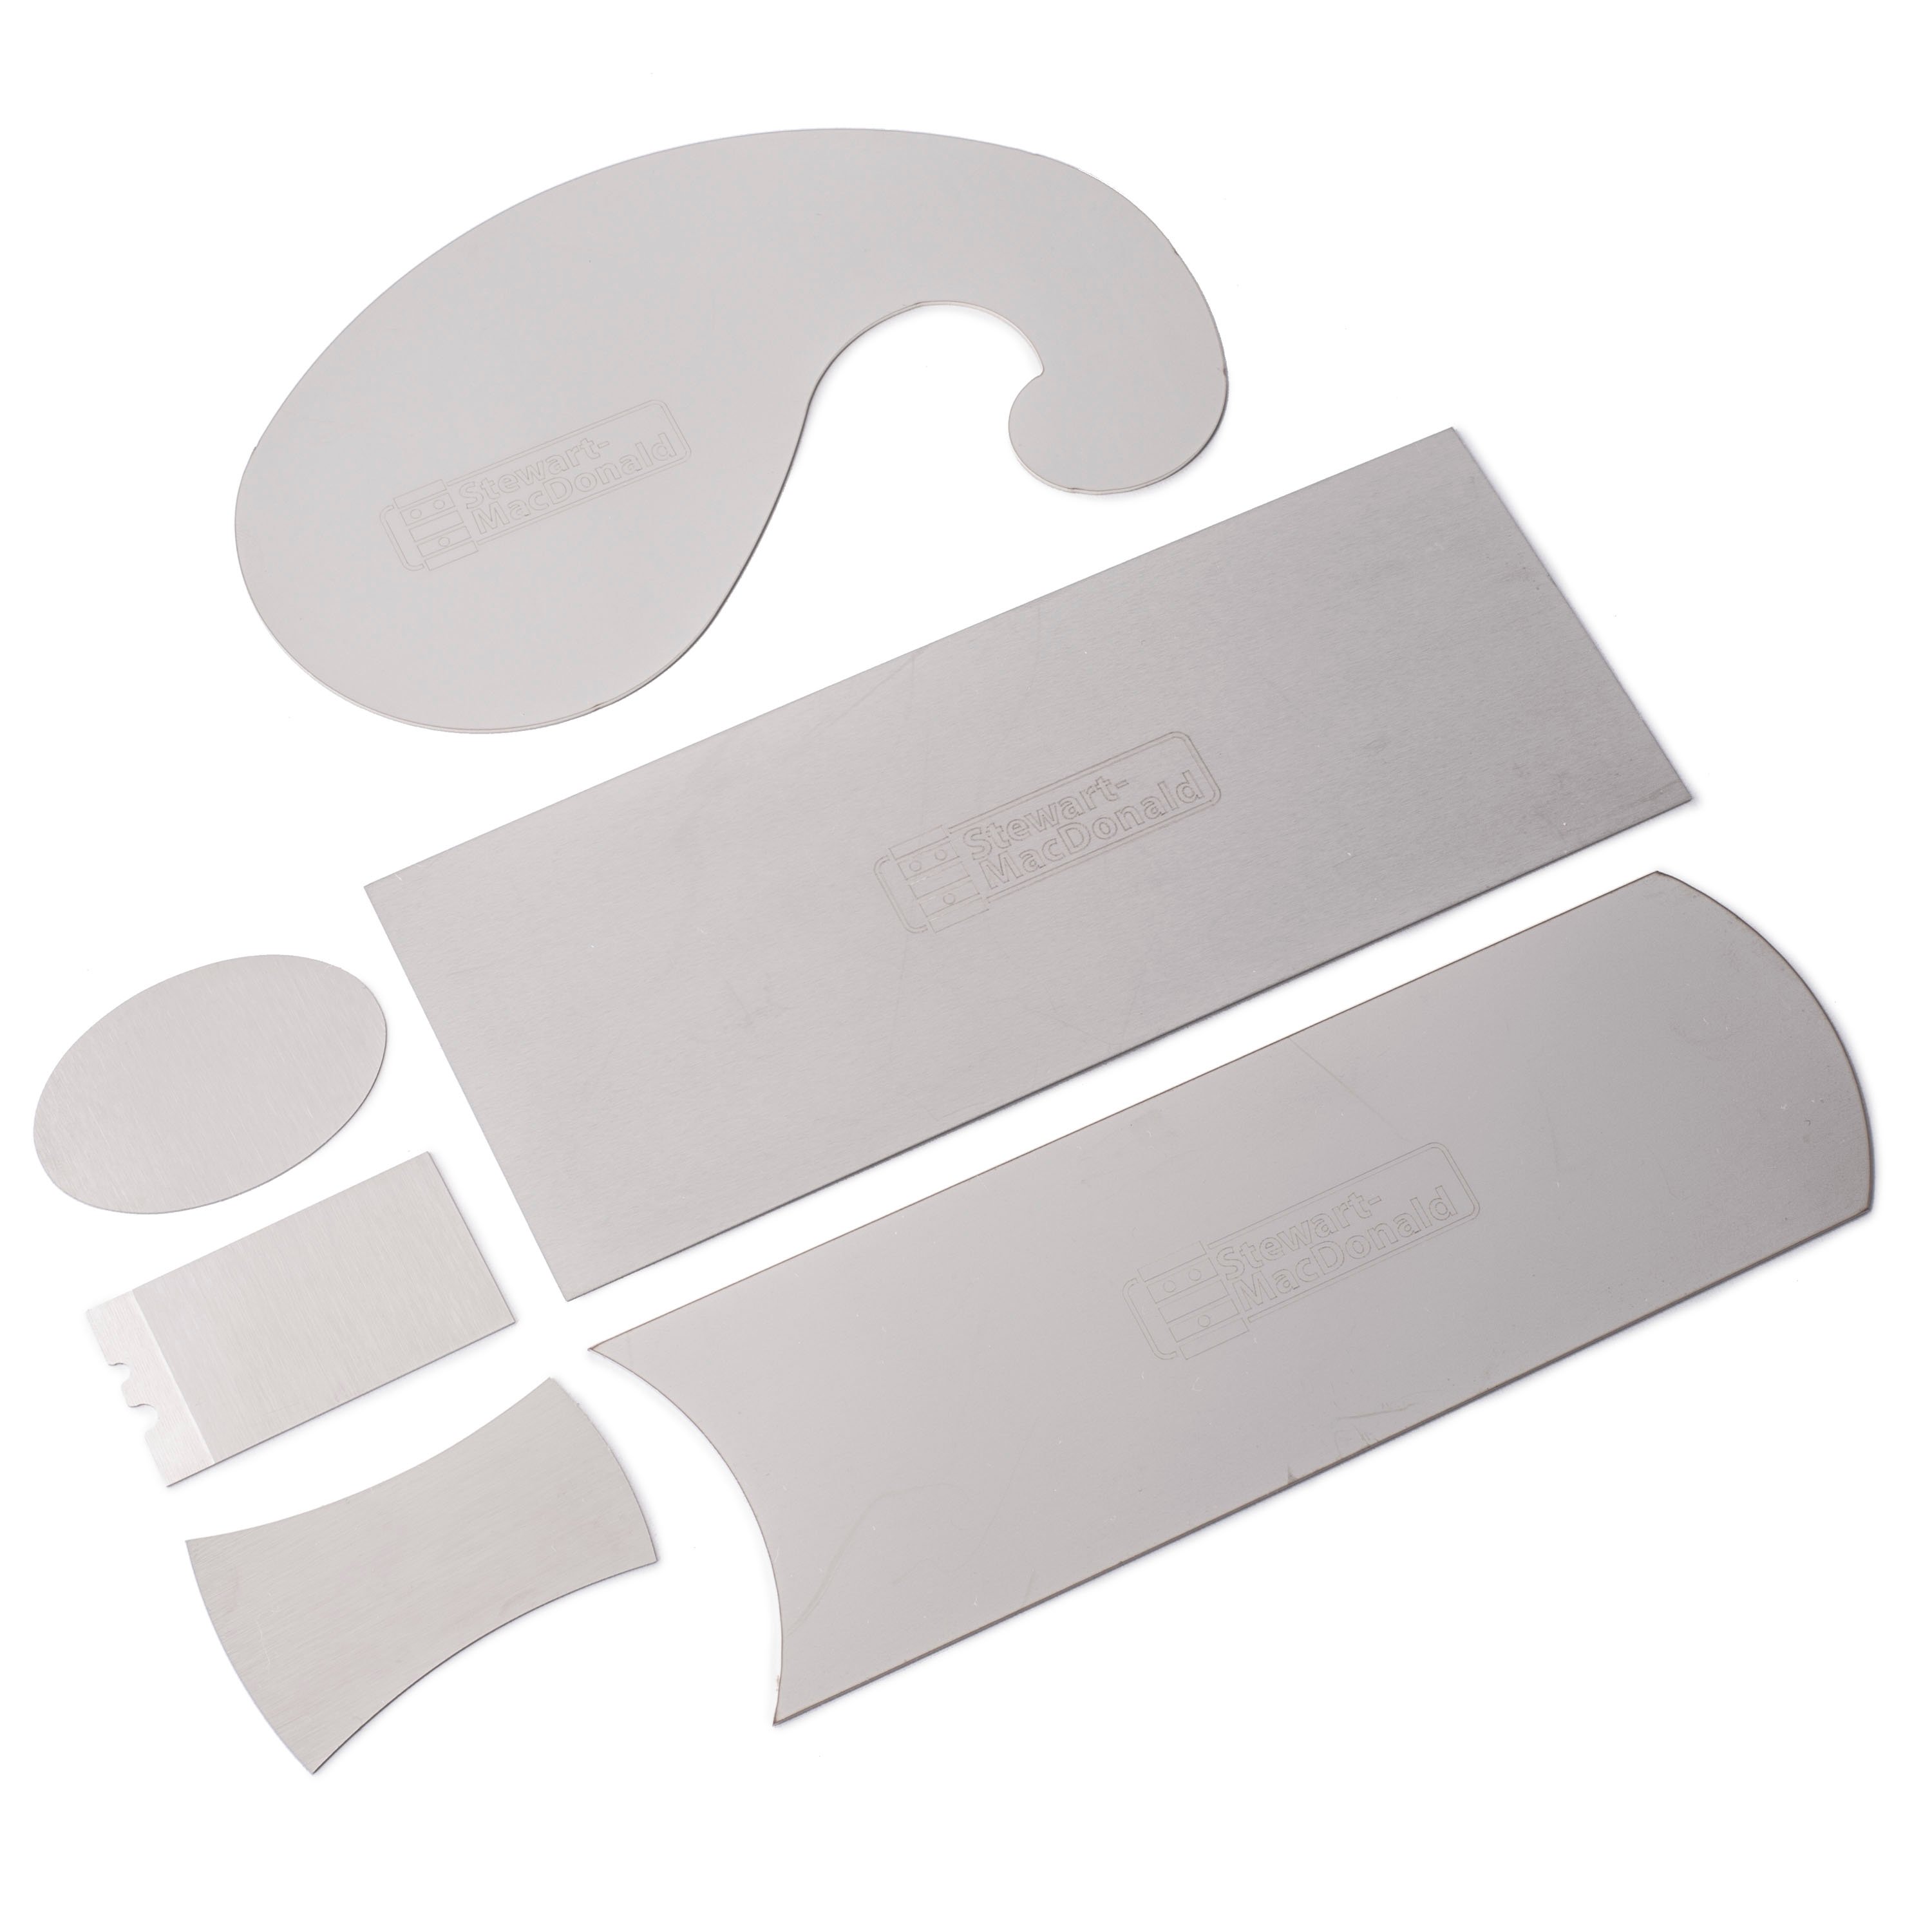
- A binding scraper you can make yourself
- How to sharpen and use your scraper
- Utility blades are for tricky spots
Video Transcription
Tom Murphy: What we're talking about here is how you're going to expose the binding on a bound guitar after finishing. [on-screen text reads: Tom Murphy - Guitar Preservation, Marion IL] It's a beautiful thing to see that nice crisp, clean line all the way around. Some people think you can mask that off. There's virtually no way to mask it and get it that clean by removing the mask. In a factory setting, people sit and scrape binding all day long. At Gibson for instance, they use a steel blade, just a thin piece of steel that you can establish a burnished edge, turns into a knife essentially.
Making and sharpening a binding scraper
Place the piece of steel on the file, lean it back 10 degrees, that's so that you can cut your front edge out here. You must remove the material behind. Slide it, but very sharp cutting edge. The other end, I want a cutting edge on the tip. It'll also cut the inside edge without gouging, which the point can do.
So I'm going to lay it on same way, tilt it, sharpen my cutting edge and now the tip. You can affect it that way. I want it perpendicular and leaning back slightly. That is now a cutting edge and I'll knock that bur off. Now you have a scraping tool.
Using the scraper to clean the binding
What I like to do first is clean this real tight corner out. And I use a utility blade, because it really gets against the wood there. I'll start that first.
At some point I will be dealing with the inside edge and it's very crucial that I have my blade really sharp and making that really fine tight clean line. I have still just a little material to remove and then I will be at the edge. So here I go, this is the last pass. And that's a scraped edge. I see, I left a little bit of material right there. I have to get back on my straight line and make sure I just get off, right there. There you go. So now that we have a nice, smooth guiding edge to control our top line, we'll go ahead and start that, thumb so important in guiding. I'll start outside a little bit. Now we're on the inside edge.
Good through the waist. As we come around the Bout, even though I'm scraping on a slight curve, up to the fingerboard, I'm going to use a straight guide staying outside first and I just move it and angle it until it mimics the curve. You have to make sure and have your color protected. That's just a sealer coat because once you disturb this color after getting a nice line, you can have a big problem, especially on a gold top, for instance, with a lot of material sealer underneath the gold which is irreparable, you have to make sure and wait till it's cured enough so you can work on top of it. I have made the mistake of prematurely doing this area and looking up and I've disturbed the finish. That has to be all redone.
Scraping the fingerboard
Scraping a fingerboard, you need to compensate for the frets. So a flat wooden guide works for that. But as you approach the body, the top, it's impossible to get the tip of this blade to stop, short of the color of the top. So I discovered that I could simply use a nice precise guide for protection.
And this tip will fit nicely down in there. So it's two razor blades. There you have it.

