

GluBoost Product Instructions
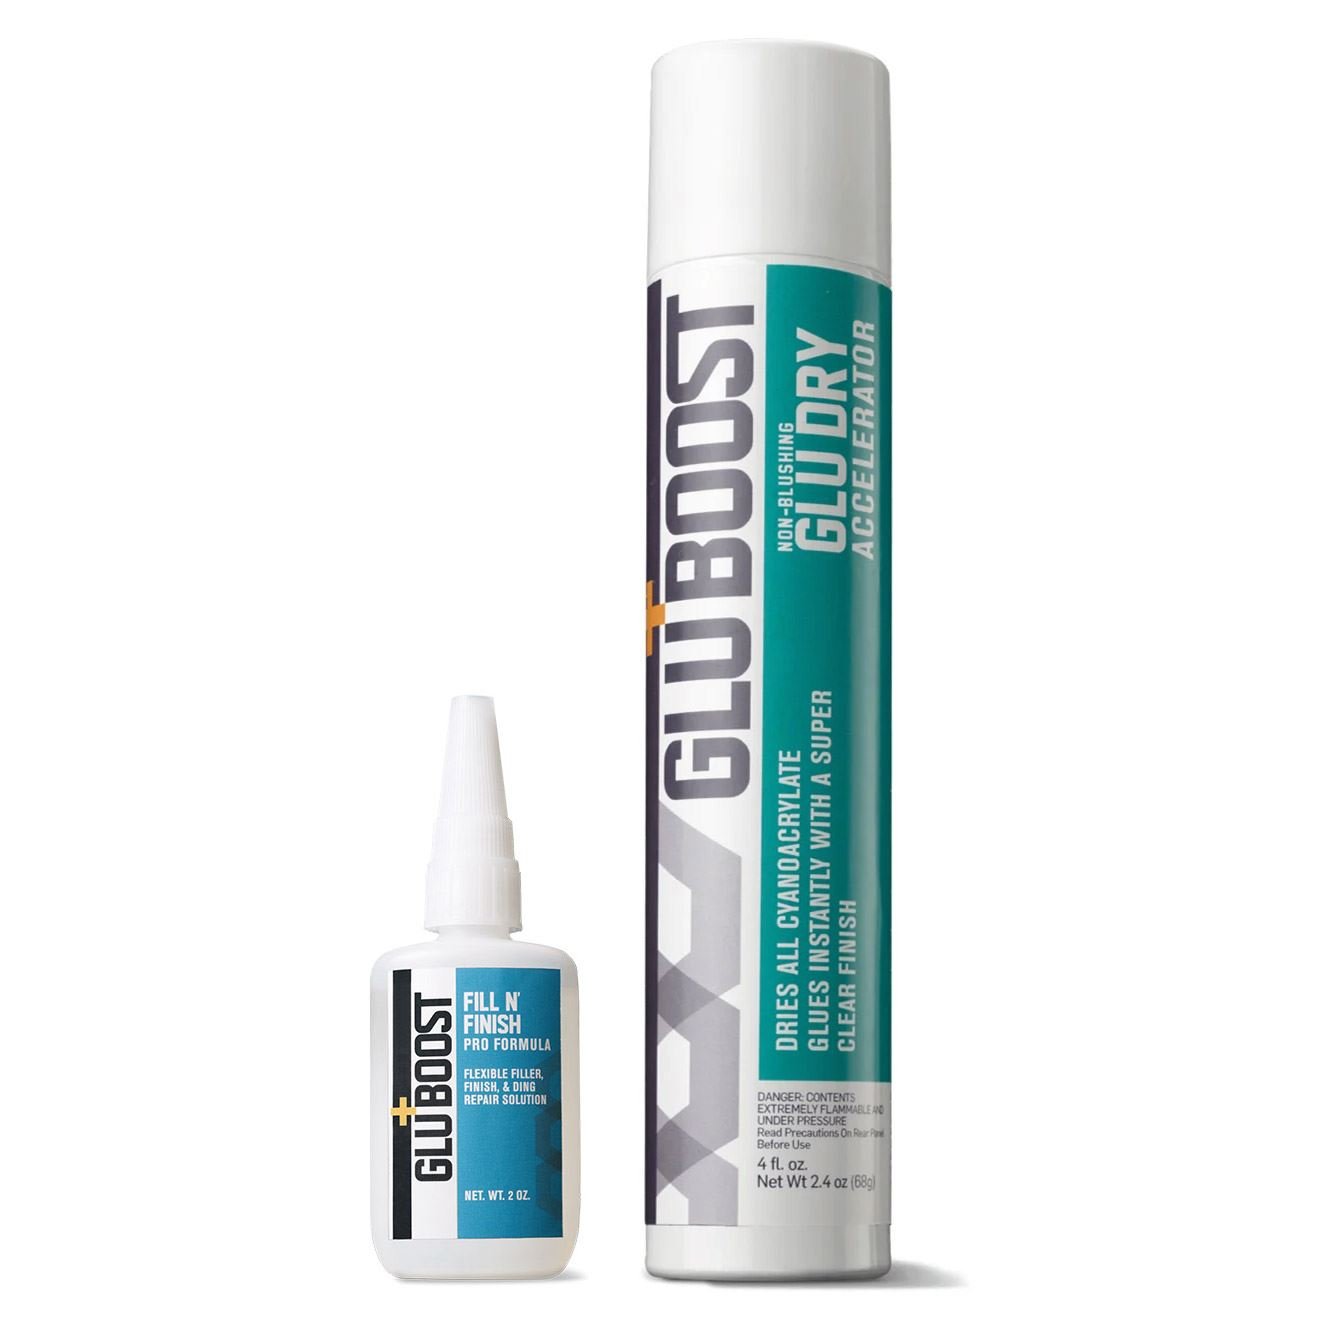
GluBoost Fill n' Finish
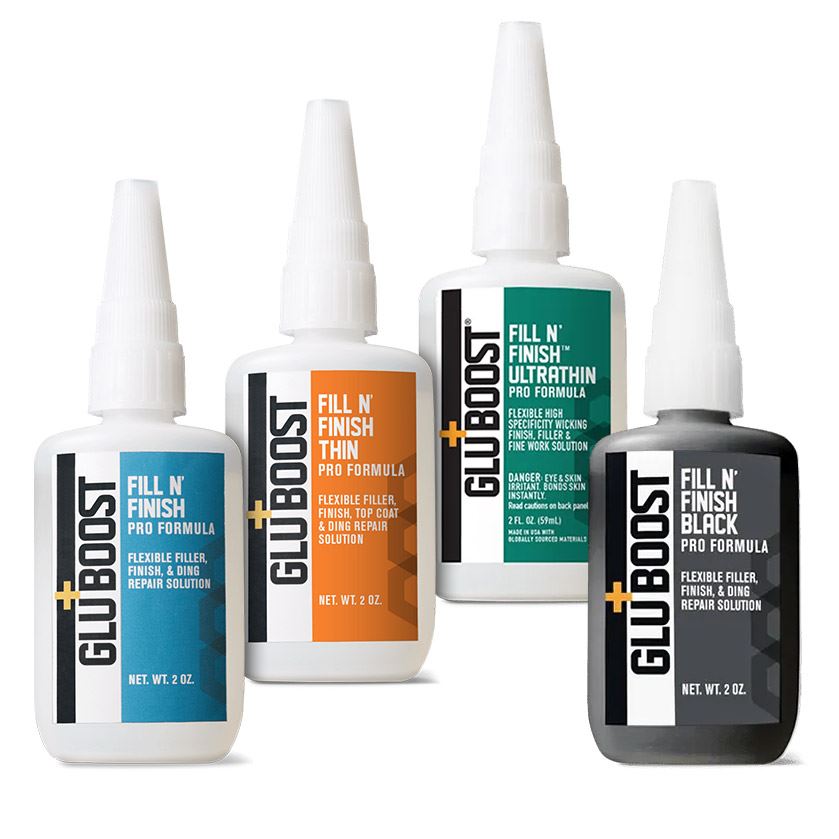
Using GluBoost Fill n' Finish Thin and Ultra Thin with GluBoost GluDry Non-blushing Accelerator for repairs:
- Prepare the area as you normally would
- Apply GluBoost Fill n' Finish Thin
- Allow drying time (see GluBoost Fill n' Finish drying section below)
- Light polish using micro-mesh and/or a polishing compound, if desired
- GluBoost Fill n' Finish Ultra Thin or GluBoost Fill n' Finish Thin can be used for your final top coat, if desired
Using GluBoost Fill n' Finish for drop-fills:
- Clean fill area
- Spray drop area with GluBoost GluDry Non-blushing Accelerator
- Add some GluBoost Fill n' Finish Thin at the bottom of the fill area
- Lightly spray GluBoost GluDry Non-blushing Accelerator in short spurts from 8" away and wait a few minutes
- Add a small amount of GluBoost Fill n' Finish Original
- Spray GluBoost GluDry Non-blushing Accelerator and wait a few minutes (see GluBoost Fill n' Finish drying section below)
- Continue lightly spraying GluBoost GluDry Non-blushing Accelerator and adding small amounts of GluBoost Fill n' Finish Original until near level
- GluBoost Fill n' Finish Thin can be used for your final top coat, if desired
Using GluBoost Fill n' Finish for pore filling:
- Sand wood to 200-grit/220-grit
- Wipe clean with shop towel or rag
- Apply GluBoost Fill n' Finish, GluBoost MasterTint can be added if desired
- Spread and work in with shop towel, rag, foam brush, or plastic card
- Always wipe wet GluBoost Fill n' Finish cross grain with a rag
- Spray light burst of GluBoost GluDry Non-blushing Accelerator
- Sand with 220-grit so that remaining GluBoost Fill n' Finish is driven into wood
- Wipe area clean with a shop towel or rag
For best results: - Add a second coat of GluBoost Fill n' Finish
- Wipe area with shop towel or rag
- Spray with GluBoost GluDry Non-blushing Accelerator and let dry for 10-30 minutes depending on wood
- Sand with 220-grit
- Wipe clean with shop towel or rag
- Ready for lacquer
Watch the video: Tracy Longo of Guitar Tech Corner takes you through each step using GluBoost Fill n' Finish and GluBoost GluDry Non-blushing Accelerator to prepare your wood for a nitro finish.
GluBoost Fill n' Finish tips:
- Do not refrigerate open bottles, refrigeration will accelerate product curing inside the bottle
- Never touch the top of the GluBoost Fill n' Finish bottle to any area already sprayed with GluBoost GluDry Non-blushing Accelerator
- Whip and extender tips can be used to adjust flow and specificity
- Use GluBoost Fill n' Finish Black just like GluBoost Fill n' Finish Original
GluBoost Fill n' Finish drying:
- Drying times will vary, always allow GluBoost Fill n' Finish time to dry before working or adding more product
- It is always best to drop fill in small amounts at a time when using GluBoost Fill n' Finish, a short spray of Non-Blushing GluDry before drop-filling with GluBoost Fill n' Finish is recommended
- When using GluBoost Fill n' Finish with nitro, always spray GluBoost GluDry Non-blushing Accelerator first before drop-filling and again after filling
- In general, always wait as long as possible for GluBoost Fill n' Finish to dry before working or building up your fill and especially before shooting over GluBoost Fill n' Finish
GluBoost GluDry Non-blushing Accelerator
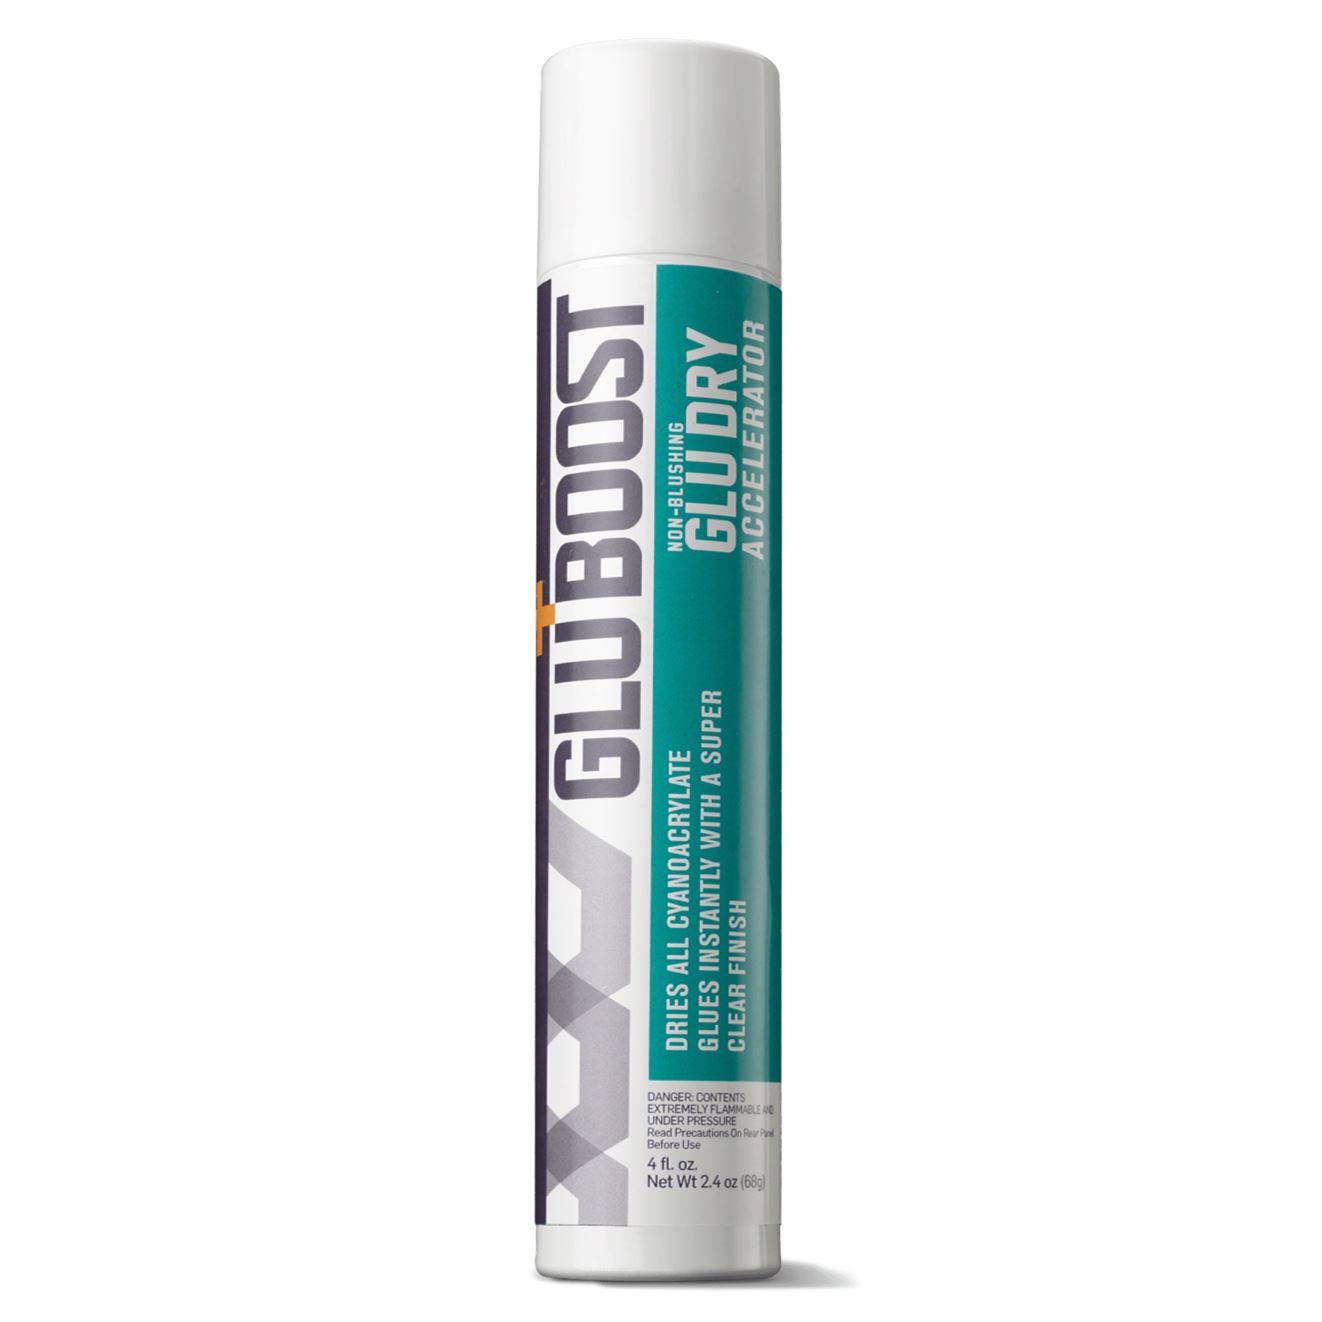
Using GluBoost GluDry Non-blushing Accelerator for build-ups using CA adhesives only:
- Apply your favorite adhesive
- Spray GluBoost GluDry Non-blushing Accelerator from 10-12" away from area, GluBoost GluDry Non-blushing Accelerator will bond adhesive instantly
- Apply another layer of your favorite adhesive
- Repeat steps until your fill is just how you want it
Using GluBoost GluDry Non-blushing Accelerator for attaching parts together:
- Apply your favorite adhesive to one of your parts
- Spray the other part with GluBoost GluDry Non-blushing Accelerator
- Put the parts together and voila!
GluBoost MasterTint Kits
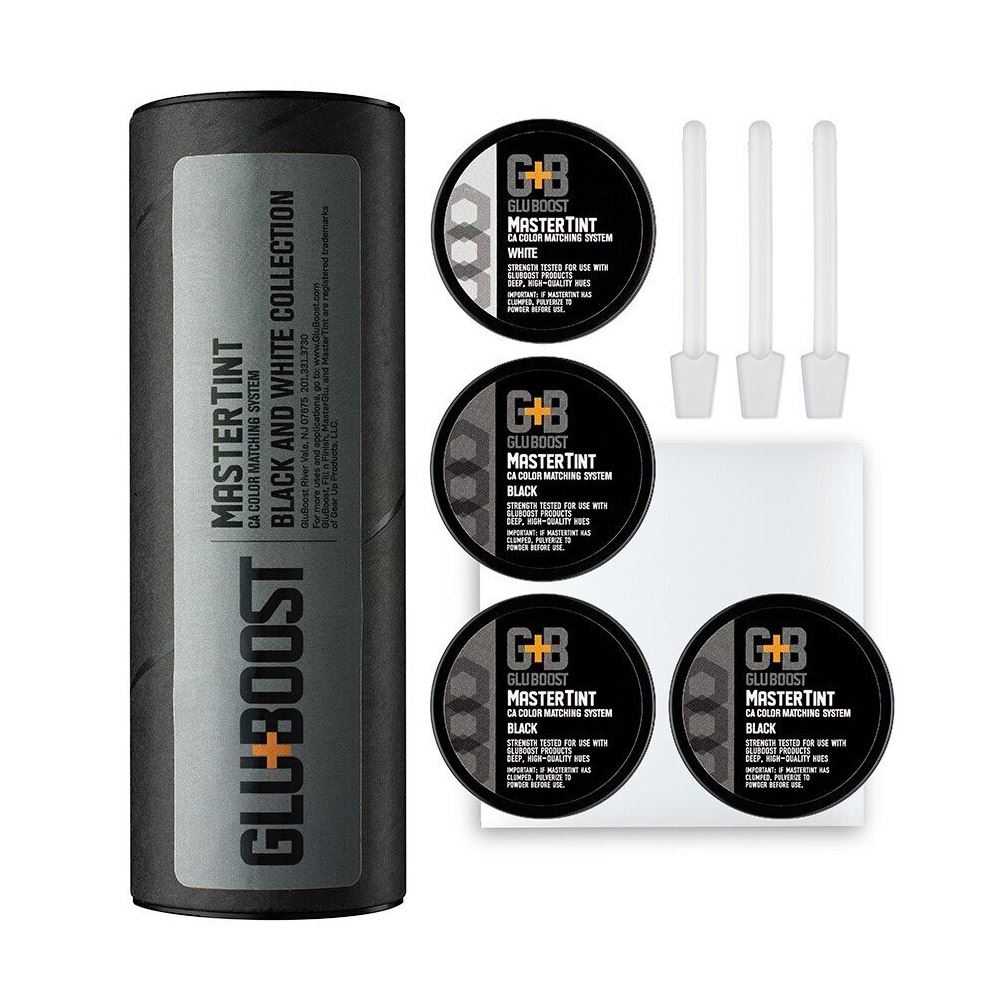
Using GluBoost MasterTint Kits with adhesive or GluBoost Fill n' Finish:
-
Place some of your favorite adhesive or GluBoost Fill n' Finish onto your GluBoost Mixing Palette
-
Add your desired GluBoost MasterTint color(s) one at a time as needed to mix and match to your finish
-
Break up any clumped tint powder before adding it to the adhesive/finisher
-
Apply the mixture to your work area
-
Spray with GluBoost GluDry Non-blushing Accelerator (multiple sprays may be needed)
-
Continue applying more of the mixture as needed to build-up
-
If your mixture thickens, add more adhesive or GluBoost Fill n' Finish and mix before applying
-
Spray with GluBoost GluDry Non-blushing Accelerator
-
Work the finish to the desired sheen
Using GluBoost MasterTint white toner:
- White is to be used as a toner along with other colors to create hues of that color
- Always add the other colors to your adhesive/finisher first, then mix in white to achieve desired hue
GluBoost MasterTint Kits tips:
- For best results, use in conditions of 45% humidity or less to prevent clumping
- Complete drop-fills with clear GluBoost Fill n' Finish over the color matched product before sanding/polishing
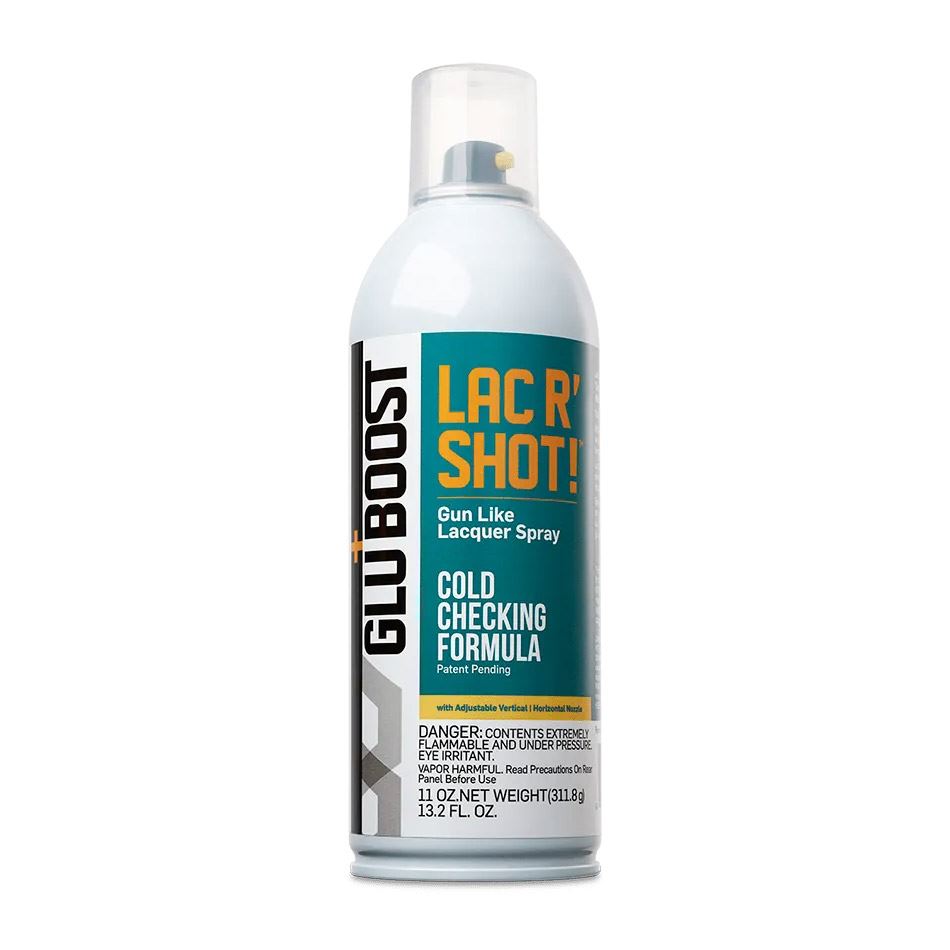
GluBoost Lac R' Shot! Cold Checking Formula
- Prepare surface, use GluBoost Fill n' Finish and GluBoost GluDry Non-blushing Accelerator for pore filling and as primer sealers
- Adjust nozzle tip to pattern of your choice
- Spray GluBoost Lac R' Shot! Cold Checking Formula evenly over the surface
- Allow 30 minutes between coats
- Level using 400-grit sandpaper between coats
- Continue coverage applications until desired thickness is achieved
- When coverage is to your liking, work the area with grits 600 through 1200
- Allow 24 hours to dry
- Buff and admire!
Lac R' Shot tips:
- Finish will naturally check over time (approximately 4+ weeks)
- Applying a water-based dark brown amber tint will highlight the vintage cracking effect
- For best results or "on the spot" checking: Freeze wood for at least 4 hours and allow to come back up to room temperature—GluBoost Lac R' Shot! Cold Checking Formula will check like a vintage instrument
- If room temperature is below 65 F: After removing from freezer, the immediate use of a blow dryer may be necessary to cause the desired finish checking reaction
- If nozzle gets clogged, remove and soak in lacquer thinner then use a wire or needle to clear
GluBoost EndPoint Mark + Mask System
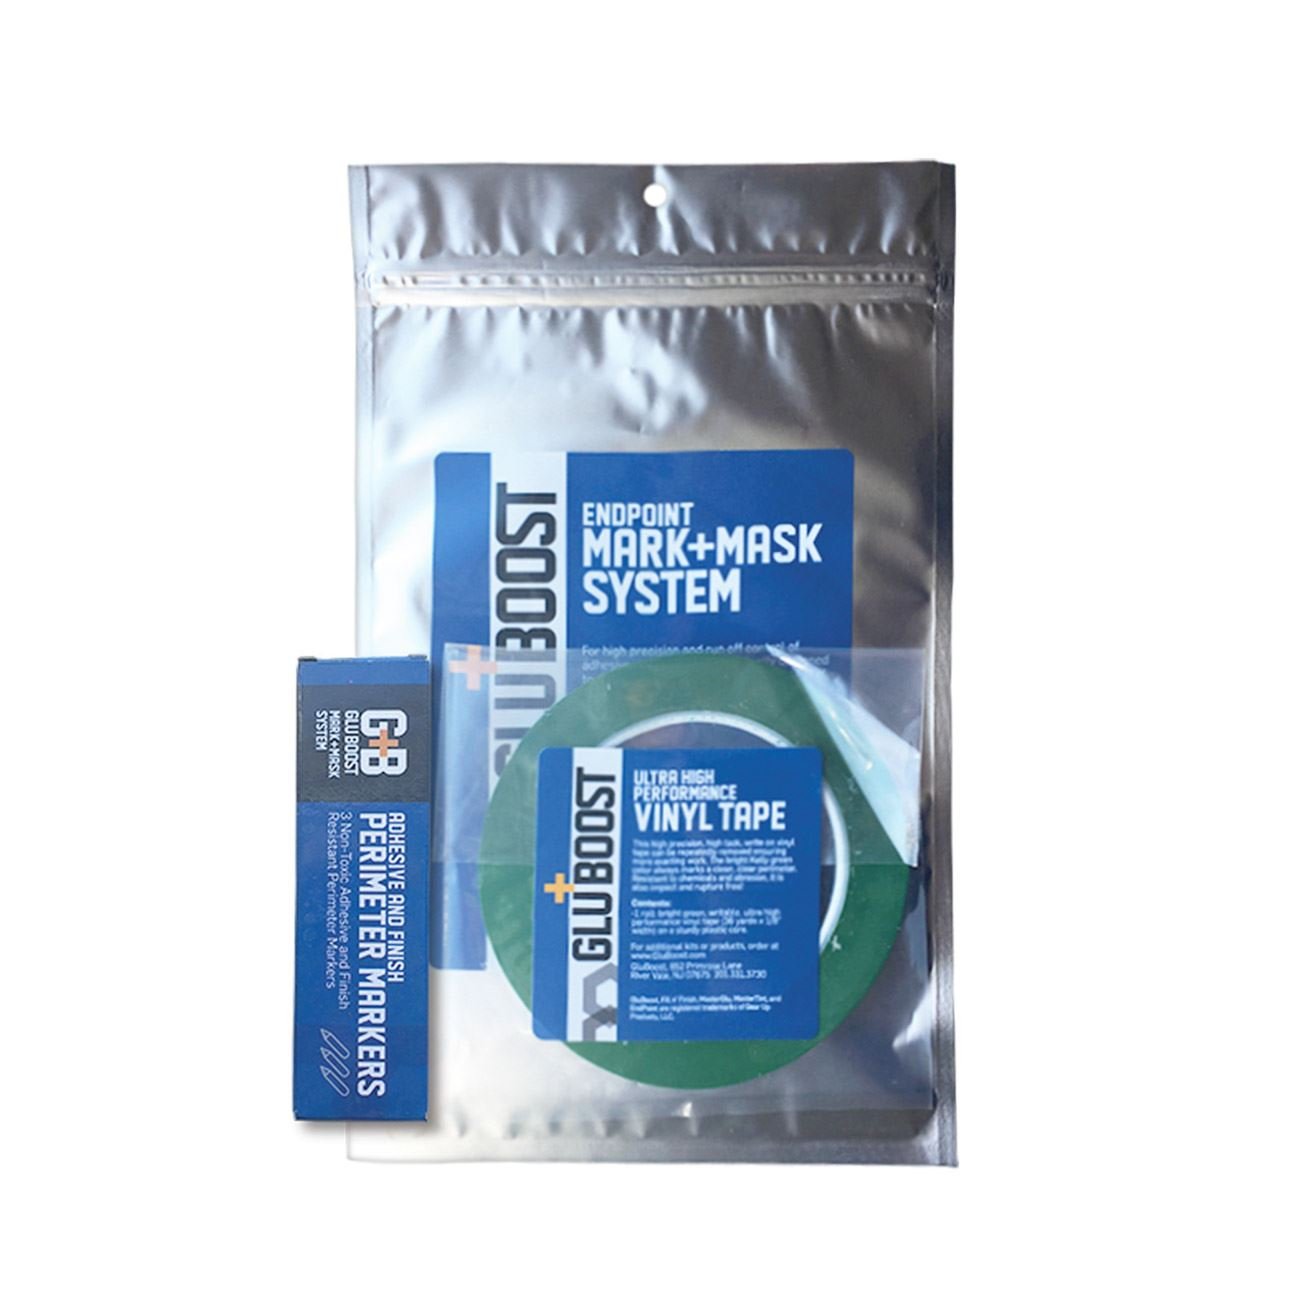
Using GluBoost EndPoint Mark + Mask System for straight line work:
- Firmly apply GluBoost EndPoint Perimeter Tape to create a good seal with substrate
- Reposition as needed
- Press down firmly along the tape until completely flush
- Perform work
- Remove tape
Using GluBoost EndPoint Mark + Mask System for curved line work:
- Use the included GluBoost Perimeter Markers and mark off any shape you require
- Apply adhesive (adhesive will not run past the marked off area)
- Spray with GluBoost GluDry Non-blushing Accelerator
- Repeat adhesive and GluBoost GluDry Non-blushing Accelerator, if needed
- Wipe residual marked area clean with shop towel
Using GluBoost Products for Pore Filling Before Nitro
-
Sand wood to 200-grit/220-grit
-
Wipe clean with shop towel or rag
-
Apply GluBoost Fill n' Finish, GluBoost MasterTint can be added if desired
-
Spread and work in with shop towel, rag, foam brush, or plastic card
-
Always wipe wet GluBoost Fill n' Finish cross grain with a rag
-
Spray light burst of GluBoost GluDry Non-blushing Accelerator
-
Sand with 220-grit so that remaining GluBoost Fill n' Finish is driven into wood
-
Wipe area clean with a shop towel or ragFor best results:
-
Add a second coat of GluBoost Fill n' Finish
-
Wipe area with shop towel or rag
-
Spray with GluBoost GluDry Non-blushing Accelerator and let dry for 10-30 minutes depending on wood
-
Sand with 220-grit
-
Wipe clean with shop towel or rag

