Putting the new Nut Slotting Gauge to work on a "burn victim" guitar
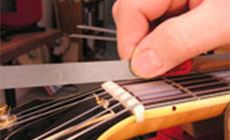
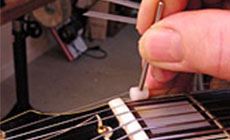
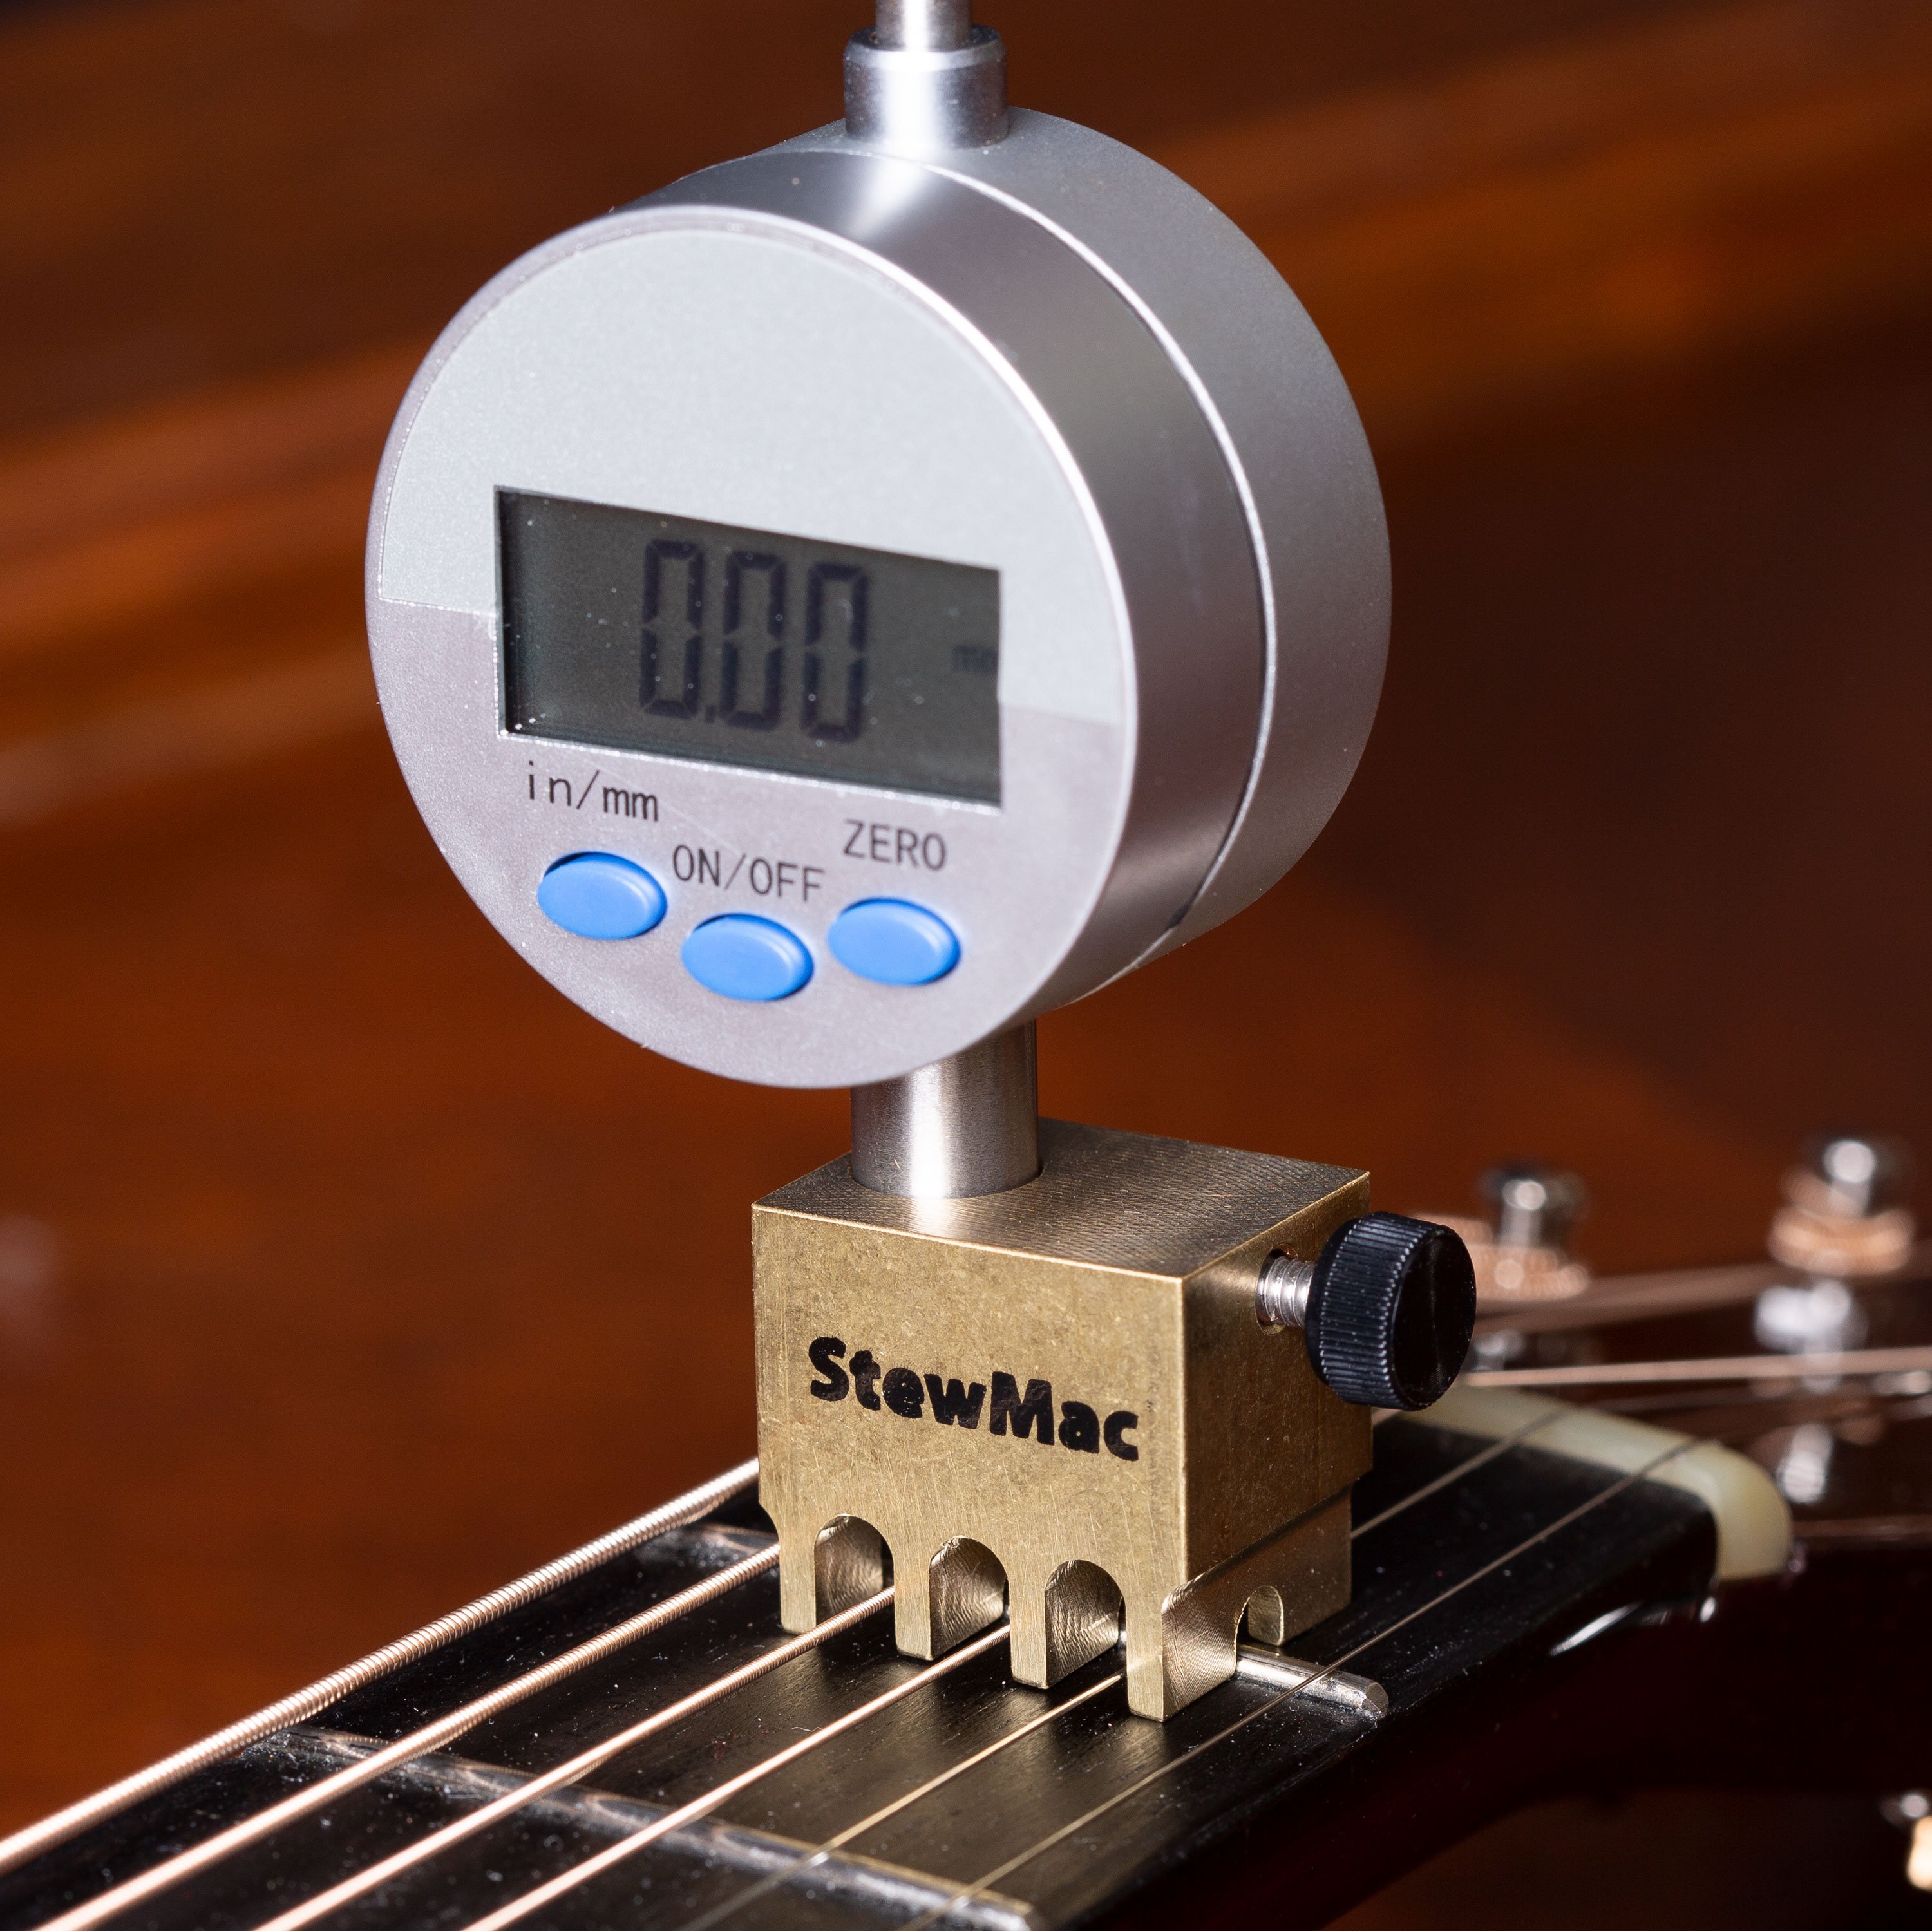
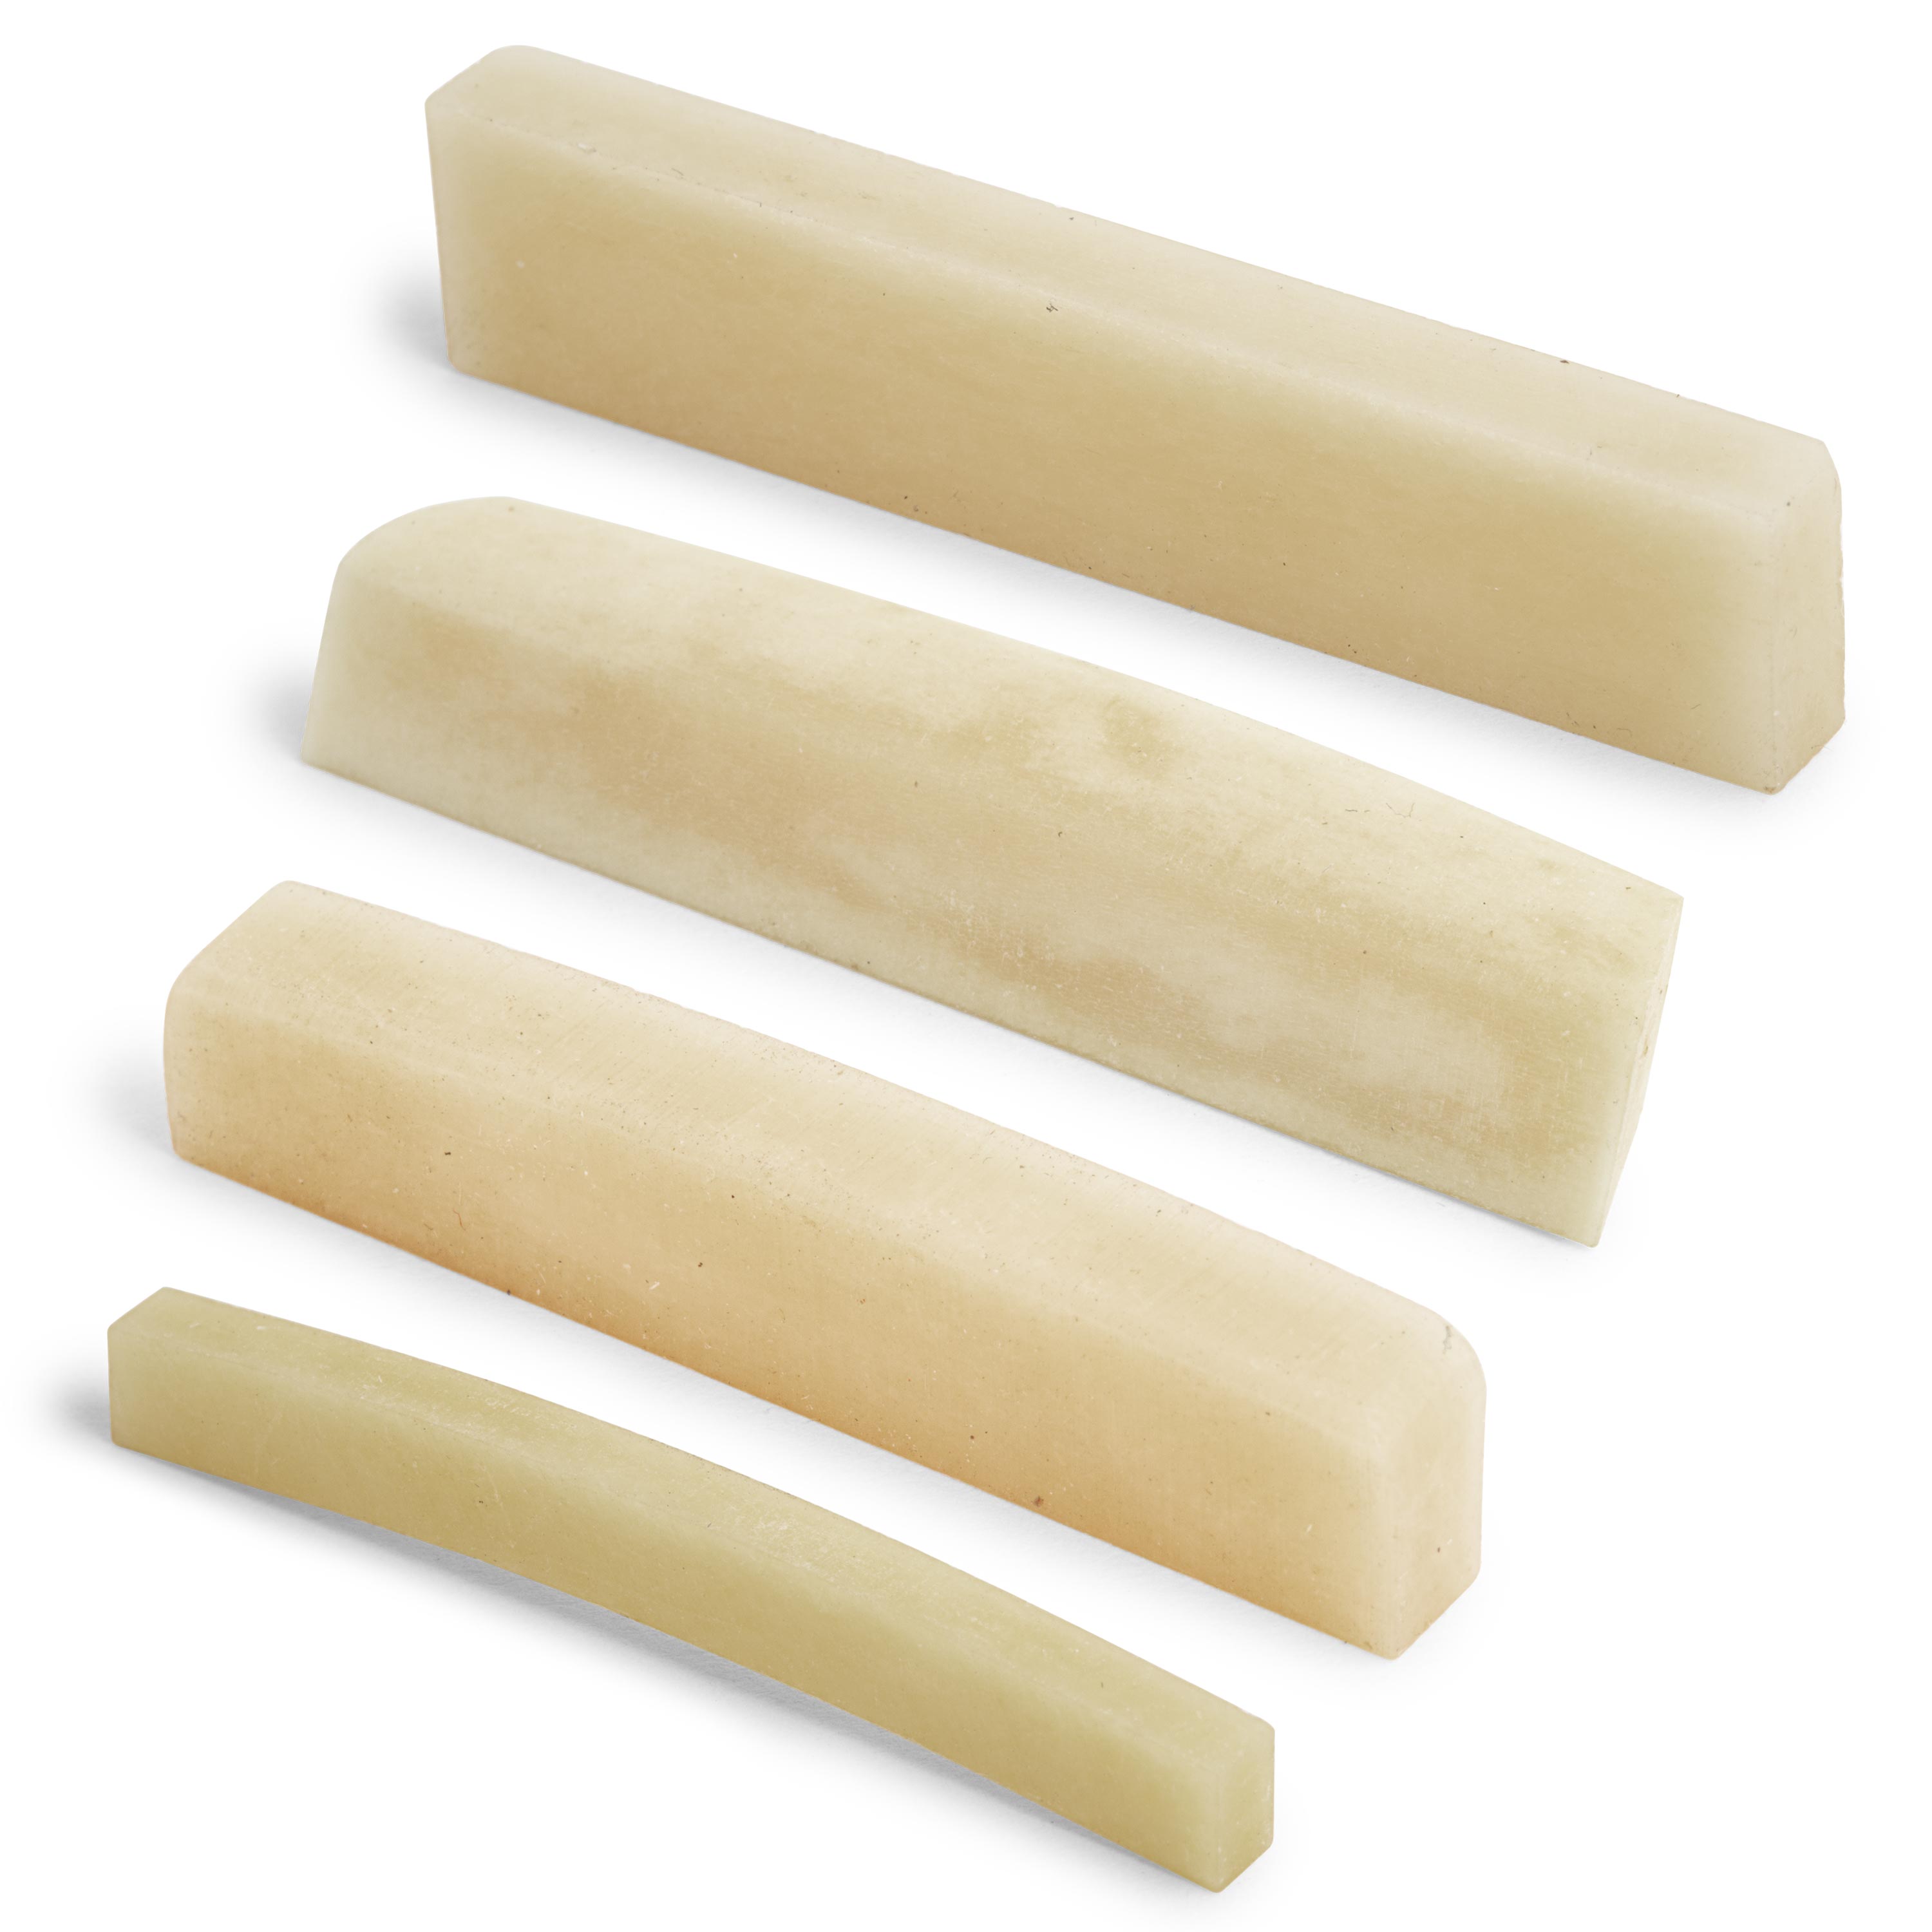
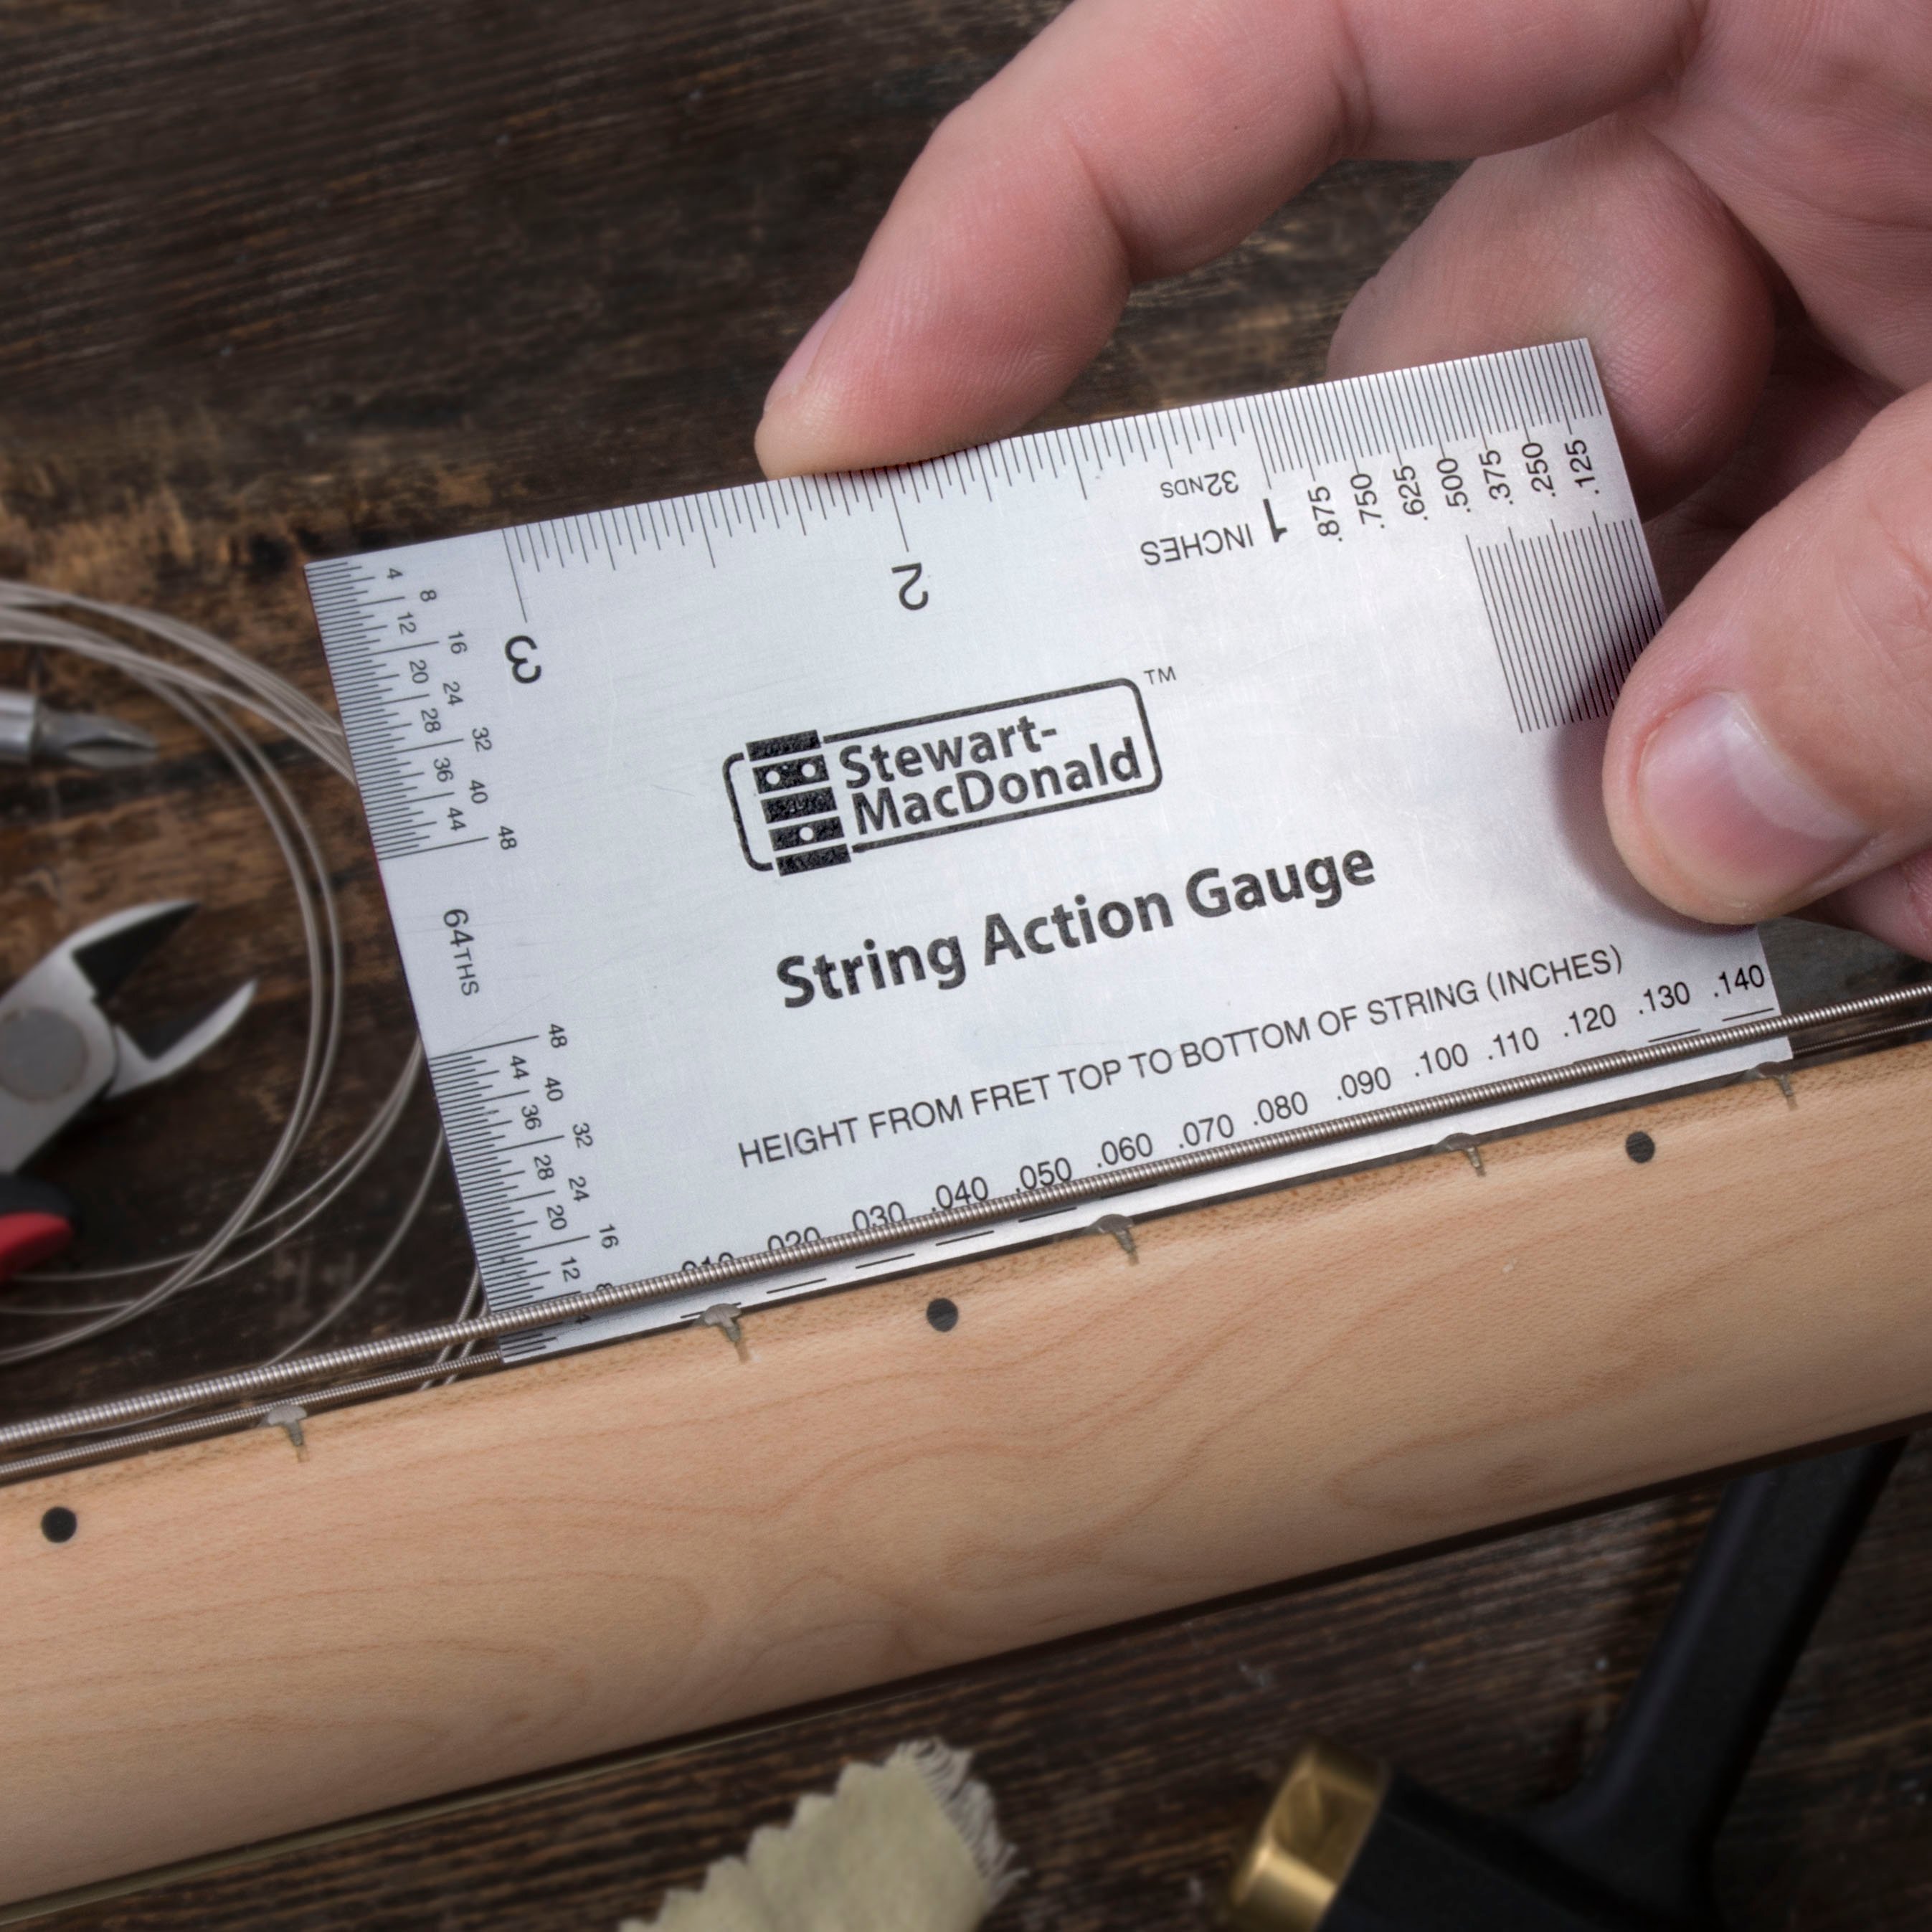
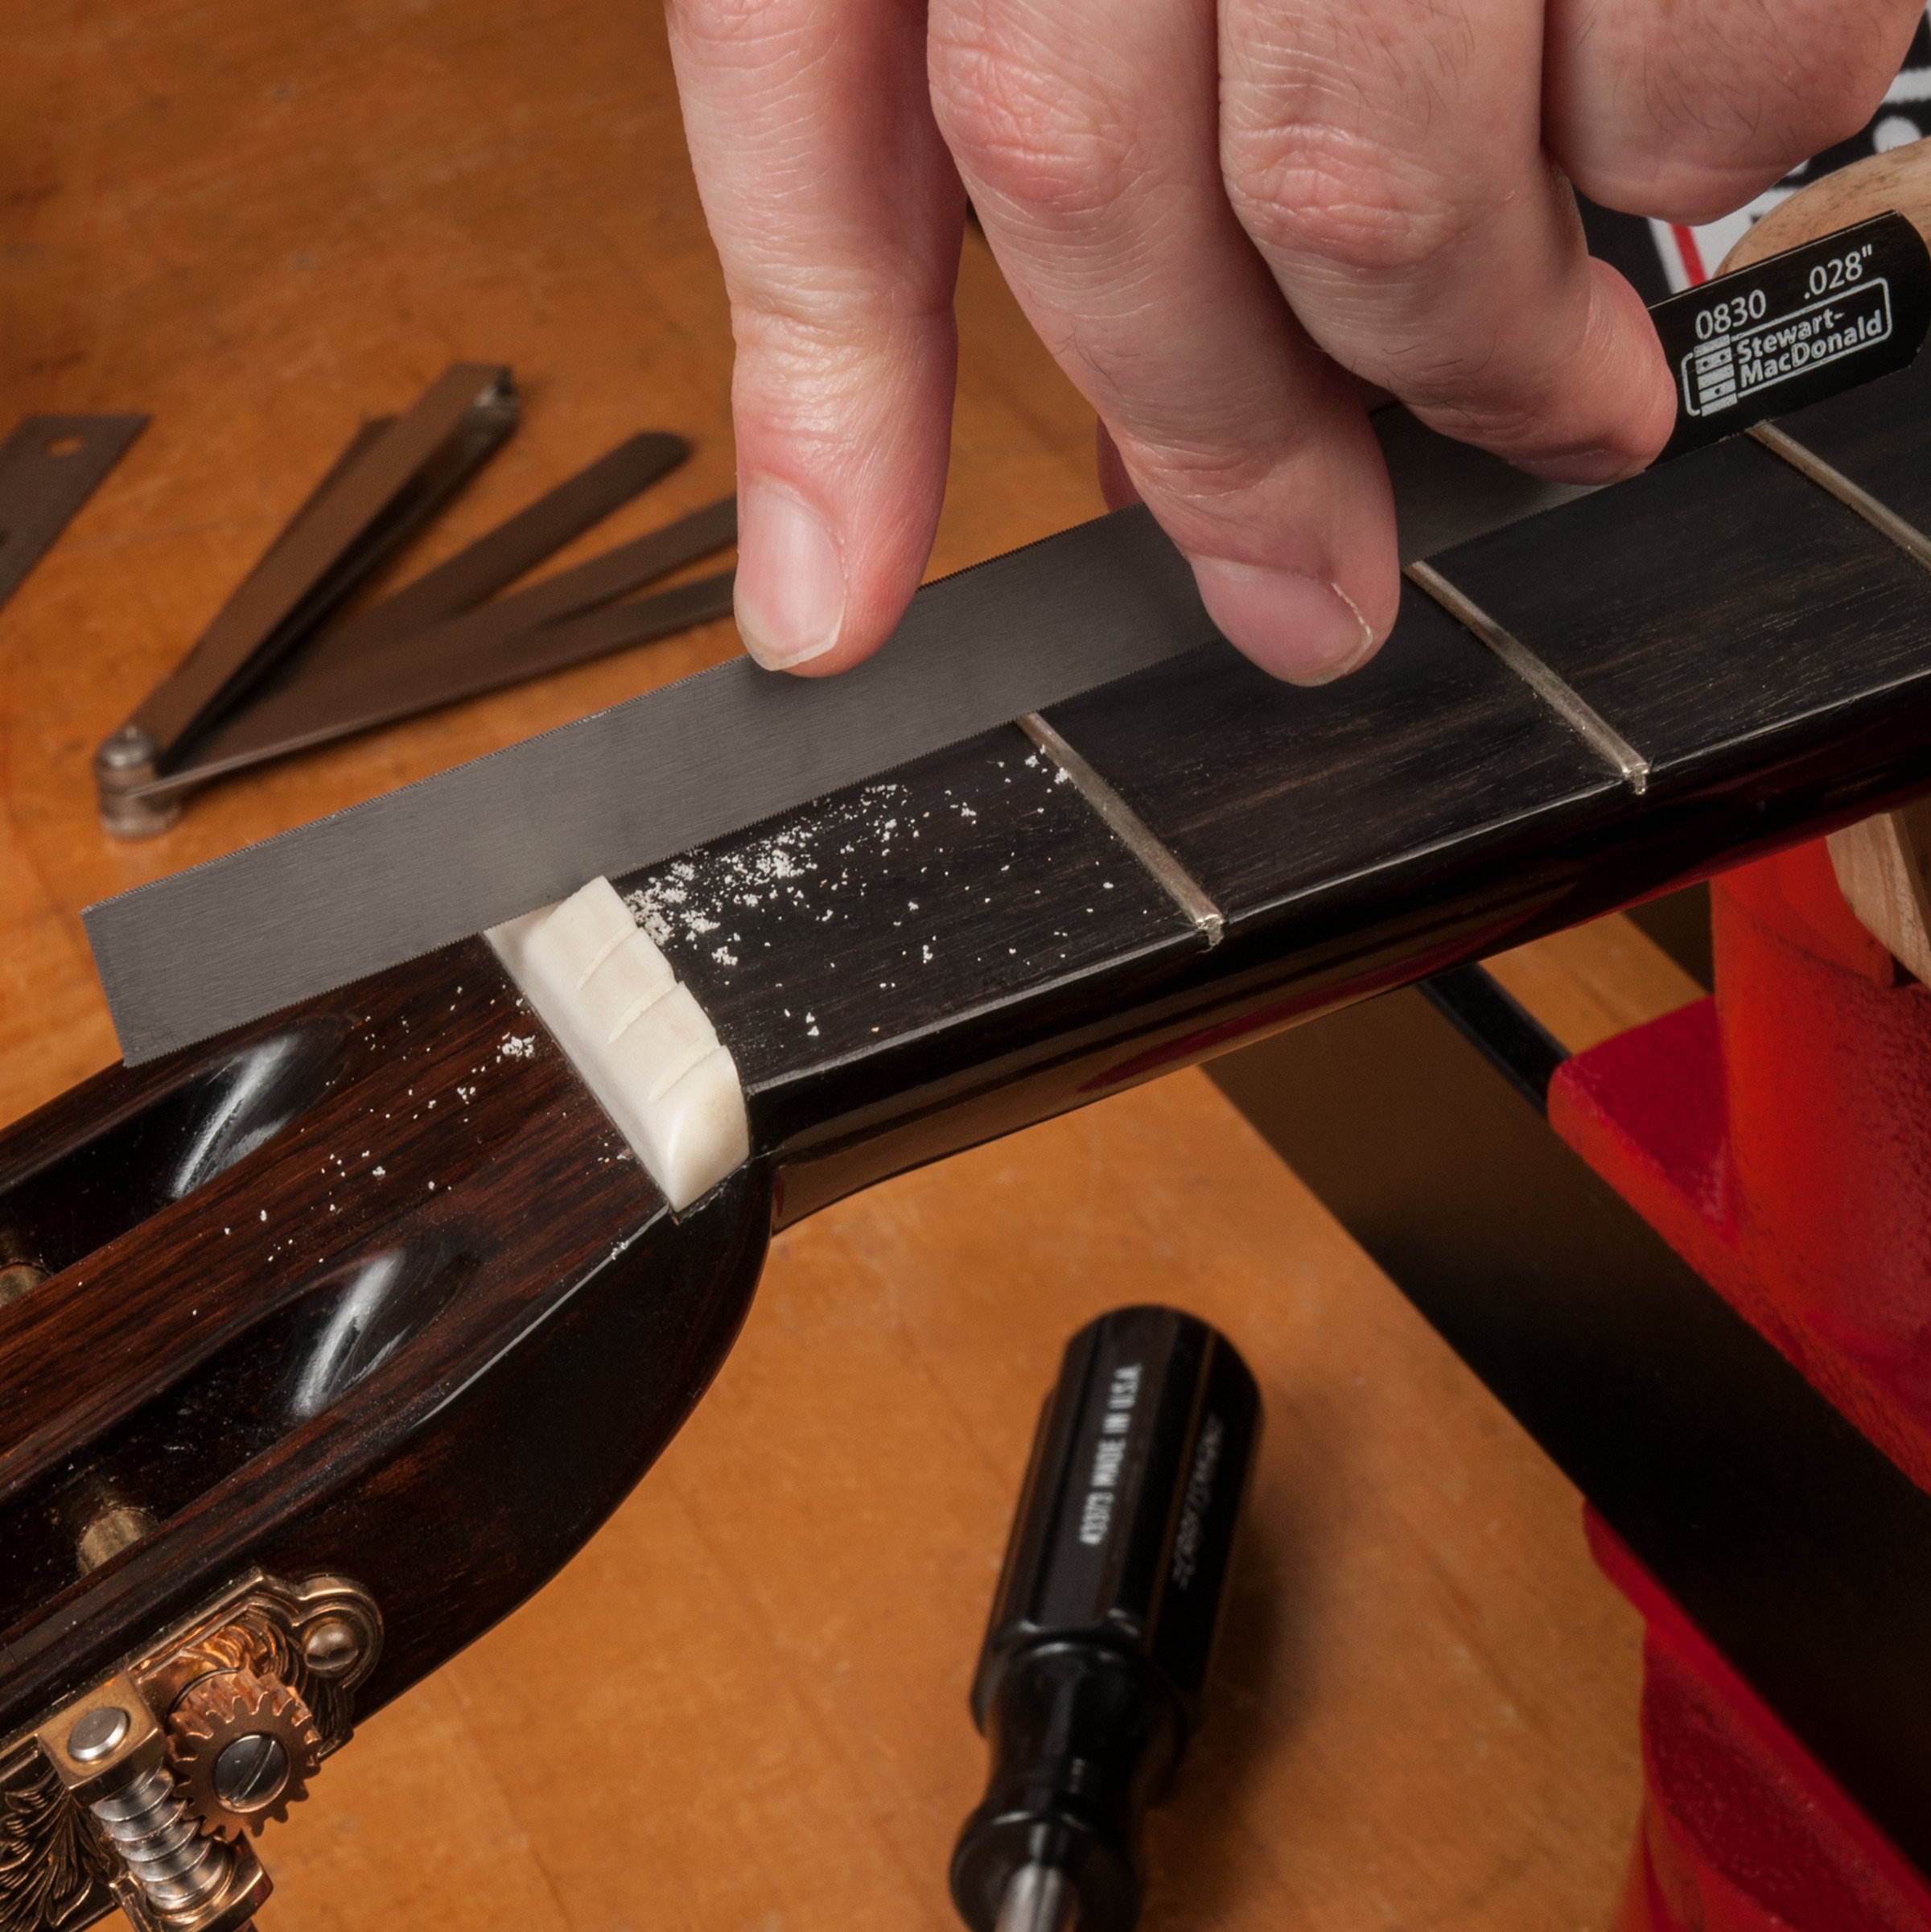
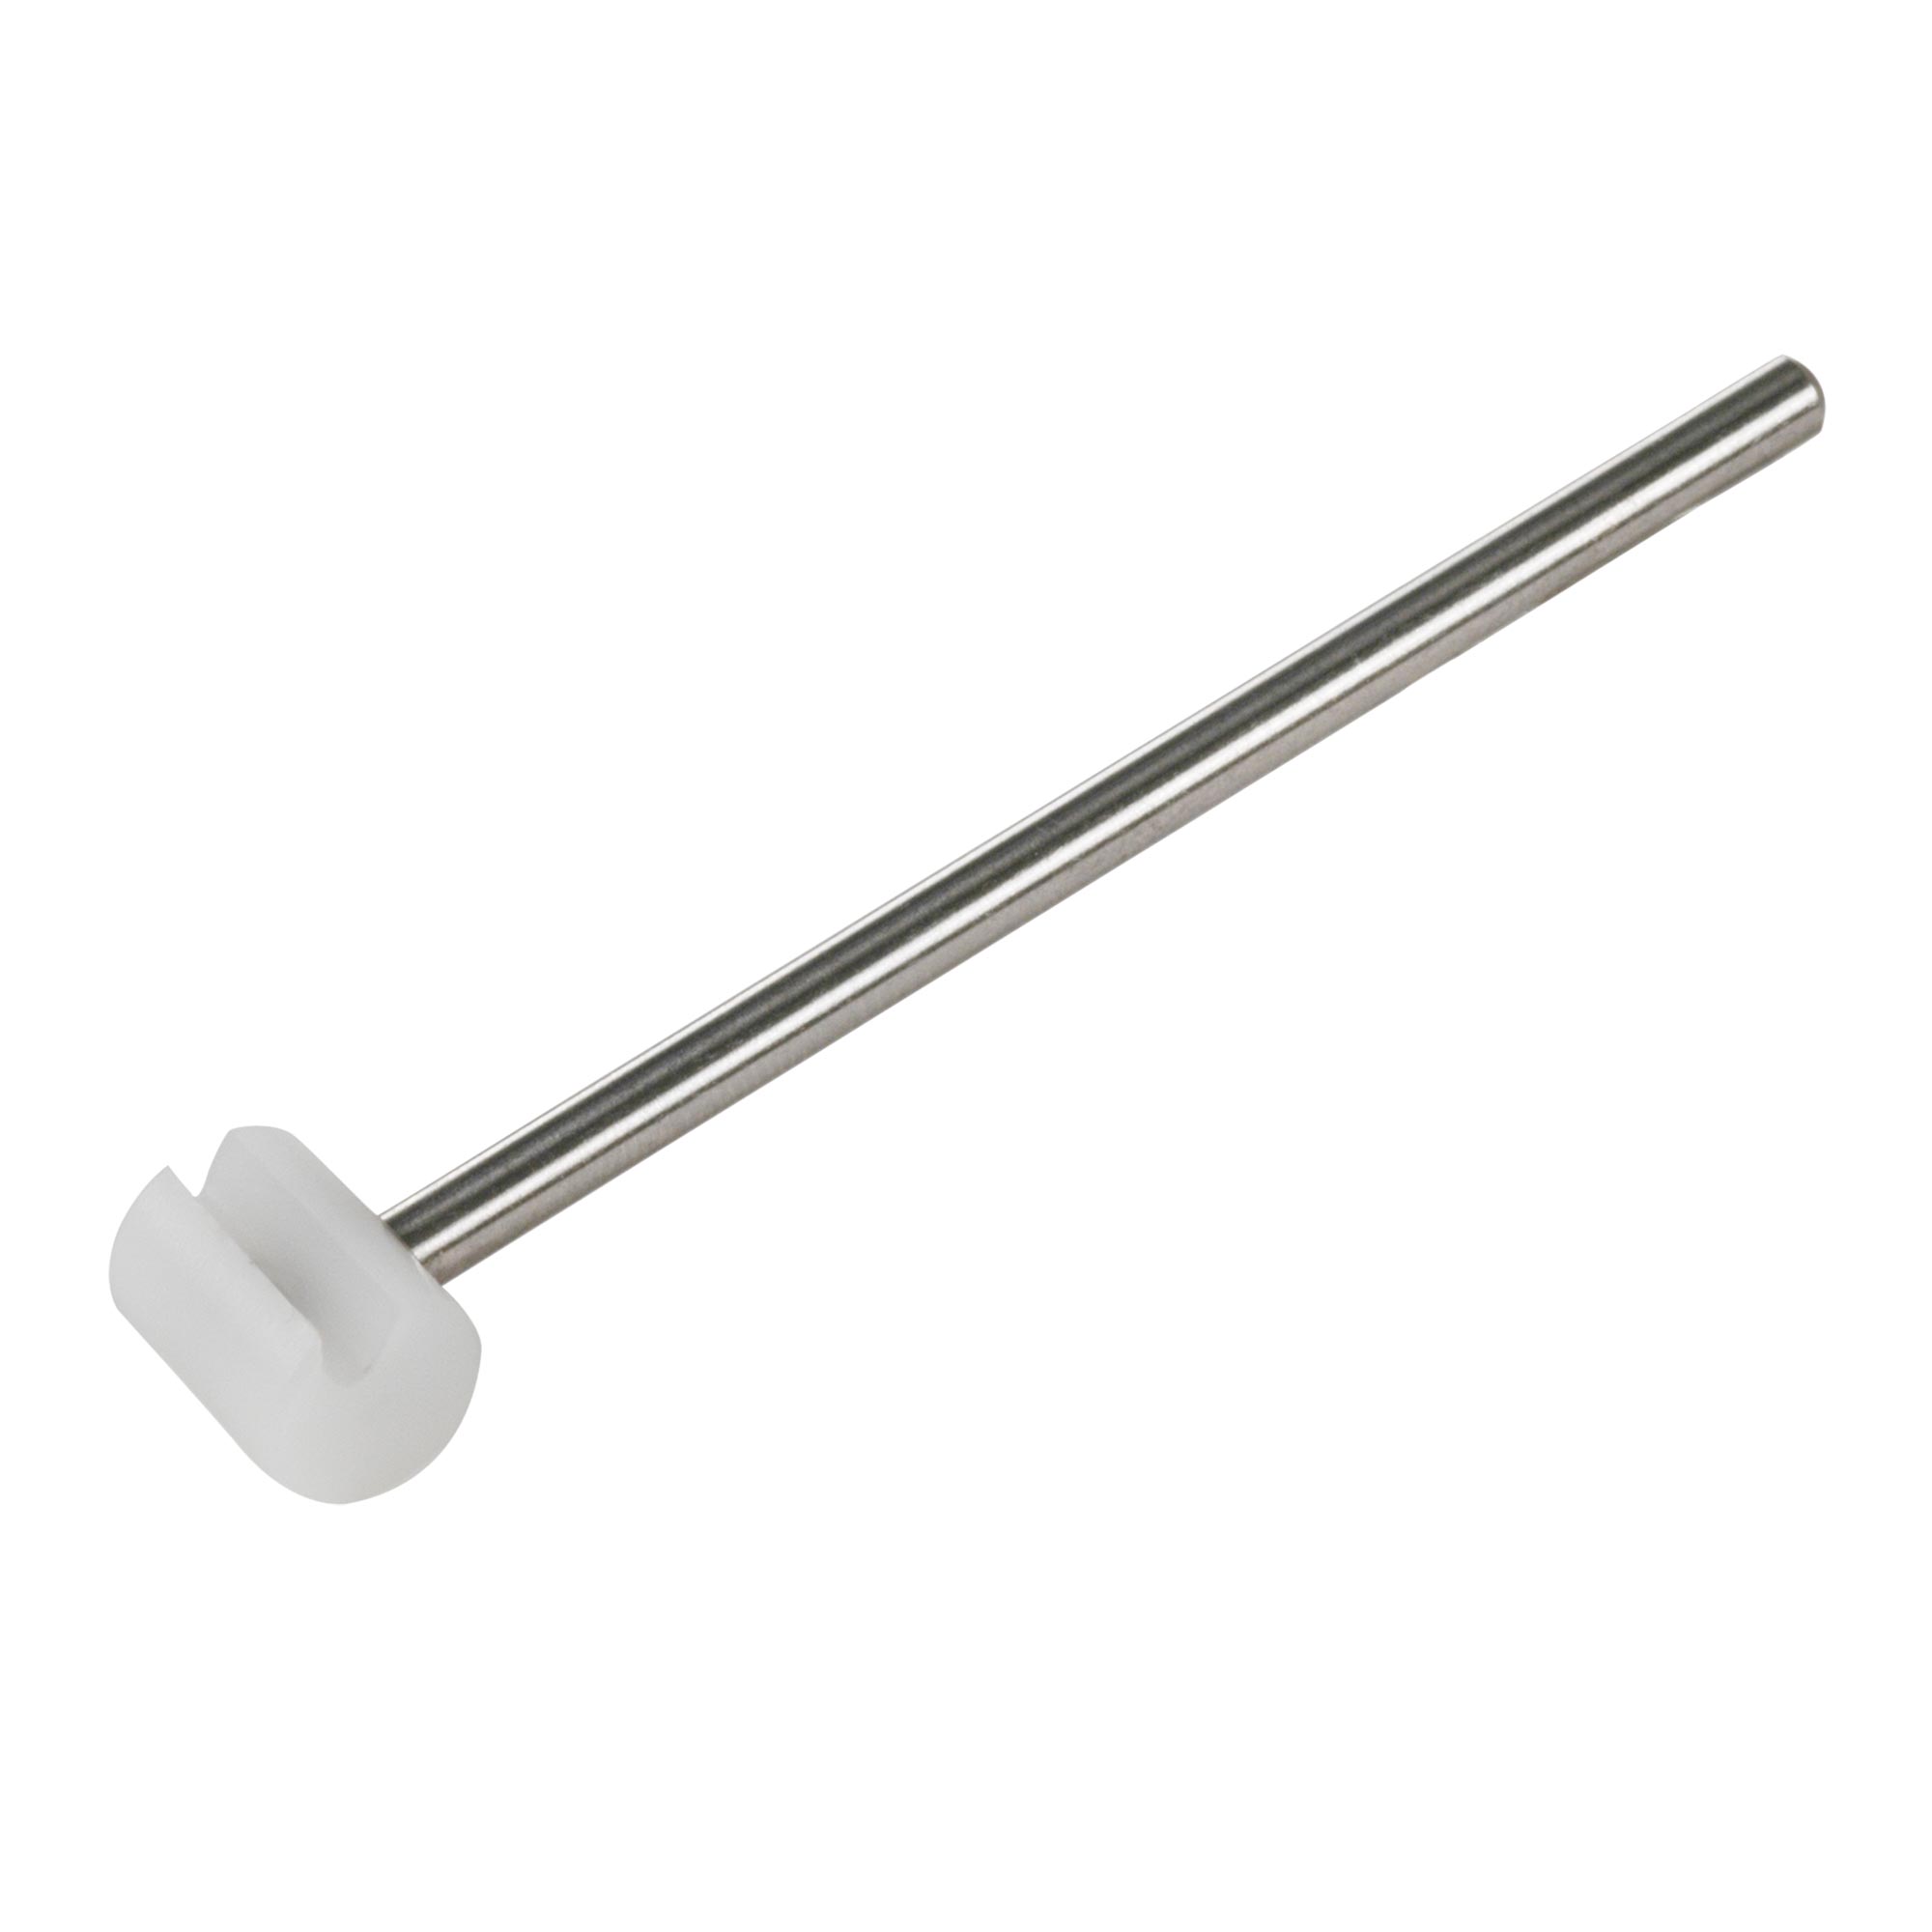
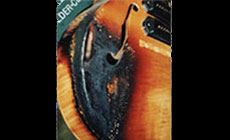
Repairing this fire-damaged Gibson took a LOT longer than most finish repairs. I need to wrap this up and ship it out. I can not afford to blow this nut. My friend Bill suffered a house fire that took most of his possessions. It tried to take this blonde 1958 Gibson ES-5 Switchmaster too. Bill shipped me the guitar, hoping I could salvage his old friend. After days of careful stripping, scraping, sanding and bleaching, I was able to return his guitar to almost-new condition. You can see in the second photo that one small area of the top was charred too deeply to sand out. (I wish it had been on the back instead!) This was the toughest refinishing job I’ll ever do, but that’s not what I’m here to talk about. I’m here to talk about roasted nuts — specifically the string nut on this toasted guitar. It needed to be replaced, with a new vintage bone nut blank. — as in, having to eat the cost of a nut replacement that goes wrong because a string slot is filed too deep. You see, I shaped the new nut and installed it before spraying the finish, just like the Gibson factory did. If I make a mistake in slotting it, I'll have to break it out of the finish and then I’ll have another finish repair on top of remaking a nut. I can’t afford that much more time on this job. A new tool that I love is the Nut Slotting Gauge, which measures the gap between the bottom of a string and the top of the first fret super-accurately. Using it I do better setup work than ever before, and it definitely helps me avoid blowing a nut and having to start over. An old-time jazz player, Bill uses flatwound strings from .012" to .052". I have less experience making nuts for flatwound strings than for roundwounds, so I was working extra carefully, lowering the slots slowly and checking my progress often. I didn’t want to get burned on this job (har-de-har-har)! Awe-inspiring bookmatched two-piece sets ready for carving a Les Paul, PRS style or your own custom design! As it happened, our new Nut Slotting Gauge was introduced at just the right time to help me with this. It’s already one of my favorite tools. I do have another favorite setup tool in the String Action Gauge, and I use it constantly for measuring string height. But nothing I know of equals the accuracy of this new Slotting Gauge that actually contacts the string and feels it move. The brass base stands on the fingerboard, straddling the strings, and its tiny steel plunger rests lightly on the top of the string. At this point I turn the dial to zero, and I’m ready to begin. Now I press the string down to touch the fret. The gauge follows the string down to the fret, and displays the distance in thousandths. Here I’m seeing a deflection of .028" — that’s the exact distance between the string and the first fret. In this case, .028" is what I want, so I leave this string slot as-is. If I’d wanted a lower action, I’d file a bit more from the slot and take another measurement. I’d see the result of my filing, precisely. I’m using a .010" nut slotting file to lower the slot of the .012" string, with a light touch so I won’t hog away more than I mean to. It doesn’t pay to be in a hurry at this stage. I lift the string out of the nut slot for filing by using the String Lifter. This avoids marring my shiny new nut. I lowered the high-E string to .018", which may be perfect for a reasonably-stiff jazz action. Once I’ve been across the fretboard, adjusting each string, I go through the process one more time until I’m happy.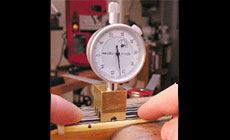

I also want to talk about eating nuts

Check It Out!
Top wood to carve a Les Paul
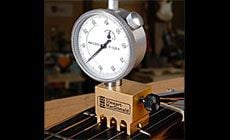

Here’s how it works:
