Two 1917 Gibson L-1 archtop guitars: each with too-high action
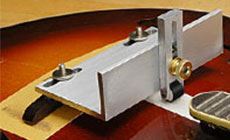
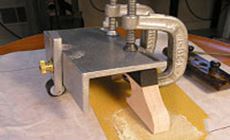
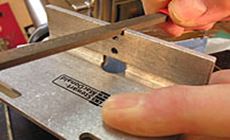
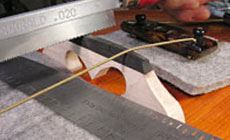
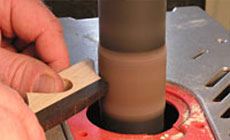
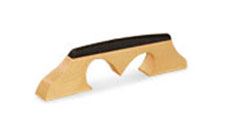
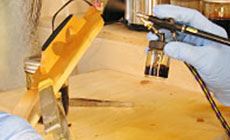
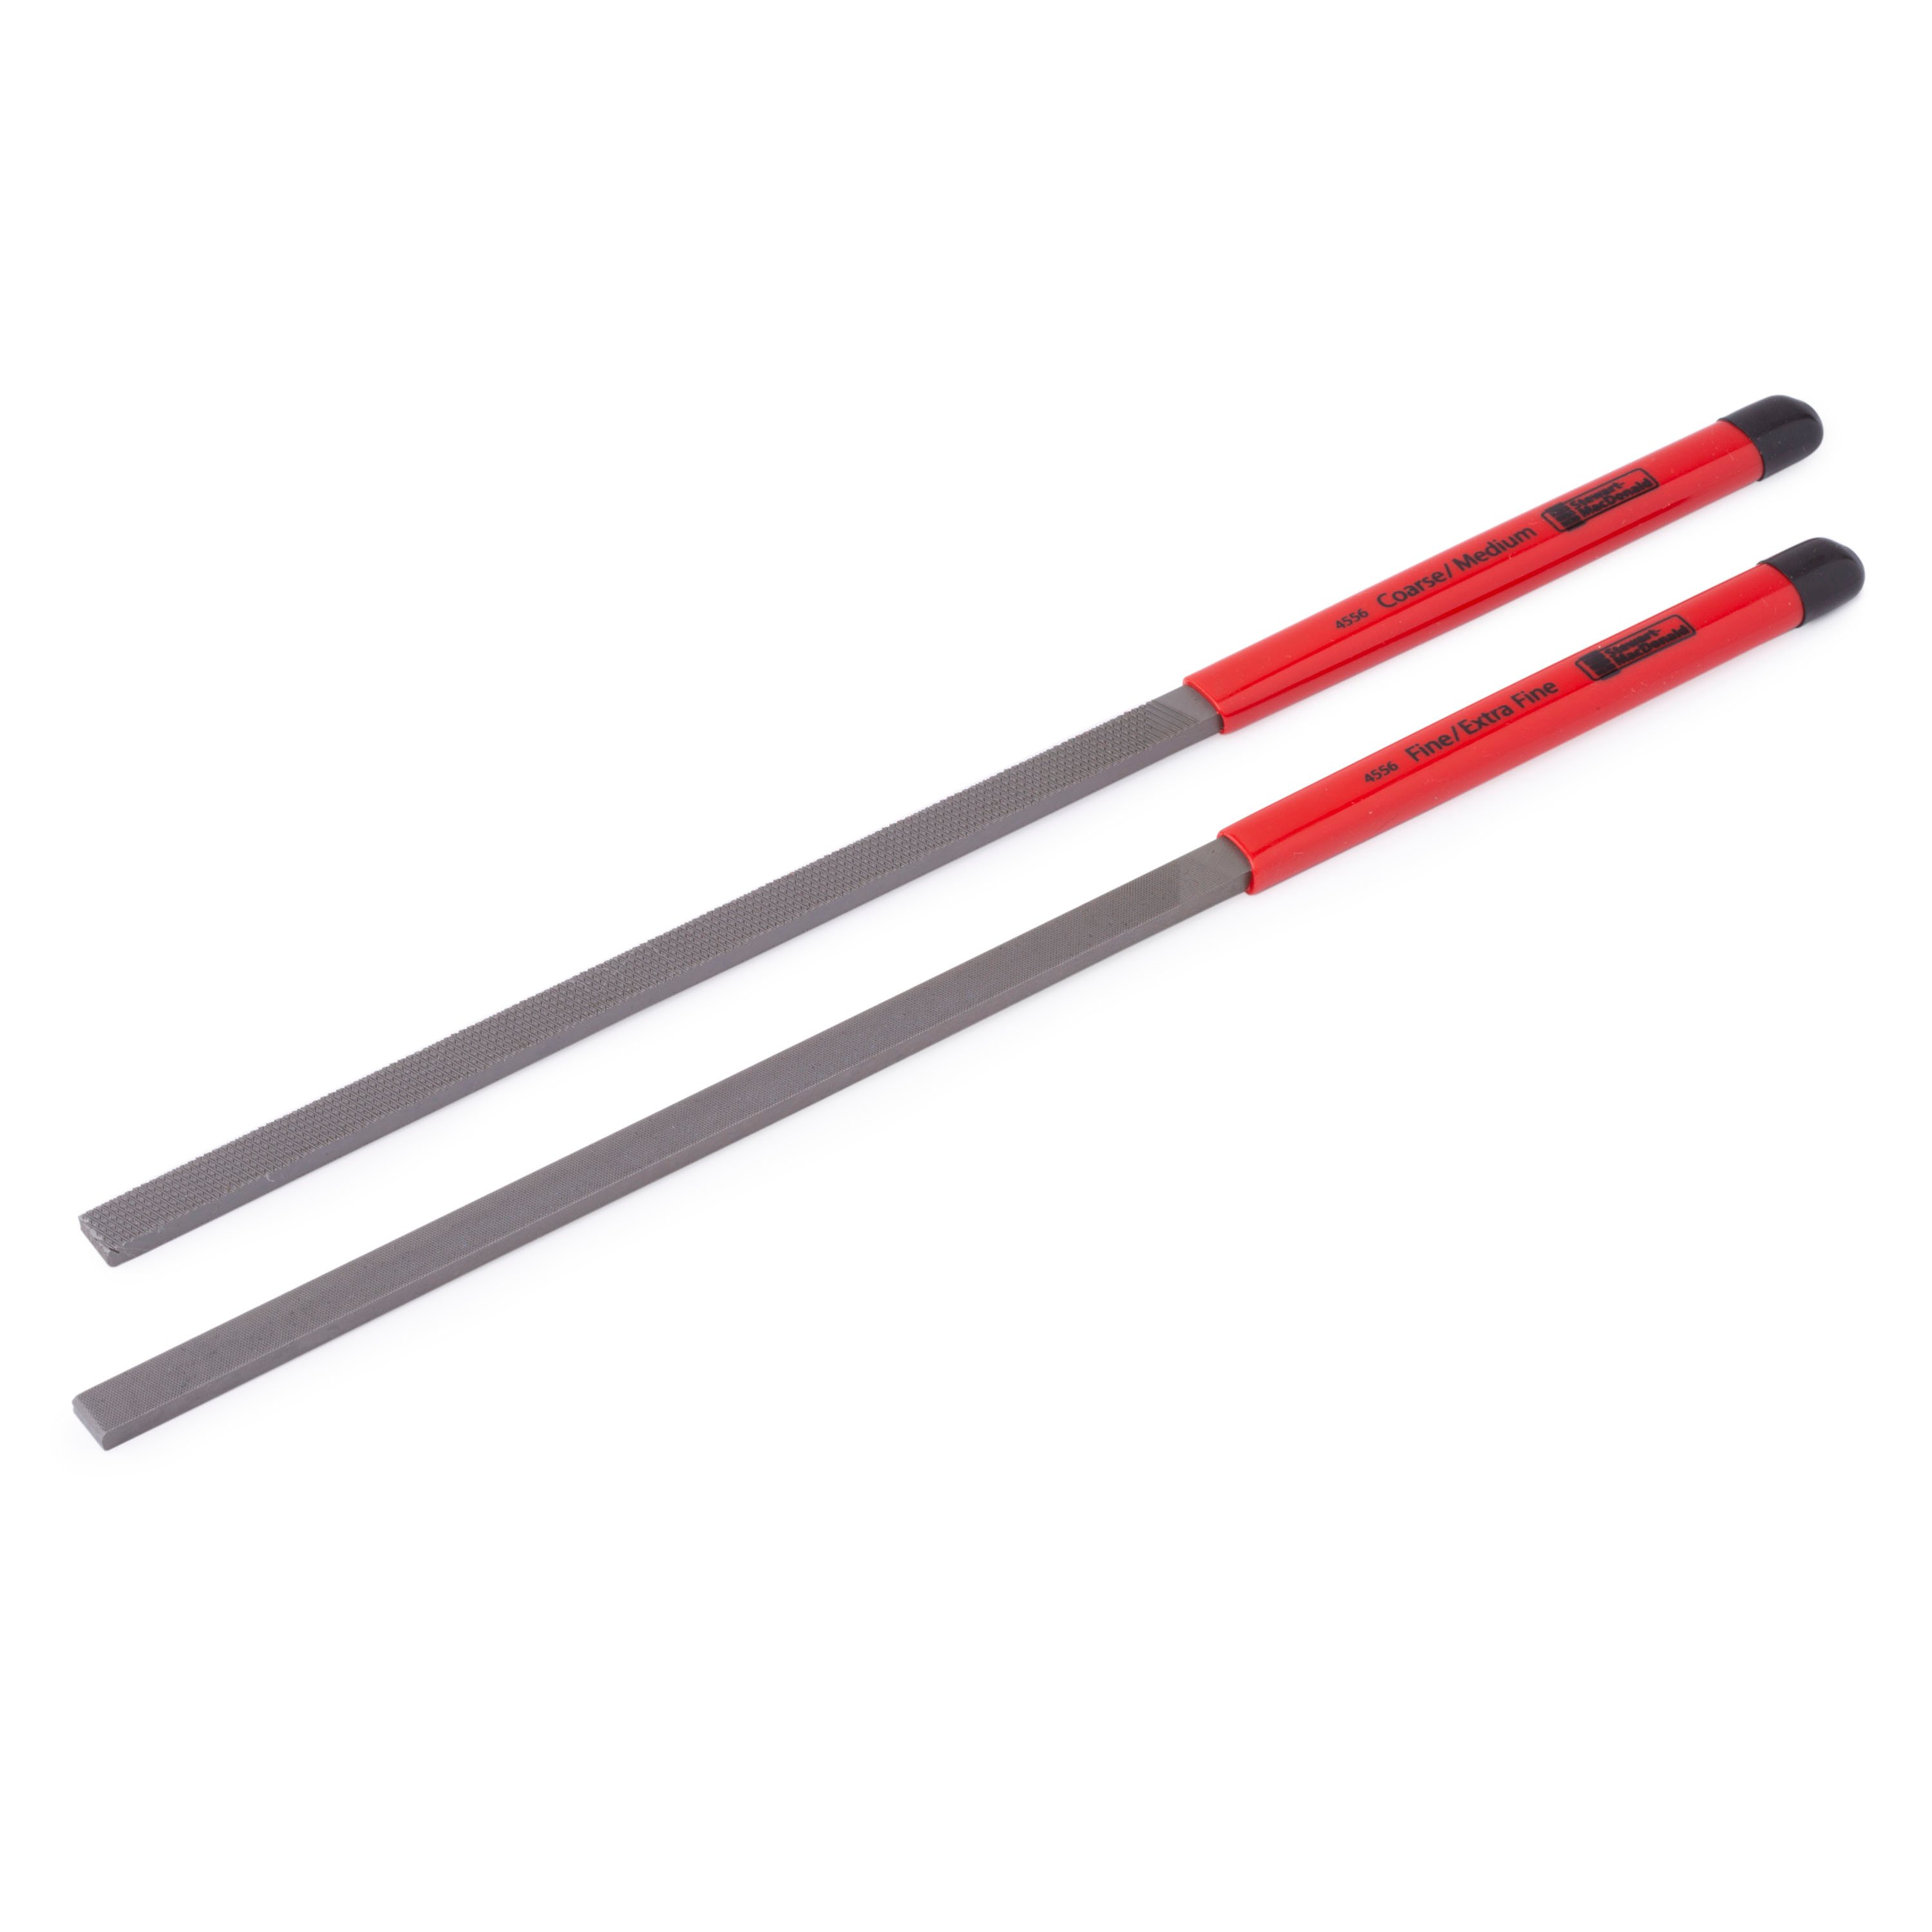
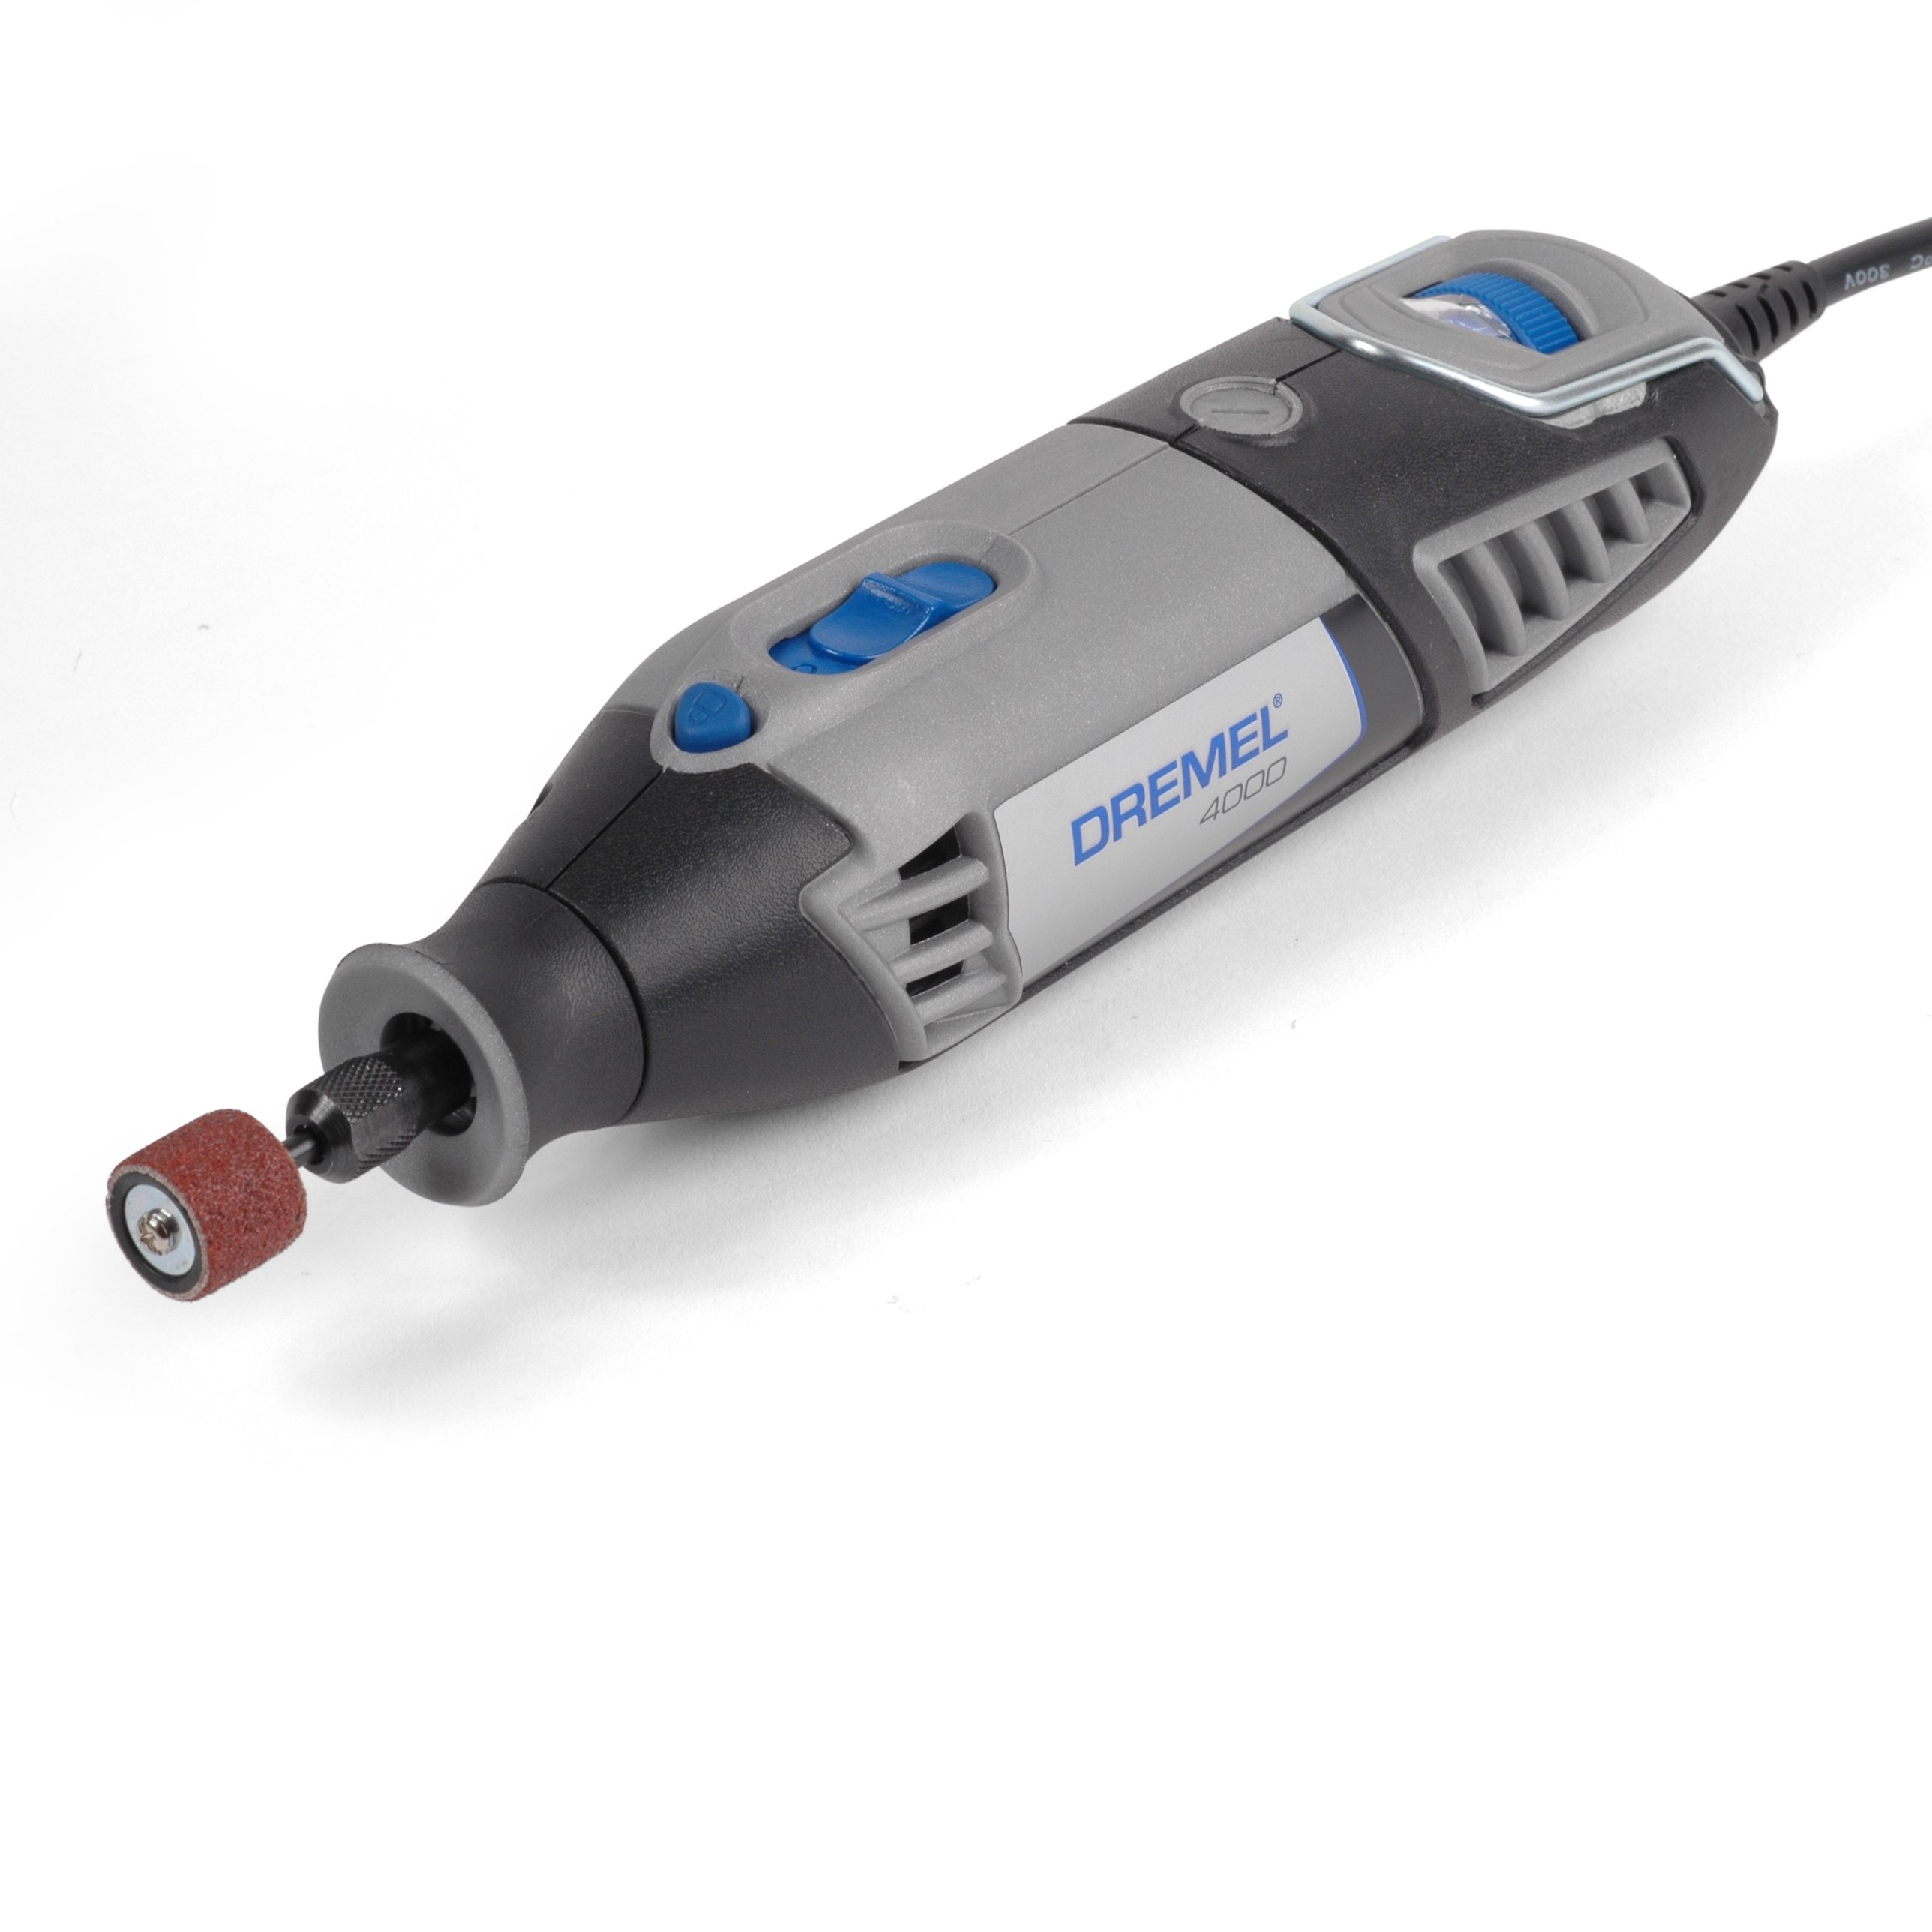
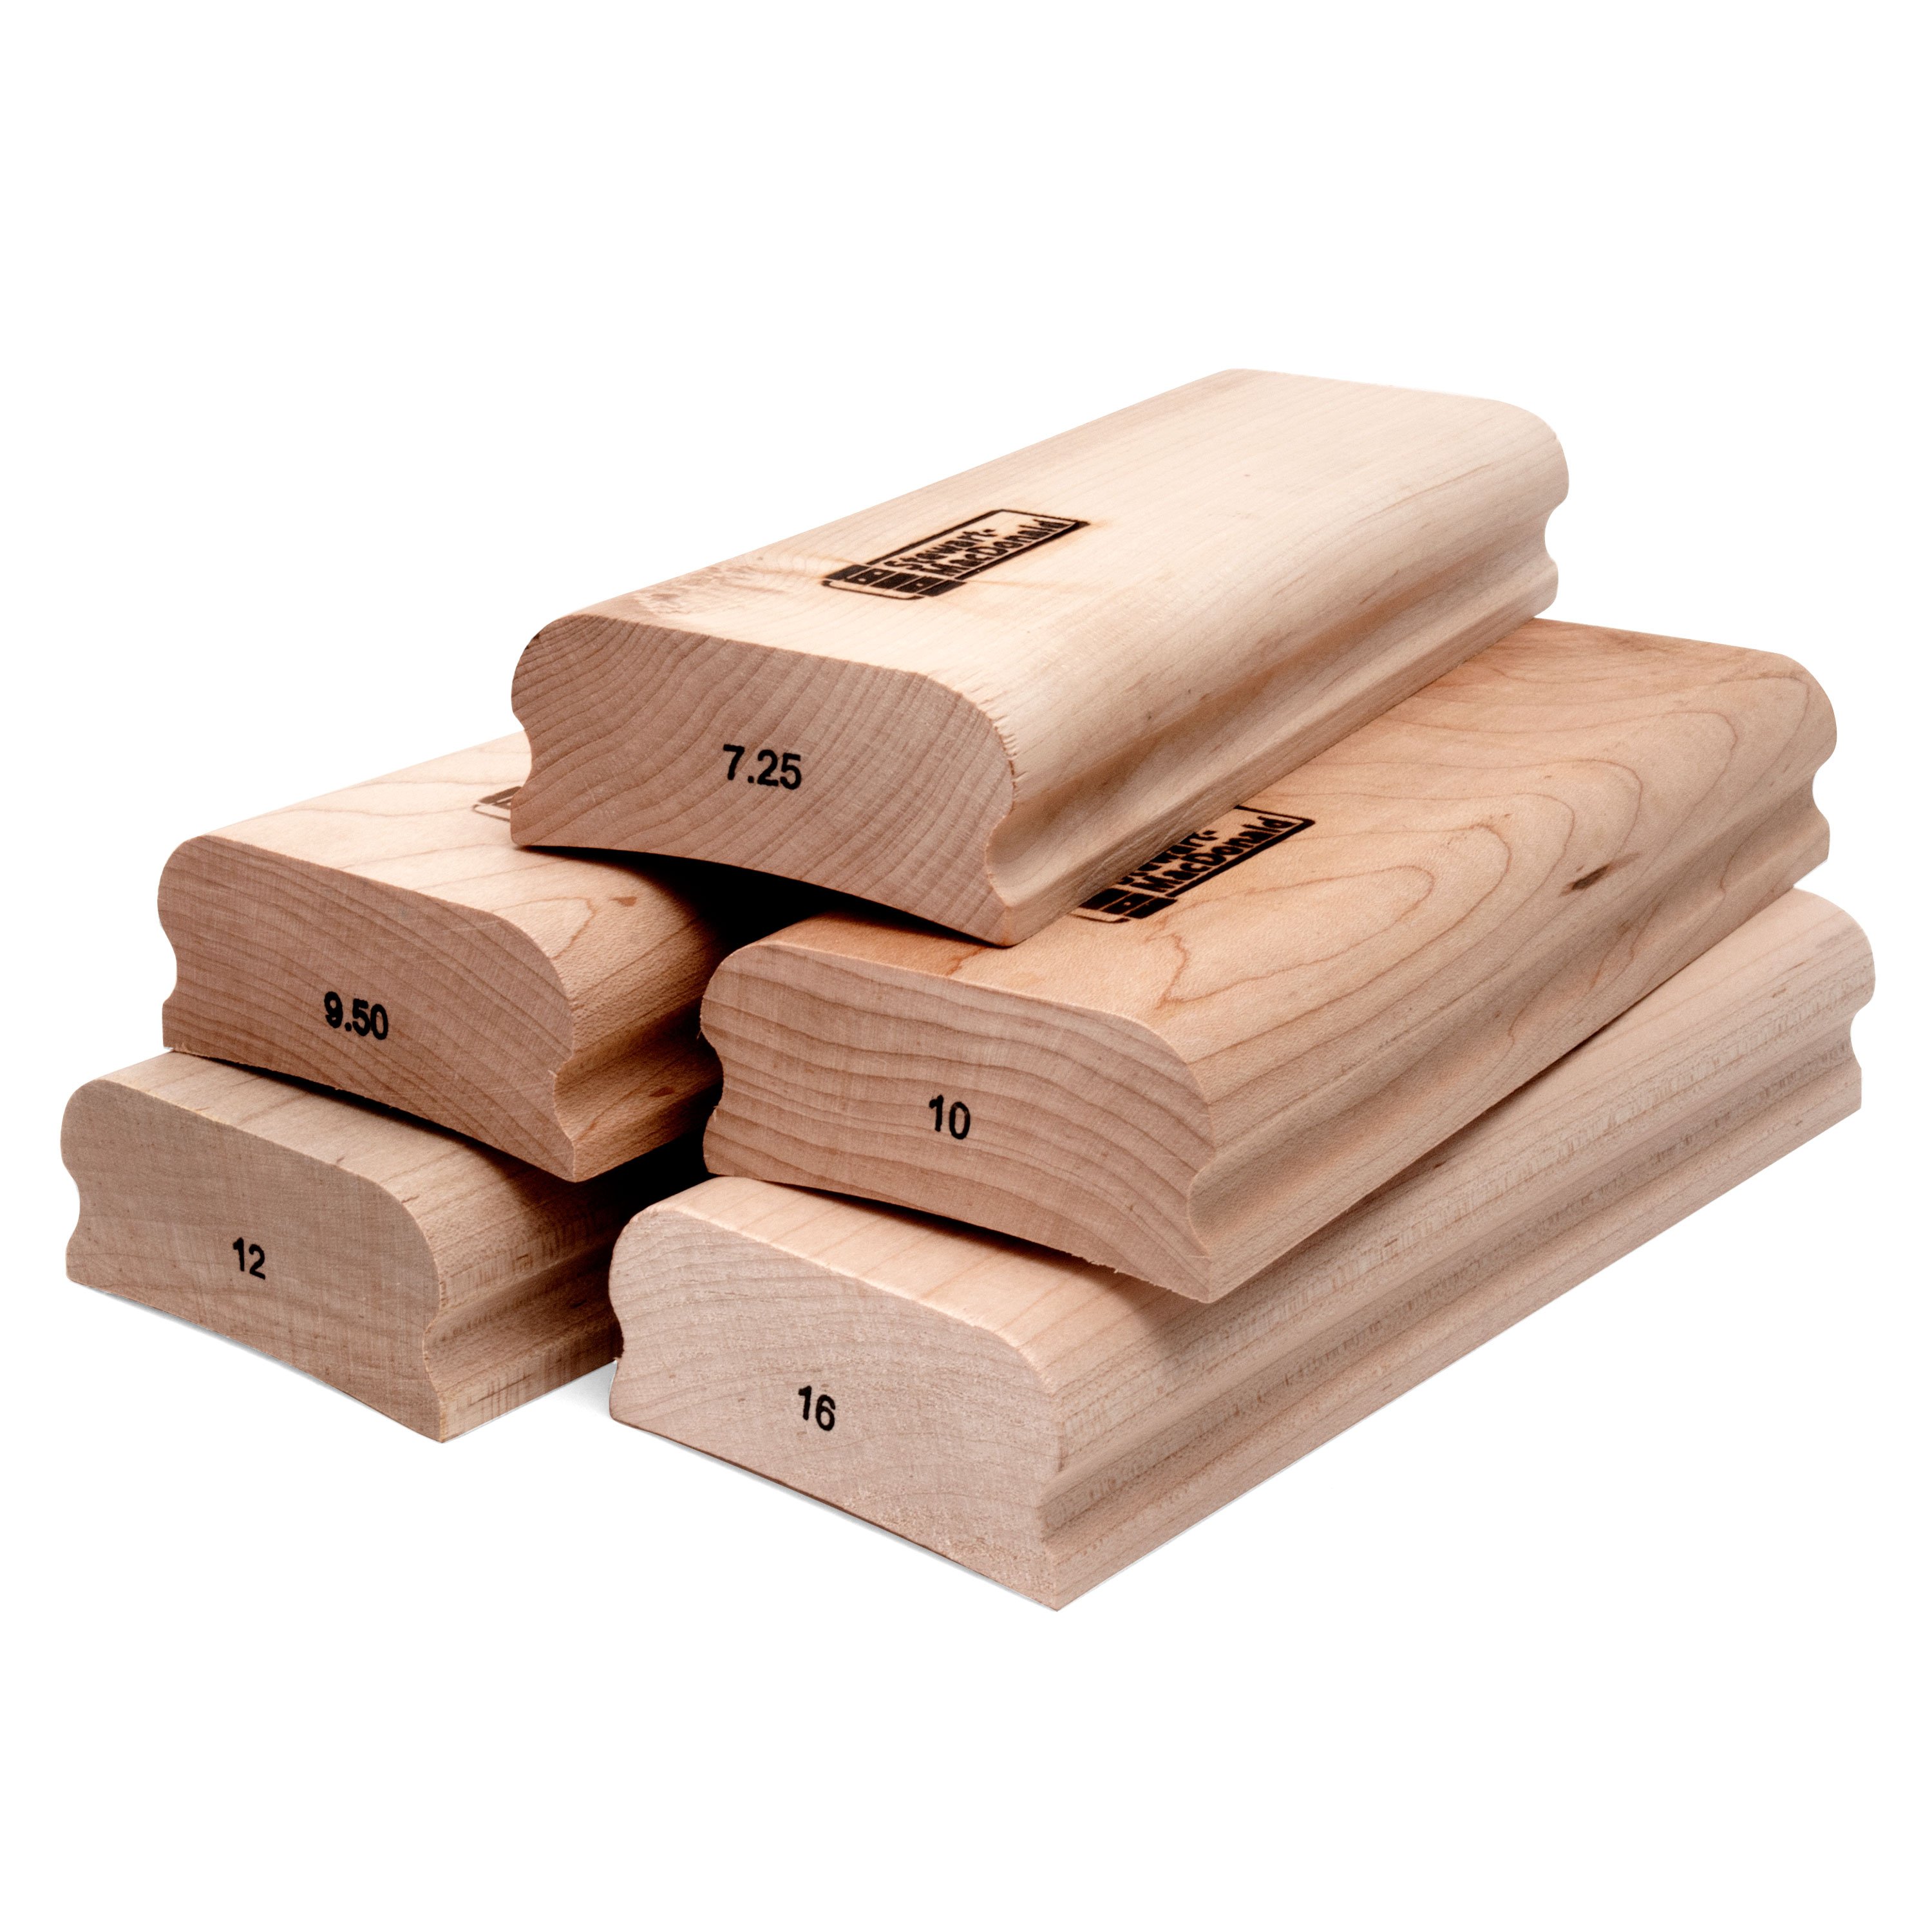
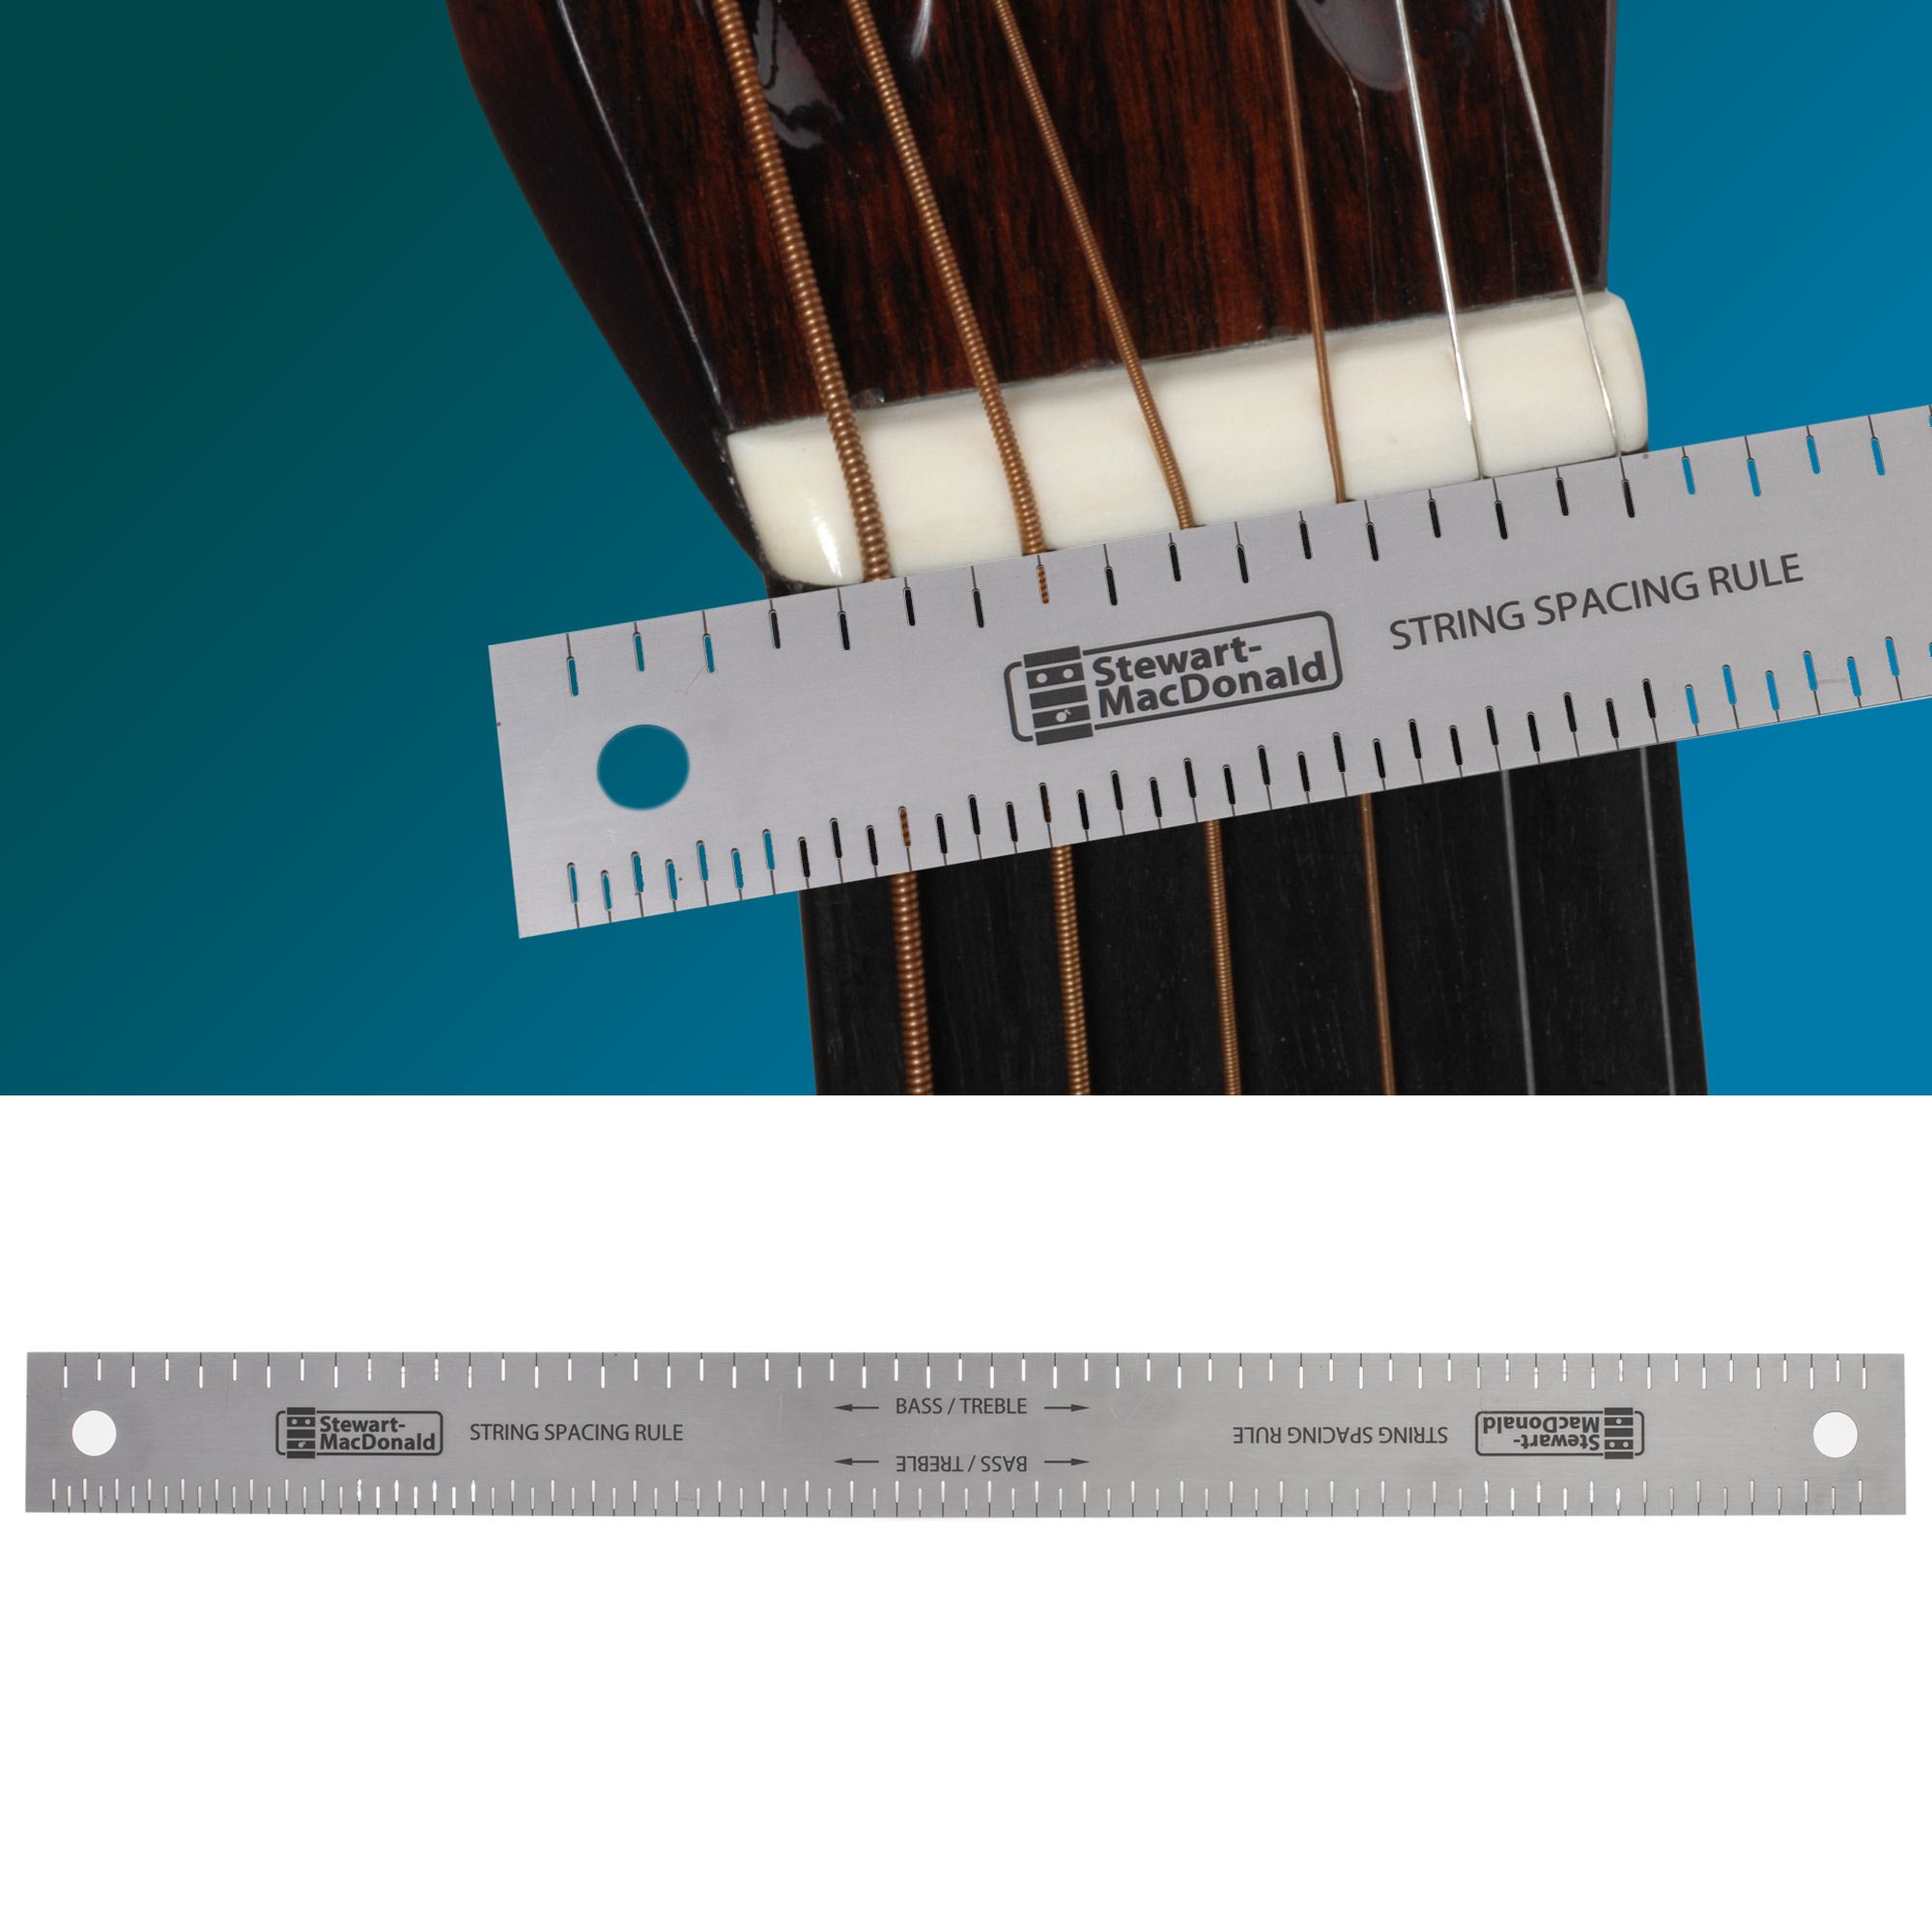
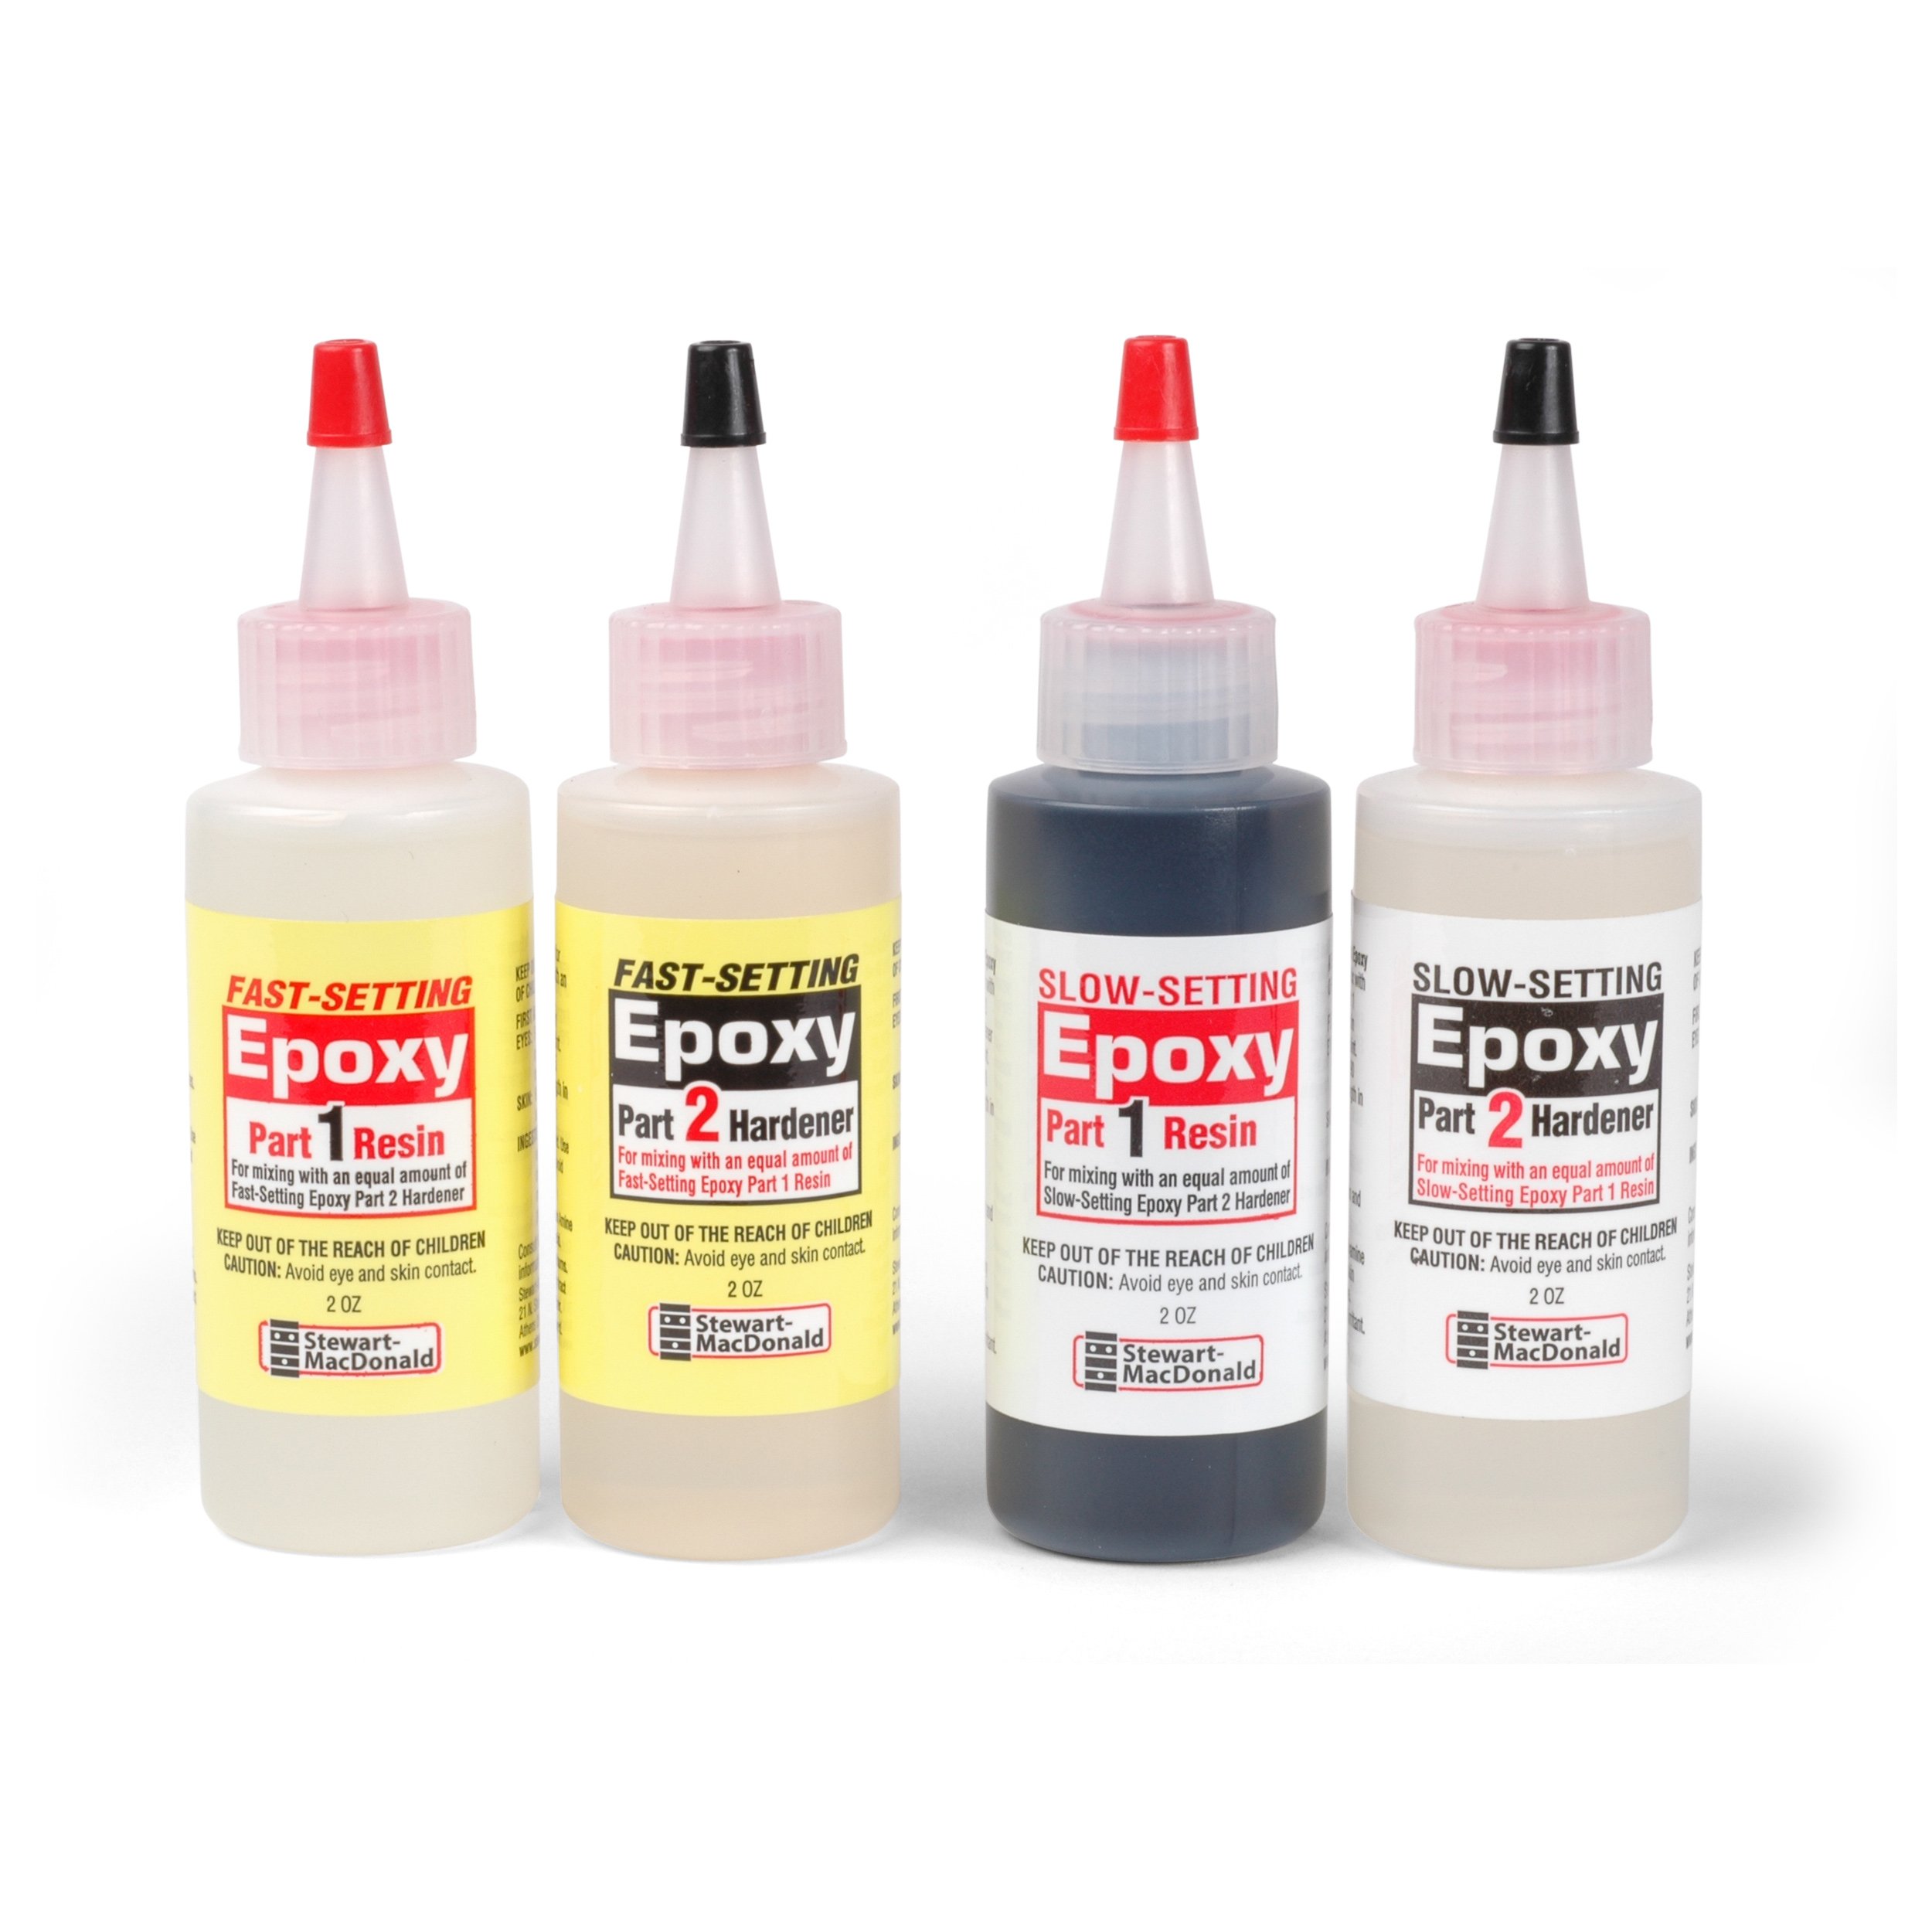
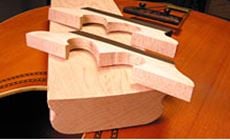
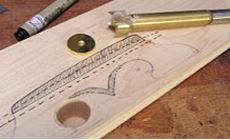
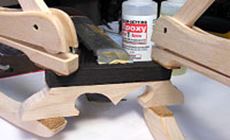
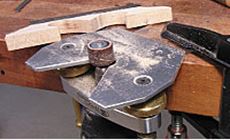
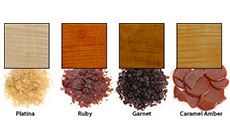
Look what just came in for repairs:a Gibson L-1 archtop from 1917. For a 93-year-old, this guy’s in great shape: every bit as handsome as when he appeared in this Gibson catalog long ago. It’s a treat to have him in my shop! The day after he arrived, his oldclassmate came in the door: another L-1 from the same year! My shop feltlike a 1917 Gibson Class Reunion. It’s an odd thing, but both these oldtimers came in for the same reason: their strings are way too high, so they have lousy playing action. If their tops had swelled upward, lifting the bridges, that would explain the high action. But these tops have actually shrunk down over the years, which would make the action lower, not higher. I'm guessing they had high action when they left the factory in Kalamazoo, Michigan. It was at the height of World War I, a couple of years before a craze for Hawaiian slide guitar sounds swept the country, so that high-action playing style probably didn't influence their setup. Anyhow, lowering the action means lowering the bridge height, and I didn't want to carve up these old bridges. Antiques Road Show fans: removing the original bridge won’t harm the guitar’s value—it's just held on by string tension, not by glue. I’ll save the old bridge in the guitar case for historical value and resale; it could be put back on later, but for now I just want this guitar to play right! I decided to make two new bridges out of hard maple—the harder the better, for tone and strength. Not all maple is equally hard; it can be tough to find the really dense stuff. I came up with a piece as hard as a Michigan winter: cut from one of our radius blocks. (The 20" radius block offered the thickest piece of wood.) From a $16 radius block, I was able to make two new bridges, and there was plenty of super-hard maple left for future use as bridge plates. (I can charge a premium for winter-growth hard maple bridge plates.) I drew the shape and used a Forstner bit to drill holes that are the basis of the heart-shaped arch. Then I bandsawed the rest of the shape. I copied the look of the original bridges but made mine shorter, lowering the ebony/maple glue joint, and slightly modifying the shapes of the arch and feet. I cut the bridge caps (saddles) from an ebony flattop bridge blank and glued them to the maple bases with slow-setting clear epoxy. I used mini cam clamps for pressure, with a spring clamp in the middle, and left the glue to dry overnight. I sanded the curves with the sanding drum that comes as part of the Dremel tool outfit. Clamped upside-down in a router base, it’s a miniature spindle sander. Take a new look at an old favorite: ColorTone shellac now comes in four colors. On most archtop guitars (and on mandolins as shown here), the bridge is in two pieces: the base is separate from the height-adjustable top. For those bridges, it’s simple: use our archtop bridge fitting jig. It's a cinch (kind of fun, actually): the bridge rides back-and-forth over sandpaper right on the archtop itself. Perfect fit! But an L-1 bridge is different: one tall piece, like a violin bridge. The jig isn’t meant for this shape, but I didn't let that stop me. I turned it upside down, and reattached the guide wheel in an opposite direction. I had to file a notch to make room for the guidewheel, but no prob. I used the coarse side of a nut and saddle file. My upside-down jig worked great. It only took a moment to return this jig to its original mandolin-ready state. Now mine’s double-duty. (You know, my favorite part of being a guitar repairman is thinking up tools!) After laying out the string spacing with the string spacing rule, I roughed-in the slots with a .020" gauged saw, then fine tuned them with my nut slotting files. I final-shaped the bridge curves on my oscillating spindle sander. An airbrush outfit sprayed each bridge with garnet shellac—a rich reddish-brown— mixed fresh from flakes and Behkol solvent. The result matched both instruments nicely. These guys are good to go, and out the door—until their next reunion in 93 years!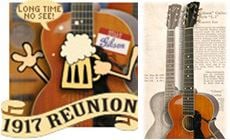
Double double bridge trouble. 1917 Class Reunion?
What’s the deal here? They haven’t got potbellies...
Check it out!
Hmm... How to shape the bridge feet to match the top curvature?
