Bridge Pin Hole Chamfer Tool Instructions
Instructions for using the Bridge Pin Hole Chamfer Tool.
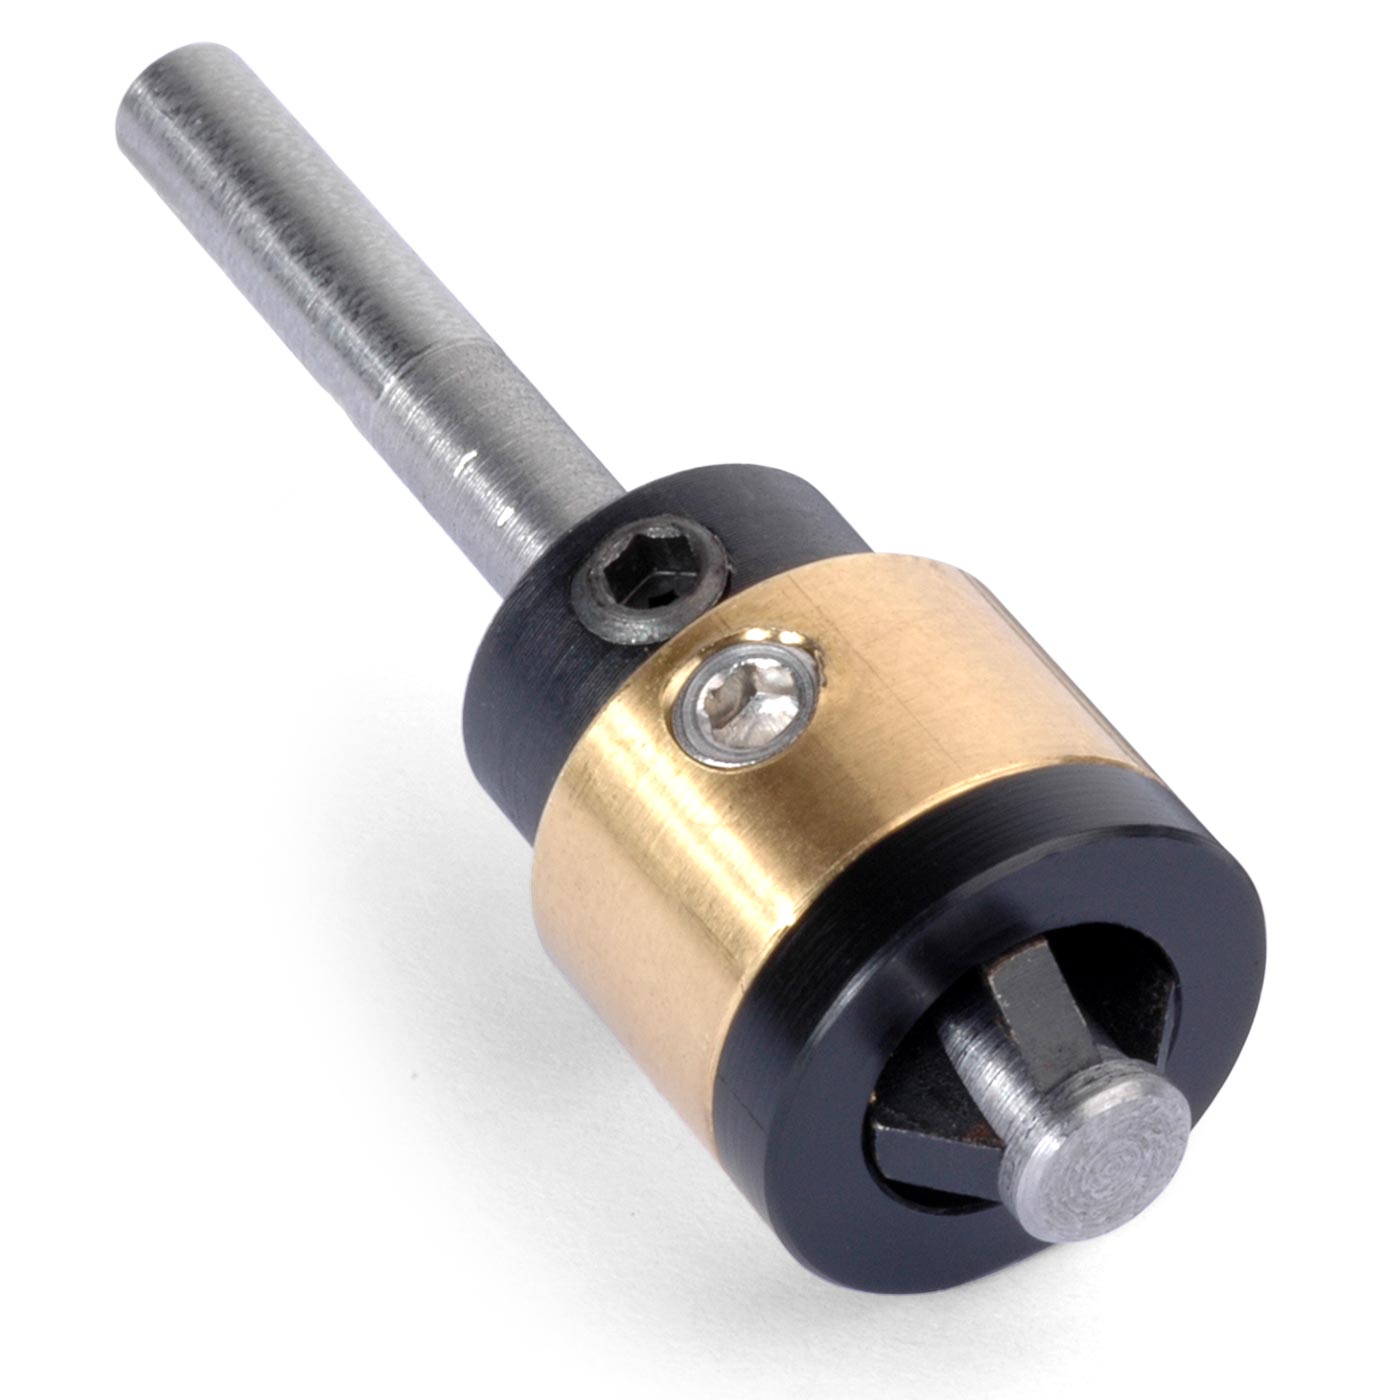
The pilot eliminates the chatter of the bit by keeping the cutting edges spinning perfectly on center. The brass stop has a "no-mar" cushion that can spin on the bridge without damage to the surface. The tool is intended to be used in a hand drill so that it can be held perpendicular at any point along the arched bridge surface. This allows the cutter to make "round" cuts. If the bridge is new and has not been previously reamed for bridge pins, pick the smaller, 3/16" pilot. If the bridge has already been reamed for pins, pick the pilot that has the enlarged 7/32" tip. Back out the set screws from the cutter and insert the pilot. Be sure that it only sticks out about 1/16" or less from the cutting tip and that the flats on the pilot are positioned to line up with the set screws. Tighten both set screws. Position the stop so that its brass side (the side with the set screws) is toward the flanged head of the cutter. The stop can be moved up and down on the cutter and held with the set screws to control the depth of the cut. Put the Bridge Pin Chamfer Tool in the chuck of a hand drill and tighten the chuck. Start with the stop set low to make a smaller hole, and test the cut on a scrap block that simulates the bridge.
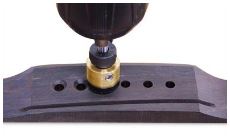
Adjust the stop until the cutter is cutting the desired size counter sink. Once the cutter is set-up, proceed with chamfering (countersinking) the bridge pin holes. Use the drill at a low to moderate speed for the smoothest cut. Hold the drill at the appropriate angle to cut each hole.
The stop pad should hit the bridge top all the way around its surface using only light to moderate pressure. The dense rosewood and ebony chips will tend to pack in the flutes of the cutter, so it is important to clean the cutter after each hole is chamfered. Compressed air, if you have it, is ideal for blowing out chips.
An old toothbrush or other stiff bristle brush will work well too. Usually the chips will remain loose if cleaned regularly. If they become packed in, use a steel scribe to pick the packed chips from the flutes. Be careful and avoid touching the sharpened cutting edges with the scribe.The Bridge Pin Hole Chamfer Tool includes:
Choose your pilot
Insert the pilot into the cutter
Depth of cut
Chamfering your holes

Keep it clean

