How to know a bridge will play in tune before gluing it on
Positioning a bridge: prove it’ll play in tune before you glue it on
Calculating correct saddle placement is one thing; knowing for sure is another.
After installing a new bridge plate in this beat-up Gibson J-50 from the early 1950s, I needed to make a bridge for it. That’ll take up most of the afternoon...
Hey, wait!
Months ago I made a bridge for a similar Gibson, but it turned out to be too thin for that guitar. Maybe it'll work on this one — I’m glad I saved it!
The size and shape are right, and the thickness is fine.
New bridges, old bridges, unfinished bridges... I've saved piles pf 'em!
The thing is, I had already started cutting a saddle slot in this bridge — so I need to know if that saddle position will be in tune for this guitar. Measuring tells me it’s right, but I’ll believe what I can hear. The test is to temporarily mount the bridge in position, string it to pitch, and check it with a tuner. This'll take me less than an hour, and if it saves me from making a new bridge, great!
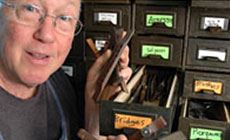
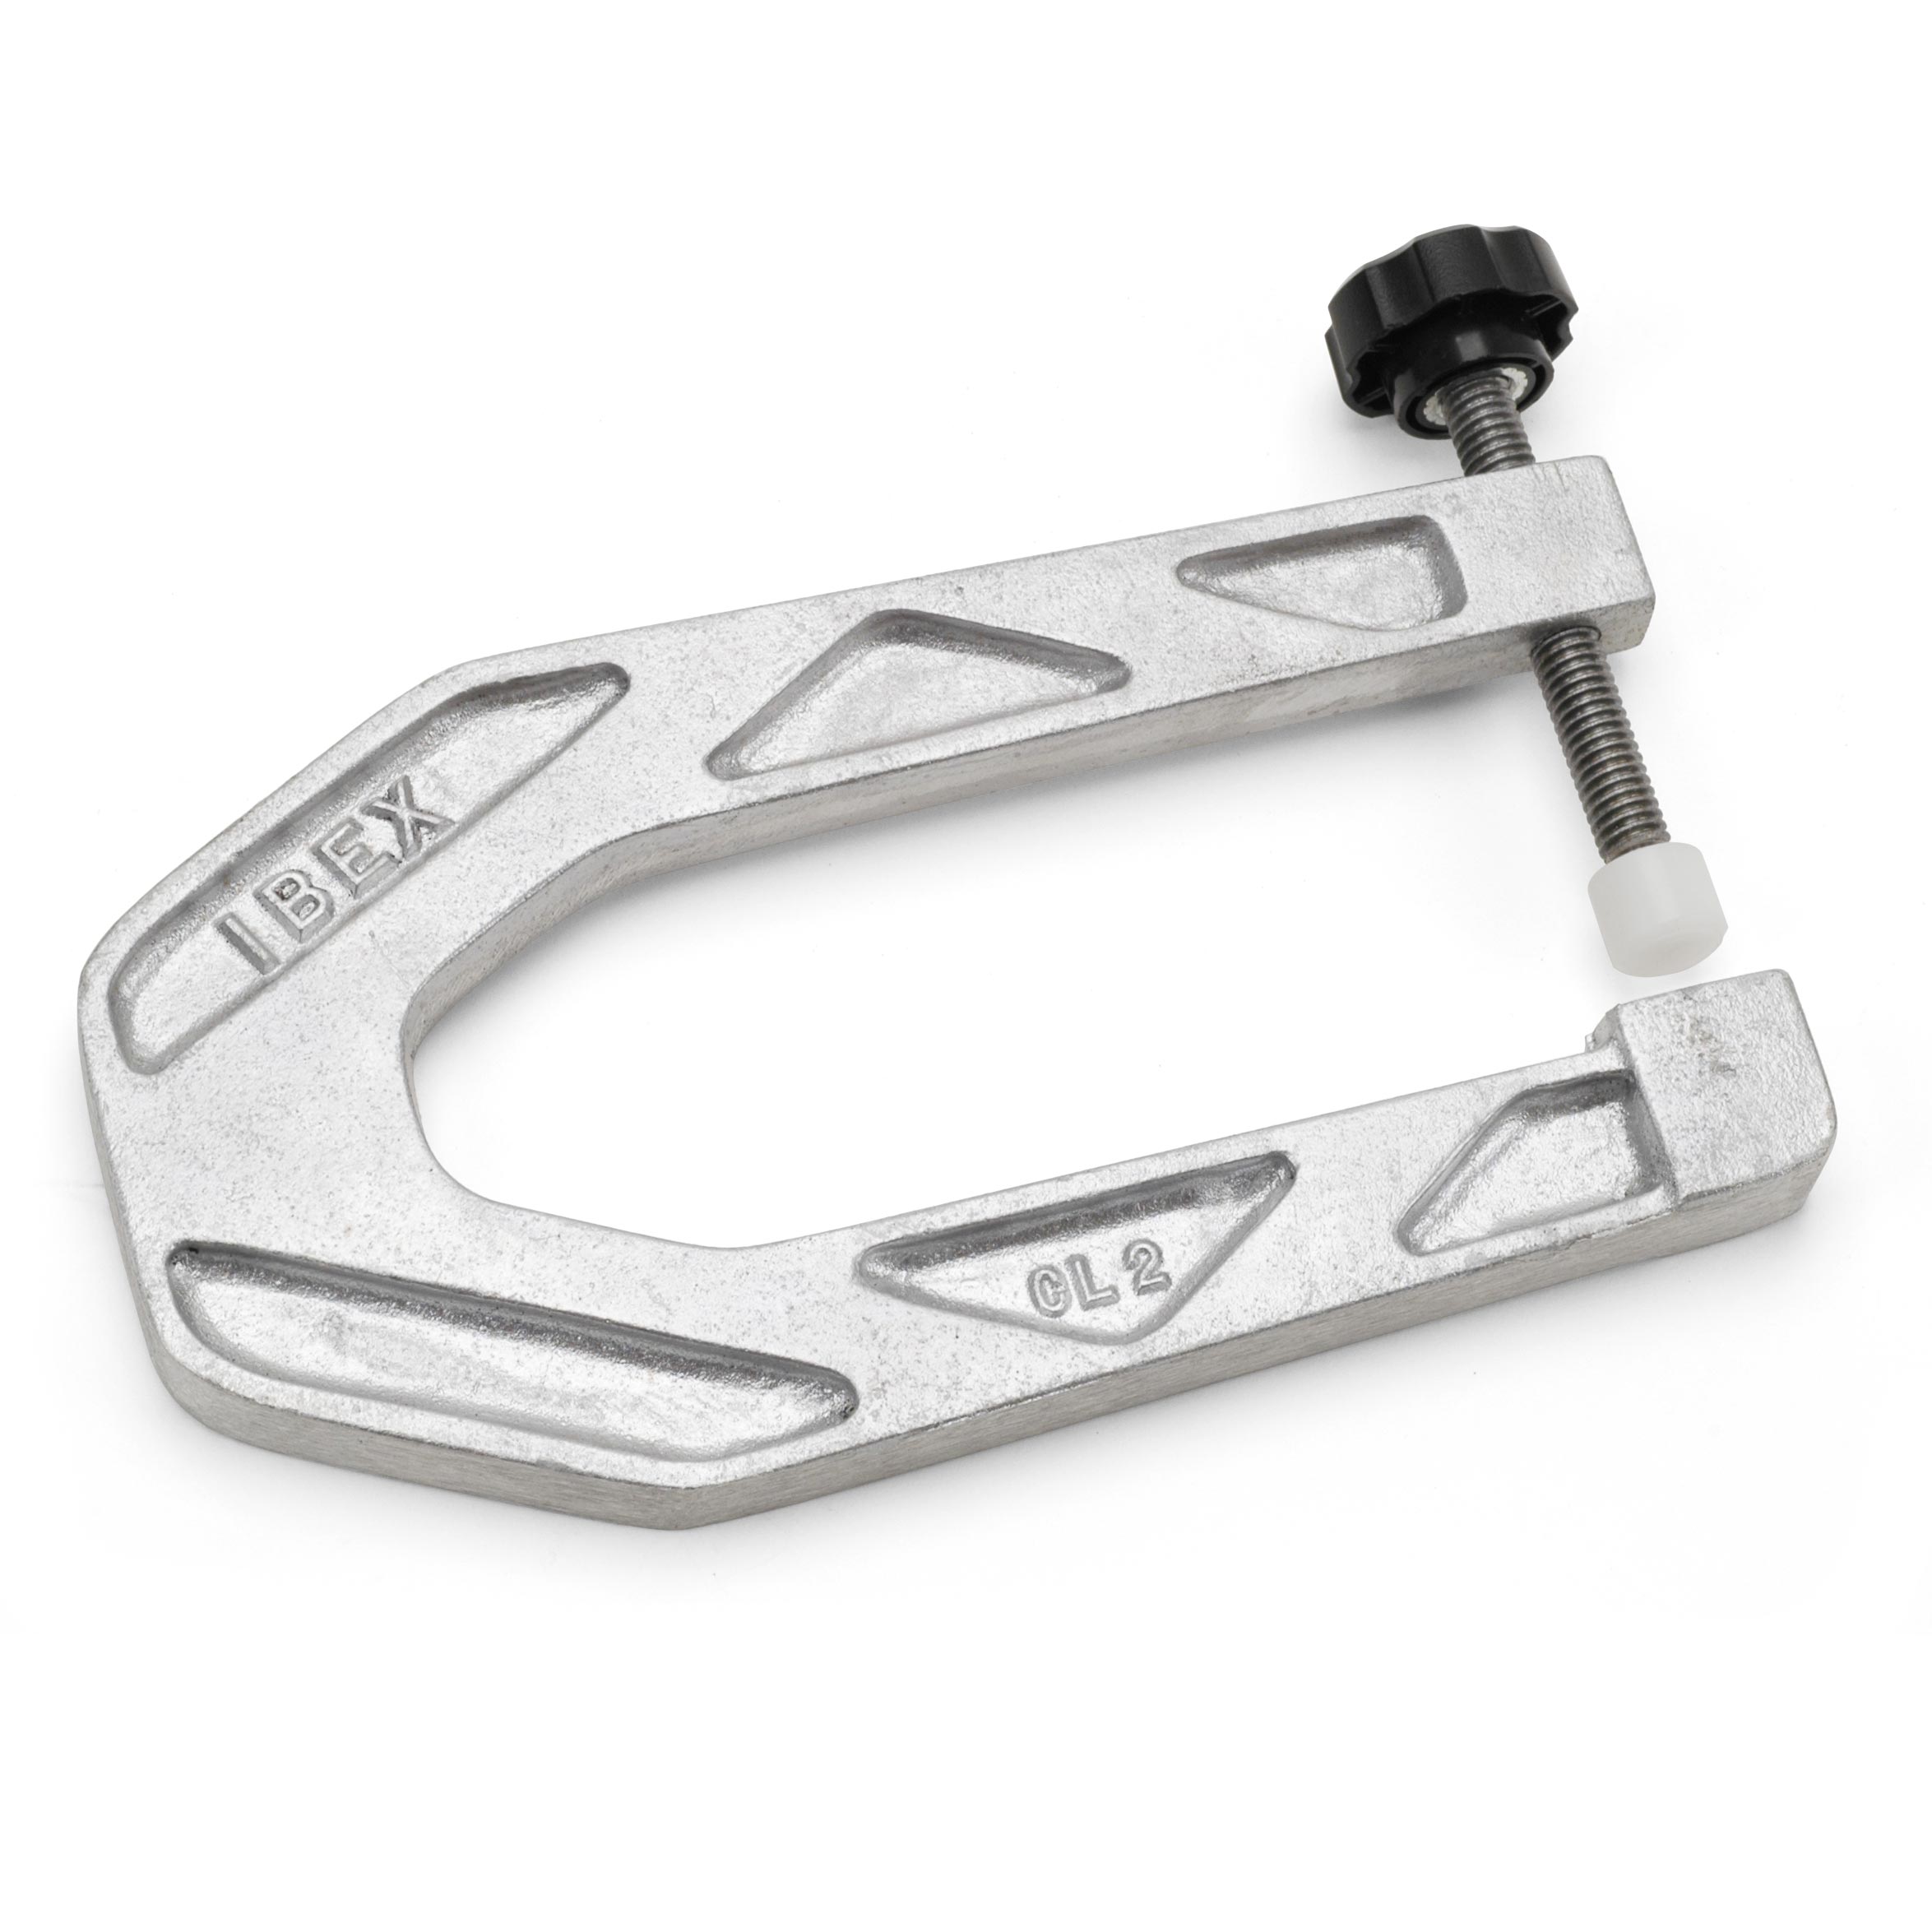
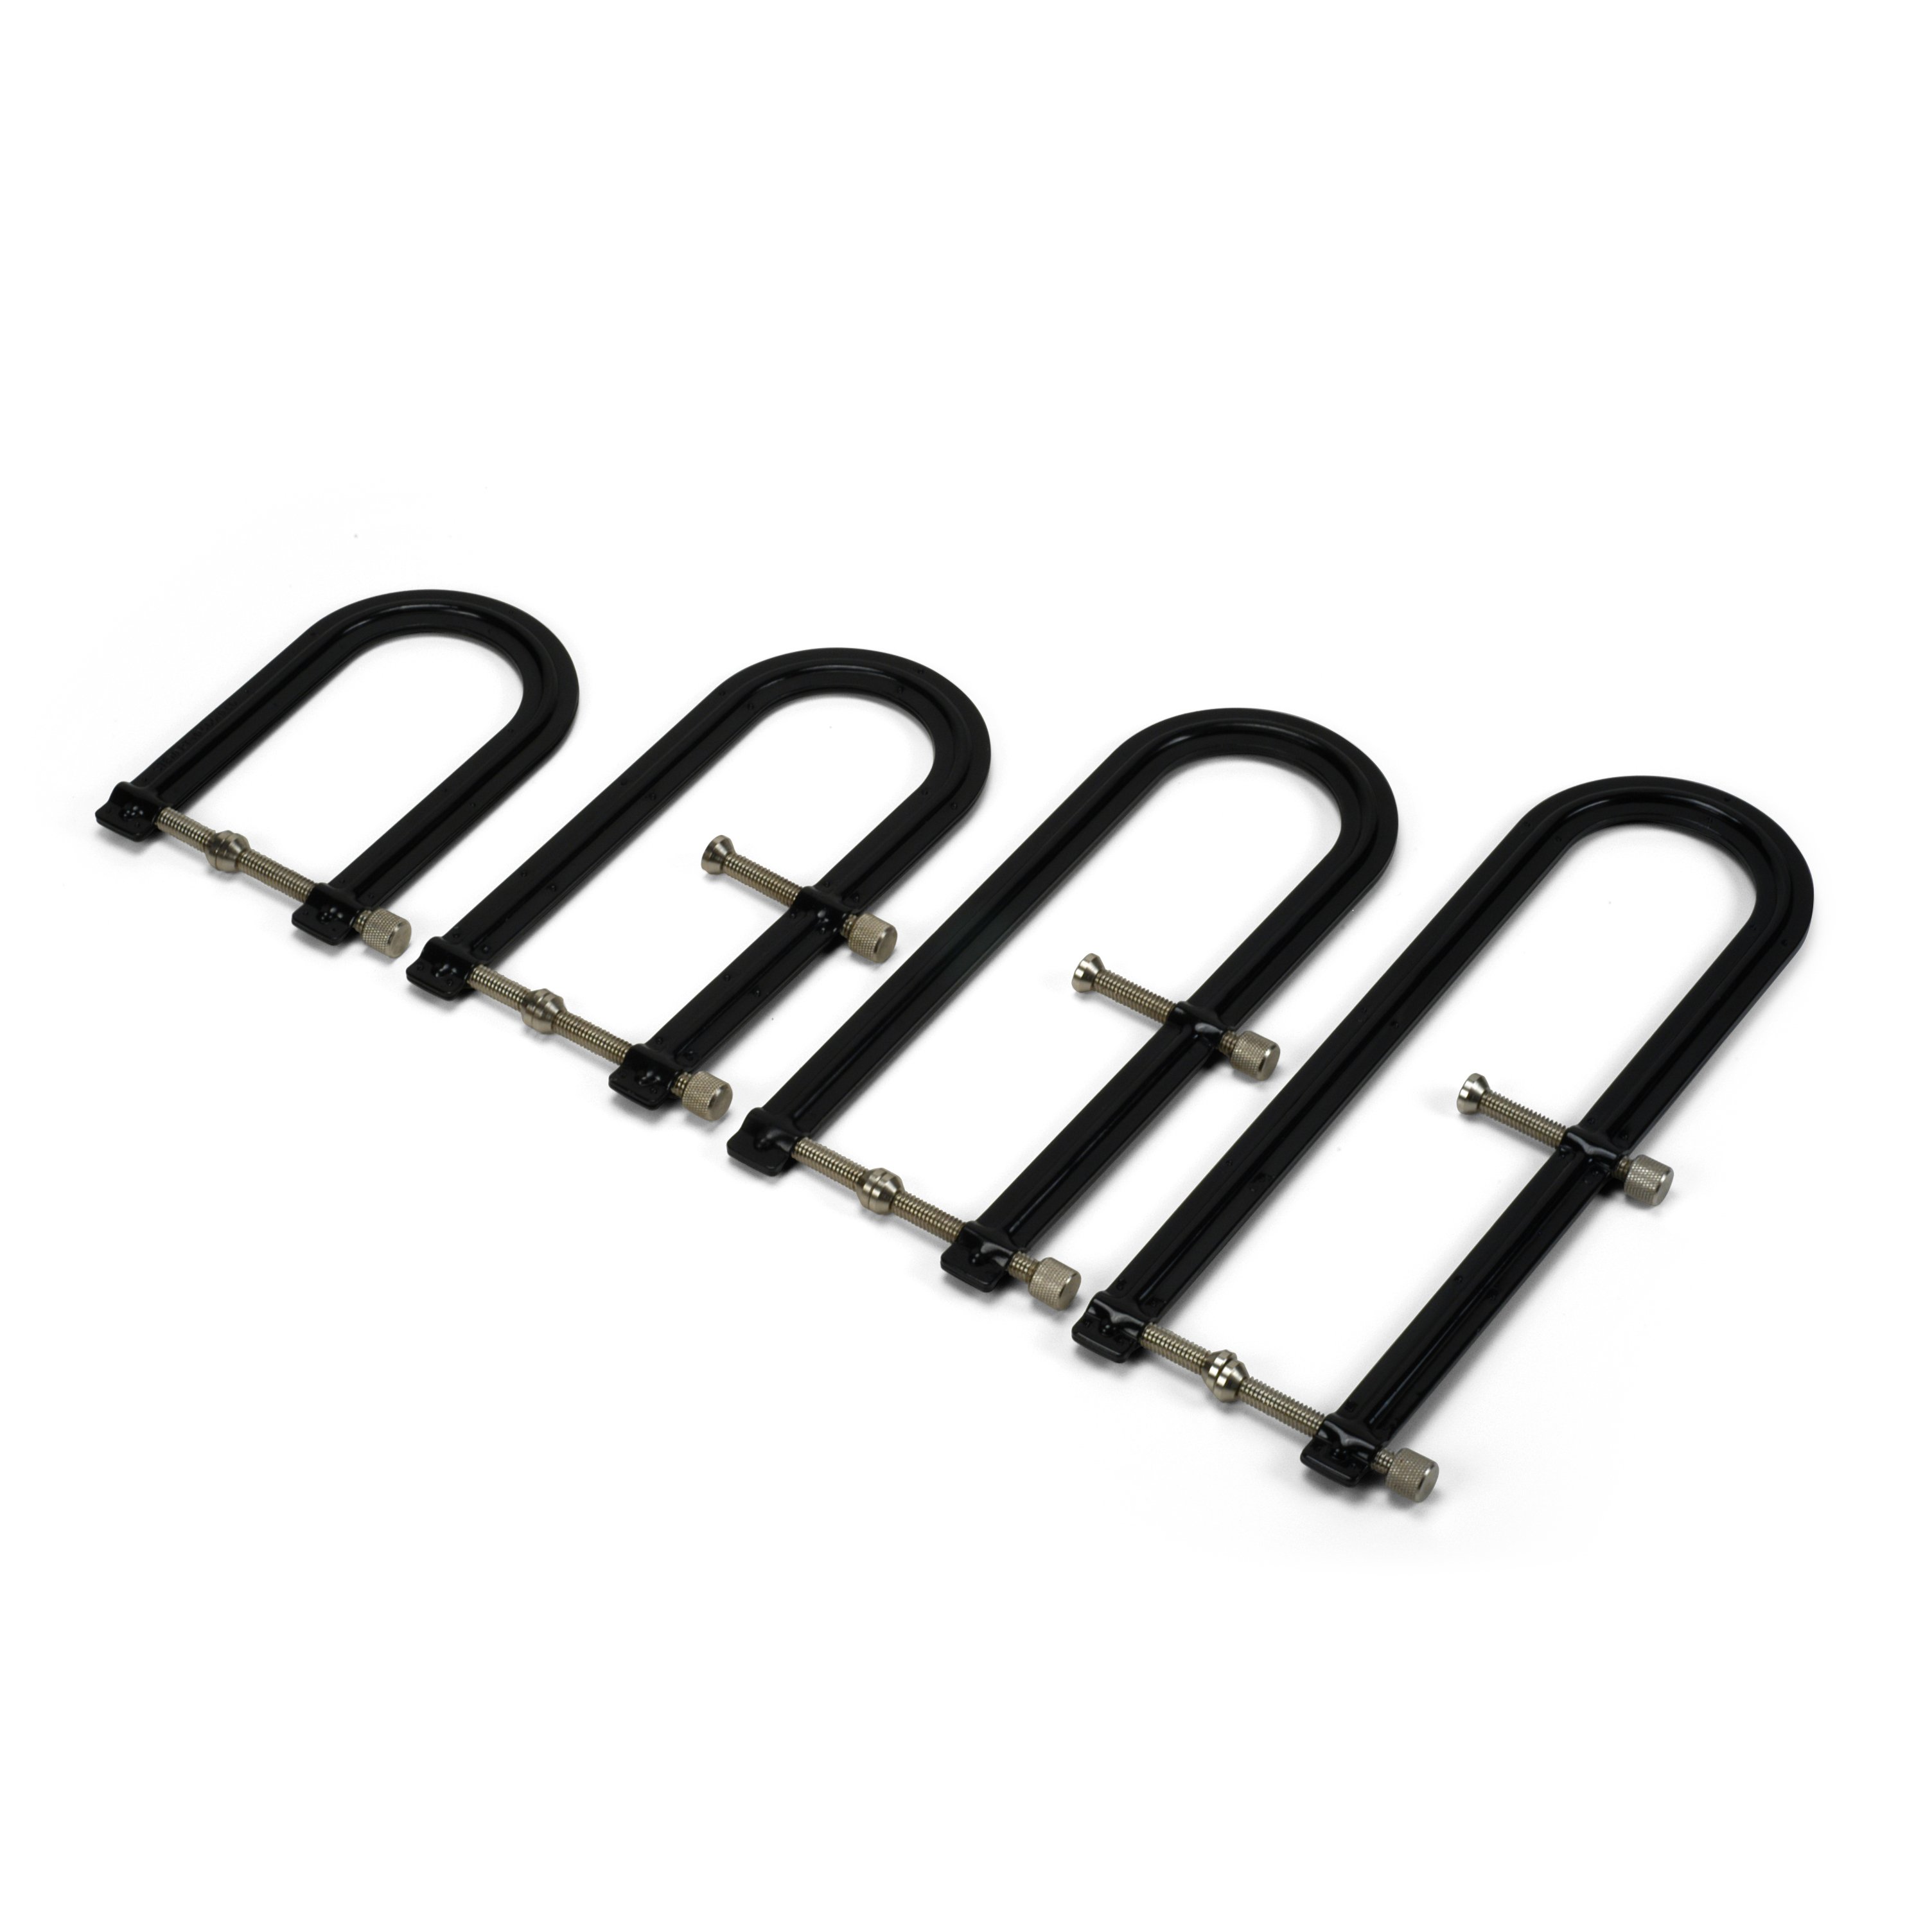
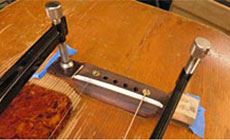
I clamped the bridge in place using two soundhole clamps and drilled the bridge pin holes through the new bridge plate. The clamps also held a bridge plate caul on the inside for the drill bit to exit into. This eliminates chipping of the new bridge plate. (I’m holding a similar caul in the photo.)
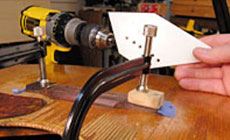
A temporary setup to test the action
The first thing I want to know is whether the thickness of this bridge is okay for this guitar. Will I be able to get the string height I want for good action? To find out, I’ll roughly set up the saddle and nut and measure the action at the 12th fret.
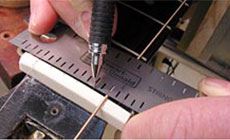
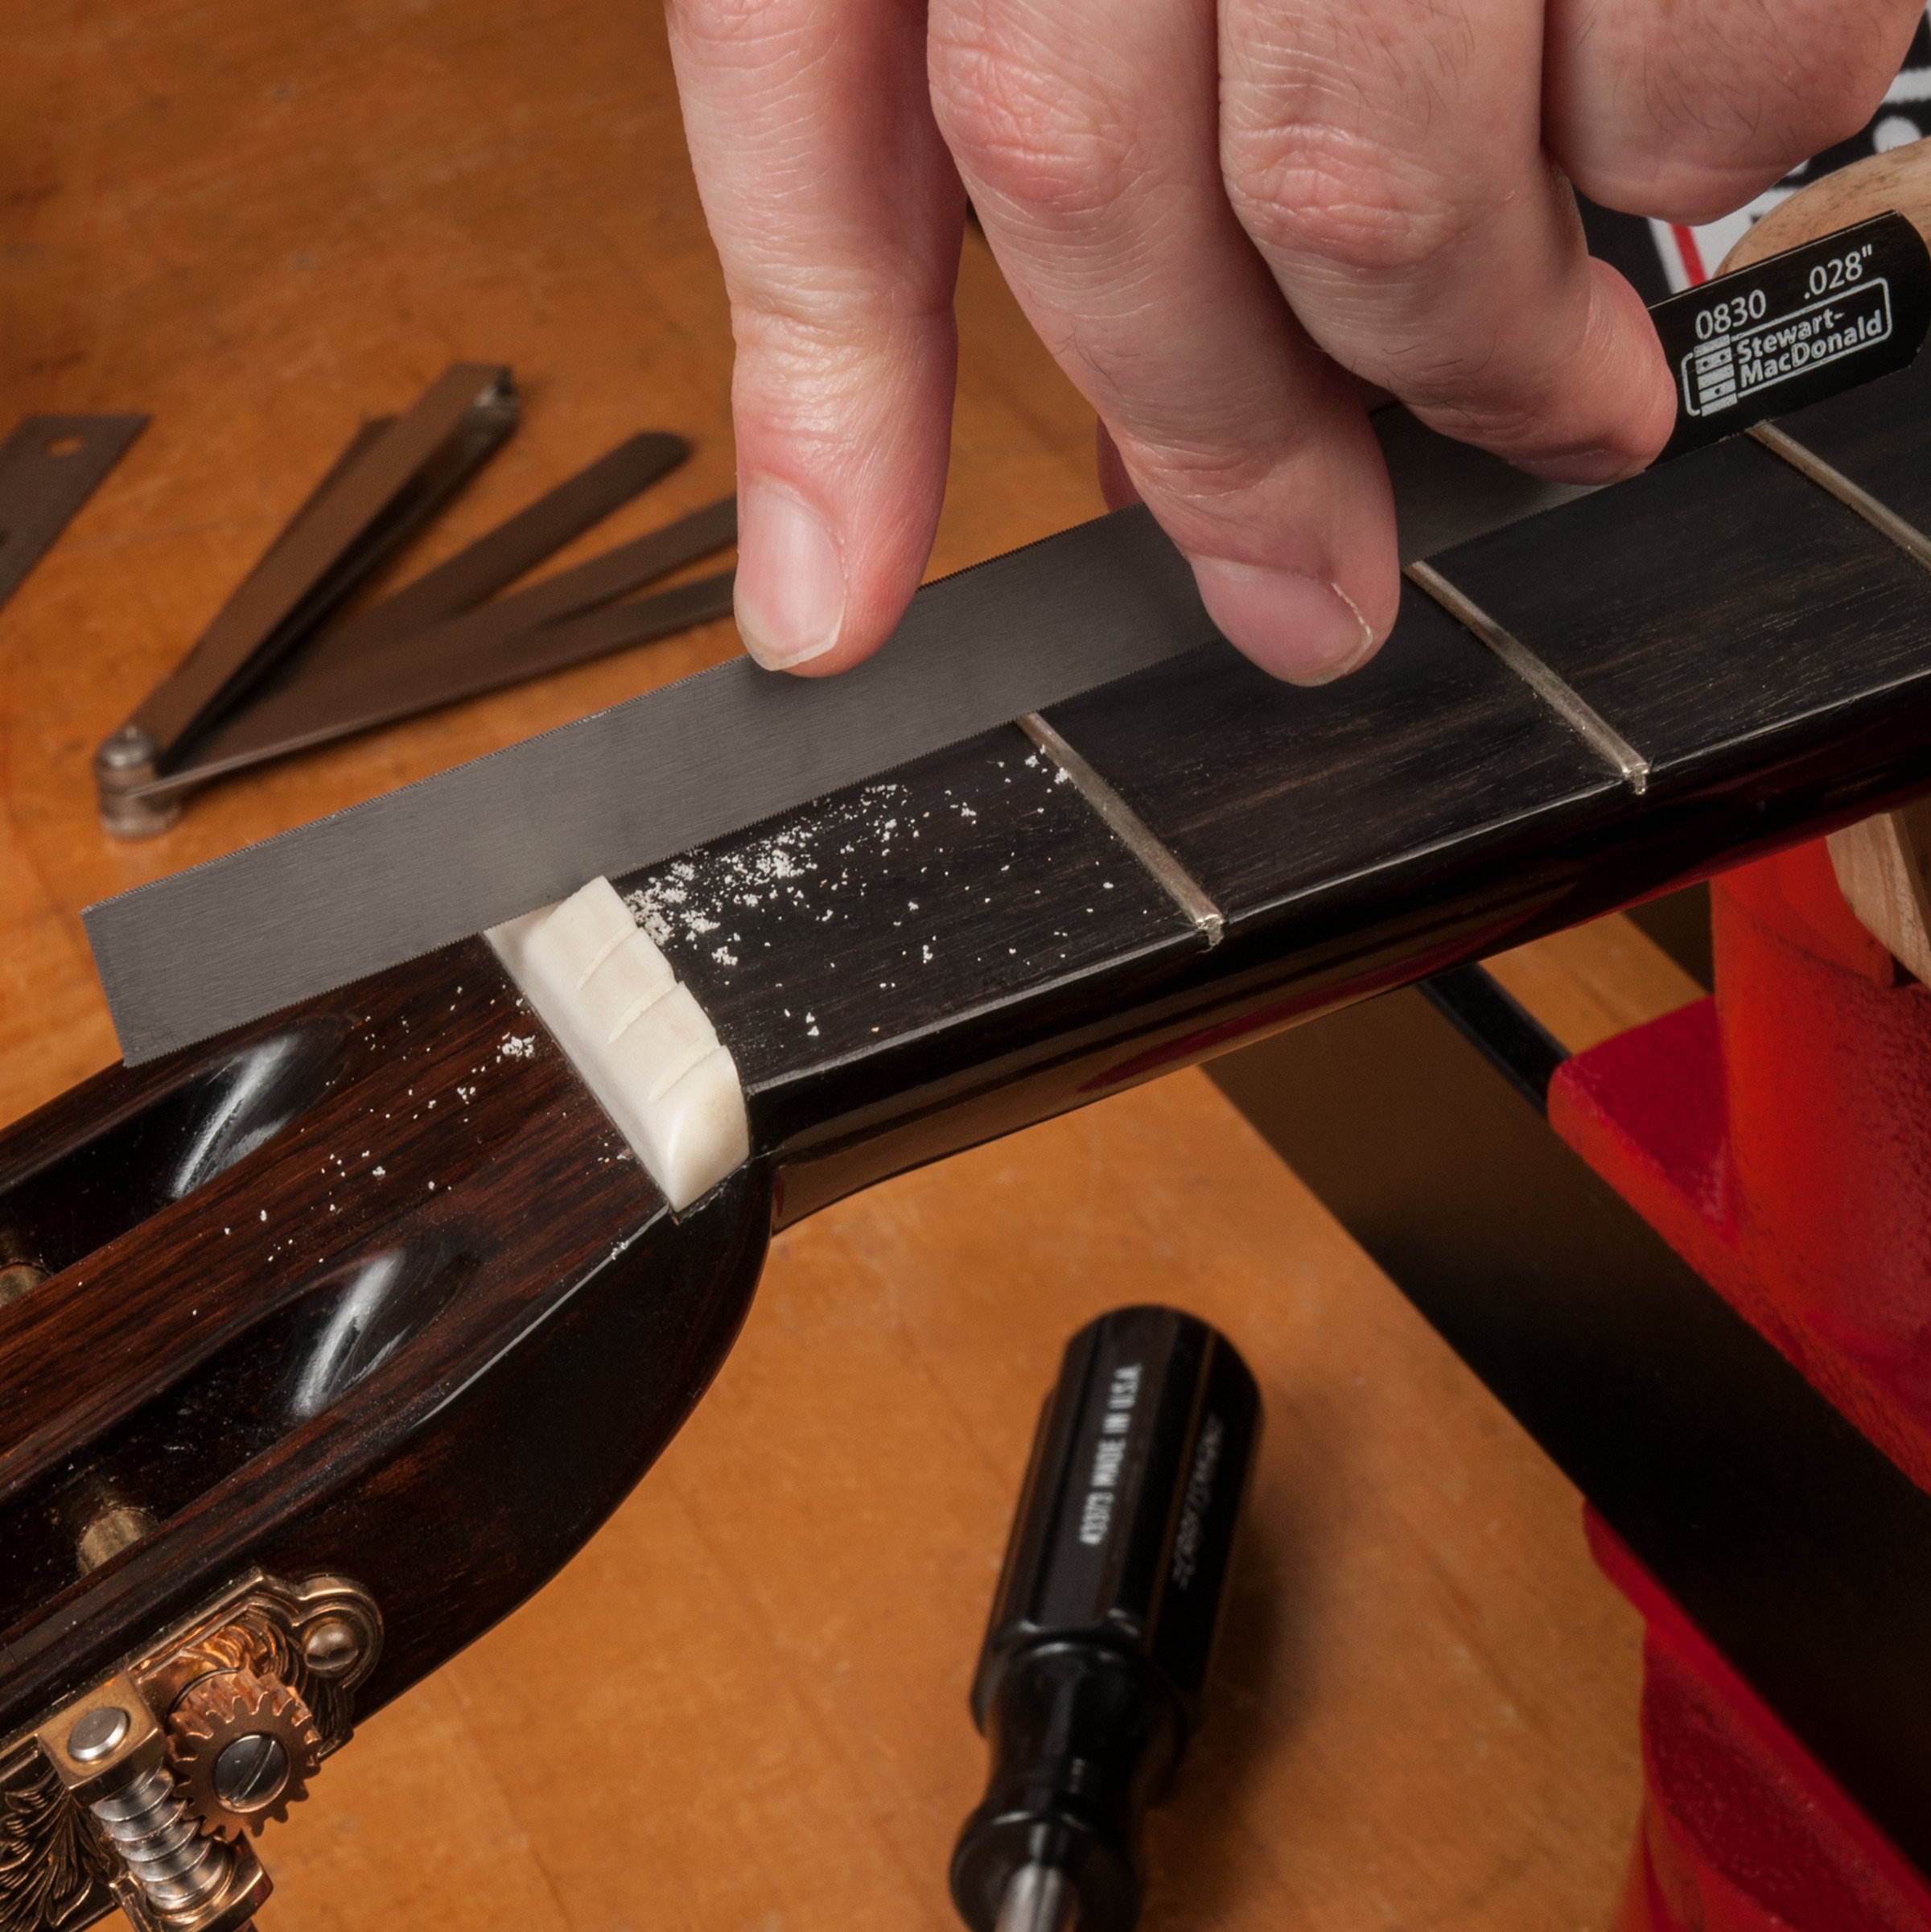
I made a fairly tall saddle (I can lower it later), fastened bridge bolts in the two E-string holes to help hold the bridge, and installed the two E-strings. Then I roughed in a white bone nut, and laid out the string spacing.
Check It Out!
Free help with calculating the saddle position
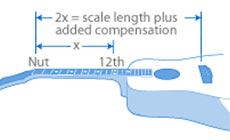
Dan is double-checking the calculations for locating the saddle. But how do you do that math in the first place? That’s easy: use the free Fret Calculator at stewmac.com. It’s one of the many Free Info items we put online to help you with your instrument work.
The roughed-in nut is taller than it will be when it's final-shaped, which will make the string action too high. So I’m using a capo to lower the strings over the first fret to approximate my final action. They’re not clamped down onto the fret, just lowered to hover above it at a good playing height.
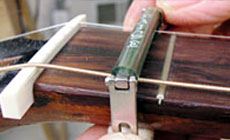
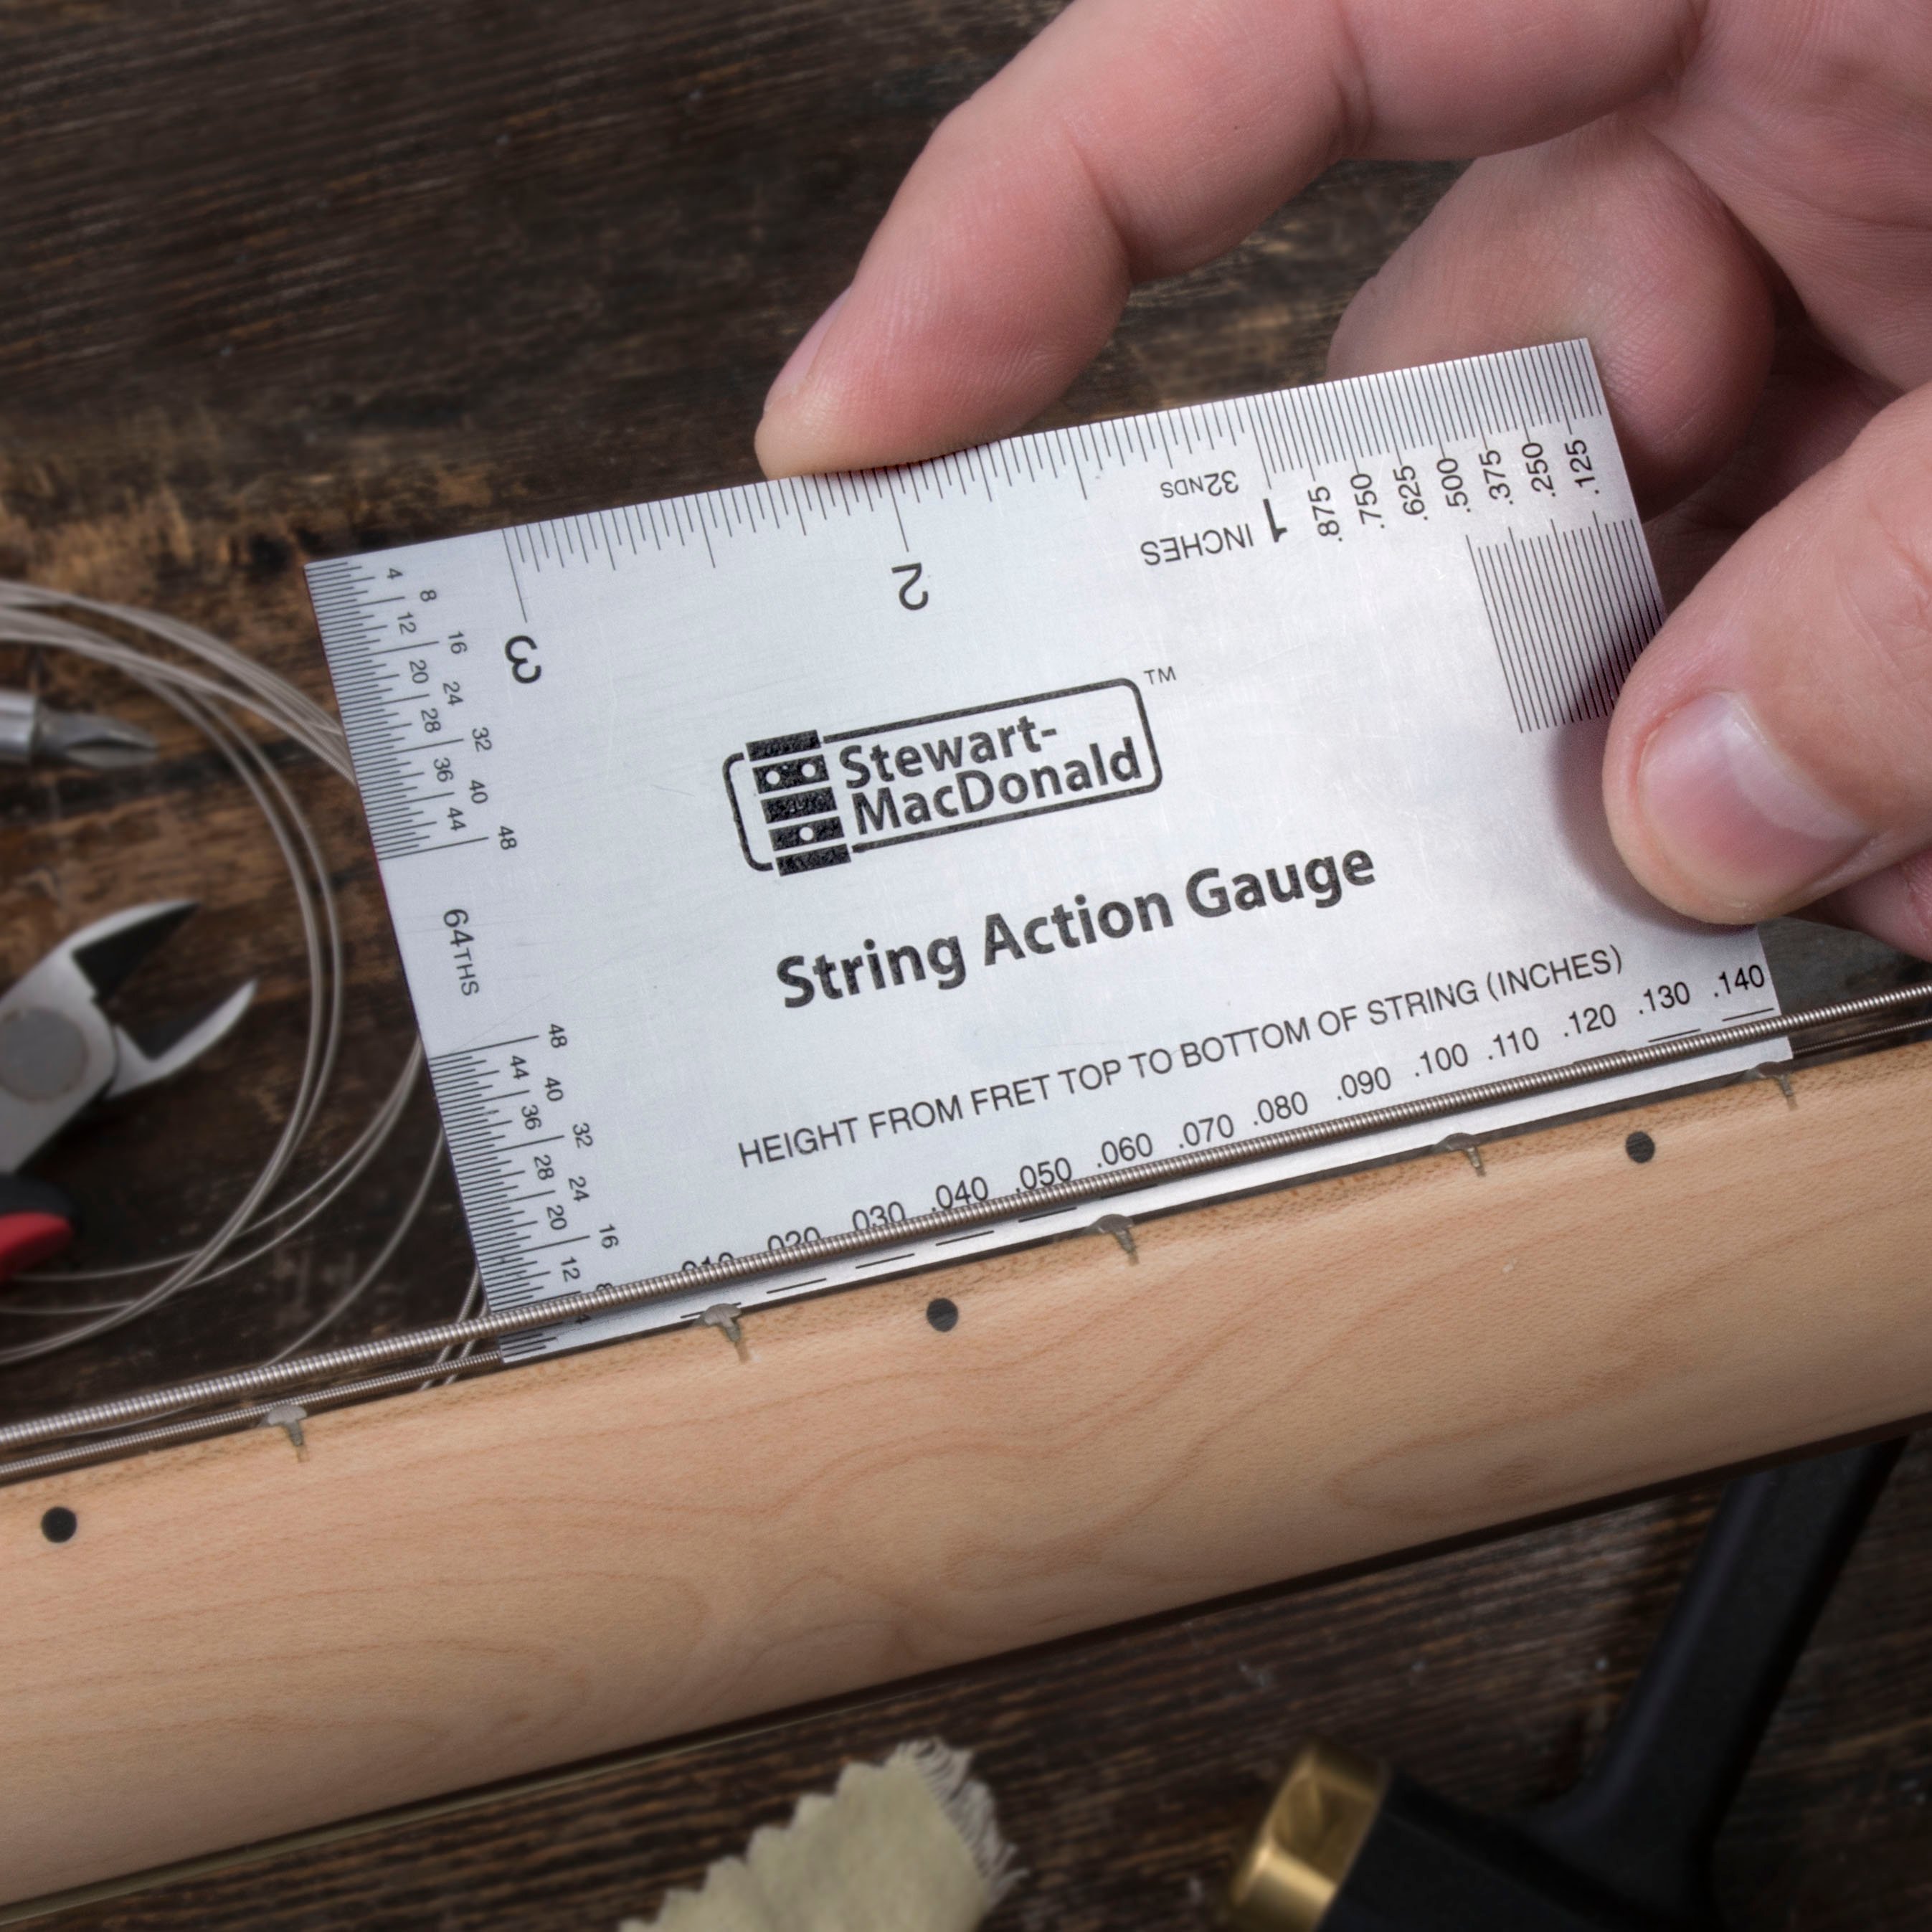
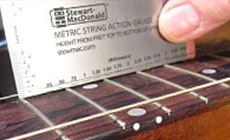
I measured the string height with an action gauge (you might measure at a different fret, and that’s fine too). The action and the saddle height are okay, so the thickness of this bridge is okay for this guitar. Now let’s see if the saddle location is going to play in tune.
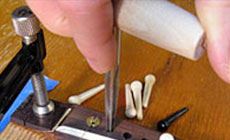
To string it up will require bridge pins, so I lightly reamed the pin holes with a 5° pin hole reamer to fit some temporary pins. Later, after final-shaping the bridge and gluing it on I’ll complete the reaming and fit a set of bone bridge pins.
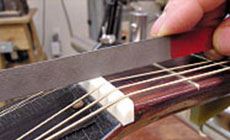
With all the strings on, it’s time to lower the strings at the nut. A too-tall nut makes accurate intonation impossible.
It’s strung to pitch, and my tuner says the guitar plays in tune! Hooray!
That’s my iPhone next to my shop’s StroboFlip tuner. I downloaded Peterson’s “StroboSoft” app for the phone so I always have a strobe tuner in my pocket. A Peterson tuner pickup is clipped to the soundhole clamp and plugged into my phone (I cut the 1/4" plug off of the tuner pickup and soldered on a 1/8" mini-plug to fit the headphone jack).
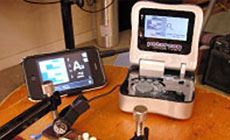
It’s in tune—this scrapped bridge fits!
Now I won’t spend the rest of the day making a new bridge. Even if I had to make a new bridge, I’d still do all these double-checking steps before gluing it anyhow.
I’m going to clean this bridge up, glue it on, and move on to something more fun. I’m glad I didn’t throw this old bridge out. Sometimes it pays to be a pack rat!
