Making a sharp-edged razor file for binding channels
Issue 207 January 02, 2014
Bad news: the binding on this old Gibson is crumbling to bits.
Worse news:that binding is the only thing holding the body together!
Dan Erlewine's plan is to replace the binding bit-by-bit, so the top doesn't fall off.
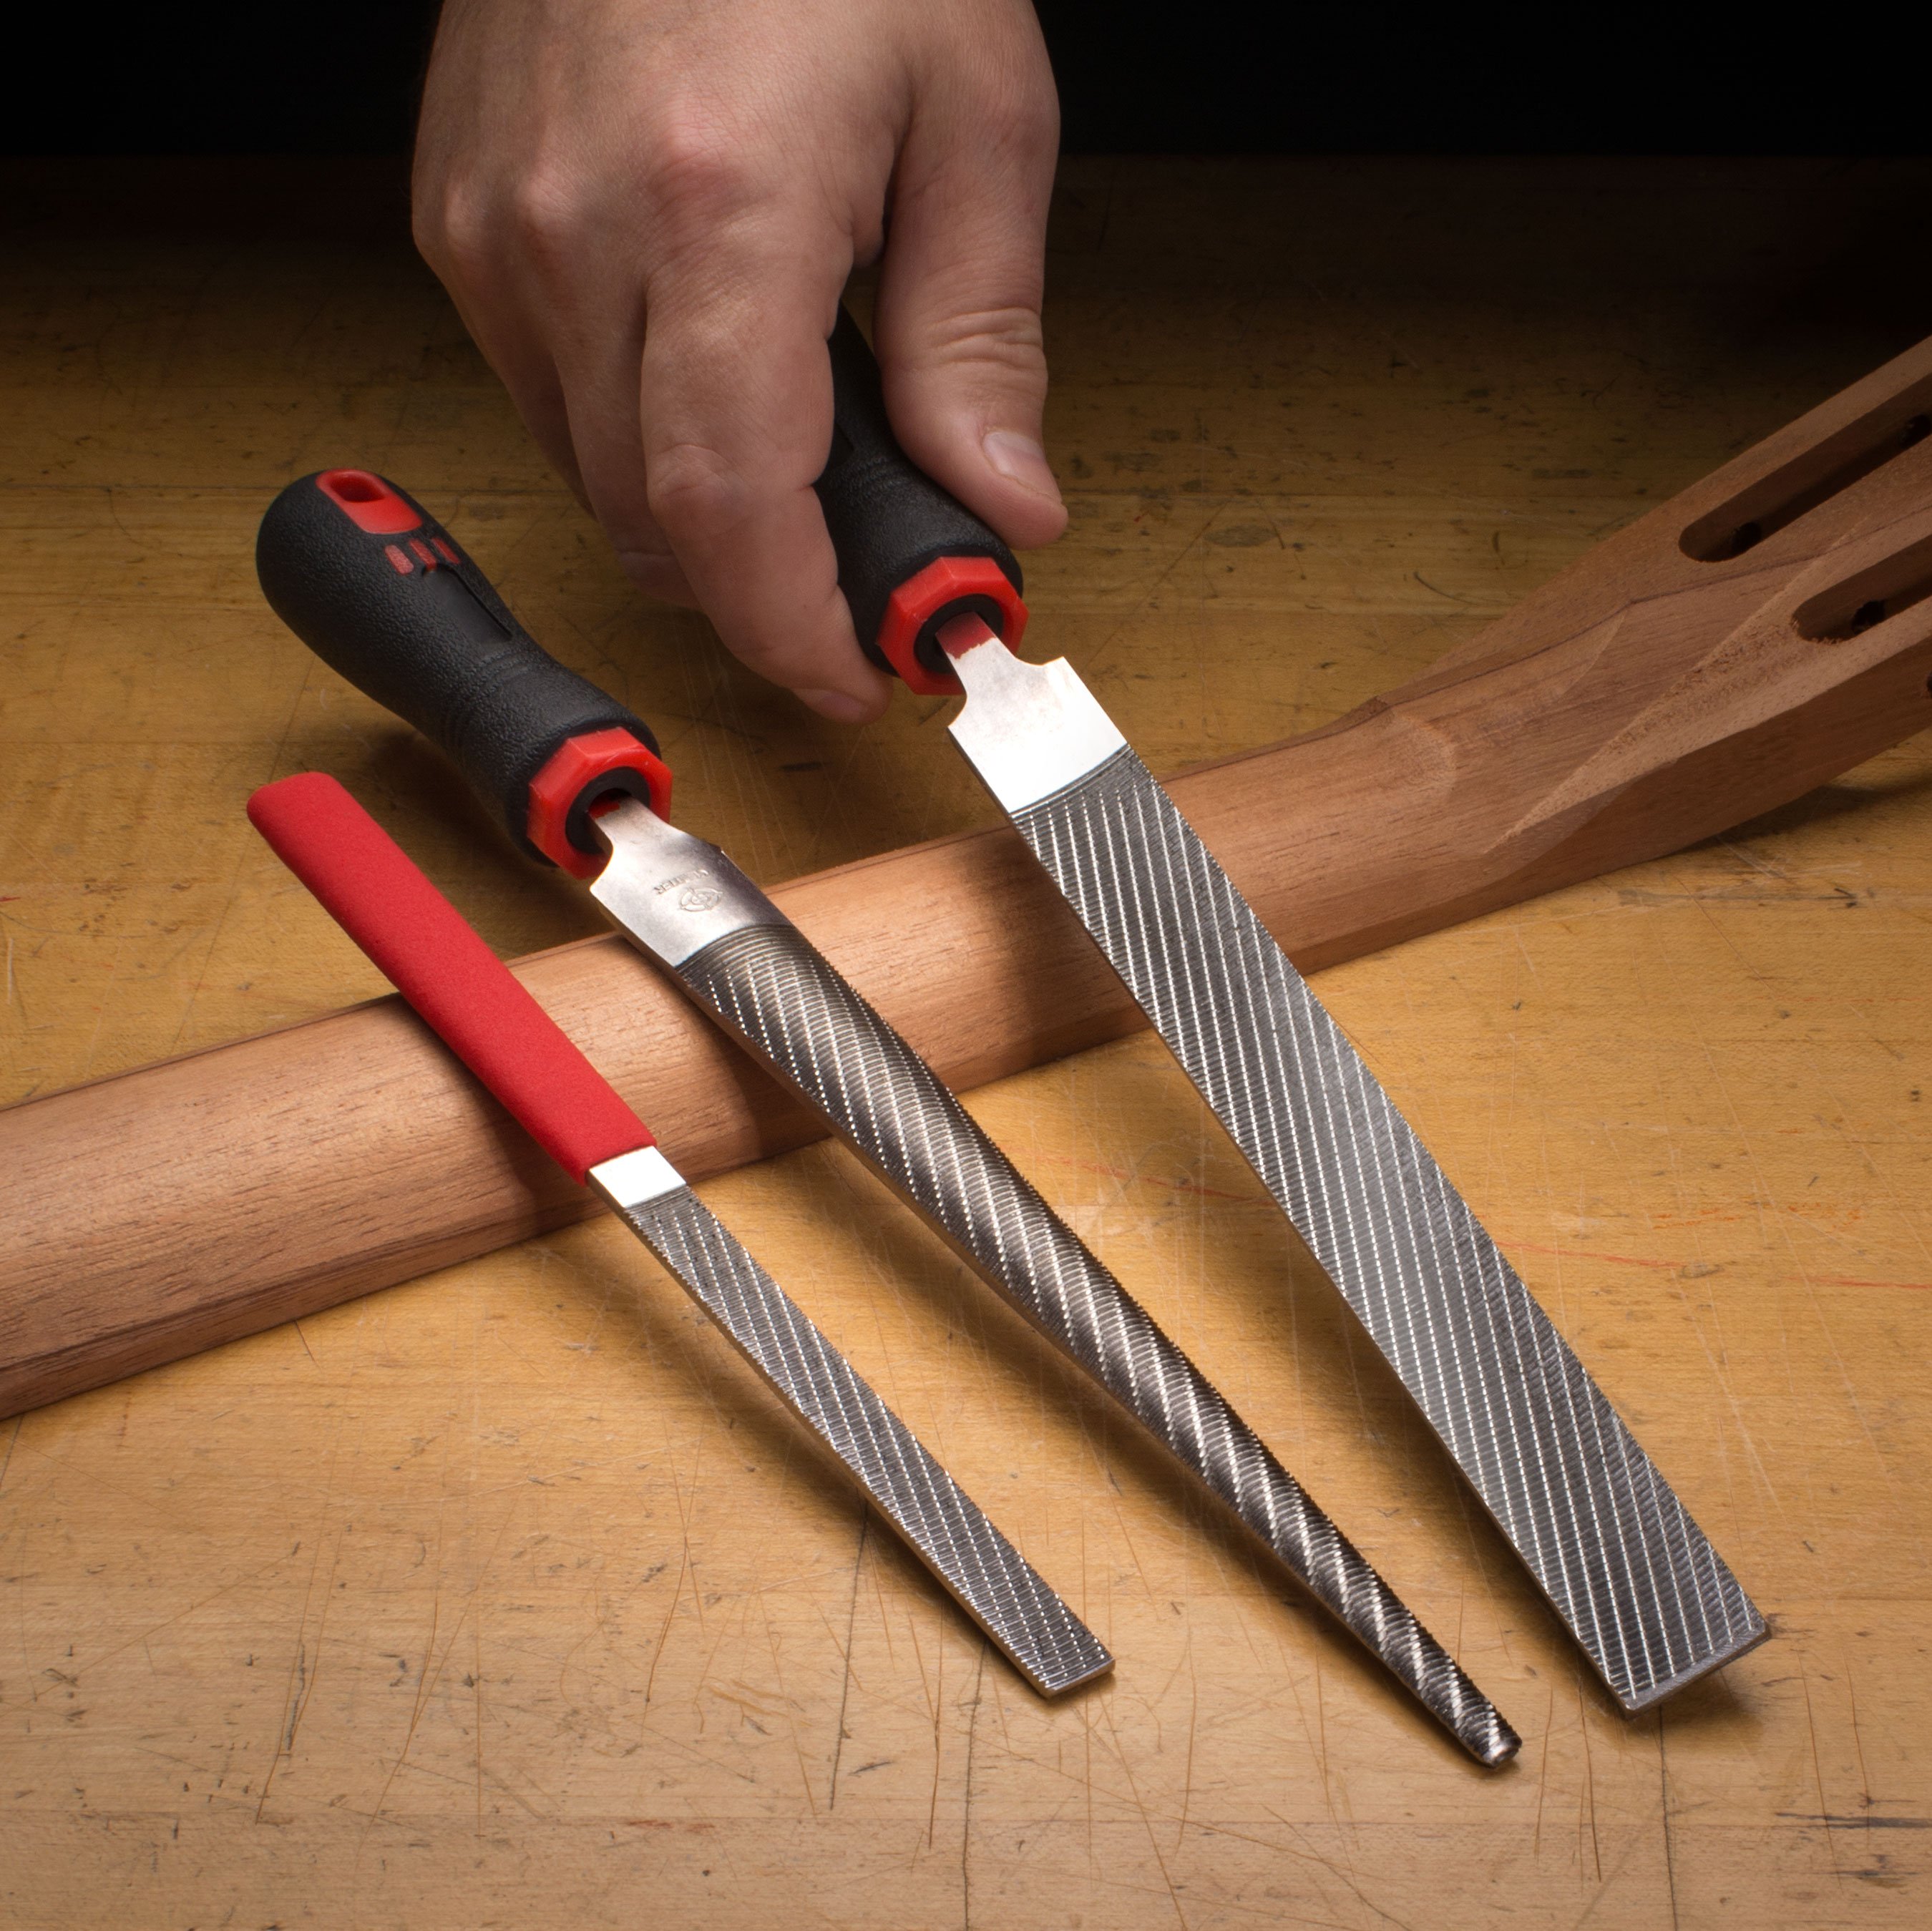
By grinding a new edge on a Razor File, he creates a tool for cutting crisp square binding channels without a router.
About the guitar in this video: This Gibson L-4 from 1951 appears to have seen years of playing in Nashville honky tonks. The top has gold stick-on letters that spell "LEFTY LEE."
- Crumbling, off-gassed binding gives up the ghost
- The Plan: replace it with an exact match that won't need finishing
- Using a sanding belt to grind the edge of a Razor File
- Hand cutting a sharp, square binding channel
Video Transcription
[on-screen text reads: Stewart-MacDonald - Trade Secrets! Making a Sharp-edged Razor File]
It's the 90 degree corner at the bottom of the channel that you really want to have clean so when you bind it, the binding doesn't kick out on you and it presses in nice and tight into the corner.
Using a sanding belt to grind the edge of a Razor File
Nothing powders wood like these files. It's the cut of those teeth. They cut like a razor. A razor on your face will cut the whiskers, but it doesn't cut your skin unless you bear too hard and that's what this file does. It cuts whatever is above the surface and floats along the surface [on-screen text reads: Super sharp and super efficient - StewMac Razor Files] unless you bear on it and then you can really cut some wood.
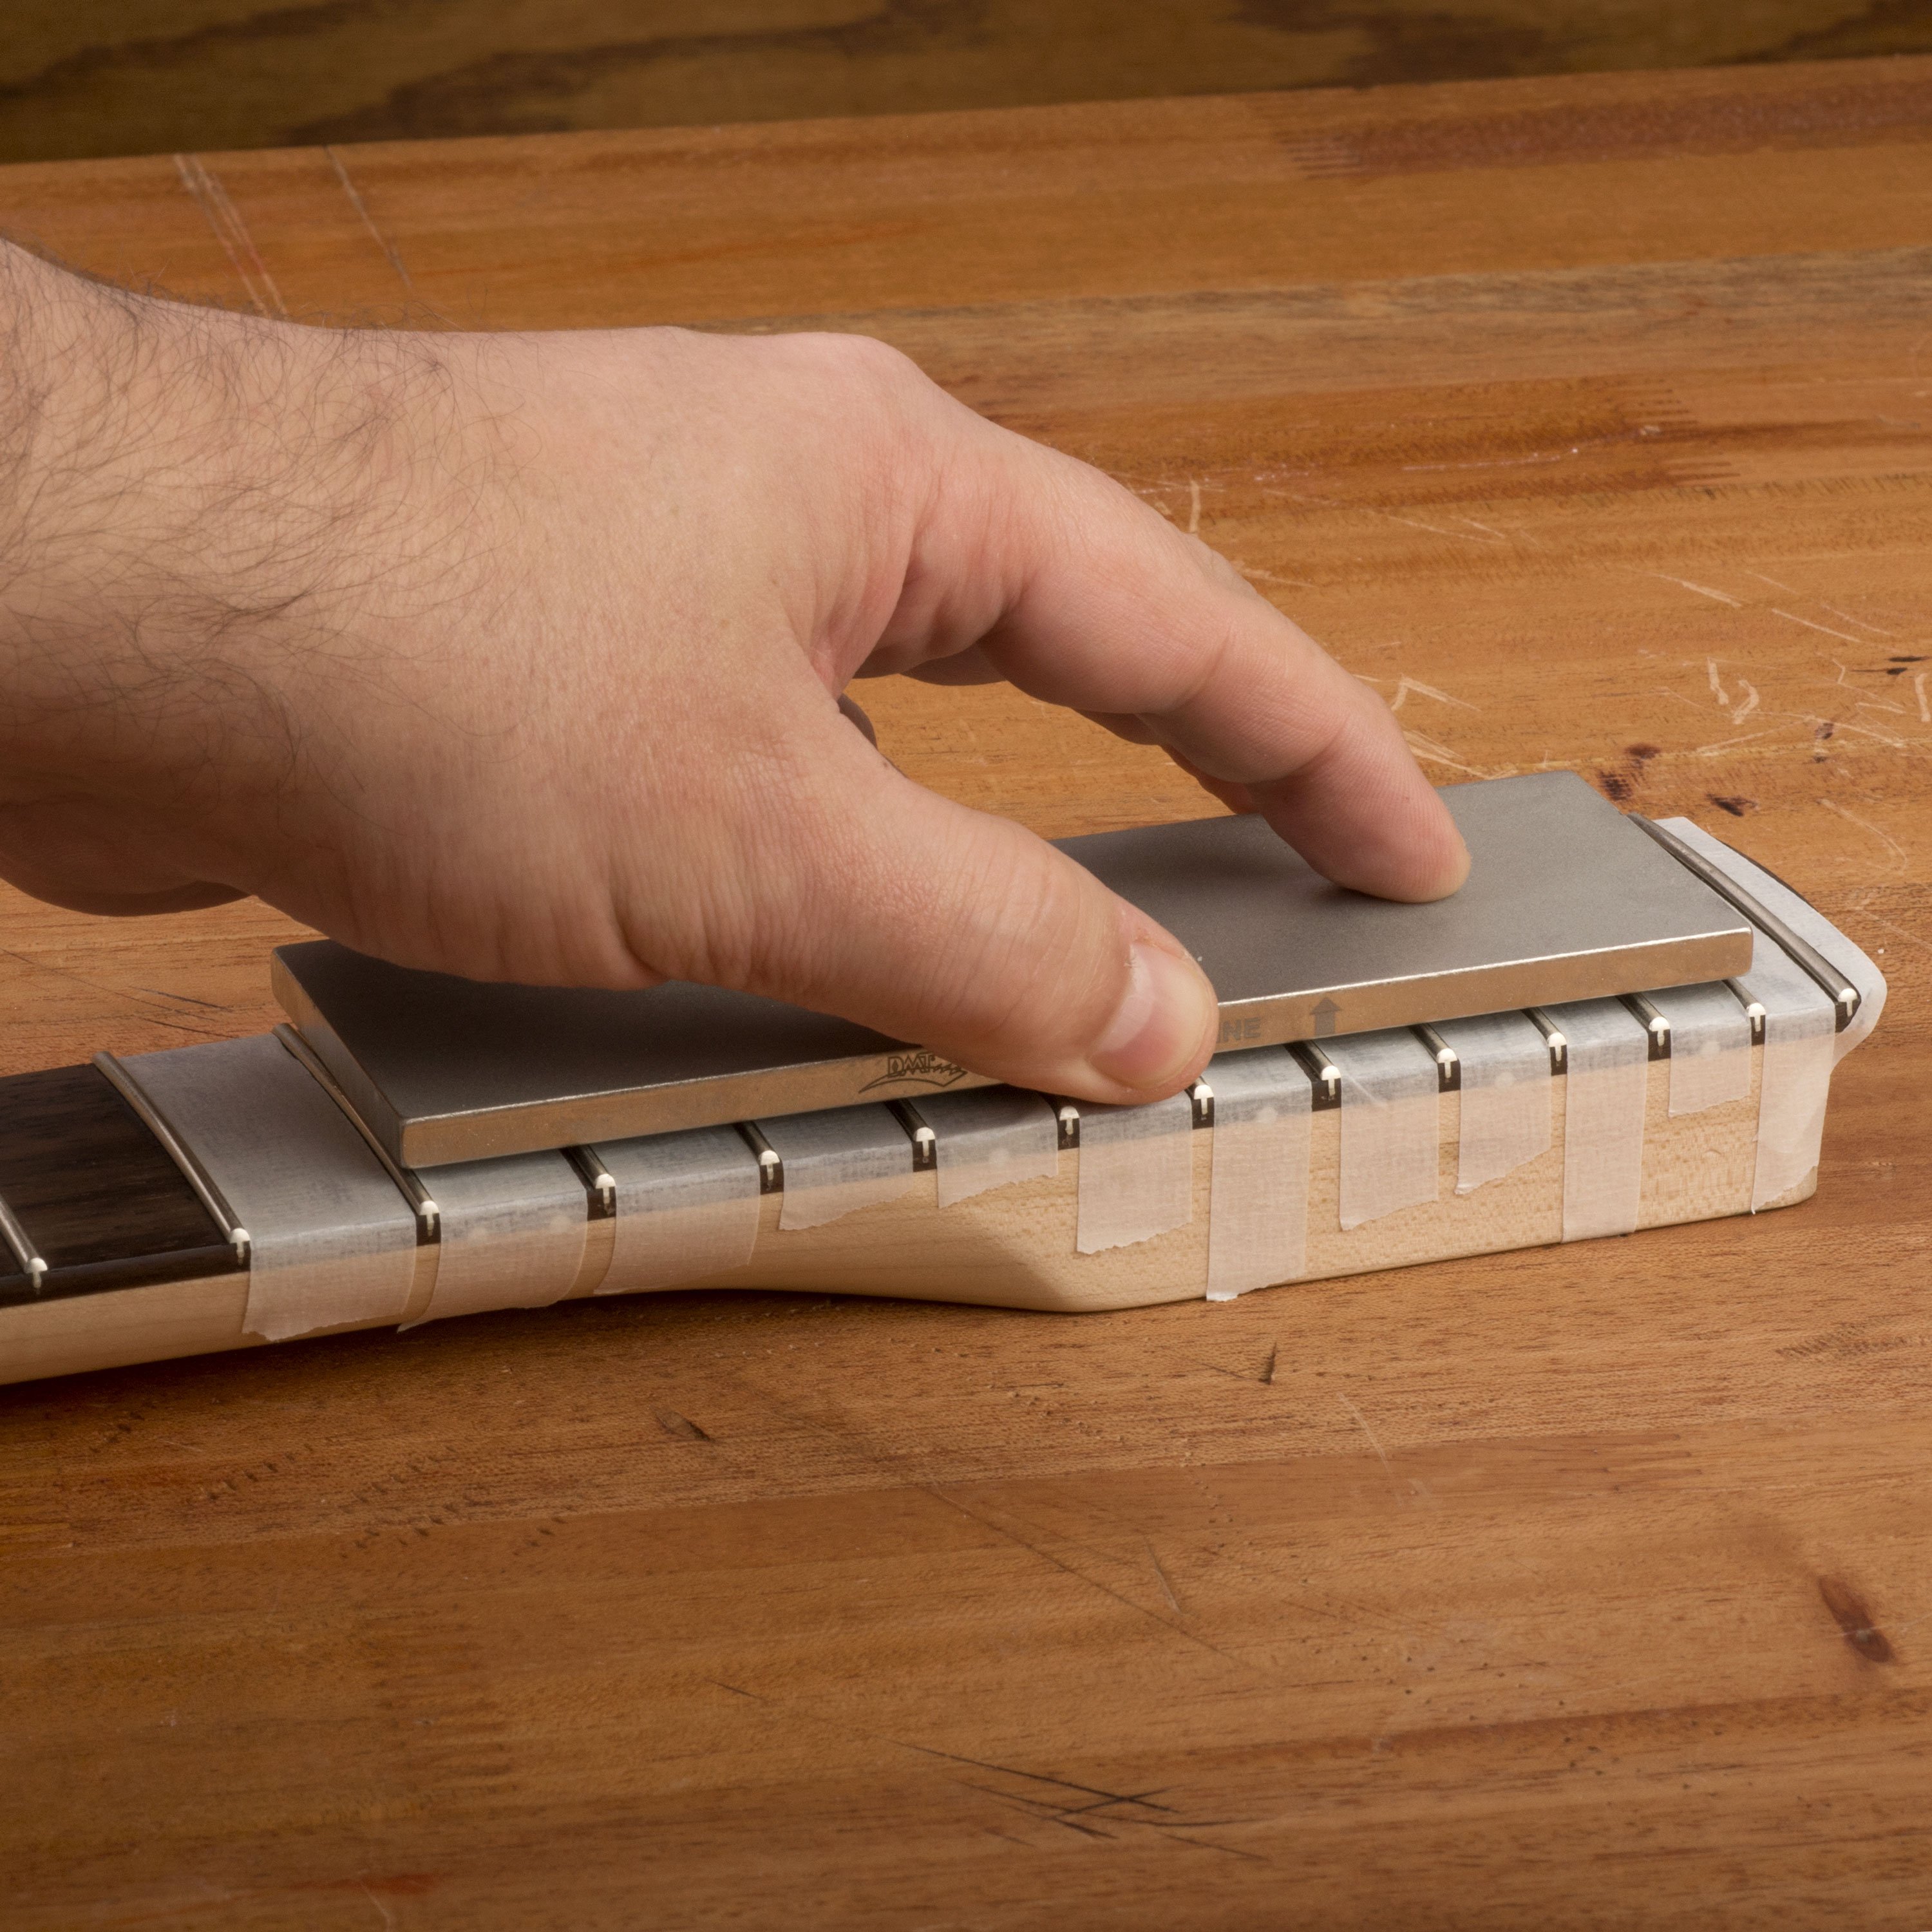
That's the file the way it comes before I sharpen it on the belt sander. Just like a regular file. Here's the sharpened one. I sharpen it on the sander on both edges with the block of wood to keep it square and belt sand until it's flat and shiny. Then I'm taking that end and standing it up and grinding that at 90 degrees and then I go even further because my belt sander has kind of a round off on the edge and I can pull out onto that and get a slight concavity to it, which means the little points on the edges are like scrapers. When I'm done doing that, I take it over to a coarse diamond stone, use that block to keep it square and stroke it back and forth and get it even sharper.
[on-screen text reads: Use on frets or for sharpening - Diamond Fret Levelers from StewMac]
So the belt sanding gives you the good sharp edge and lets the file drop right into the channel.
Crumbling, off-gassed binding gives up the ghost
This is a 1951 Gibson L-4 that's been through a rough life. The binding off gassed and got all dry and brittle like it does and was falling off in chunks. And I decided I would replace the binding but as I started taking it off, I realized that the top and the back were loose too. The high glue had dried out and all that was holding the top and back on was the binding. So what I did was take binding off about a third at a time so the guitar wouldn't lose its shape.
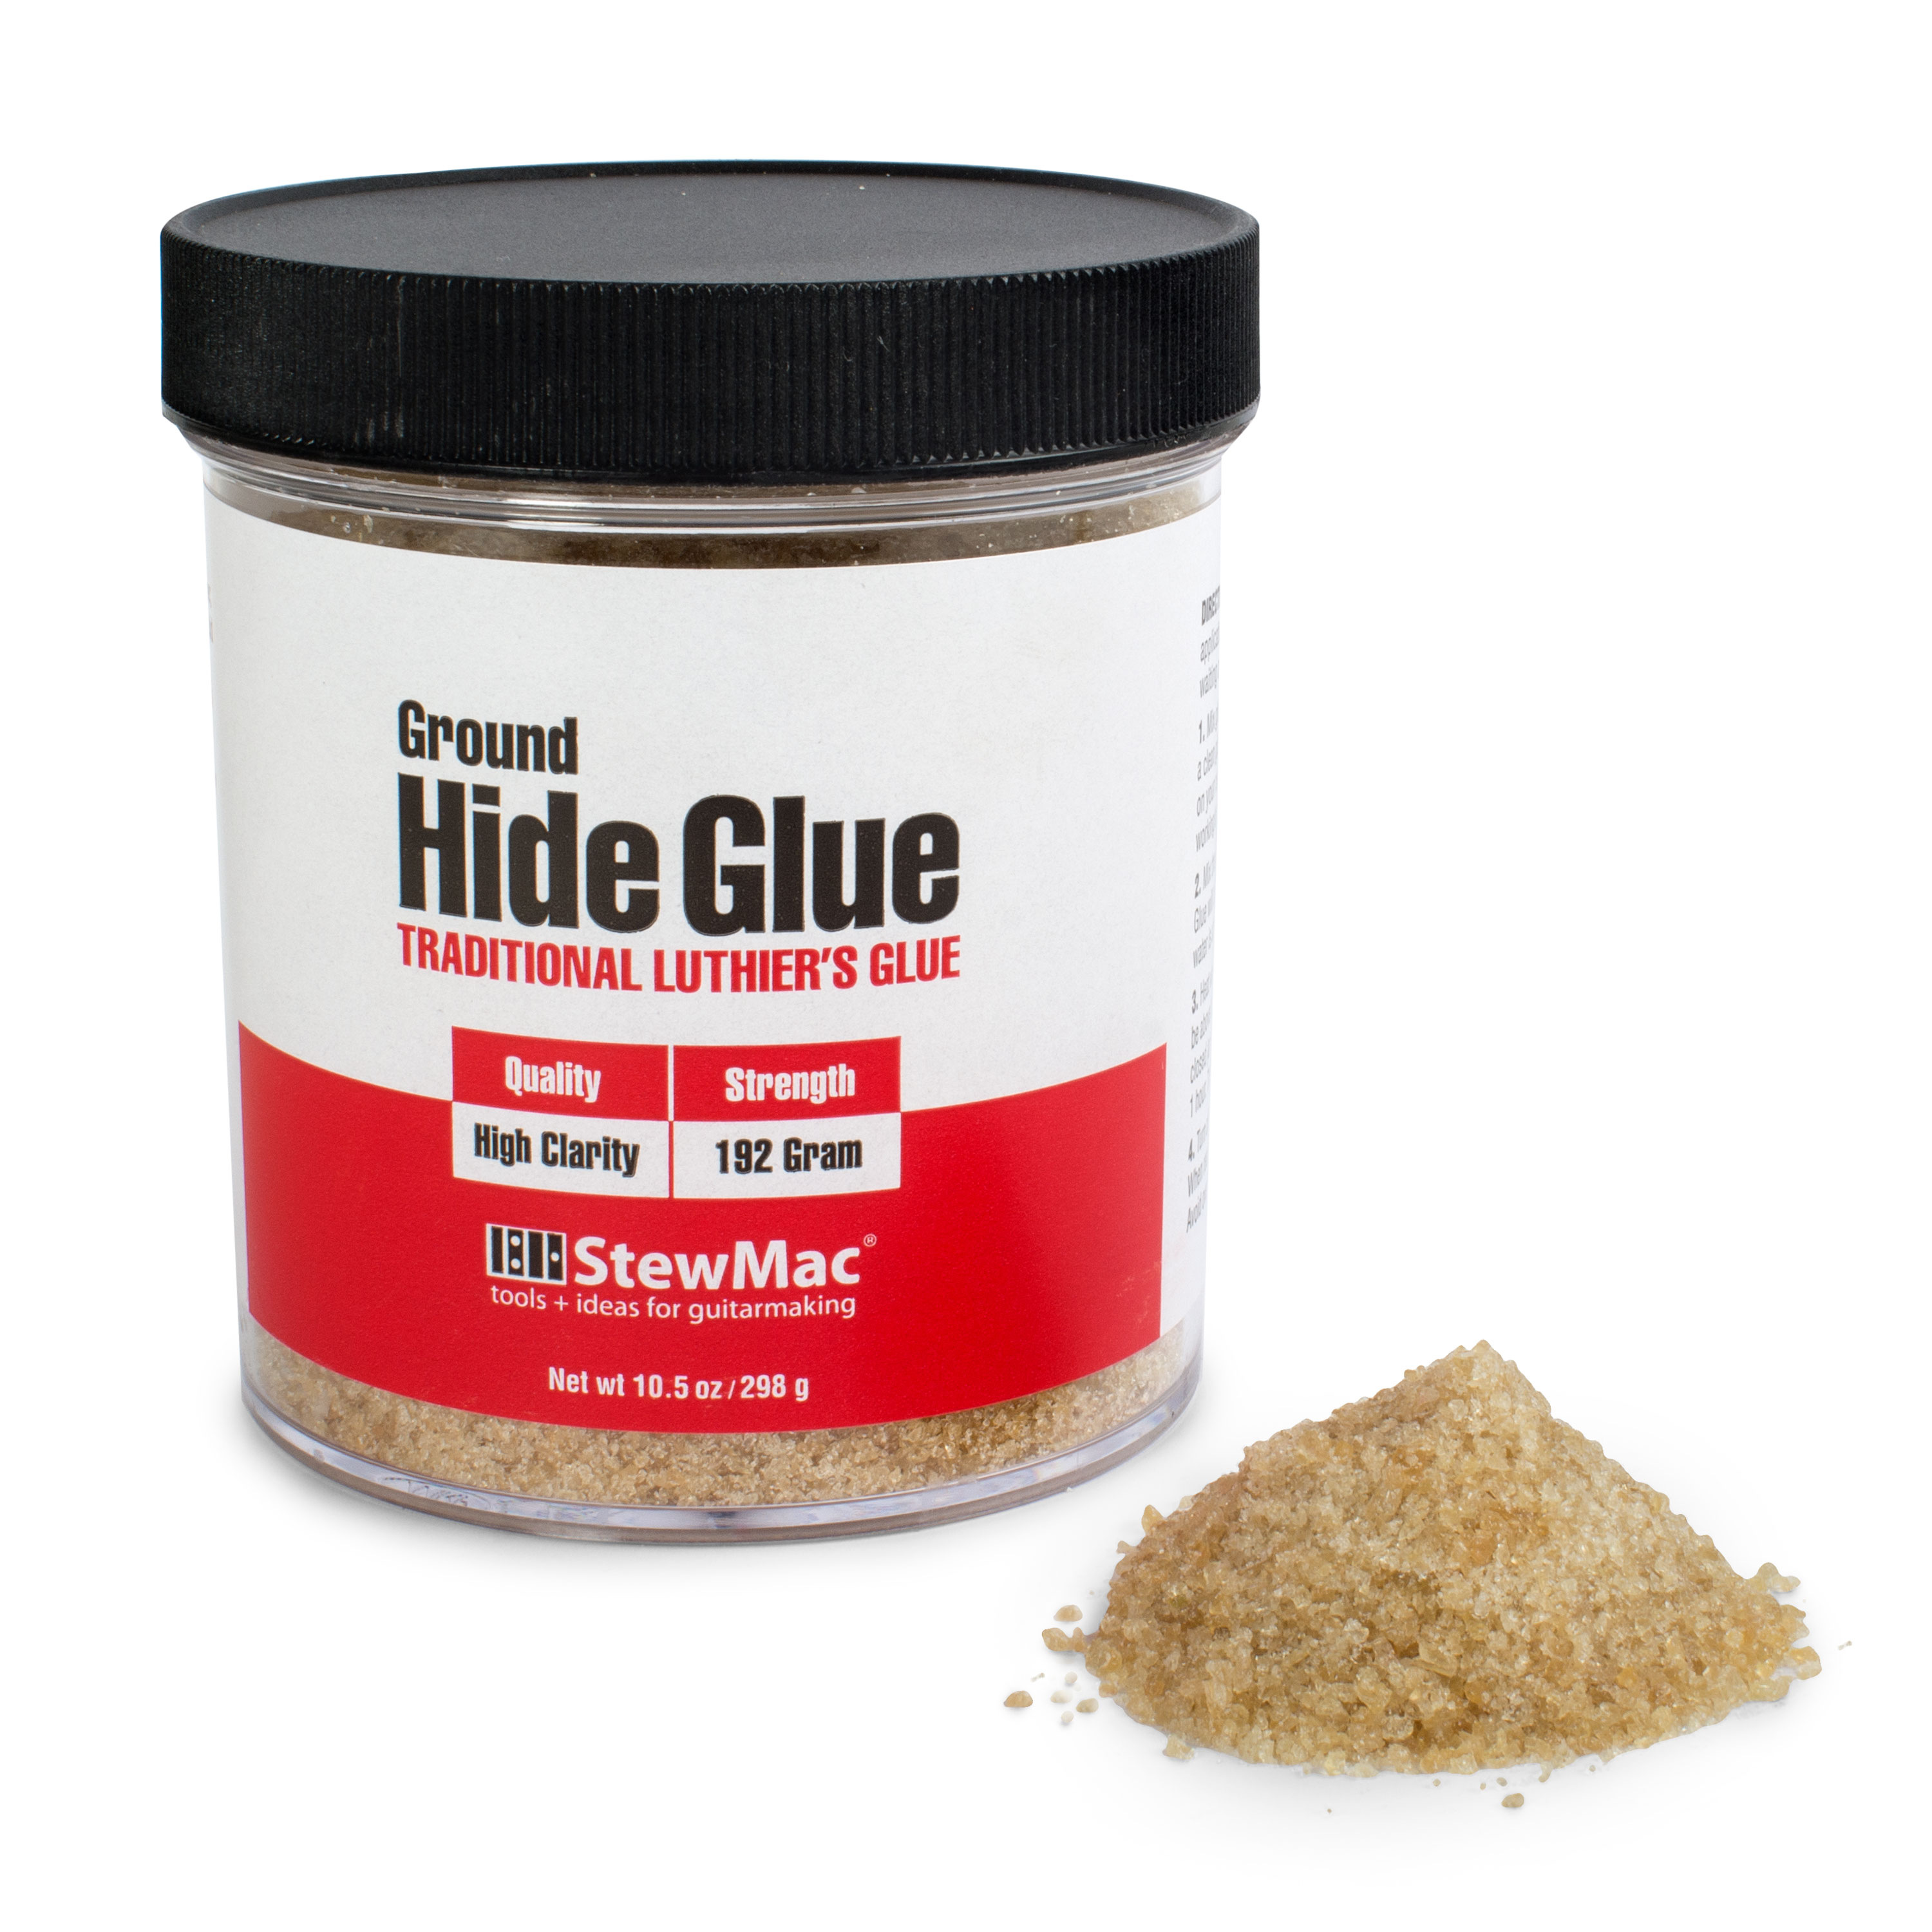
You can see why the wedge is driven into the open joint, how dry it is. I cleaned that out with my saws and sandpaper and put fresh glue in there, hot hide glue, clamped it up with Spool Clamps and let that sit for about two hours and then I'd go onto the other side of the guitar and glue that side up.
Trimming and installing the new binding
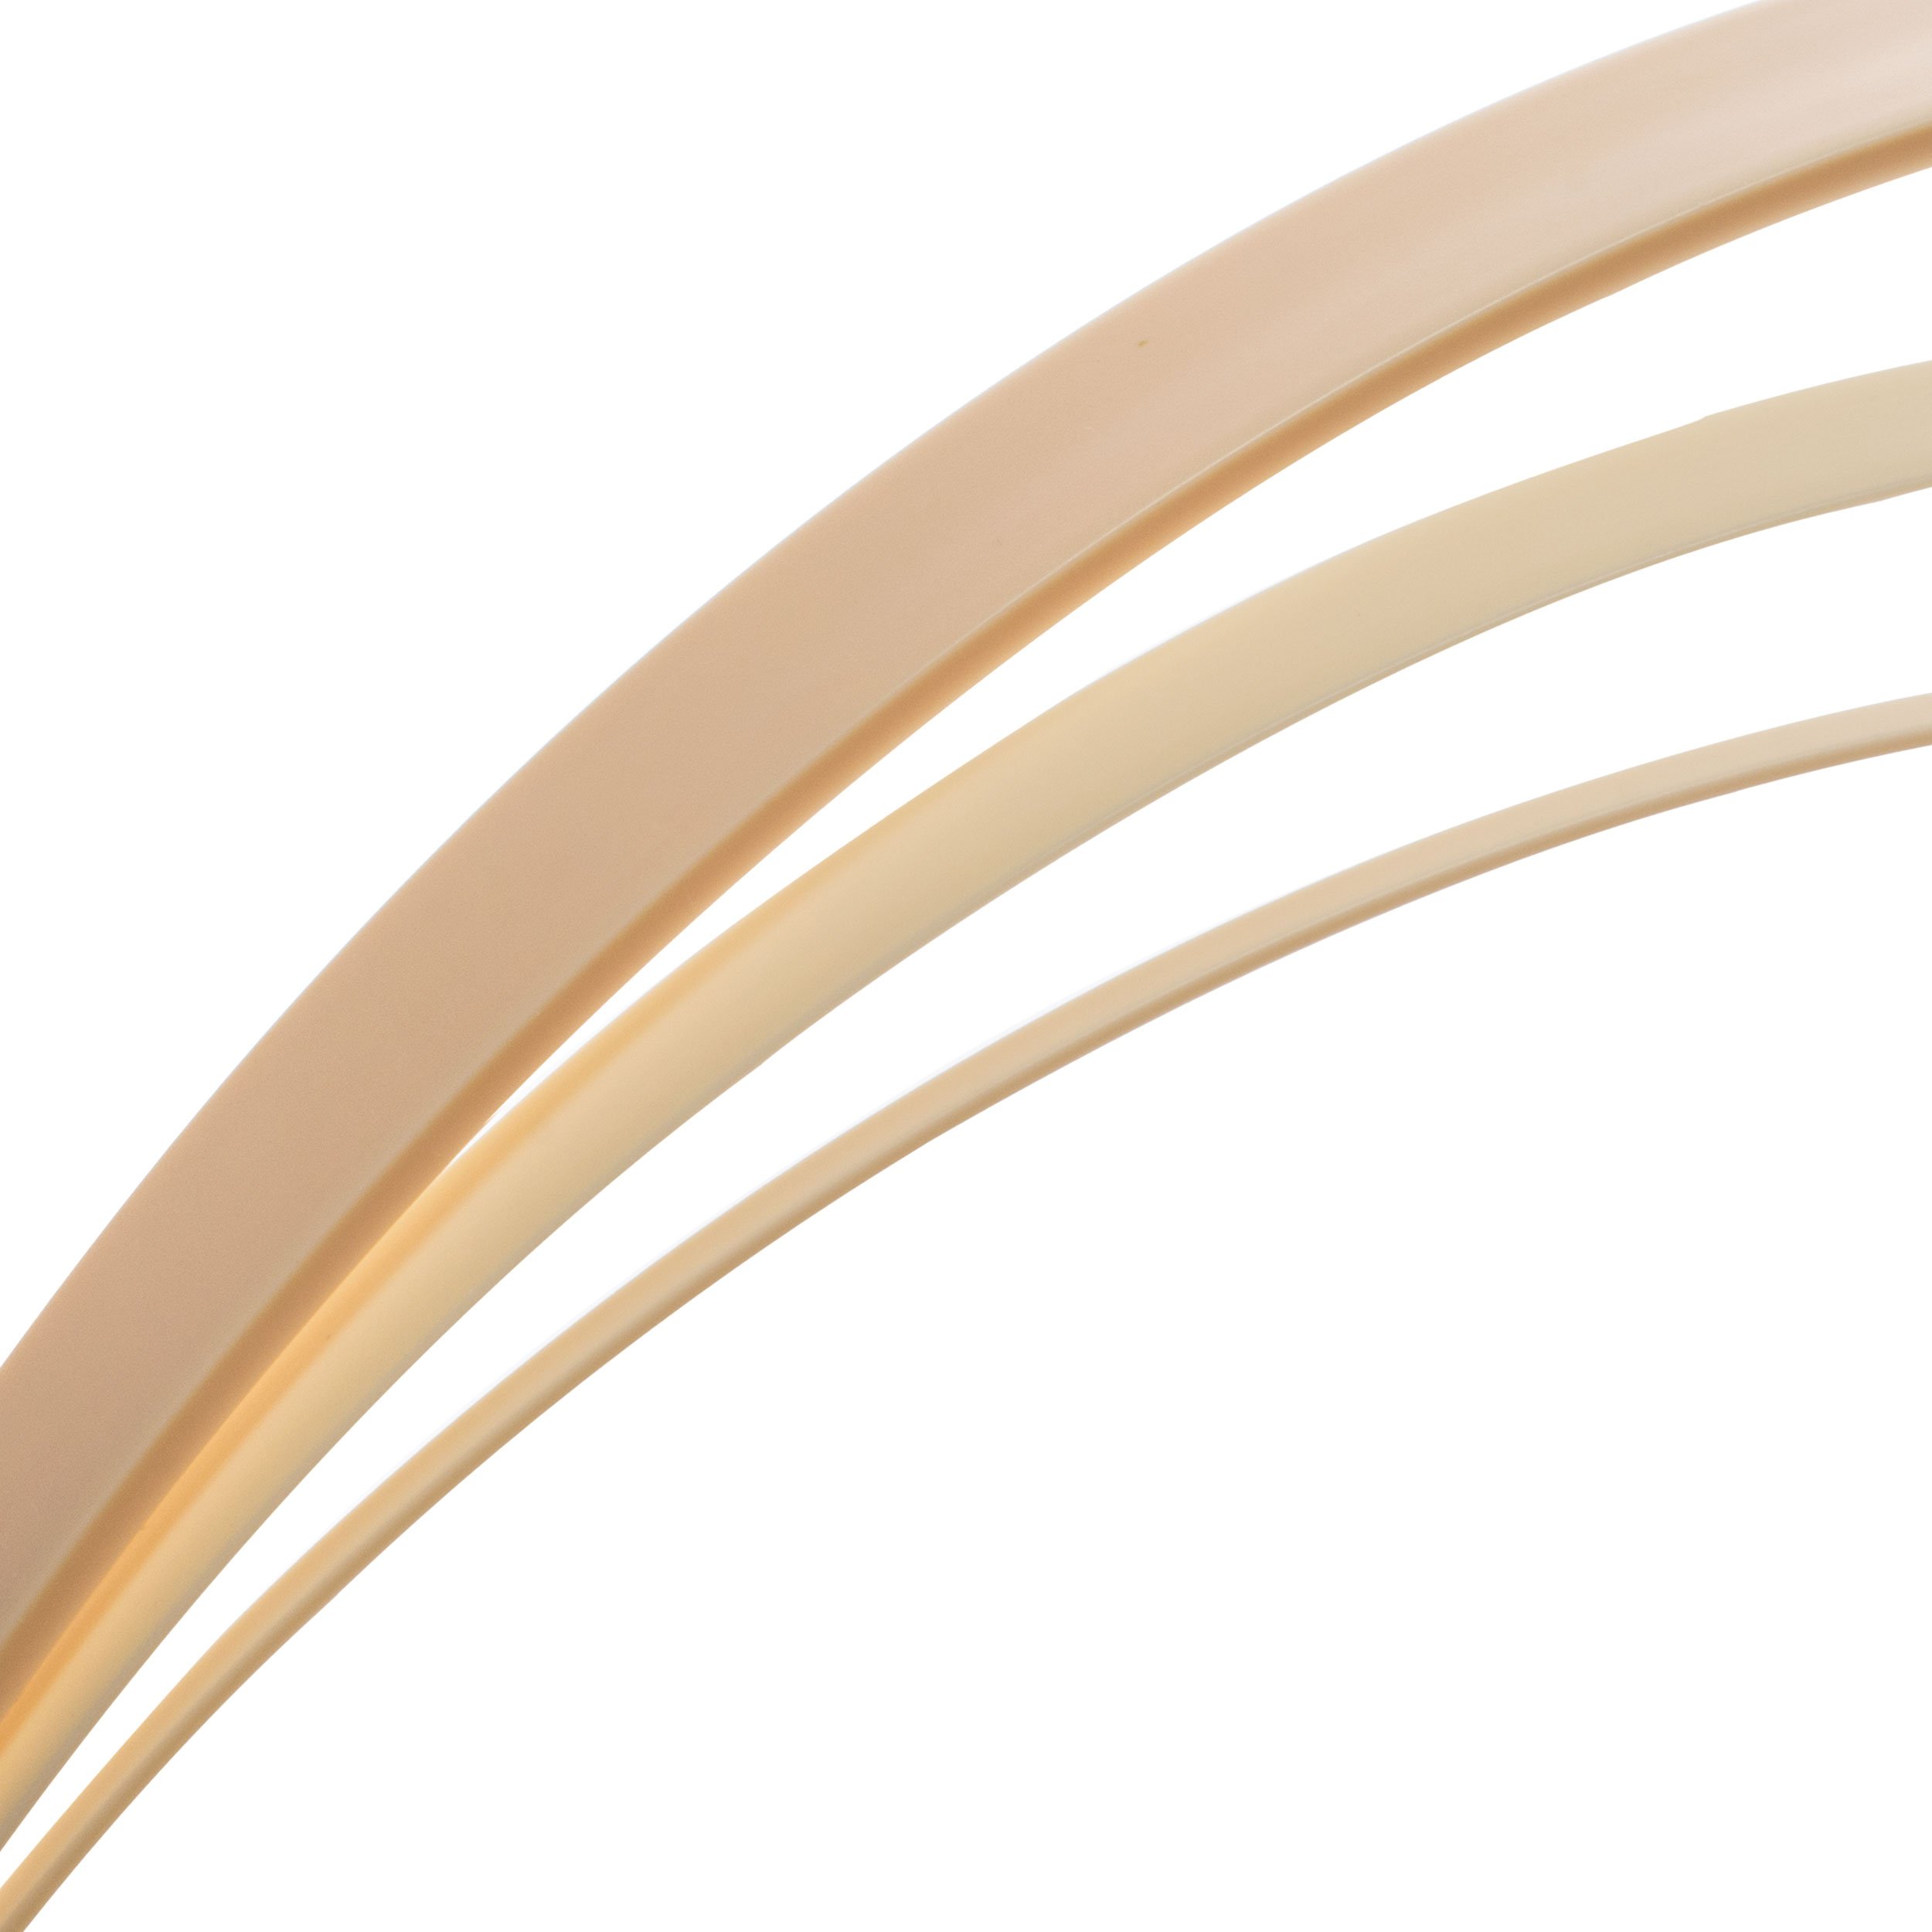
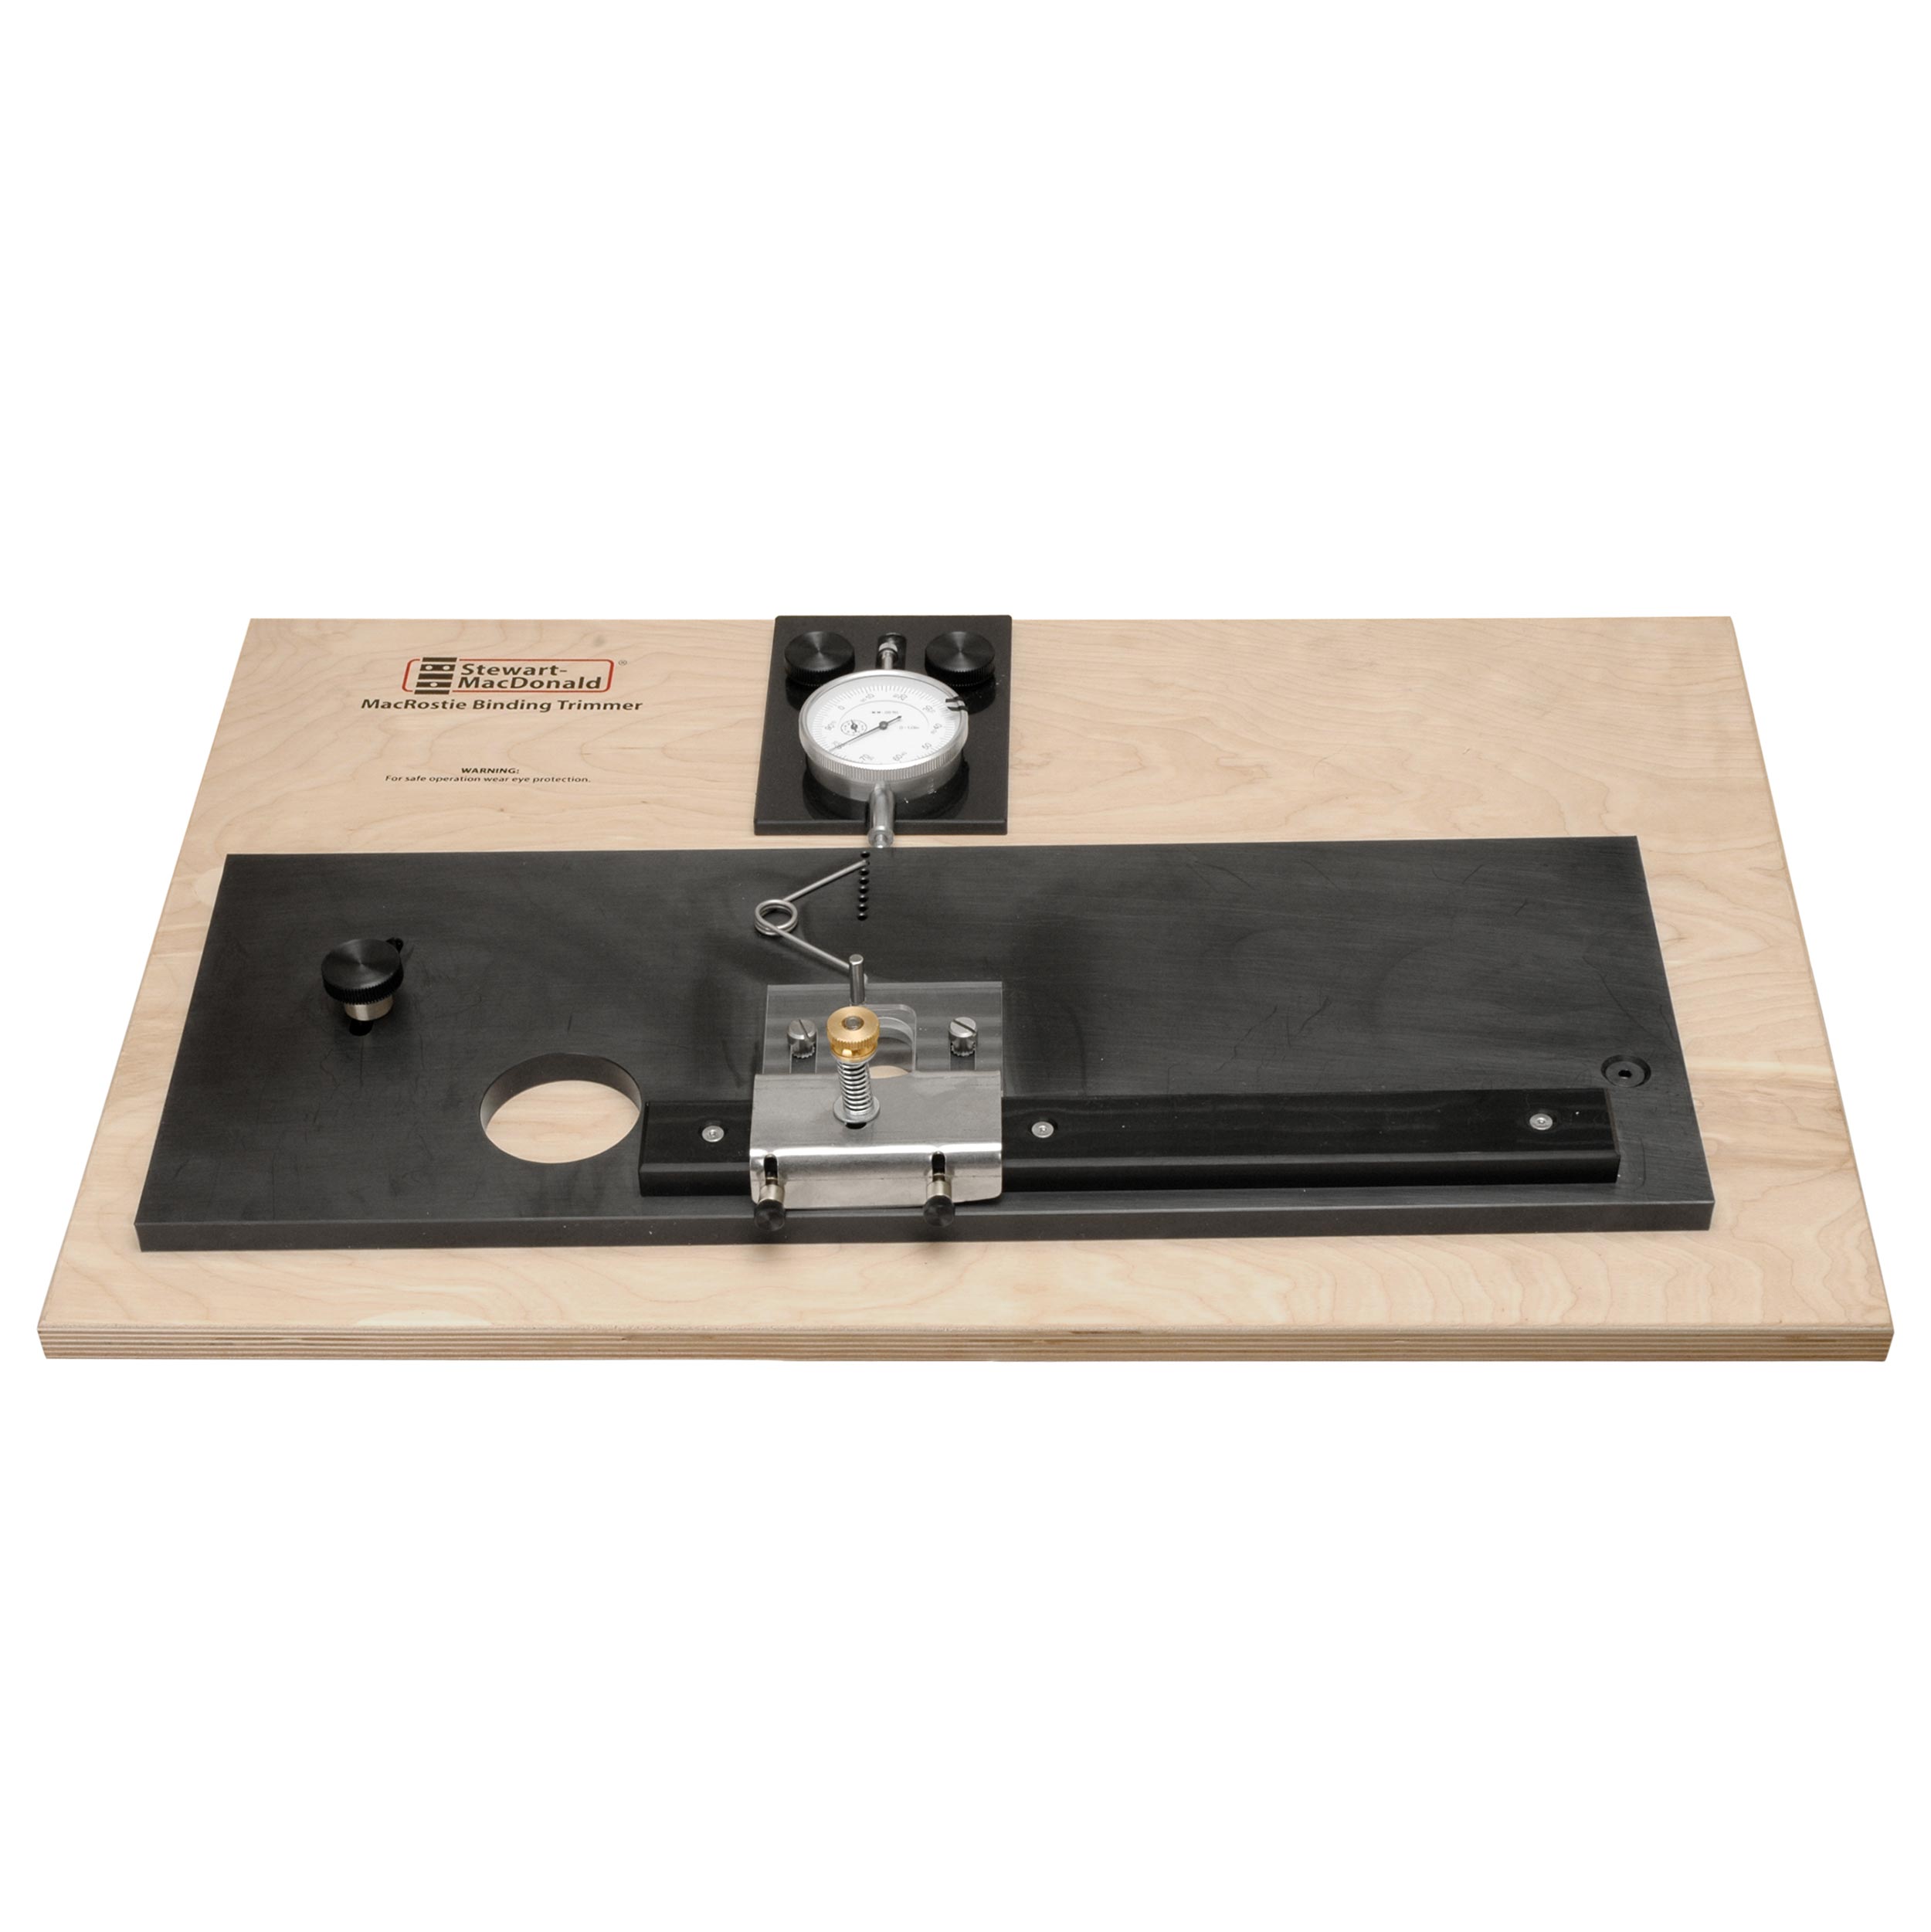
In two days I had the top and back both glued, and then I went and made binding with Don MacRostie's Binding Trimmer [on-screen text reads: Invaluable for binding work]. Took some old bone colored binding down to the exact size.
So now I've got four pieces of binding almost perfectly fit and I'm going to be ready to fit it on. As soon as I finish cleaning up the channel with my customized razor saw.


