Tricks for installing humbuckers
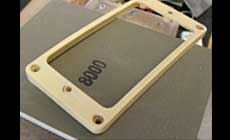
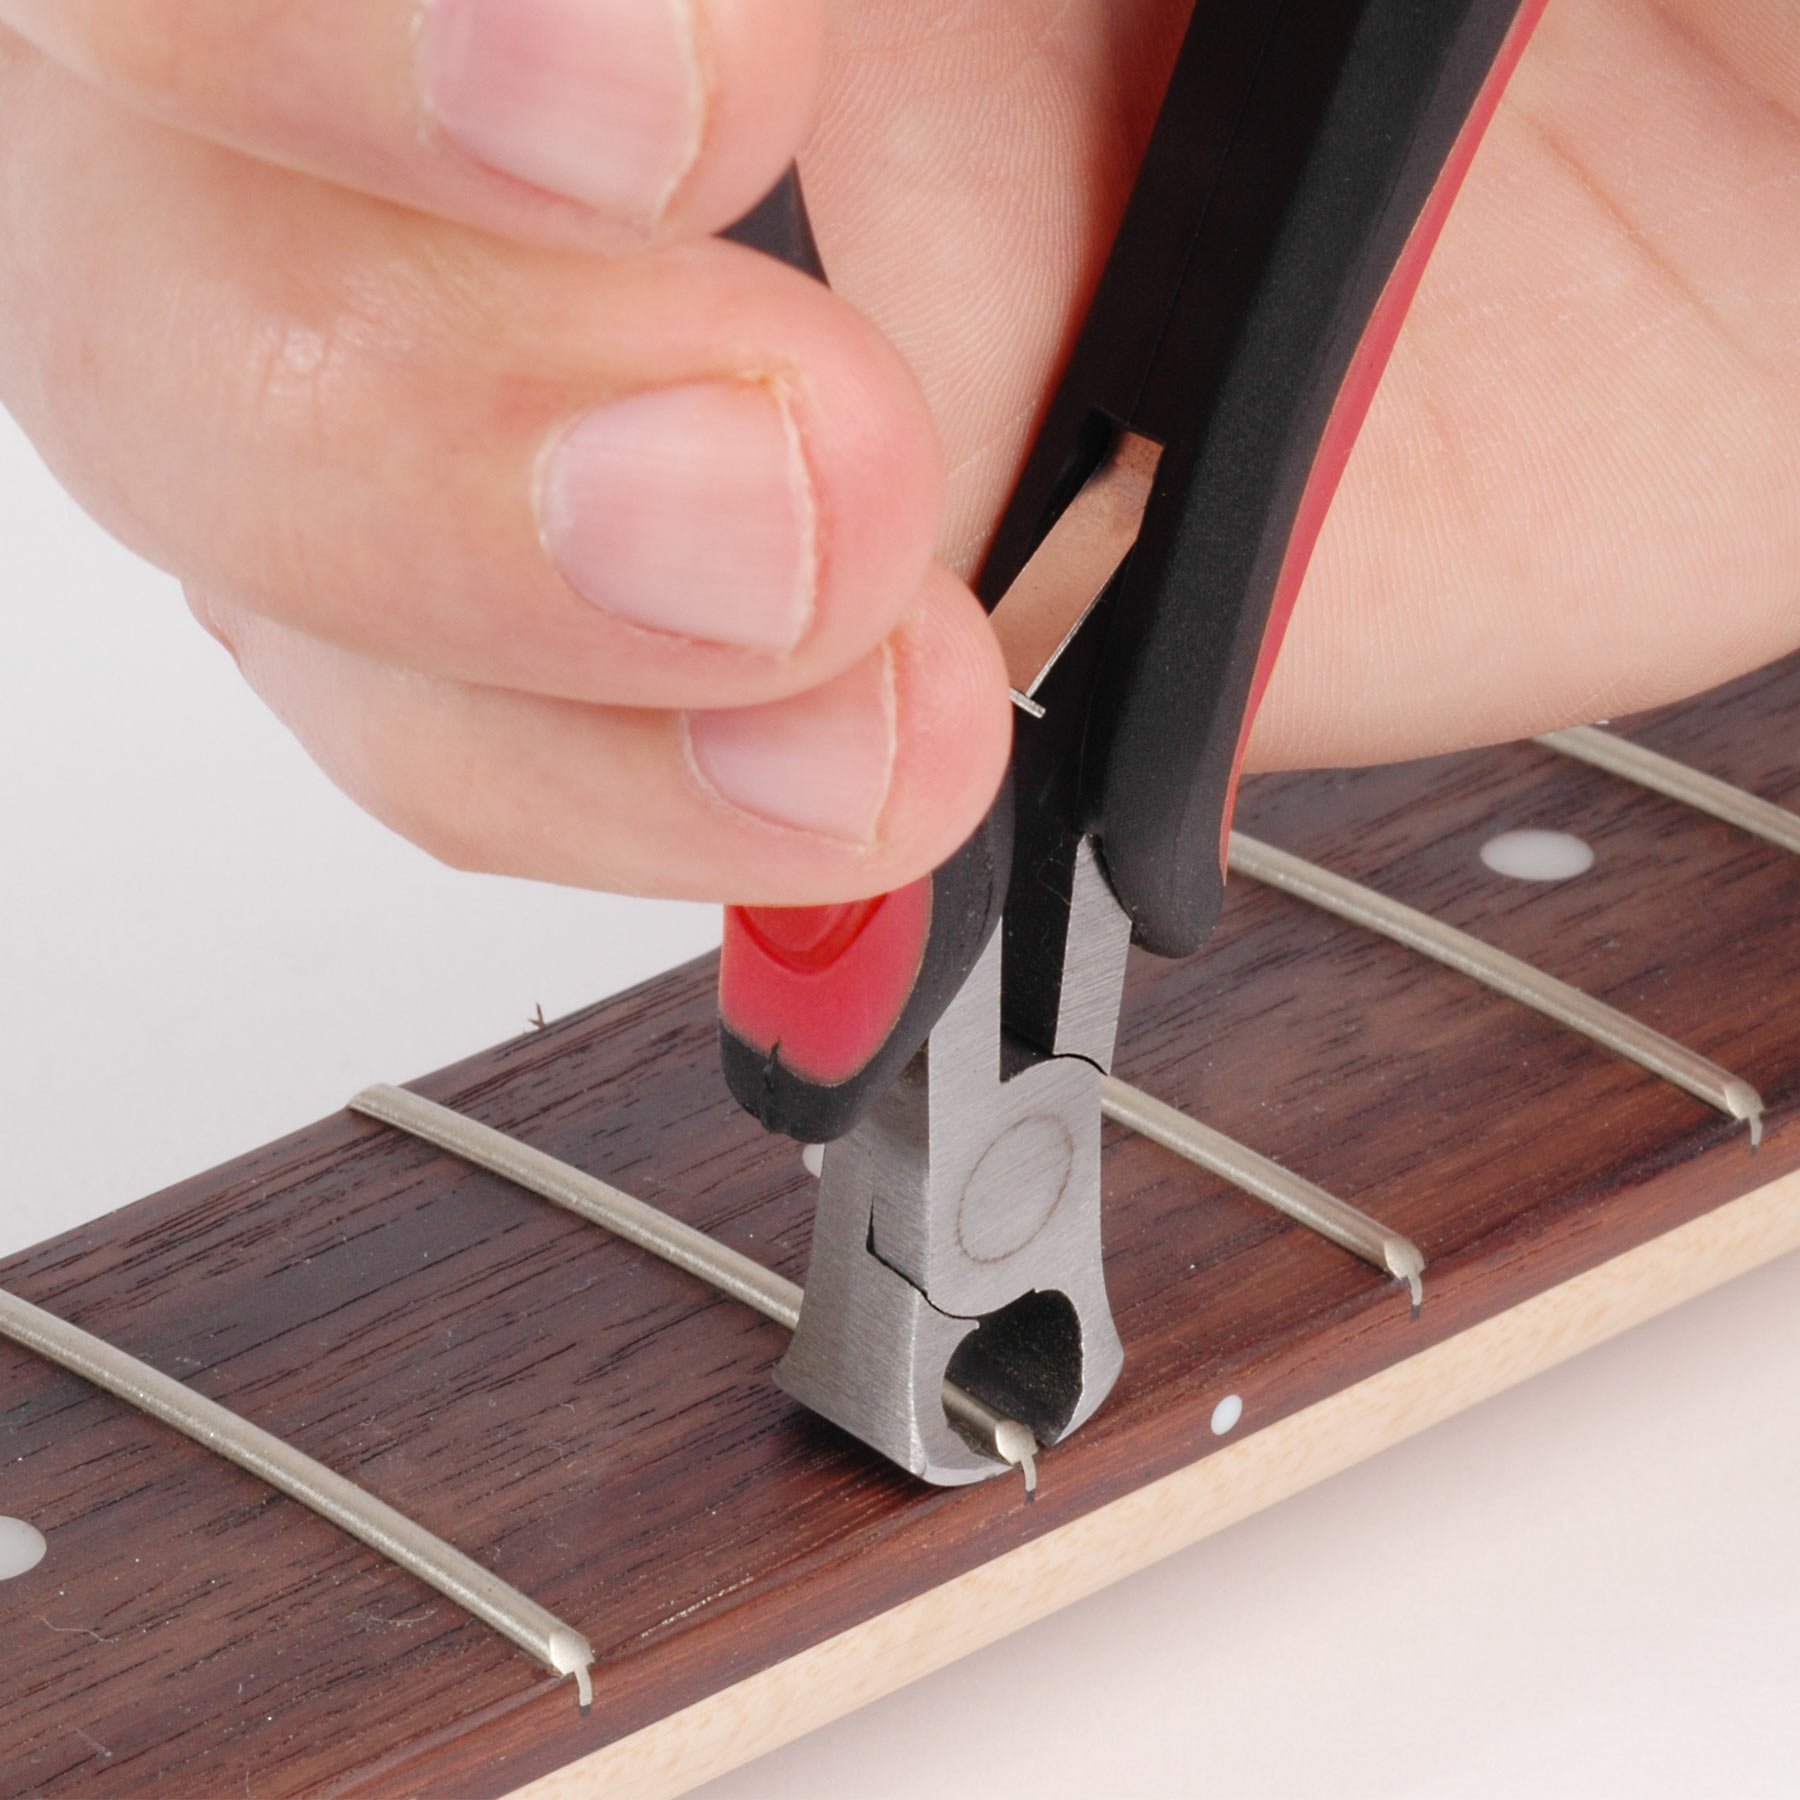
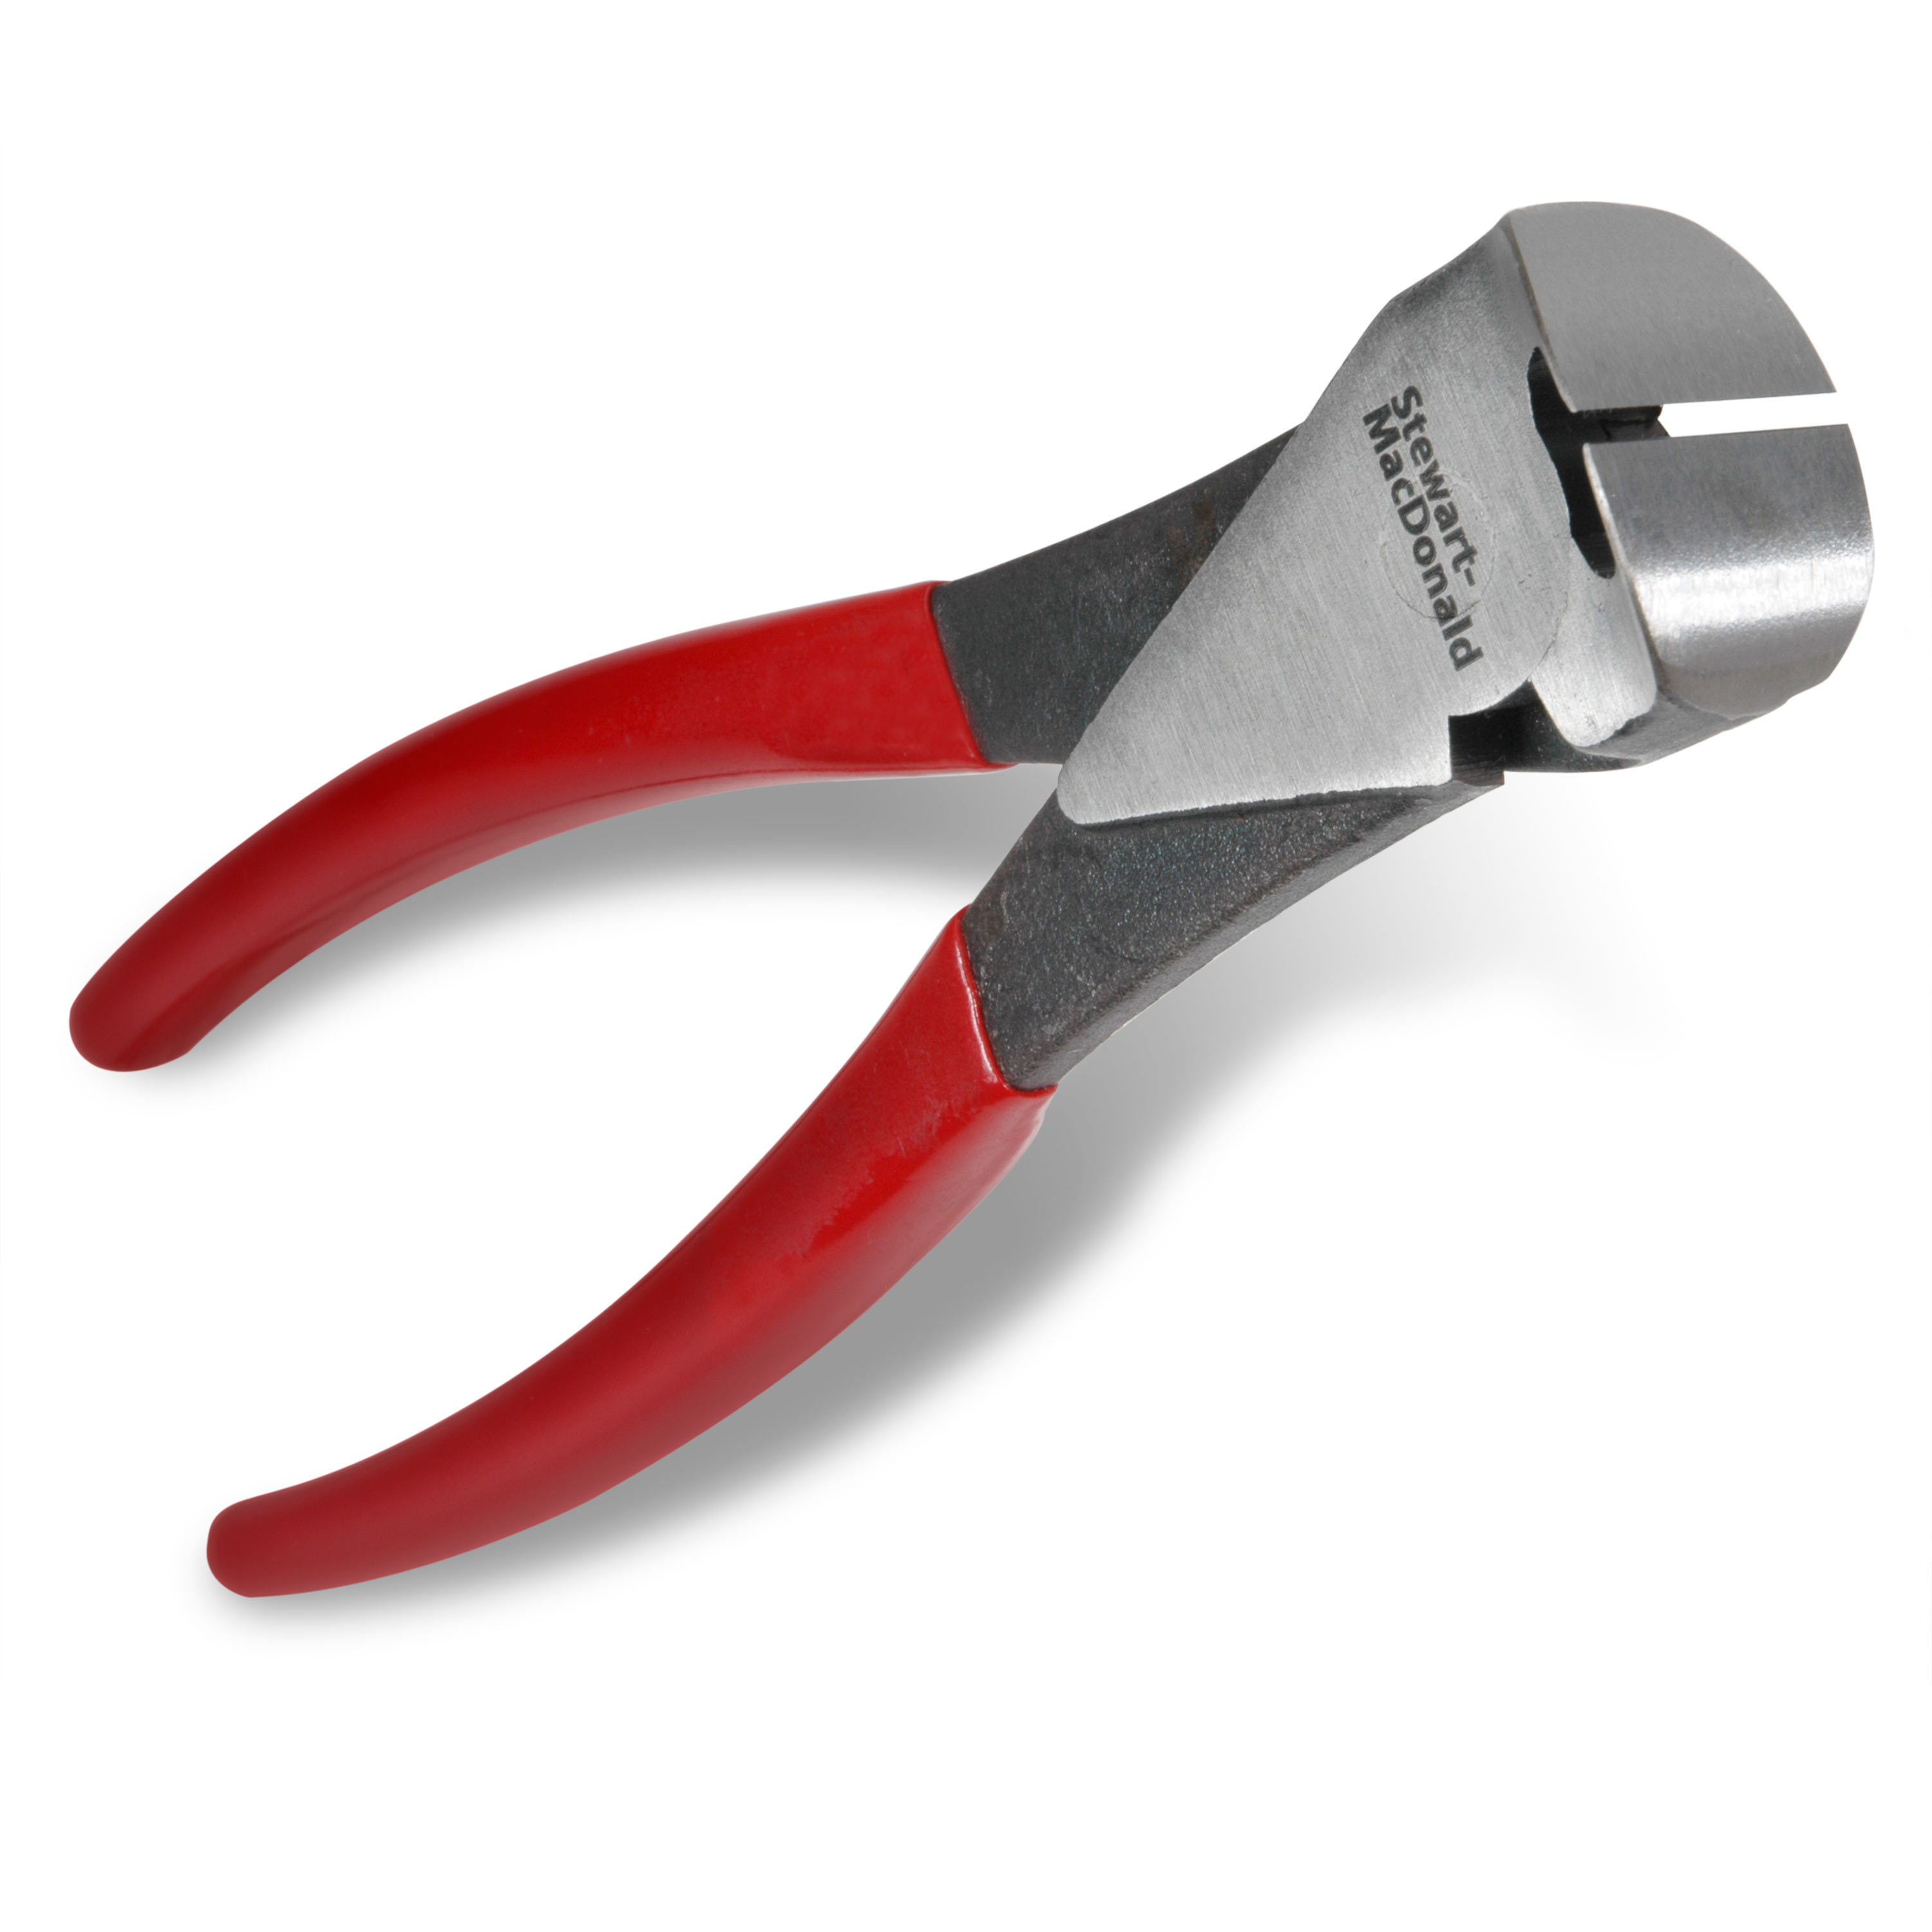
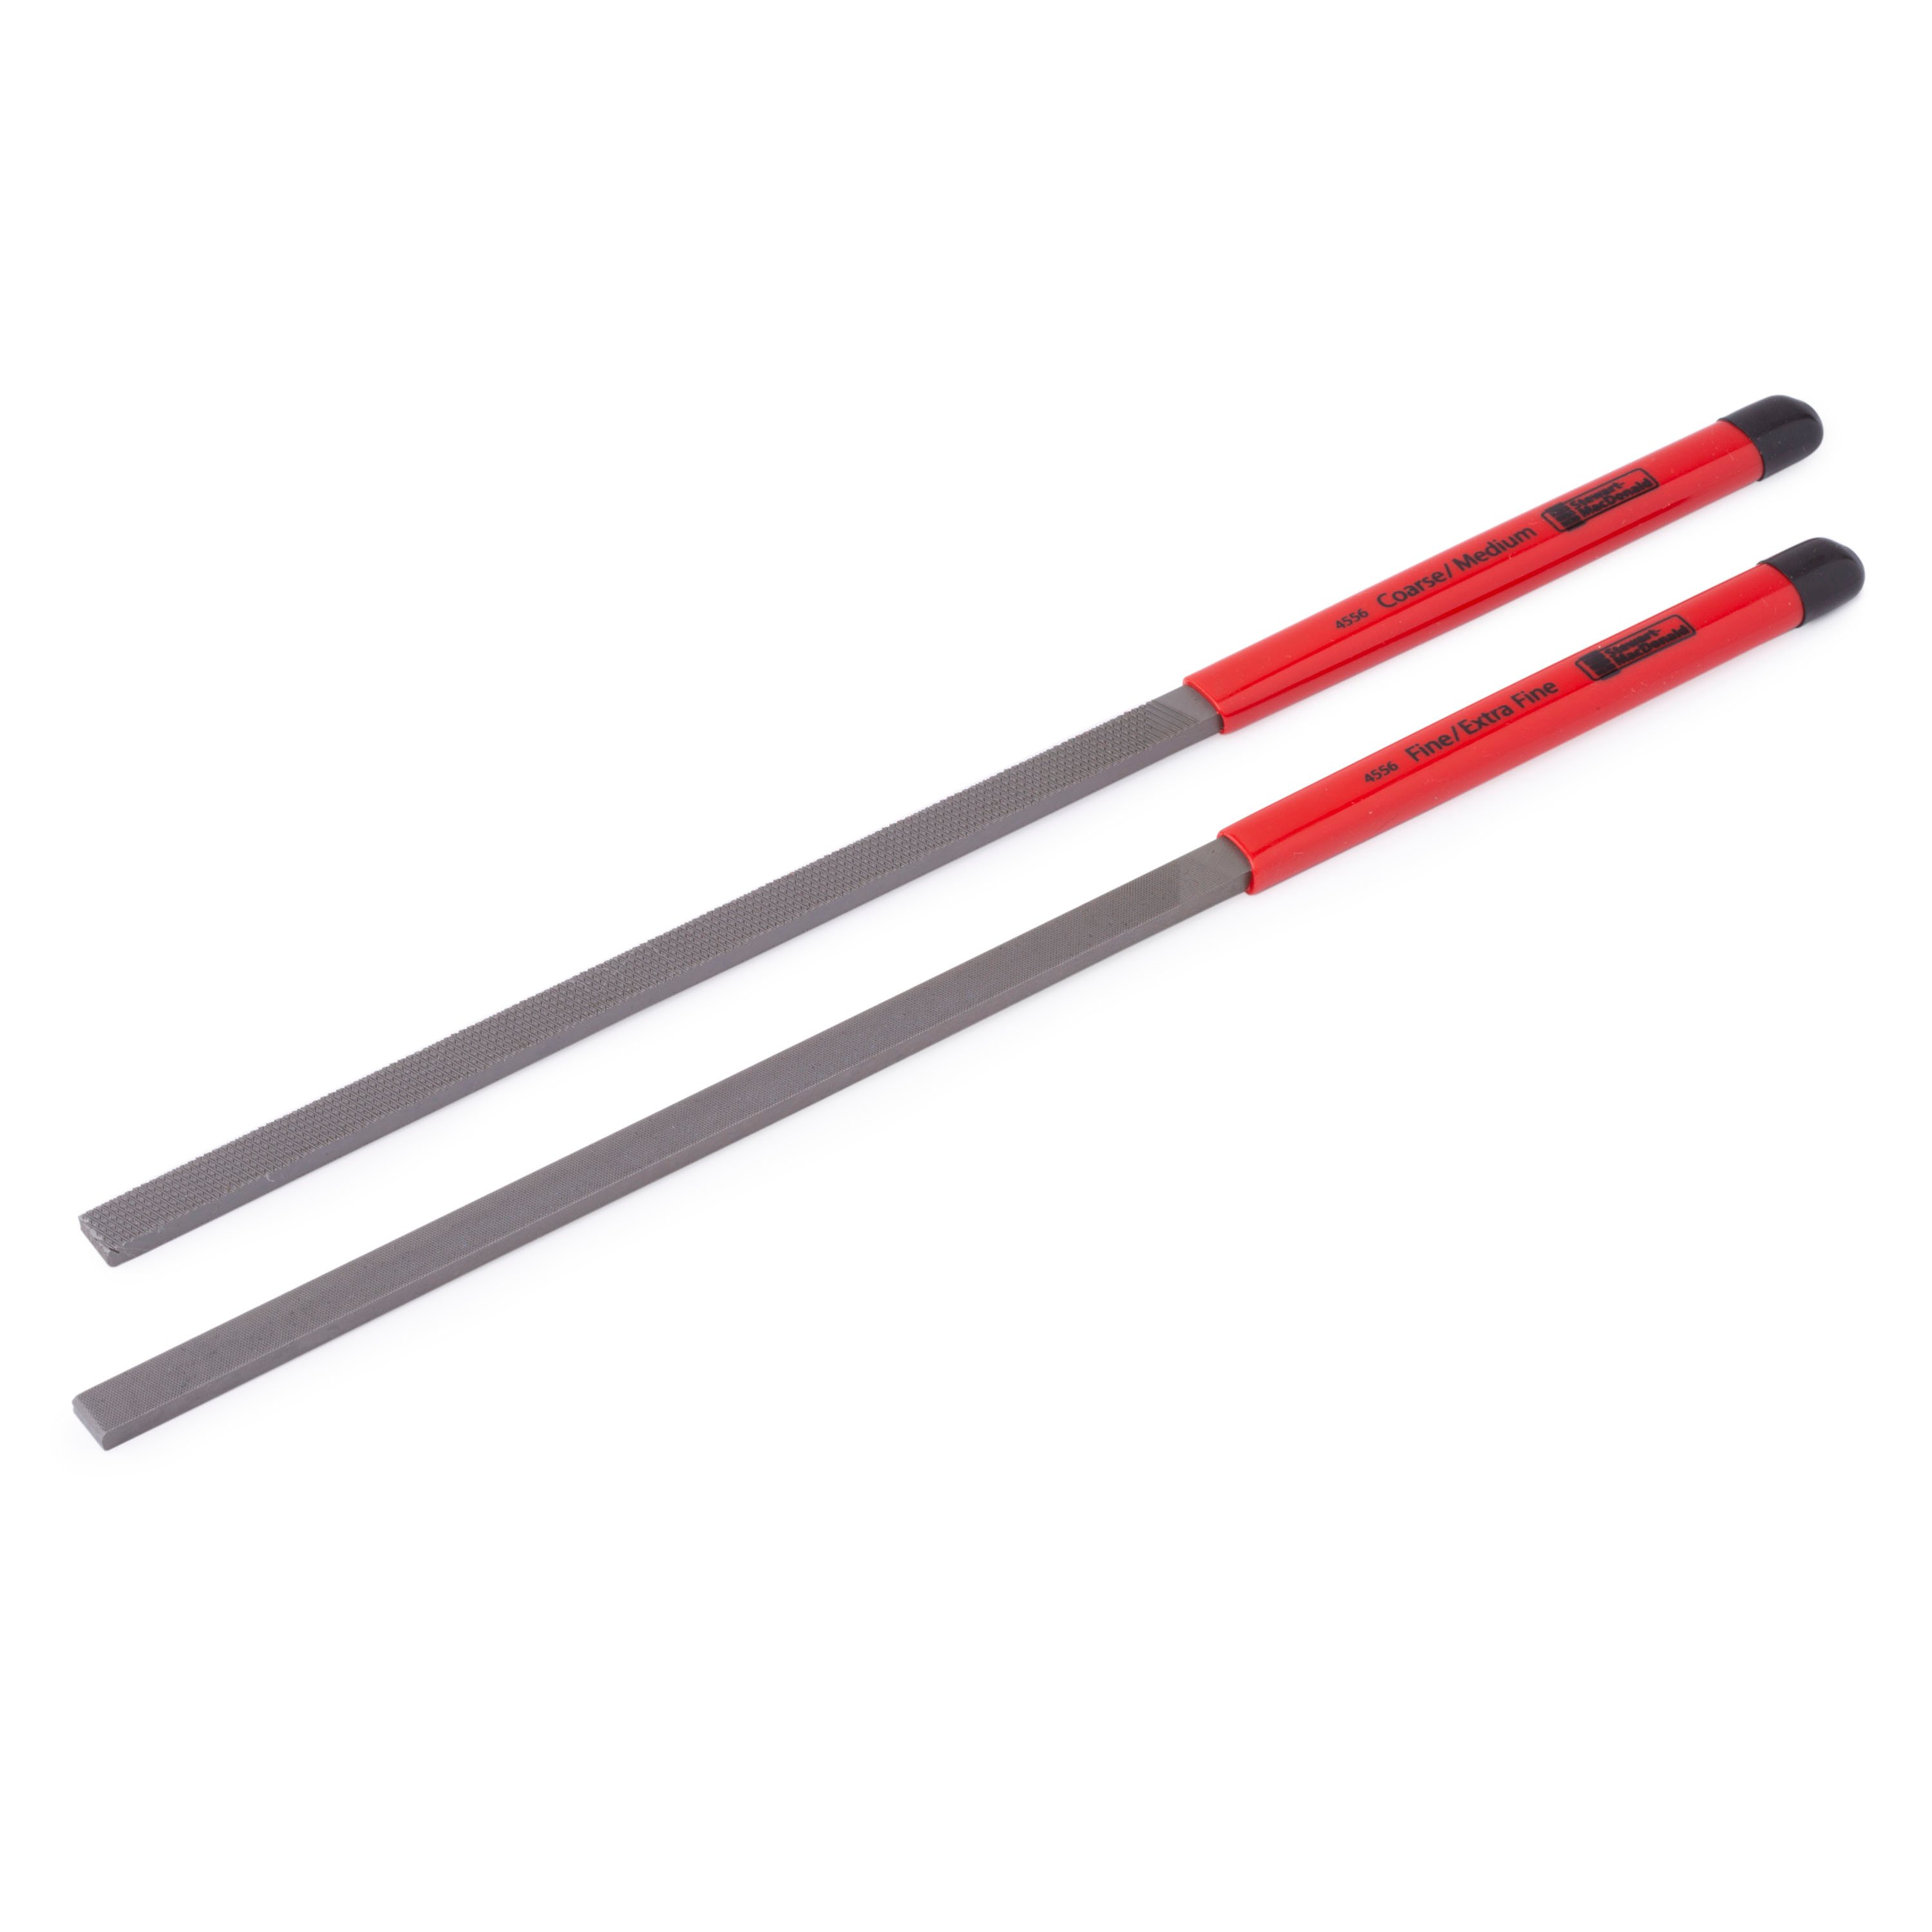
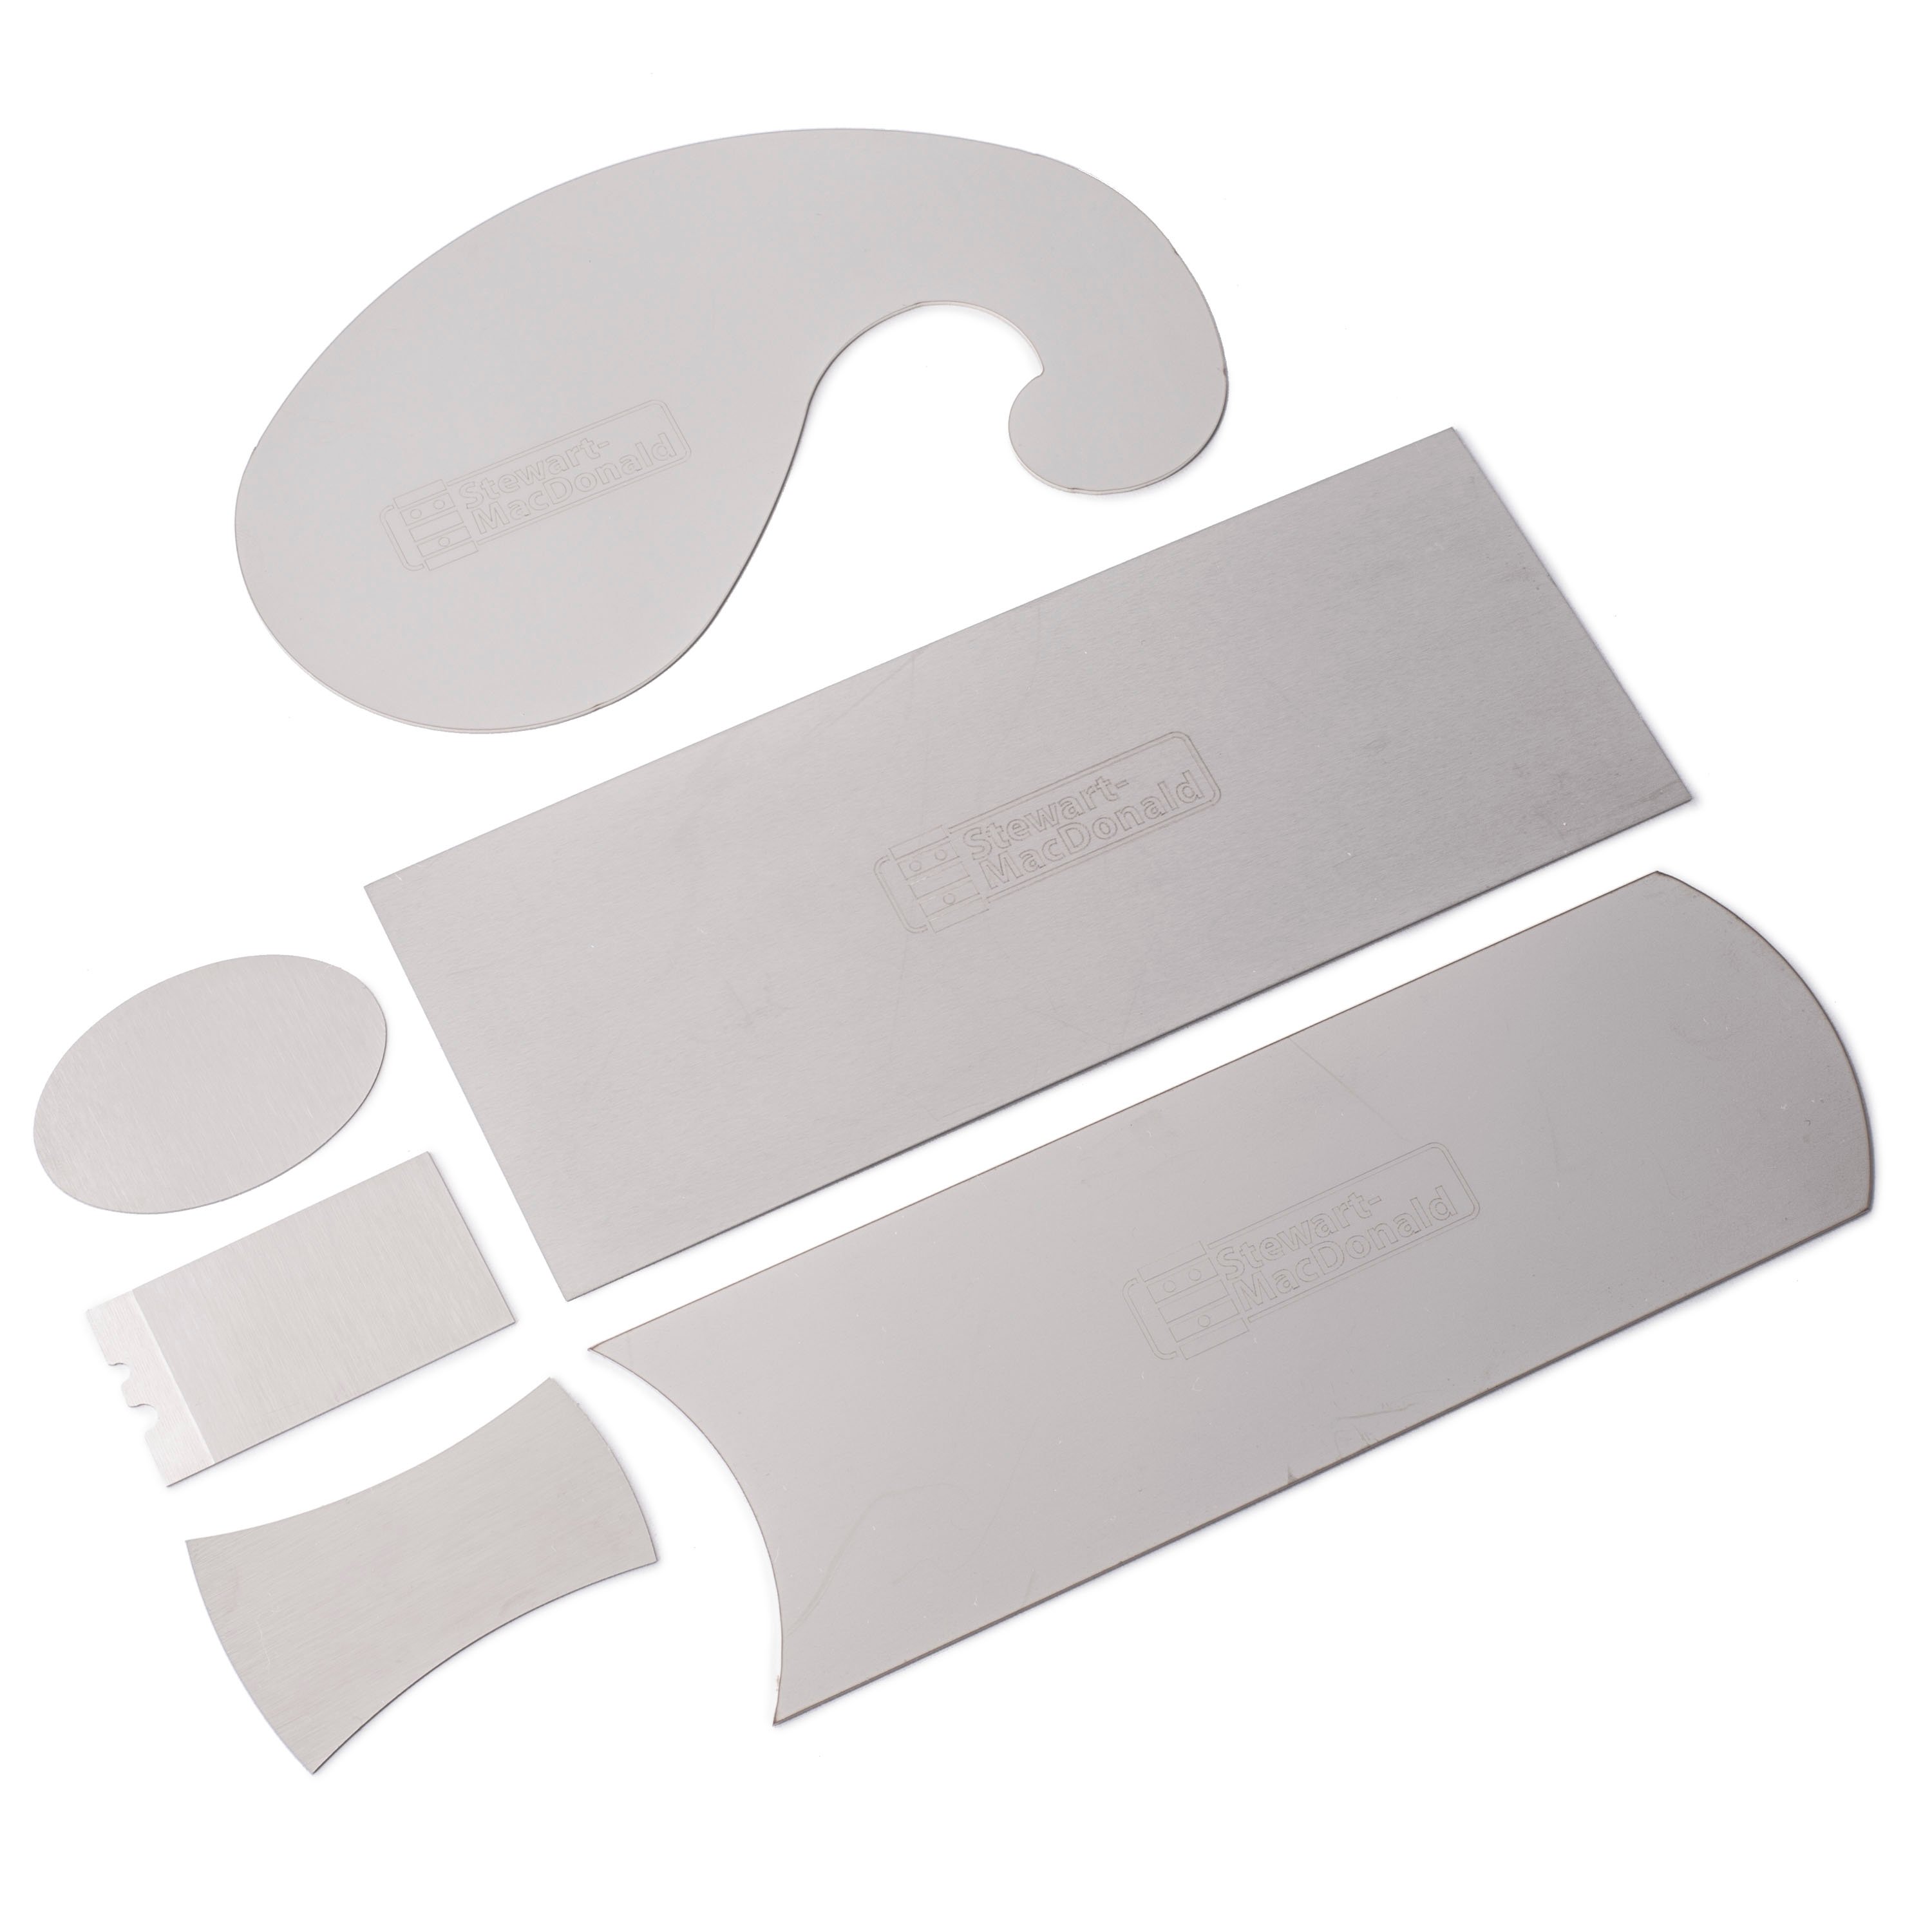
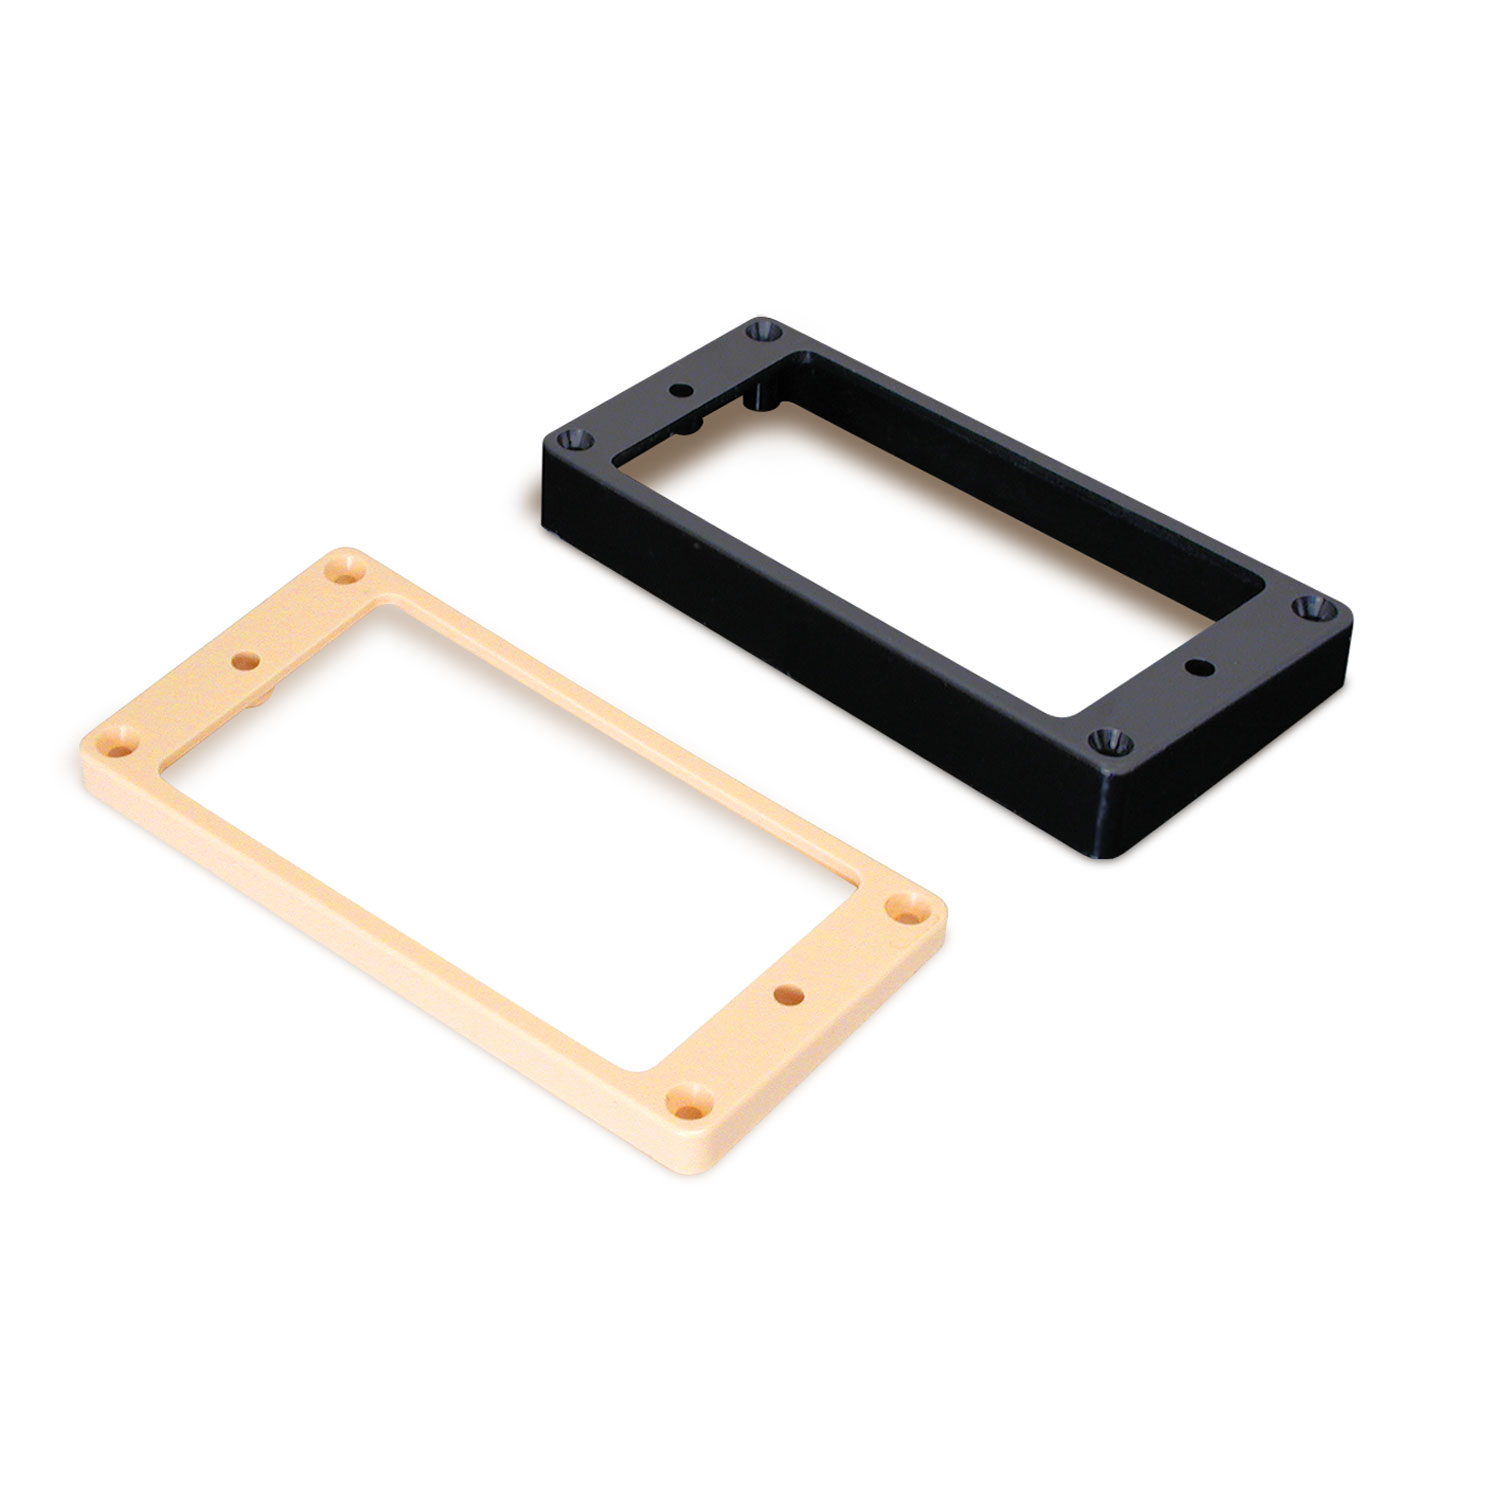
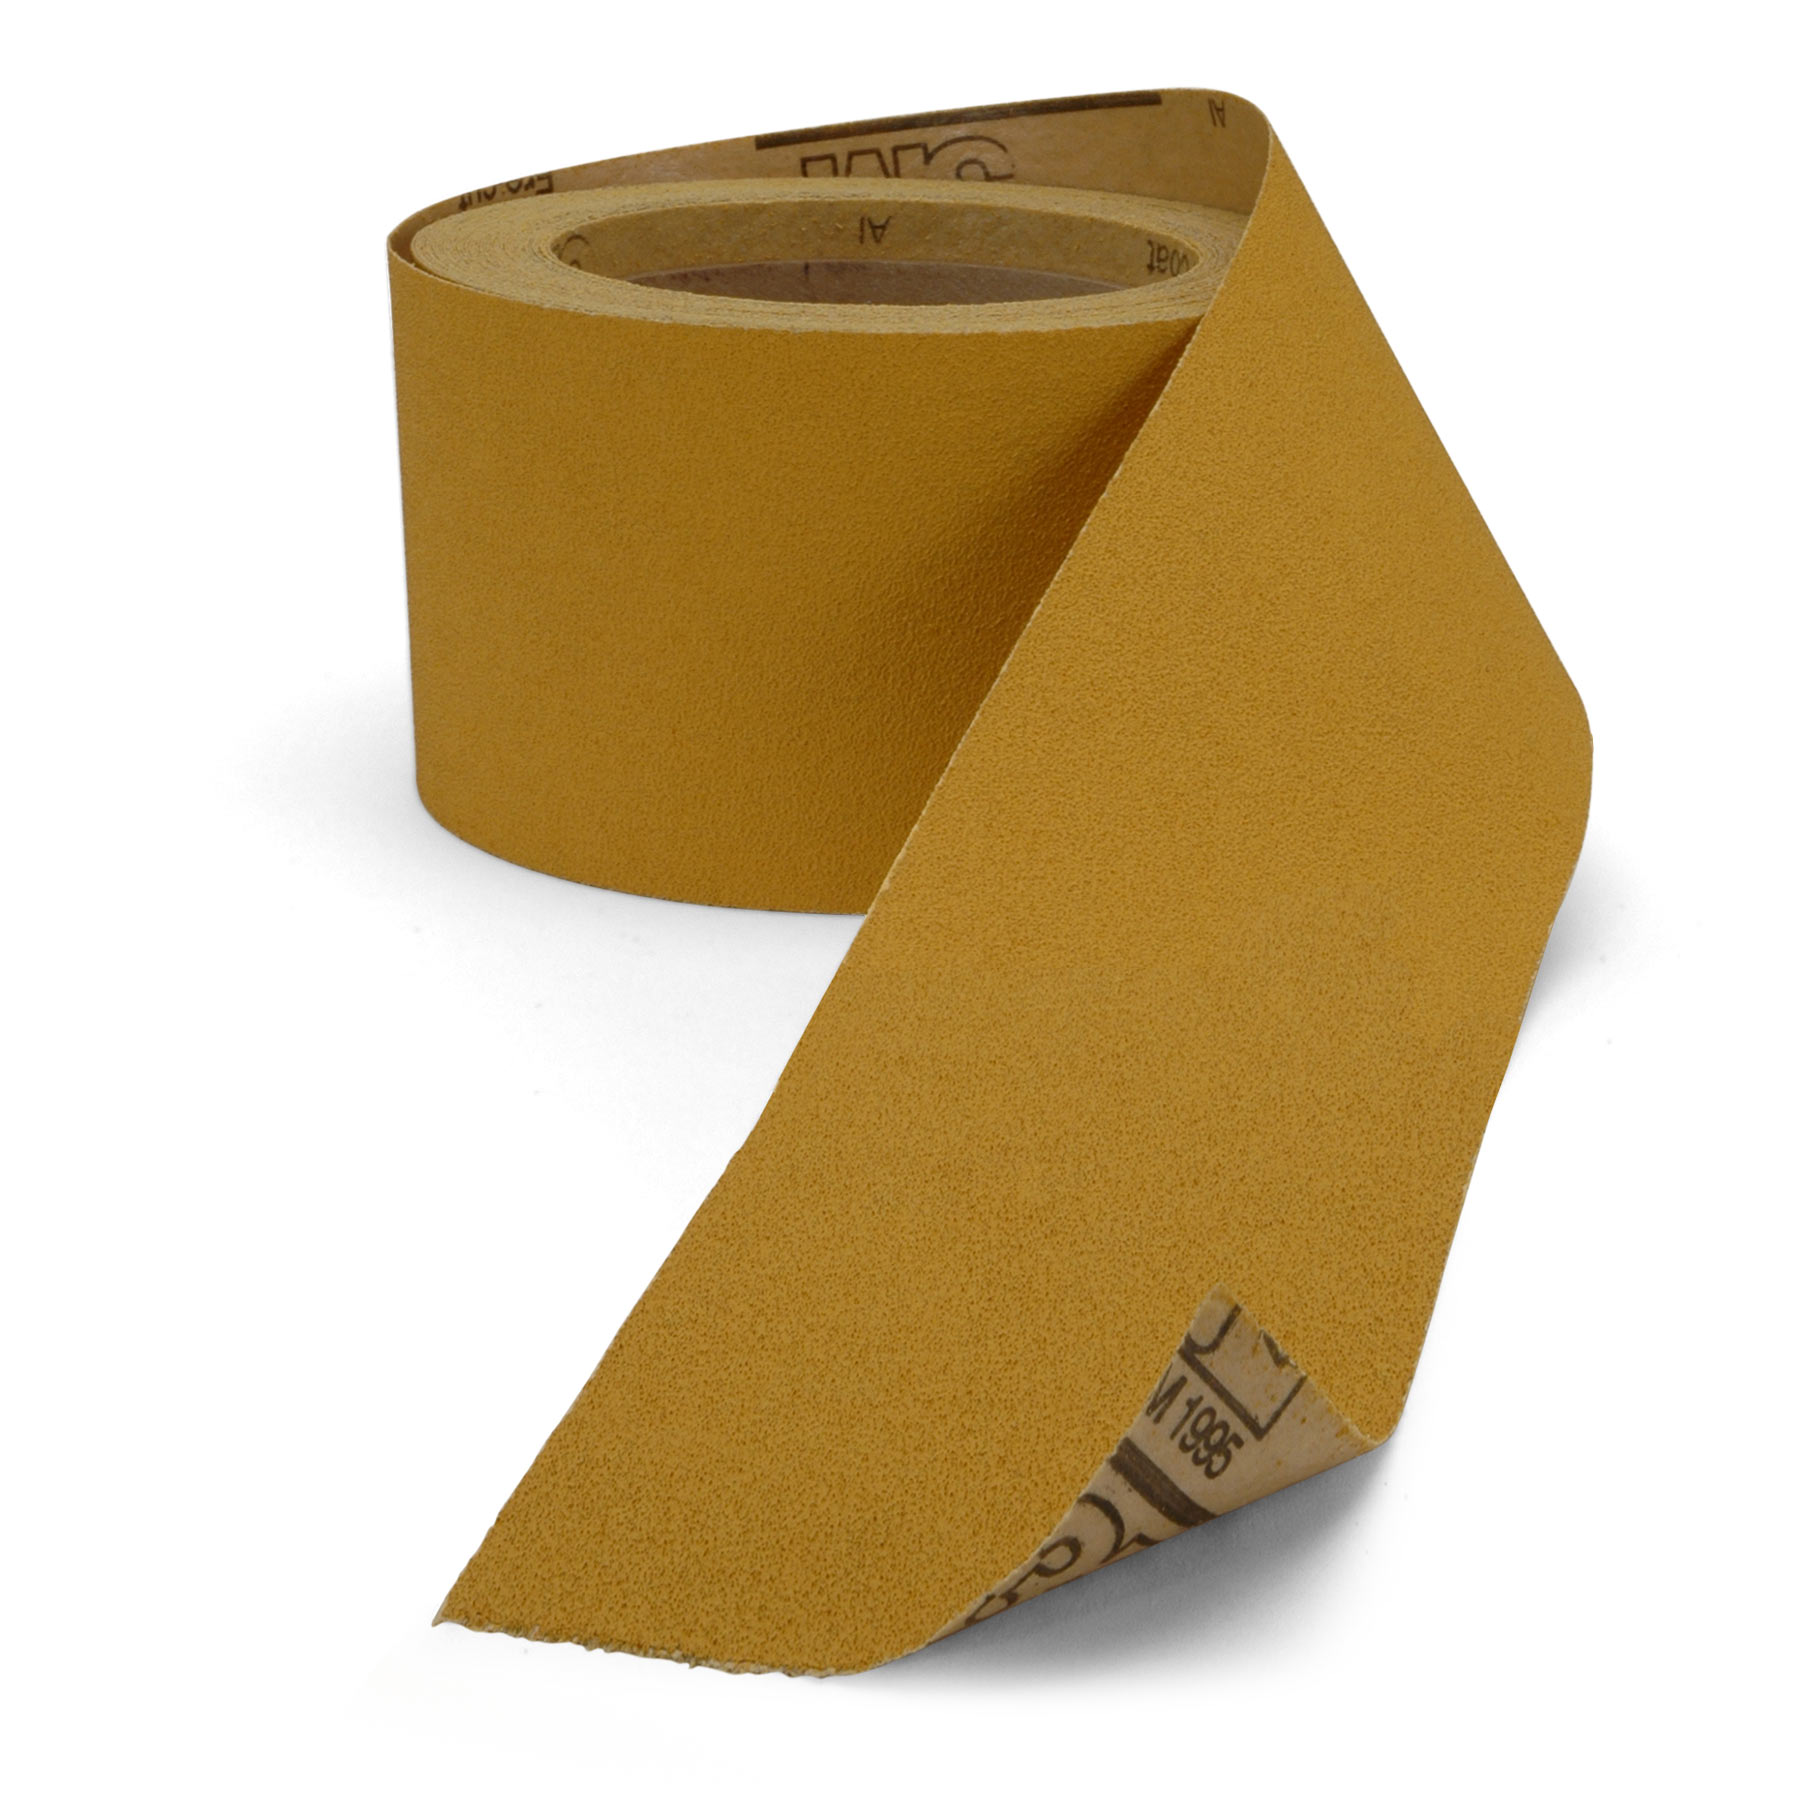
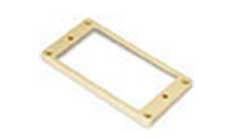
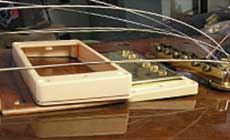
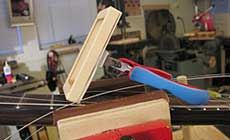
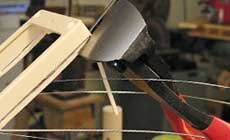
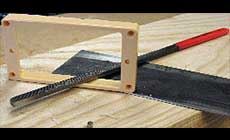
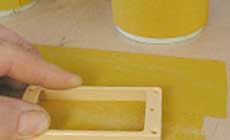
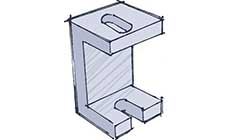
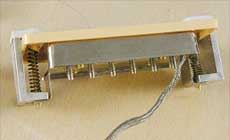
The pickup mounting ring in the photo at left cost less than four bucks, and it isn't much different than the $10,000 one I was asked to repair. Read on... Before I tell you about the $10,000 humbucker mounting ring, let me show you a couple of good installation tips: To cut down the height of a mounting ring, nibble it away with fret pullers One of the pickup mounting rings on this Flying-V was too tall. It needed to be trimmed down by about 3/32". I used to try to do this on the bandsaw, but that’s not a good way (broken plastic, elaborate holding jigs, lots of time lost). Instead, I nibble the ring down to size with fret pullers. It's fast and easy. Just mark a line to trim to, and nip away the plastic. The corners of the ring are thicker, so I use my larger fret cutters there. In about a minute, it’s down to size. Nut/saddle shaping files clean up the bottom edge, and a final pass with a scraper blade leaves it as smooth as new. If your nipping gets crooked, you can quickly flatten the bottom of the ring by rubbing it on a flat surface covered with 80-grit Stikit sandpaper. Why wait until you've sprayed a shiny new finish before drilling your installation holes? It’s a good idea to test-fit, pre-drill and mount the hardware and electronics before you spray the finish. Then the final assembly is easy, and you won’t be monkeying around fitting parts while trying to protect your new lacquer! Installing a humbucker can be pain in the neck. The springs and screws don’t want to go together, they want to pop apart! It’s a fumbly operation, especially when the pickup’s already wired into the guitar so you’re on a short leash with no room to move. (Pickup installation is an easy time to scratch a guitar — use a felt pad to protect the top.) I made these aluminum clips for installing humbuckers, and they’ve become must-have items on my bench: they hold the springs, screws, and mounting ring together in one piece. Then I just set the whole assembly over the pickup and turn the mounting screws into the pickup’s threaded tabs. Then I pull away the clips and the pickup’s all assembled. These clips turn a clumsy operation into a breeze, making it much less likely that the guitar top will get scratched. This protective cover is the same wool felt that covered the finish and setup benches at the old Gibson Factory in Kalamazoo. I use it on my benches, and I also cut it into pads to protect guitar tops.
You’re kiddin’ me, right?
$10,000 for a plastic pickup mounting ring?
1. Three humbucker items for you this week
2. Make yourself two of these aluminum clips, and pickup installation is easy
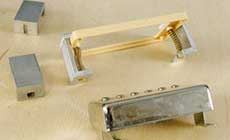
Felt around the pickup cavity protects the guitar
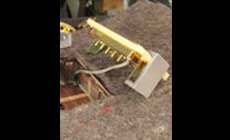
3. Here’s a crazy thing...
A customer sent me this pickup mounting ring for repair — not a guitar, just the mounting ring! It’s a creme one from a '59 Les Paul. He feels this plastic ring could be worth as much as $10,000, and far be it from me to say that he’s jiving. He says that keeping the guitar 100% vintage will make that much difference in the resale value. I took the job..

A chunk had broken out of it around the treble-side mounting bolt. I cleaned and re-glued it with Weld-On 16, but you could still see the dirty dark line of the break. After gluing the chunk back in place, I machined a groove from the rear through the broken area and inlayed creme binding into it for added strength. The inlay went directly through the hole, so I had to re-drill it.
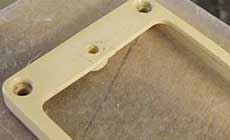
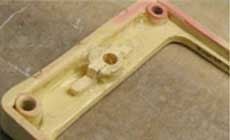
I dug the dirt out of the break, and smooshed in some cream binding melted with acetone. I let it dry overnight.
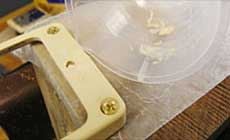
I finished-up by scraping and sanding the repair smooth all the way up to 8,000-grit Micro-Mesh sandpaper. After faking a circular screw-head "wear mark" around the newly-drilled hole, the mounting ring was ready to go back onto the vintage Les Paul.
