How to Use Locking Guitar Tuners
If you’ve ever changed strings mid-gig, wrestled with stubborn tuning issues, or just hate dealing with string wraps, locking tuners might be your new best friend. At StewMac, we’re not just tool nerds—we’re players, tinkerers, and builders like you. And we love gear that makes life easier without compromising tone.
This guide covers what locking tuners do, how to string them correctly, and key install notes.
Reality check: locking posts remove slack at the tuner—but they don’t fix a sticky nut or bridge friction. For best stability, pair them with a well-cut/lubricated nut and proper break angles.
What Are Locking Tuners, Really?
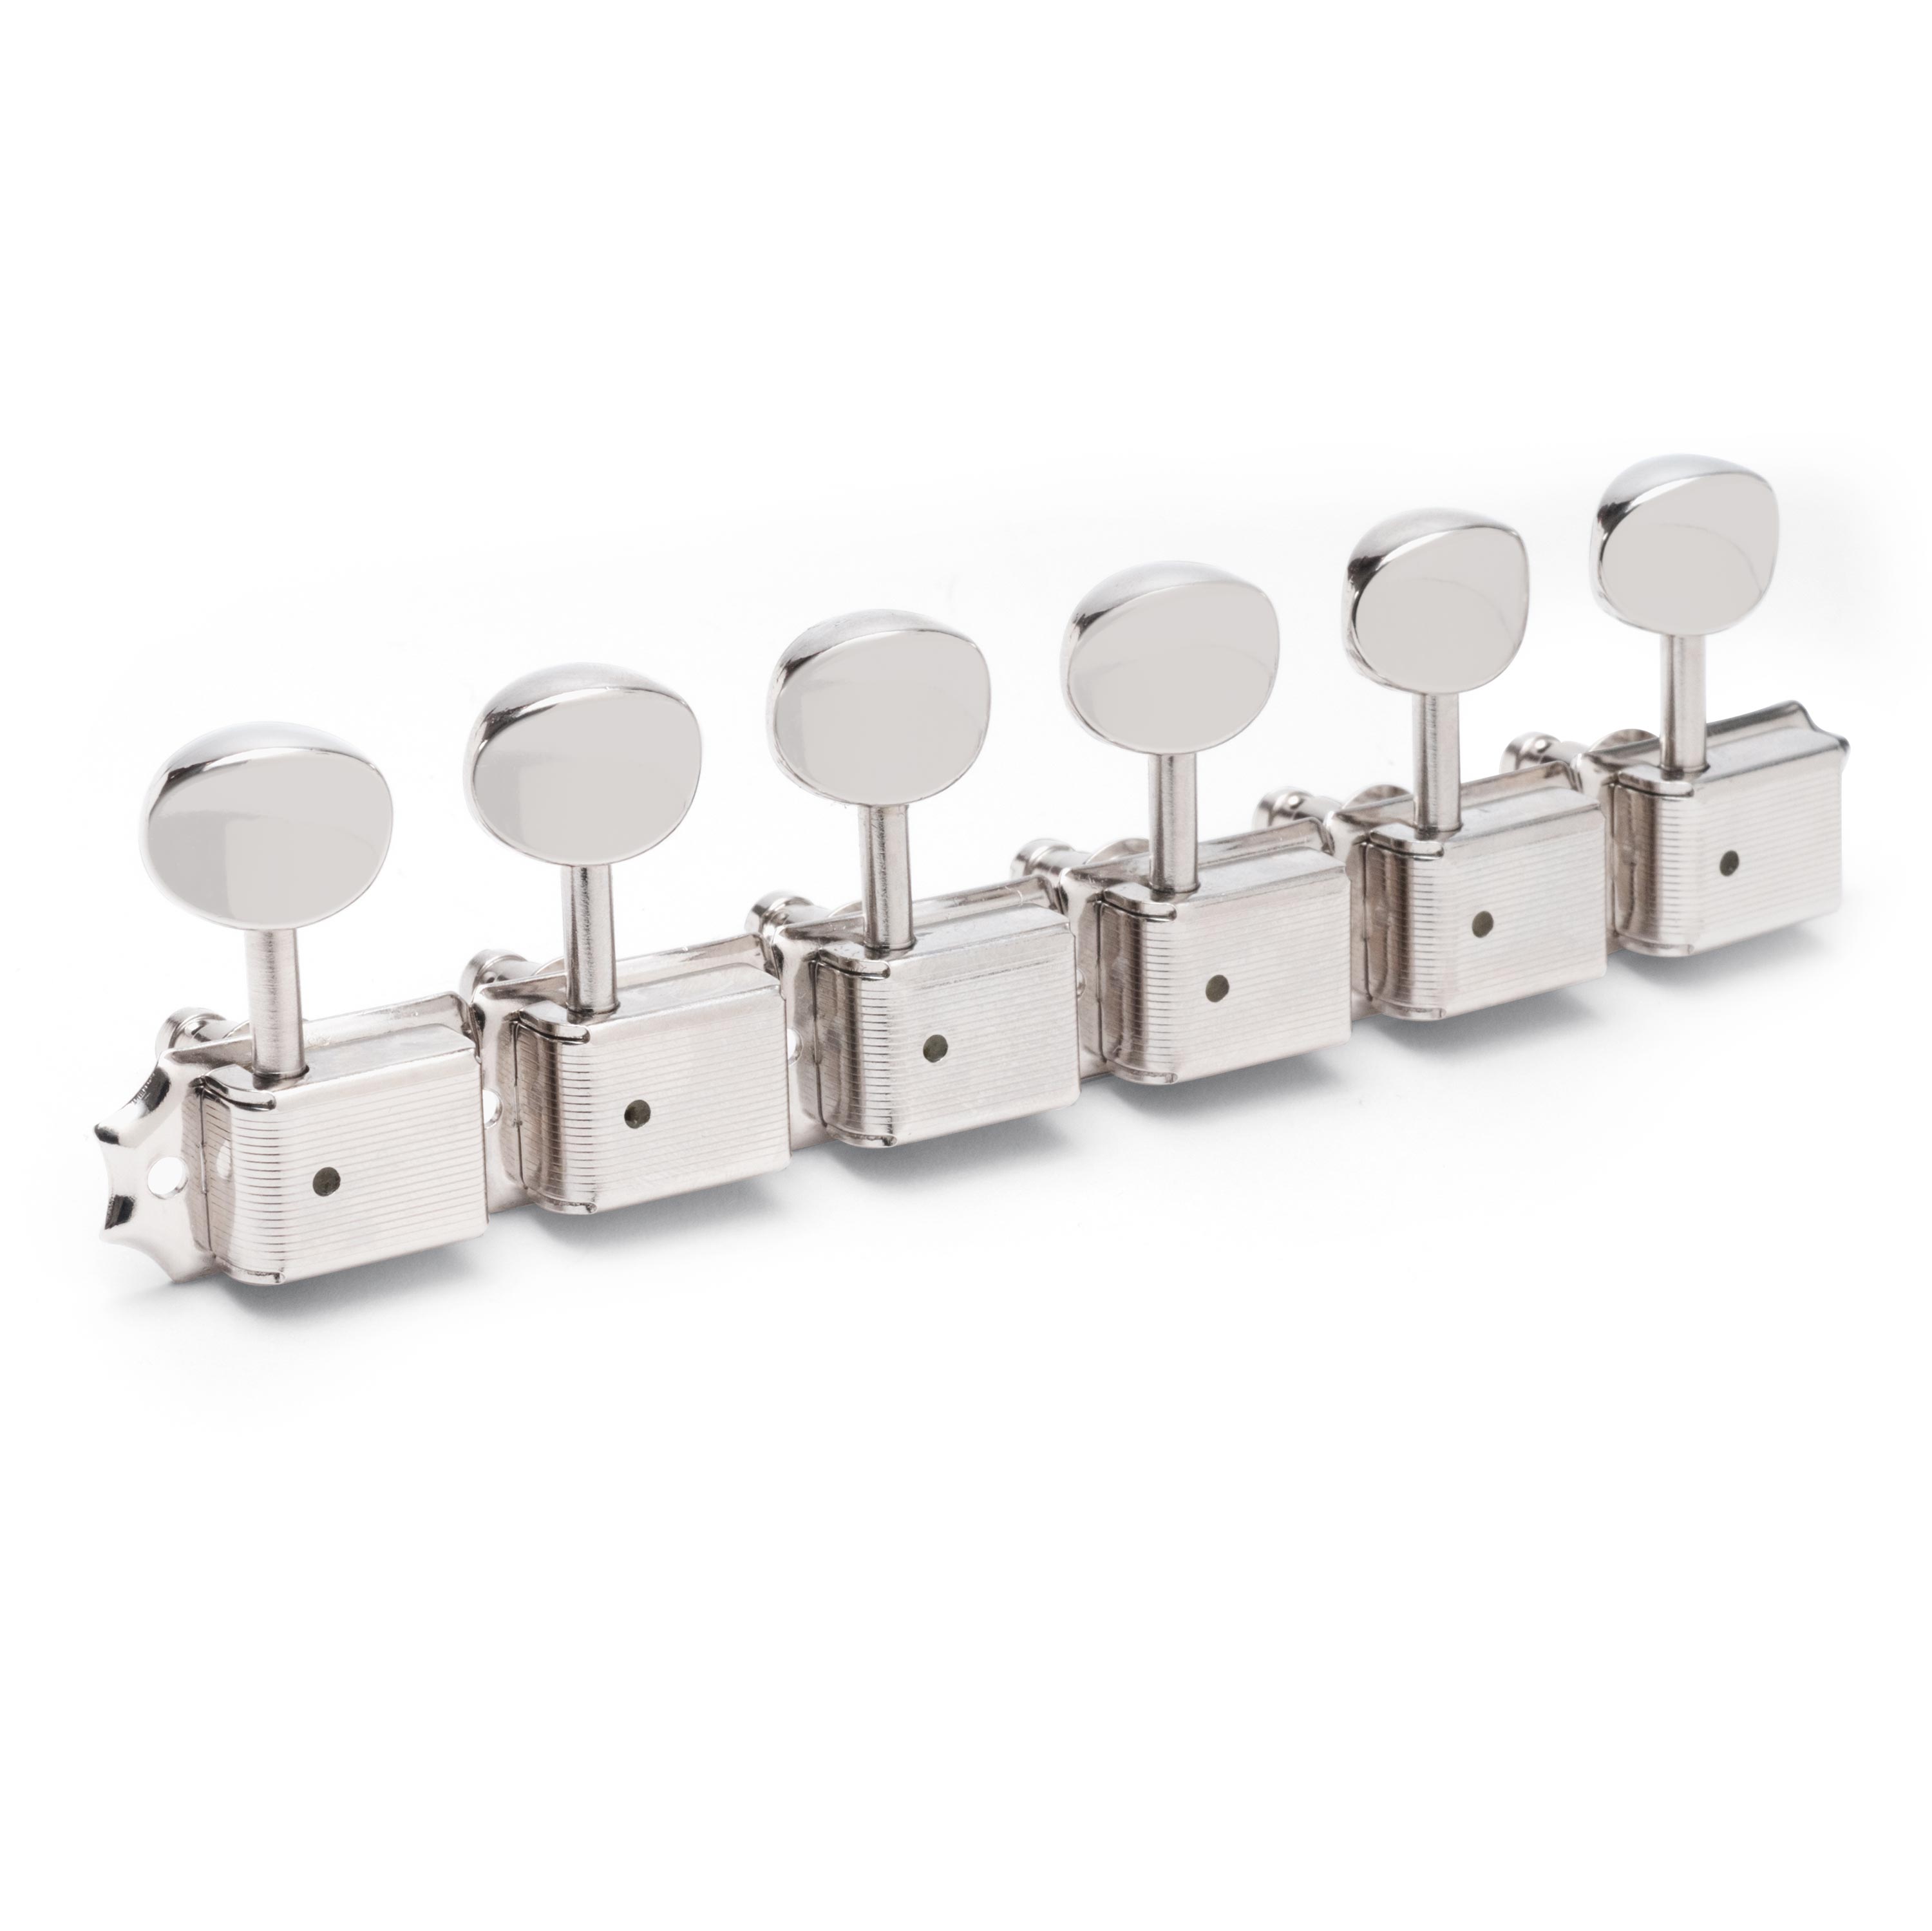
Despite the name, locking tuners don’t “lock your tuning.” What they actually do is clamp the string to the post so you use little to no wrap. Removing post slack means the string doesn’t slip as tension changes, so tuning settles faster and holds better—especially with bends or trem use. There are three common mechanisms:
- b>Rear thumbwheel (Sperzel/Schaller style): turn the wheel on the back to clamp/release.
- b>Top-locking cap/screw (PRS/D’Addario styles): tighten a cap/screw on the post top to clamp.
- b>Auto-locking cam/pin (Gotoh Magnum Lock): no separate clamp—pull taut and tune; the internal pin grabs under tension.
Why Builders and Players Swear by Them
We love traditional tuners as much as any vintage purist, but locking tuners bring some serious modern benefits:
- b>Faster string changes: Feed the string through, clamp it, tune it, done. No wrapping, no fuss. Great for live players and techs.
- b>Better tuning stability: With no slack to slip, the string tension stays consistent—even during wide bends, heavy strumming, or whammy dives (still stretch/seat new strings and address nut friction).
- b>Cleaner headstock look: Fewer wraps around the post = fewer stray ends. Plus, everything just looks tidier.
Less break-in time: Strings settle faster because there’s less stretching and slack to work out. You’ll spend more time playing and less time tuning.

How to String a Guitar with Locking Tuners (Step-by-Step)
Let’s walk through the proper way to use locking tuners, whether you're installing new ones or changing strings on an equipped guitar.
1. Loosen the Locking Post
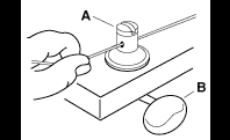
Loosen the locking string post (A) with a screwdriver or a coin, so the string can be inserted through the hole in the post.
Tip: Don’t remove the screw entirely—just loosen it enough to allow the string through.
2. Insert the String
Insert the string. It should form a fairly straight line from your hand to the nut. Holding the string taut, tighten it with the tuner knob (B). The string should not wind around the post more than a full turn. When the locking post starts to rotate, it automatically locks the string.
Tip: Leave a little bit of slack—no more than 1.5 inches—just enough to allow for tuning and seating.
3. Lock It Down
Tighten the screw or dial to clamp the string in place. It should feel snug but not over-tightened.
Pro tip: If your tuners use a thumbwheel or cap screw, give it a final 1/8 turn for extra security—but never crank it. You’re locking a string, not a wheel lug.
4. Tune to Pitch
Tune up to pitch. While you are tuning, if you make a full rotation of the tuner post, be sure to guide the string below the wrap. Target ≤1 wrap total. Make sure the string is correctly seated at the nut and saddle, stretch the strings with your preferred "new string" stretching method, and then tune to pitch.
If you're new to locking tuners, remember that no extra wraps around the post are needed. In fact, wrapping can defeat the purpose and reduce tuning stability.
5. Clip the Excess
Once you're at pitch, trim off the string end close to the post. A flush cutter or string snip works best here.
That’s it—you’re ready to rock.
String Changing for Each Type of Tuner
If the string is not broken, loosening the tuner will automatically release the lock.
If the string is broken, use a screwdriver or coin (only if your model has a slotted cap designed for it) to loosen the string post.
Pro Tip: Again, locking tuners don’t fix nut friction. Most tuning issues come from strings binding in the nut. Before you blame the tuners, dress/lube the nut slots and verify clean break angles and trem setup.
Quick ID Guide (Which Type of Tuner Do You Have?)
- b>Rear thumbwheel / screw-lock: Small knurled wheel (or screw) on the back of each tuner (Fender, Schaller, Gotoh Magnum Lock Trad, Grover Roto-Grip, Hipshot Grip-Lock, D’Addario Auto-Trim).
- b>Top-locking cap / collet (PRS-style): Knurled cap on top of the post. No wheel on the back. The cap screws down to clamp the string (PRS Phase II/III, some Music Man).
- b>Auto-locking / cam-lock post (no knobs): No wheel on the back and no cap on top. The post locks internally as you tighten the tuner (Gotoh “Magnum Lock” Auto-Lock, some Kluson/Hosco variants).
Tools & Prep (For All Types)
- Fresh set of strings, string winder, wire cutters (except D’Addario Auto-Trim), tuner.
- Soft cloth to protect the headstock, and a tiny bit of nut lubricant/graphite if needed.
- b>Change one string at a time (especially on floating trems) to maintain tension and setup.
- b>Wind toward the headstock centerline: on 6-in-line, wraps head toward the middle; on 3+3, each side winds inward.
1) Rear Thumbwheel / Screw-Lock Lockers
(Fender, Schaller, Gotoh ML-Trad, Grover Roto-Grip, Hipshot Grip-Lock, D’Addario Auto-Trim)
Remove old string
- Detune until slack.
- Loosen the rear thumbwheel (counter-clockwise) to release the clamp.
- Pull the string out of the post and bridge.
Install new string
- Thread the ball end through the bridge/tailpiece as normal.
- b>Align the tuner’s post hole so it points roughly at the nut.
- Pull the string fully taut through the post—leave no slack (lockers don’t need wraps).
- While holding tension, tighten the rear thumbwheel (clockwise) until it clamps the string firmly.
- Tune to pitch. You’ll usually end up with ~¼–½ wrap at most—perfect.
Stretch the string gently (3–4 times), retune.
Special note – D’Addario Auto-Trim: the tuner snips the excess as you tune up. Keep fingers away from the post tip as it trims.
Common pitfalls
- If the string slips, you didn’t tighten the wheel enough or the core is oily. Re-clamp and wipe the string.
- Don’t over-torque the wheel; snug + a touch more is enough.
2) Top-Locking Cap / Collet (PRS-Style)
(Knurled cap on top of the post; no rear wheel)
Remove old string
- Detune until slack.
- Unscrew the top cap a few turns (counter-clockwise) and pull the string out.
Install new string
- Thread the ball end through the bridge/tailpiece.
- Align the post hole toward the nut.
- Pull the string fully taut through the post.
- While keeping tension, finger-tighten the top cap down to clamp the string.
- Add just a bit more snug—don’t wrench it; the cap only needs to bite the core.
- Tune up to pitch, stretch, and retune.
Pro tips
- Finger-tight only; over-tightening can chew the string.
- If a cap feels gritty, remove it and lightly clean the threads.
3) Auto-Locking / Cam-Lock Posts (No Knobs)
(Gotoh “Magnum Lock” Auto-Lock and similar)
Remove old string
- Detune to slack.
- Push the string slightly down into the post to release the cam’s bite, then pull it out.
Install new string
- Thread the ball end through the bridge/tailpiece.
- Align the post hole toward the nut.
- Pull the string hand-tight through the post (no slack).
- Begin turning the tuner to pitch—the internal cam grabs automatically.
- Tune, stretch, retune. You’ll see minimal wrap, which is correct.
If it won’t “catch”
- Make sure you pulled the string taut and are tuning up to pitch (the cam engages under tension).
- A tiny pre-bend at the cut end can help the core seat in the post.
Finishing Steps (All Types)
- b>Trim excess close to the post (unless Auto-Trim did it). Angle your cutters so the sharp end points away from the headstock finish.
- b>Stretch & settle: tug along the length, re-tune 2–3 cycles.
- Check the nut: if you hear pings or see the string jump sharp after bends, add a tiny bit of lubricant to the slots.
- Verify intonation and action if you changed gauges.
Gotoh, Grover, PRS, and Beyond: Layout Considerations
Different tuner layouts (6-in-line vs 3+3) may affect how you loosen or tighten the locking mechanism:
- On 6-in-line setups (like most Fender-style headstocks), loosening is typically counterclockwise.
- On 3+3 setups (common on Gibson-style guitars), treble-side posts often loosen clockwise, while bass-side tuners loosen counterclockwise.
It’s always worth double-checking your tuner model for specifics.
What About Gear Ratios?
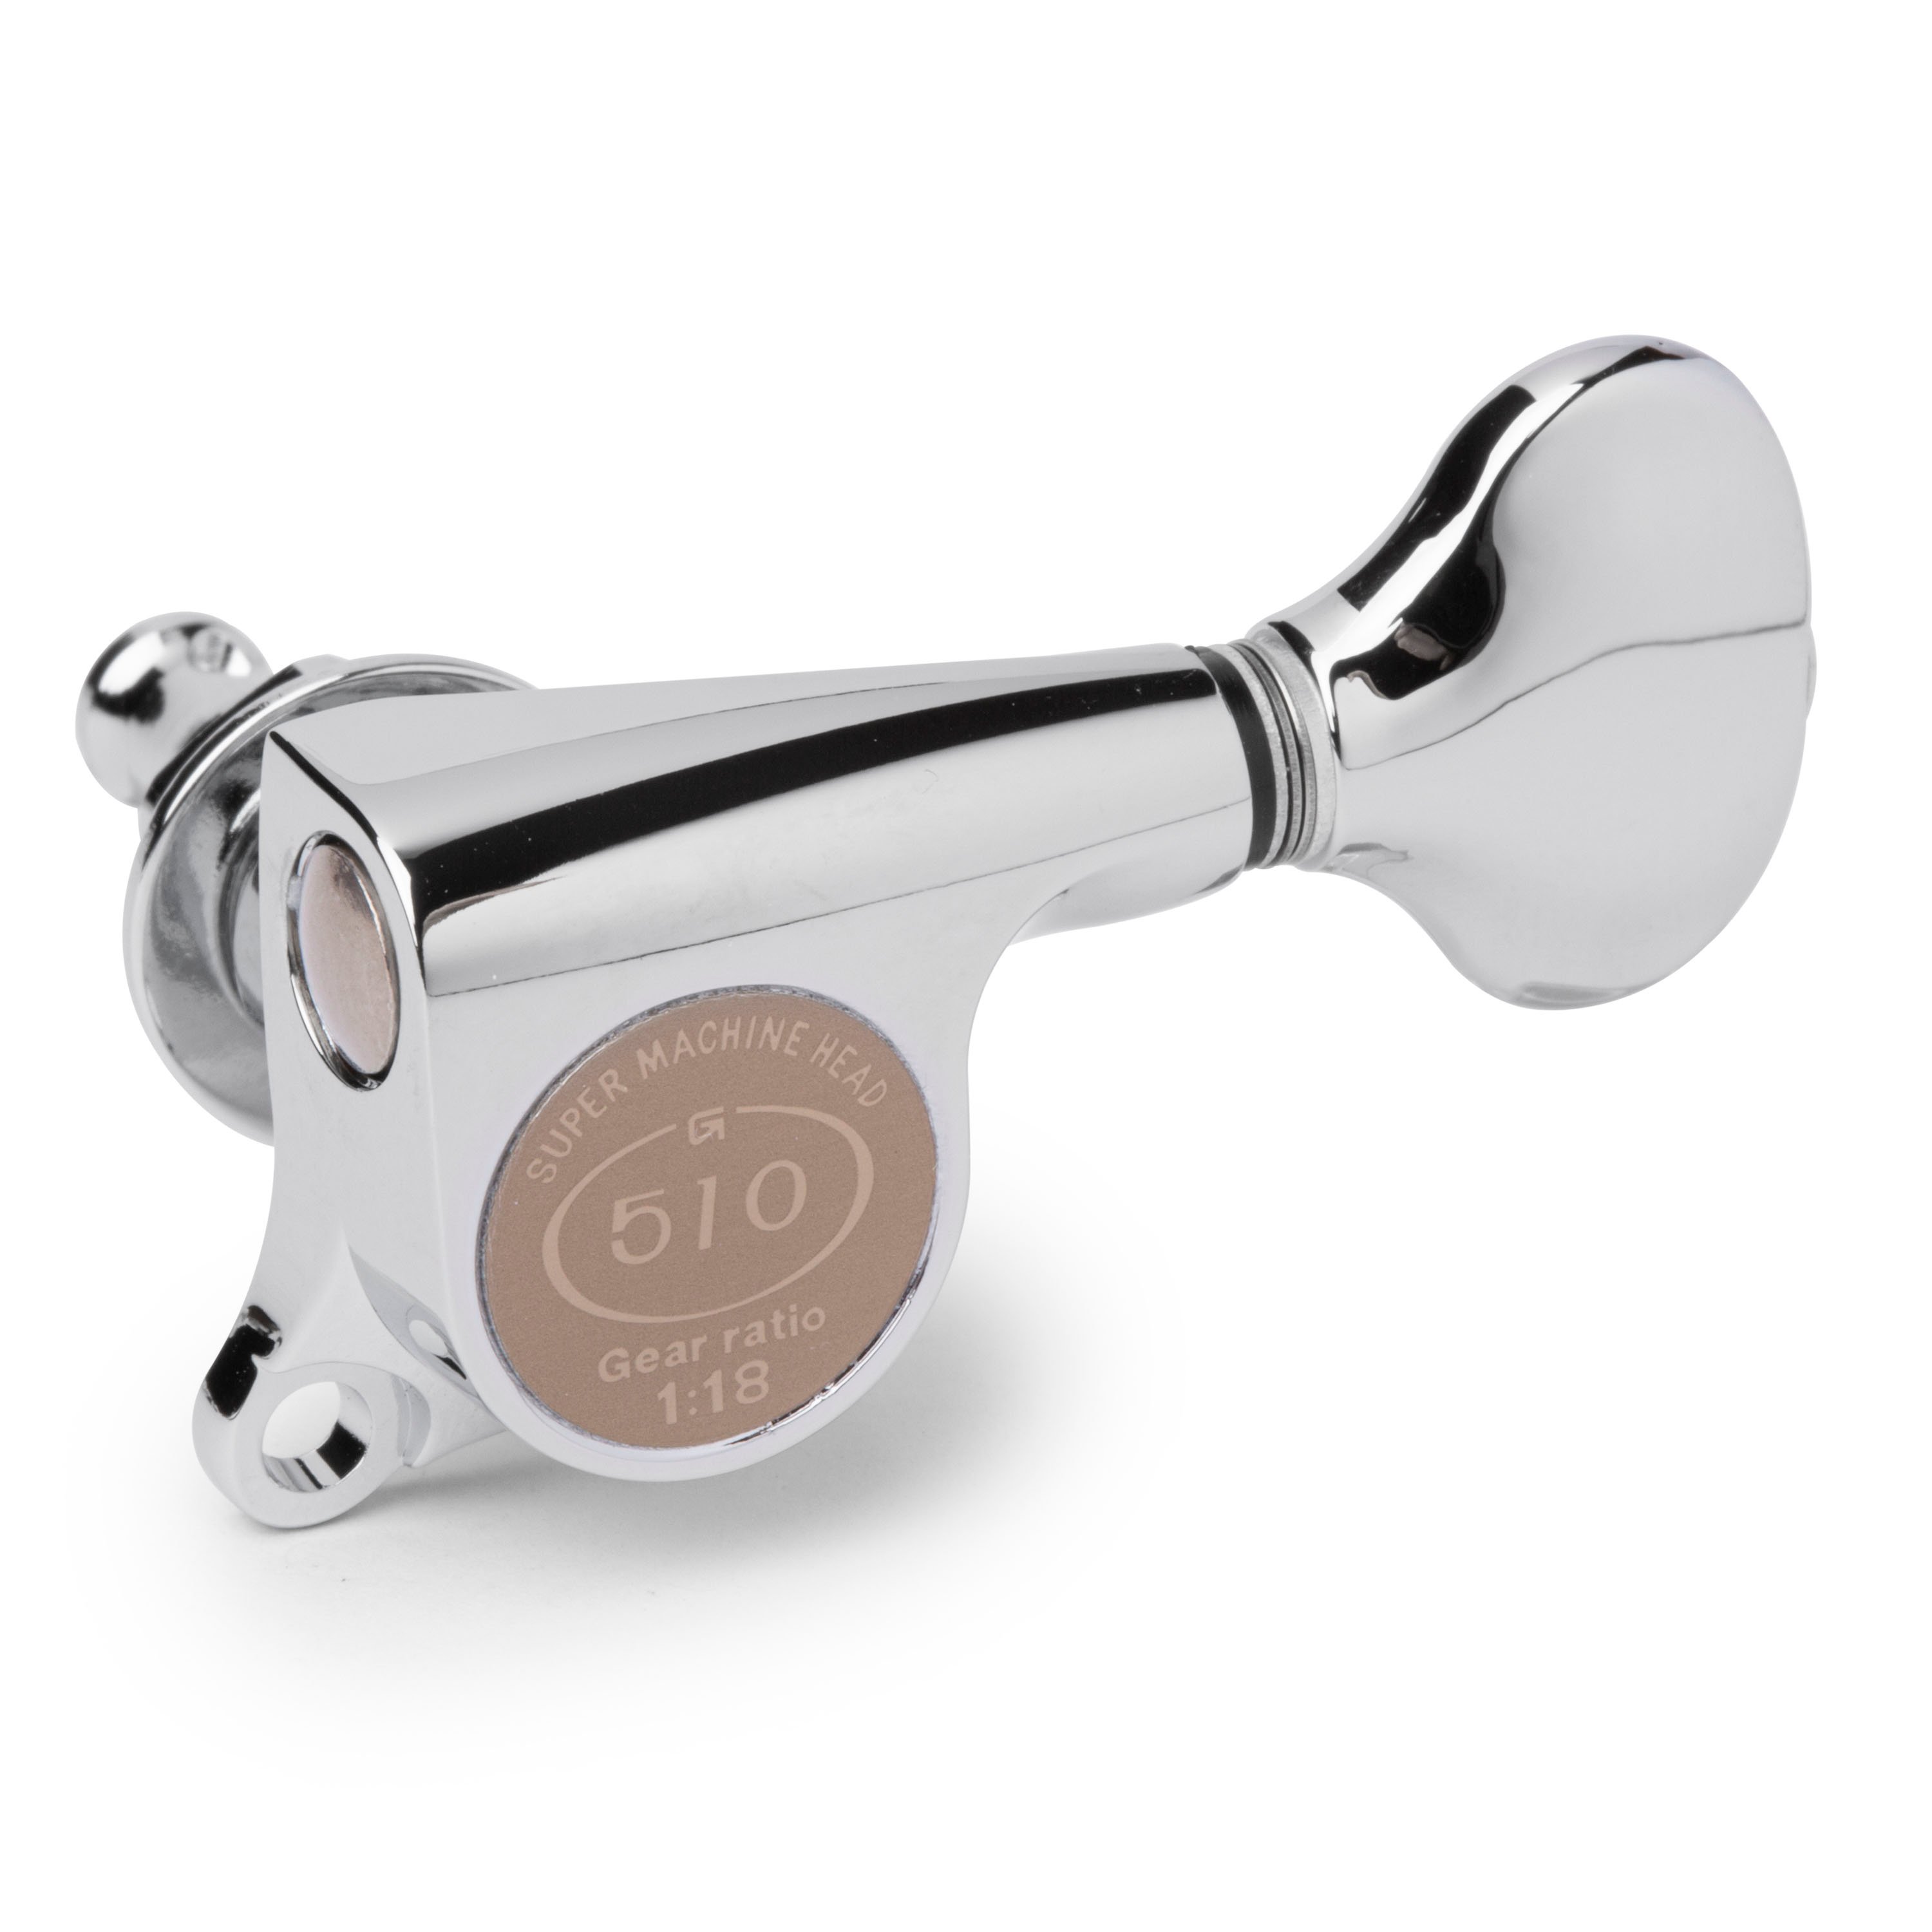
Gear ratio refers to how many turns of the tuning button result in one full rotation of the post. A 14:1 ratio, for example, means 14 turns of the key for one full post turn. The higher the ratio, the finer the tuning precision.
While not specific to locking tuners, gear ratio does influence feel. If you’re dialing in pitch for recording or gigging, a smoother ratio helps avoid over-shooting the note.
Any Downsides?
Just one: locking tuners tend to be heavier than traditional tuners. It’s not a dealbreaker, but some players notice the added headstock weight—especially on lighter-bodied guitars.
That said, some swear it improves sustain. Your mileage may vary.
Final Thoughts: Worth the Upgrade?
Absolutely. If you’re a serious player, a DIY guitar modder, or a repair tech who values speed, stability, and reliability, locking tuners are a no-brainer.
Here at StewMac, we carry a variety of locking tuners—from respected brands like Gotoh, Grover, Kluson, and more—because we’ve seen firsthand how much they help in the shop and on stage. If you're upgrading, we also have the reamers, conversion bushings, pin jigs, and nut files to do the job cleanly. Check our tuner parts collection for more.
And remember: like everything we sell, they’re backed by our StewMac Lifetime Promise.
Want help choosing the right set for your build or repair job? Drop us a line—we’re always down to talk tuners.

