Fixing Albert Lee’s Crumbling Tuner Knobs
Dan shows how to easily replace the crumbling tuner buttons on Albert Lee's electric mandolin. This is a simple job that often needs to be done on vintage instruments with celluloid tuner buttons.
Here's what's in the video:
Fixing Albert Lee's Crumbling Tuner Knobs
In the early '90s, I met Albert Lee, the famous telecaster player that's recorded with Emmylou Harris, Eric Clapton, The Everly Brothers, and many others.

Recently, Albert got a hold of me and asked me if I could give him some advice on how to replace the knobs on his 1950s Fender mandolin that had rotted and fallen off. It's easy to fix them and that's exactly what we're going to do.
What Albert's experiencing here with his tuners is celluloid rot. Celluloid plastic is one of the earliest plastics ever made, and it's really common on instruments from the late 40s, and the 50s and 60s. There are solvents in that plastic that escape over the years. When they're gone, it leaves just dry, brittle plastic.
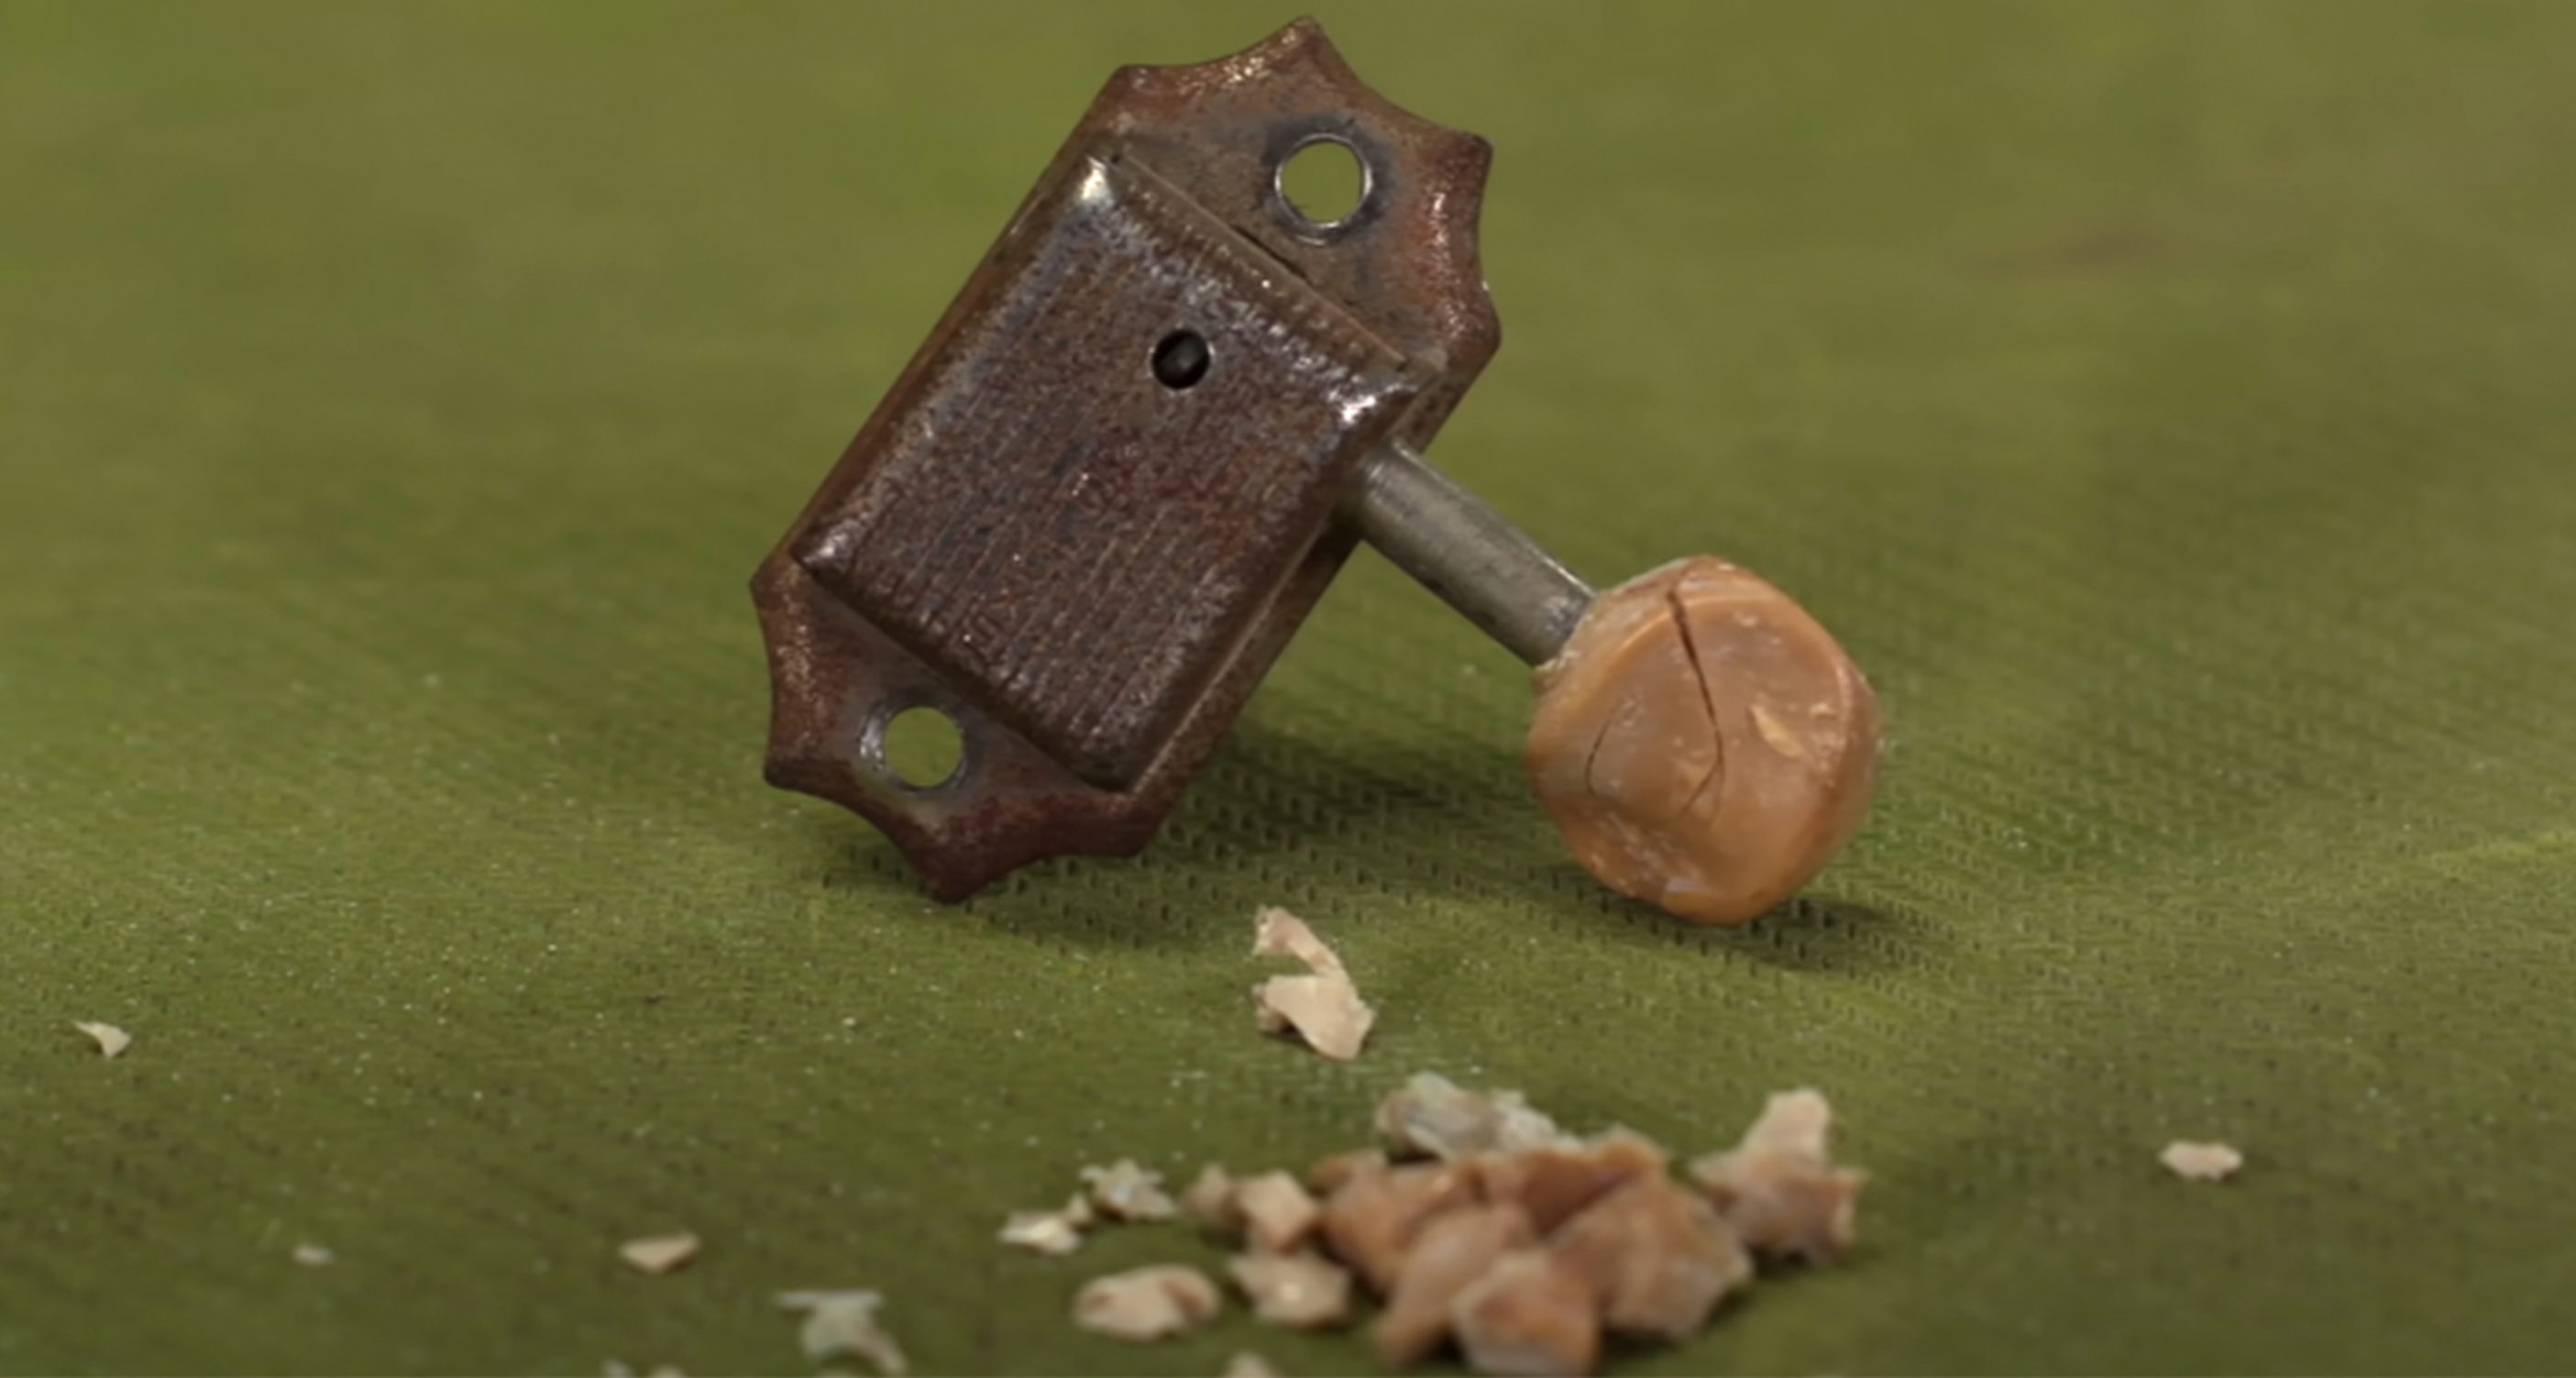
This celluloid rot doesn't only happen on tuners. It can happen to your pickguards and your binding, especially if the guitar has been in the case for 30 years.
Replacing the Old Knobs
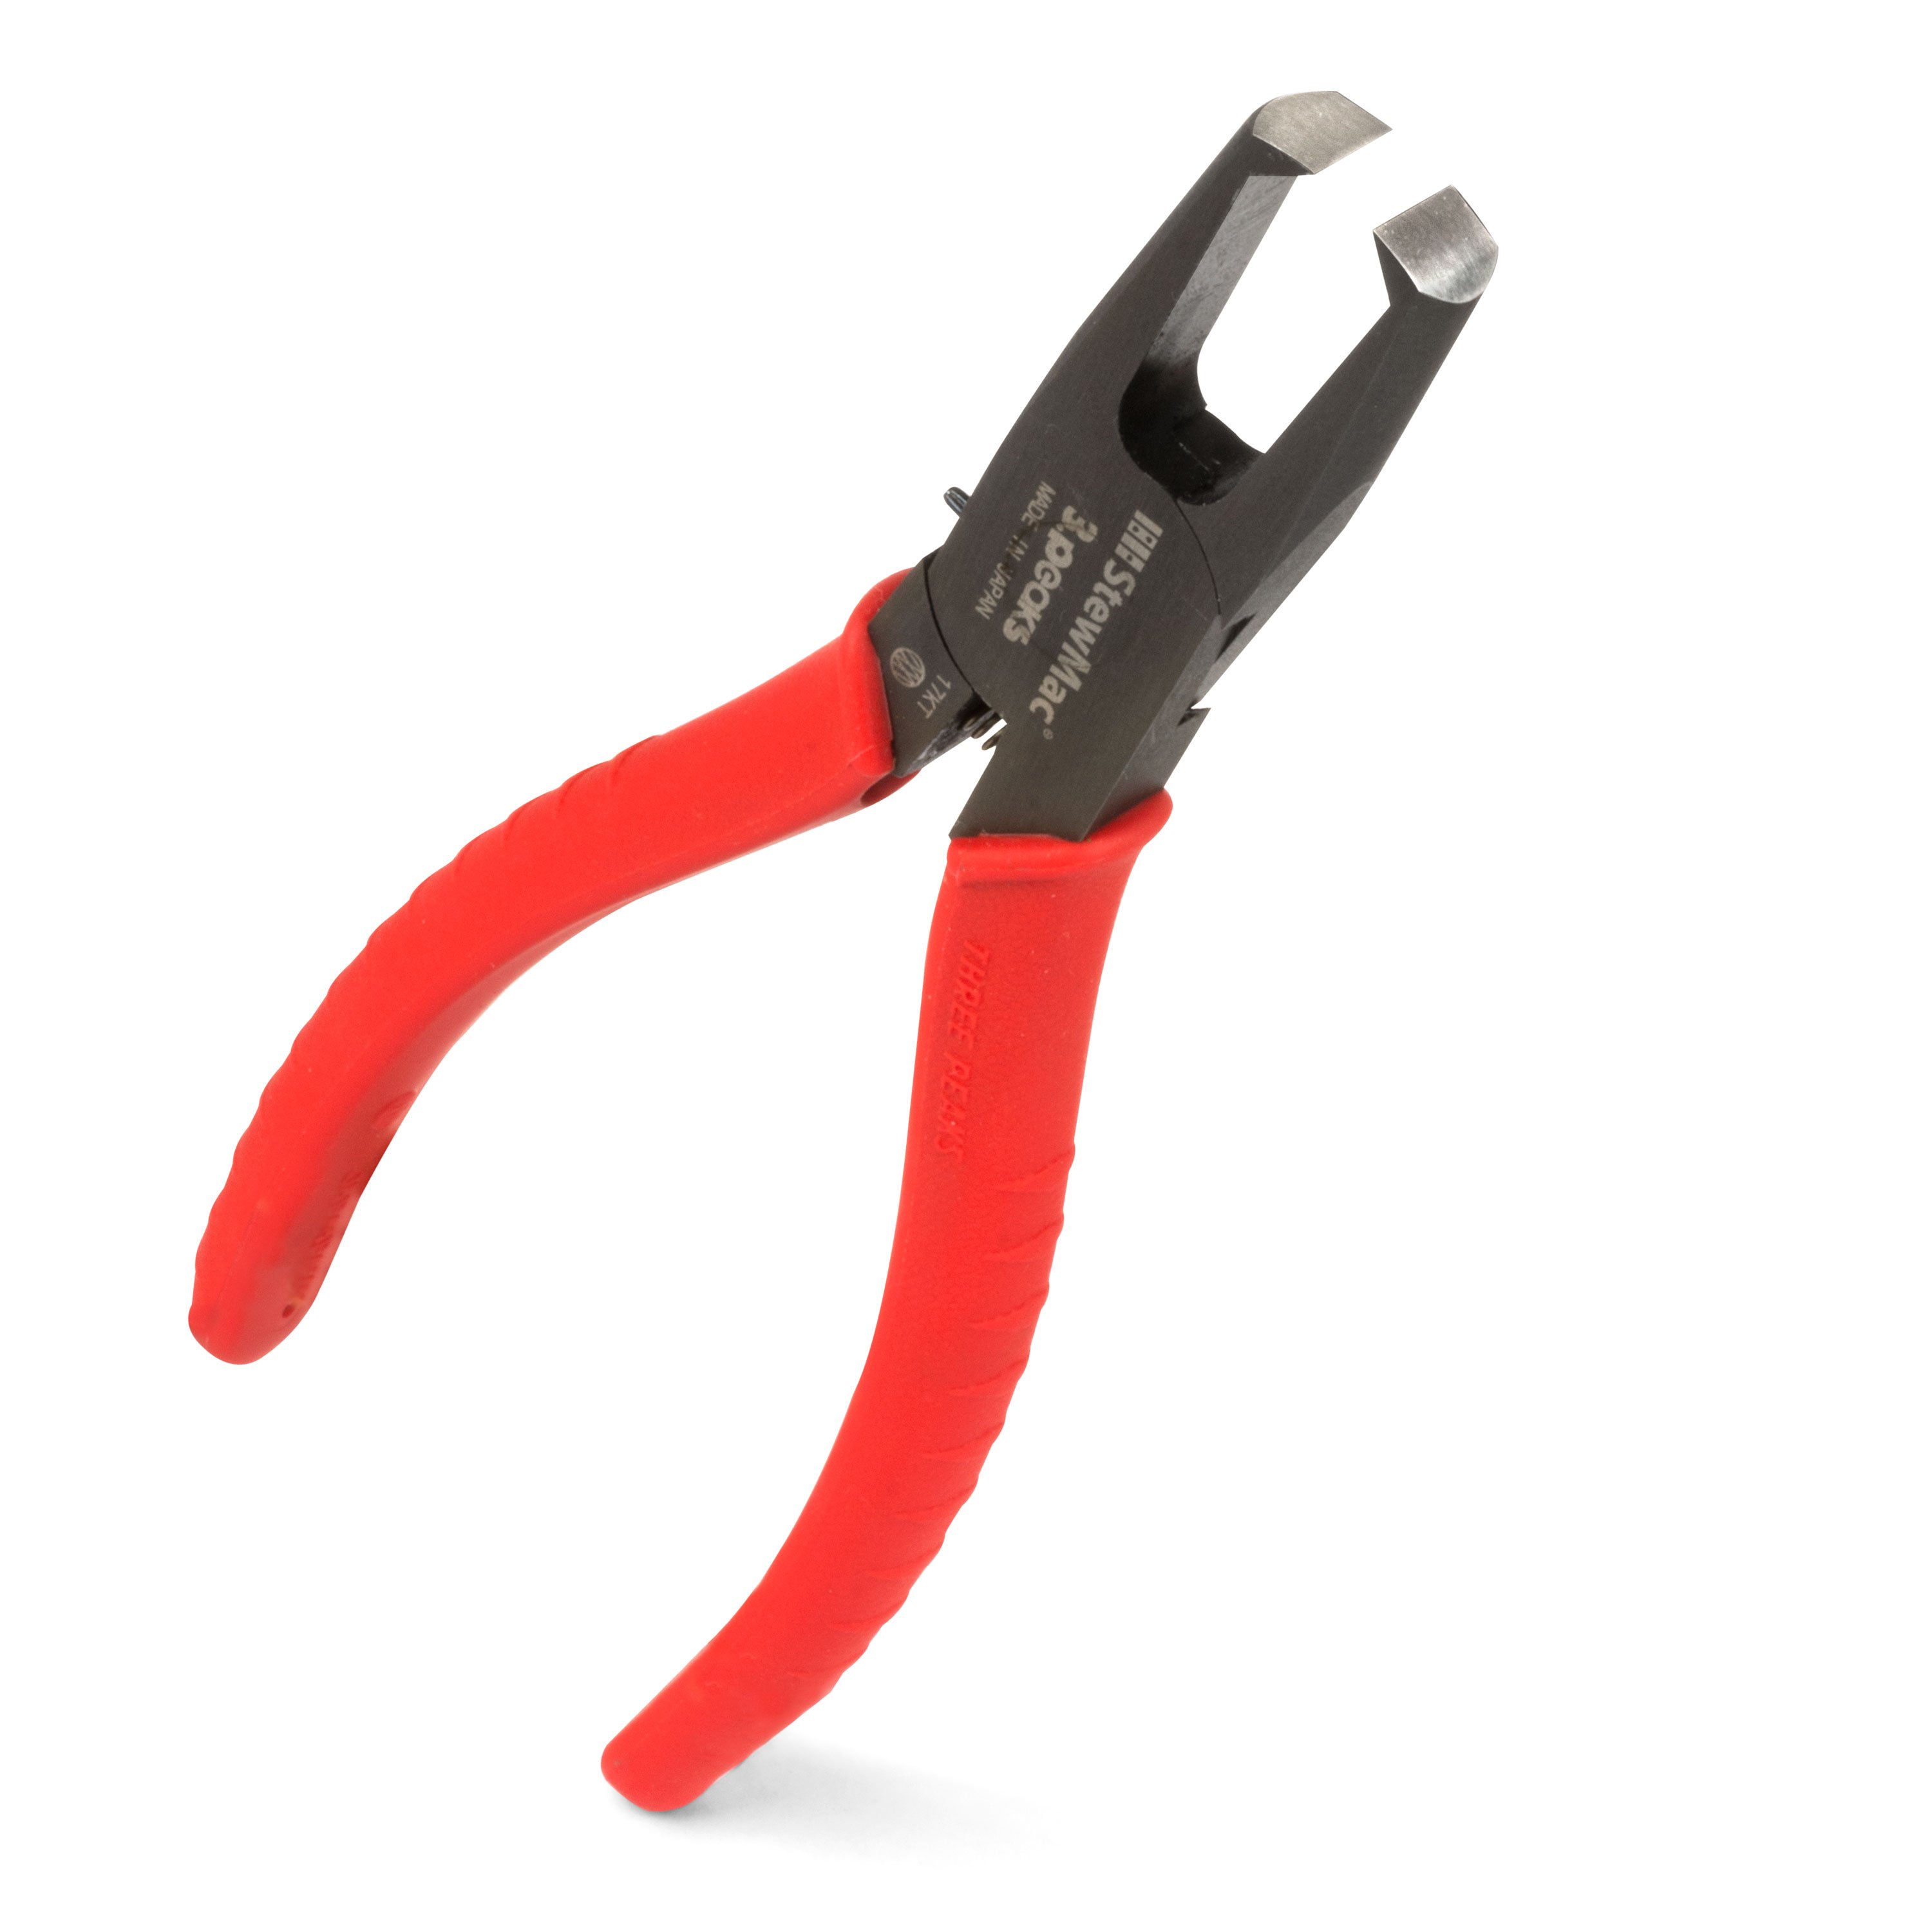
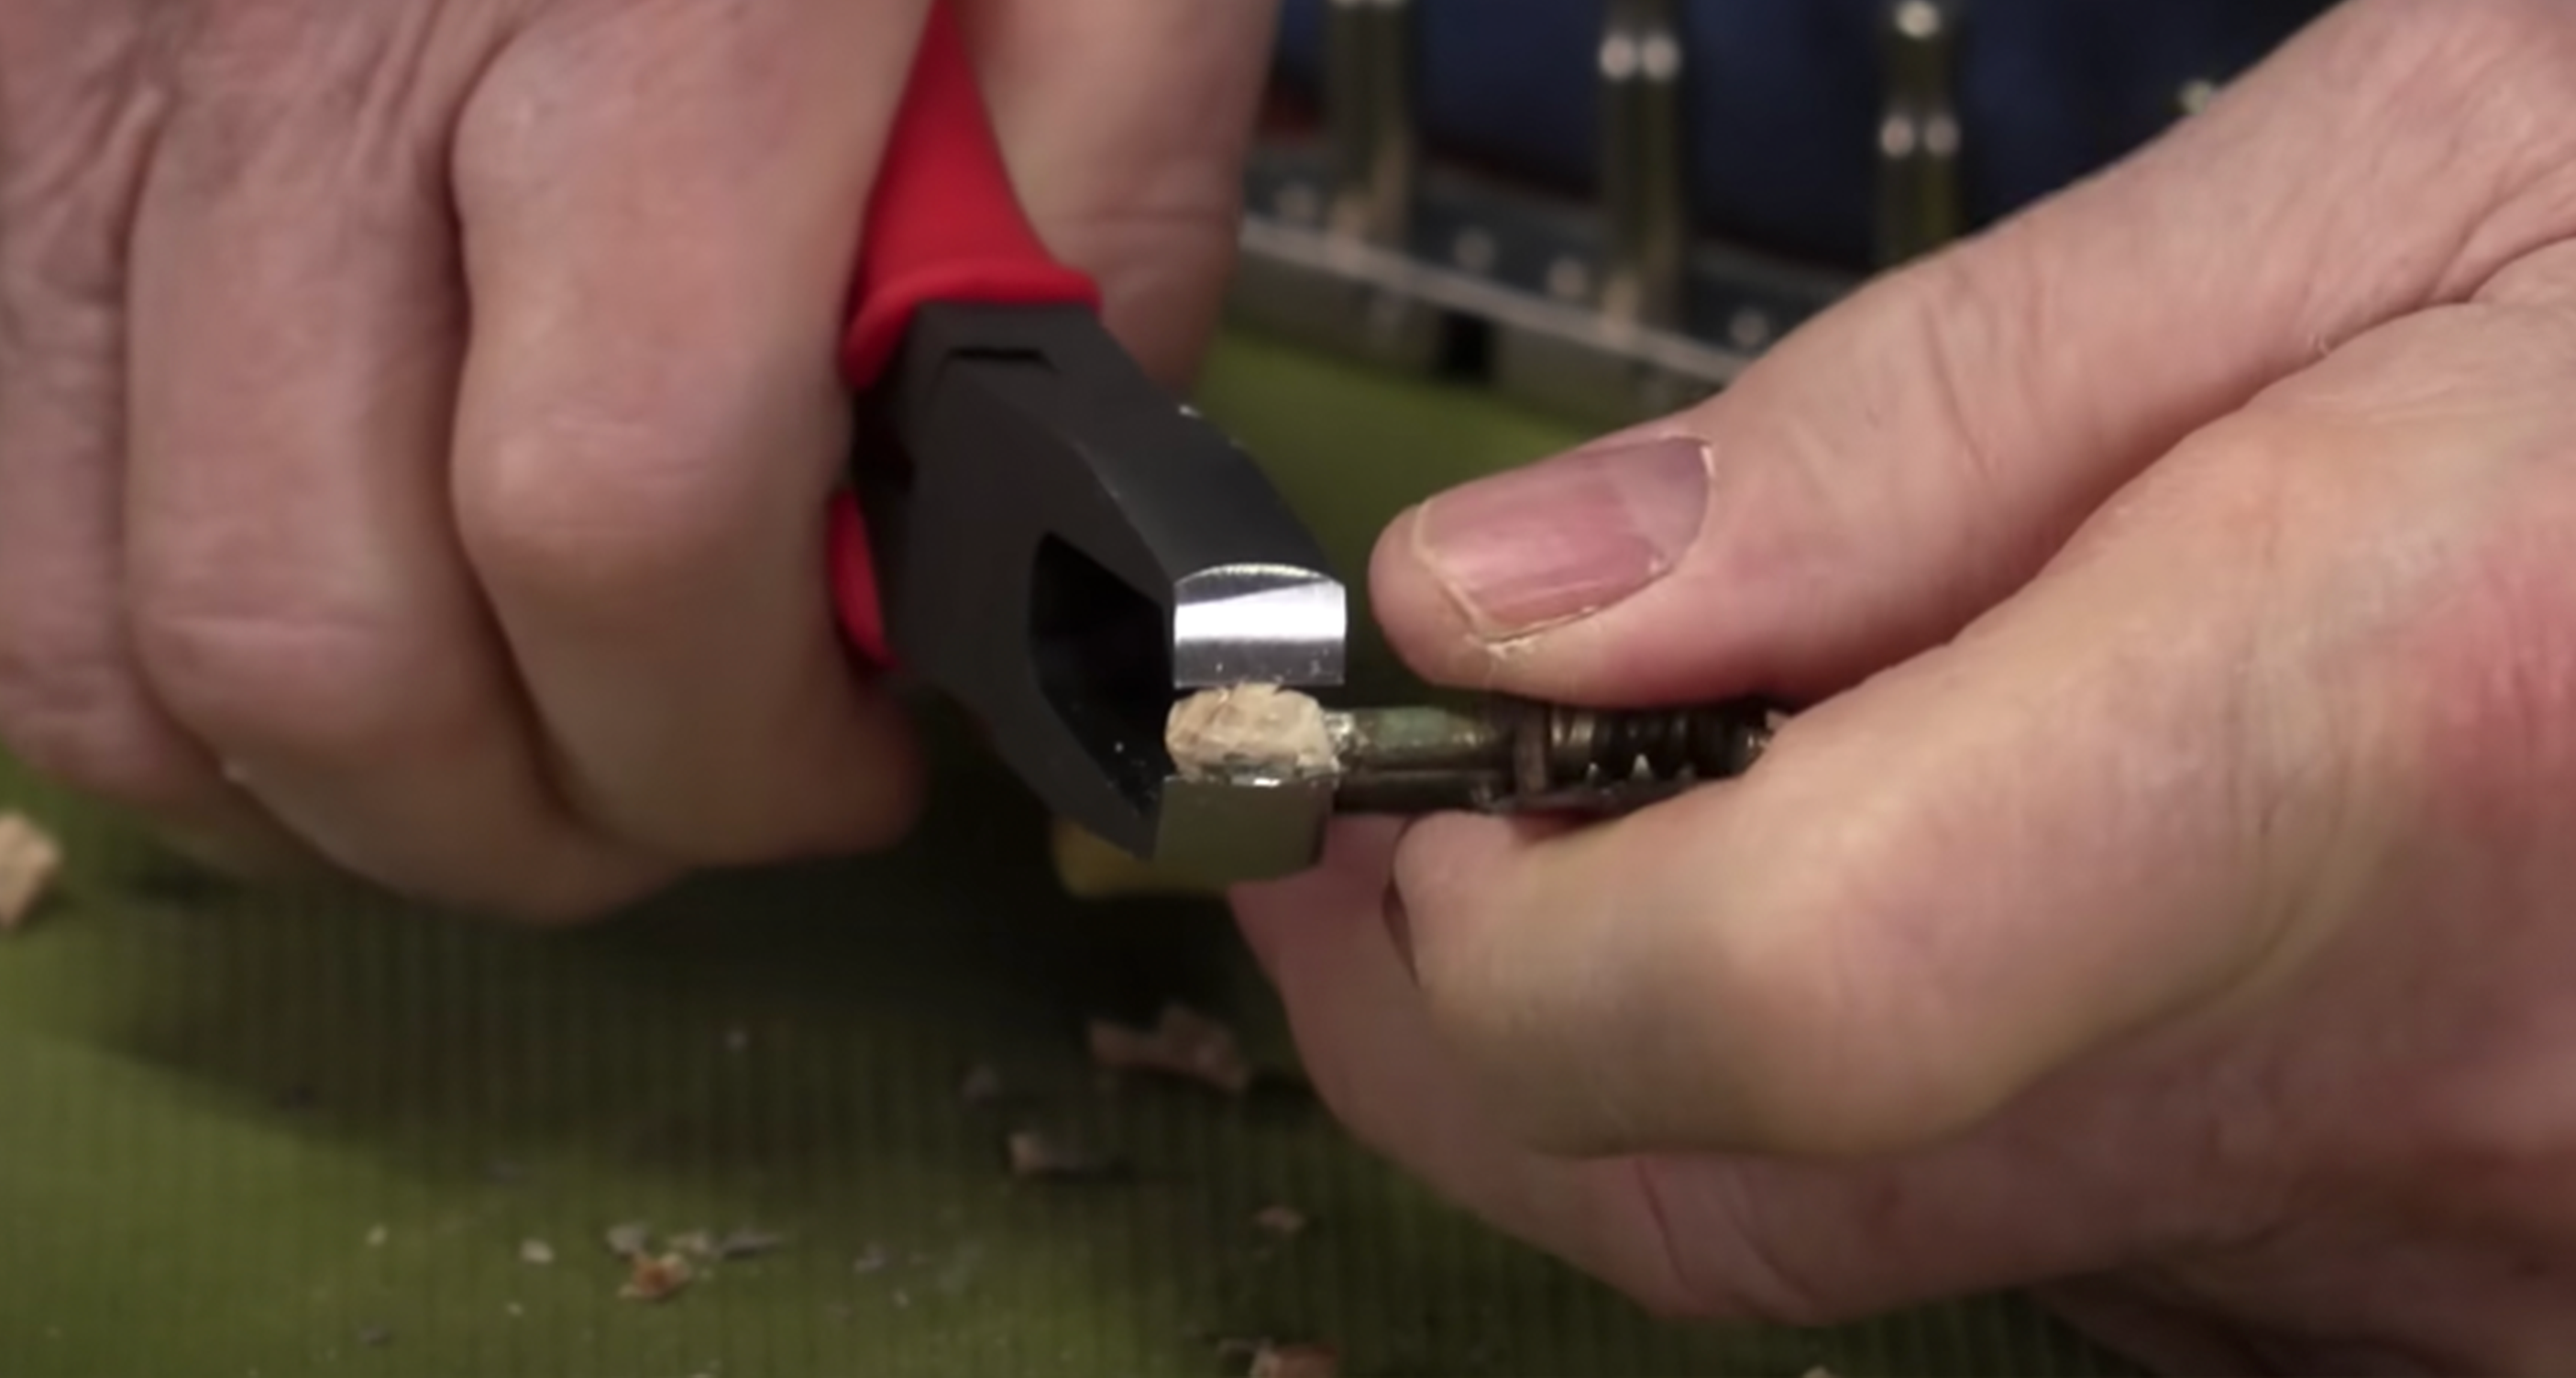
The first thing we have to do is take the knobs off. I like to use these fret pullers, and I just get in there and nibble with them. You don't want to nip into the metal any more than you have to, so go easy.
What You'll Need
Precision Fret Puller
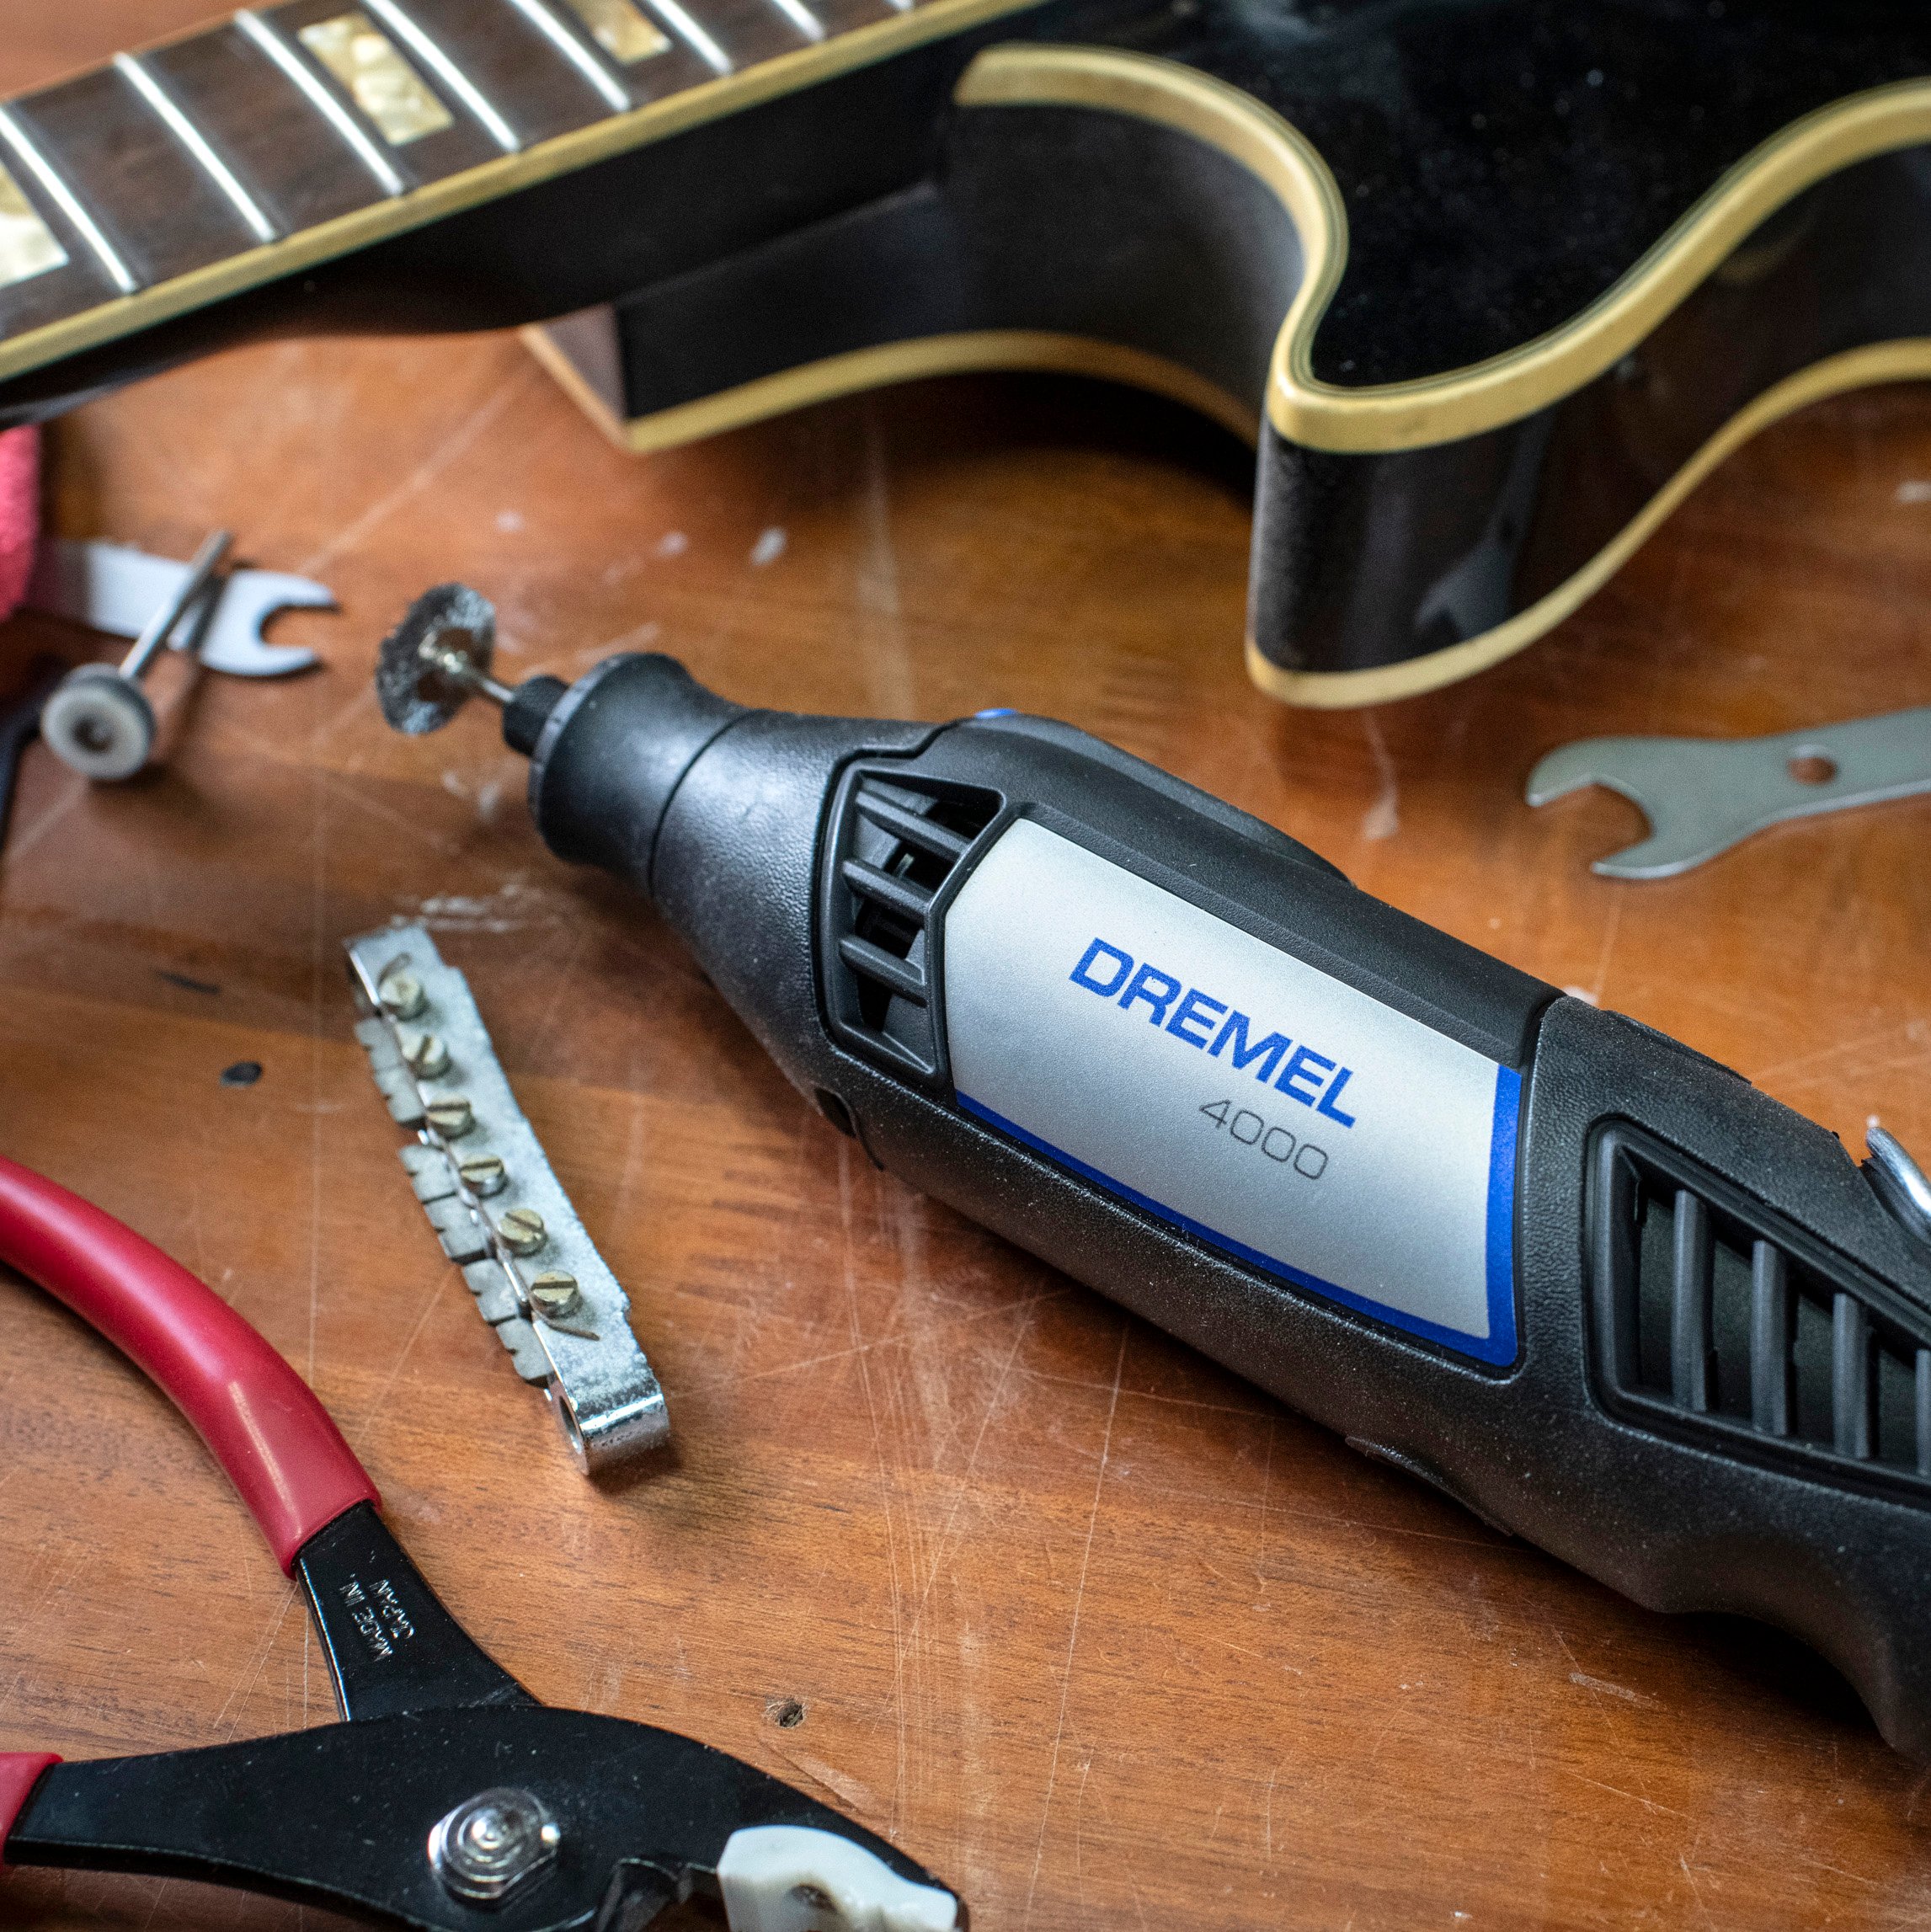
Dremel 4000 Rotary Tool Outfit
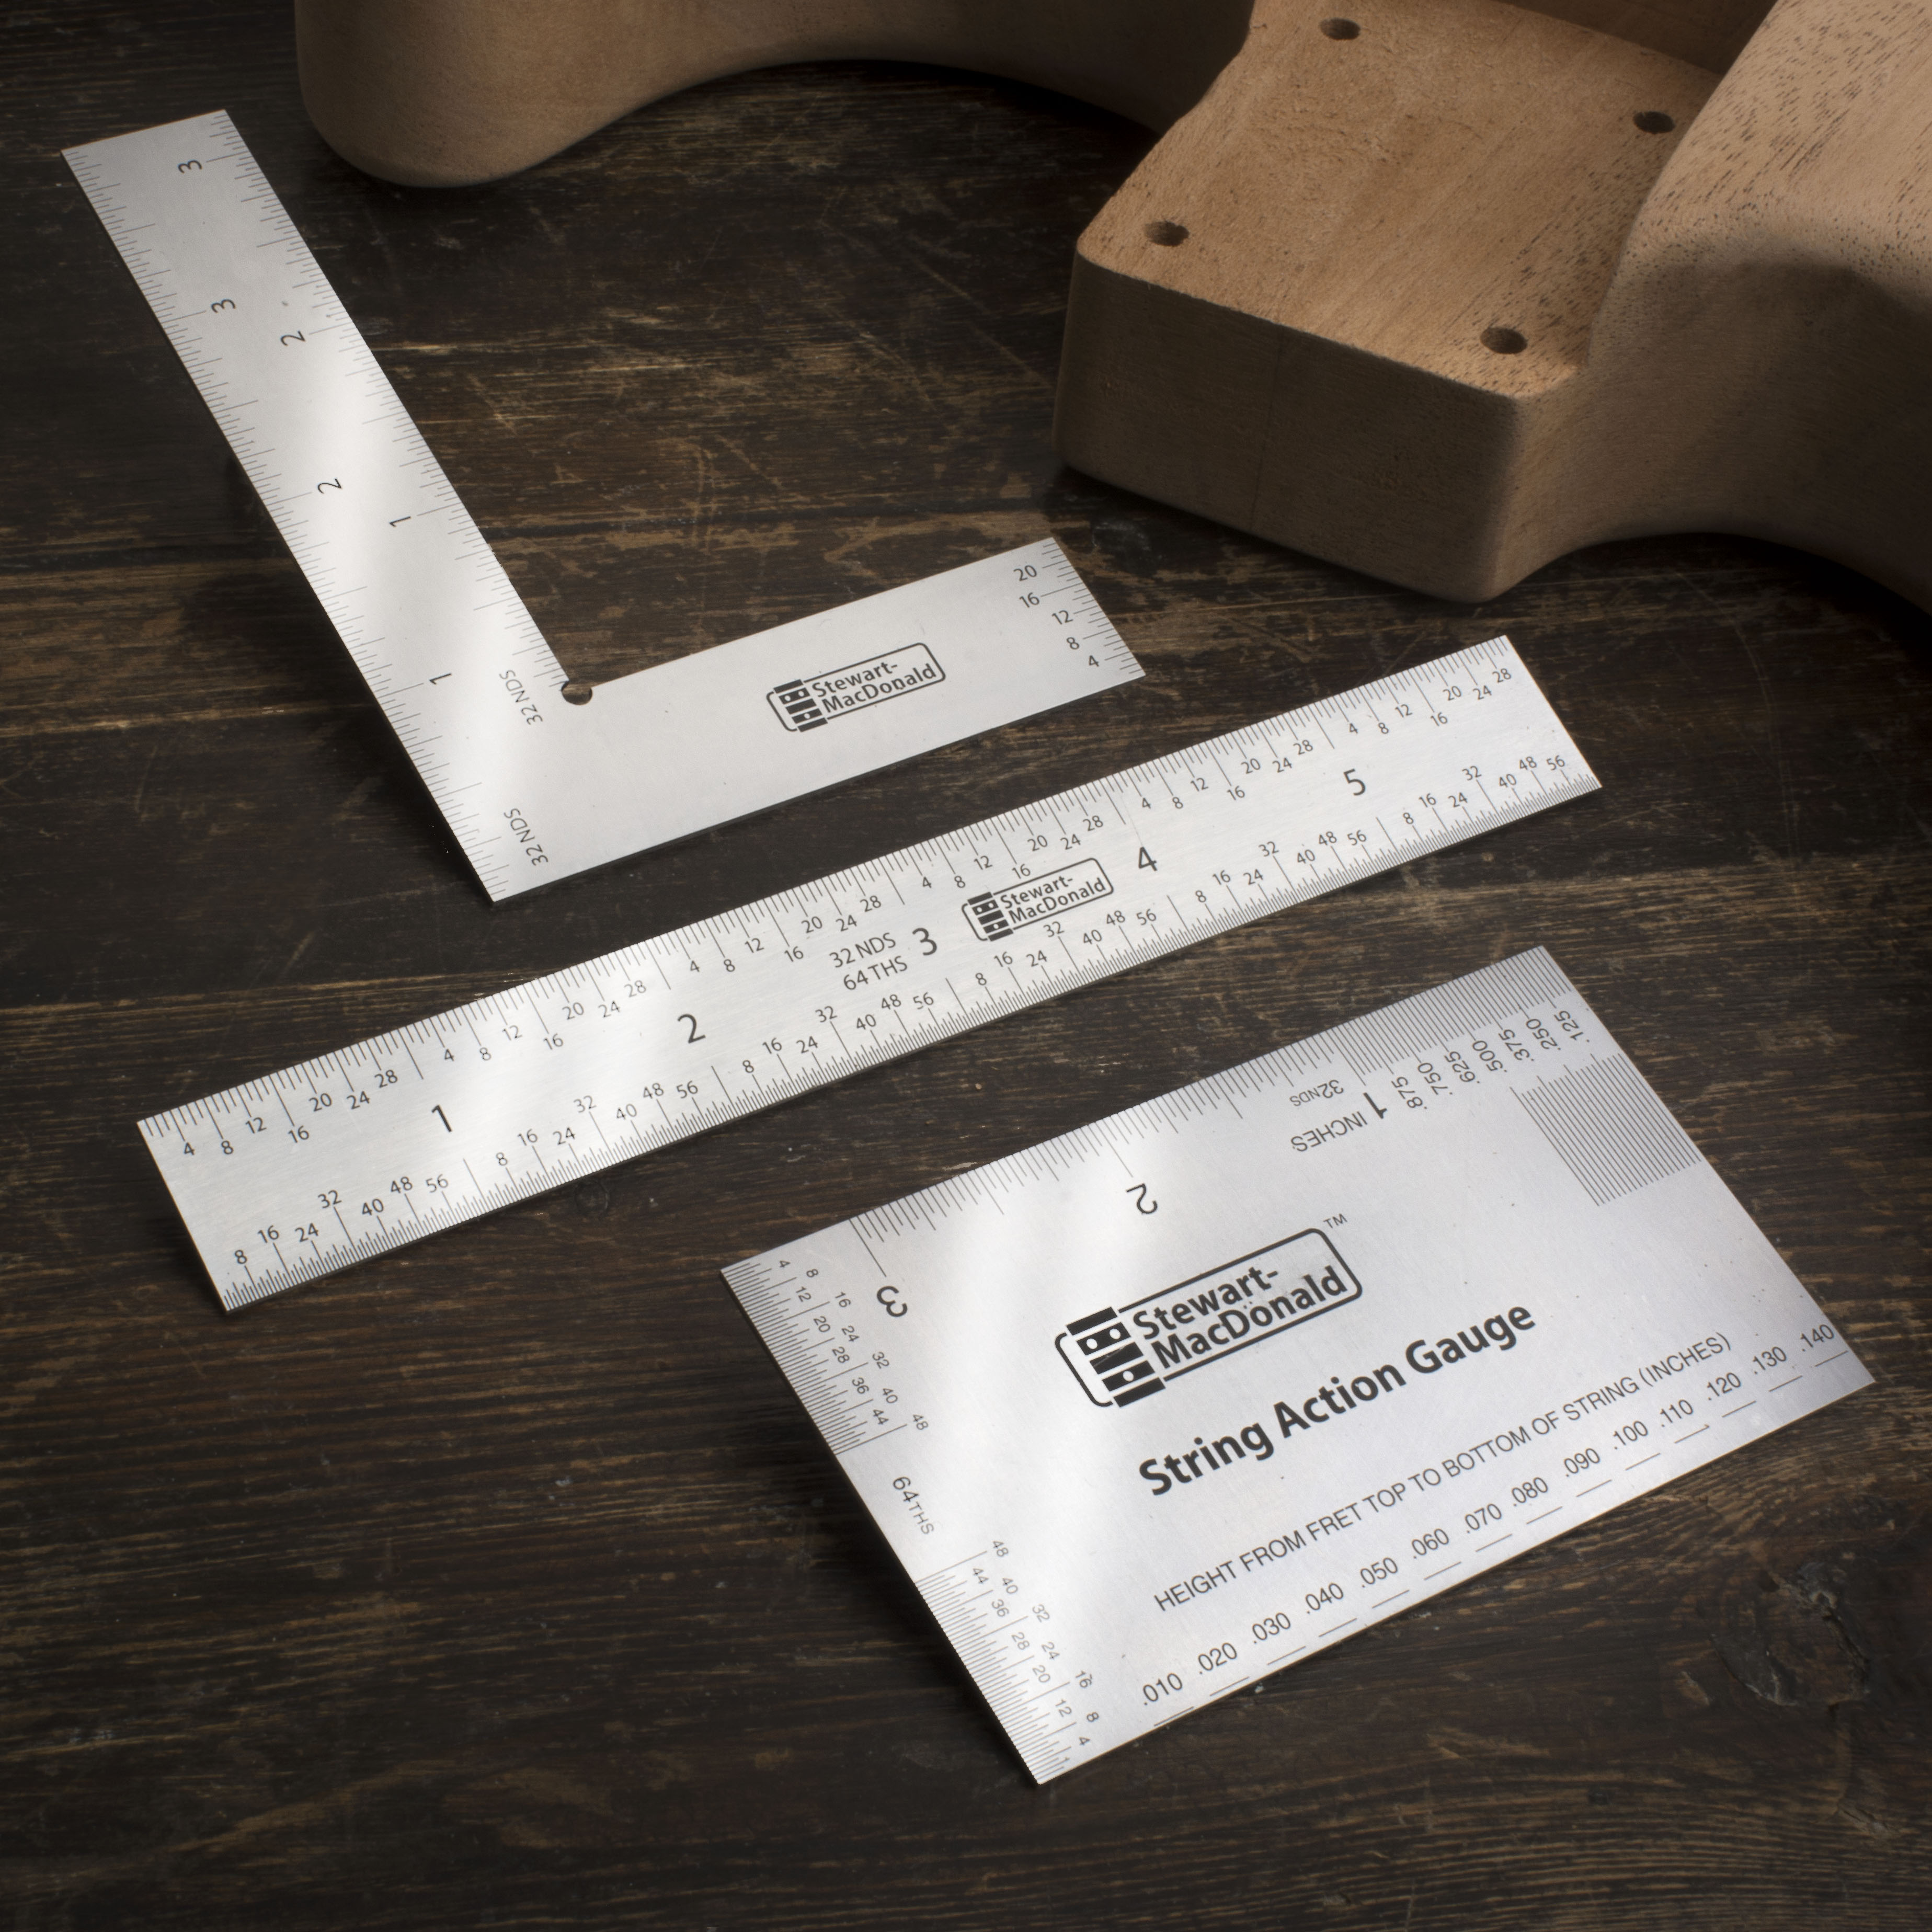
Precision Measuring Tool Set
Vintage-style Tuner Knobs
Soldering Iron
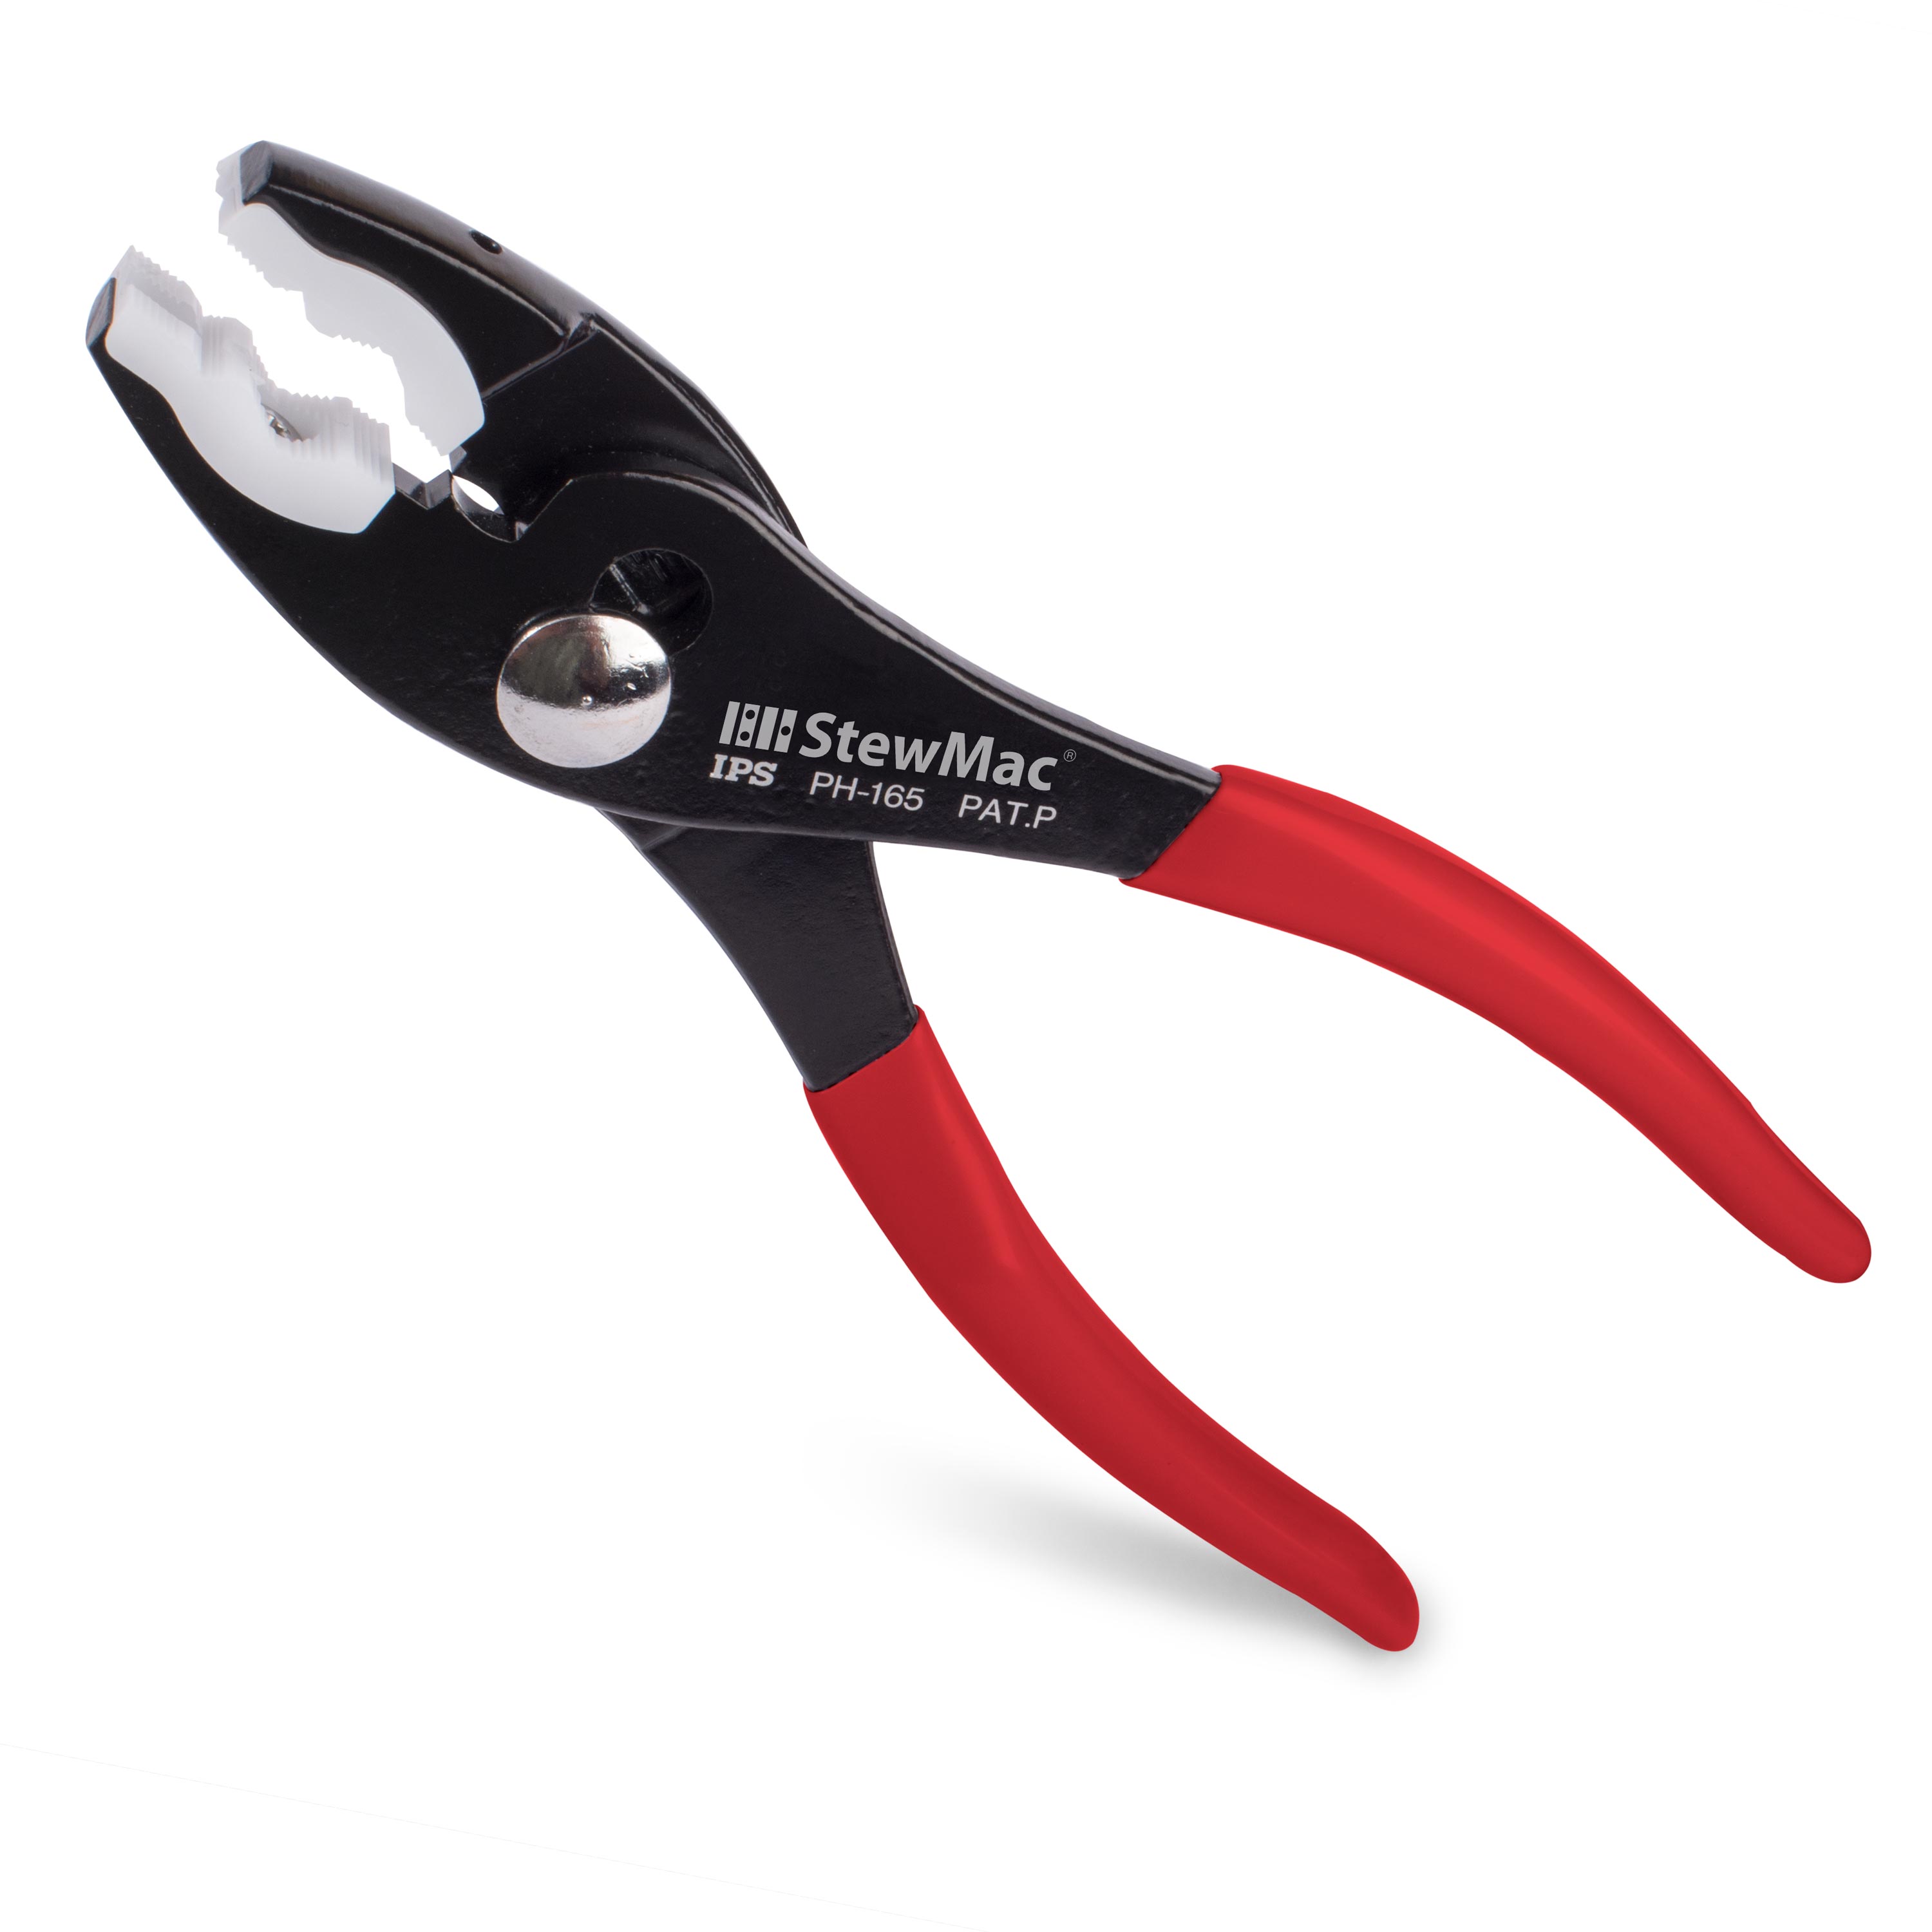
Soft Touch Pliers
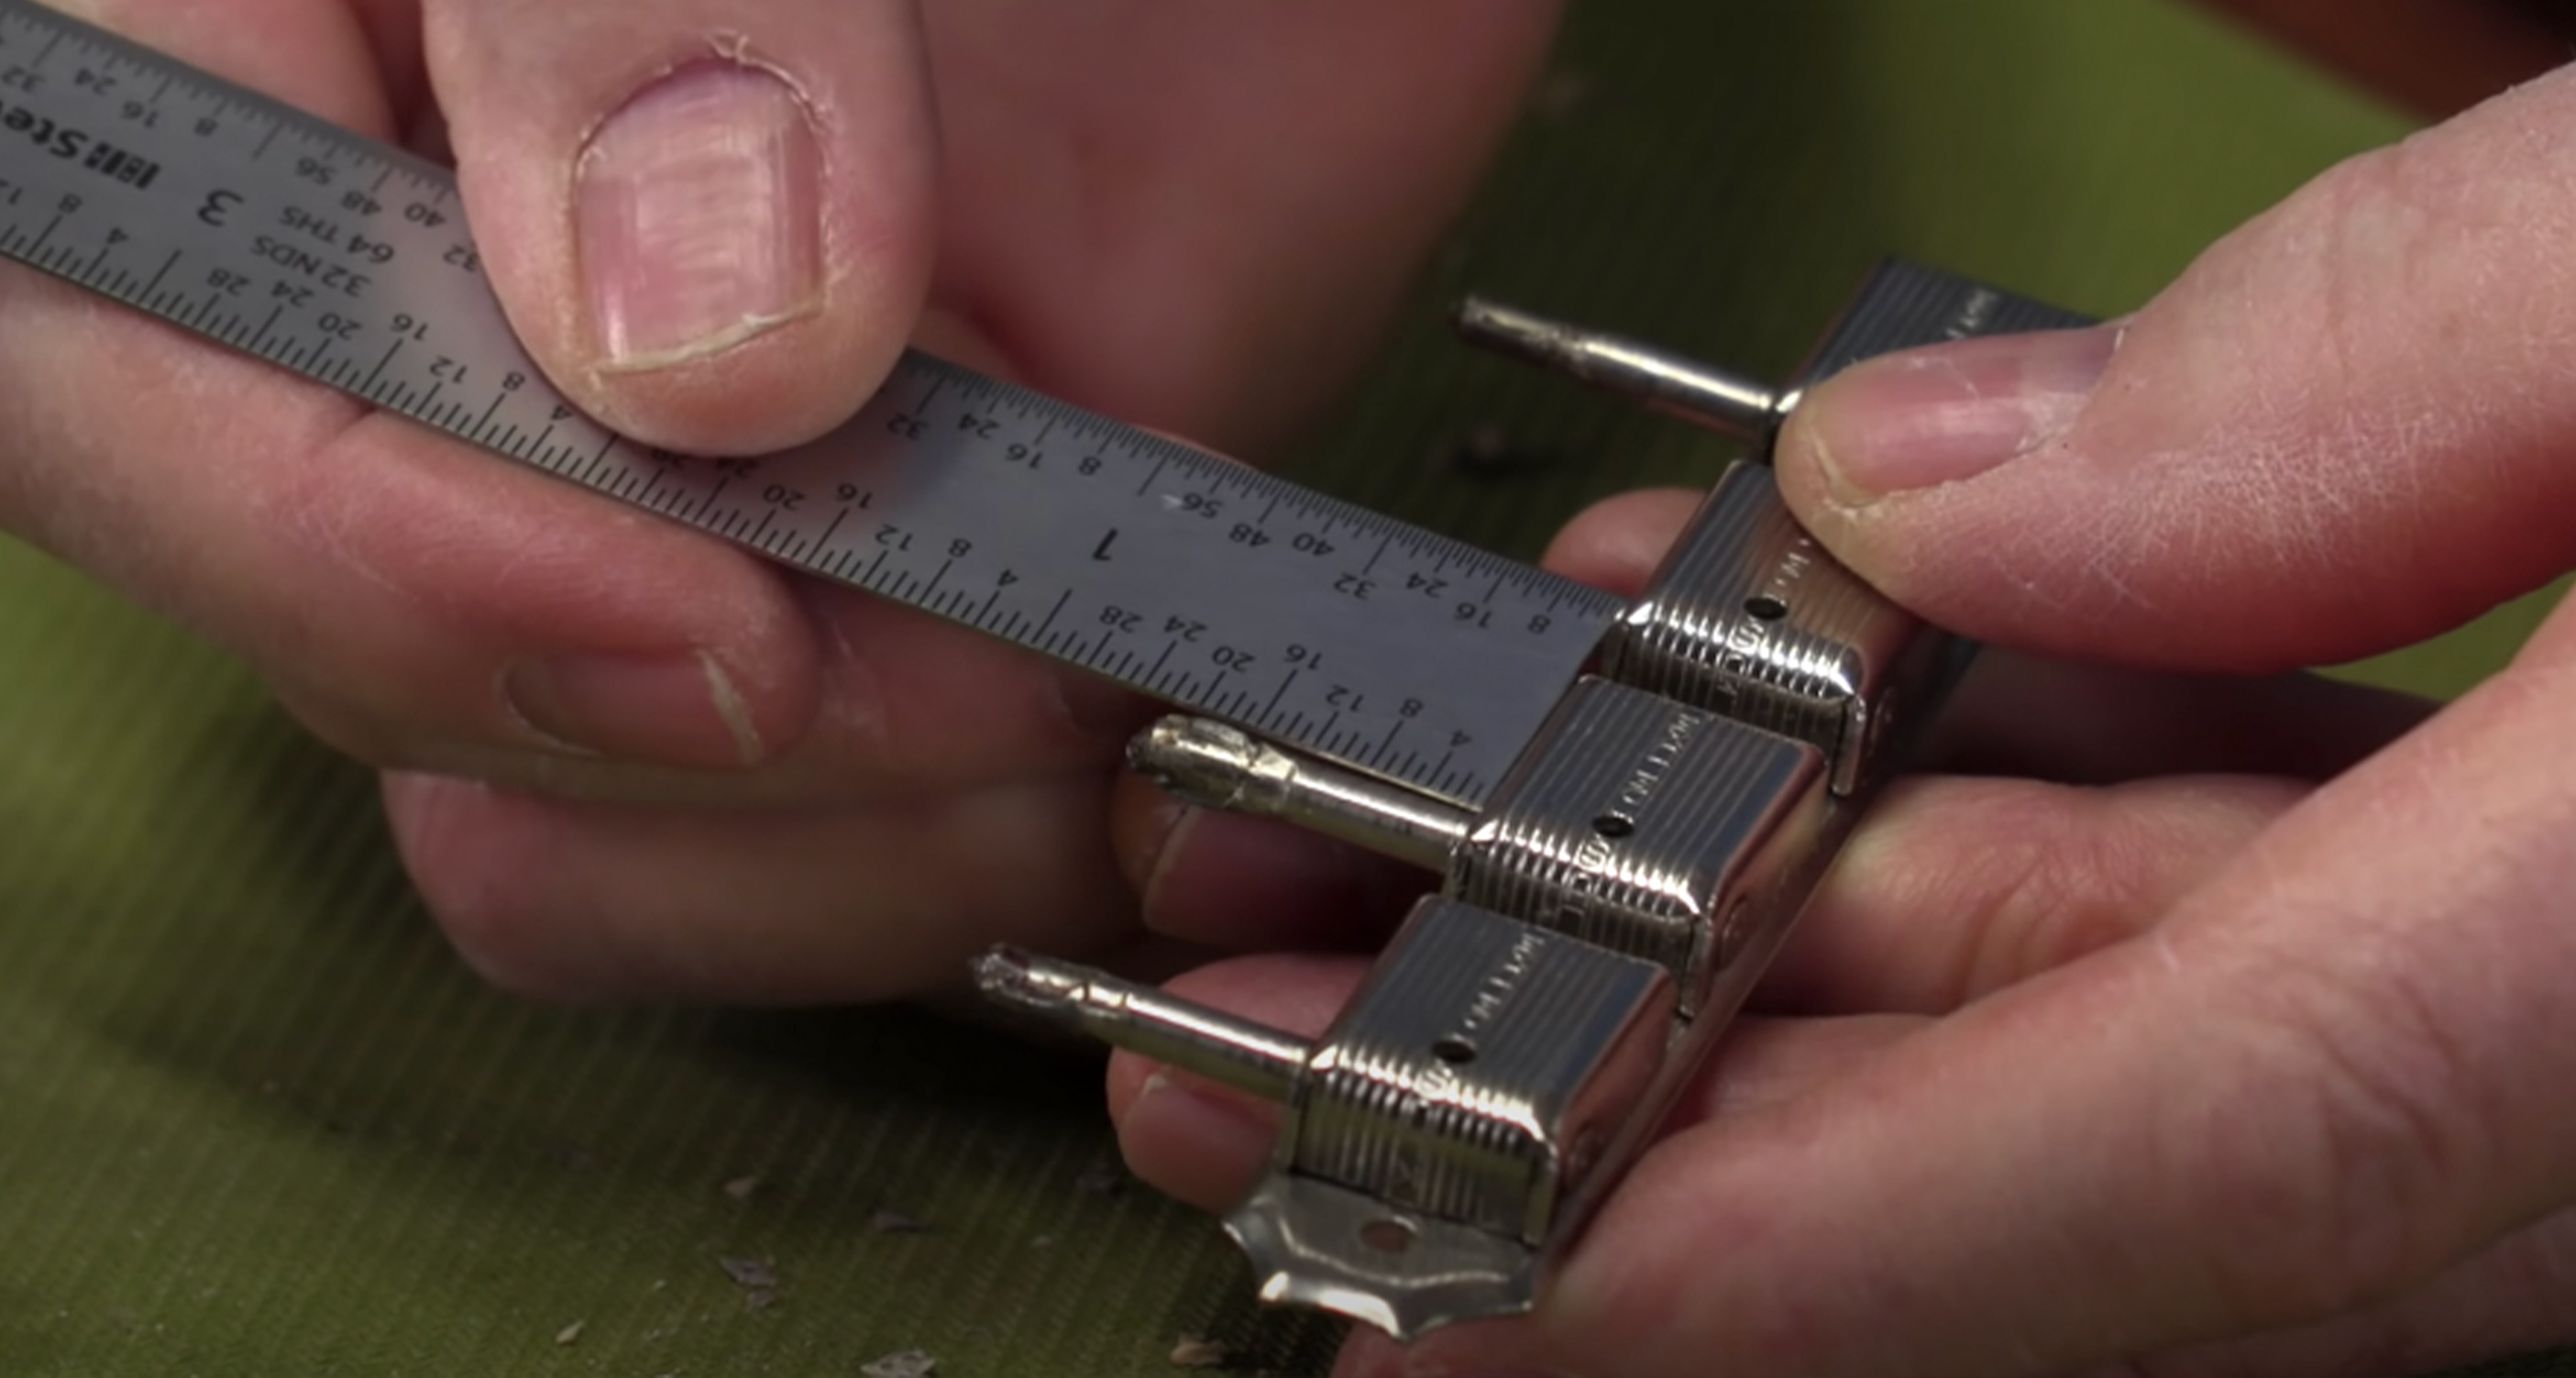
PRO TIP: Before I clean up these shafts, I like to take a measurement of how much gap there is between the body and the inside of the tuner knob, so I know how far to push it on.
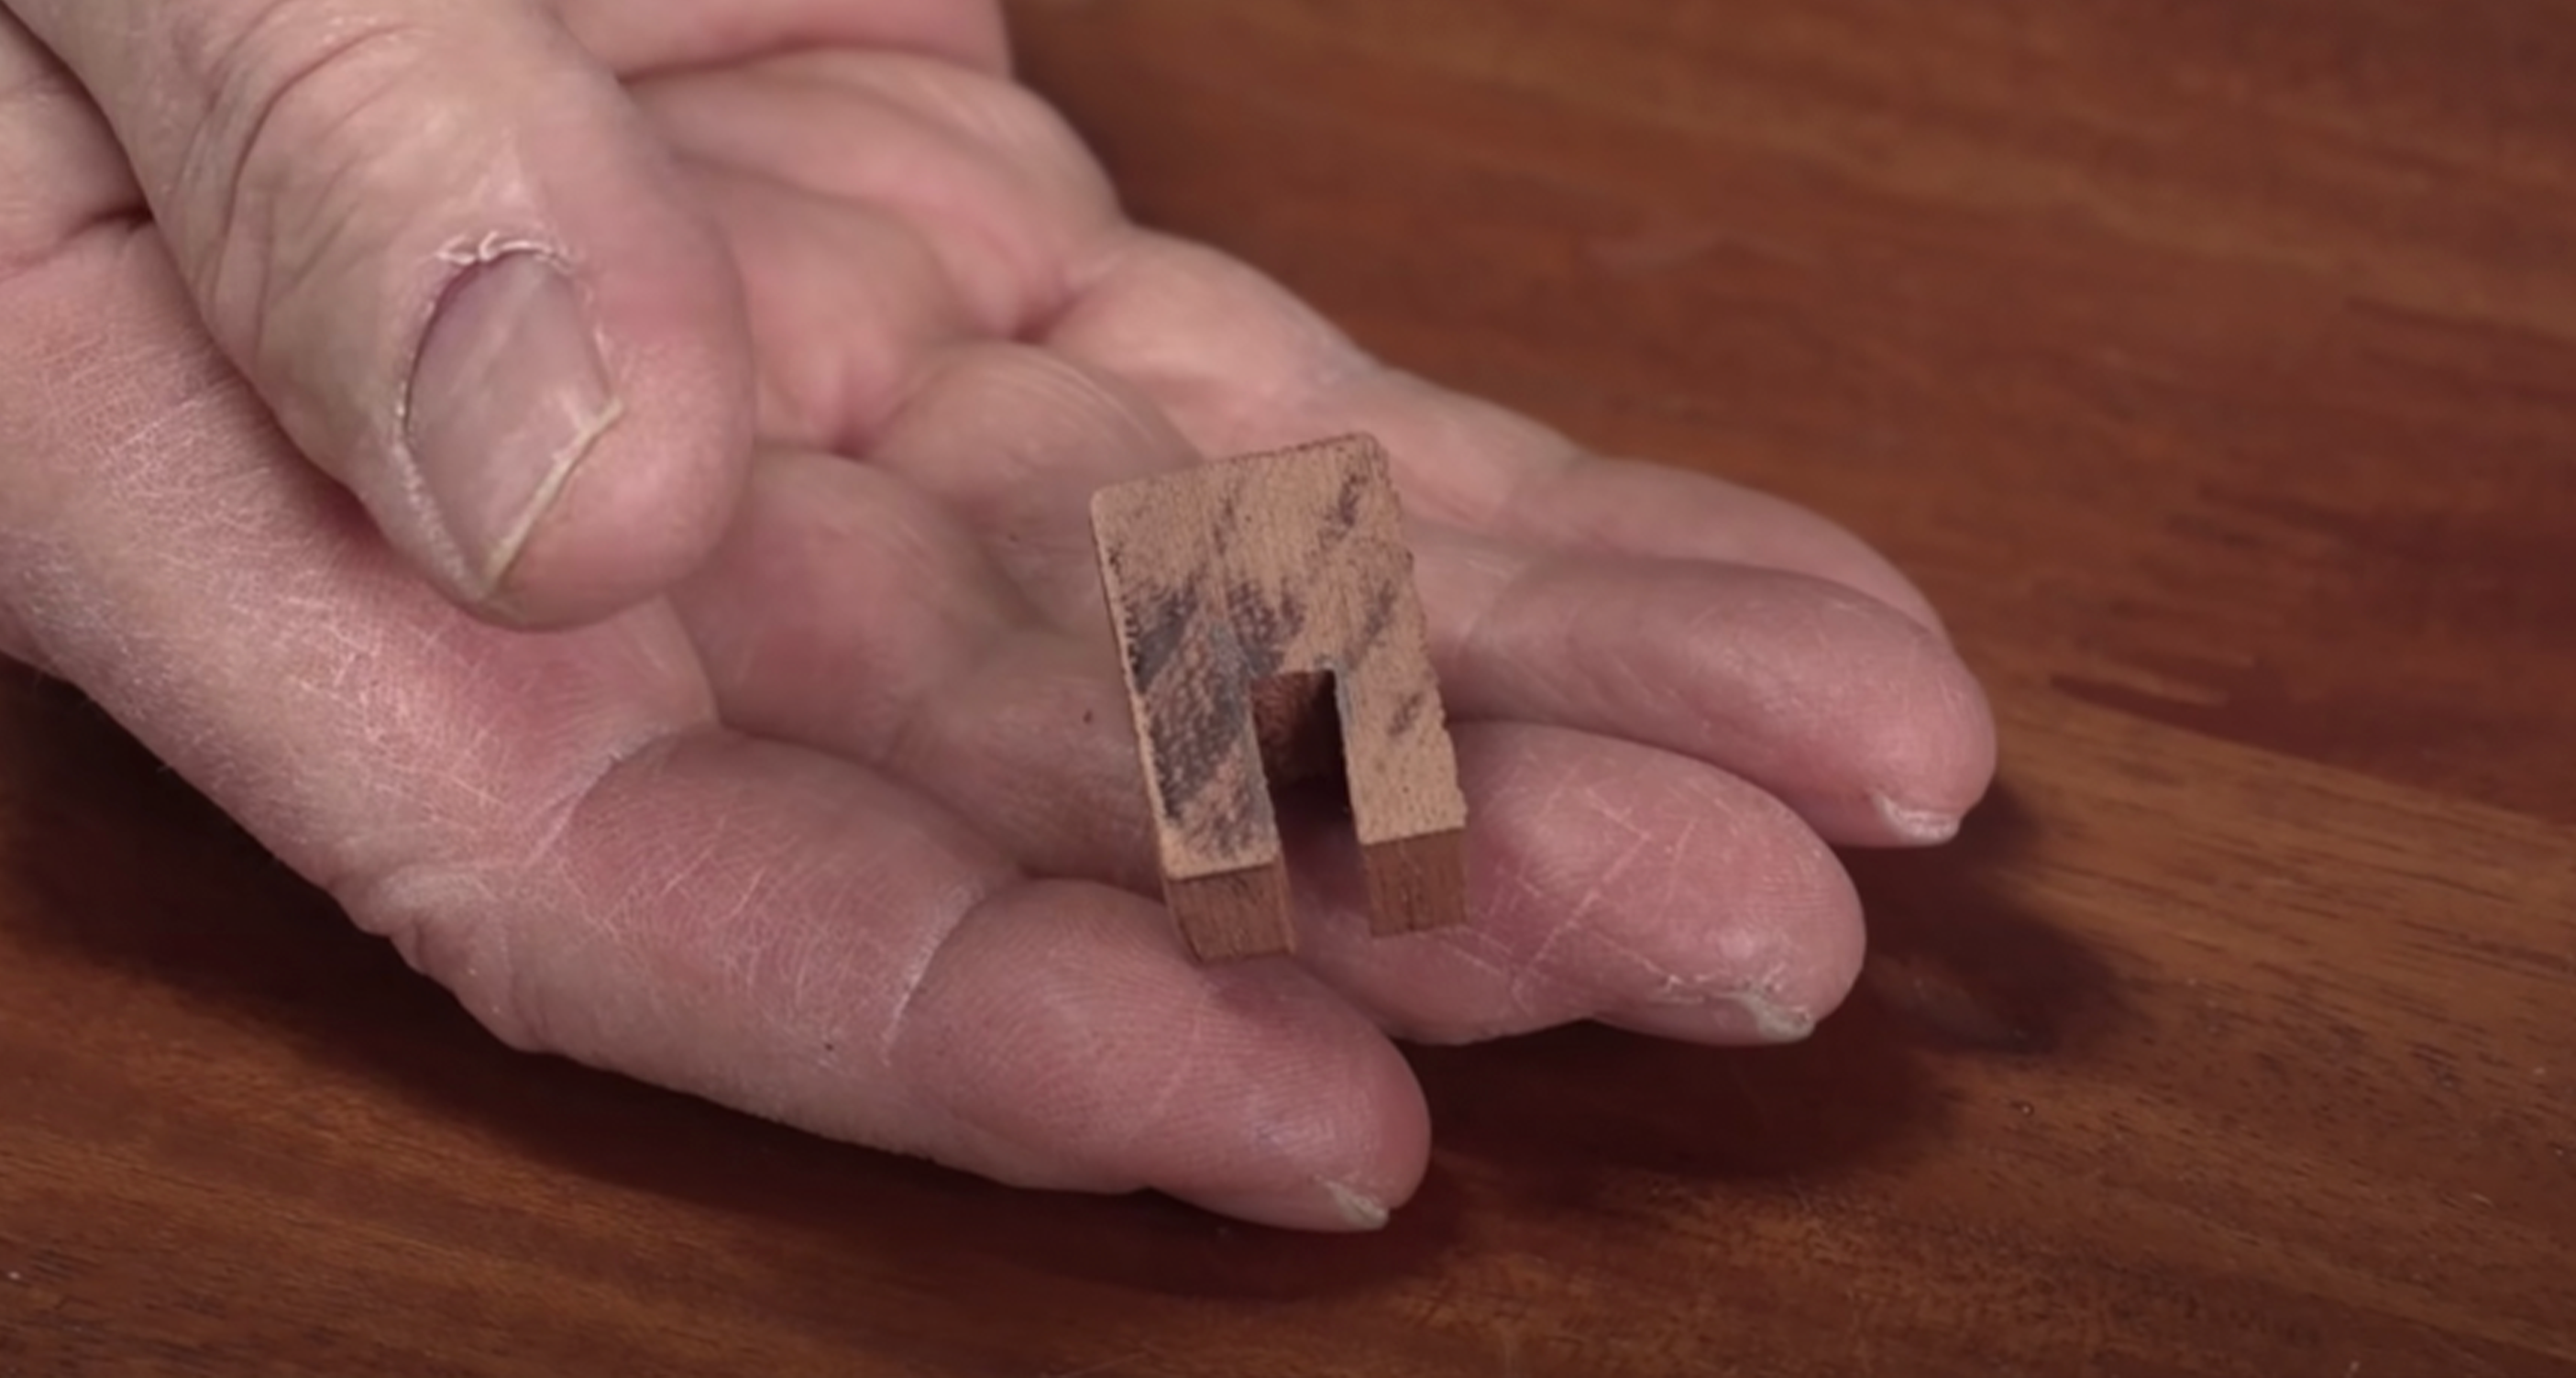
The gap is usually about 3/8". Then I'll cut a little notched spacer from a scrap of mahogany. That'll keep you from pushing the knob on too far. You can make this with a band saw or a little hand saw.
Cleaning the Shafts
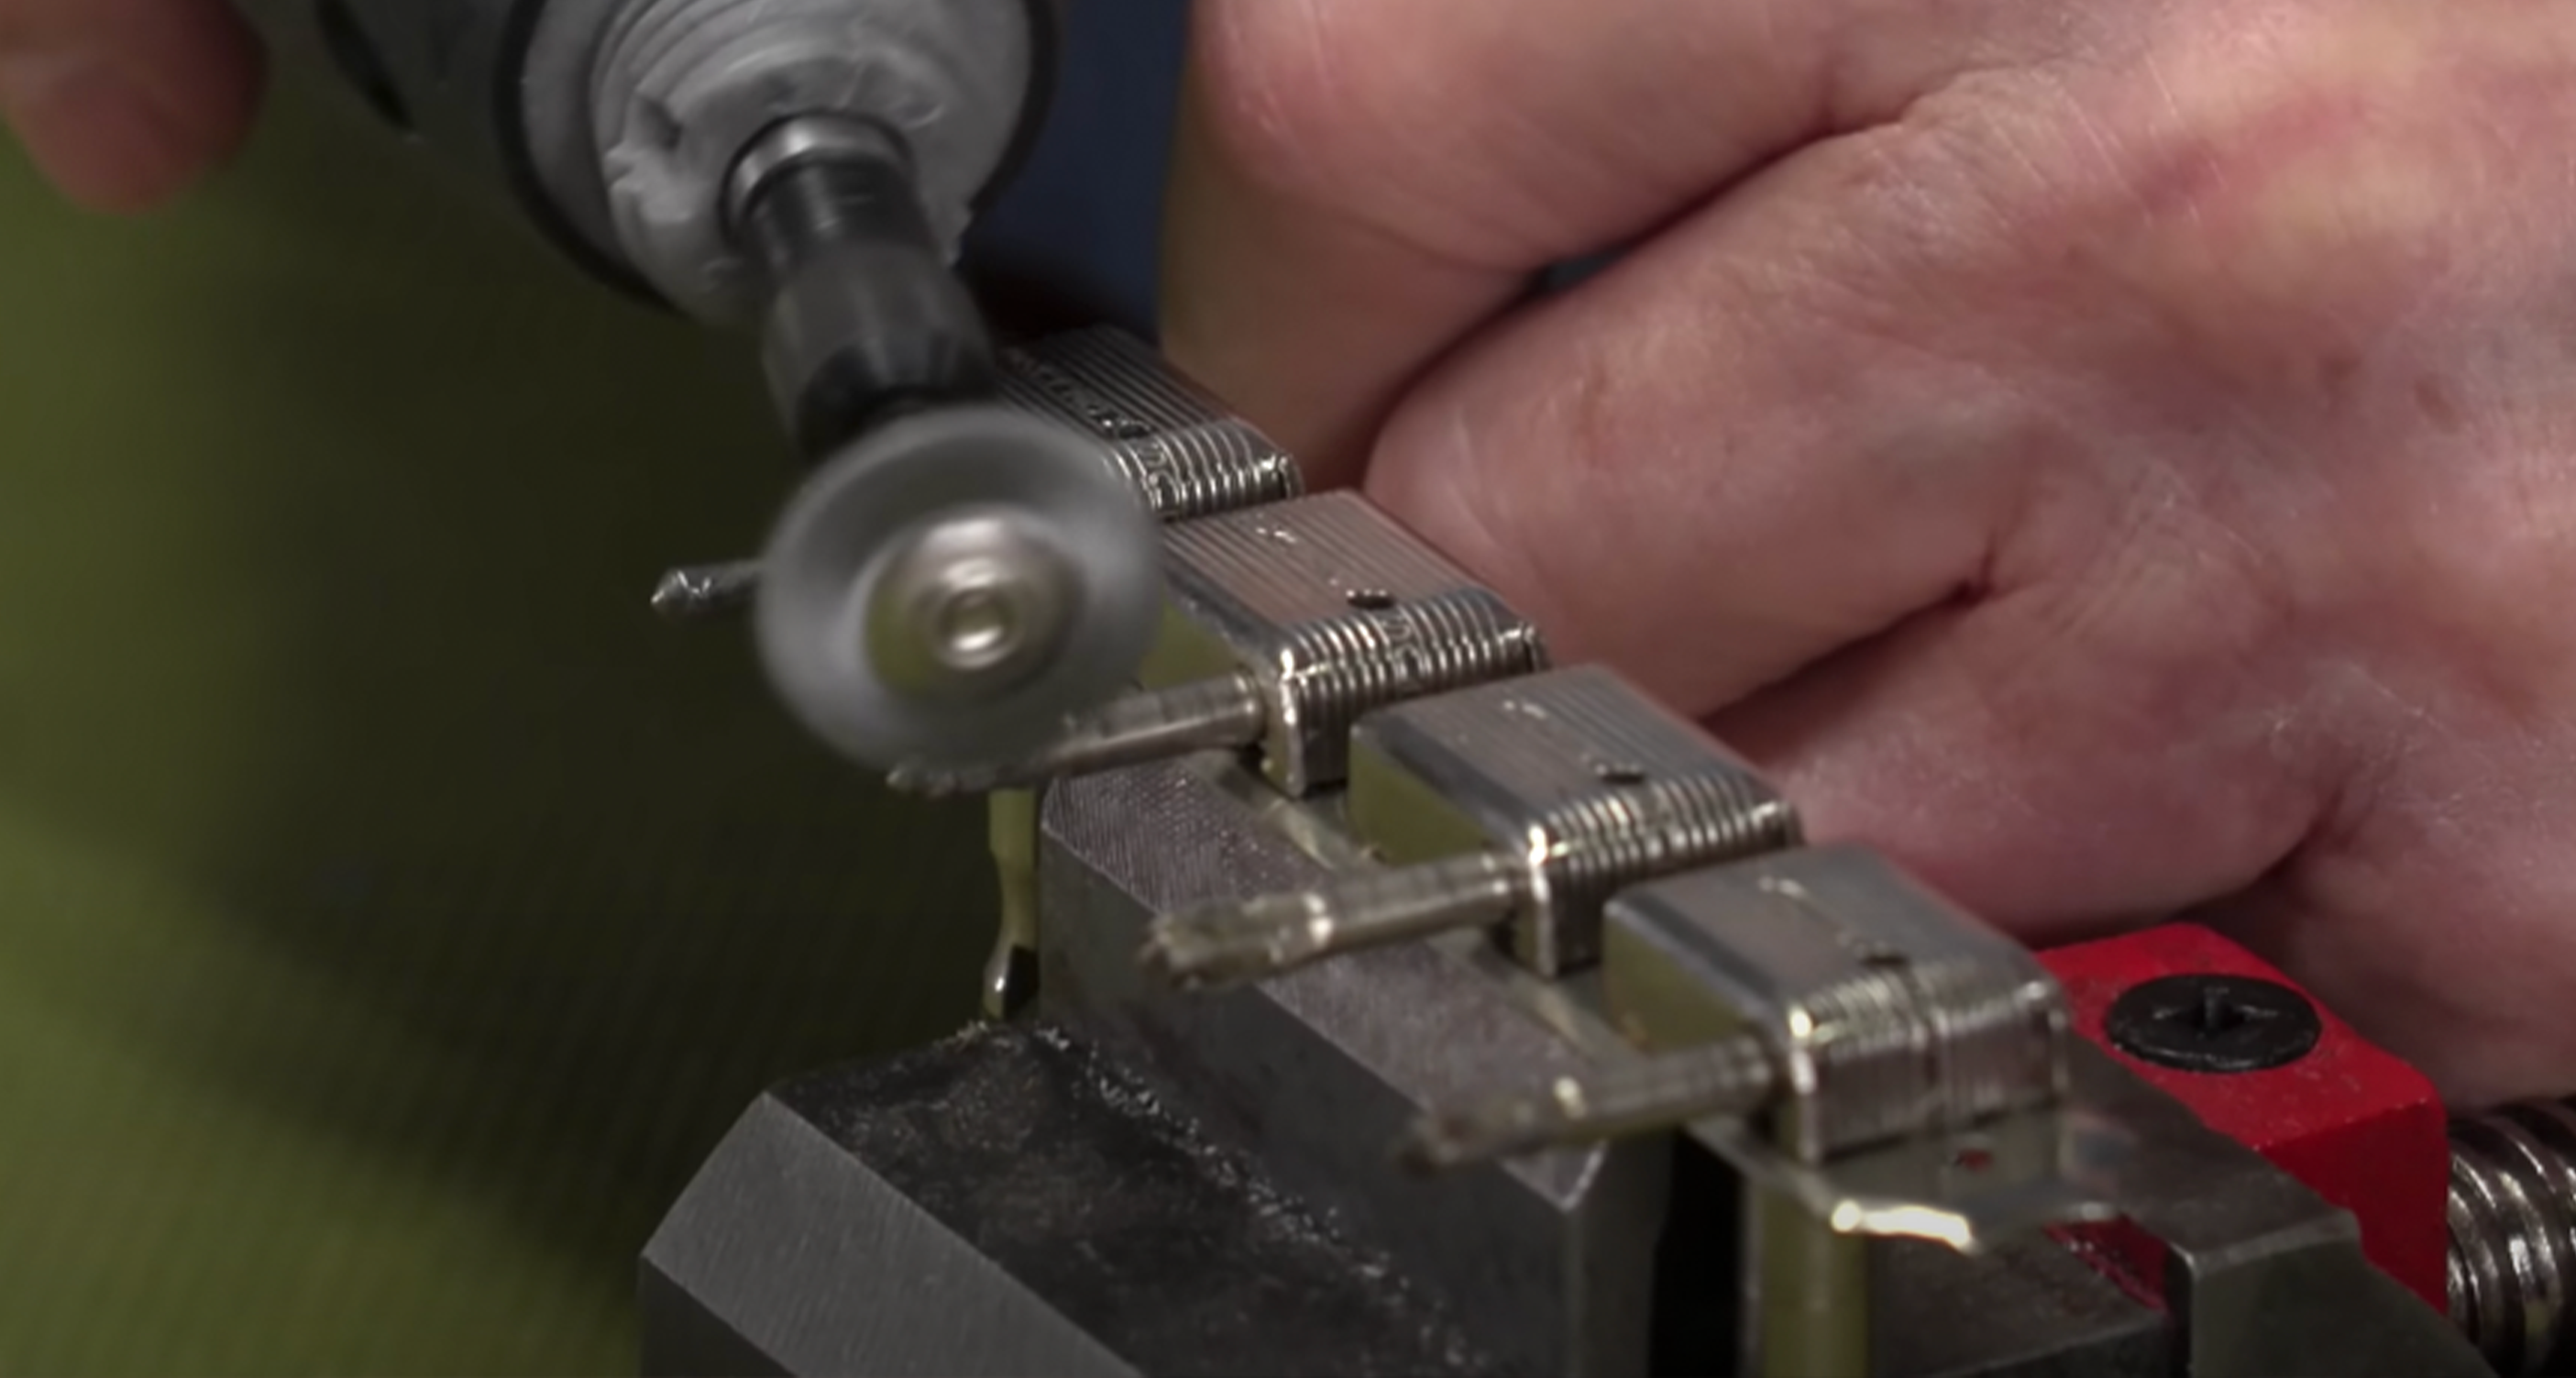
The next step is to clean off the shafts so they're nice and clean when we slide the new knobs on. I use this Dremel 4000 rotary tool with a wire brush attachment. It takes almost no time at all.
Choosing New Knobs
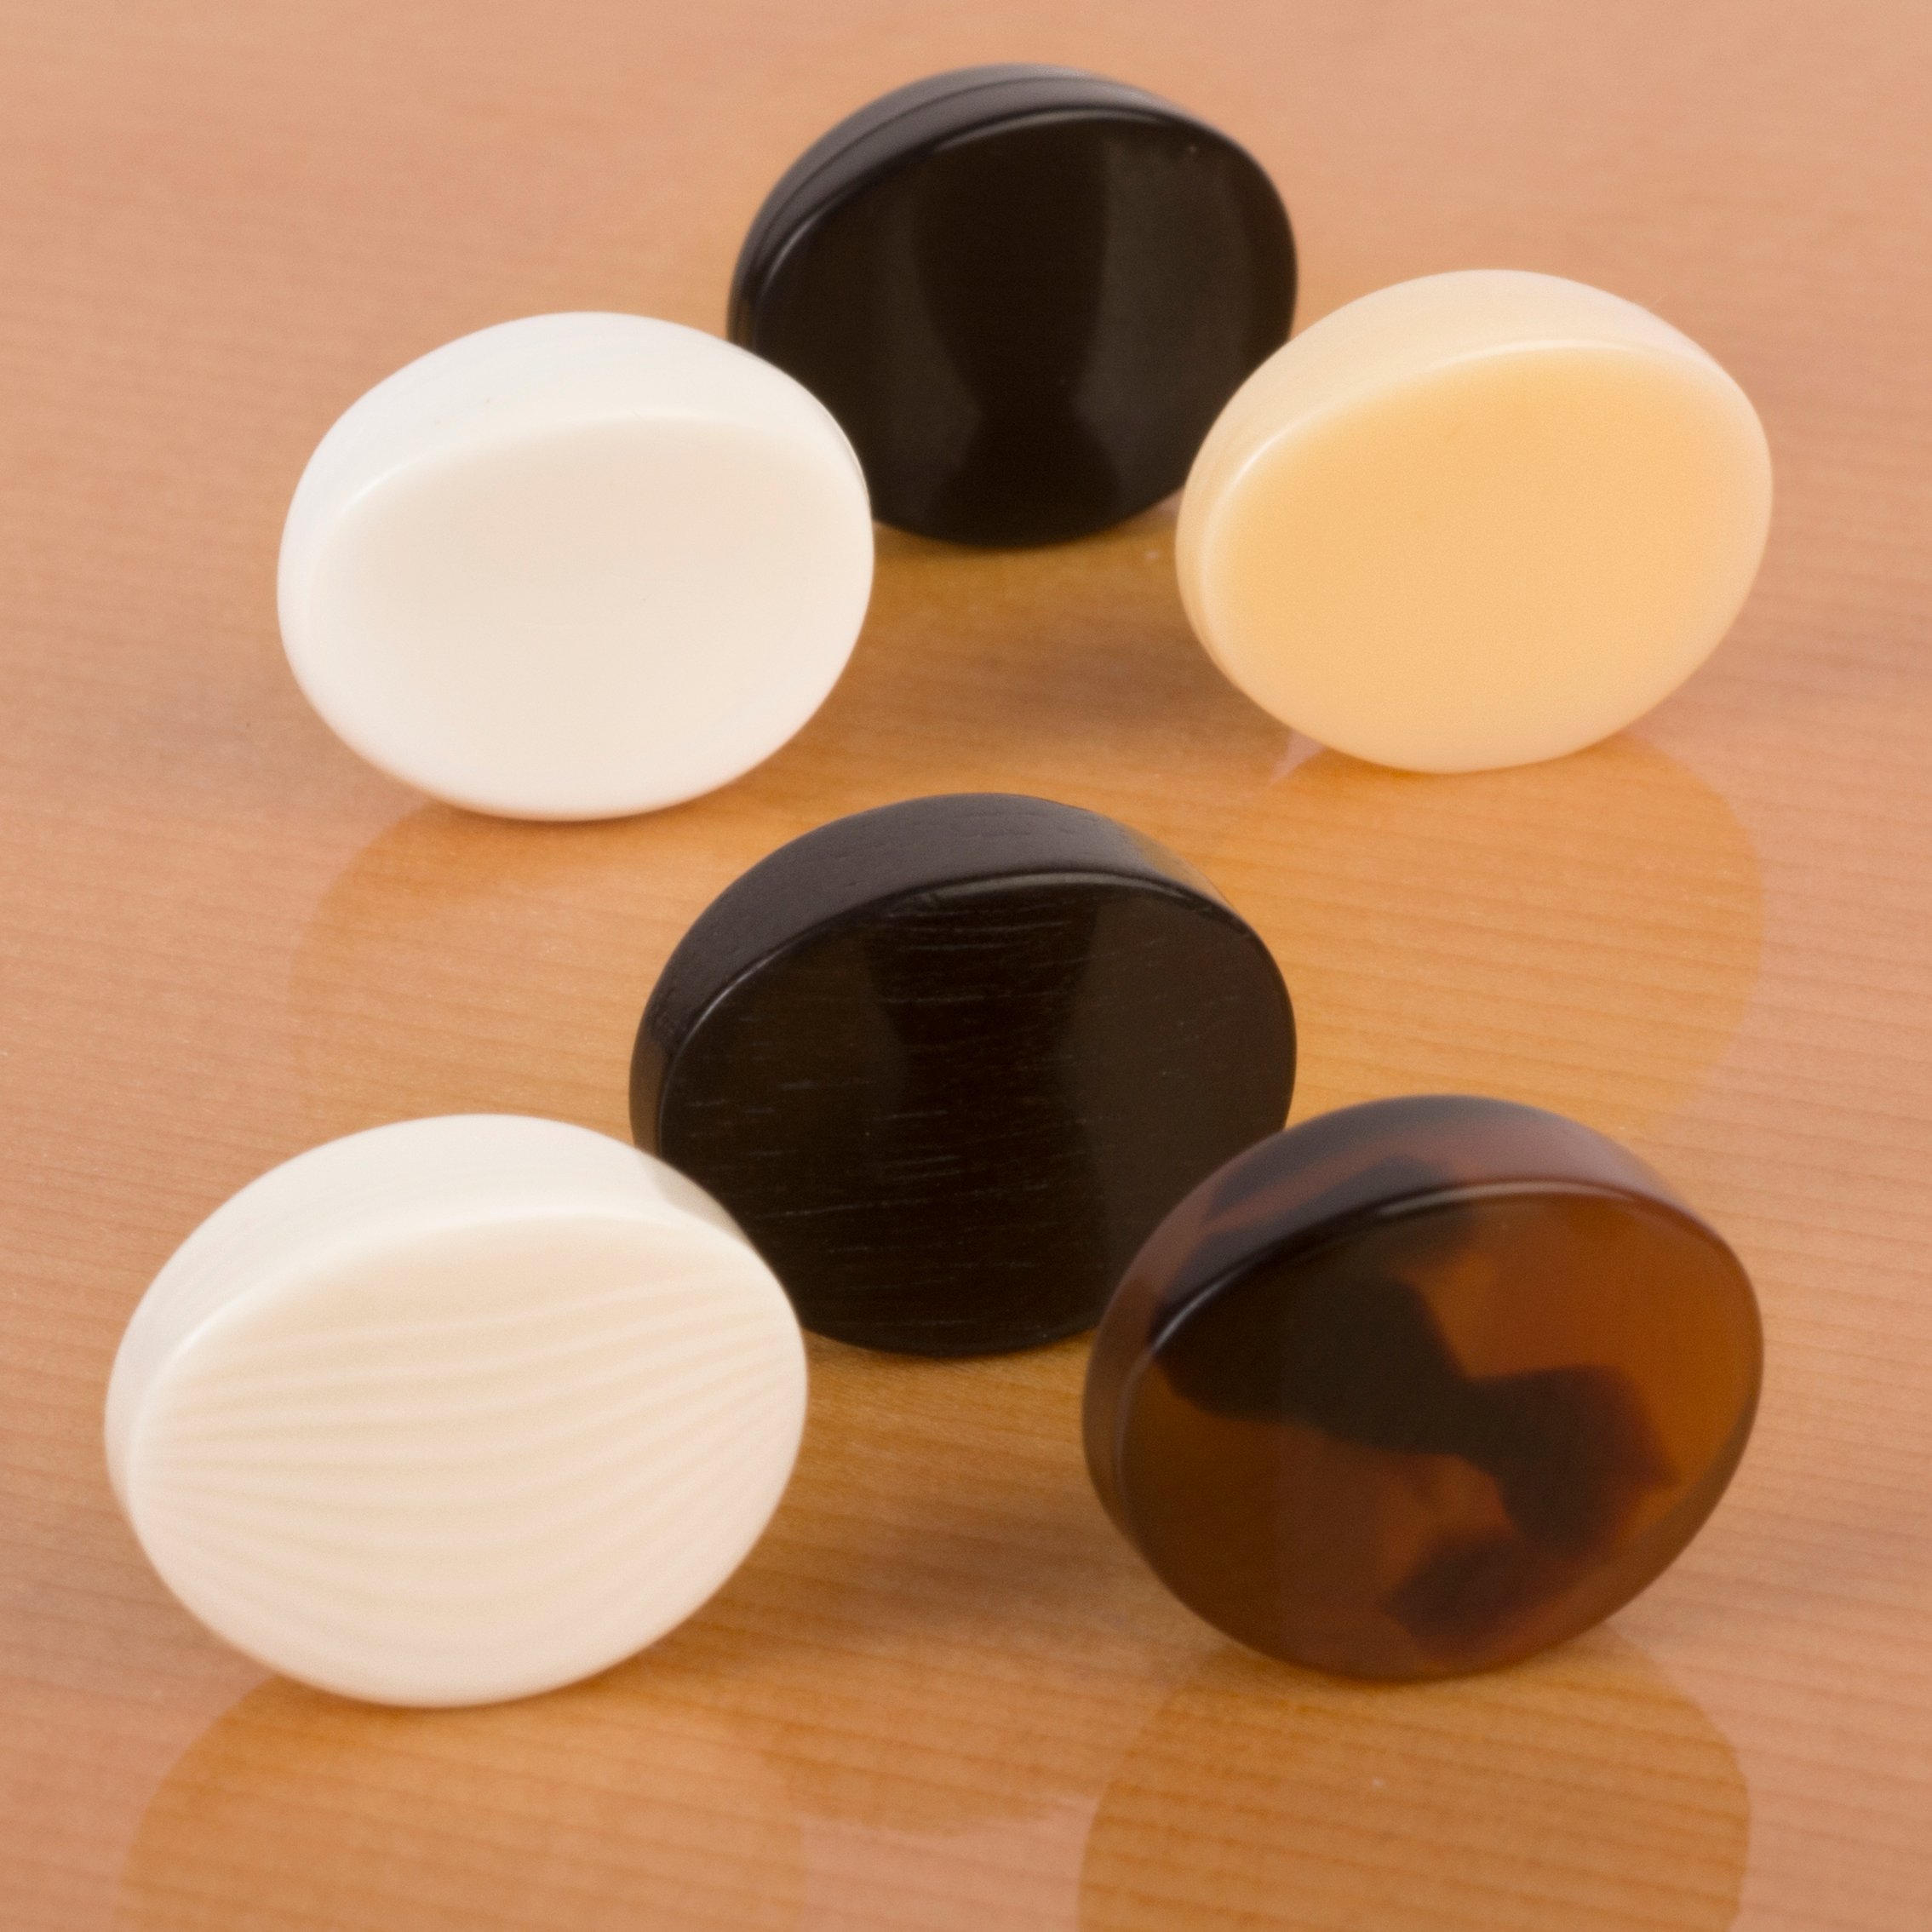
We have a lot of different types of vintage style tuner knobs and colors to choose from. There's cream, black, tortoise shell, and ivoroid. Albert wants plain white ones, '50s style. When you're buying these for an older guitar you want to be sure to purchase knobs with the oblong hole. The ones with the oblong hole go on Golden Age tuners and vintage tuners, which is what Albert has here.
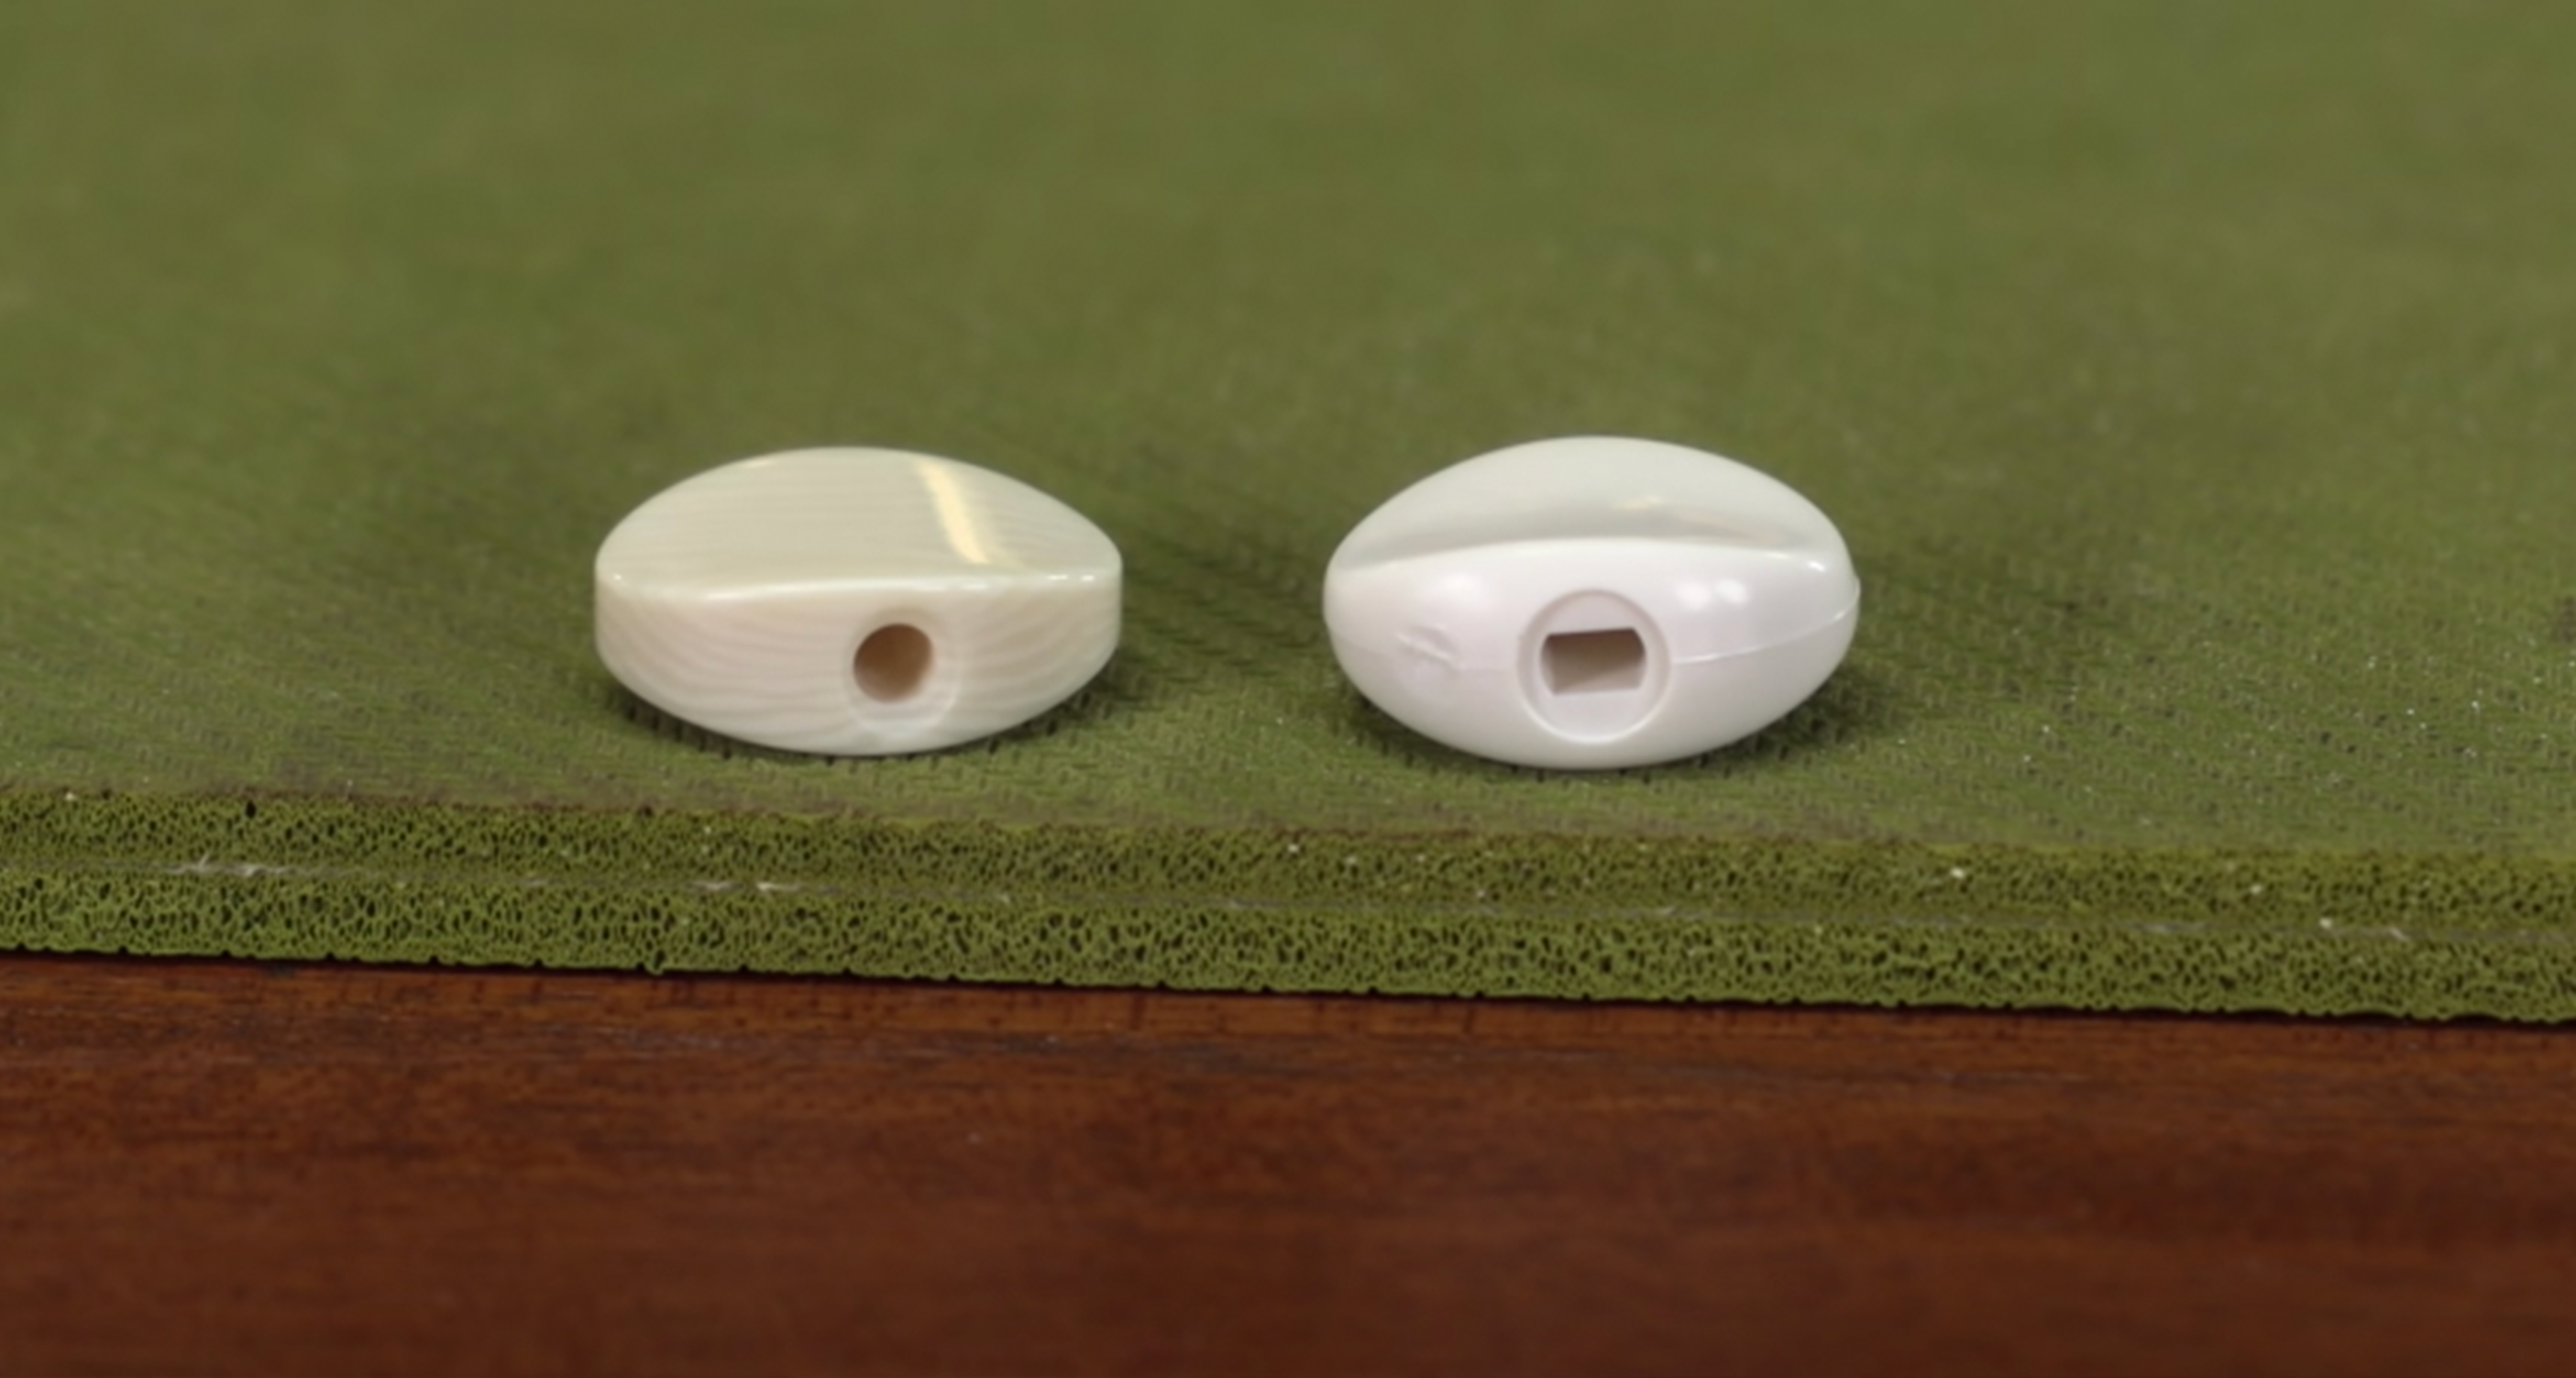
The reason for that oblong slot is because, in manufacturing, the round shaft of the tuner goes into a die that stamps it and it extrudes part of the metal sideways into a spear shape.
PRO TIP: Something that you might want to do if you're into the relic look or the vintage look is to stain or color the knobs. You can also use steel wool or sandpaper and take the patina off. Some people will drop them into strong tea or coffee and get a mild color to them. If you're going to do that, stain them up now while they're not on the shaft.
Installing the Tuner Knobs
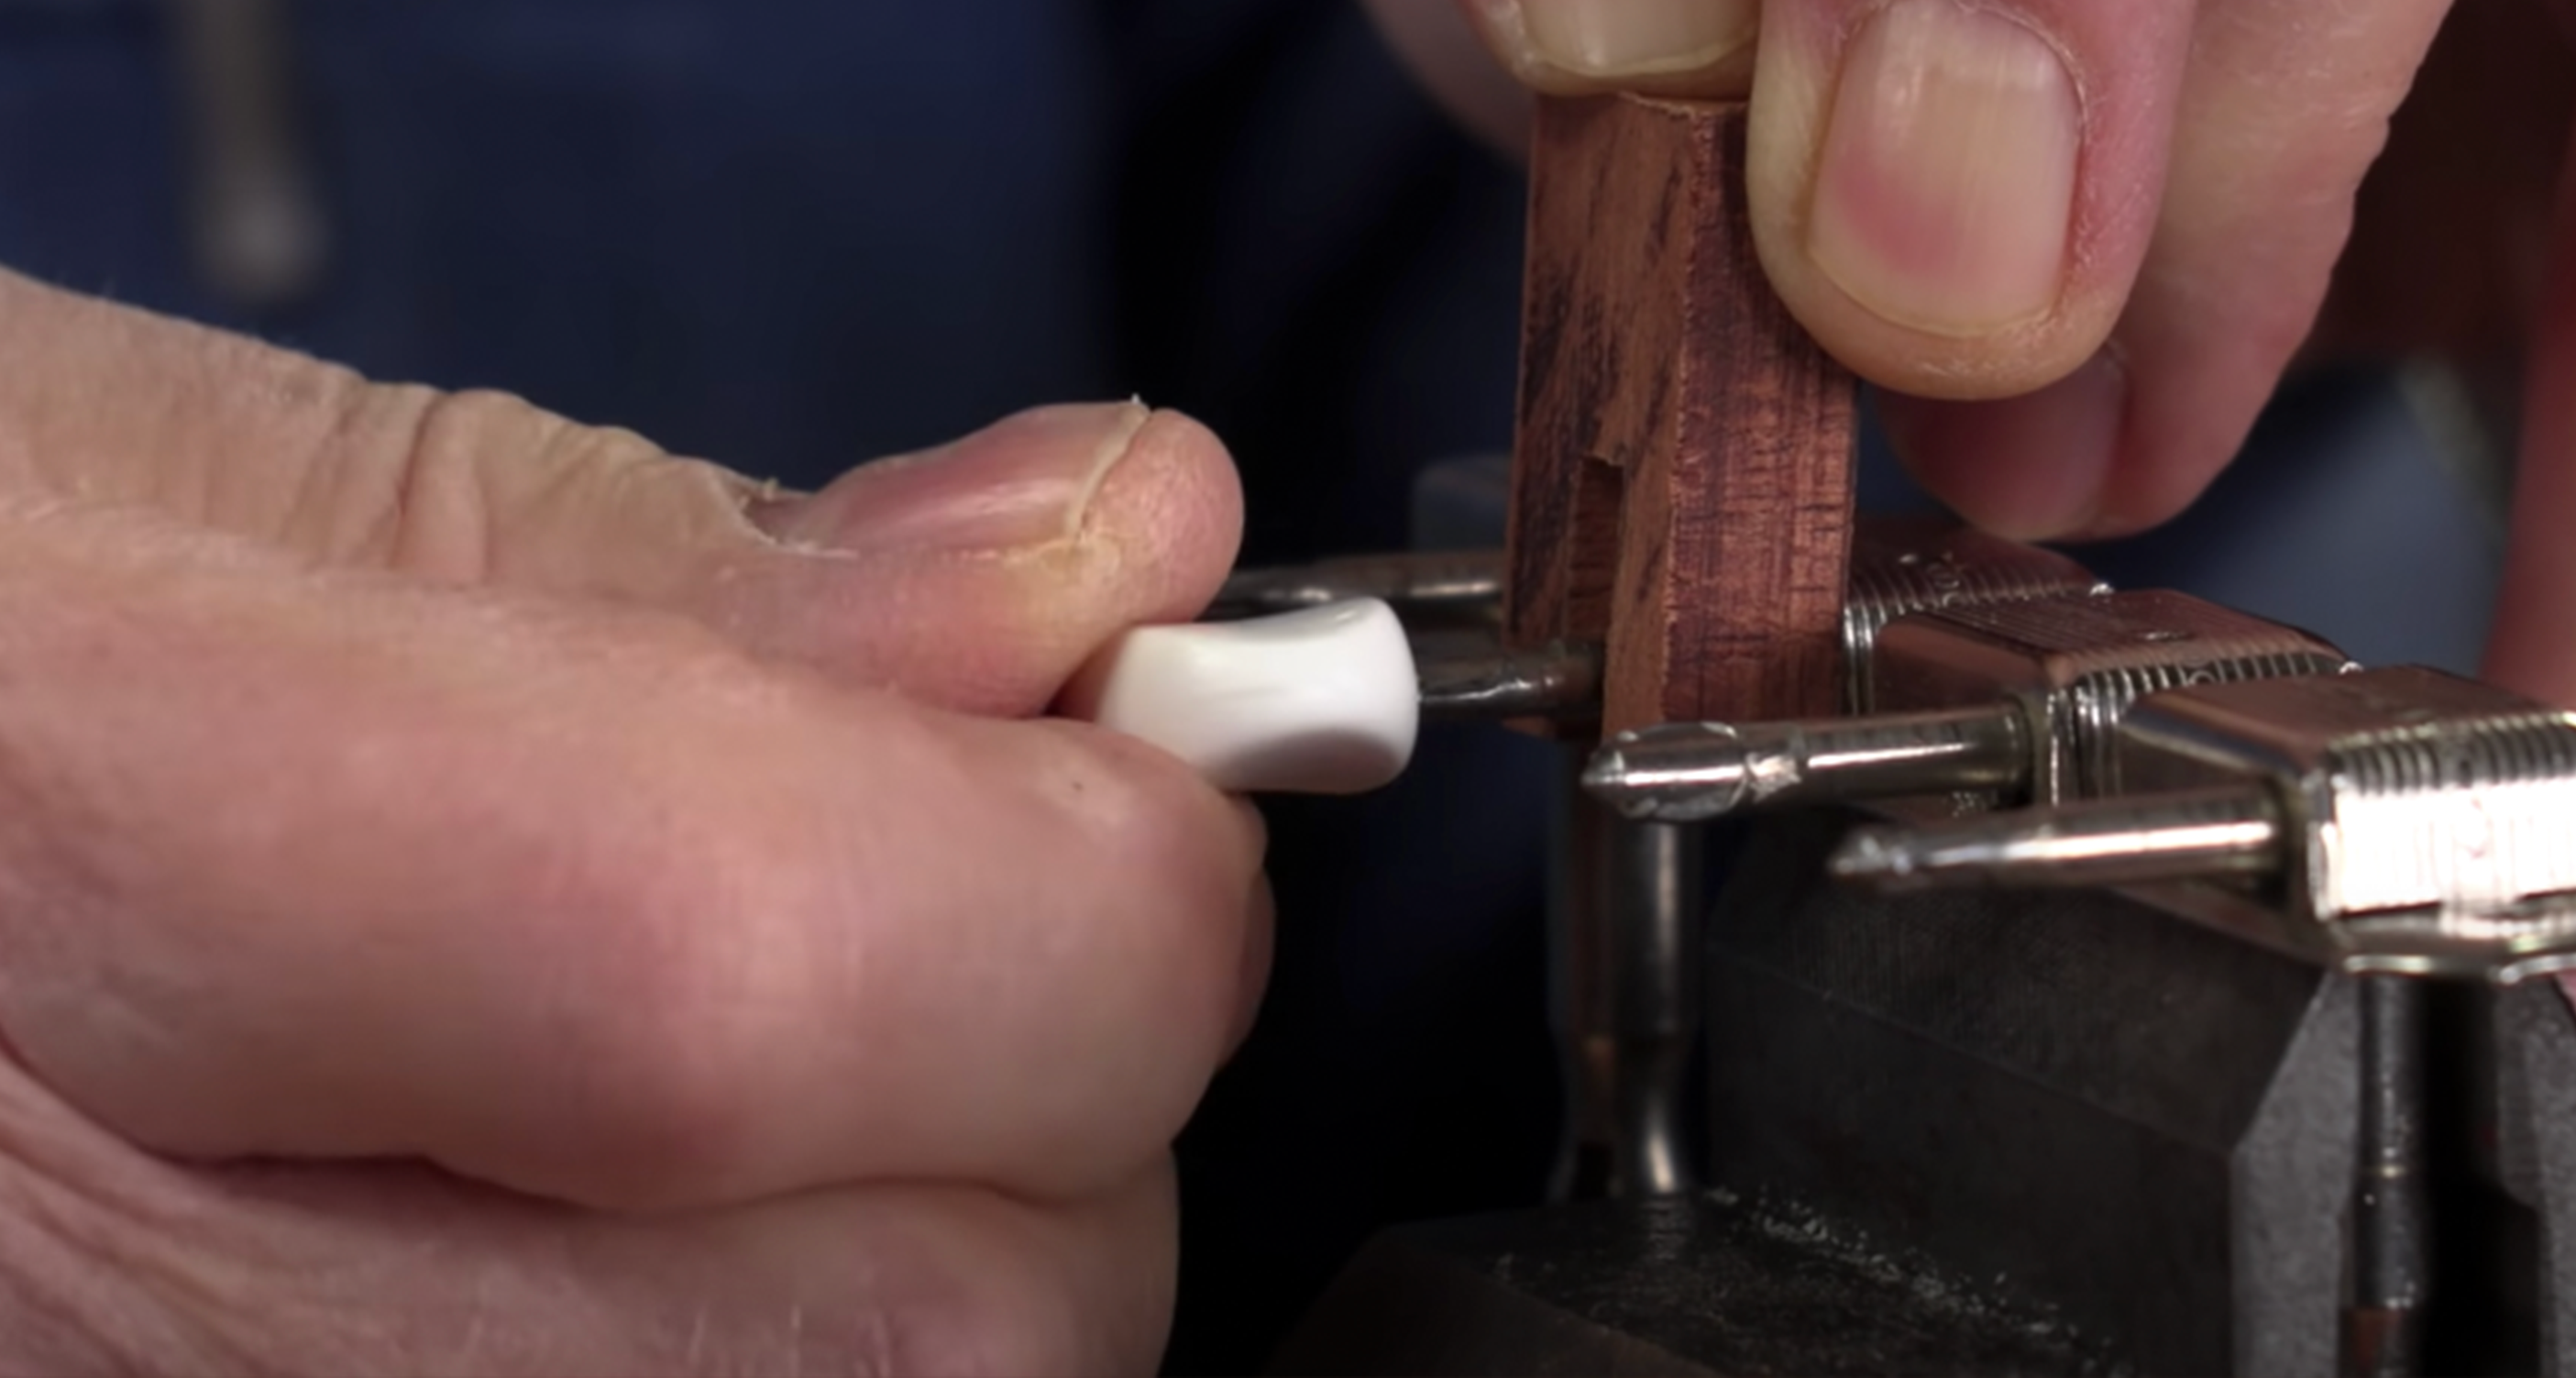
Here's what's going to happen. First, you'll heat the post. I like to use a small blow torch, you can also use a soldering iron. This iron has a copper fret heater tip that's made to take frets out with. It's got some grooves and that's helpful because it'll keep itself centered on the shaft.
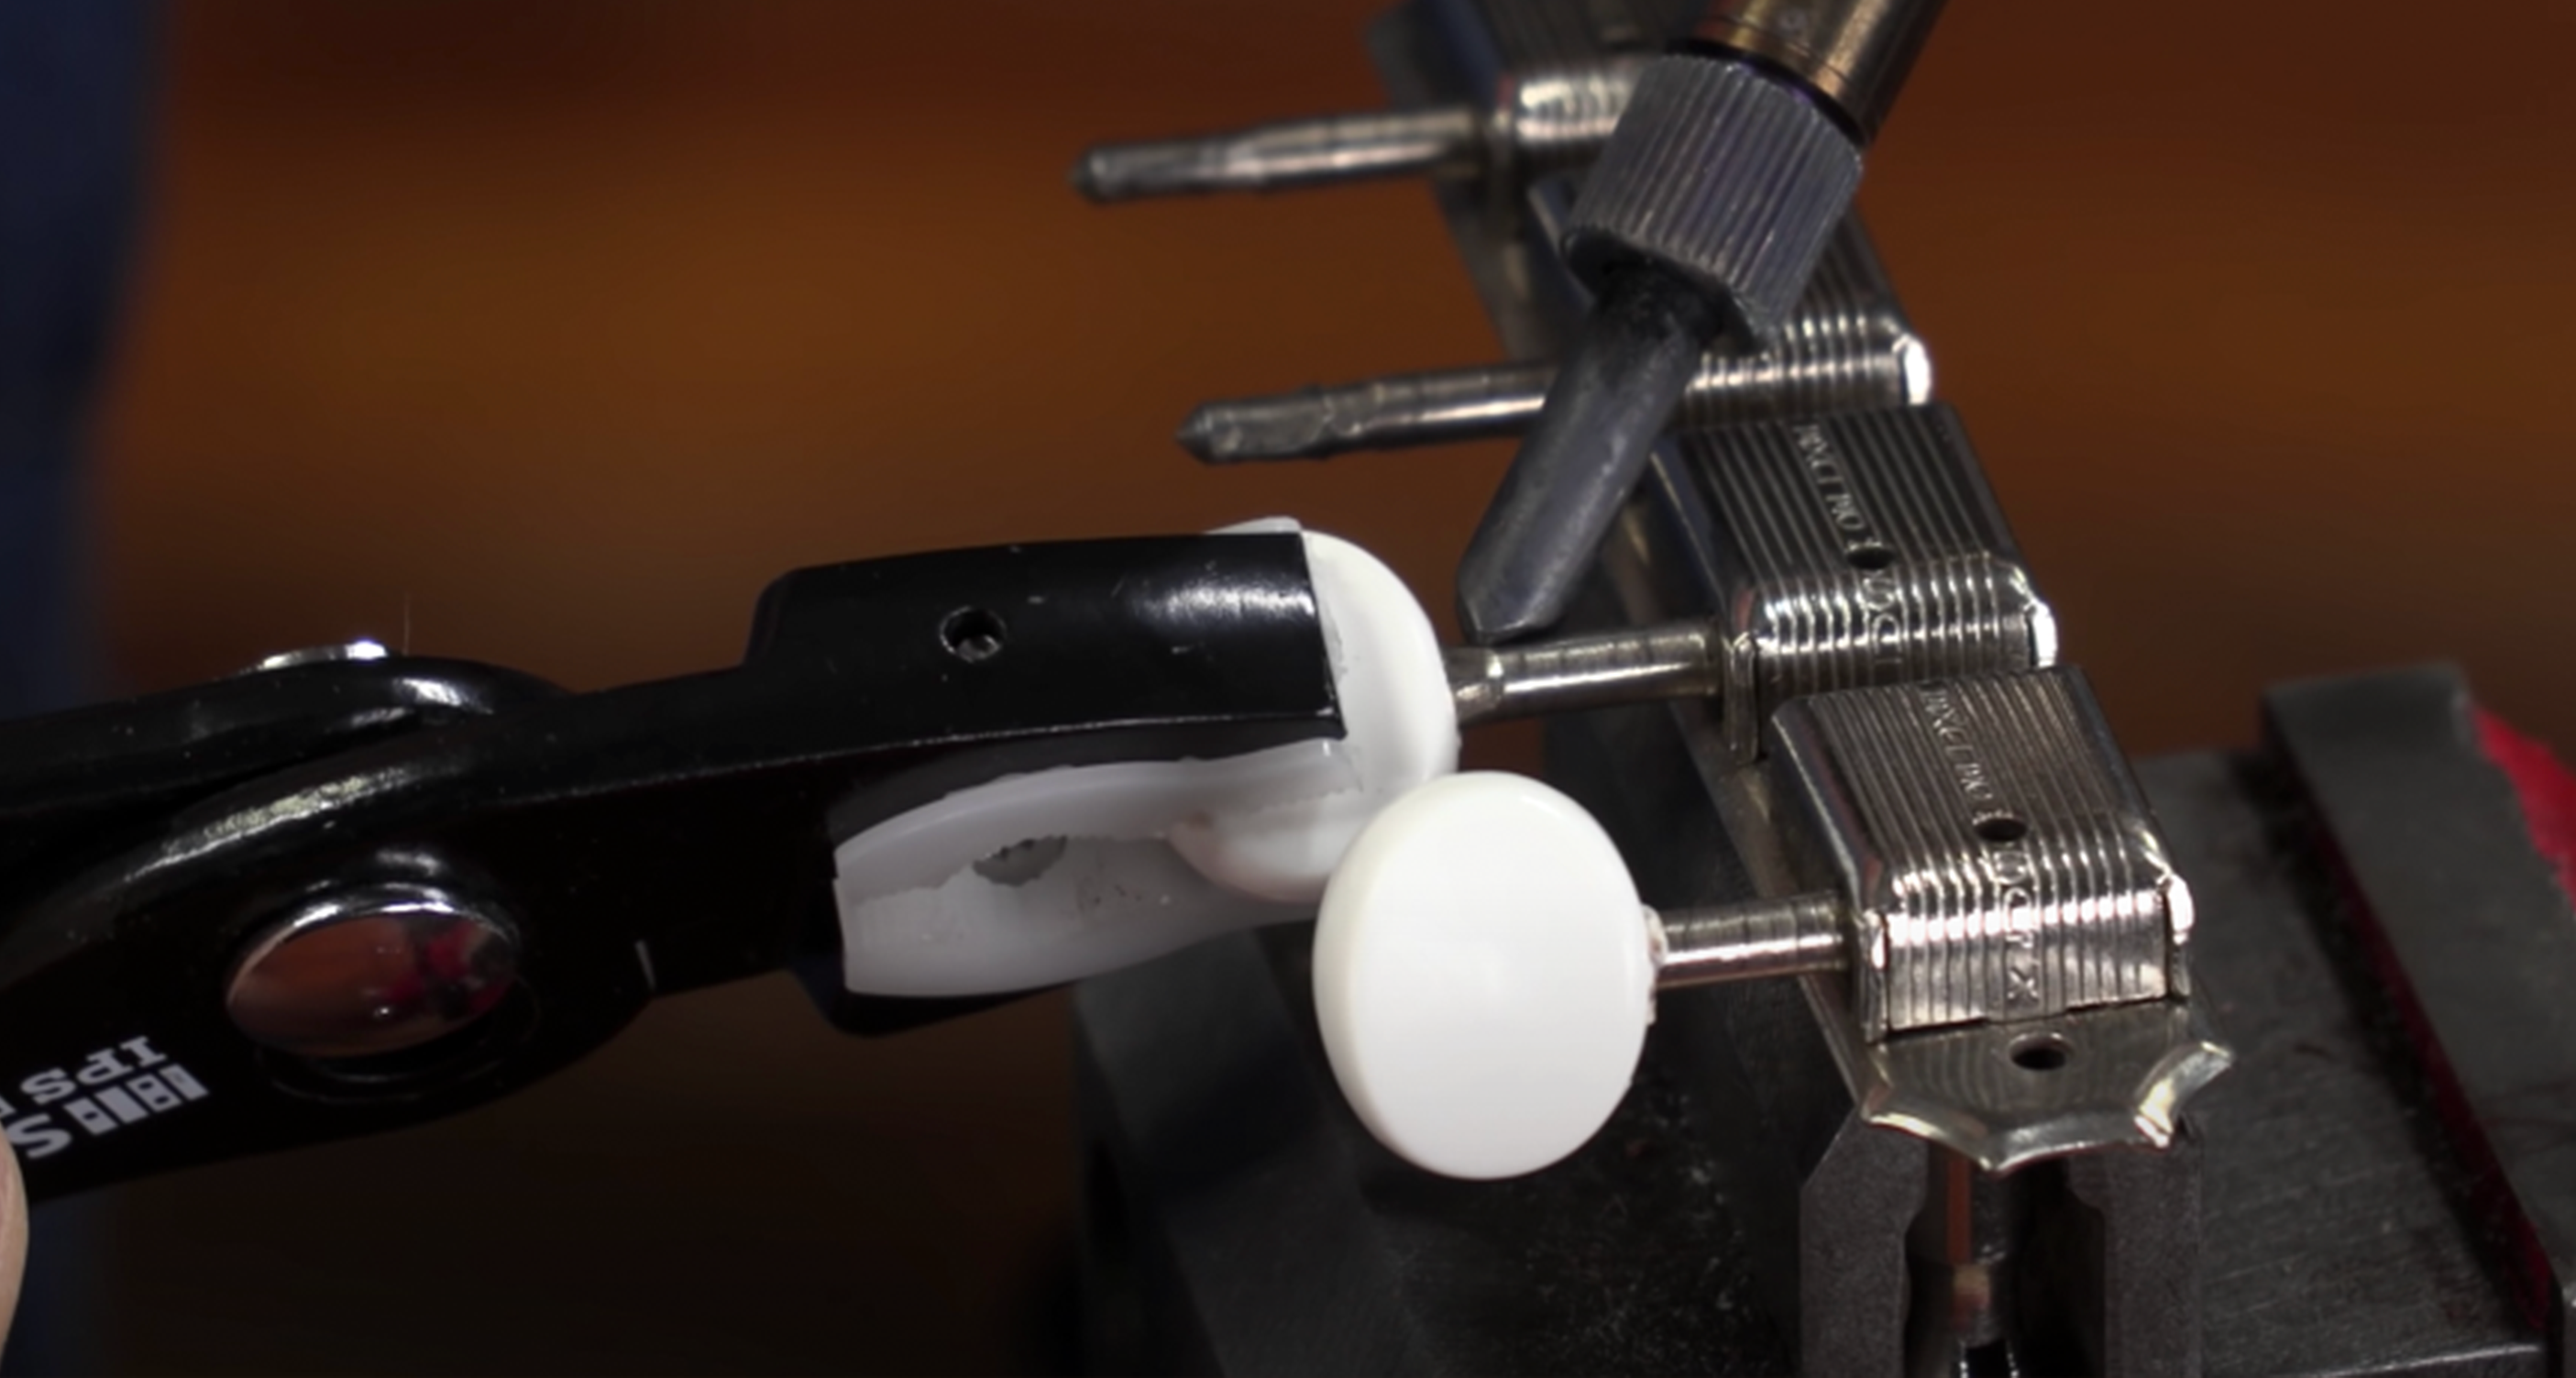
As it's getting hot, I'm holding this button with the oblong slot lined up with that spear. I'll be heating it and pushing. When it's hot enough, this knob's going to slide right on. I've got the mahogany spacer there in place so I don't push the knob on too far.
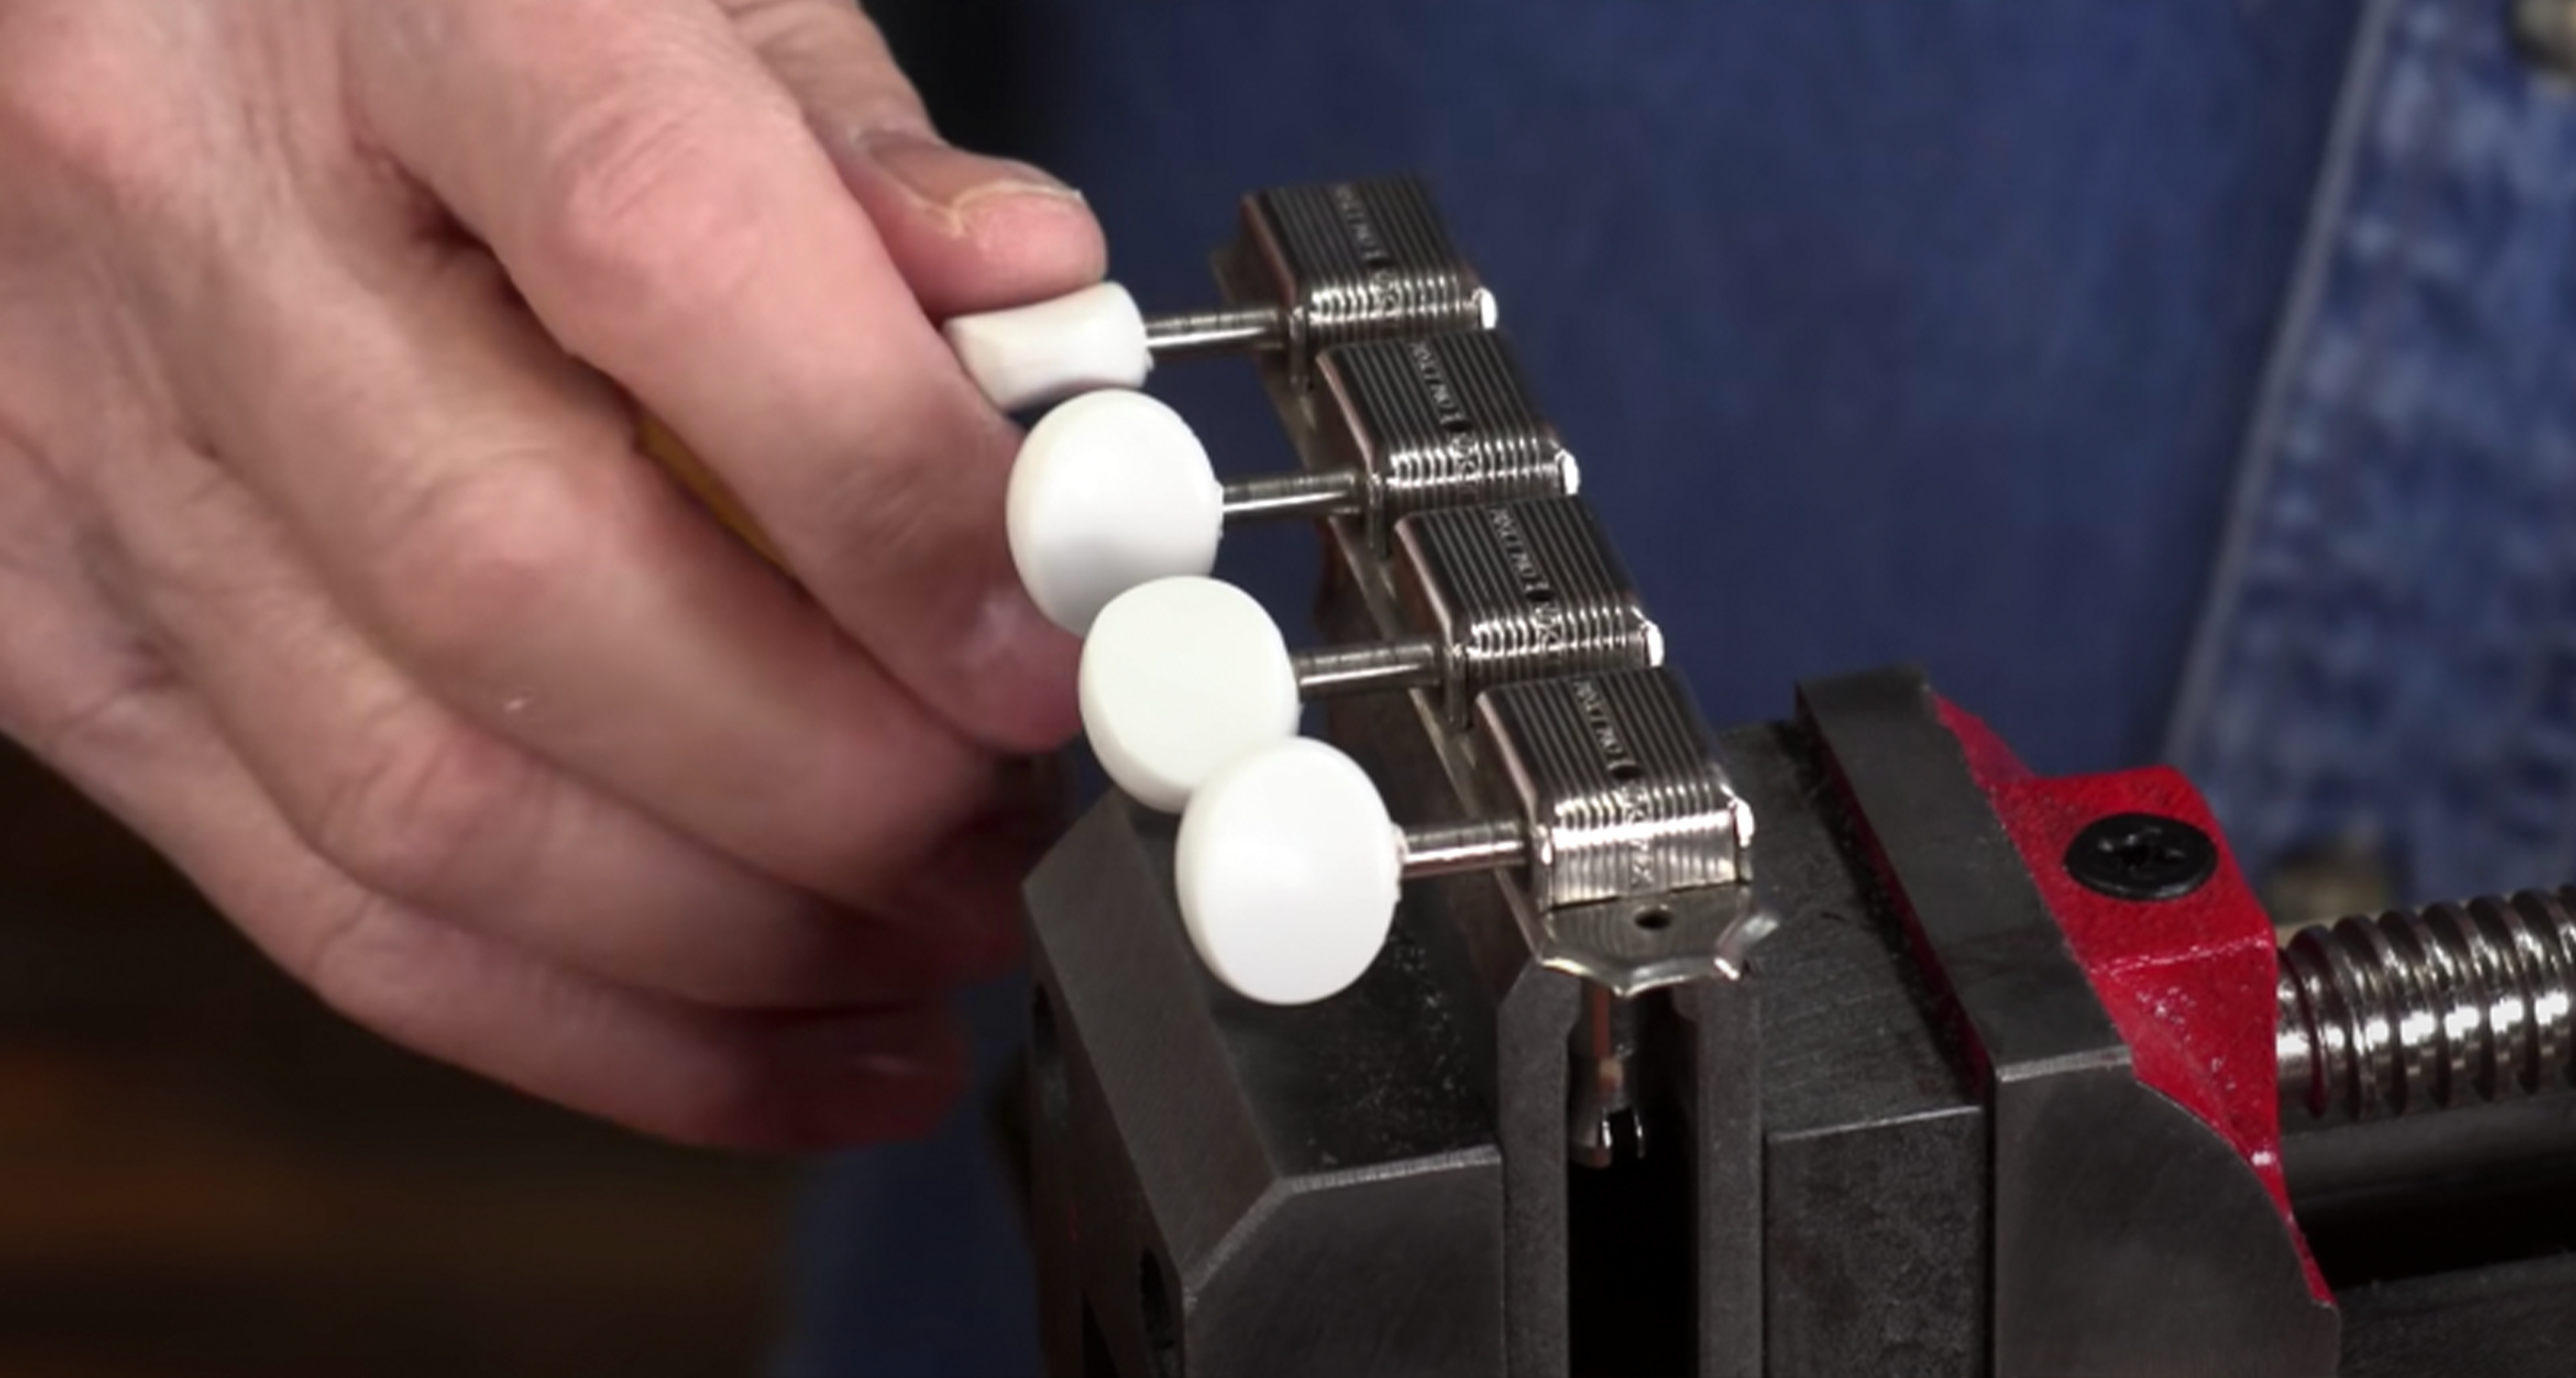
It's that easy. I'm going to let that cool off a little bit, and we're done.
While these tuners are here, I may put a little lubrication in that hole in the back, some of them are a little stiff. I'll ship them to Albert so he can start playing that mandolin.


