Working with warped wood: flattening and joining
Issue 316 October 17, 2018
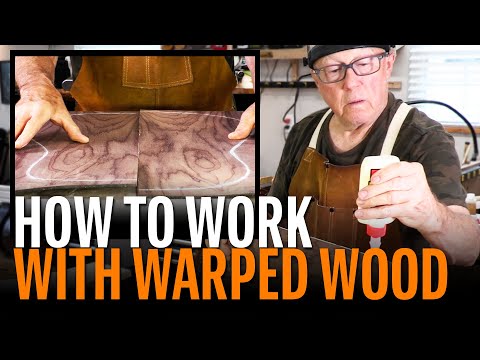
Warping happens! Dan Erlewine has two bookmatched pieces that he needs to join into one. Even though they’re warped, Dan shows how he joins them with a good flush glue joint.
- Clamping the pieces flat
- Creating a square edge
- Perfecting the edge
- Gluing up
Video Transcription
[on-screen text reads: StewMac tools + ideas for guitarmaking]
Flattening and joining warped wood
Dan Erlewine: This morning I've pulled out a couple pieces of rosewood I've saved for a while to make a back for a guitar. I left it sitting on a shelf, unclamped or stickered, and they warped on me. See that? This is pretty common too. If you don't sticker your wood or you get some of the fancier woods, having that kind of twirly grain makes it want to warp. That makes it harder to join the edges to get a good seam, but not impossible. Here's how you do it.
Clamping the pieces flat
Okay, we're going to tame this wood. We're going to set it on this nice flat piece of MDF, it's real solid, and I'm going to hang a little bit of rosewood over the edge because I'm going to put a secondary board on top of this with a nice straight edge on it. This was a piece of poplar, and I'm going to clamp that down with maybe a 16th of an inch hanging over because I'm going to run my ball bearing router along this and trim it. That's going to give me a pretty good joint right there. Then, I can improve it with sandpaper.
Creating a square edge
So, that's a pretty smooth edge right there off the router bit. And I've taped it together [on-screen text reads: Binding Tape - stewmac.com] at the ends to kind of keep it lined up as I go to the next operation, which is back on my work board. This time I'm going to clamp it with a couple of boards, really get it flat. Right up close to the edge. And now I'm going to sand it with the known flat edge, which is my dad's old carpenters level. I have used this for years to do this type of job. I'm going to use 120 Grit Stikit Sandpaper. And this can shoot right along this board. And I'll check that again.
Gluing and clamping it up
It's invisible. It's perfect. Now to clamp it. So, here's how I go about gluing this up, some more scrap plywood. It's going to raise me up to a height that I want that's going to hold my big MDF board up off the table and you'll see why. Wax paper. I'm going to put some glue on one edge [on-screen text reads: Titebond Original Wood Glue - stewmac.com]. I'm using Titebond. You could use any glue you want, really. I've done it with hide glue, epoxy. [Dan places the body blank wood on top of wax paper, then places another layer of wax paper on top] Wax paper. I've got a chunk of maple that's for making a guitar neck. I'm going to use that as a little weight on here only. Only, I'm not going to clamp too tight yet, because I want to be able to squeeze these pieces together.
Get a pipe clamp out here. We'll come right down on the edge of this rosewood, squeeze it together a little bit, grab a couple more clamps here to hold this board down here. Most of this wood was not cut up for this job. It's the stuff I have. Now, I can apply some pressure on this without worry about buckling it.
Clamp that down, keep it flat and that's it. Give me an hour or two hours, we'll unclamp it and see what we have. So it's been almost two hours. That's plenty of time for the tight bond to dry. So now for the fun part, the nice thing about this is since it's glued now those two kind of warpy edges will help keep each other flat. Yeah. Way flatter than it was. That little bit of squiggle is going to come right out with the braces, because it's holding itself in that shape. This one's down and that one's up.
Thickness sand and brace
And now I'm going to thickness sand it. I'm going to use my 10 inch jet thickness sander, which it's not wide enough for the back, but I can run it two different directions. That's a nice joint. It was pretty simple to do too on a pretty warped piece of wood. Now, I'm going to put a couple braces on this just to keep it in a perfect shape. That's it. I started with a piece of wood that was untameable I thought, and now I'm making a guitar out of it.