Trace a guitar to build yourself a duplicate
Issue 307 June 14, 2018
Steve is an apprentice in Dan Erlewine’s shop, and he’s planning to build himself a copy of Dan's 1930s Kalamazoo K-11. Here's his simple and accurate way to create a body template.
About the guitar in this video: this is a Kalamazoo K-11 model, built in the 1930s. With a relatively small body, it was sold as an entry-level, student-grade guitar.
- Drafting vellum is great for tracing
- Magnets and mirrors give you X-ray vision!
- Quickly create a bracing plan for both top and back
- Dan and Steve pick a tune!
Video Transcription
Dan Erlewine: My apprentice, Steve Miller, loves my little Kalamazoo K11. That was sort of an entry-level guitar that Gibson made in the '30s, this one's in 1937, that had all the same appointments as its Big Brother Gibsons, but it was ladder braced, not X. Mine has the same sunburst as a J-35 that I once owned. And the neck's the same feel. It's the same neck. Today, these guitars are in high demand, by good players. They're really appreciated and could bring several thousand dollars if you can find one. And normally they don't come in very good shape because it had a cheap case and wasn't well taken care of. So Steve's going to make one for himself, copying my guitar, and I'm going to show him this morning how to draw a building pattern from it, and I think you'll like it.
Trace a body template using drafting vellum
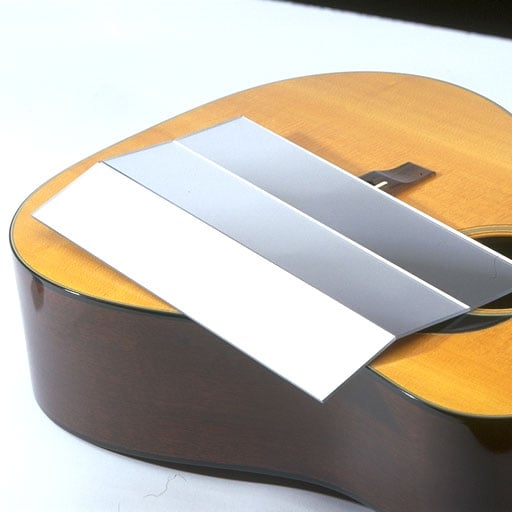
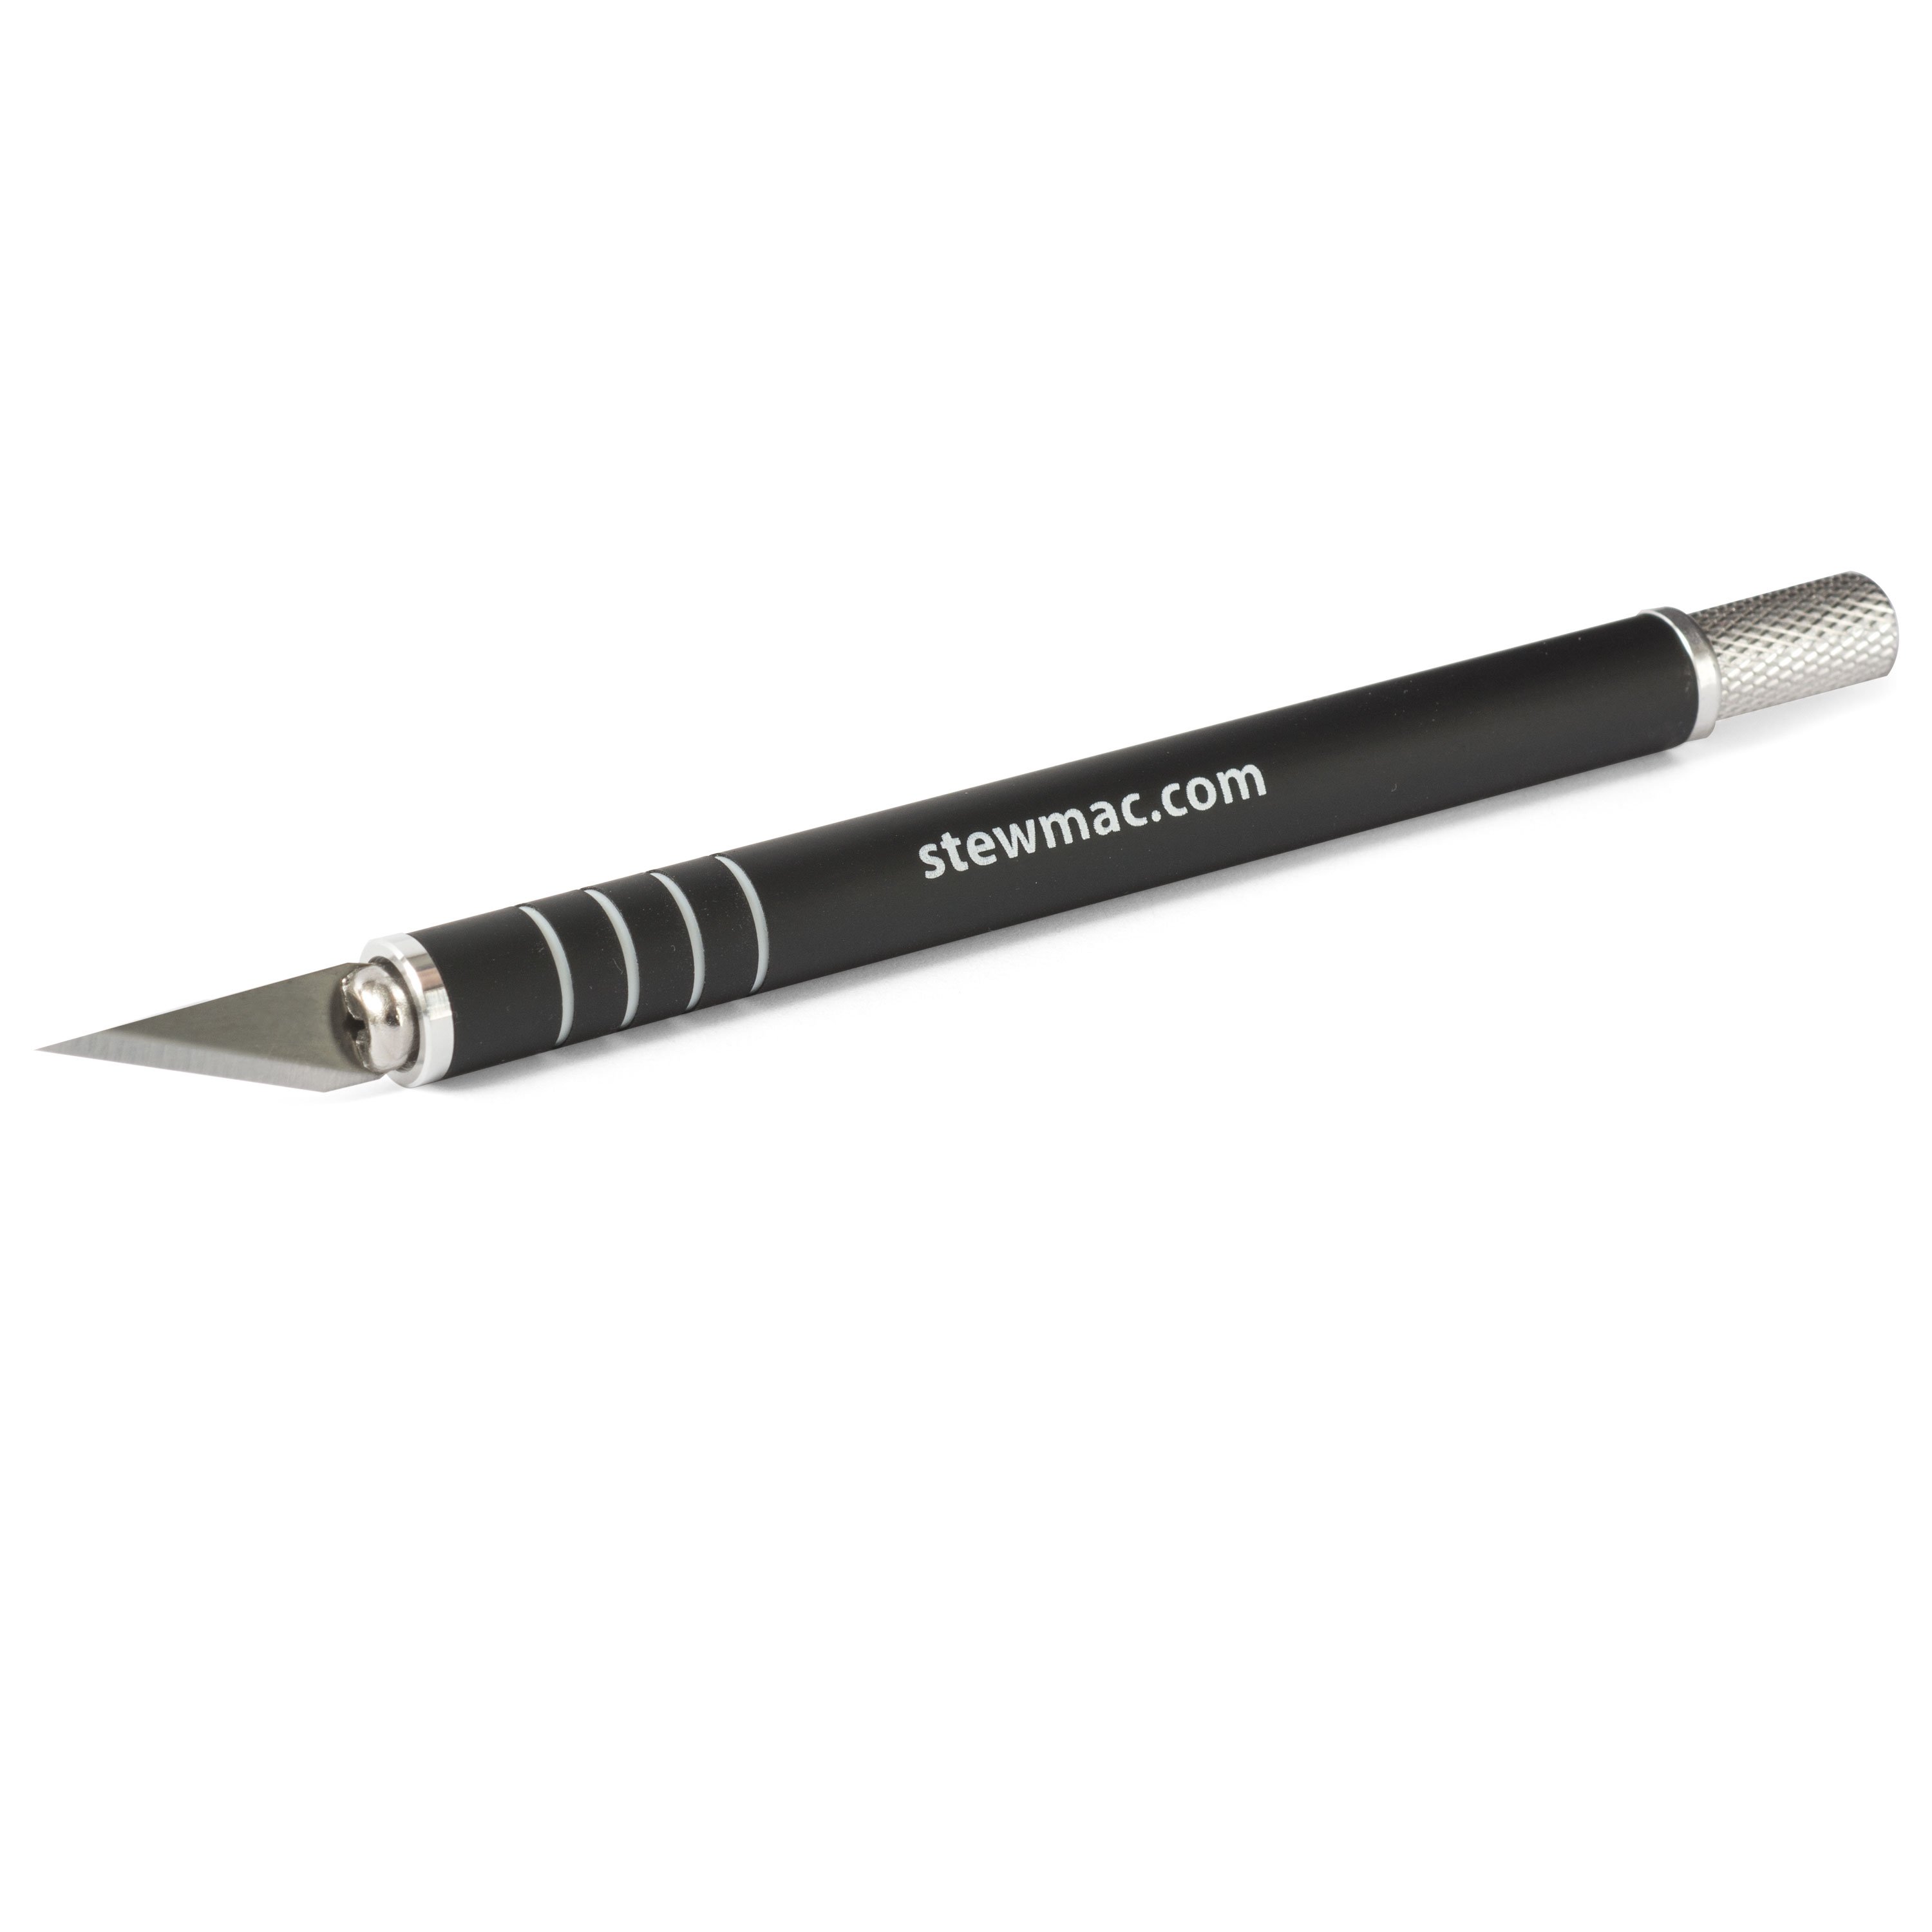
Steve Miller: Well, it took a little bit of convincing to get Dan to let me take the strings off his guitar, but they're off and we're ready to trace it out. We've got some tracing vellum here that we bought at the local bookstore. It's clear like tracing paper, but it's thick enough to be workable. So what we're going to do is draw a center line on it. And once we have that, I'm going to mark an outline for the fretboard extension and the bridge. Because we want this piece of paper to sit flat down against the top. It doesn't have to be a super exact thing. We just need it to be cleared, so it can sit flat. I'm going to cut them out with an X-acto knife in a straight edge.
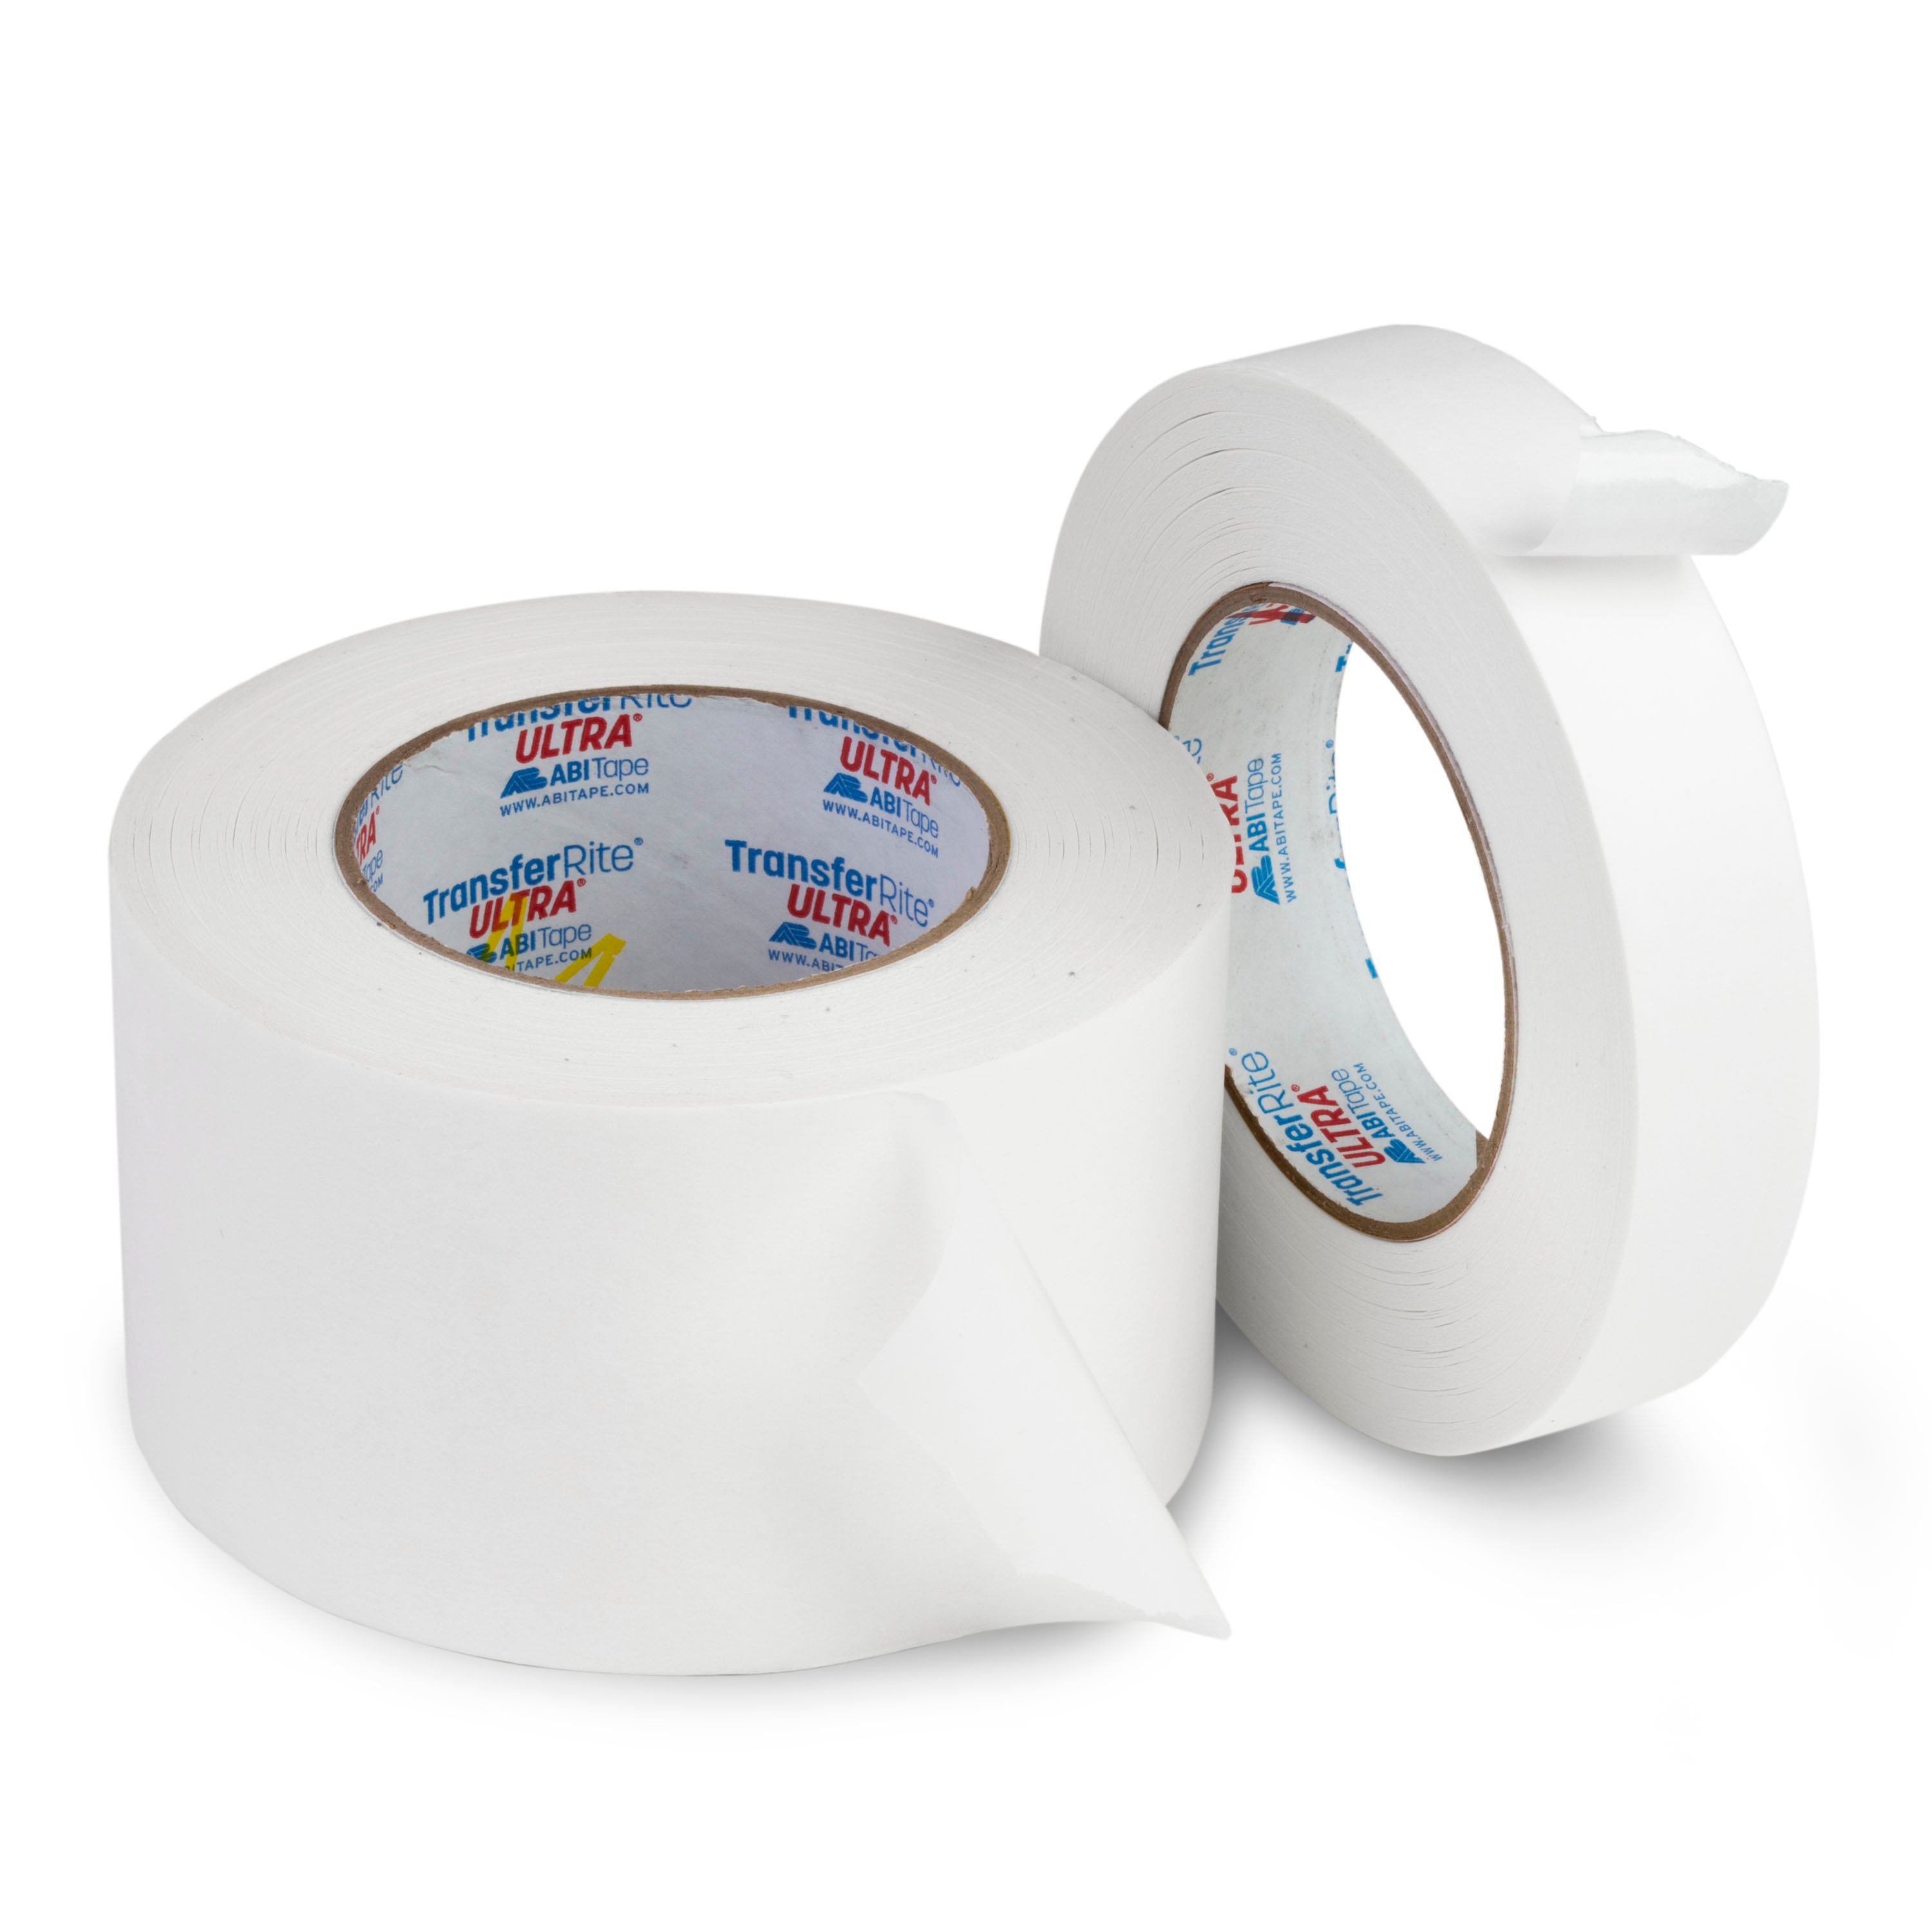
That's looking pretty good right there. And now that it's flat, I'm going to mark out the sound hole location, and trace out the profile. But I'd like to tape the paper in place so that doesn't move when I'm doing that. I'm using this low tack tape [on-screen text reads: Low Tack Protective Tape - stewmac.com]. This tape will have a lot of uses throughout this process. A lot of times on these vintage guitars, the finish can be checked and coming apart, and if you used a stronger adhesive, you could end up taking some of that finish off.
So now I have this X-acto knife with a fresh blade in it, and I can cut around very carefully around the profile, to try and get a really close shape. Now I'm going to trace around the sound hole, and take that off and cut it. You can use something that's close to the circumference of the sound hole, like we have this roll of tape here. There it is.
Magnets and mirrors give you X-ray vision
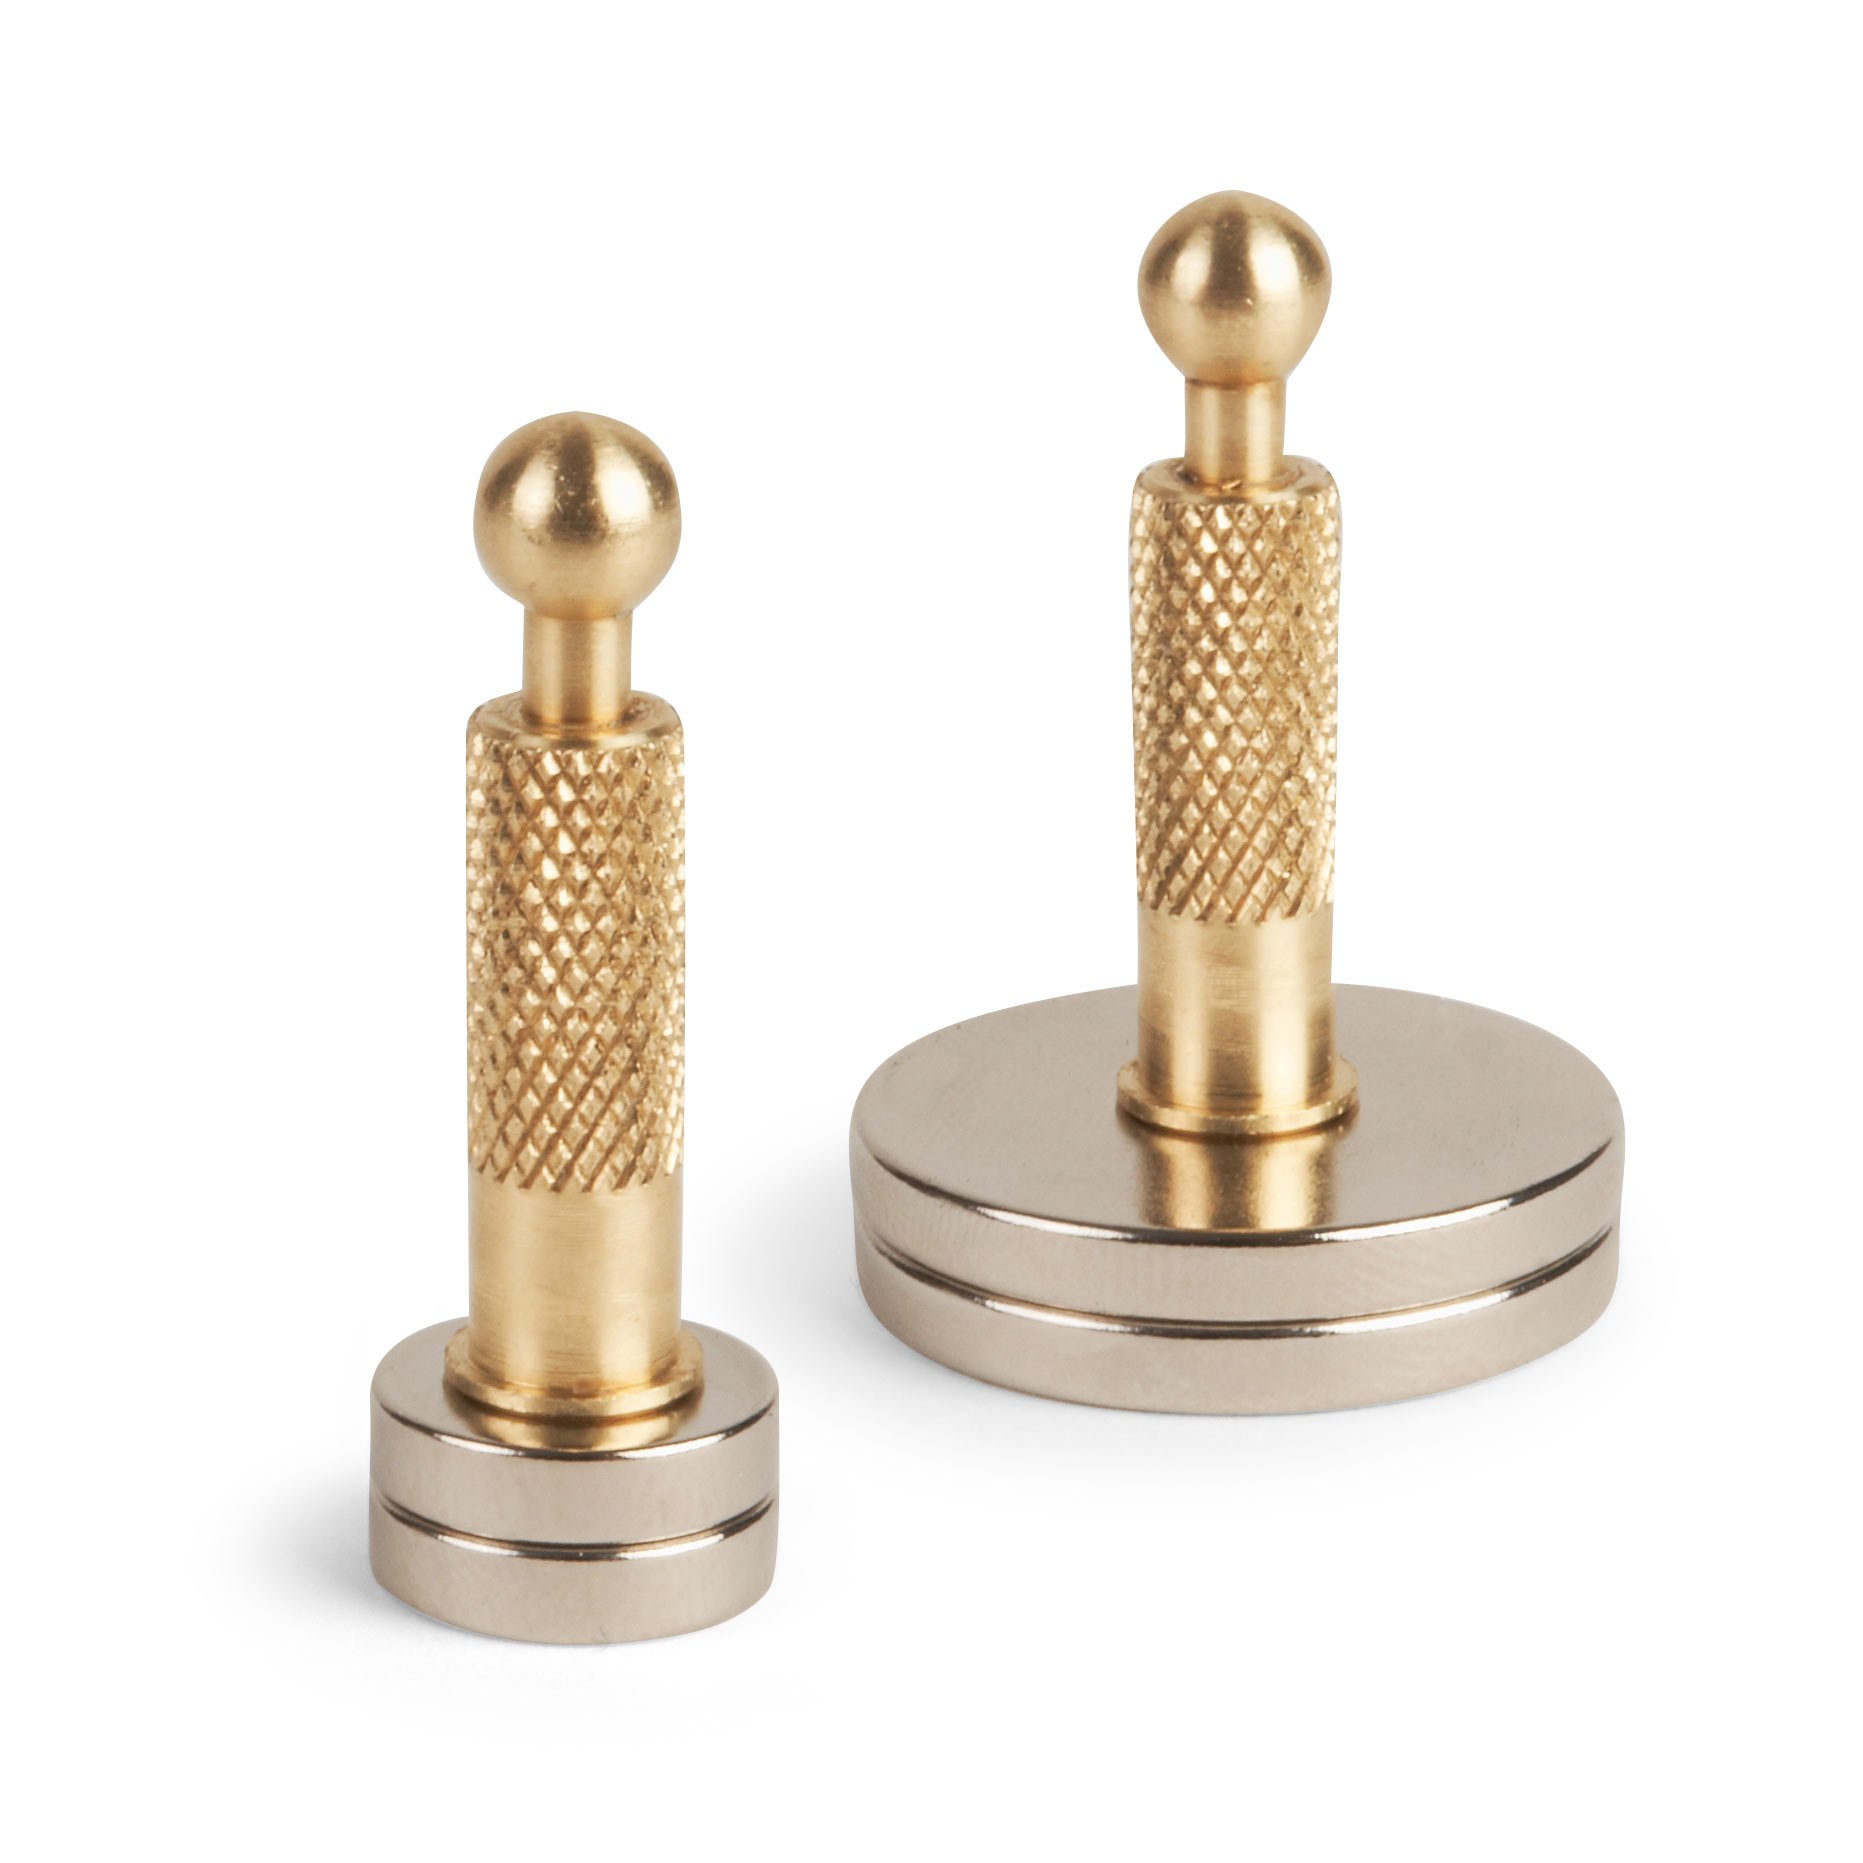
I'm going to tape it in place because we don't want it to move for the next step, which is locating and tracing the braces, the bridge pad, and the neck block. And to do that, we've got these two half inch Guitar Repair Magnets. We'll have one on the outside and one's going to go on the inside here. I do have a nifty little LED light and mirror in there as well to help me see. And right there, I'm flat against the brace, I'm up against the side, and I can make a little mark where the profile of the brace is sitting.
Create a bracing plan for both top and back
I'll bring it over to the other side of the brace and mark that, and then slide the magnets down to the other end of the guitar and mark both sides of the brace there as well. As Dan mentioned, this guitar is ladder-braced, as opposed to X-braced, having four braces in total. So I'm going to go through with my magnets. Precisely and patiently, I'm going to locate and mark each individual brace.
Once I connect the dots with a straight edge, I can clearly see those top braces. Next, I'll flip the tracing paper, tape it to the backside of the guitar, and pretty much do the exact same thing to locate the back braces. There's three total.
So once again, I've connected the dots, and have an outline of the back braces. The tracing paper is translucent, so they can get muddled together with the top braces, but I've marked them with Bs, so I can tell them apart.
My next step would be to trace this onto a thicker piece of poster board, so then I'd have a stiffer template with smoother edges. That will make it much easier to trace onto a piece of wood, build my braces, and put together the top and the back of my very own Kalamazoo.
Dan and Steve pick a tune
Dan Erlewine: Yeah, Steve, I'm looking forward to you building one too so I can get mine back. It's not that I don't love this 1940 J-35. I love it, and it's wonderful, but it's kind of big for a little guy like me. That's why this little sweetheart is my favorite. Let's give him one.
Steve Miller: All right.
[Dan and Steve both play their acoustic guitars together]

