Tips for spraying guitars with aerosol cans
Issue 329 April 18, 2019
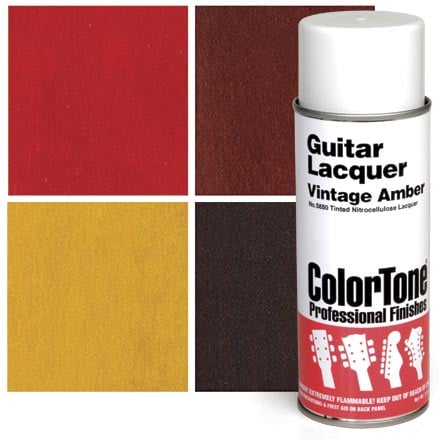
You can do a lot with ColorTone premixed guitar finishes in aerosol cans! Dan Erlewine shares the secret to good guitar finishing using spray cans.
- Using warm lacquer, not cold
- How close should the spray can be to the guitar?
- What’s the rotating nozzle for on ColorTone spray cans?
- You might not want to hang the guitar while spraying. Here’s why...
Video Transcription
[on-screen text reads: StewMac tools + ideas for guitarmaking. 5 Tips for Using Aerosols]
Dan Erlewine: Once upon a time, the only way to get the right color for a guitar finish or a repair job was to mix the color yourself with pigments, stains and lacquers. That involved having an air compressor and spray guns and airbrushes, cleaning tanks, and a big mess all the time. That's how I got into this field in the 60s. I've really learned from guys that were painting motorcycles and cars. And frankly, a lot of you probably wouldn't want to go to that trouble, make the investment and you don't even need to, because we have ColorTone Aerosols now in every guitar color you can imagine [on screen text reads: Colortone Aerosol Guitar Lacquer - stewmac.com]. These are not a magic replacement for having a compressor and a spray gun. But lately I've been using these a lot because they do have the colors I need and it's quick for touch up work and small jobs. With the five tips I'm about to show you, you can get a lot more out of an aerosol than you ever thought you could.
1. Warm lacquer, not cold
A great number of professional finishers use heated laqcuer. The laqcuer is warmed in a tank or sprayed with a gun that's warm because it flows out better. The viscosity changes and it goes through and lays out a beautiful coat. Heating up these aerosols to the correct temperature to spray, is easy to do at home. Just put it in your sink with very hot water for 15 or 20 minutes until you know the can is really warm. That's going to give you a much better spray than an aerosol that's cold. I can see this as I spray, it's a finer mist. And the proof is really doing it. If you spray the lacquer warm, it's going to cover better, period. It's also important to know that you want the room that you're spraying in to be warm too. You wouldn't want hot laqcuer on a cold body or cold laqcuer on a hot body. Keep them somewhat the same.
2. Not too close
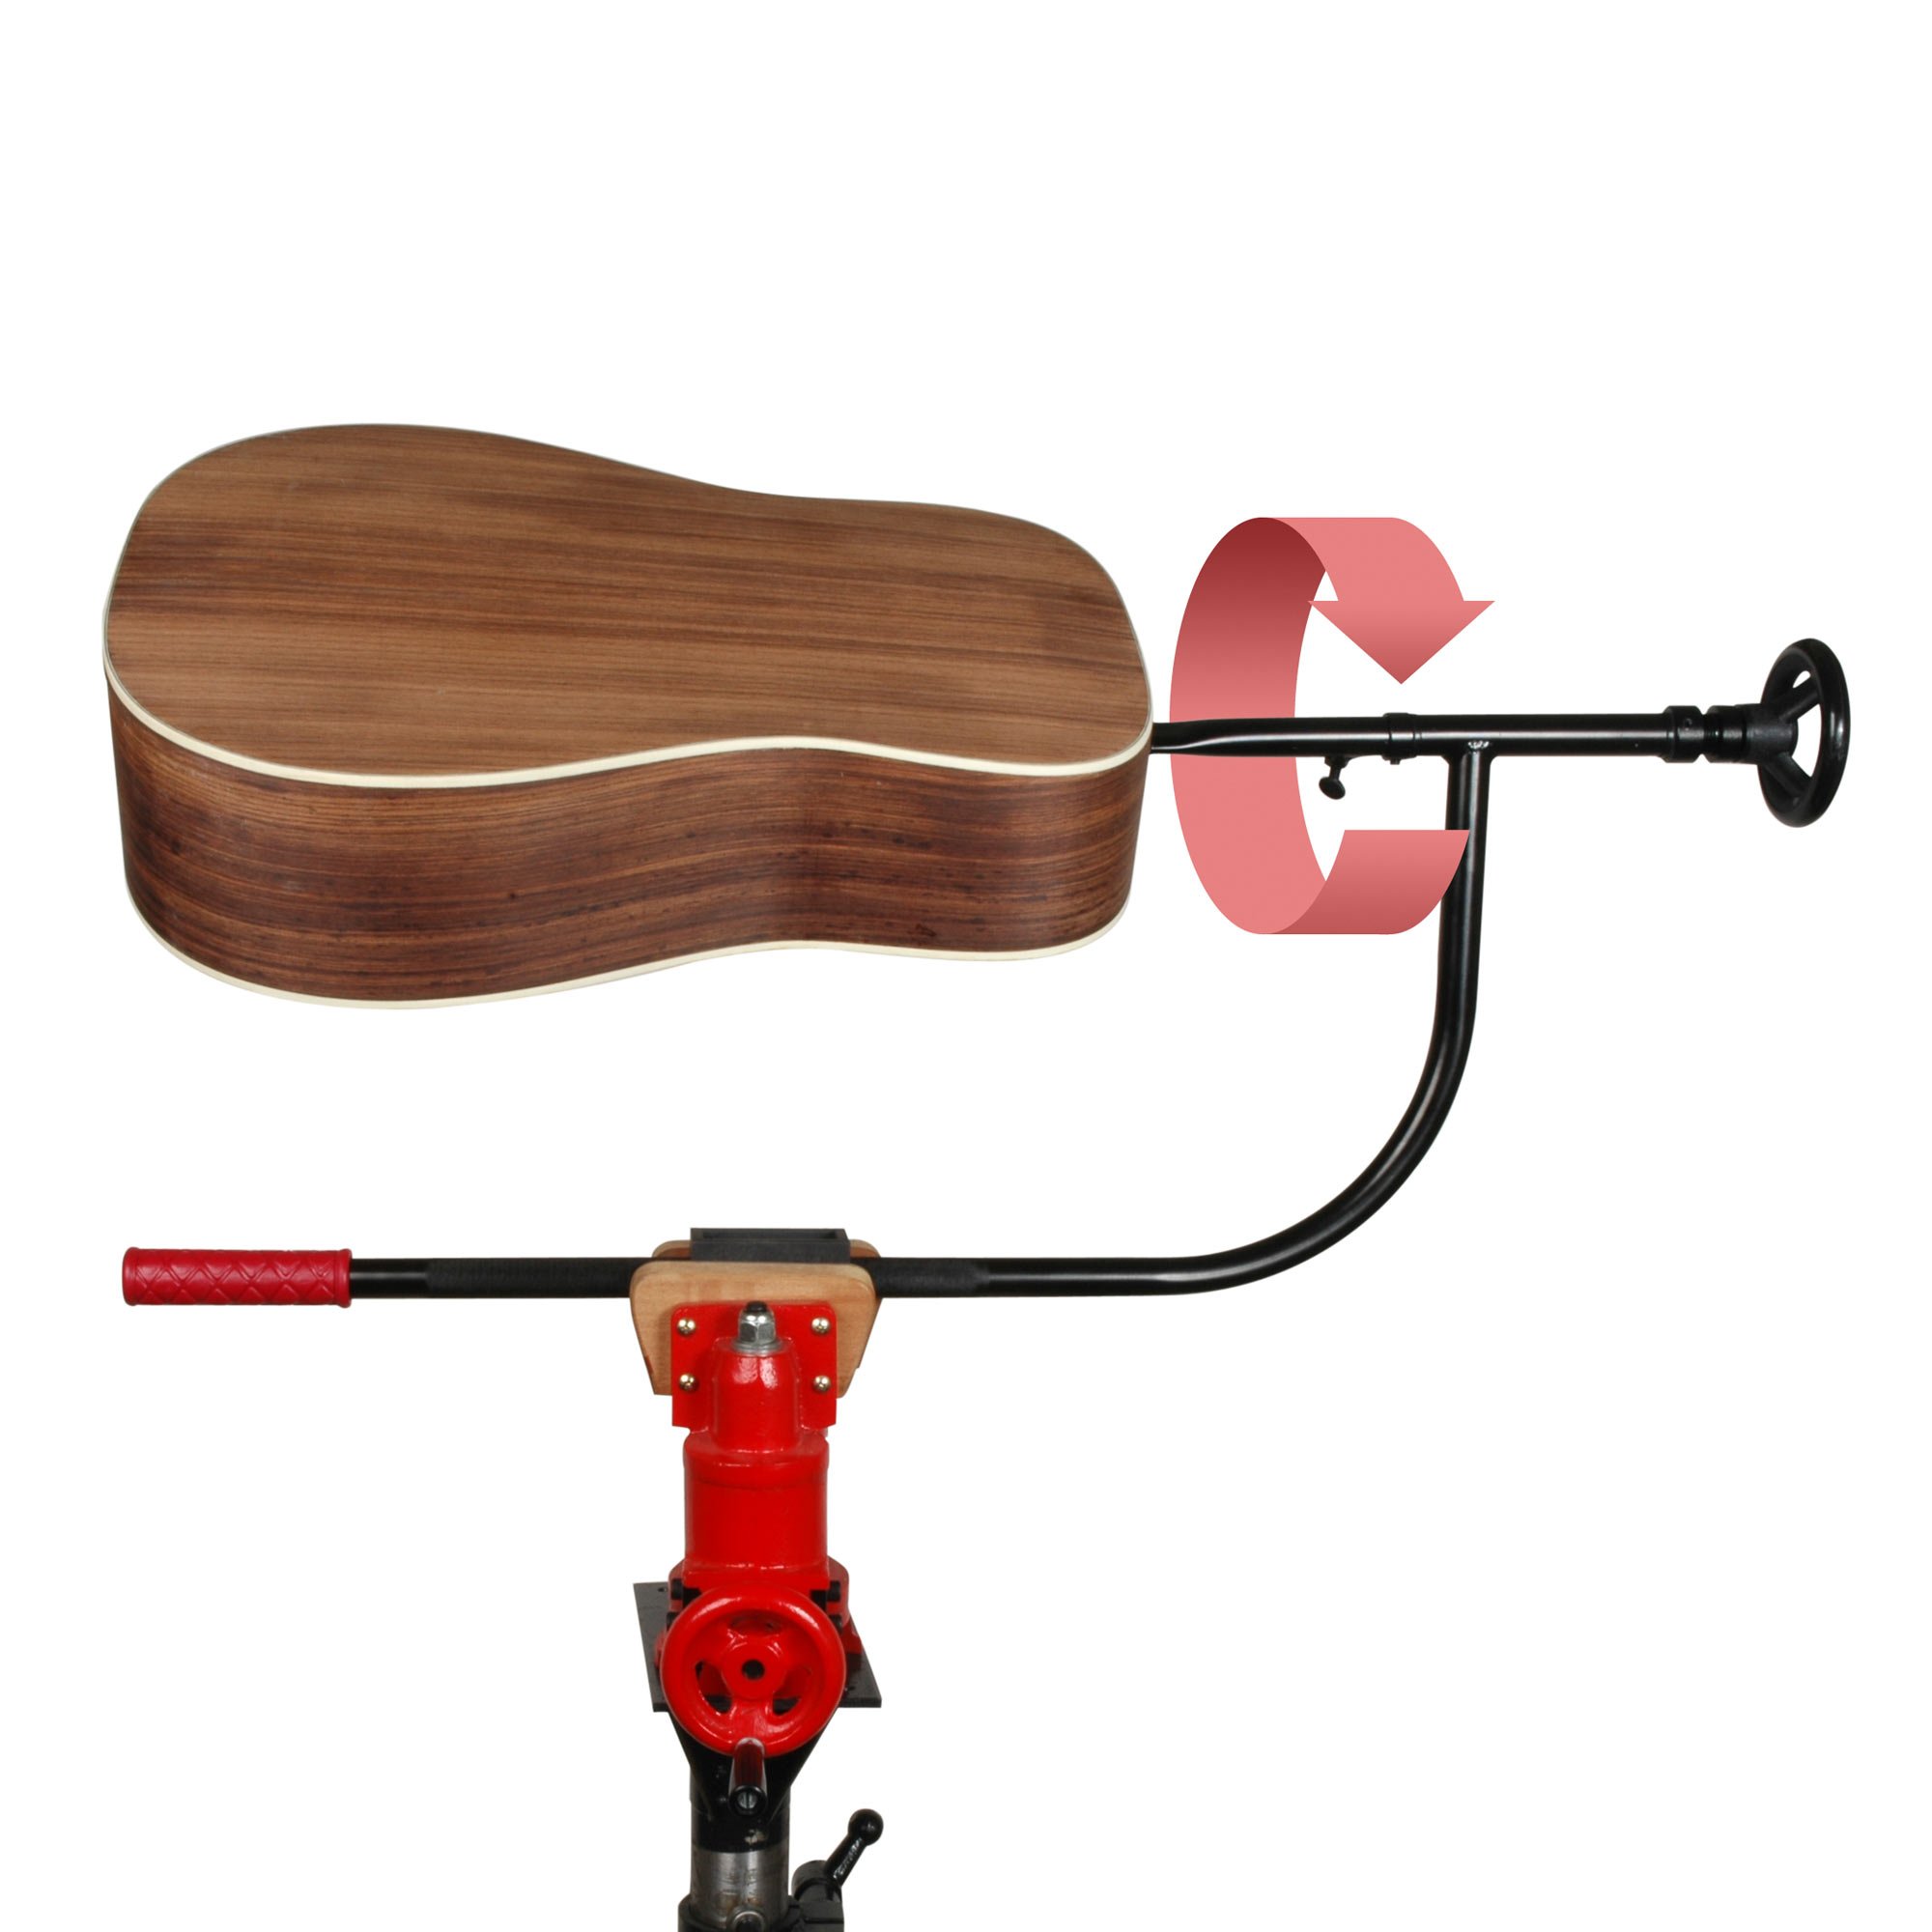
When you're spraying, don't spray too close and don't spray too far away. Probably from this range to in here in that range. Come closer if you feel you need it, but it lays out far more paint than you realize. And once you find that sweet spot, you want to keep it consistent. So as you move and twist the guitar to cover the sides and rims, you are also moving the spray can. I don't like to spray hanging the guitar because gravity is going to make that lacquer run downhill. I like to hold it as close to level as possible. I'm not going to go square onto it, because it's going to hit it and splatter to all sides. Instead, I like to hit it at a sort of an oblique angle, so the spray lays gently over the piece.
Fender in the old days would drive nails into the hollow spots and set the guitar on nails on a Lazy Susan that turned around and they could spray it from above, hit the rims with great control. We have the Free Hand Holder that holds the guitar and can turn it in all sorts of positions. It's a fine tool if you do a lot of spraying, but this is my free hand holder for as long as I can hold it.
3. Use the swivel tip
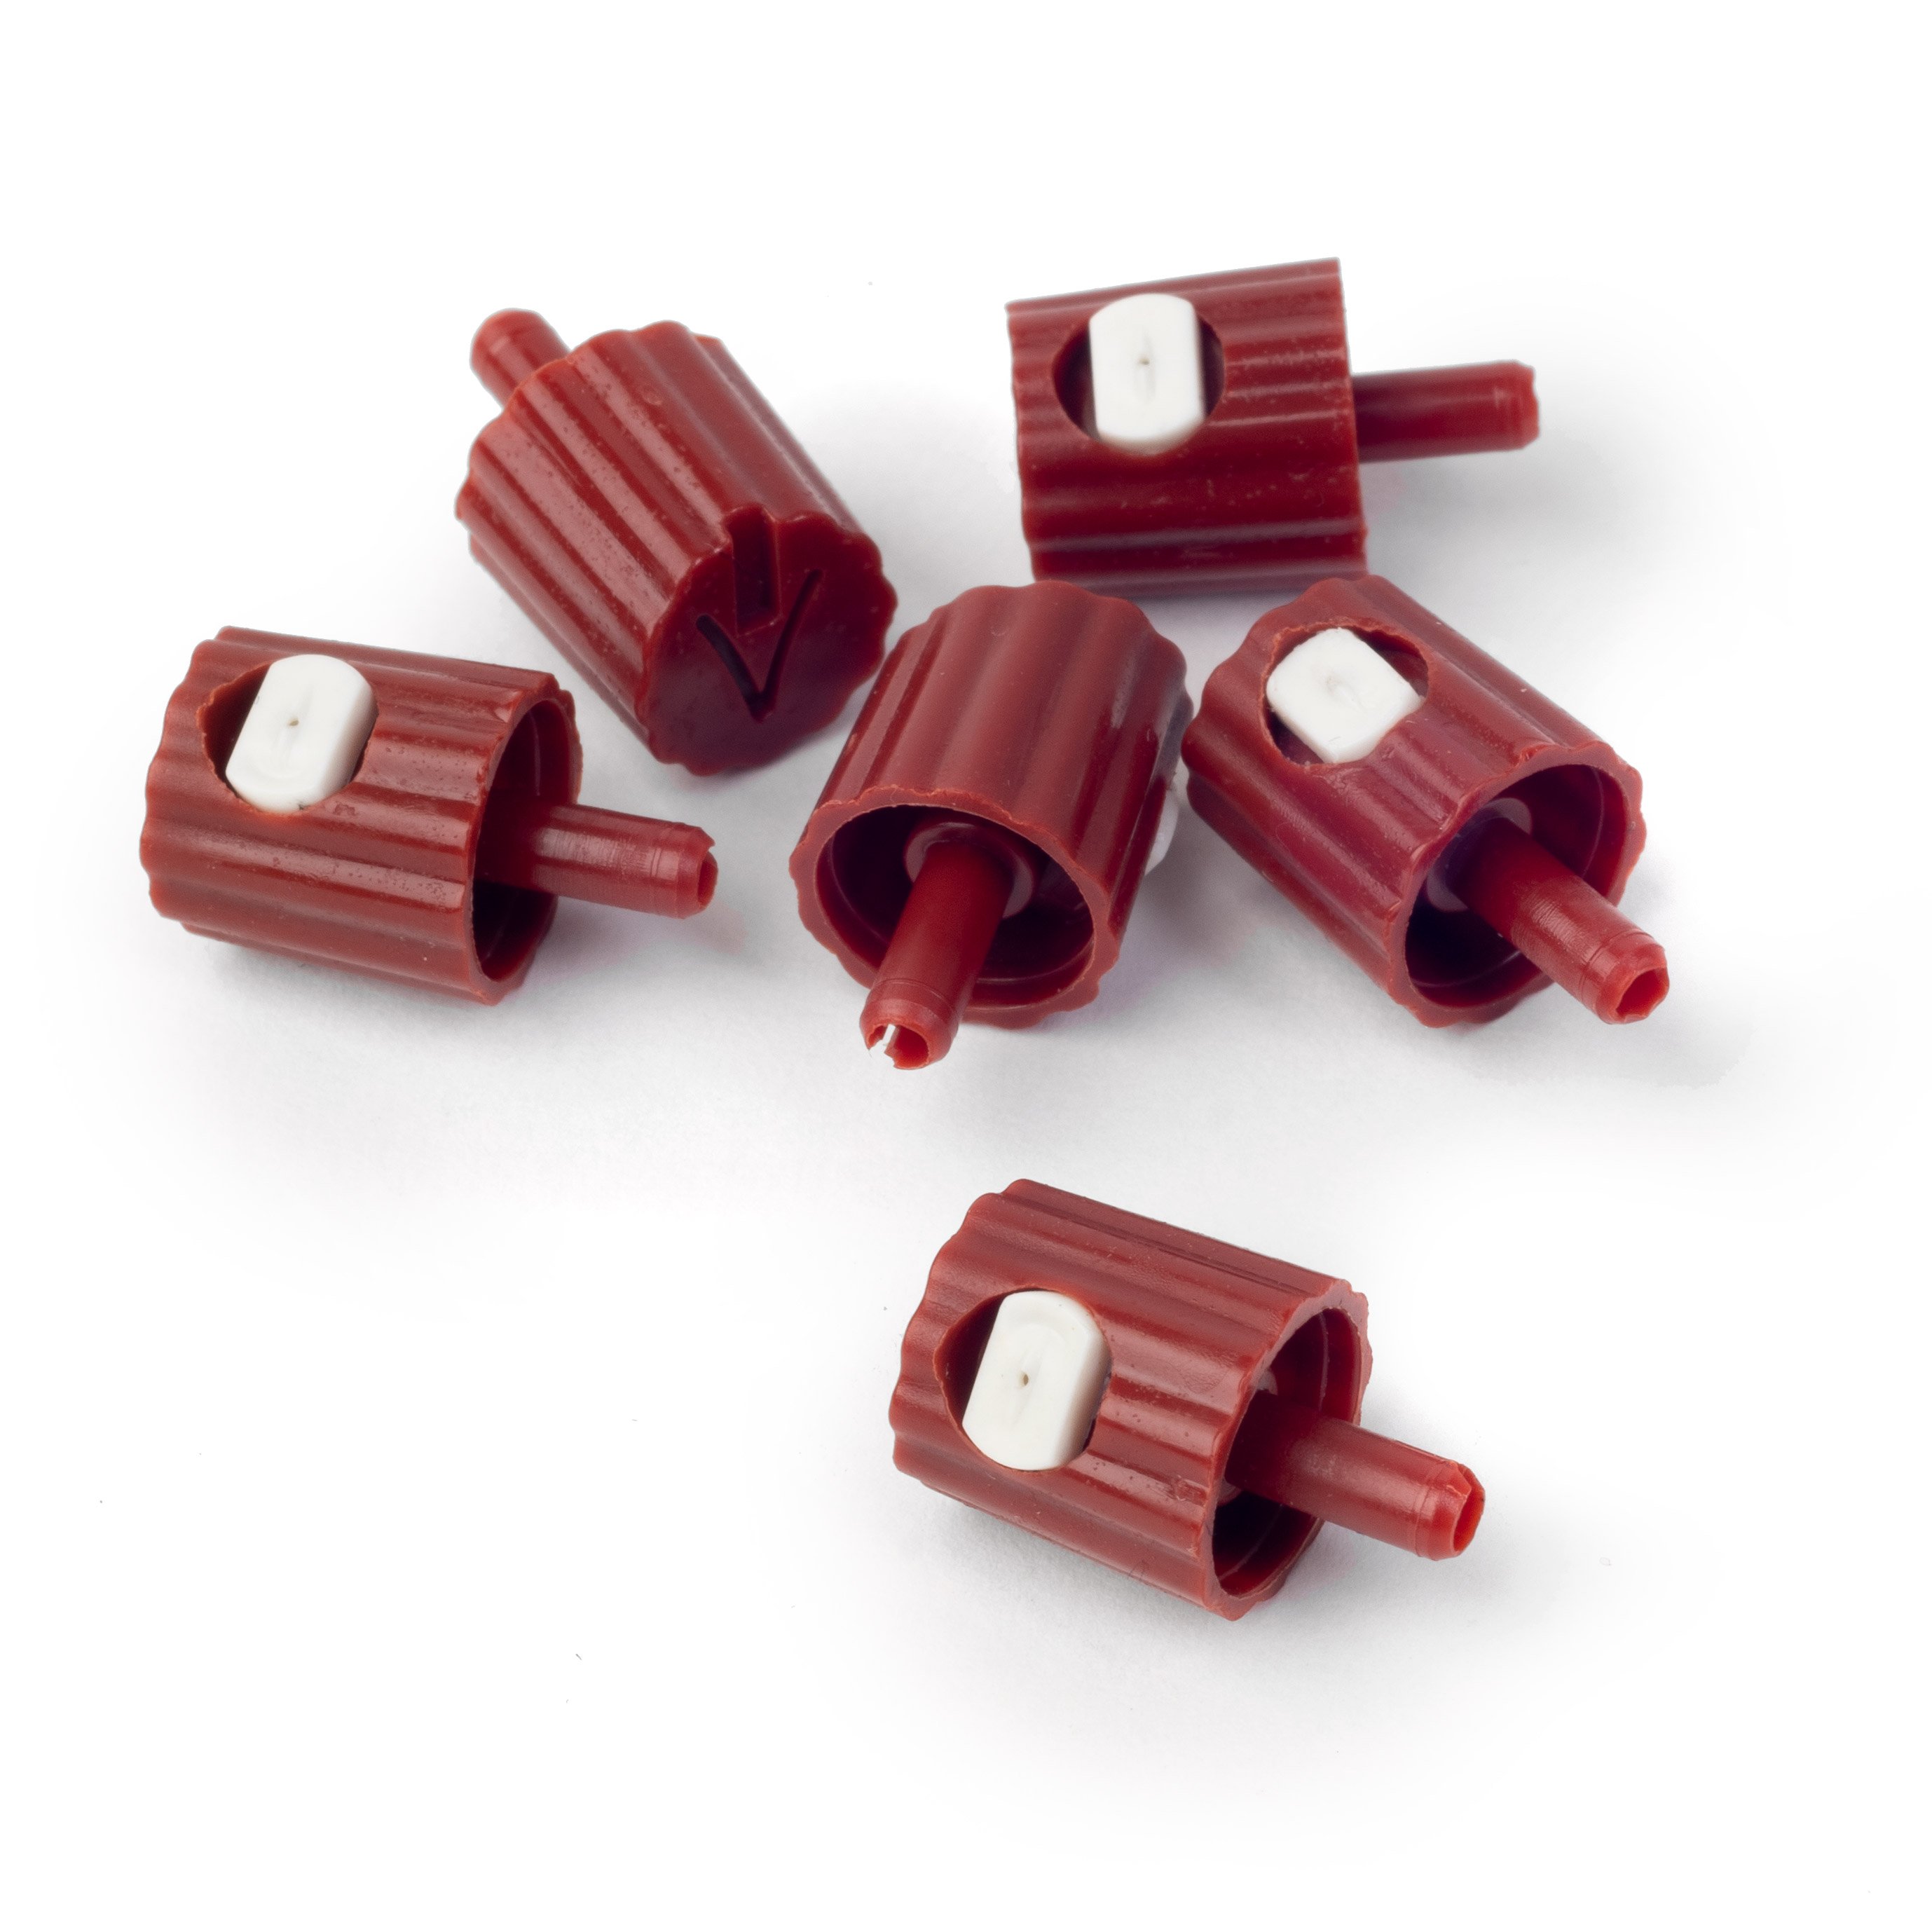
I don't know if all aerosol cans are this way, but I know the ones we have are. This little nozzle imitates a real spray gun, where the nozzle can be turned vertically and it sprays a horizontal fan or you can put the nozzle horizontal and it sprays your vertical fan. That can come really handy for certain flat areas of a guitar. You might change the tip right while you're spraying.
4. Tiny touchups
Something I love to do with these colors is take it outside and spray it into a jar. Maybe I'll only get that much and use it with a brush for a touch up or I can get half an inch deep and pour it into my airbrush jar and use that for a touch up. If you have a lidded jar, save it. It'll last for a long time. When you need some red or black, you got it.
5. Clean the nozzle
Here's the tip about tips. When you're spraying, if you're getting spattering and blotchiness or the spray won't come out, you have a clogged tip. When you're done spraying, you should wet a paper towel and some thinner and wipe that off. Now, this one has Lacquer built right up over the hole where the spray wants to come out. I would not spray with this without cleaning it. You can just pop it off and drop it into thinner like these. Let that sit a couple of minutes. That's like brand new. And to keep your tip clean in the first place, when you're done spraying you hold the can upside down and you press it until the fluid stops coming out. You'll see it and you'll even hear it. It's all of a sudden spraying clean air.
Speaker 2: That's it.
Dan Erlewine: That's the time to dip some paper towel into your thinner and really clean it off. Then you'll have a clean tip the next time you start.
So there are five tips that should help you get a lot more out of your aerosol spraying. And by the way, if you're into this type of stuff, subscribe to our YouTube channel, because it's loaded with tips on all sorts of guitar work.


