Short video: Making a guitar neck more comfortable to play
Issue 236 February 12, 2015
Making a beginner-friendly fingerboard: Dan Erlewine’s sister-in-law is learning to play, and her guitar has rough, sharp fret ends. The fingerboard edge is also too sharp, but Dan quickly makes this guitar more beginner-friendly.
About the guitar in this video: This is a Harmony classical model H6272, made between 1972-1975. Harmony's 1974 catalog called it a “Traditional classic guitar with the touch of Harmony greatness.”
- Beveling the fretboard edges: filing the wood and the fret ends
- How many tools would Dan use on a job like this?
- Tip: Use a Radius Sanding Beam upside-down!
- Polishing frets and oiling the fretboard
Video Transcription
[on-screen text reads: Stewart-MacDonald - Trade Secrets!
Dan Erlewine: My sister-in-law, Sue, has decided to learn to play guitar and she's inherited this 1970s harmony classical guitar. It'll be a good learning guitar. The necks are a little wide on a classical for a beginner, but the nylon strings make for a really comfortable action, and these strings are low to the fret board. It's a good low action.
What I don't like about it is, the frets are sticking out because the wood has shrunk. They're really rough and the edges of the fretboard are hard. It's like a real right angle and I'd like to smooth it off. Up here the frets are so bad, if I rub this block of wood on it's cutting into the wood. You can imagine what that would do to her thumb and her hand on either side. What I'll do is file the fret ends, as if we were doing the fret jobs, reshape them. The other thing I want to do is roll these edges a bit and part a slight round over to them, so when she grabs it, it's more comfortable.
I just re-fretted this guitar and did the same thing that I'm going to do to this one. I rounded the edges over so it's comfortable. I want to make this guitar feel like that.
Beveling the fretboard edges and filing the fret ends
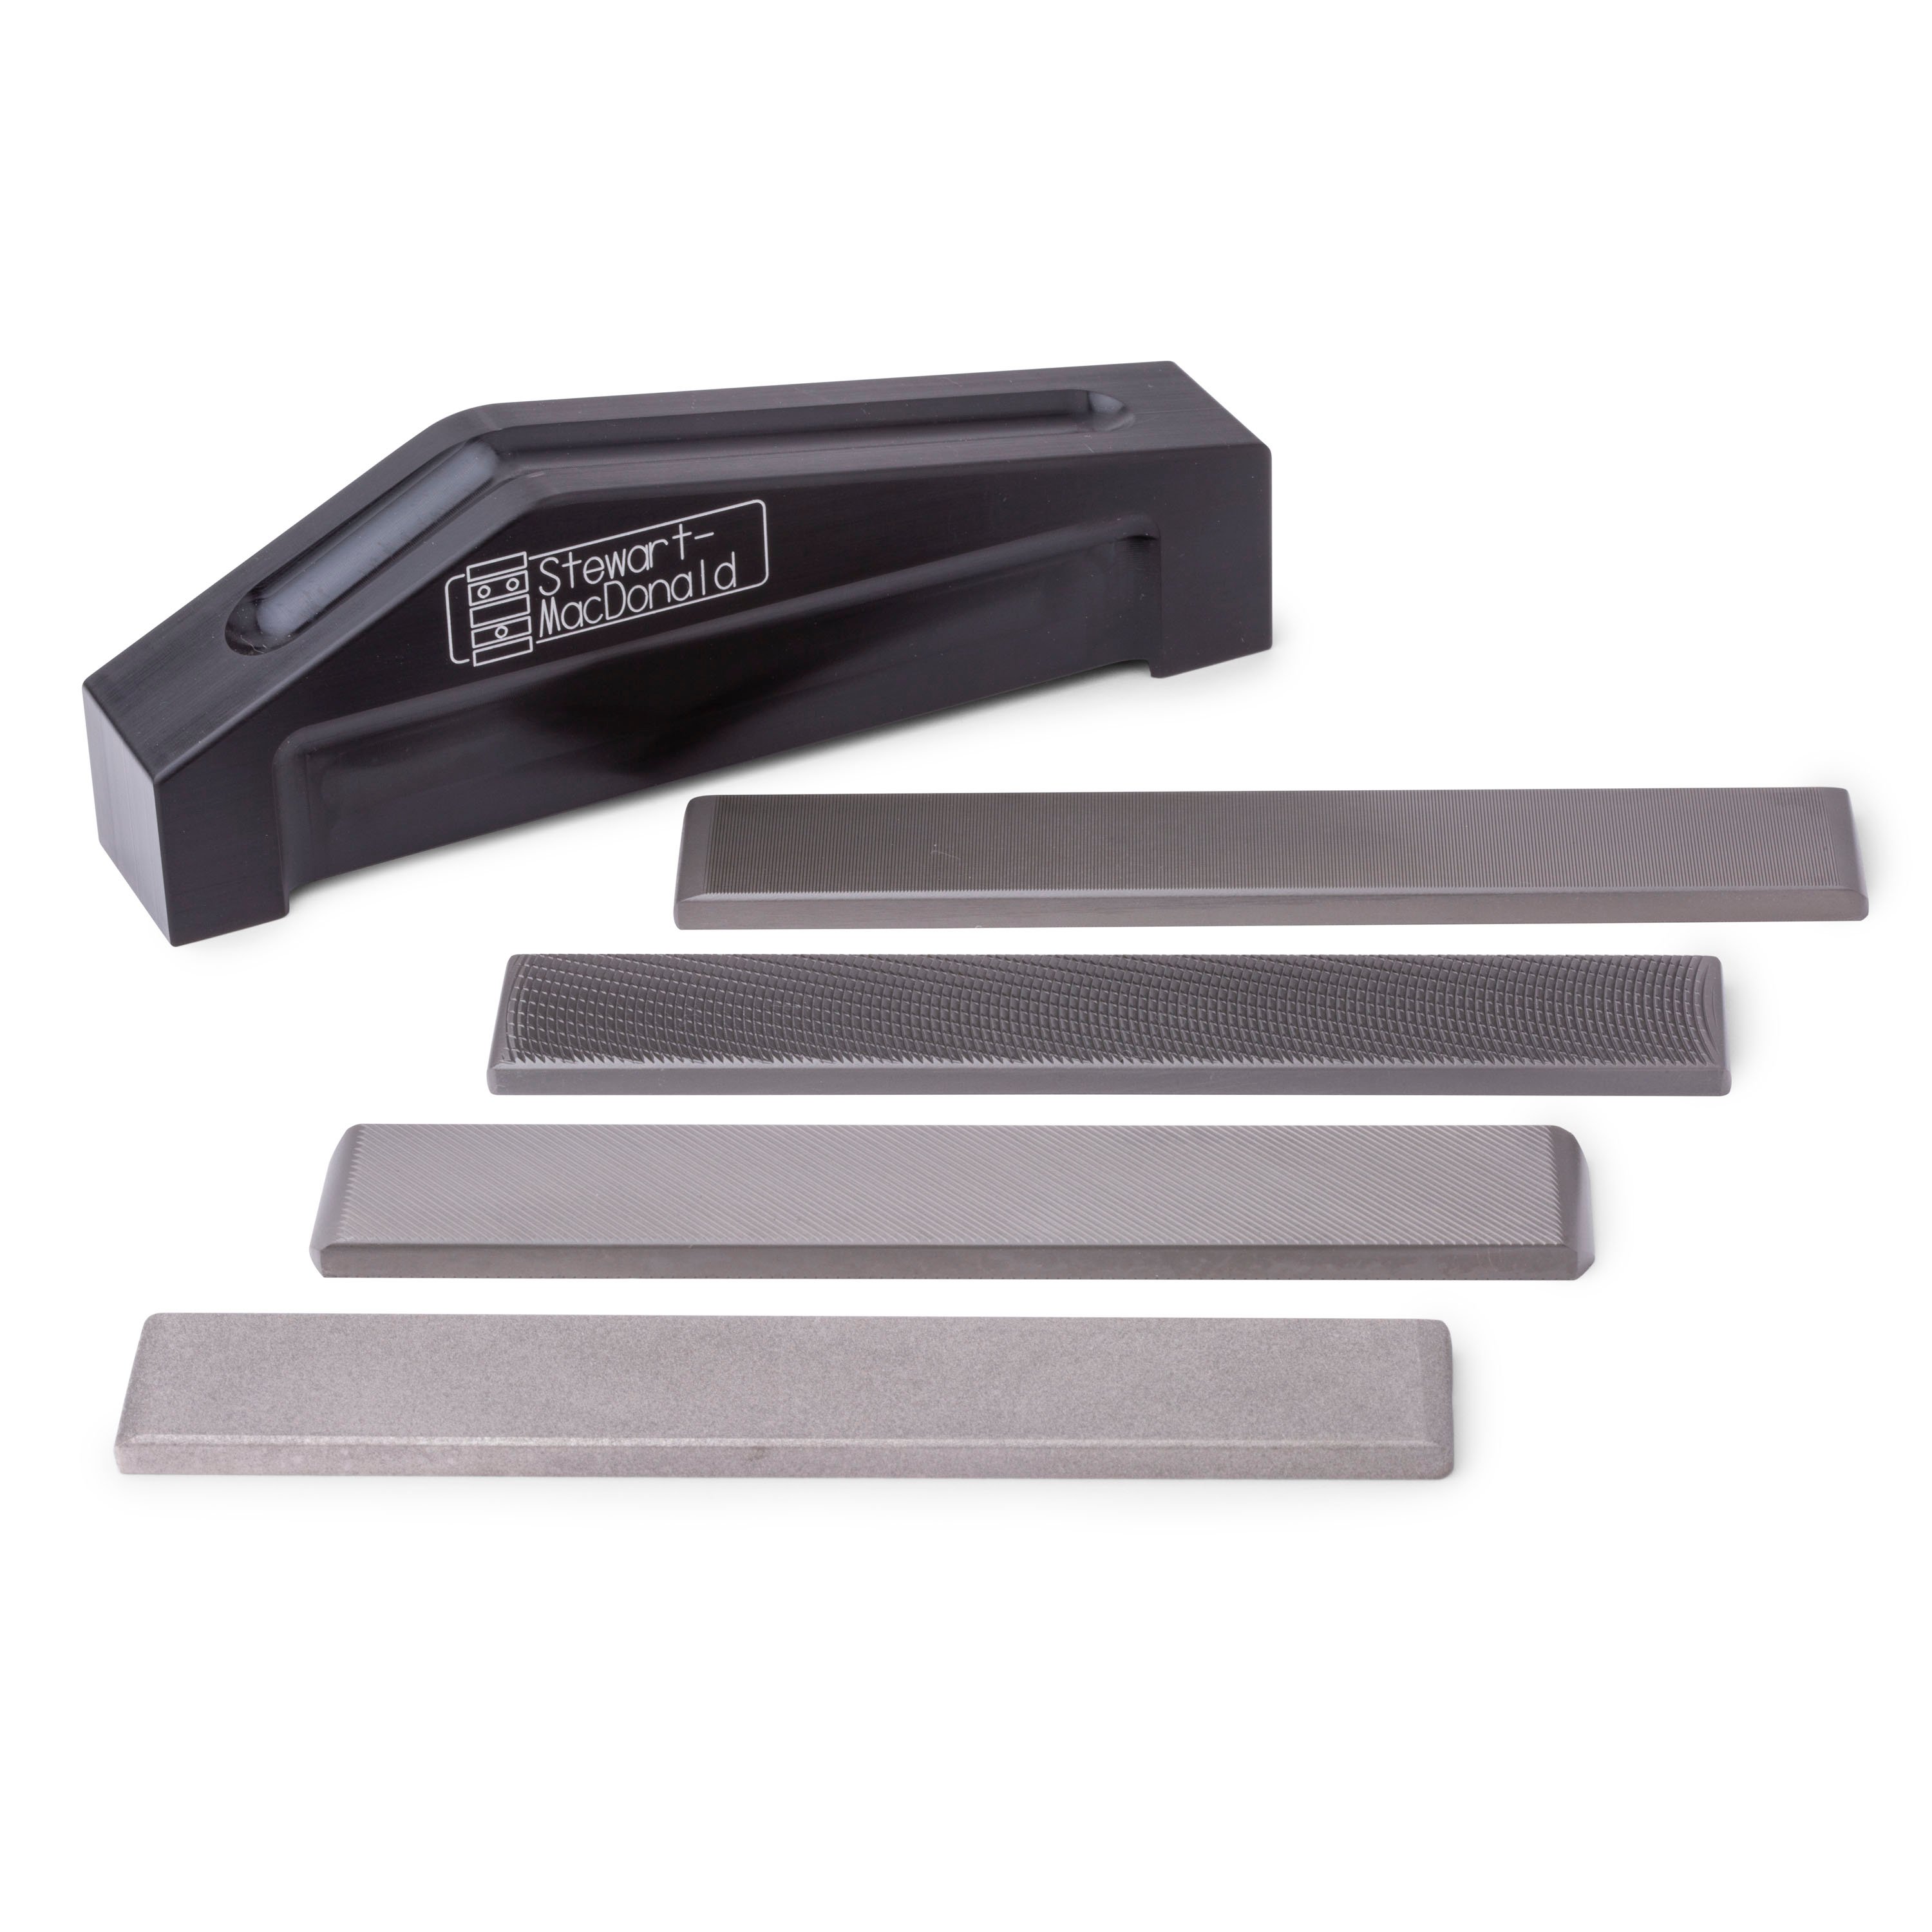
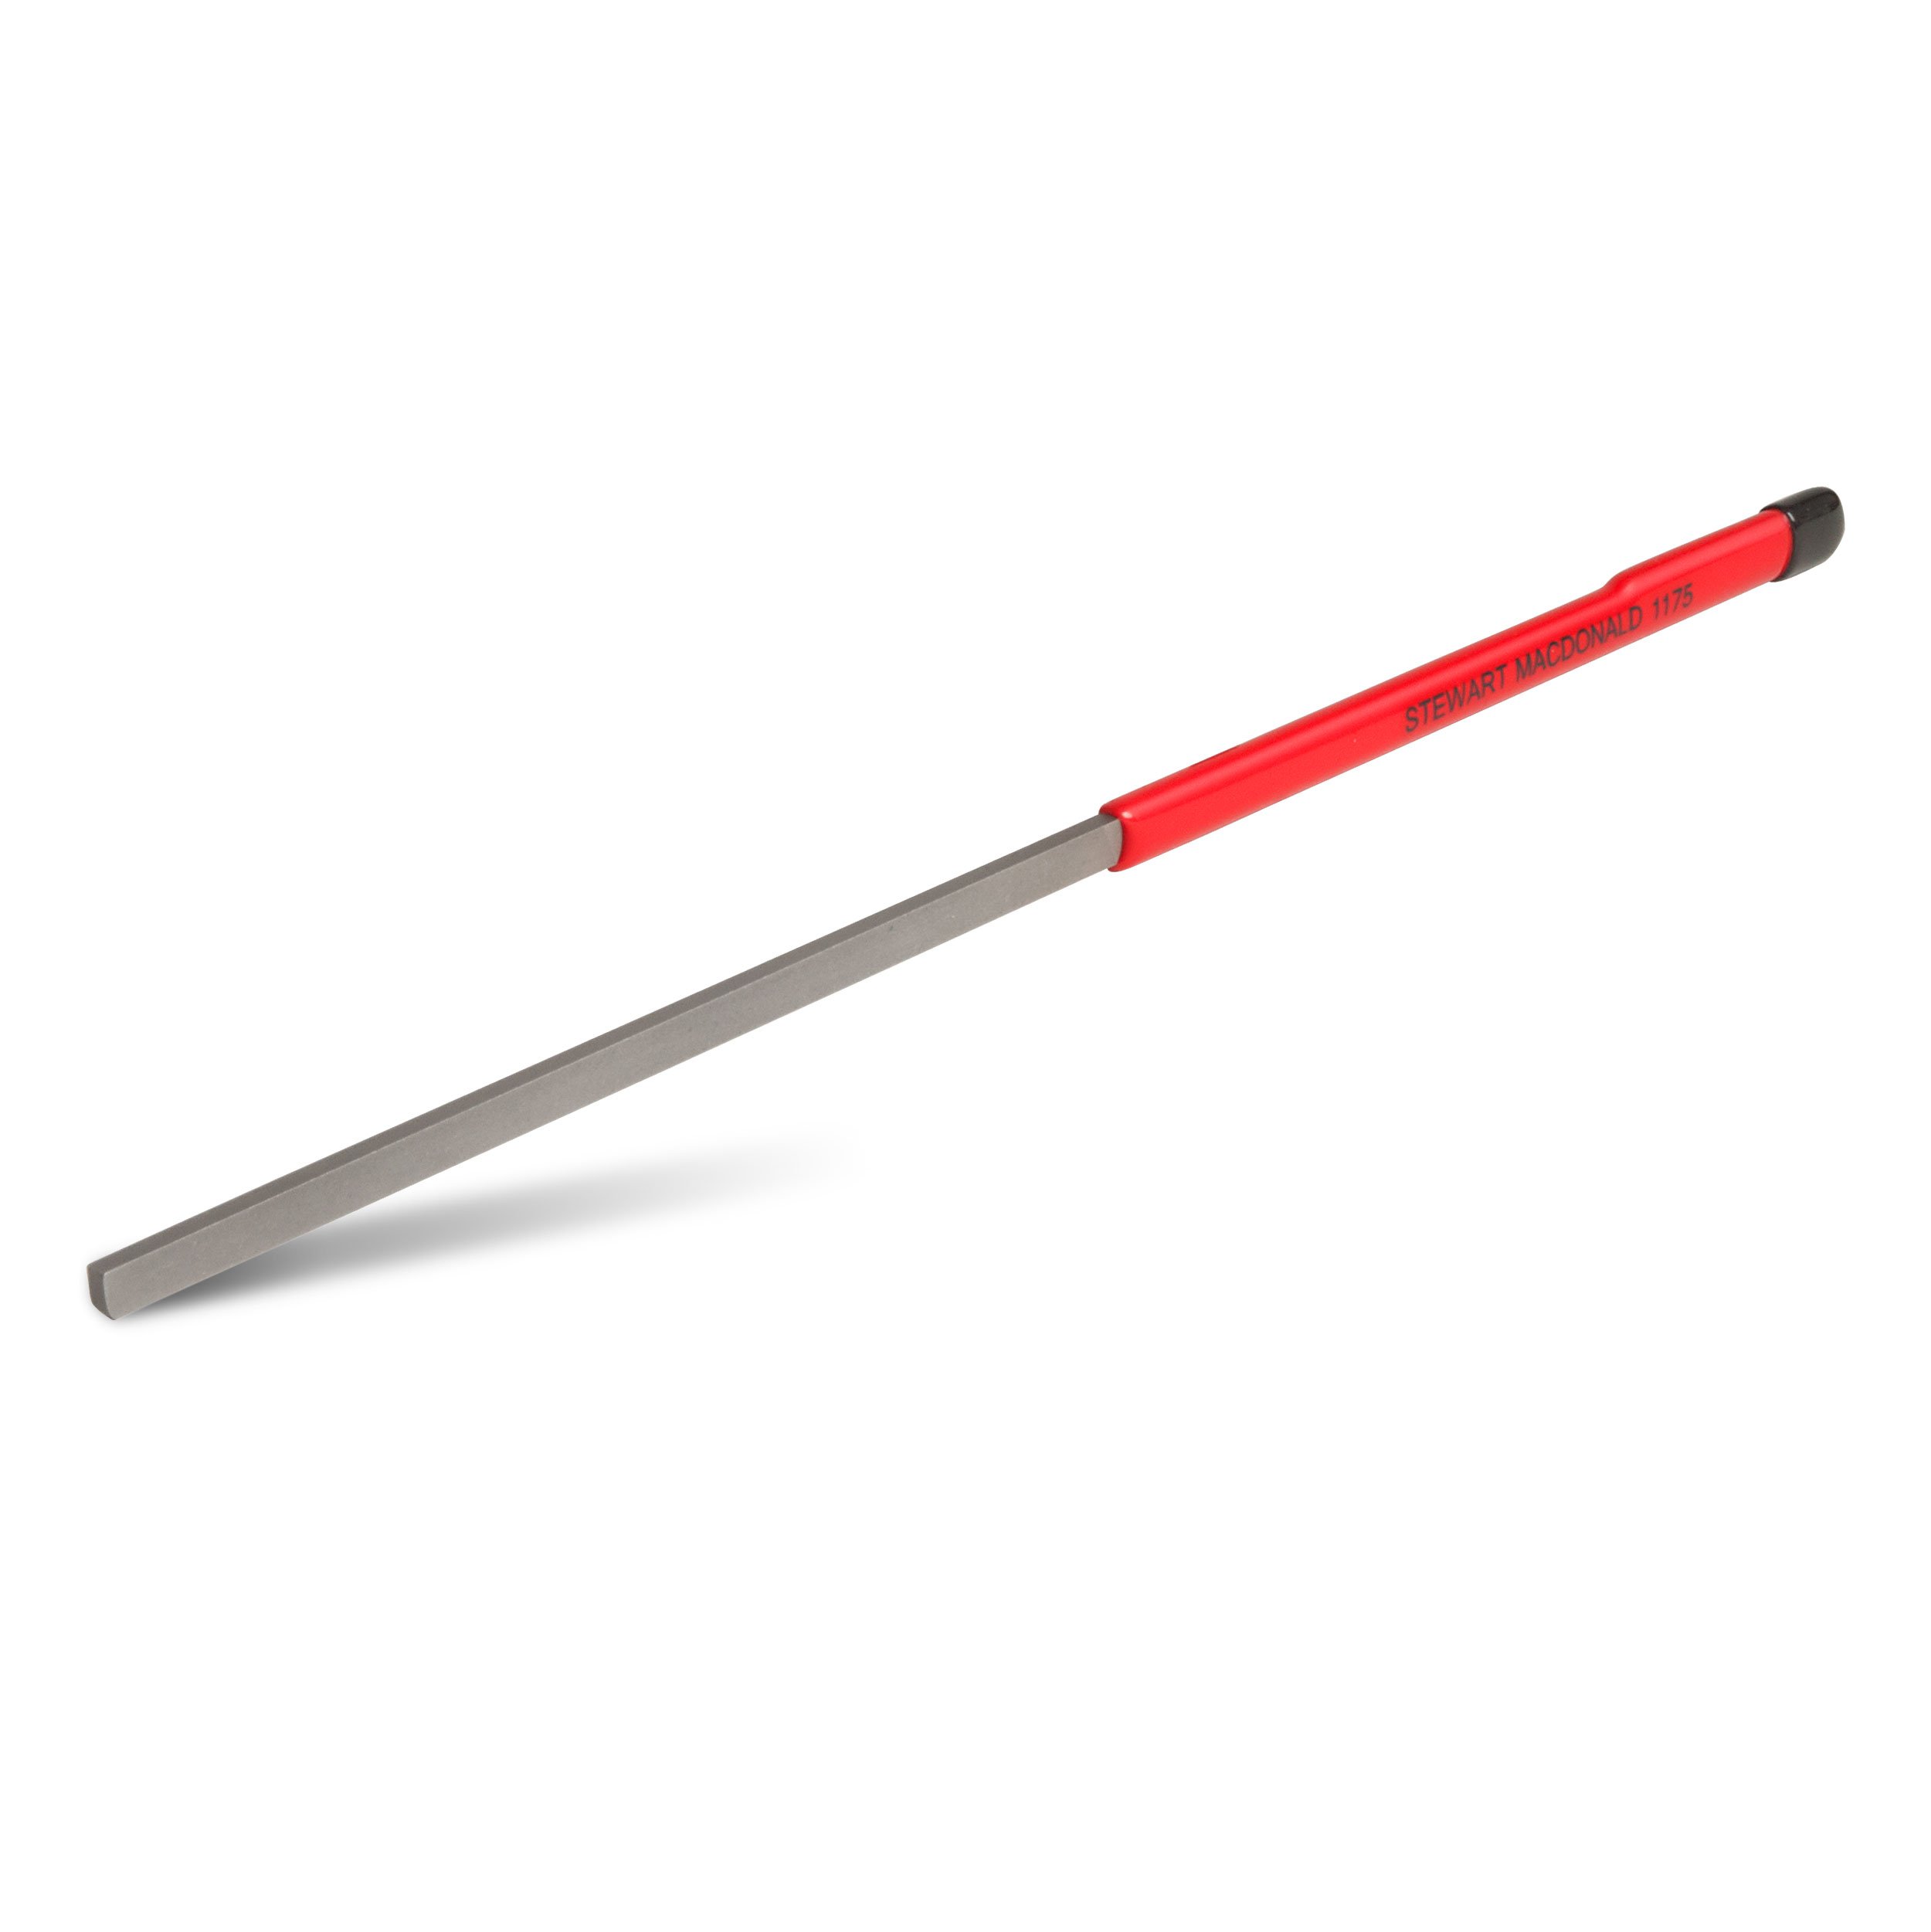
Using files and sandpaper, I'm going to knock down those edges and make it feel good. I may not use all of this. That's what I get out to do a job like this [on-screen text reads: Start with the fretting basics - Essential Fretting Tool Set by StewMac]. Using a Snap File on the fret beveling file, I can file the frets and the wood at the same time. This will make the frets flush with the fretboard edge and knock off that sharp edge at the same time. Then I'll use my small Fret End Dressing Files to round off any burrs on the frets.
Sanding the frets with a Radius Sanding Beam
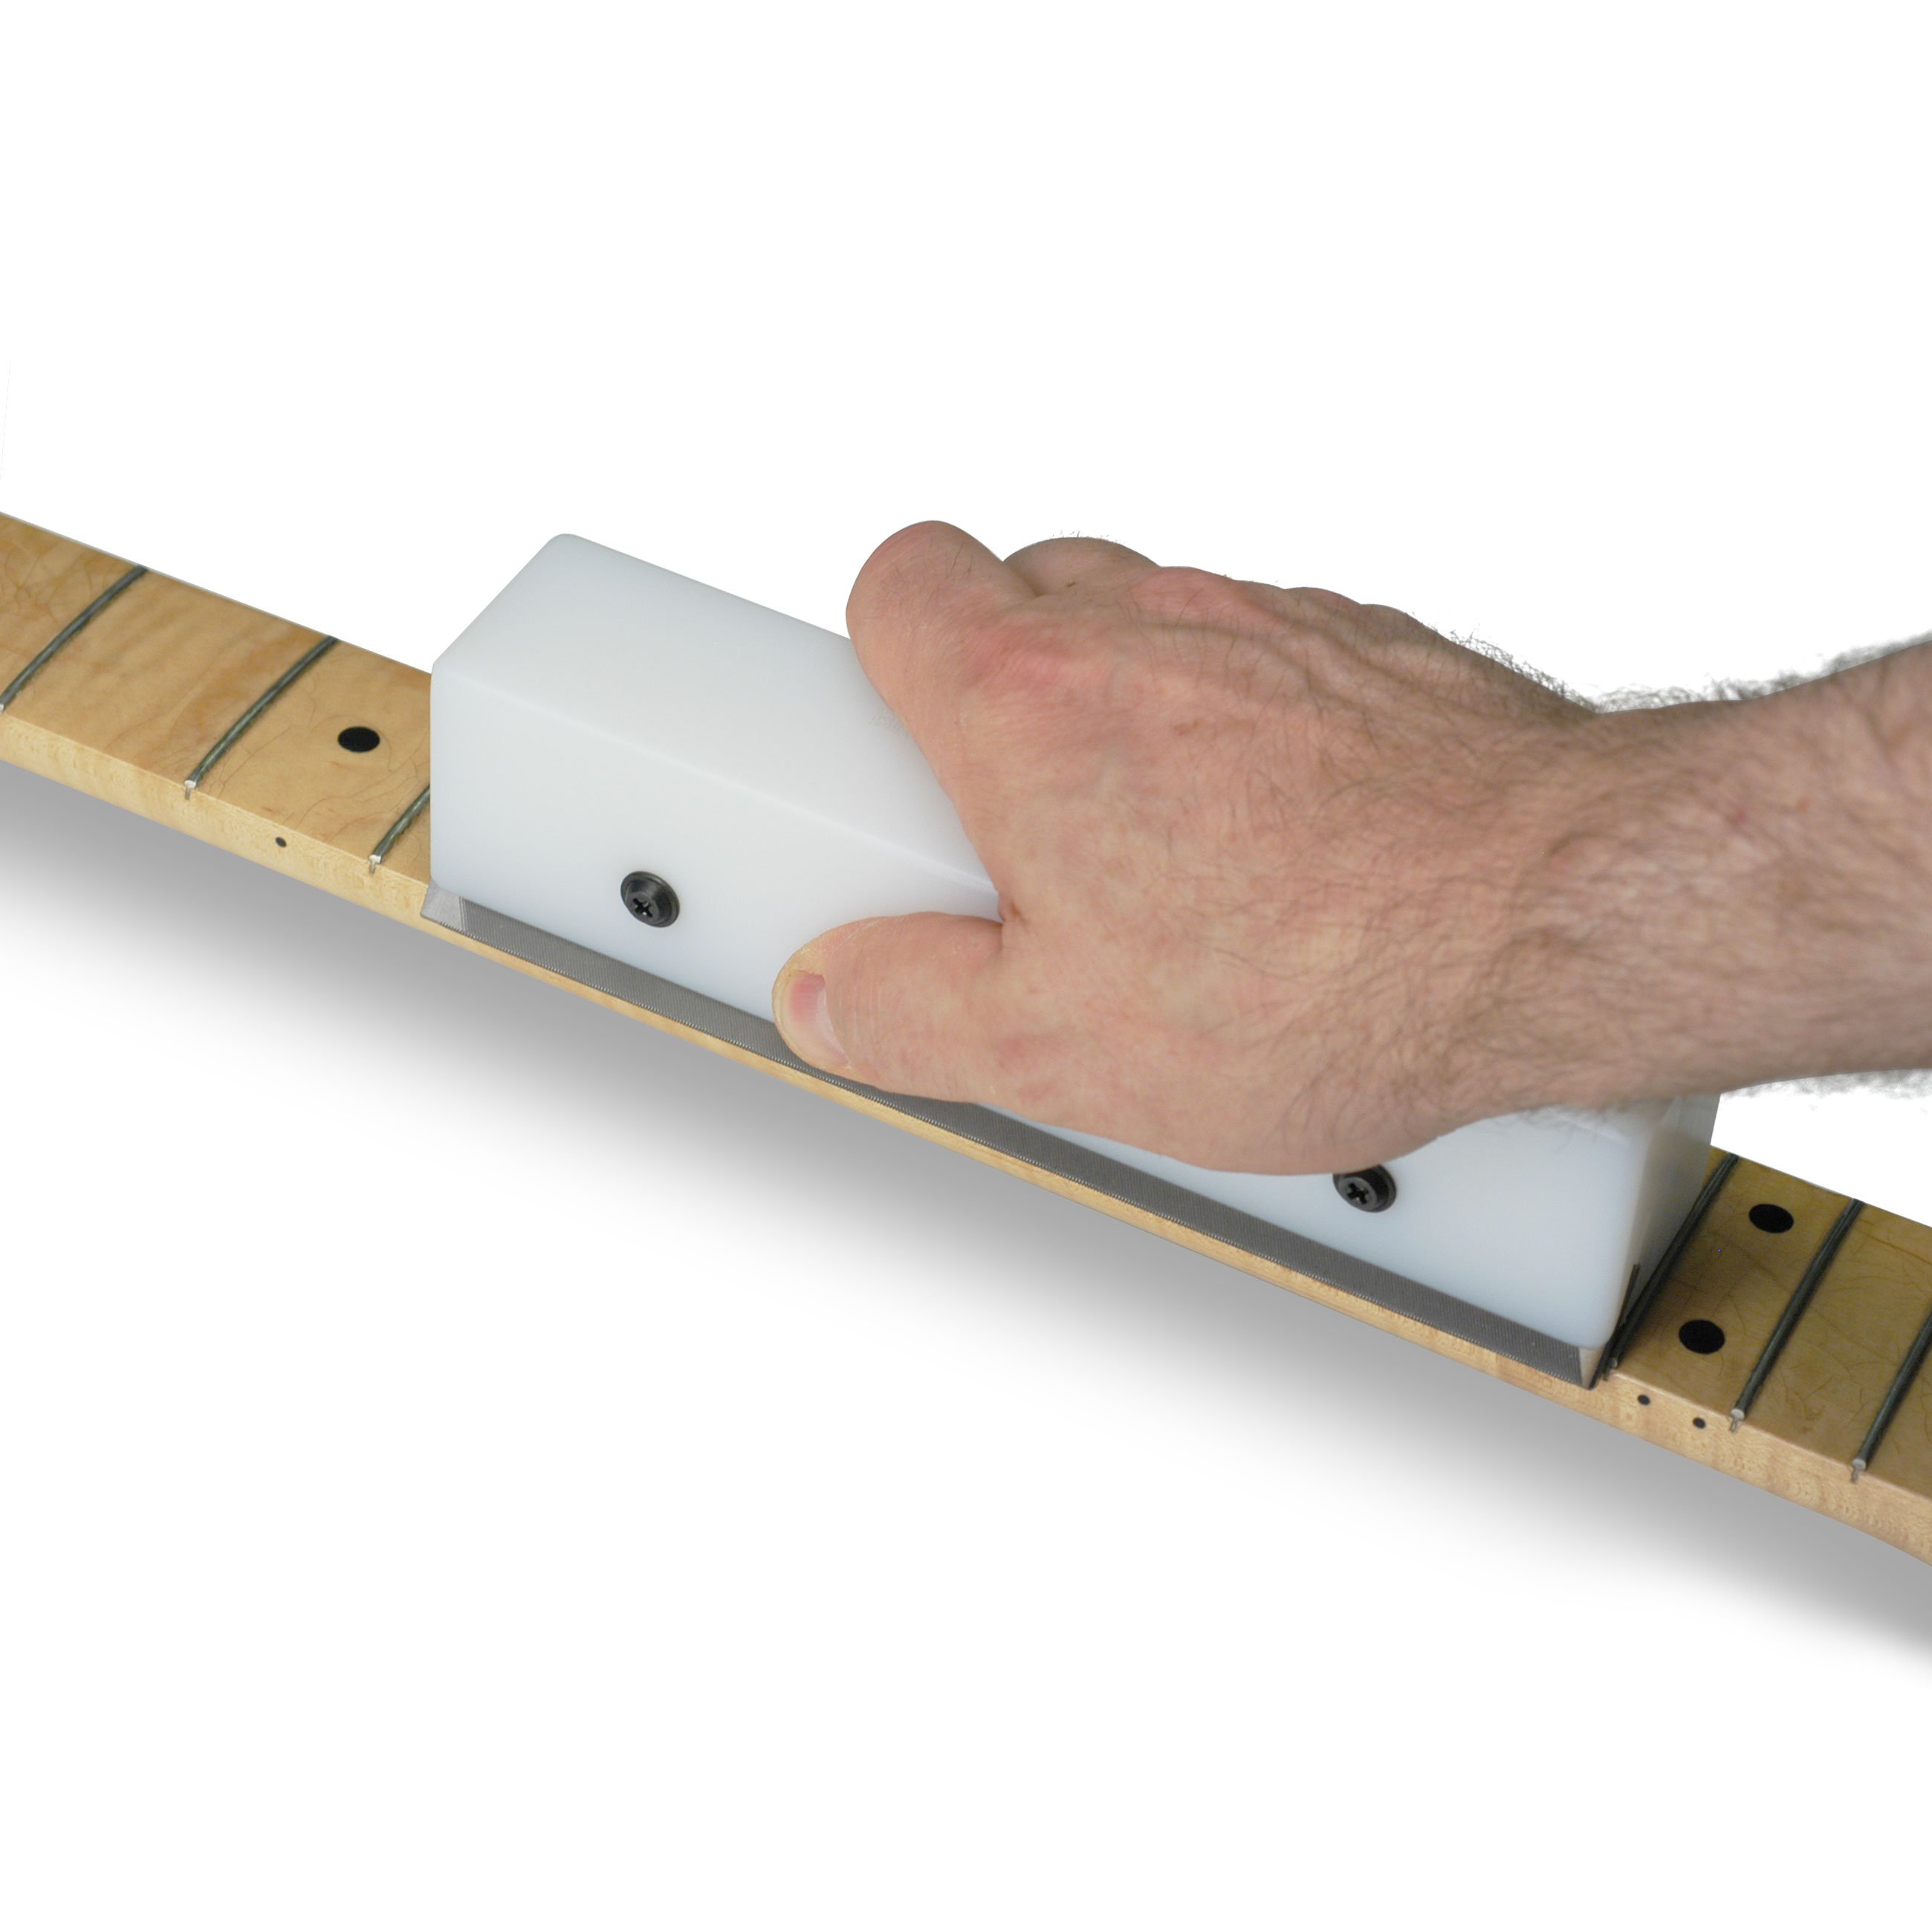
After repeating the work on the other side of the neck, I'll sand the frets with 320 grit sandpaper [on-screen text reads: Stikit Sandpaper, 320-Grit] on the back of a radius block [on-screen text reads: Precision in any grit you need - Sandpaper/Finishing Paper Sampler from StewMac]. That's a flat surface [on-screen text reads: Radius Sanding Beam, Flat Side Down]. This will level the frets and knock off some of the tarnish that's built up on them.
Polishing the frets and oiling the fretboard
Next I'll clean the fretboard with Naptha and then go over it with some steel wool to get rid of any remaining grind.
I'll quickly round off the tops before I polish them up. I'm not going to spend a lot of time making them perfect, just shaping them a bit, since I sanded them down.
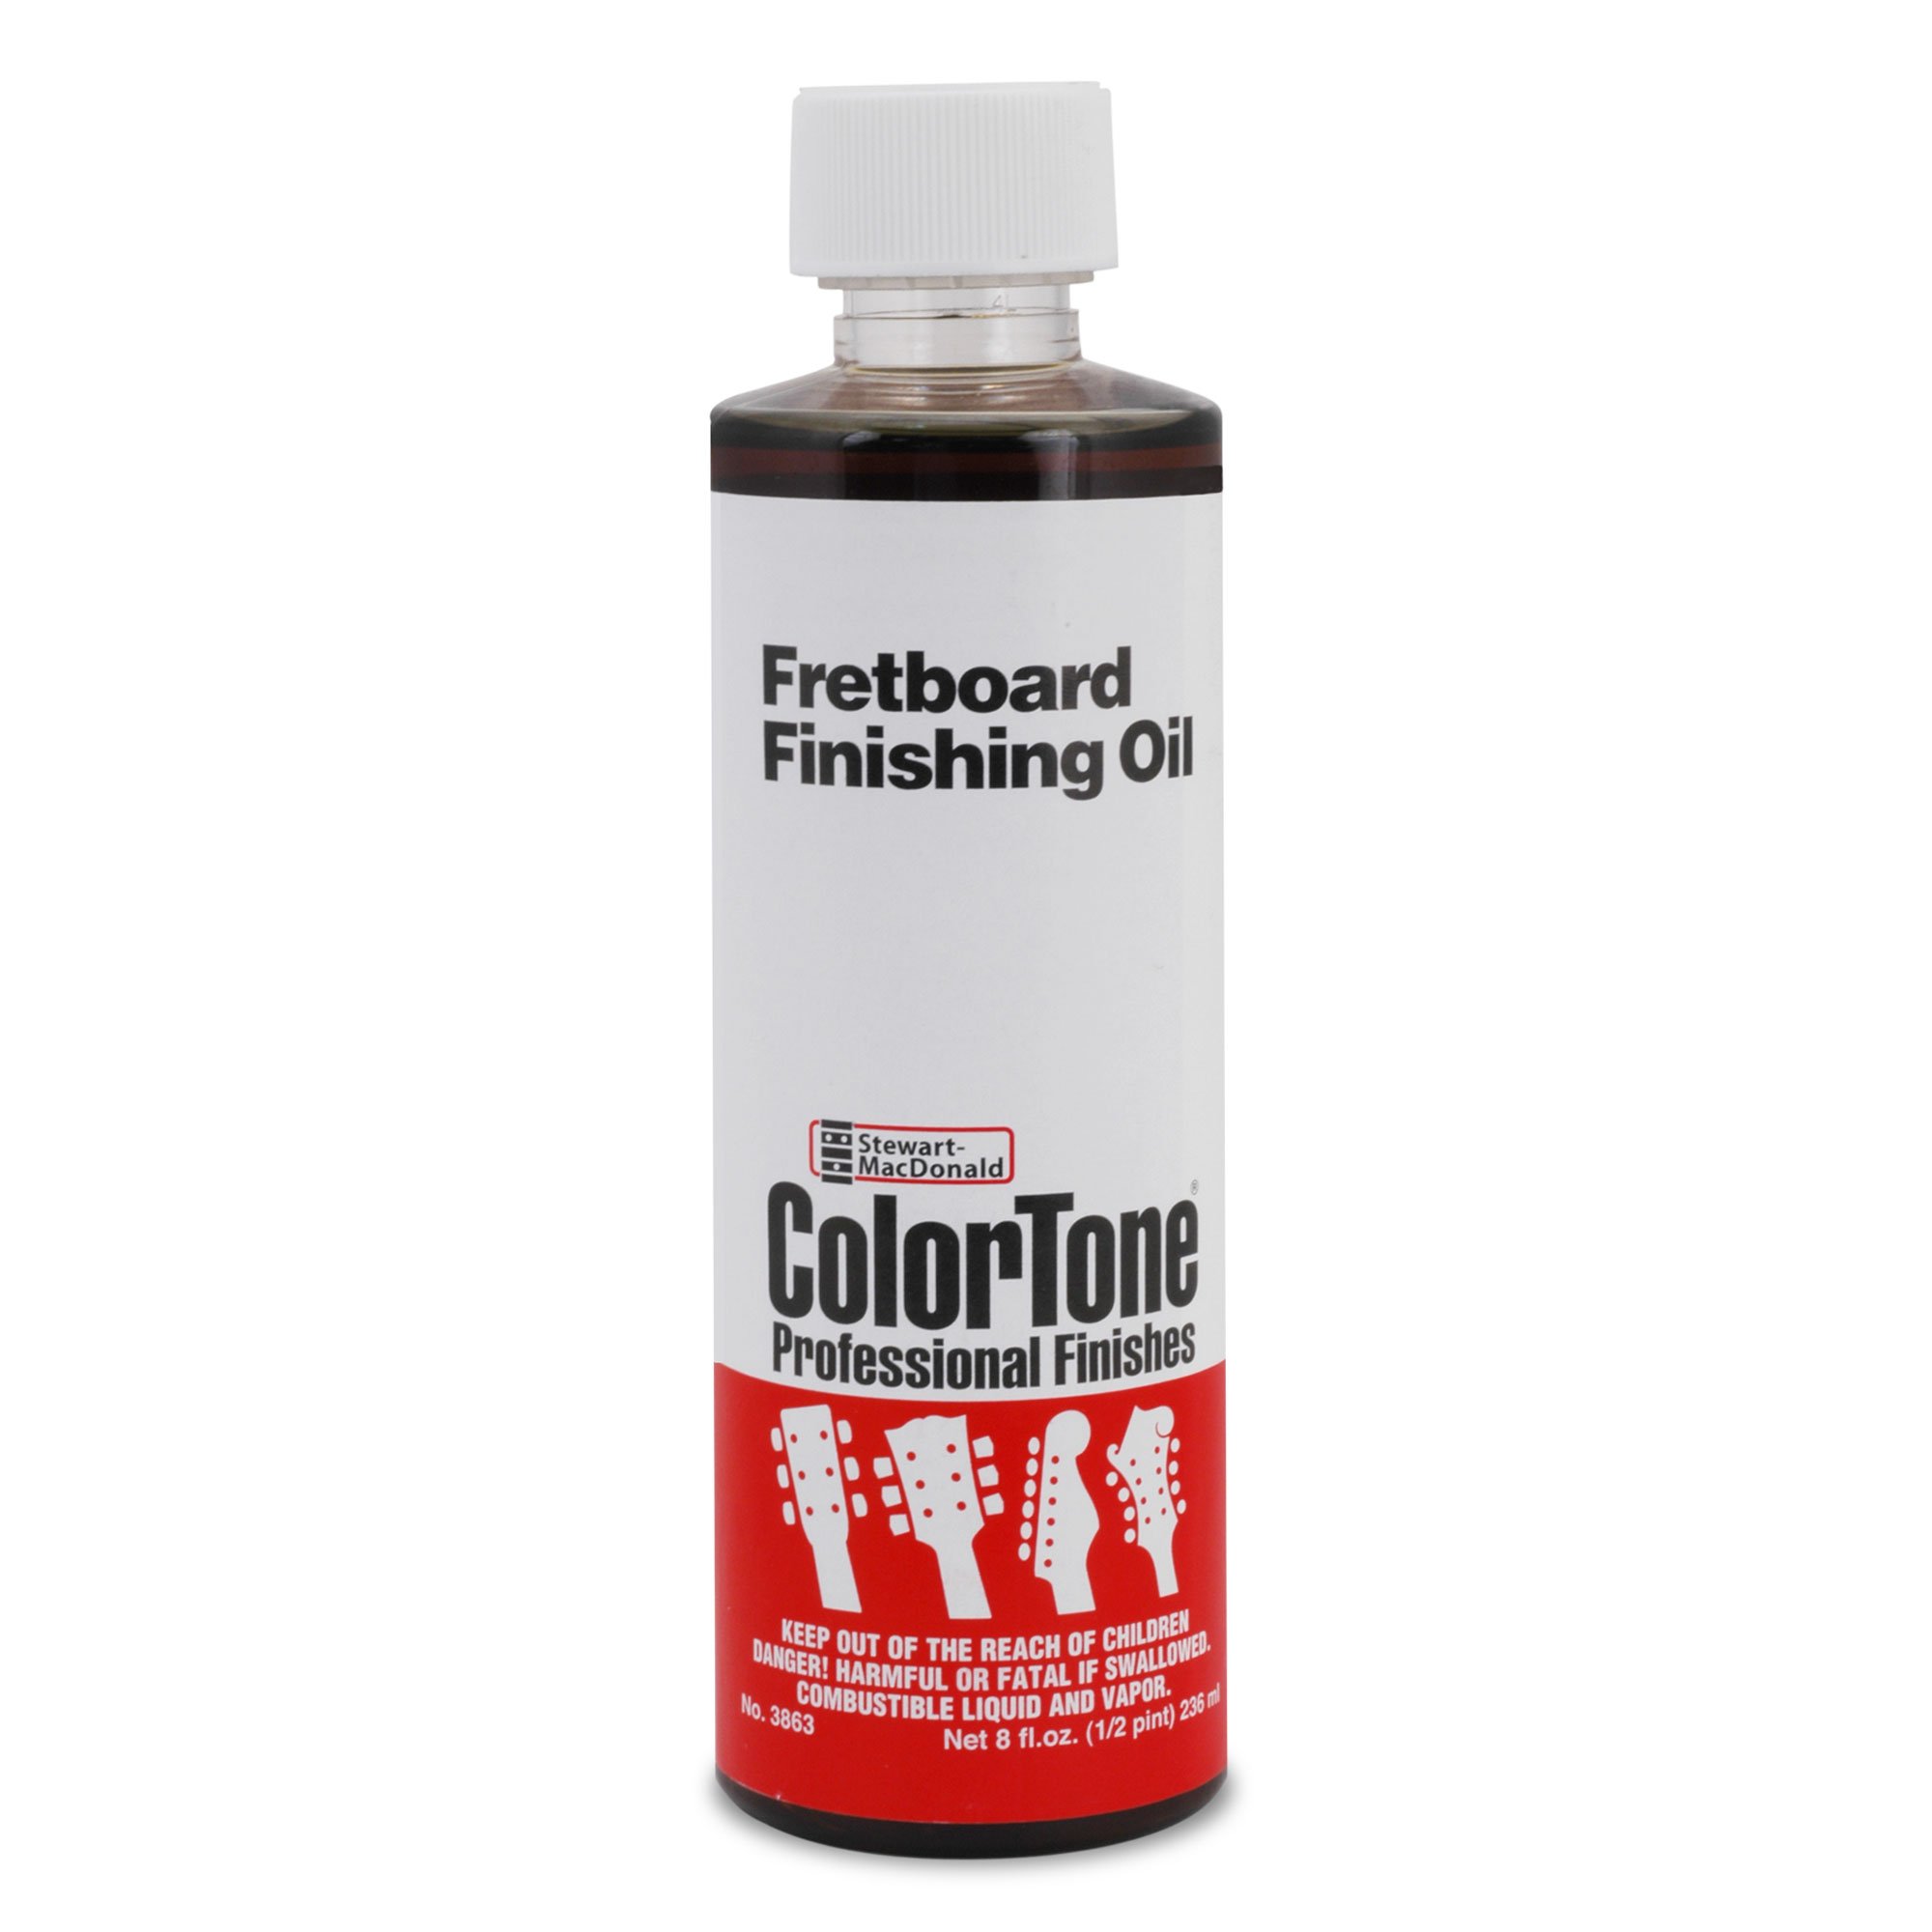
Finally, I'll polish up the fretboard with Fretboard Finishing Oil to make it shine again and to rejuvenate it.
Putting strings on
It's feeling good. I got just what I wanted out of that. Now I'm going to string it up, and the strings I'm going to use are going to be the same ones I used on this guitar, which are ball-end nylon strings. They're easier to use, easier to install without the classical tie, and actually lets the string come out at a steeper angle over the saddle, which this guitar can use.
How's it feel, sis?
Time for that guitar lesson
Speaker 2: Wow. It feels great. Thank you.
Dan Erlewine: Did I do it?
Speaker 2: You did.
Dan Erlewine: You want the lesson?
Speaker 2: I do. Let's get started.
Dan Erlewine: Okay, let's do it. Take your index finger and put it there.
Speaker 2: Okay.
Dan Erlewine: The second finger goes here and this finger's going to go there. It's a D seven and see if.


