Refurbishing a 1964 Ampeg guitar amp
Issue 239 March 26, 2015
Over fifty years, this amp’s seen a lot of gigs and garages. Dan Erlewine’s fixing it up for a friend who wants to play it again. While the amp’s out for repair, Dan patches the torn up blue diamond tolex.
About the amp in this video: This 1964 Ampeg Gemini II is 30 watts into a single 15. Dan used to gig through this same model after seeing BB King using it in a small club in 1967.
- Blast from the past: Dan saw BB King playing this model in the Sixties
- How to get the grime out of textured tolex
- Trimming away old tolex and cleaning the plywood
- Gluing the replacement patches
Video Transcription
[on-screen text reads: Stewart-MacDonald - Trade Secrets!]
Patching tolex on an old ampeg
Dan Erlewine: Today my repair shop is a amp repair shop, not a guitar shop. I'm helping my friend John Saul from Athens refurbish his 1964 Ampeg Gemini II that he bought when he was in high school. It spent years in garages and basements getting ripped and torn, and he'd played it in bars and it was filthy when it came in and I'm working on it. I saw BB King play through an amp like this in 1967 and it blew me away and I had to have one. I eventually bought one and played it for years. Then I sold it and I wished I wouldn't have. It's a 30 watt powerful amp with a 15 inch speaker and it has a sound of its own.
Clean the tolex
My part of the job on this amp was to clean the tolex, which was a chore, and patch it up. My buddy, Paul Schmittauer of Vintage Electronics in Albany, Ohio serviced the amp and he found a lot of broken parts in there. I got expert cleaning advice from Greg Hopkins of Vintage Amp Restoration in St. Louis, Missouri. Greg co-authored the book 'Ampeg, The Story Behind the Sound', and he builds great cabinets.
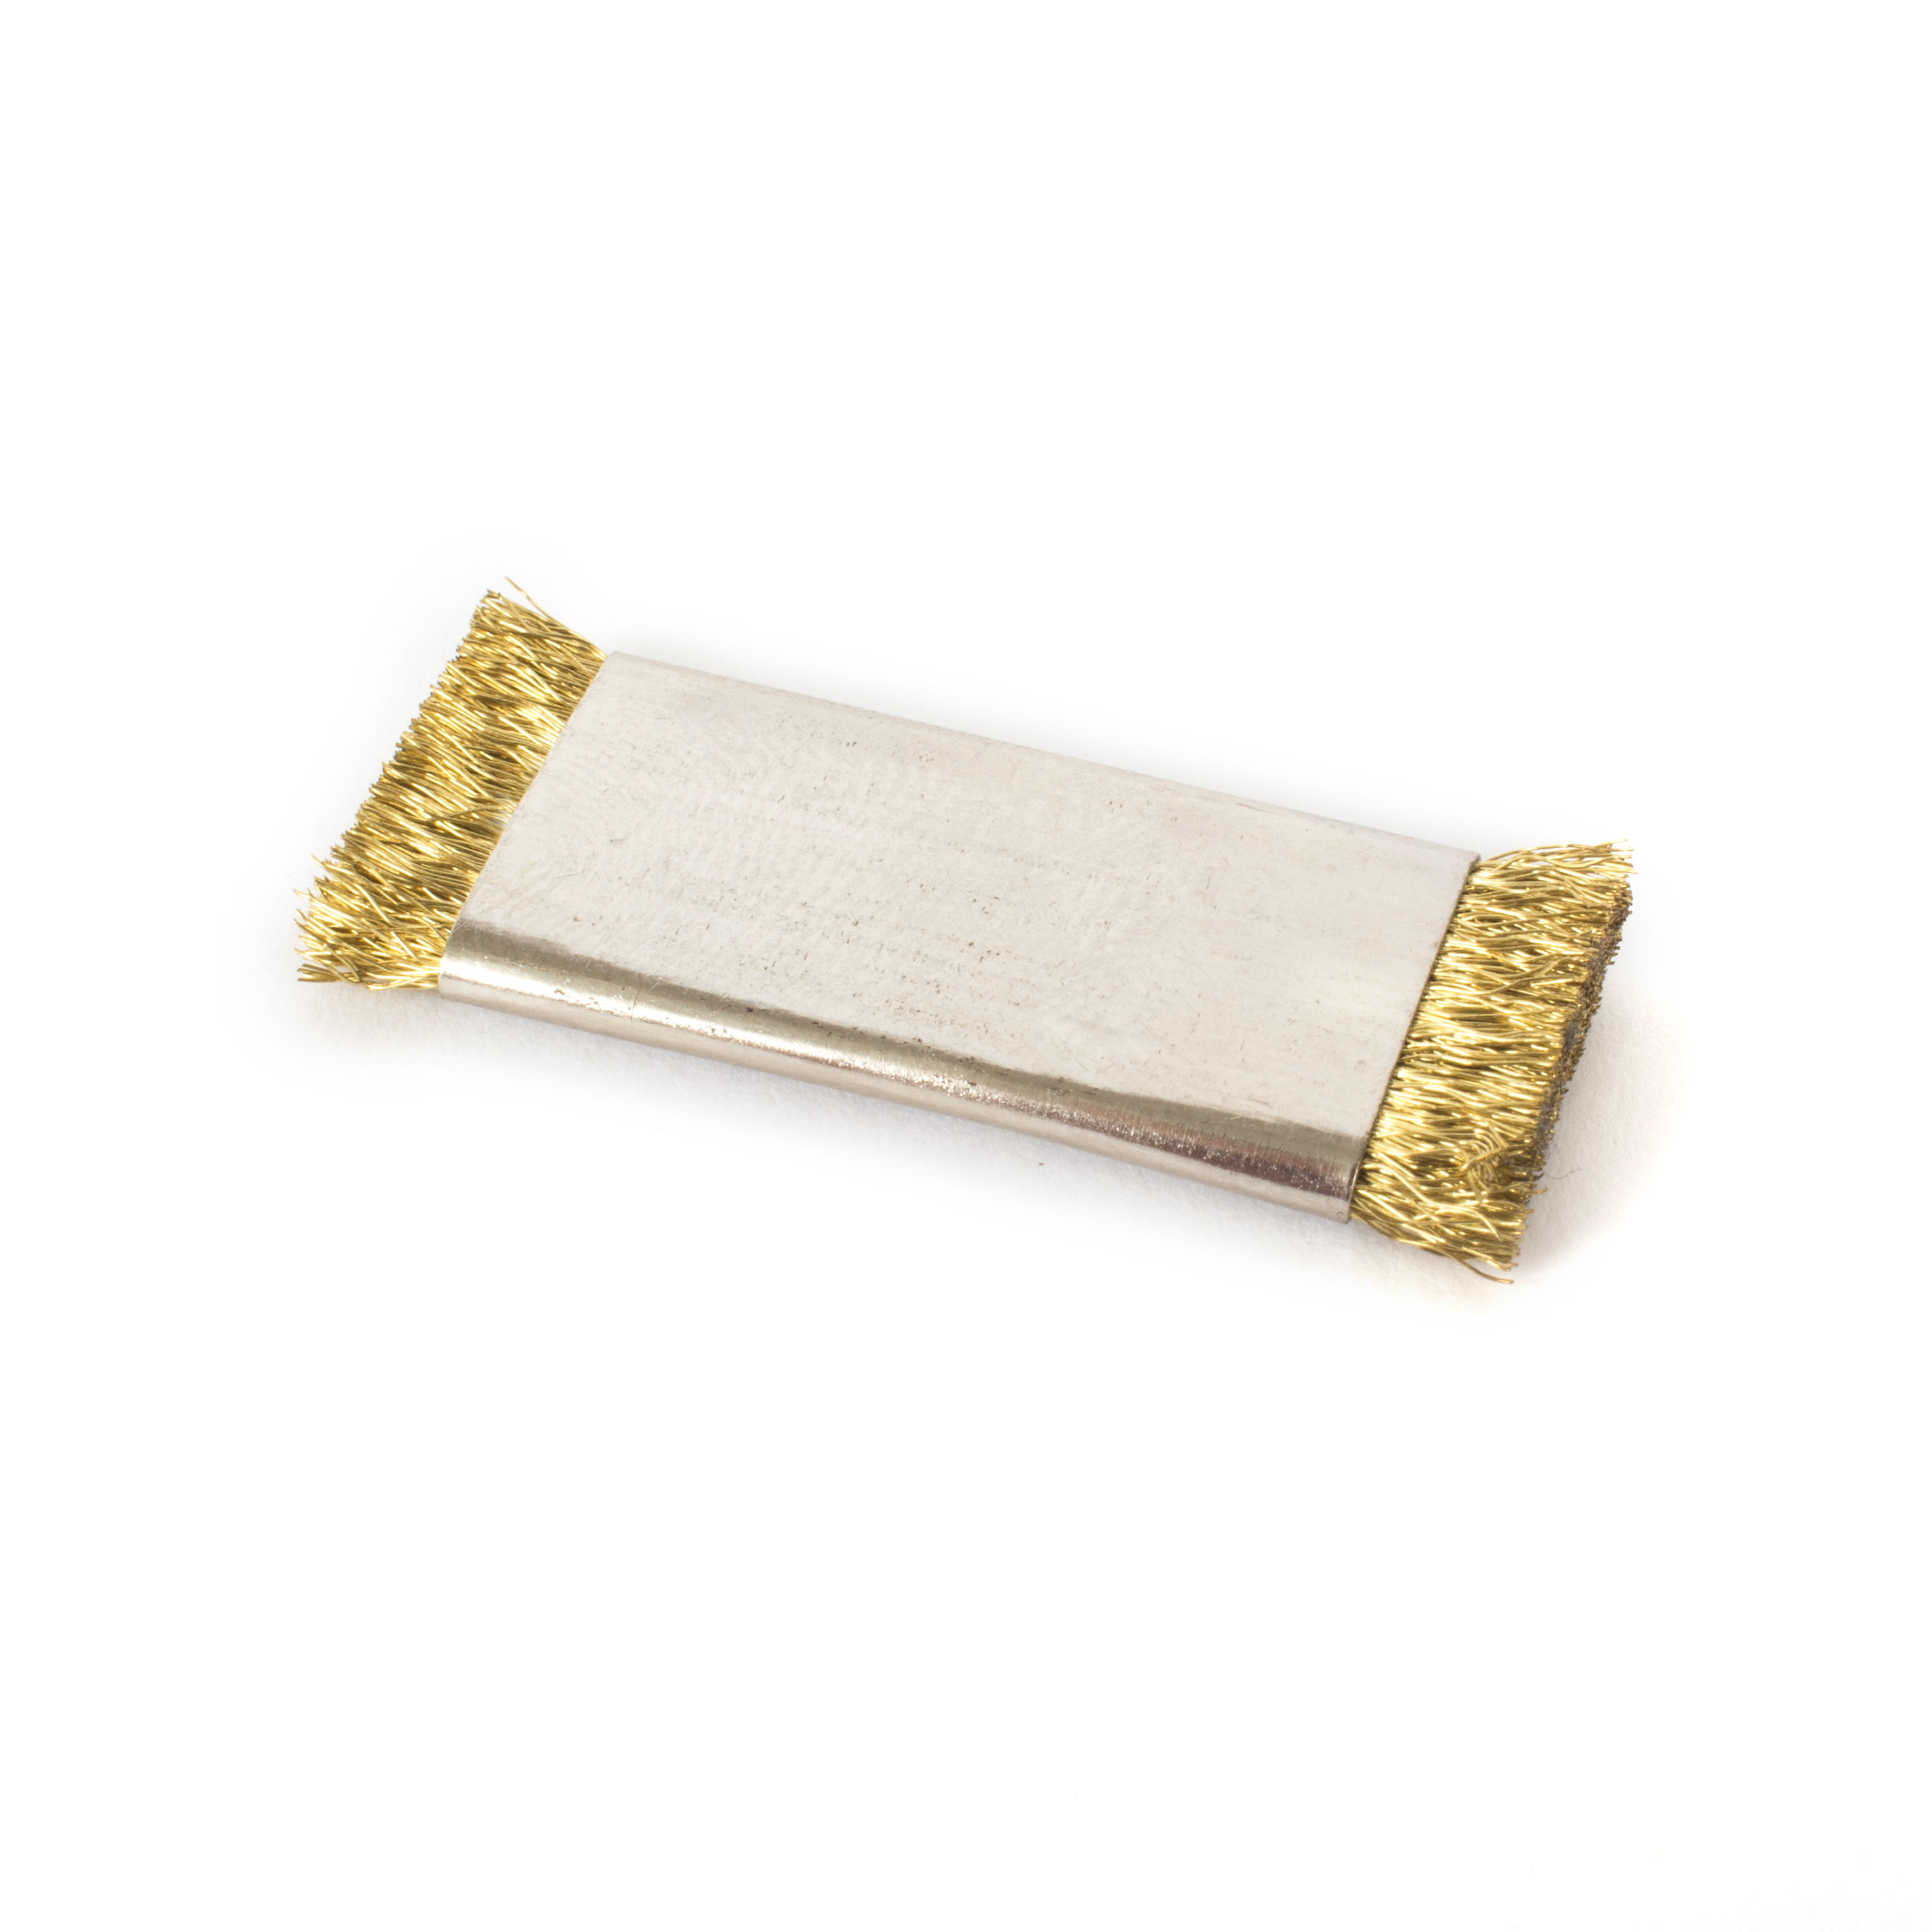
Well, I found out that cleaning the blue diamond tolex takes a lot of elbow grease. These hard and embossed lines really hold dirt like crazy. Here's a piece, dirty. That's what this whole amp looked like. And here's how we got it clean. I did that with brushes and 'Tuff Stuff', that's what Greg recommended. And this little file cleaning brush came in really handy because it's very stiff and short bristled and you spread the stuff on, scrub it and rinse it off with water and keep going until you get it like this.
Cut out a patch of tolex
Patching tolex is a lot more fun than cleaning it. I learned that. It's not going to be perfect, but it's going to look a lot better. Here's the piece I've cleaned. Cleaning this stuff is not easy. I stood there for 45 minutes rubbing [inaudible 00:01:56] or whatever this adhesive is off that piece.
First they cut a square area around the tear, cutting on the lines between the diamond shapes. I put tape down to mark on where the cut will start and end because it's hard to see. I used a number 11 x-acto blade and a Straightedge to keep my cut straight. Cut four sides to make a diamond shape and then peel out the torn area. I use a disassembly knife [on-screen text reads: Offset Disassembly Knife] to help peel it up when it's tough.
Clean the surface
Next, get rid of any crumbly old glue I used a metal scraper [on-screen text reads: Fret Leveling File], a File Cleaning Brush, and a small Fret Leveling File. Get as clean as you can get into those corners and as close as you can to the edges without pulling up the uncut tolex. Lay the patch piece over the cutout area and use the x-acto blade to cut it to fit. Don't forget to match the pattern.
Glue the patch on
Before you glue the patch on mark around the outside edge with a dark sharpie that will help hide any gaps in the patch or if any wood was peeking through. Spread the glue [on-screen text reads: Titebond Liquid Hide Glue] with the brush and I keep my brushes in the hide glue pot with hot water for easy cleanup during the job. Press the patch into place and knead the edges together so the patch fills the whole area.
Clean-up the patched area
Quickly clean up any squeeze out with a little bit of hot water and a clean rag or paper towel. Dry off the area and add some Binding Tape to keep the patch stretched. I cut the tape to a point so the pieces don't overlap, they meet in the center. So if I need to use a call and clamp on this later to put pressure on it, the tape won't leave uneven marks. There's my patch, I let it dry overnight and cleaned it up with a little damp rag and you can see it, but it sure looks a lot better. What really will bring it out is Preservation Polish.
Paul and I got it back together and we're about to give it a test run and if she works, it's almost ready to go back to John. I need to put his initials back on the front, those mailbox letters. And I'm going to clean up this chrome with some preservation polish. Paul I'll do is the honors.
[Dan plugs an electric guitar into the amp and plays a blues tune]
Oh yah.


