Make this brad-point bit for installing side dots
Drilling holes for side dots on a fretboard isn’t easy with ordinary twist drills because twist drills seem to enjoy wandering off center! I can’t deliver a customer’s guitar with the dots staggering around the edge of the fingerboard, so I solved this problem in my shop by grinding a tiny brad point onto a 3/32" twist bit. Here’s how to do it.
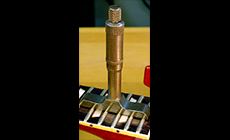
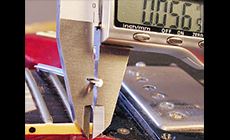
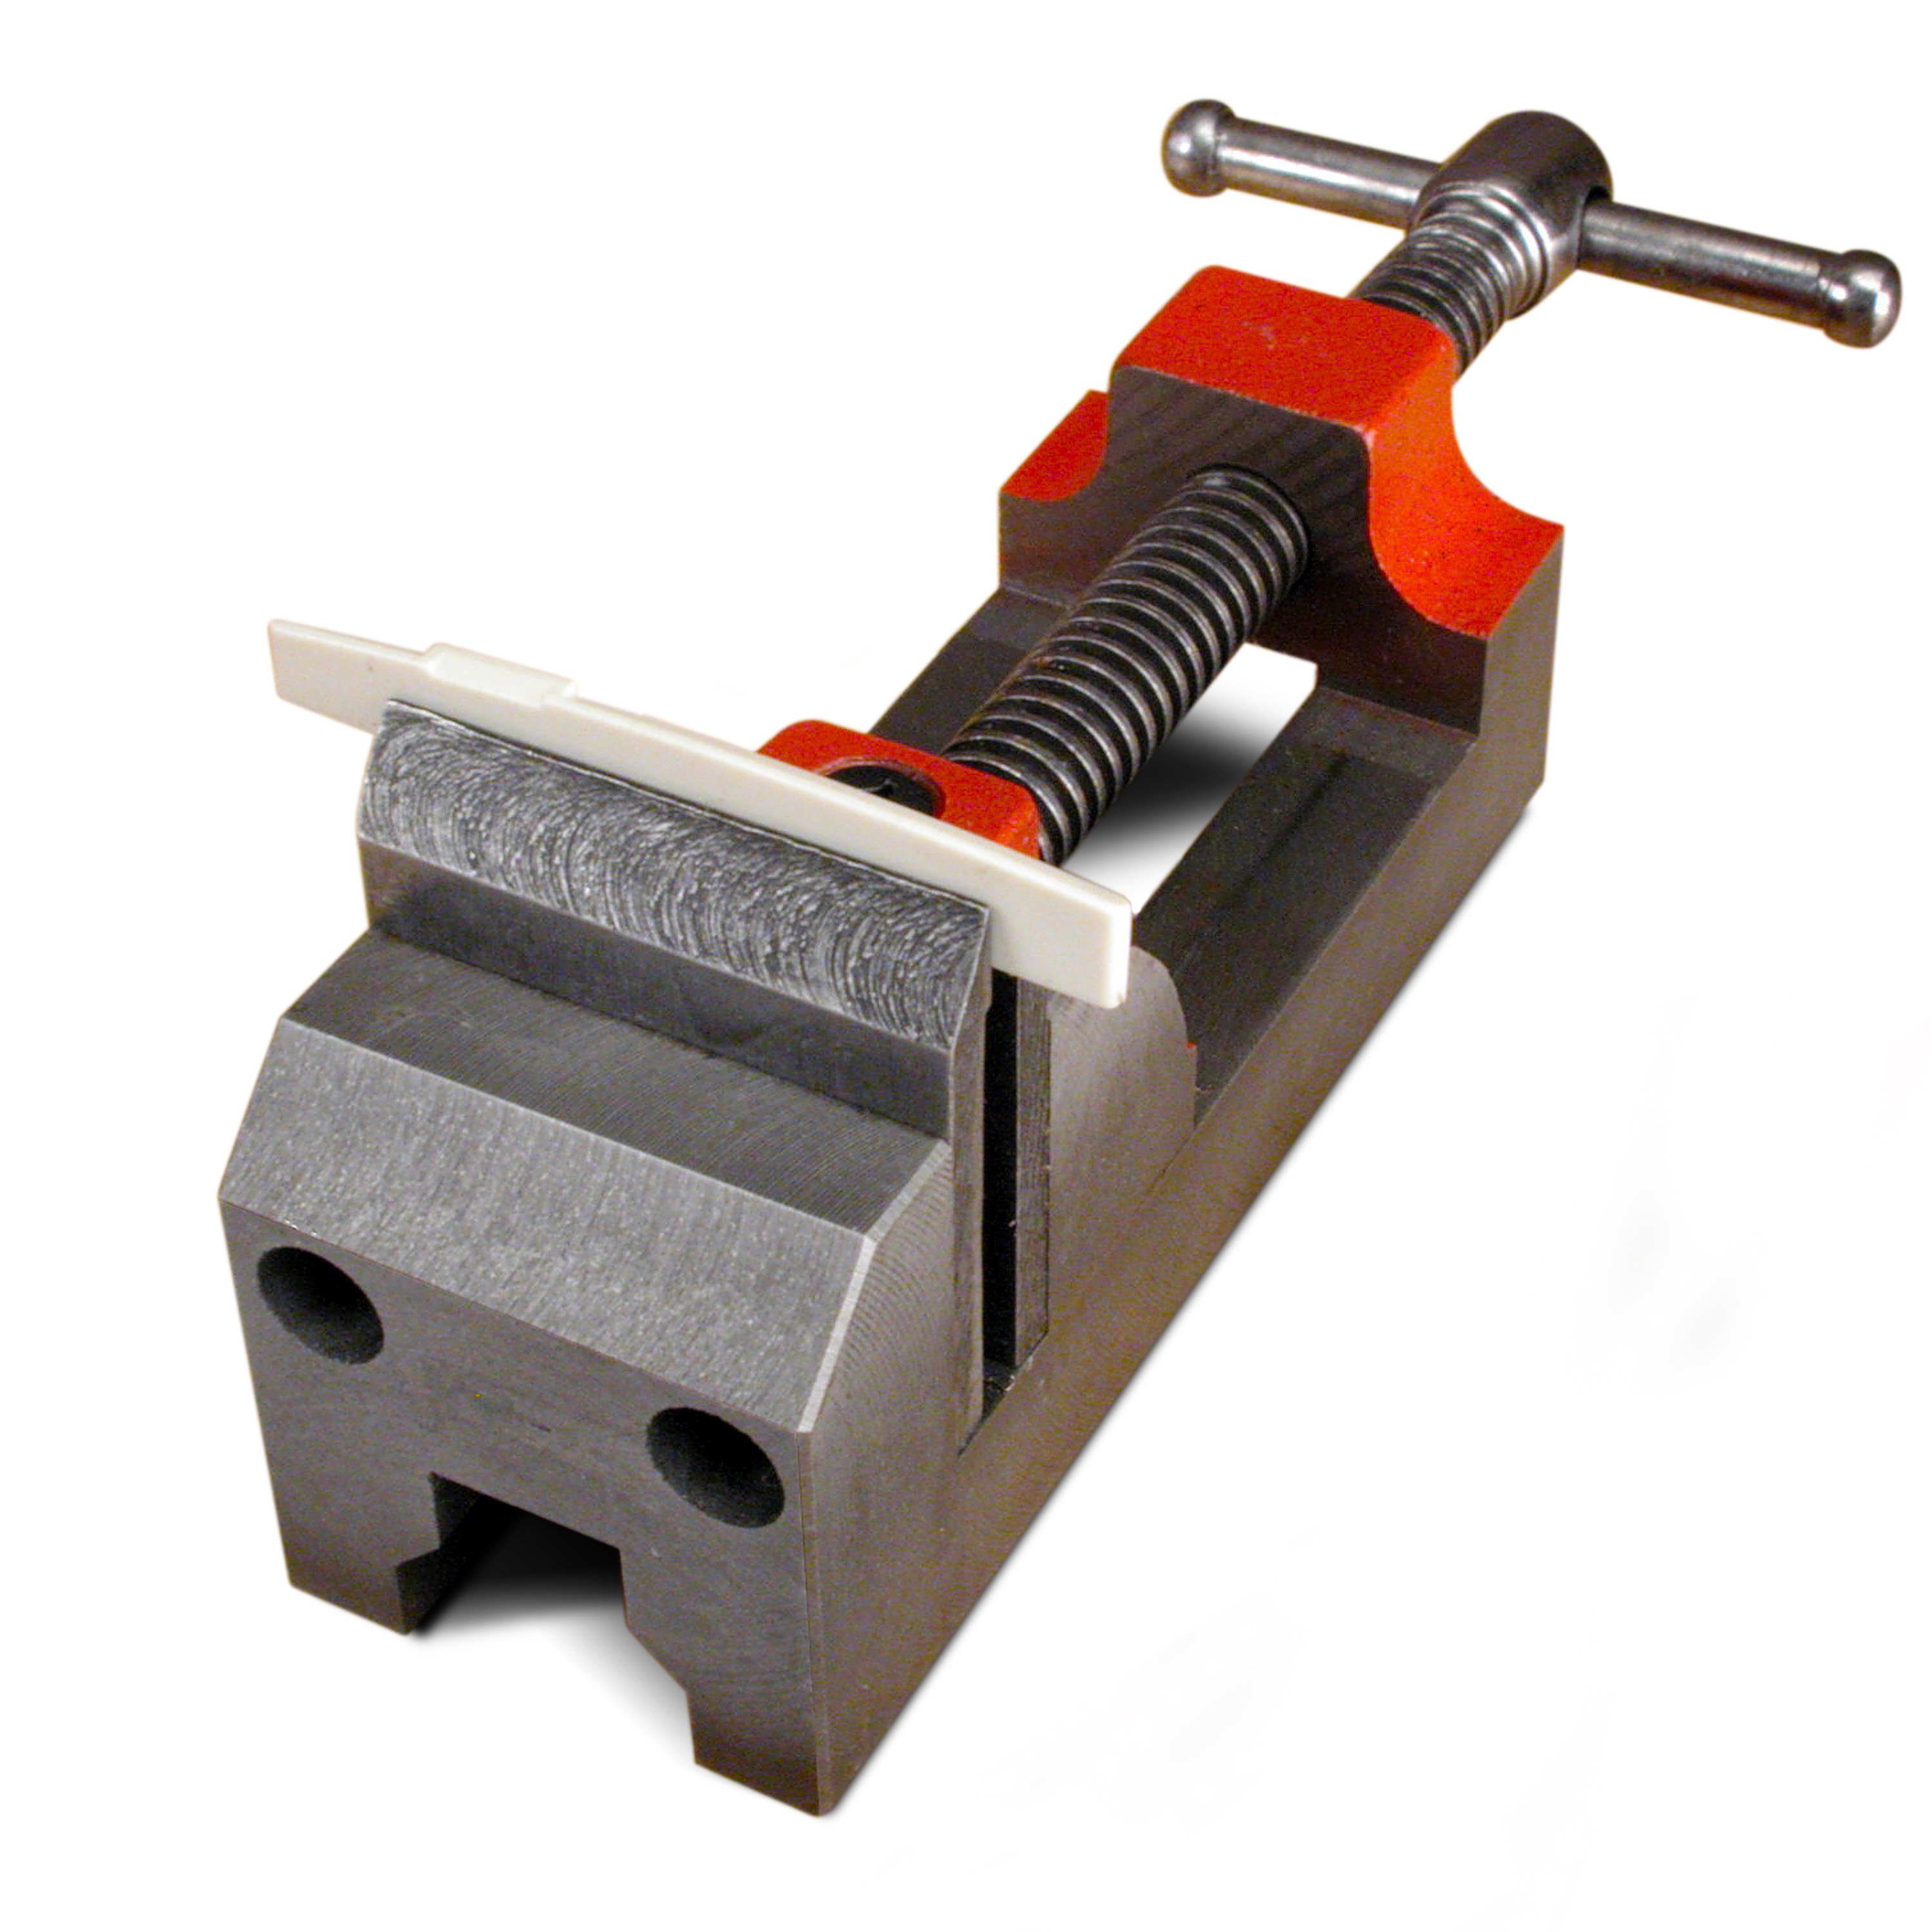
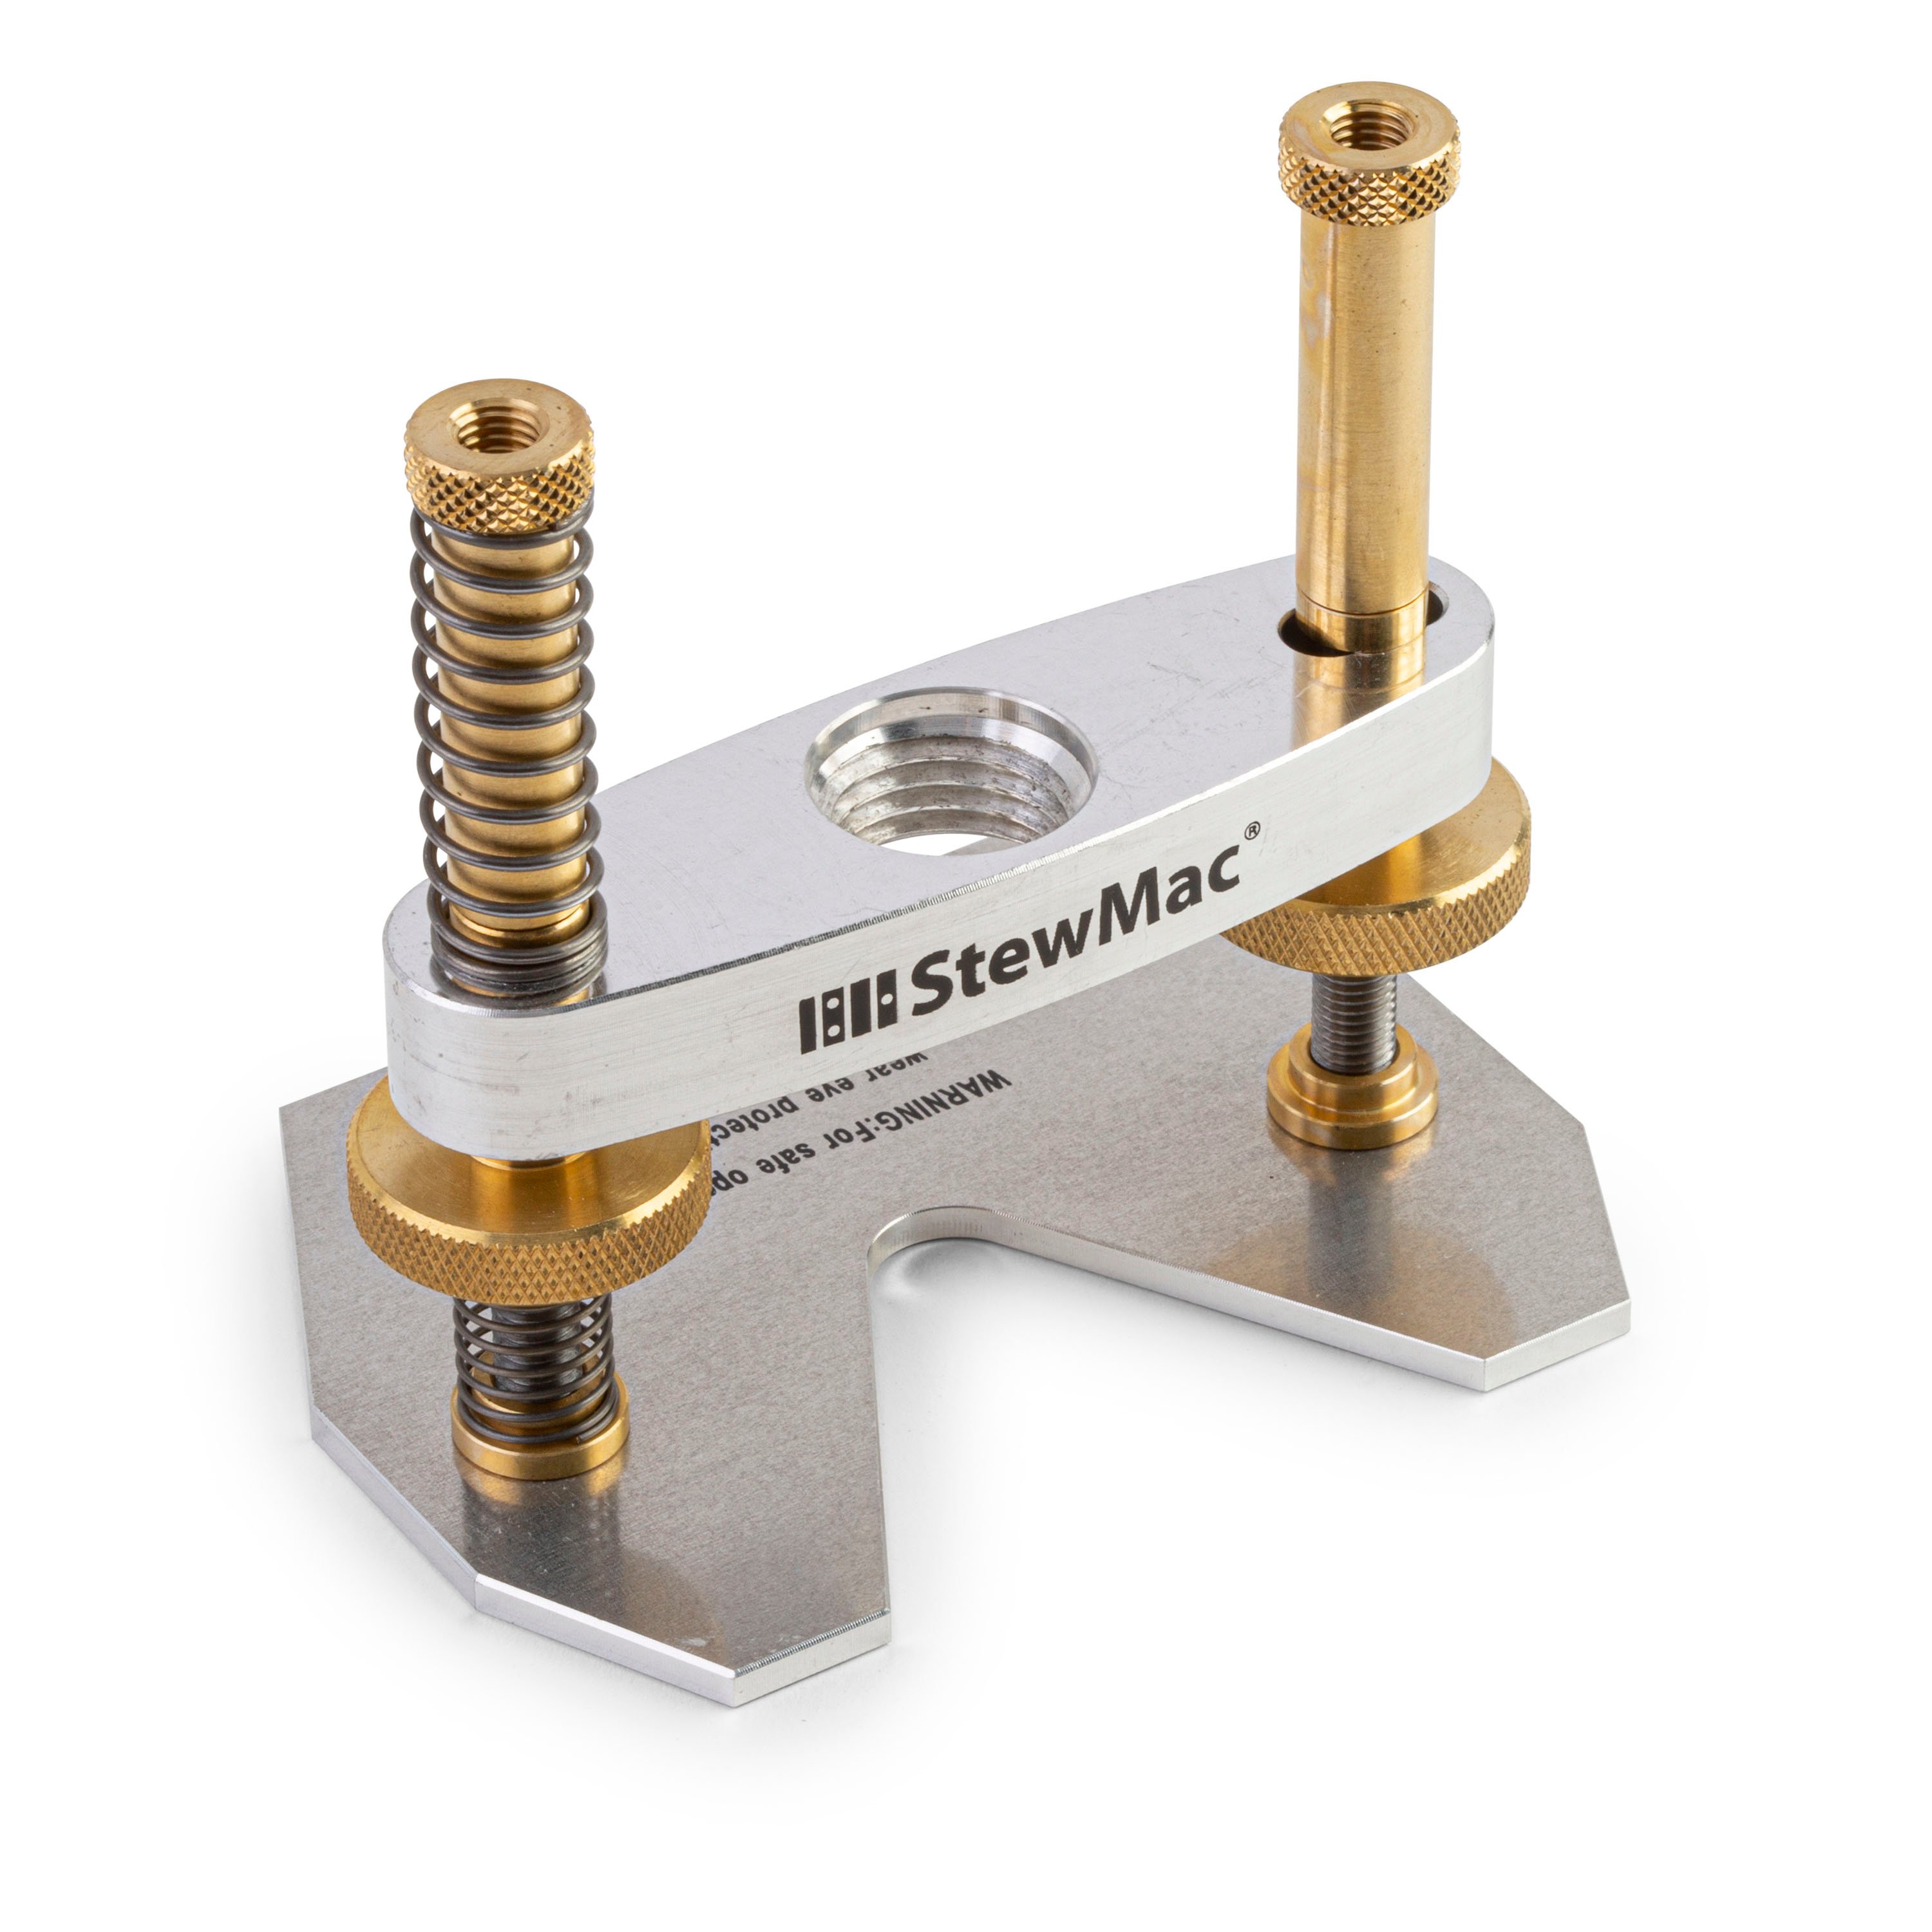
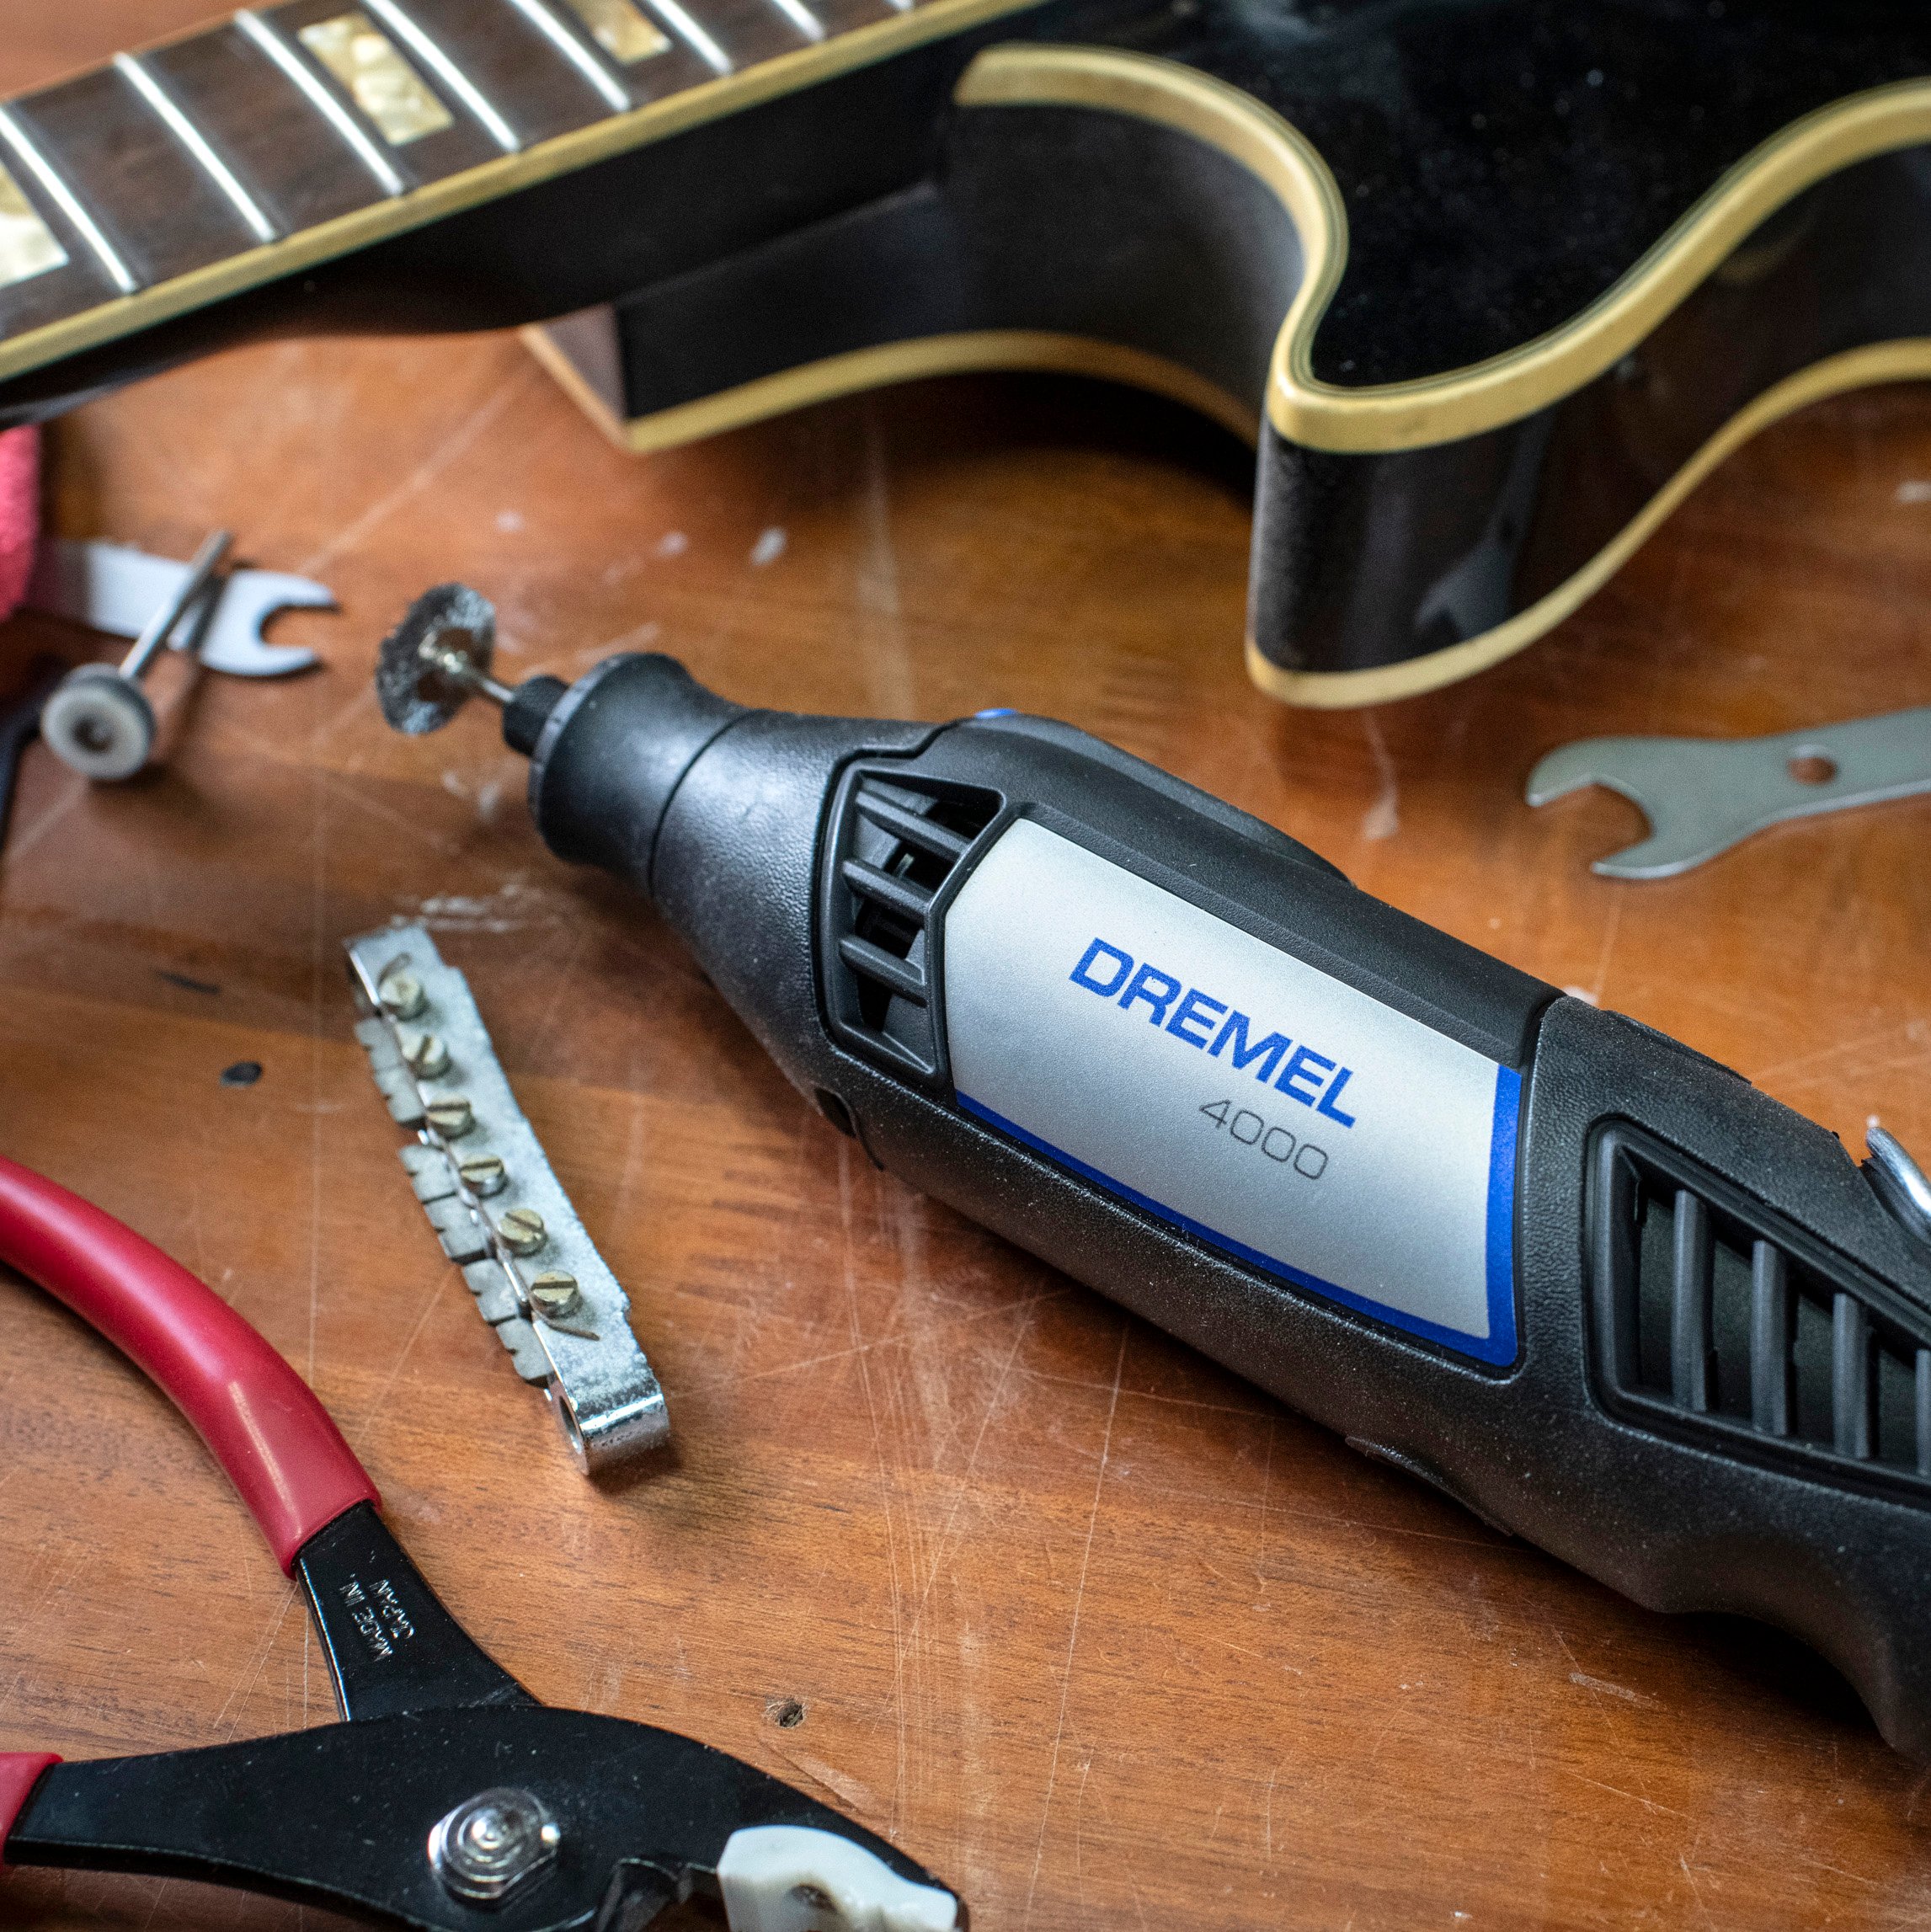
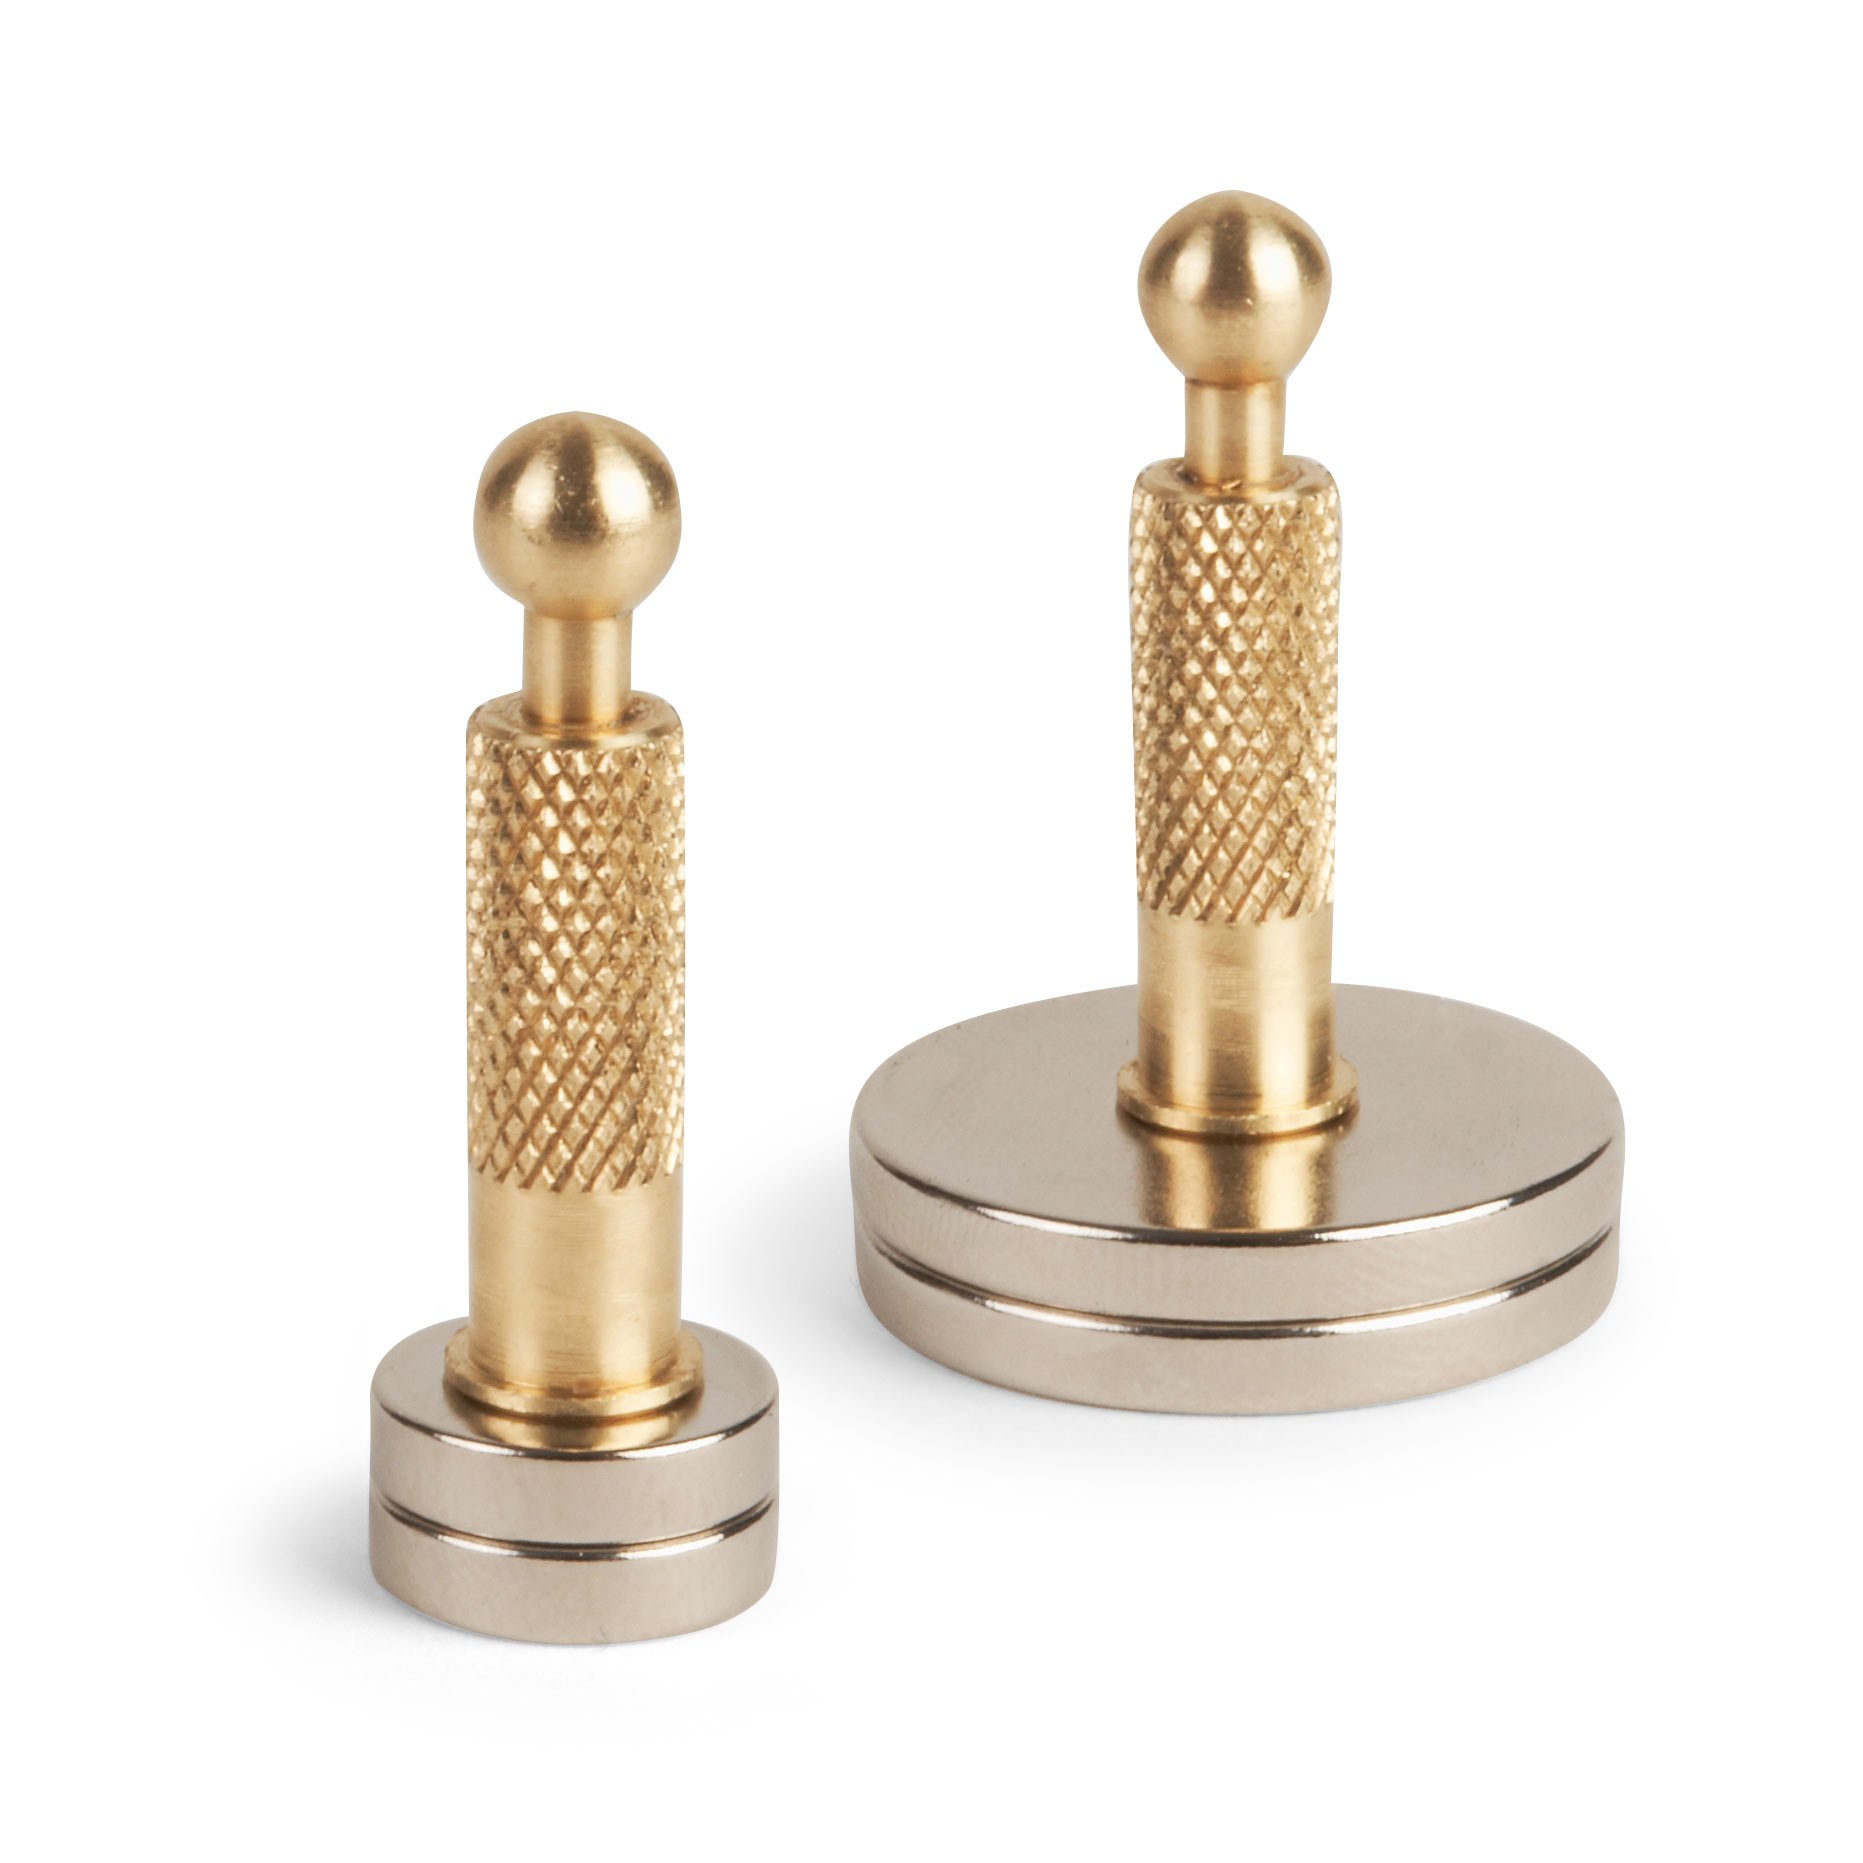
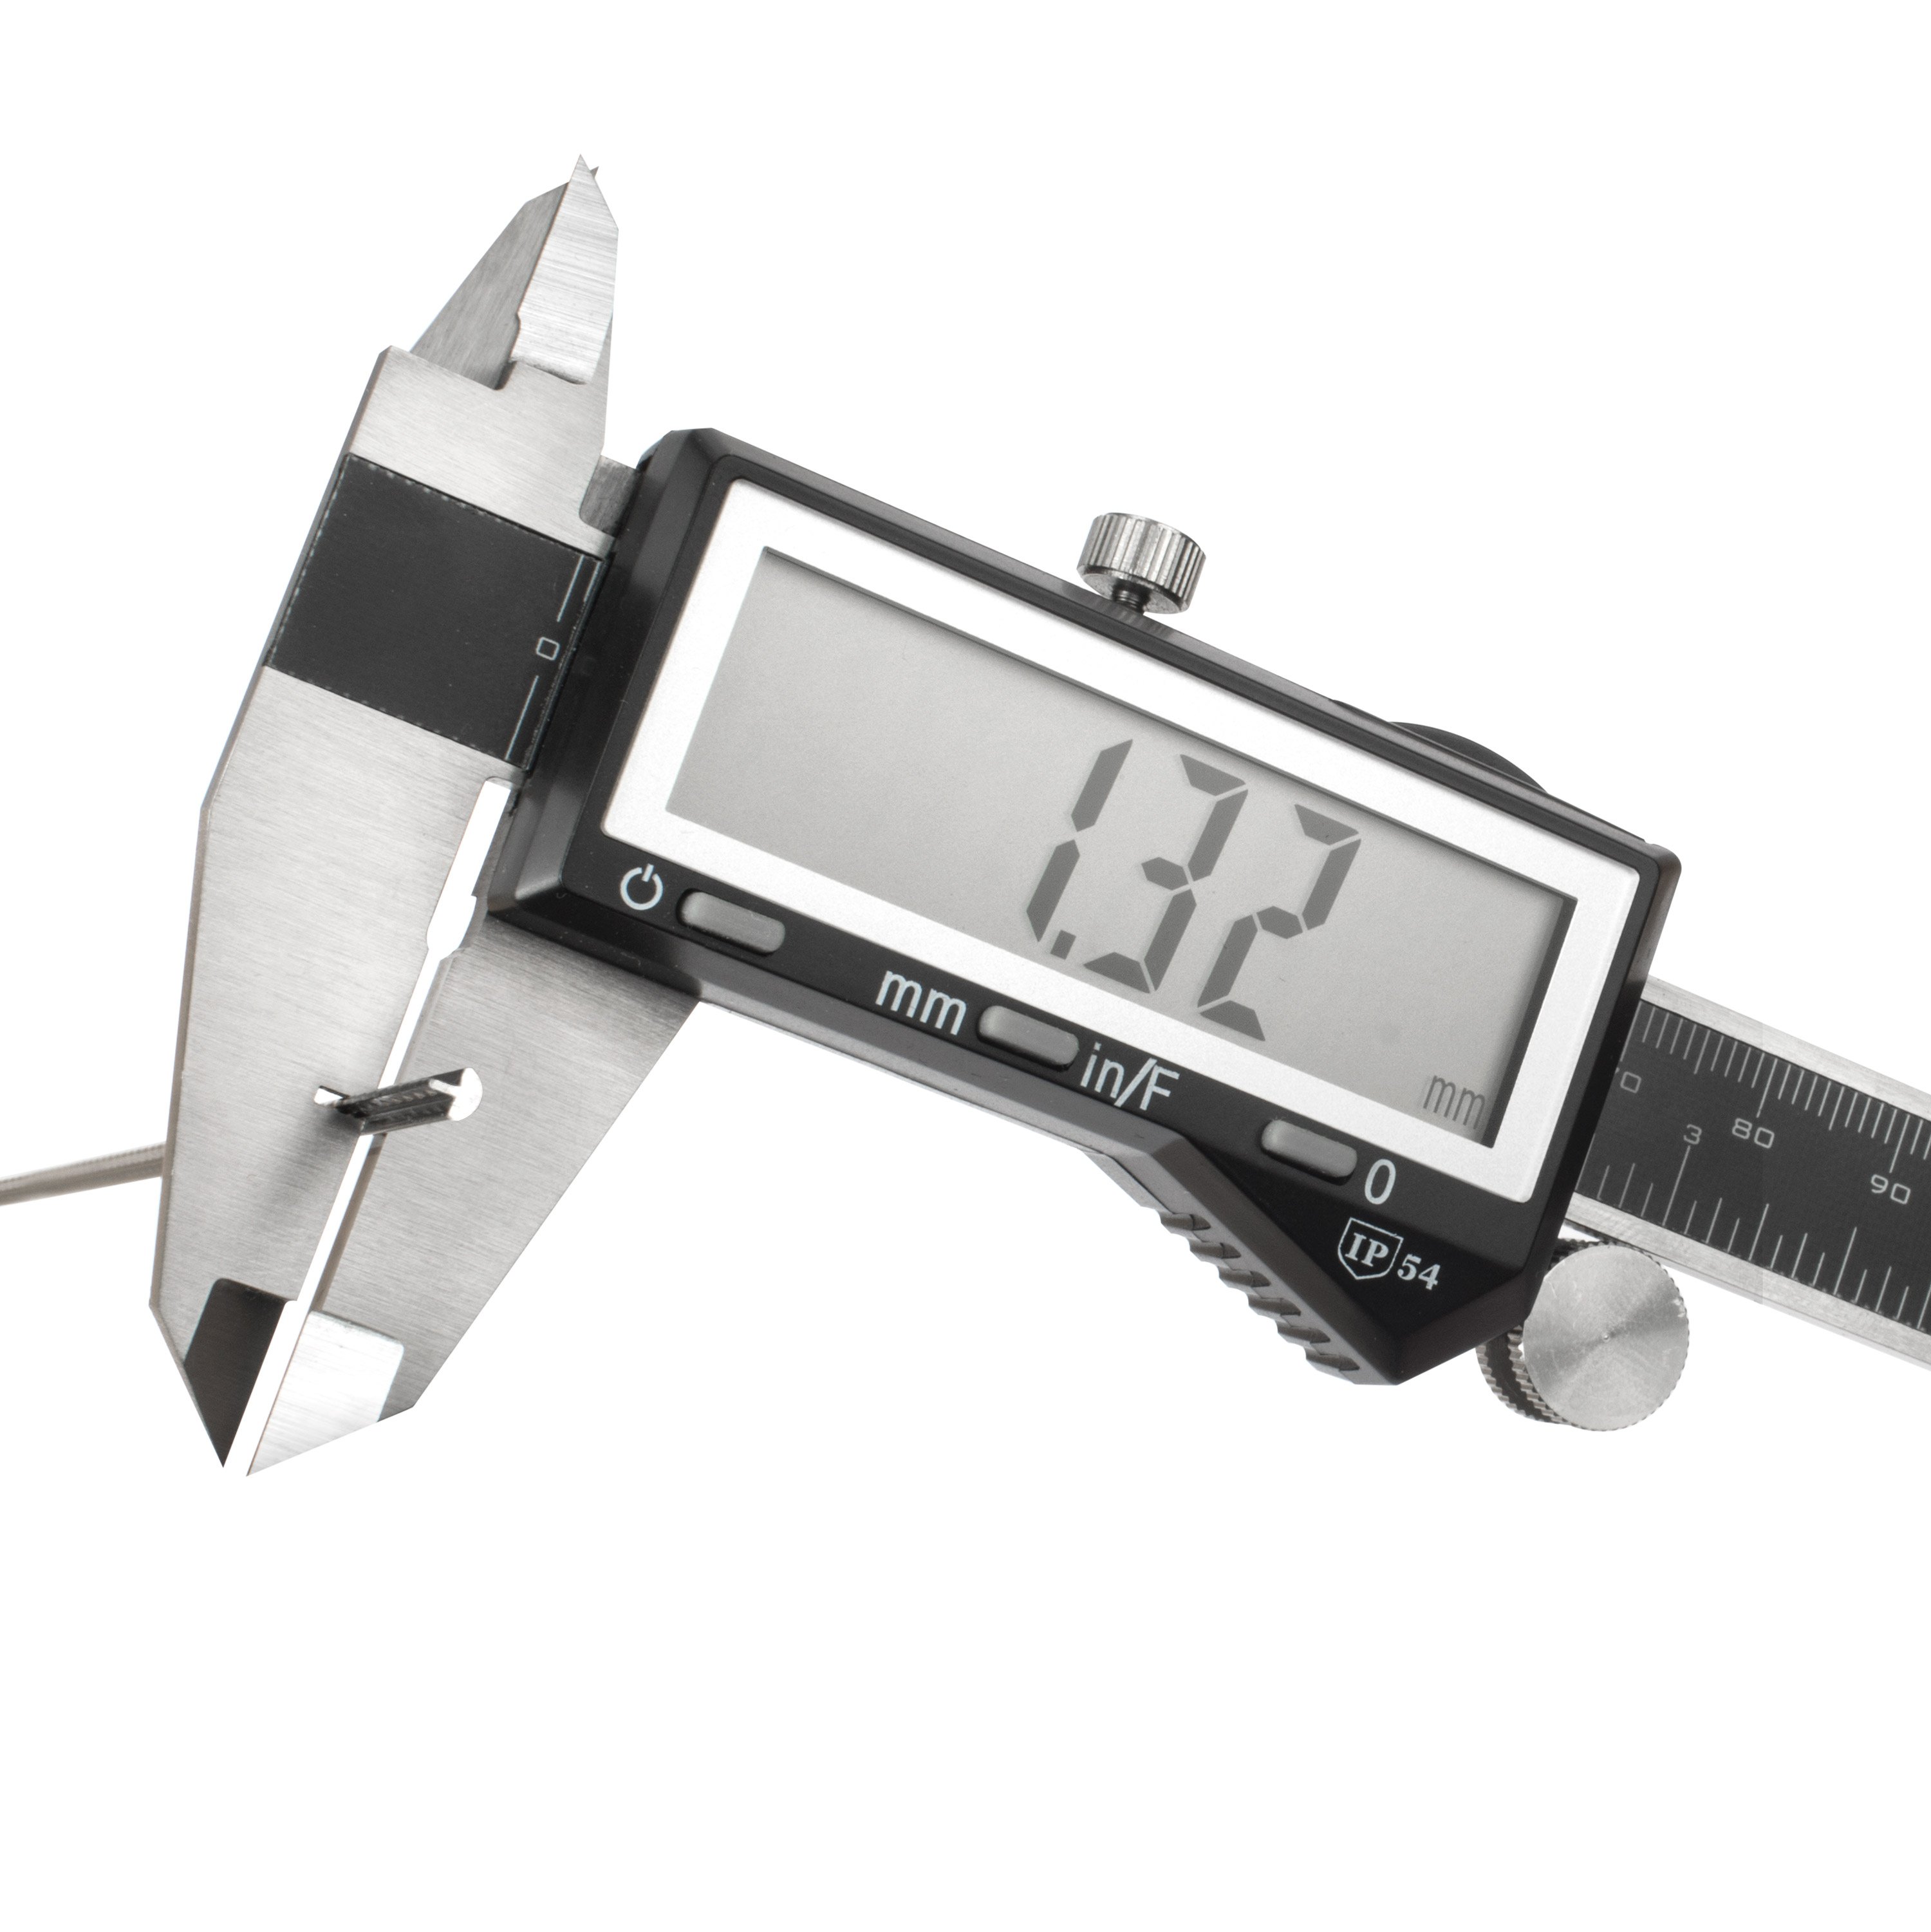
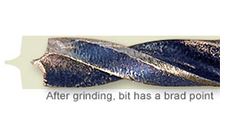
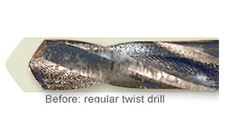
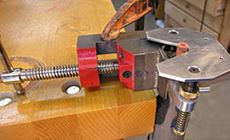
Here's an enlargement of my homemade brad point bit vs. the standard twist drill it was before I modified it. You can see how the brad point is going to stay on center, creating a nice flat-bottomed hole. Put a small grinding wheel into your Dremel tool, and mount it in the precision router base. Clamp this into a small vise. I'm using my nut and saddle vise — it's a heavy little thing, and it makes a good "third hand" with a solid grip. Clamp that rig to your benchtop and you have a small Dremel "grinder" with a working table. Clamp a small square item to the router base to use as a fence, centering it with the router bit. The drill bit will ride against this fence. (I used the square corner of our steel Fret Rocker for this). The blue marker ink on the drill bit will make it easy to see where the grinder's removing metal. This turned out to be a handy trick: I clamped a 1" repair magnet to the underside of the aluminum router table — the force of the magnet keeps the drill bit hugging the table and fence. Grind each cutting edge flat, stopping before reaching the center — leave that brad point! On the face of the wheel, grind a little back angle leading up to the cutting edge of the lip. Dress the new edges by hand with a sharp file (I used my diamond nut file). The sharpened tip will keep the bit centered, and the new bit will drill a clean, sharp-edged hole. Just the right size for a white side dot. Did you know the way to measure a drill’s diameter is not by putting a caliper on the shank? (I learned this from hanging around machinist-types.) Instead, measure the cutting tip from point to point; that’s what makes the hole, and it’ll be wider than the shank. Read the cutting edges of the tip...that's the hole size. Don't read the shank. It's smaller than the hole size. I found this nifty anvil-base depth micrometer in a box of tools, and used it for years to measure fret height. My repairman pal Frank Ford offered a better solution, and Don MacRostie made it happen: a luthier-friendly caliper that straddles the fret and gives a digital readout. The modified jaw fits over the fret tang to measure fretwire crown height, too. This custom caliper is the one we now carry at stewmac.comI modified this drill bit to install fingerboard dots that line up on center
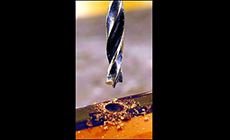
Making my own brad-point bit
Step 1
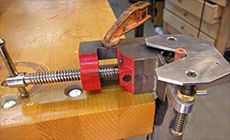
Step 2

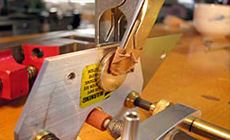
Step 3
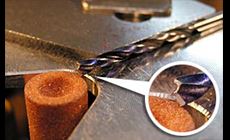

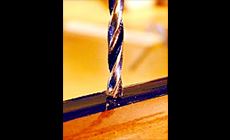
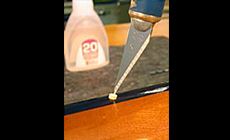
How not to measure a drill bit
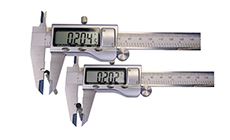
Garage Sale Find
