How to upgrade the electronics on a Fender Squier Strat and fix faulty shielding
Issue 332 June 13, 2019
The shielding on this budget Strat wasn't doing the job. Dan Erlewine and Elyse show how to fix the problem using conductive paint and a foil pickguard shield. While they're at it, they upgrade the pickups and electronics with a Golden Age prewired pickguard.
- Don't skimp on mixing: lumps in the paint mean keep on stirring.
- Don't skimp on coats: it's going to take three or four.
- Don't skimp on drying time: it's worth waiting to get it right!
- Shielding the pickguard is an essential part of the job.
Video Transcription
[on-screen text reads: StewMac tools + ideas for guitarmaking. How to Shield a Guitar with Conductive Paint.]
Dan Erlewine: Here's a pink Squier Strat that I just bought for my granddaughter. She's 11 years old and has just asked me to give her lessons. I was like, "Yes." I've been waiting for it and I'm thrilled. She takes this thing with her everywhere, walking down the street with her gig bag. It's so cute. I want to make a little modification that I know she's going to love. Swapping out the old pickguard for a shiny, new, pre-wired pearloid one.
Elyse: Dan, take a look at this. This paint job under here is pretty shoddy.
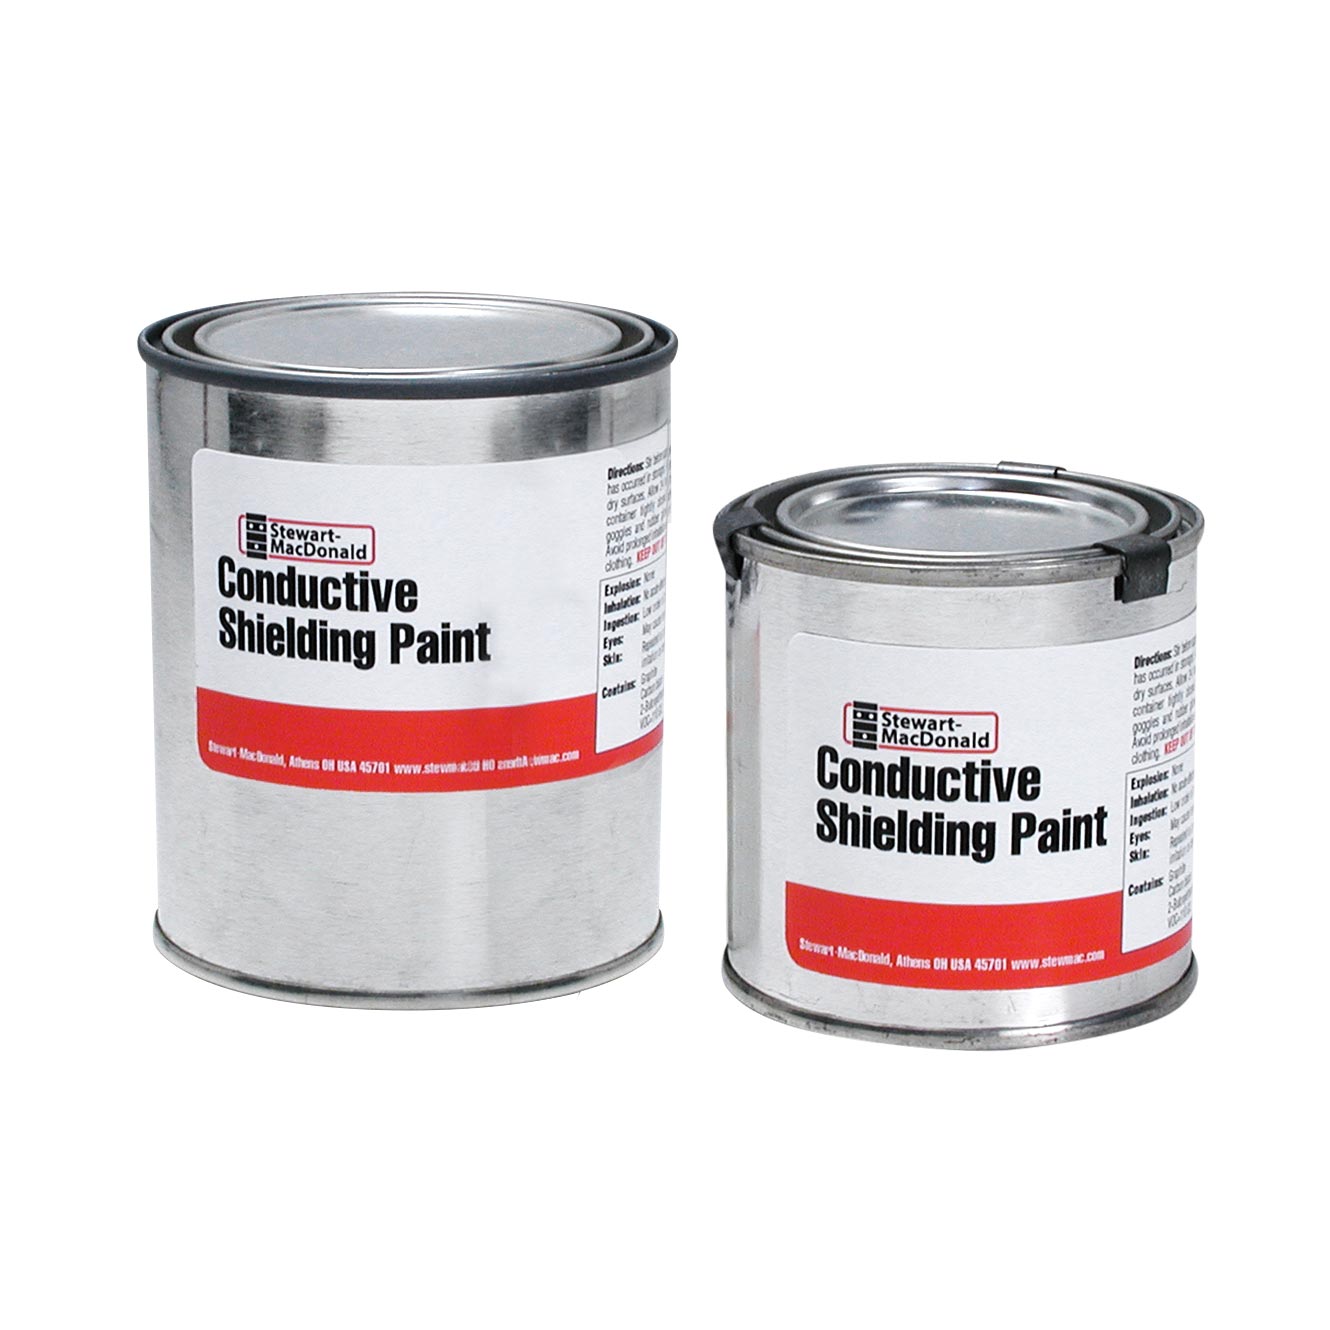
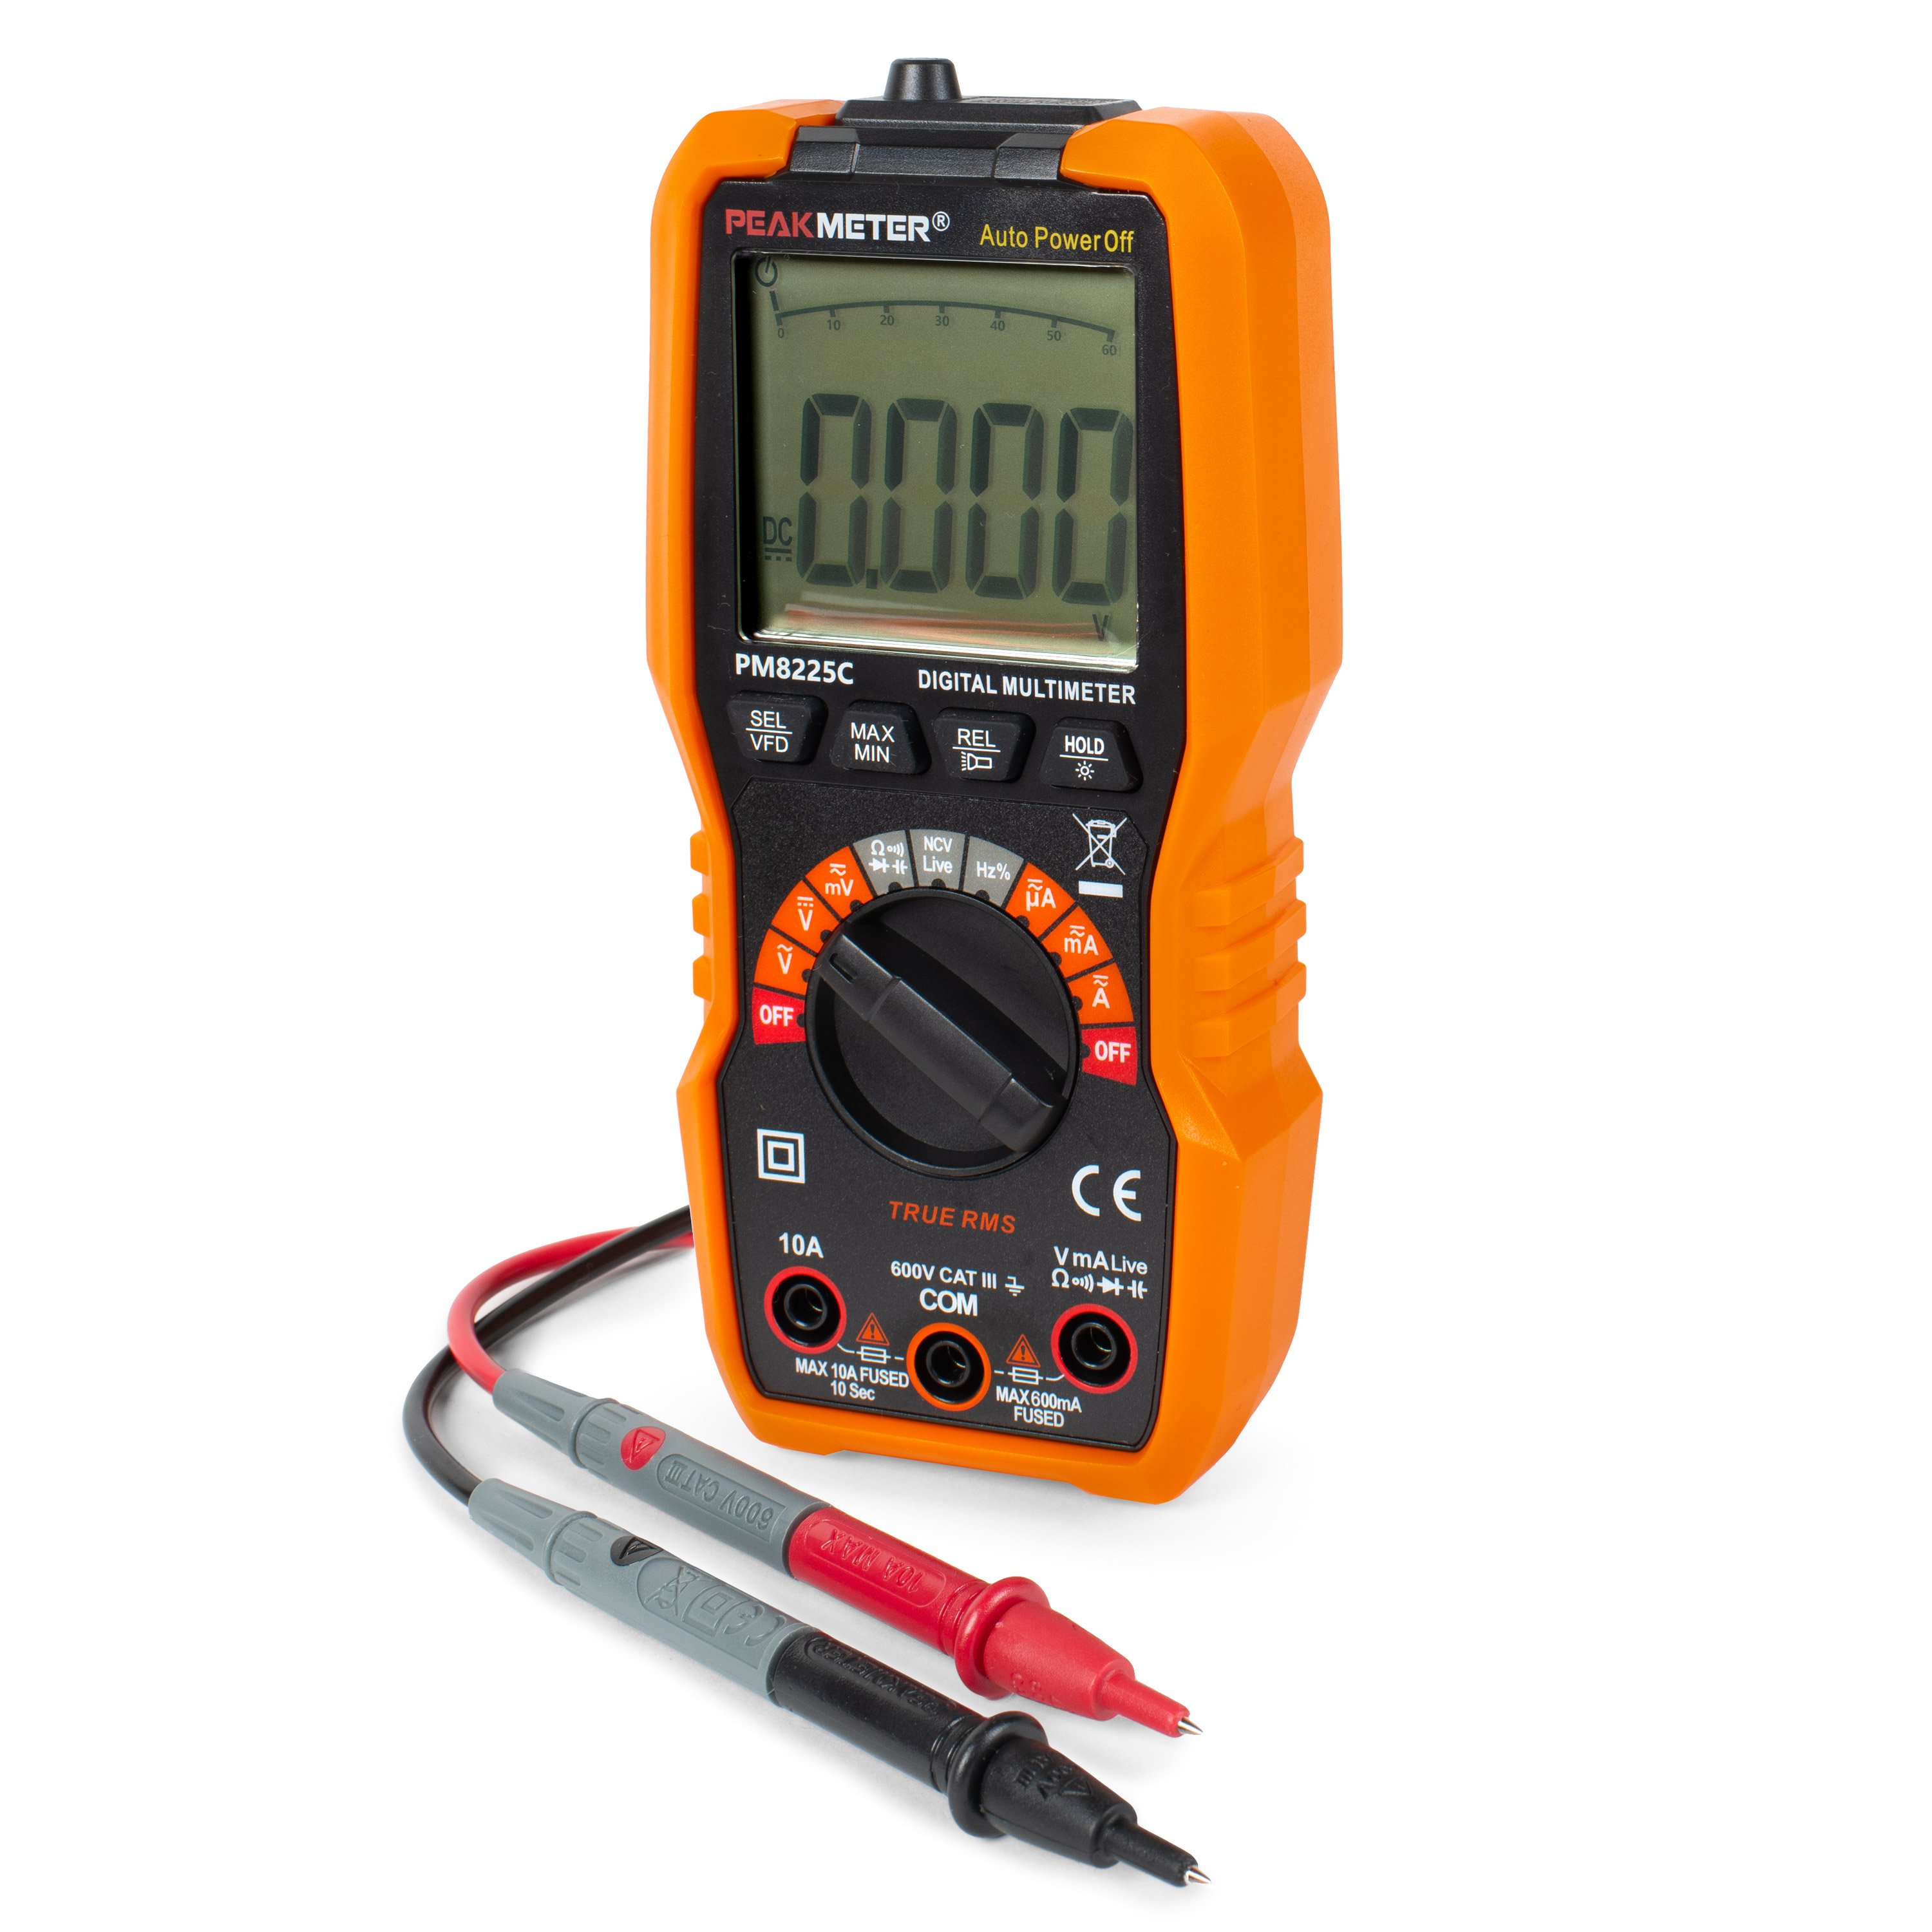
Dan Erlewine: It's horrible. It's supposed to be shielding paint. Shielding Paint is conductive. It's like lining the inside of the body with metal, with foil copper, aluminum, and then the pickguard. You close those pickups in and it cuts down the hum. I can prove this isn't doing its job. Take the Multimeter and put it on conductivity. When you hit the two prongs, you'll get a beep. If I touch a fret... Touch the cavity. Nothing. It's just paint. Now I'm going to have you go ahead and shield that.
Using shielding paint
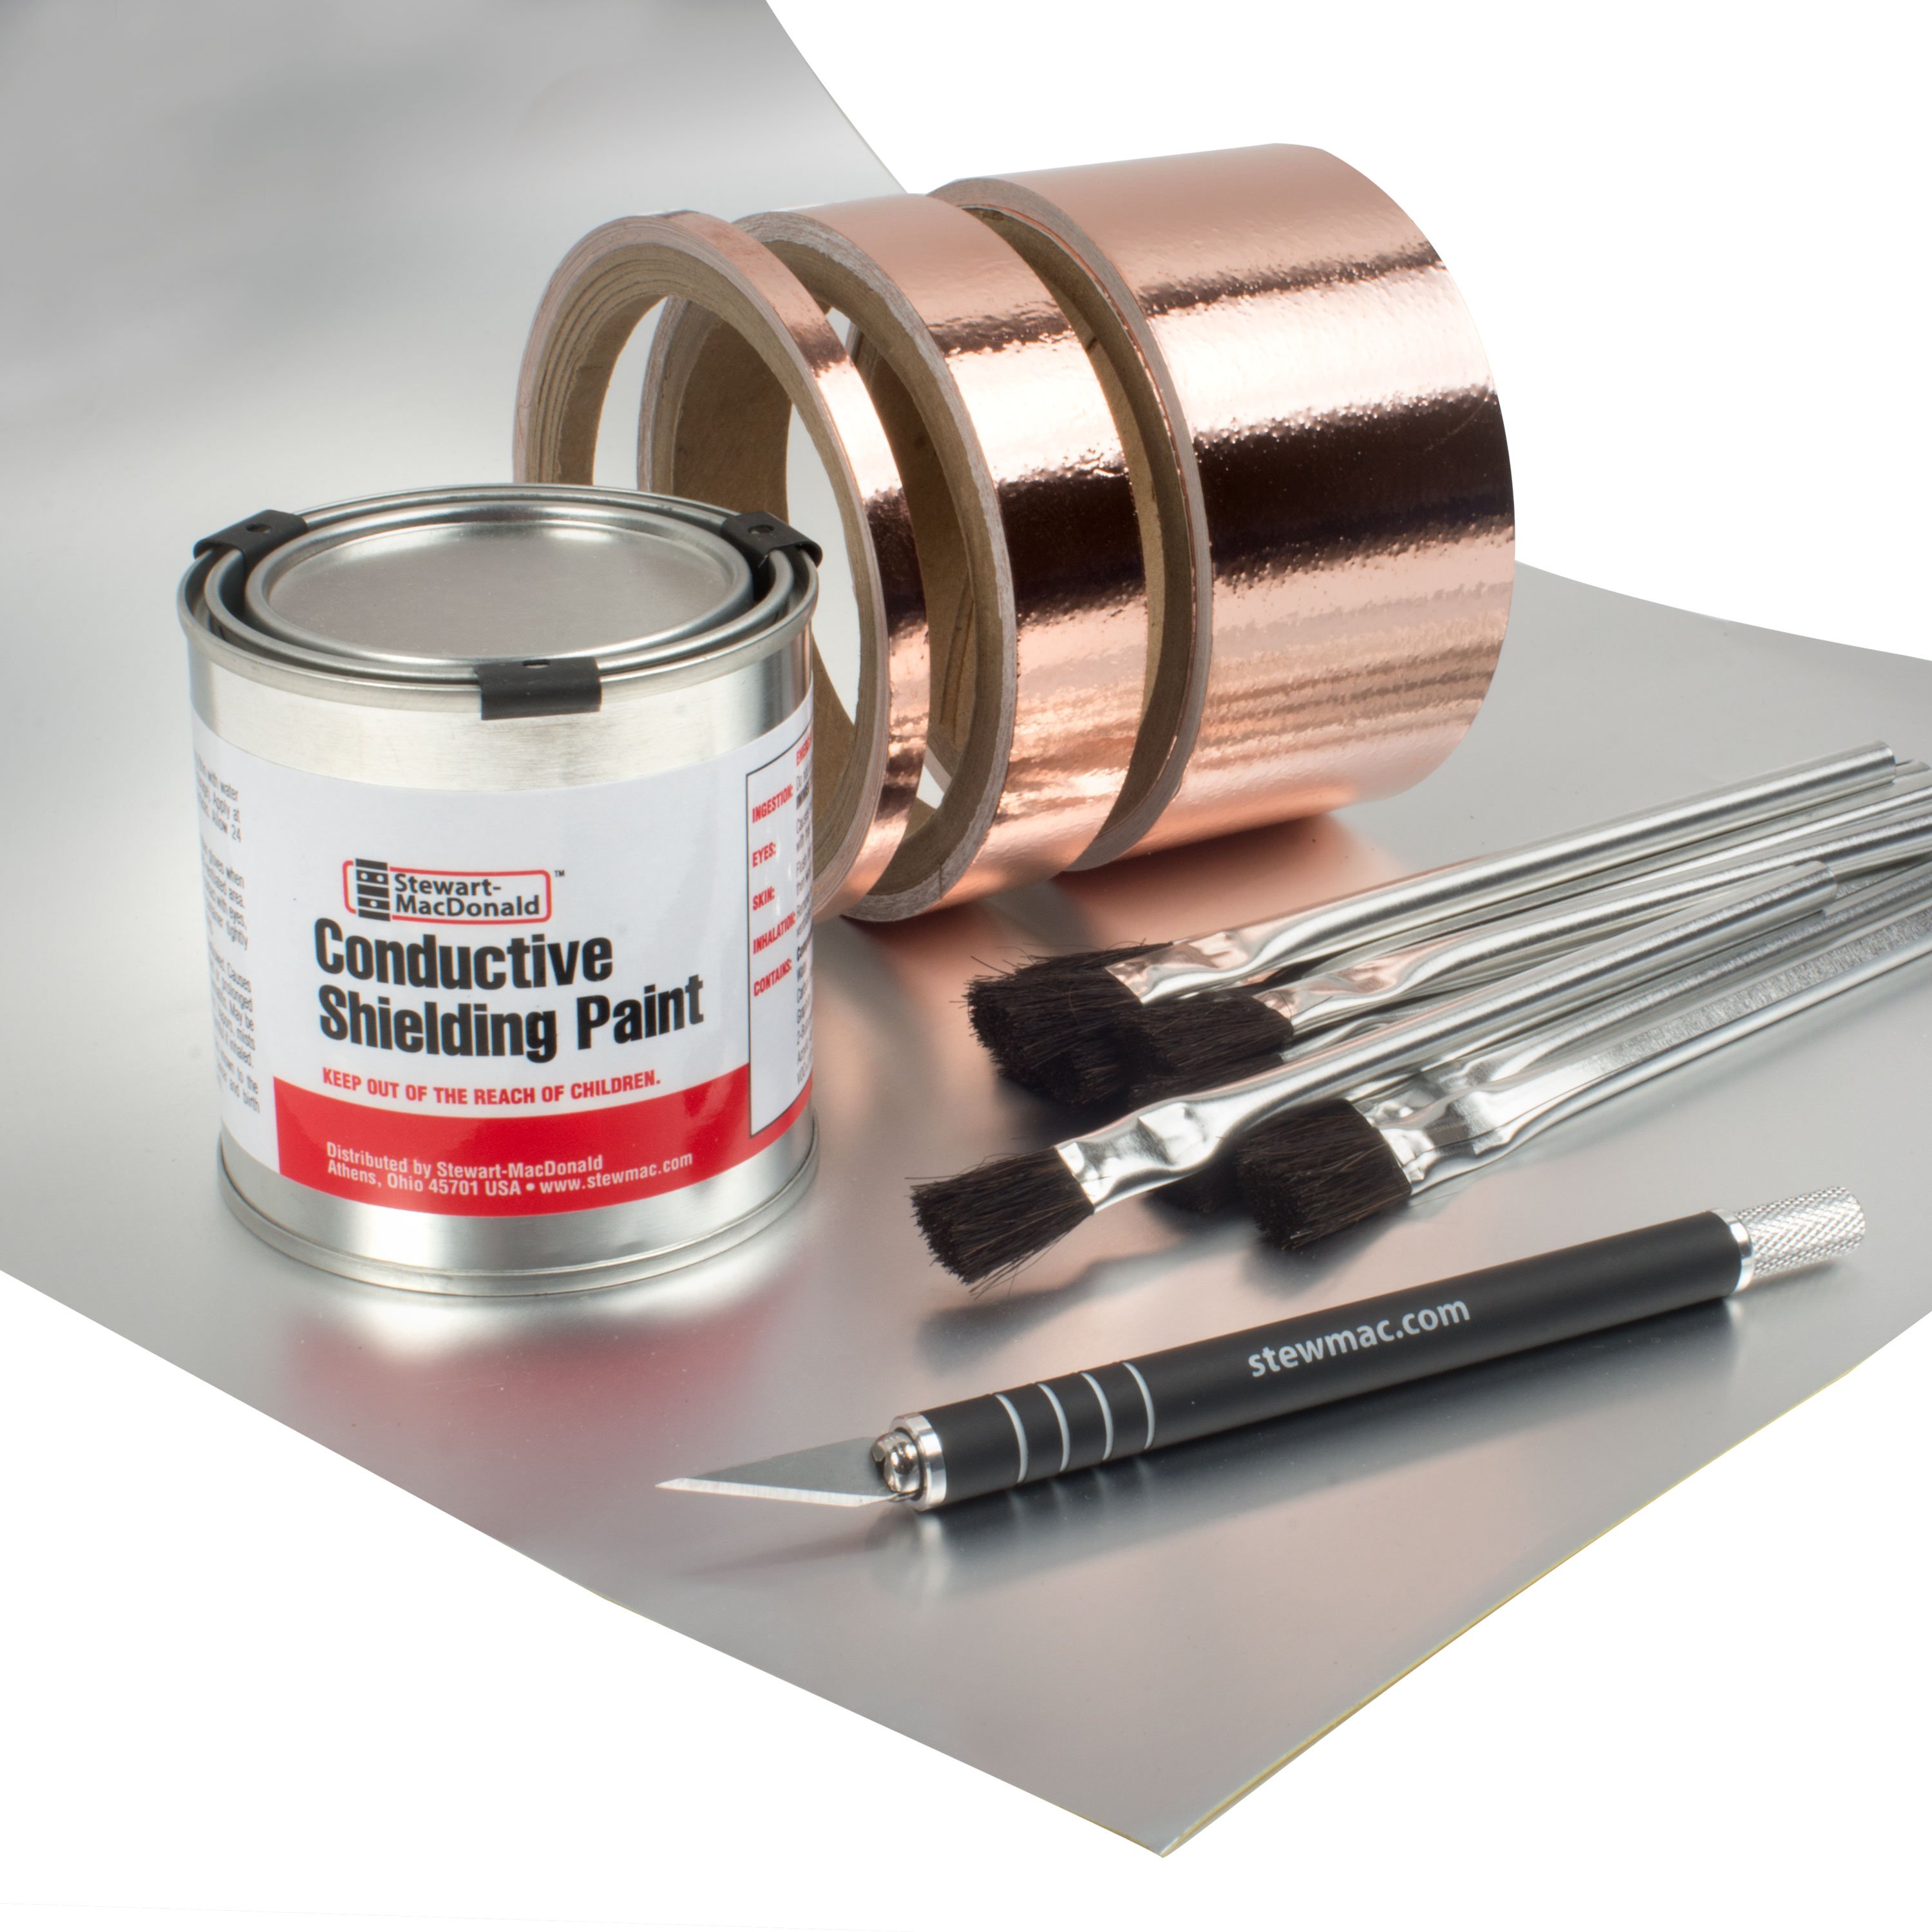
Elyse: All right. When it comes to shielding paint [on-screen text reads: Conductive Shielding Paint - stewmac.com], you want to make sure you stir it extremely thoroughly, because it can have a lot of lumps at the bottom.
Dan Erlewine: That's the stuff that does the conductivity, that you want to get into emulsion.
Elyse: You'd like it to be like a cream light consistency. You want to use about three coats. Each coat takes about 12 hours to dry.
Dan Erlewine: I'm going to rush it up a bit by putting a fan on it.
Elyse: While painting in such a small cavity like this [on-screen text reads: 2nd Coat], it's difficult to not accidentally get it on the body a little bit. It's not a big deal, you can use a little naphtha [on-screen text reads: ColorTone Naphtha - stewmac.com] on a clean cloth and it'll wipe it right off. You always want to make sure you double check the inside of the cavity and make sure everything is saturated, so you don't miss any spots at all.
Dan Erlewine: Well said.
Elyse: Thank you, boss [on-screen text reads: 3rd Coat]. All right, Dan, it's all finished up.
Dan Erlewine: All finished up, hey?
Elyse: Three coats.
Dan Erlewine: Looks good. It's your test. We pushed it.
Elyse: Nice. Nice.
Shielding the underside of the pickguard
Dan Erlewine: That's good. That's part one of the job we're going to do, because we're not putting the original pickguard and pickups back on. I'm giving Kate the pearloid pickguard. This is pre-wired. Eric Cohen spent six months researching this, taking apart pickups to trace down what we liked in a vintage sounding Strat. Everything on this is top-grade. Golden Age Strat pickups, CTS pots, Centralab switch like a real Strat. You just can't compare this to that and the sound will be way different. What we're going to do, though, is shield the underside of this guard. Imagine that's like a little box. You got to put the lid on the box and the lid has to be shielded as well. Then you have a completely shielded outfit.
Elyse: All right. First thing we got to do is take all the components off of the pickguard.
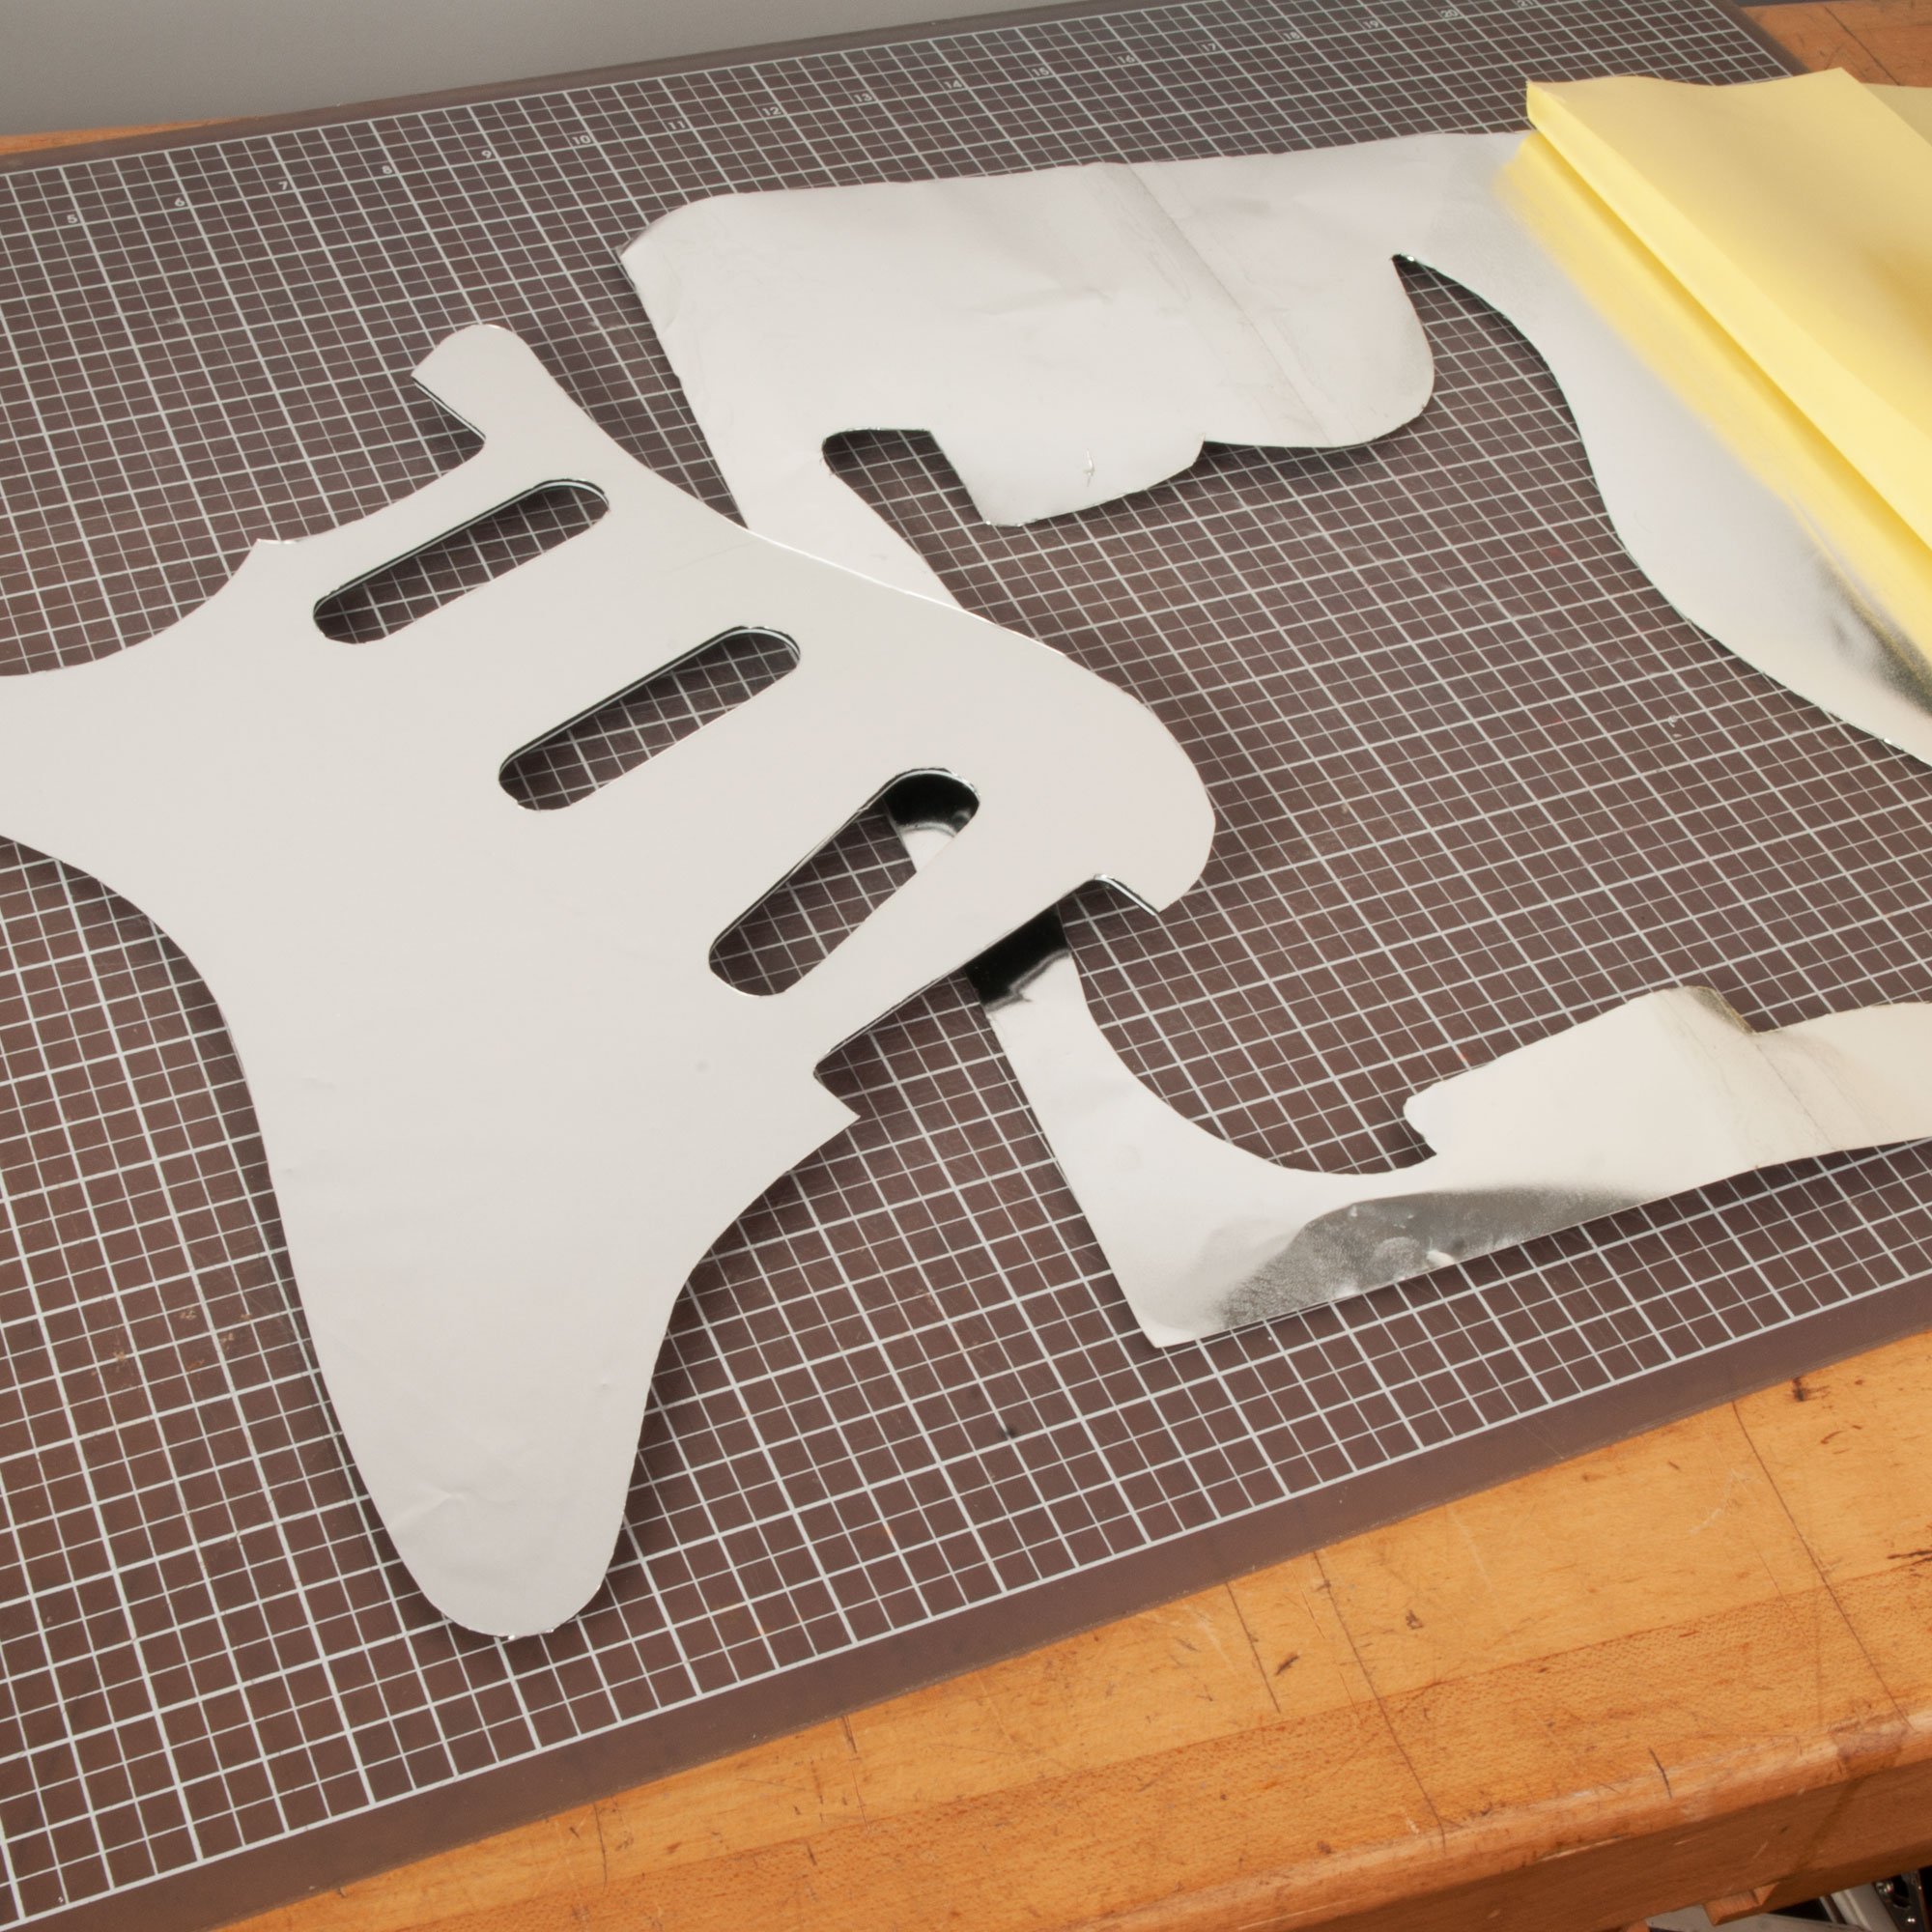
Dan Erlewine: We're not going to mess with any glue, we're going to cut off a sheet of this self-adhesive shielding foil. It's real easy to trim to the exact size of the pickguard.
Elyse: You want to trim as close as you can, but be careful not to cut into the pickguard at all, so it doesn't cause it any damage. For the interior, I like to press on the edges of the pickguard to give myself an outline of what I need to trim. It makes it really easy to get in there and make precise cuts. A small screwdriver tip works great to mark out the mounting screw holes.
Dan Erlewine: Make sure that you smooth the foil down a good bit against the pickguard. Work the bubbles out, so it's flat. You can use your fingertips, the butt end of a screwdriver. Anything just to make sure it's on there really good.
Elyse: Now I'm just finishing up with a little bit of sanding around the edges with 220 grit.
Dan Erlewine: I forgot to point this out earlier. You don't have to shield your guitars. A lot of people don't like shielding, it changes the sound of single coil pickups, and maybe it's too quiet for them. If you don't have shielding and when you're out in a bar playing away, you might want some of that ambient noise and hum. In all the years I played, I never had any of my guitars shielded. It's up to you.
Filling the old pickguard holes
Elyse: Now that I've finished the shielding, I'm placing the pickguard on the body and I'm noticing that not all of the mounting screw holes are aligned, which is common for inexpensive imports once you trade out pickguards, but it's very easy to fix. We're just going to use a wooden dowel like this to fill the holes. Cut the dowel in half to make it a little bit easier to work with. Using a razor knife, whittle the end into a point. Use a little bit of sandpaper to get the point more defined. You don't need it super sharp, just enough of a taper to easily get into the mounting hole. Then trim the dowel to about a quarter of an inch. Repeat this process until you have one for every misaligned hole. In my case, I need nine. Now we are ready to fill.
What I'm going to do is I'm going to take some Titebond [on-screen text reads: TiteBond Original Wood Glue - stewmac.com], take this super sharp dowel, and start filling these holes. I'm going to place it. Use a Fret Hammer, lightly tap it in. Use the tip of the screwdriver and the fret hammer until it's completely flushed with the body. Now that all my dowels are installed, I'm going to begin the process of installing new holes, so the pickguard will be placed properly.
Drilling new pickguard holes
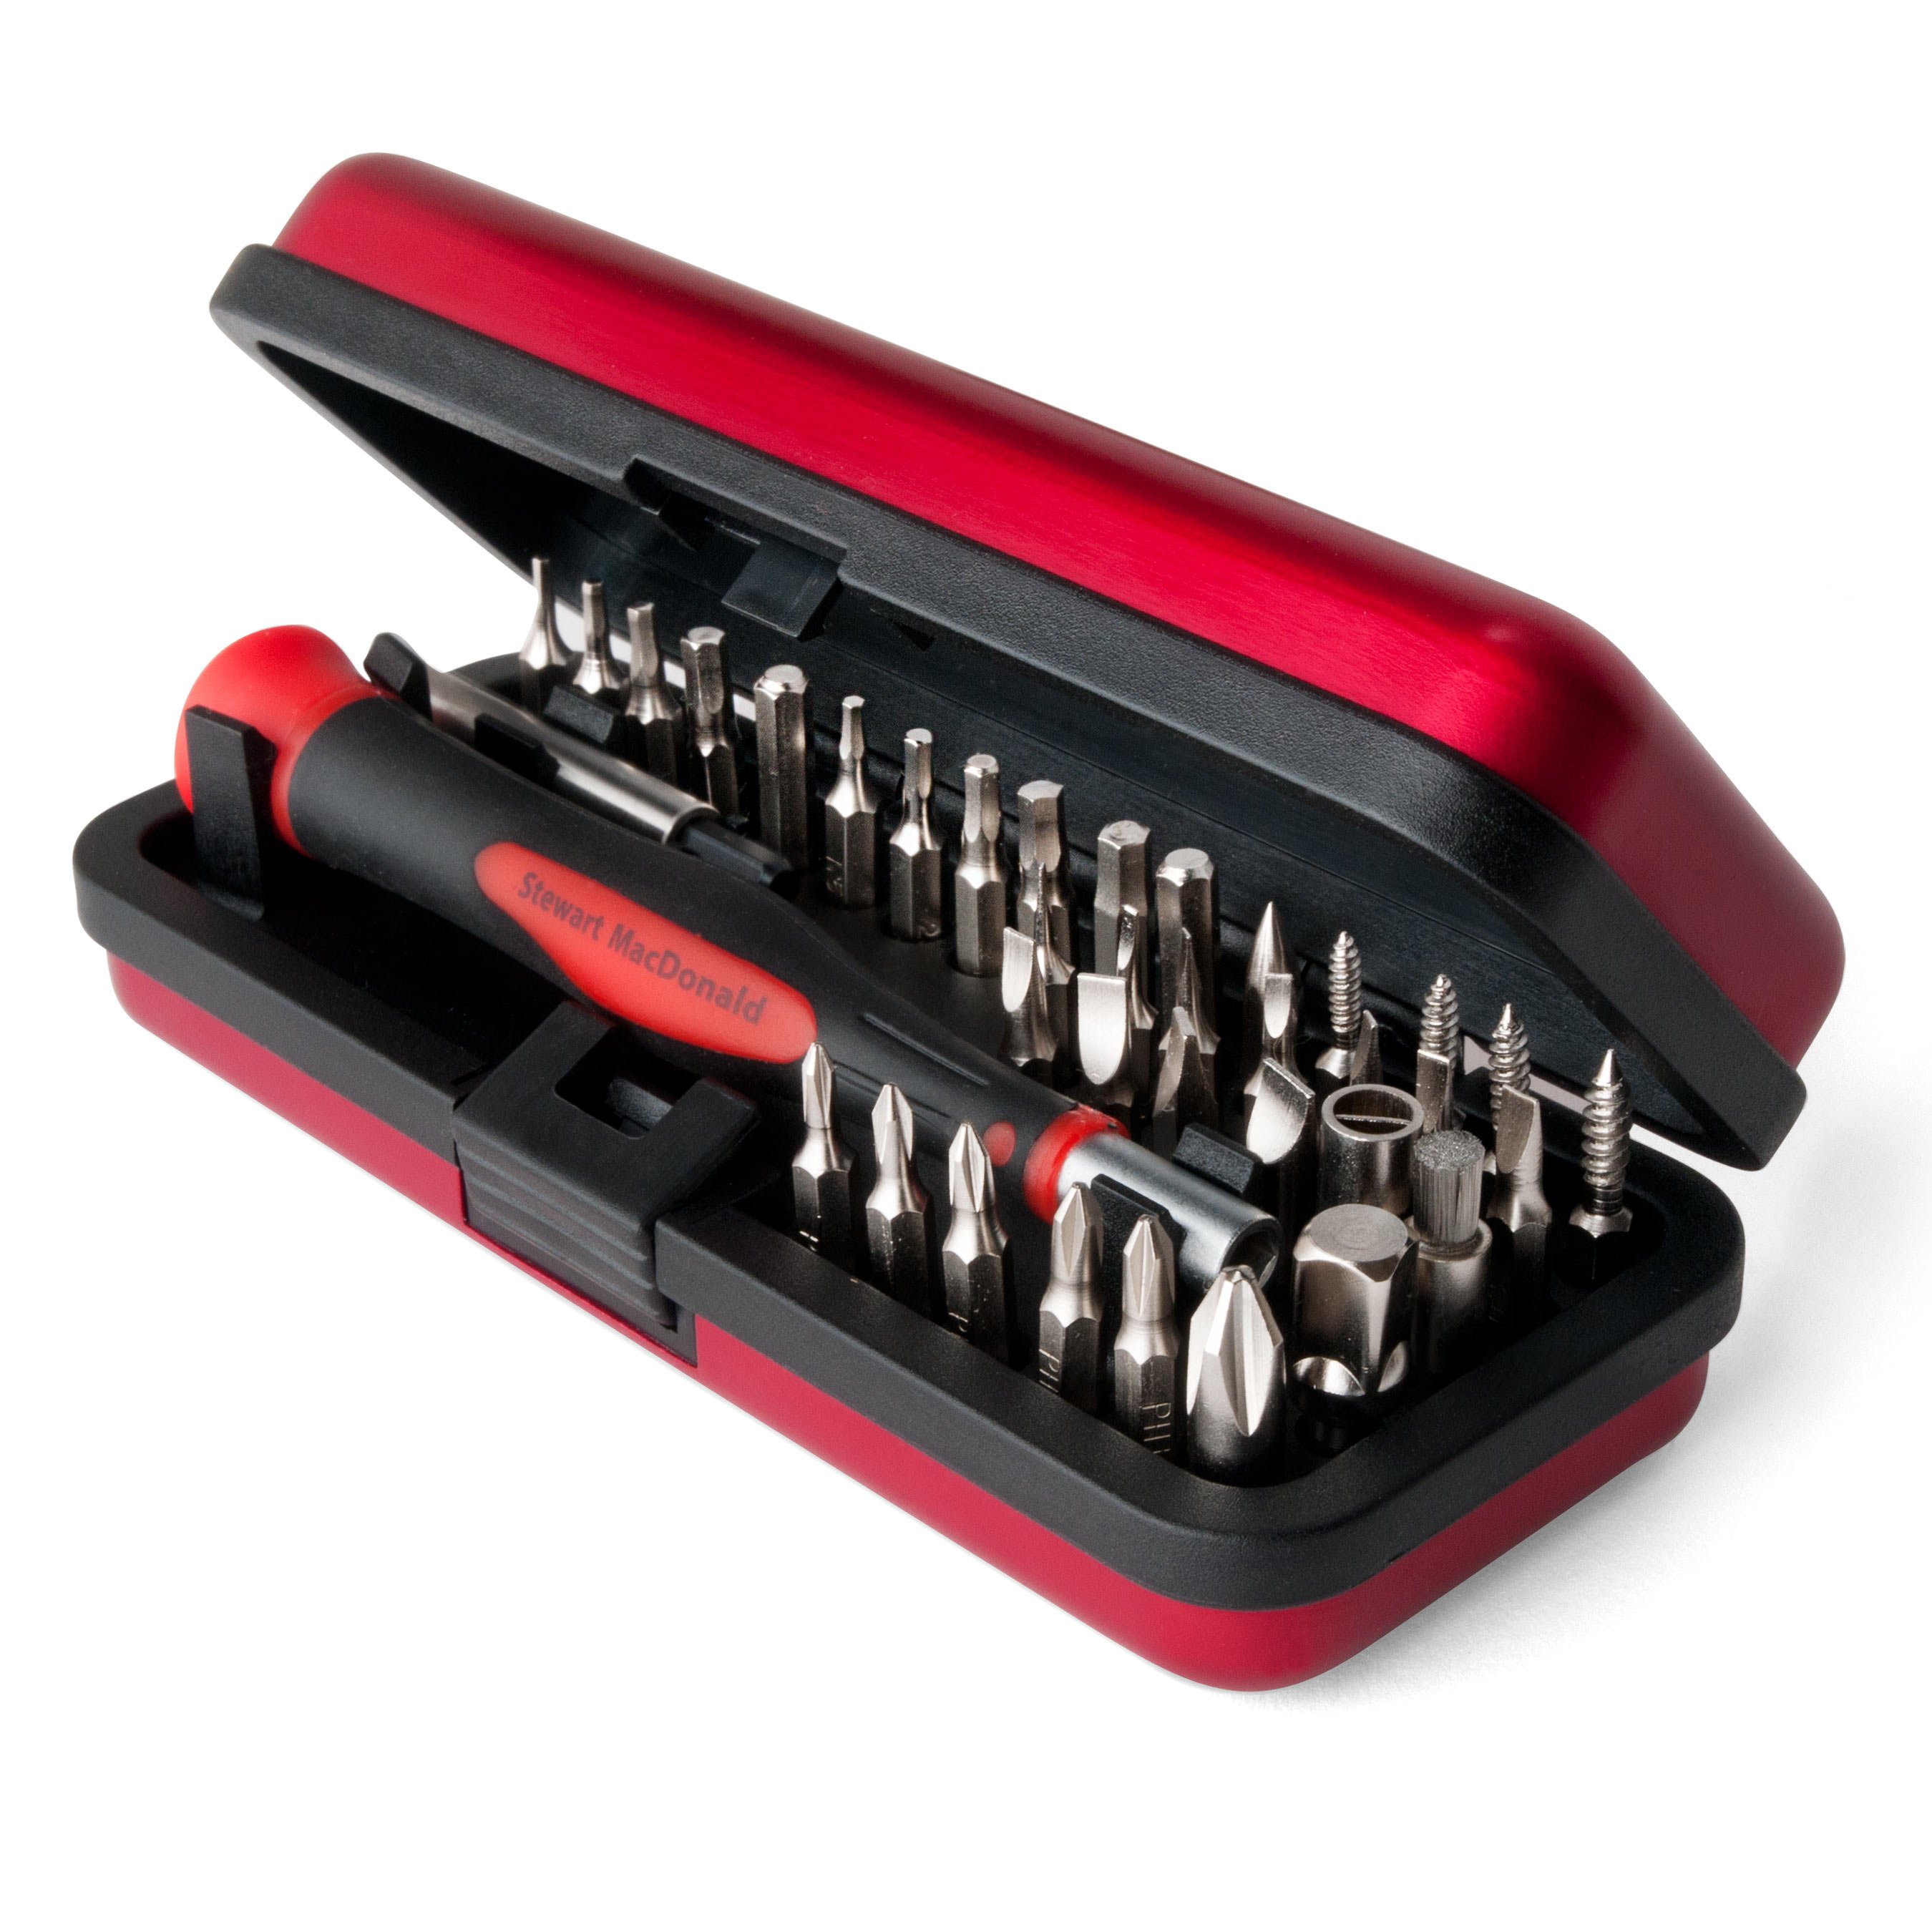
If you do have any existing holes that do align, screw those in first to set the pickguard in place before you start drilling [on-screen text reads: Guitar Tech Screwdriver Set - stewmac.com]. Now, using an awl and a fret hammer, mark the holes. Then drill right at the marks. Now that they're all done, it's time to start putting everything back together.
Installing the new pickguard
Dan Erlewine: Before we're done with this job, we have to connect the shielding and the cavity to the shielding on the underside of the pickguard. That completes the circuit, it closes the box. I simply did that by screwing a wood screw into the body right here, wrapping a small wire around it, tightening against that shielding, running it up the side, and poked down into a little hole that I drilled in the top. When I put the pickguard on, I closed it up, and it's quiet as a mouse.
Elyse: Now that the pickguard is all soldered with the electronics, I'm just going to screw it in. Now, time to give to Dan, so he can do that lesson.
Dan Erlewine: How do you like the pickguard?
Kate: I really like it. It's shiny.
Dan Erlewine: Isn't it? Really adds to the pink.


