How to finish an acoustic guitar bridge
Issue 251 October 22, 2015
A small finishing job like this is easy. After the bridge popped off this classical guitar, Dan Erlewine replaced it with a new one. In this short video, he shows how simple it was to put a finish on the new bridge before gluing it on.
- Brushing on grain filler, and rubbing it in.
- Mixing two colors of filler for a custom match.
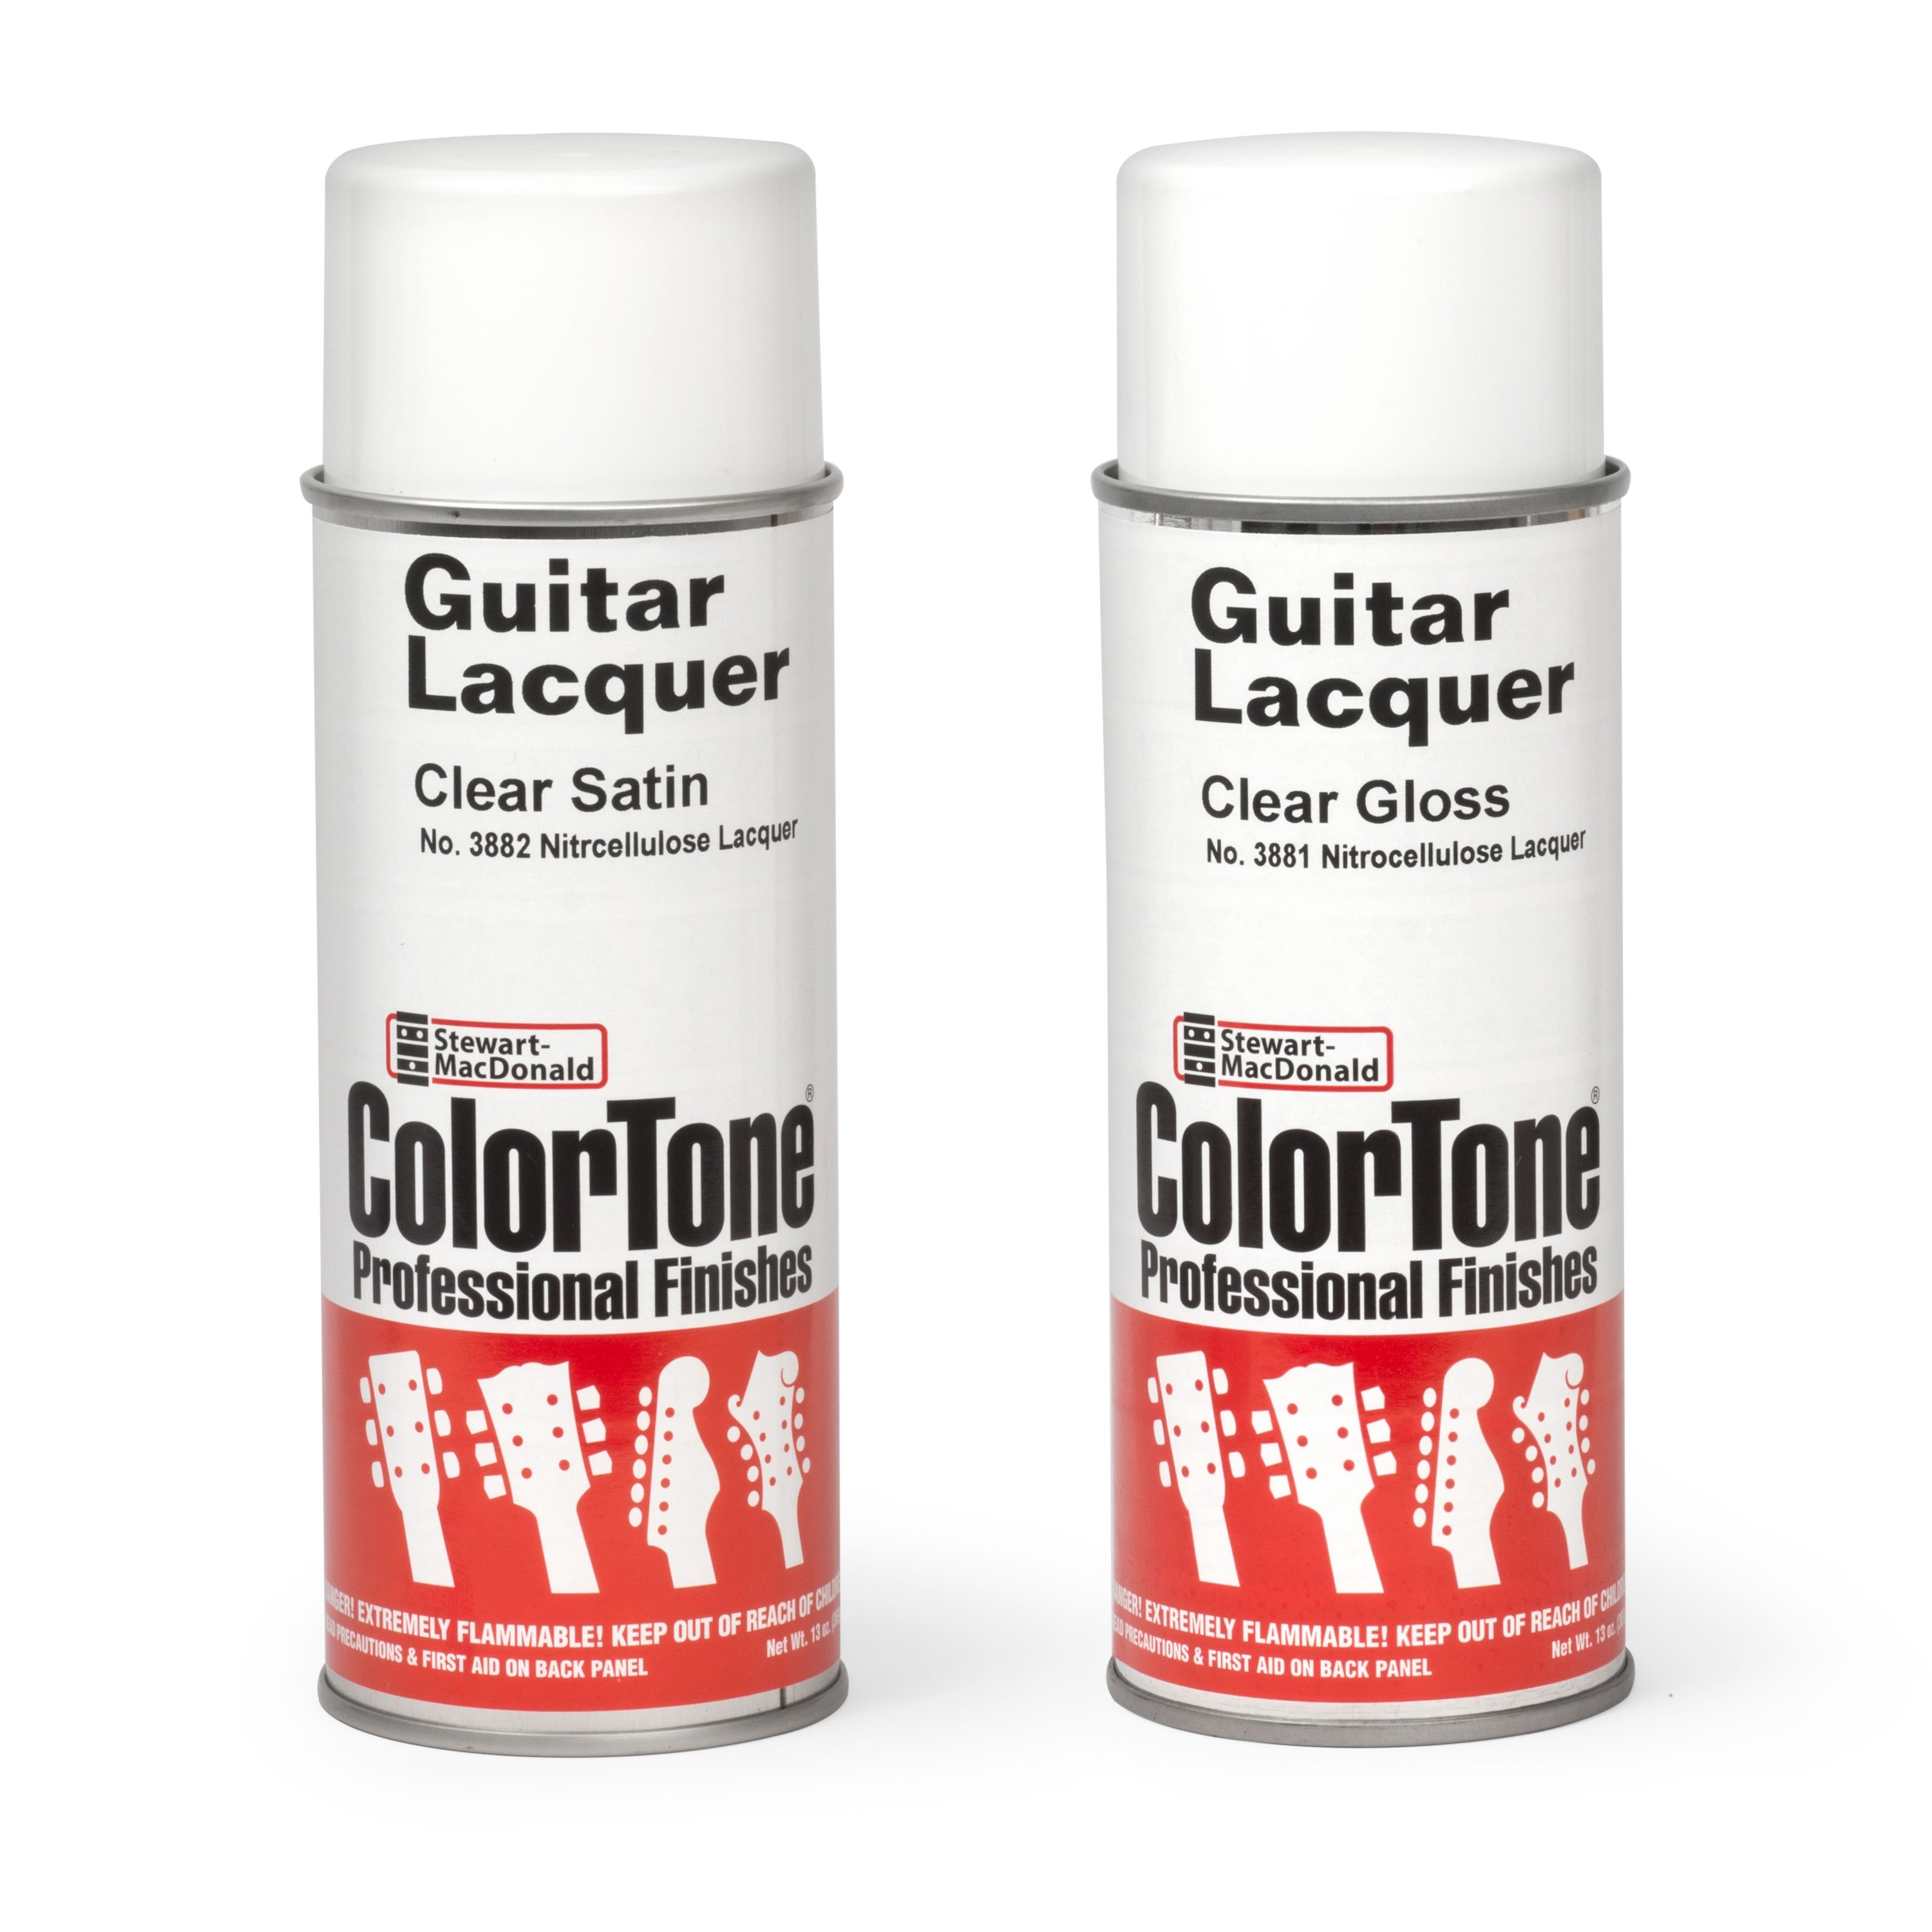
- Taping off and spraying clear gloss guitar lacquer: easy!
- Scuff-sanding between coats.
Video Transcription
[on-screen text reads: Stewart-MacDonald - Trade Secrets!]
Finishing a rosewood bridge
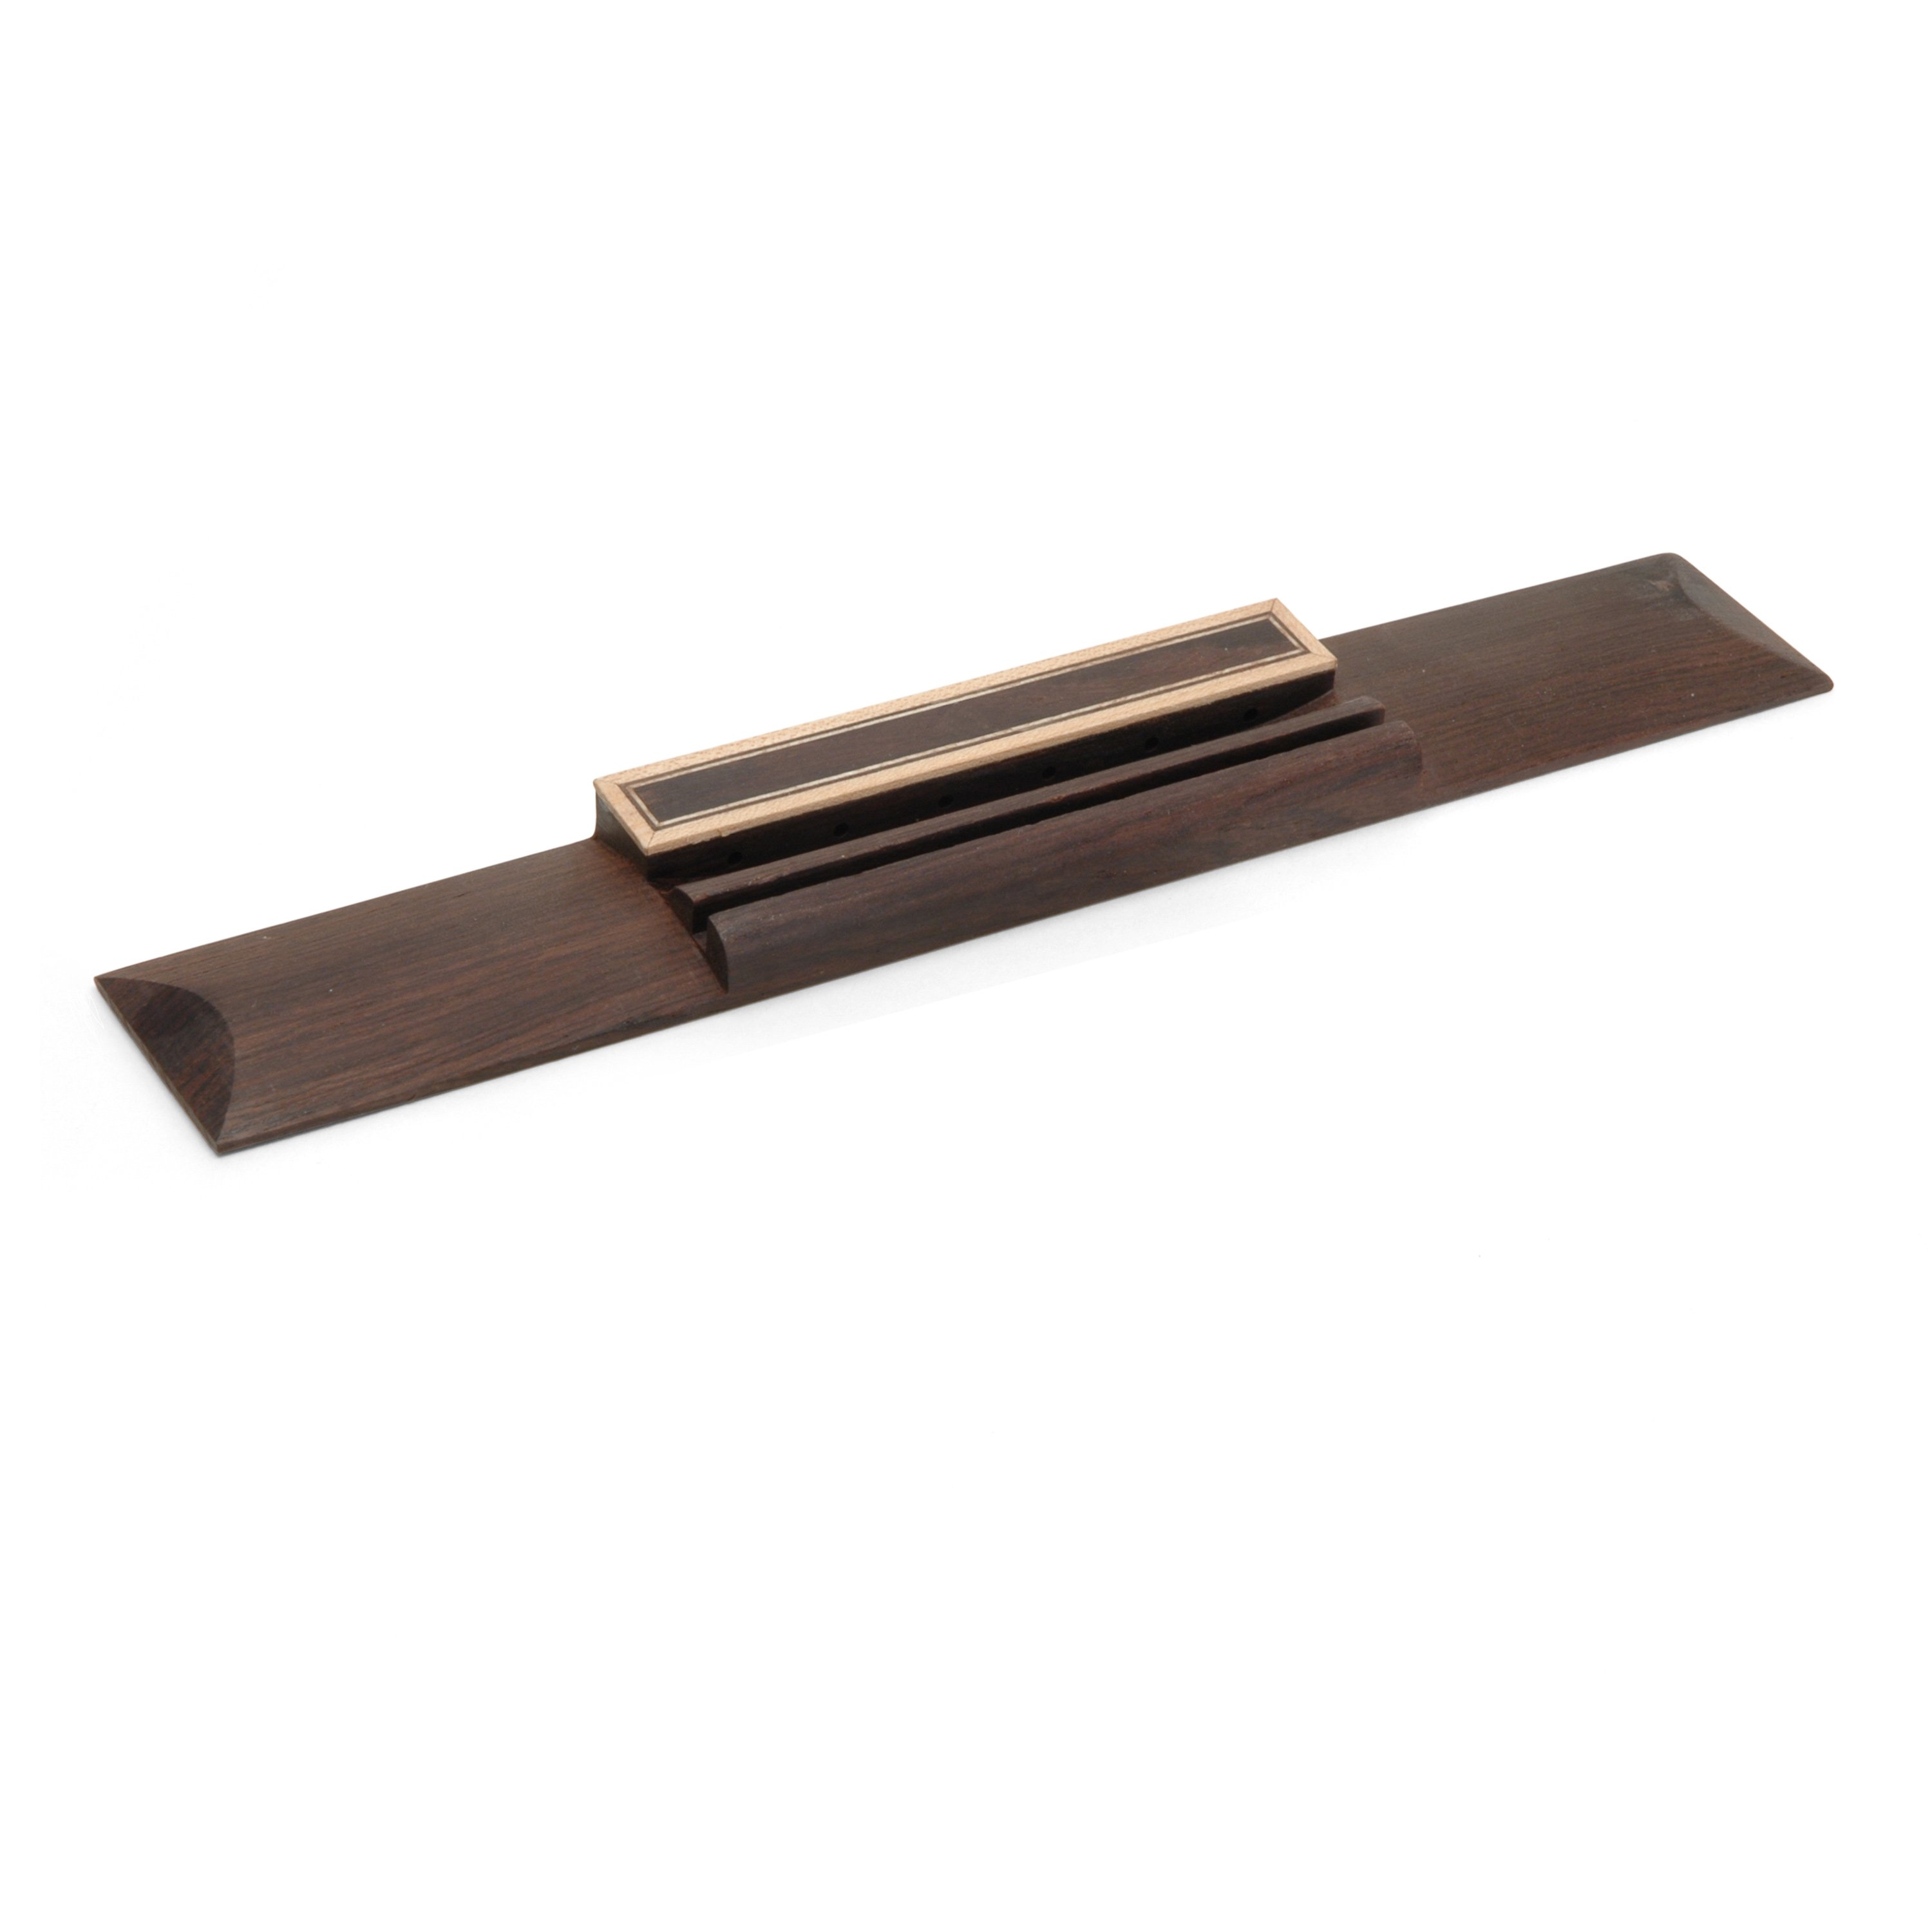
Dan Erlewine: I just replaced the bridge on this Alvarez classical guitar. It broke off the top. I used StewMac's Rosewood Classical Guitar Bridge [on-screen text reads: Dusty from being sanded] and it was the perfect fit, both saddle wise and everything else. Before I did that, I put a finish on it because most classical bridges are finished. I used Rosewood and Ebony water-based wood filler for the pores [on-screen text reads: ColorTone Waterbase Grain Filler], and lacquered it with an aerosol can [on-screen text reads: ColorTone Aerosol Lacquer]. Several coats. Here's how I did it.
Mixing two colors of filler for a custom match
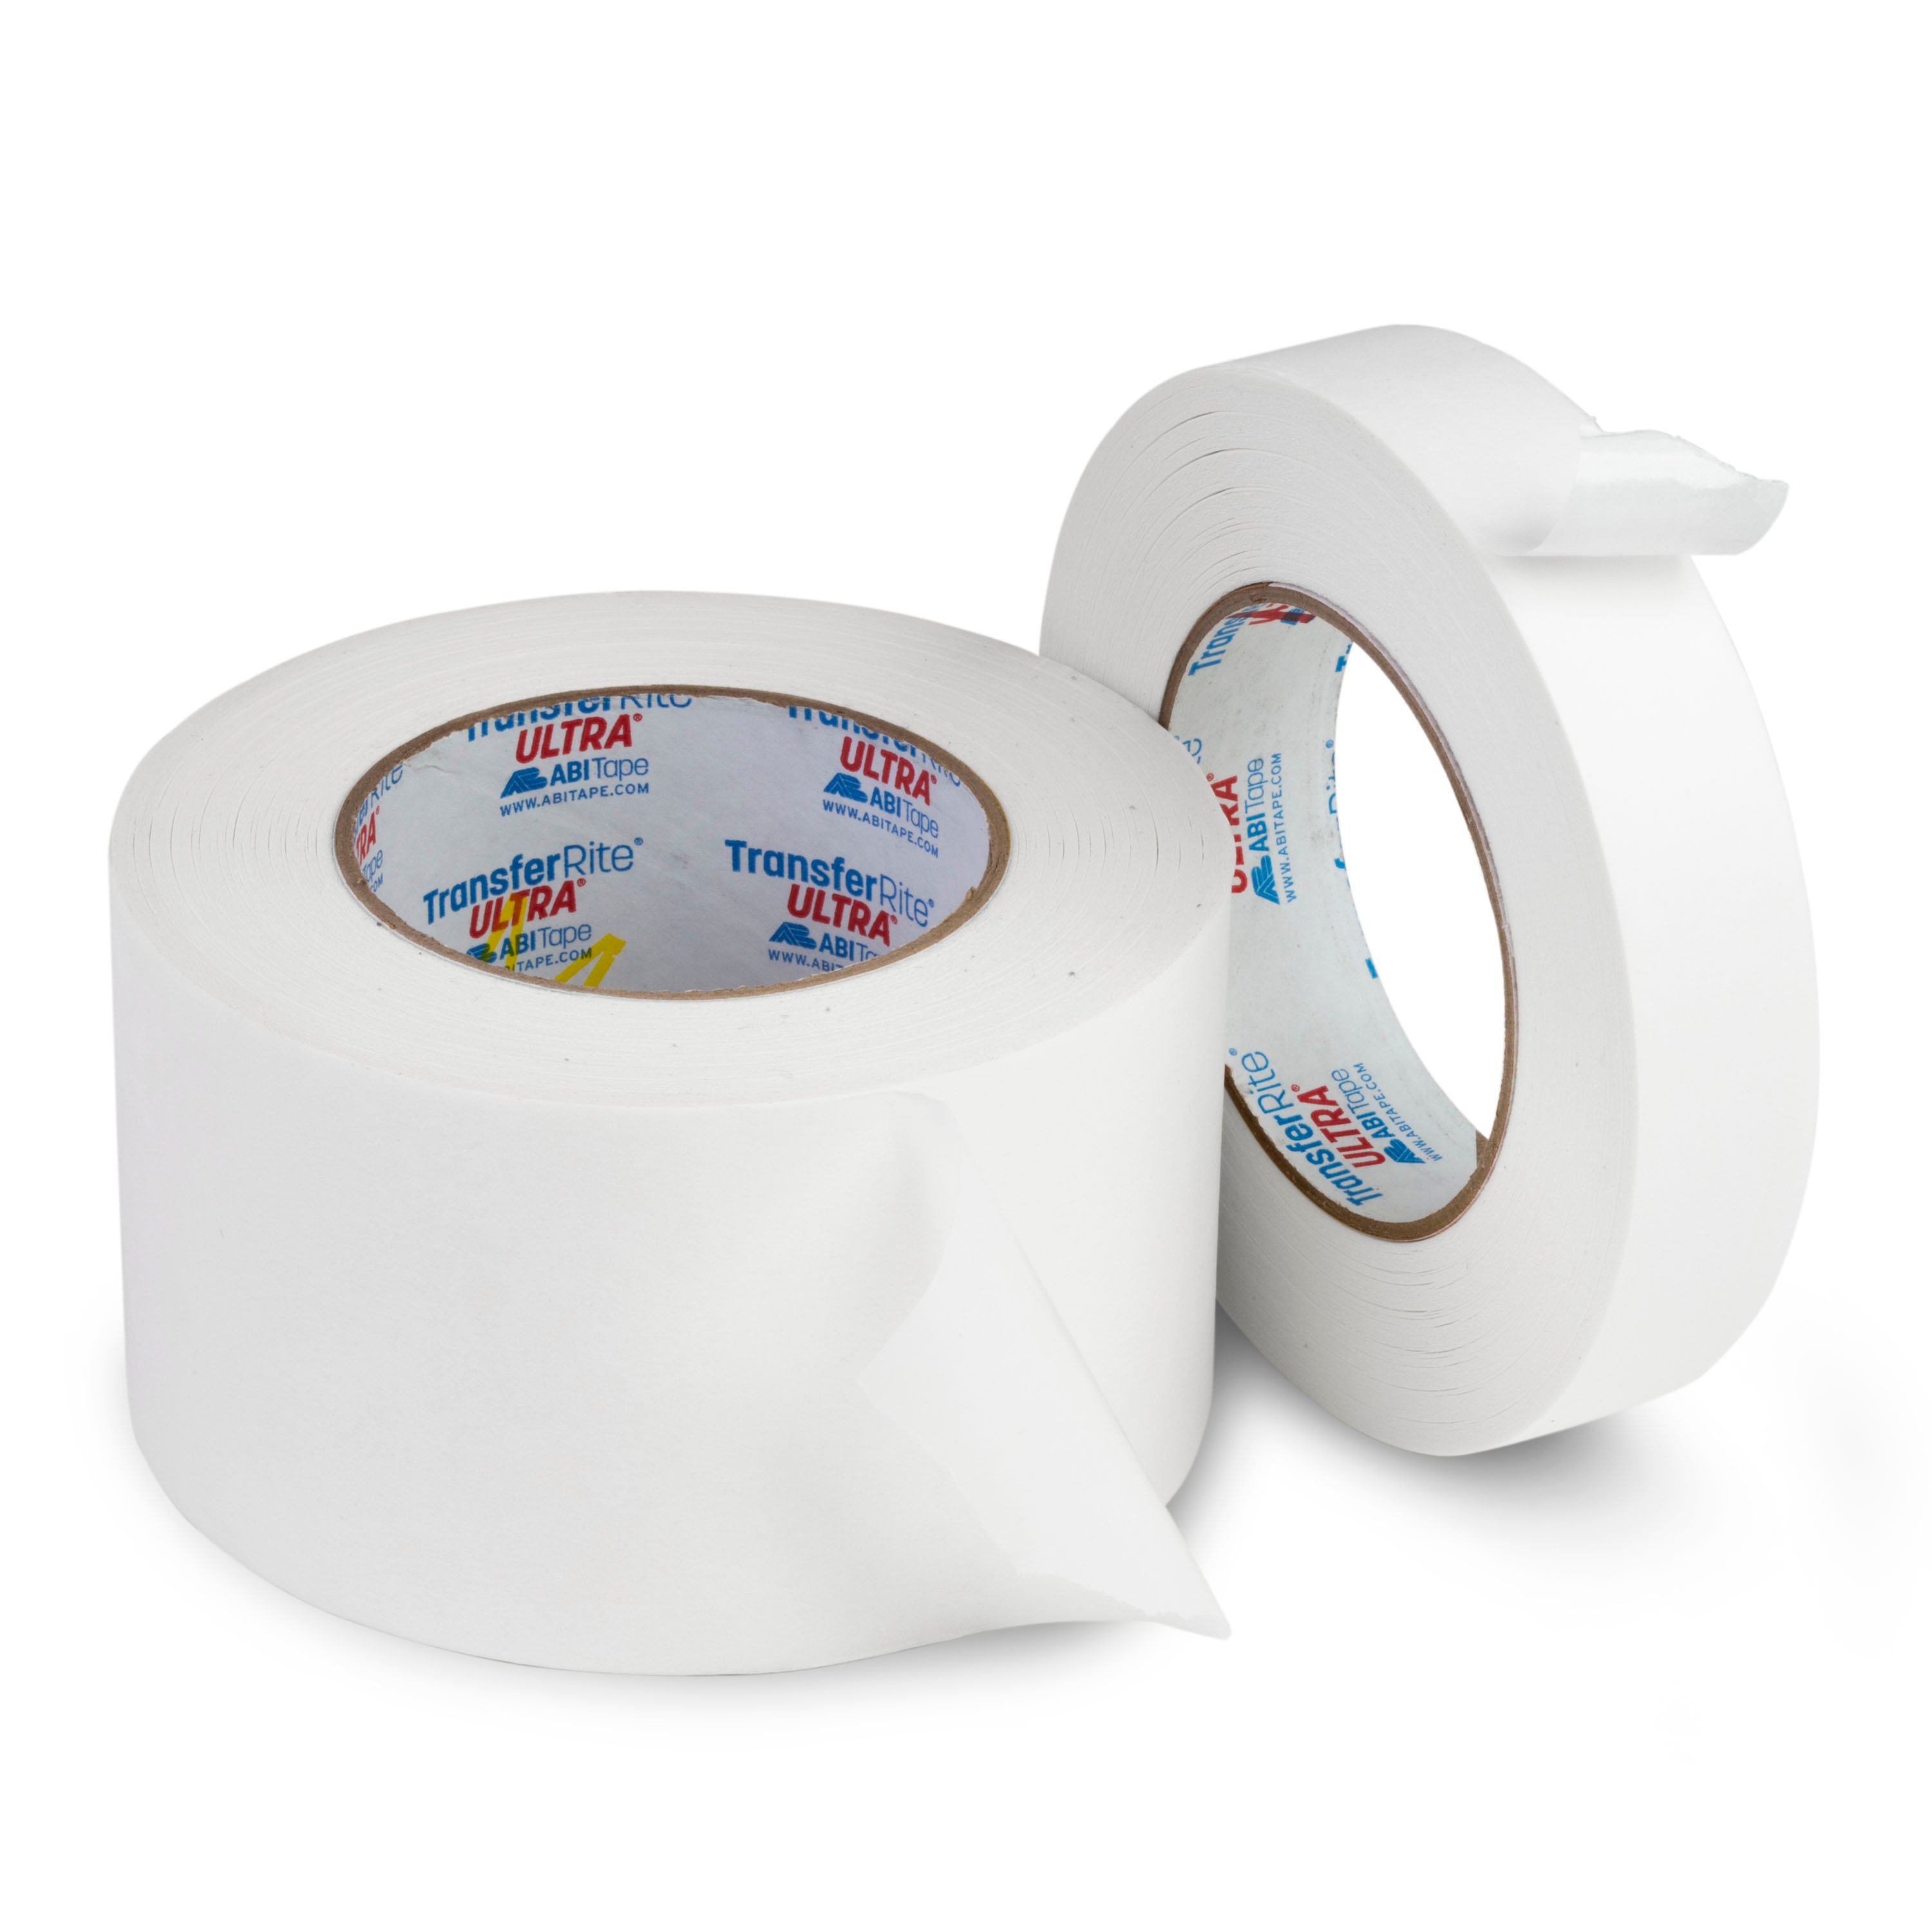
Before using the filler, I put low tack tape [on-screen text reads: Protective Tape] on the bottom of the bridge and on the tie block so they wouldn't get stained. I love the low tack tape because it doesn't leave any residue and it doesn't pull off finish. To mix the filler, I laid down two pieces of clear adhesive-backed shelf paper. Makes a good surface to mix on and it's easy to clean up.
I used mostly the Rosewood filler [on-screen text reads: ColorTone Waterbase Grain Filler], but the Ebony added that extra touch to darken it just like the Rosewood.
Brushing on grain filler and rubbing it in
I use the glue brushes to apply the filler, stippling it into the grain sometimes, then smoothing it out. And of course I try to keep it out of that saddle slot. This filler dries really quickly, so don't just sit there and wait for it to all dry, start working it off right away. You can always go back and add more filler, or remove it with water. This is hot water on a squeezed out rag. It rejuvenates the fast-drying filler, creates a slurry and helps work it into the pores. Follow right away with a clean, dry rag. You can repeat any of these filler steps as often as you want to get the look that you're after.
Peel off the tape and you're ready to spray.
Spraying clear gloss guitar lacquer and scuff-sanding
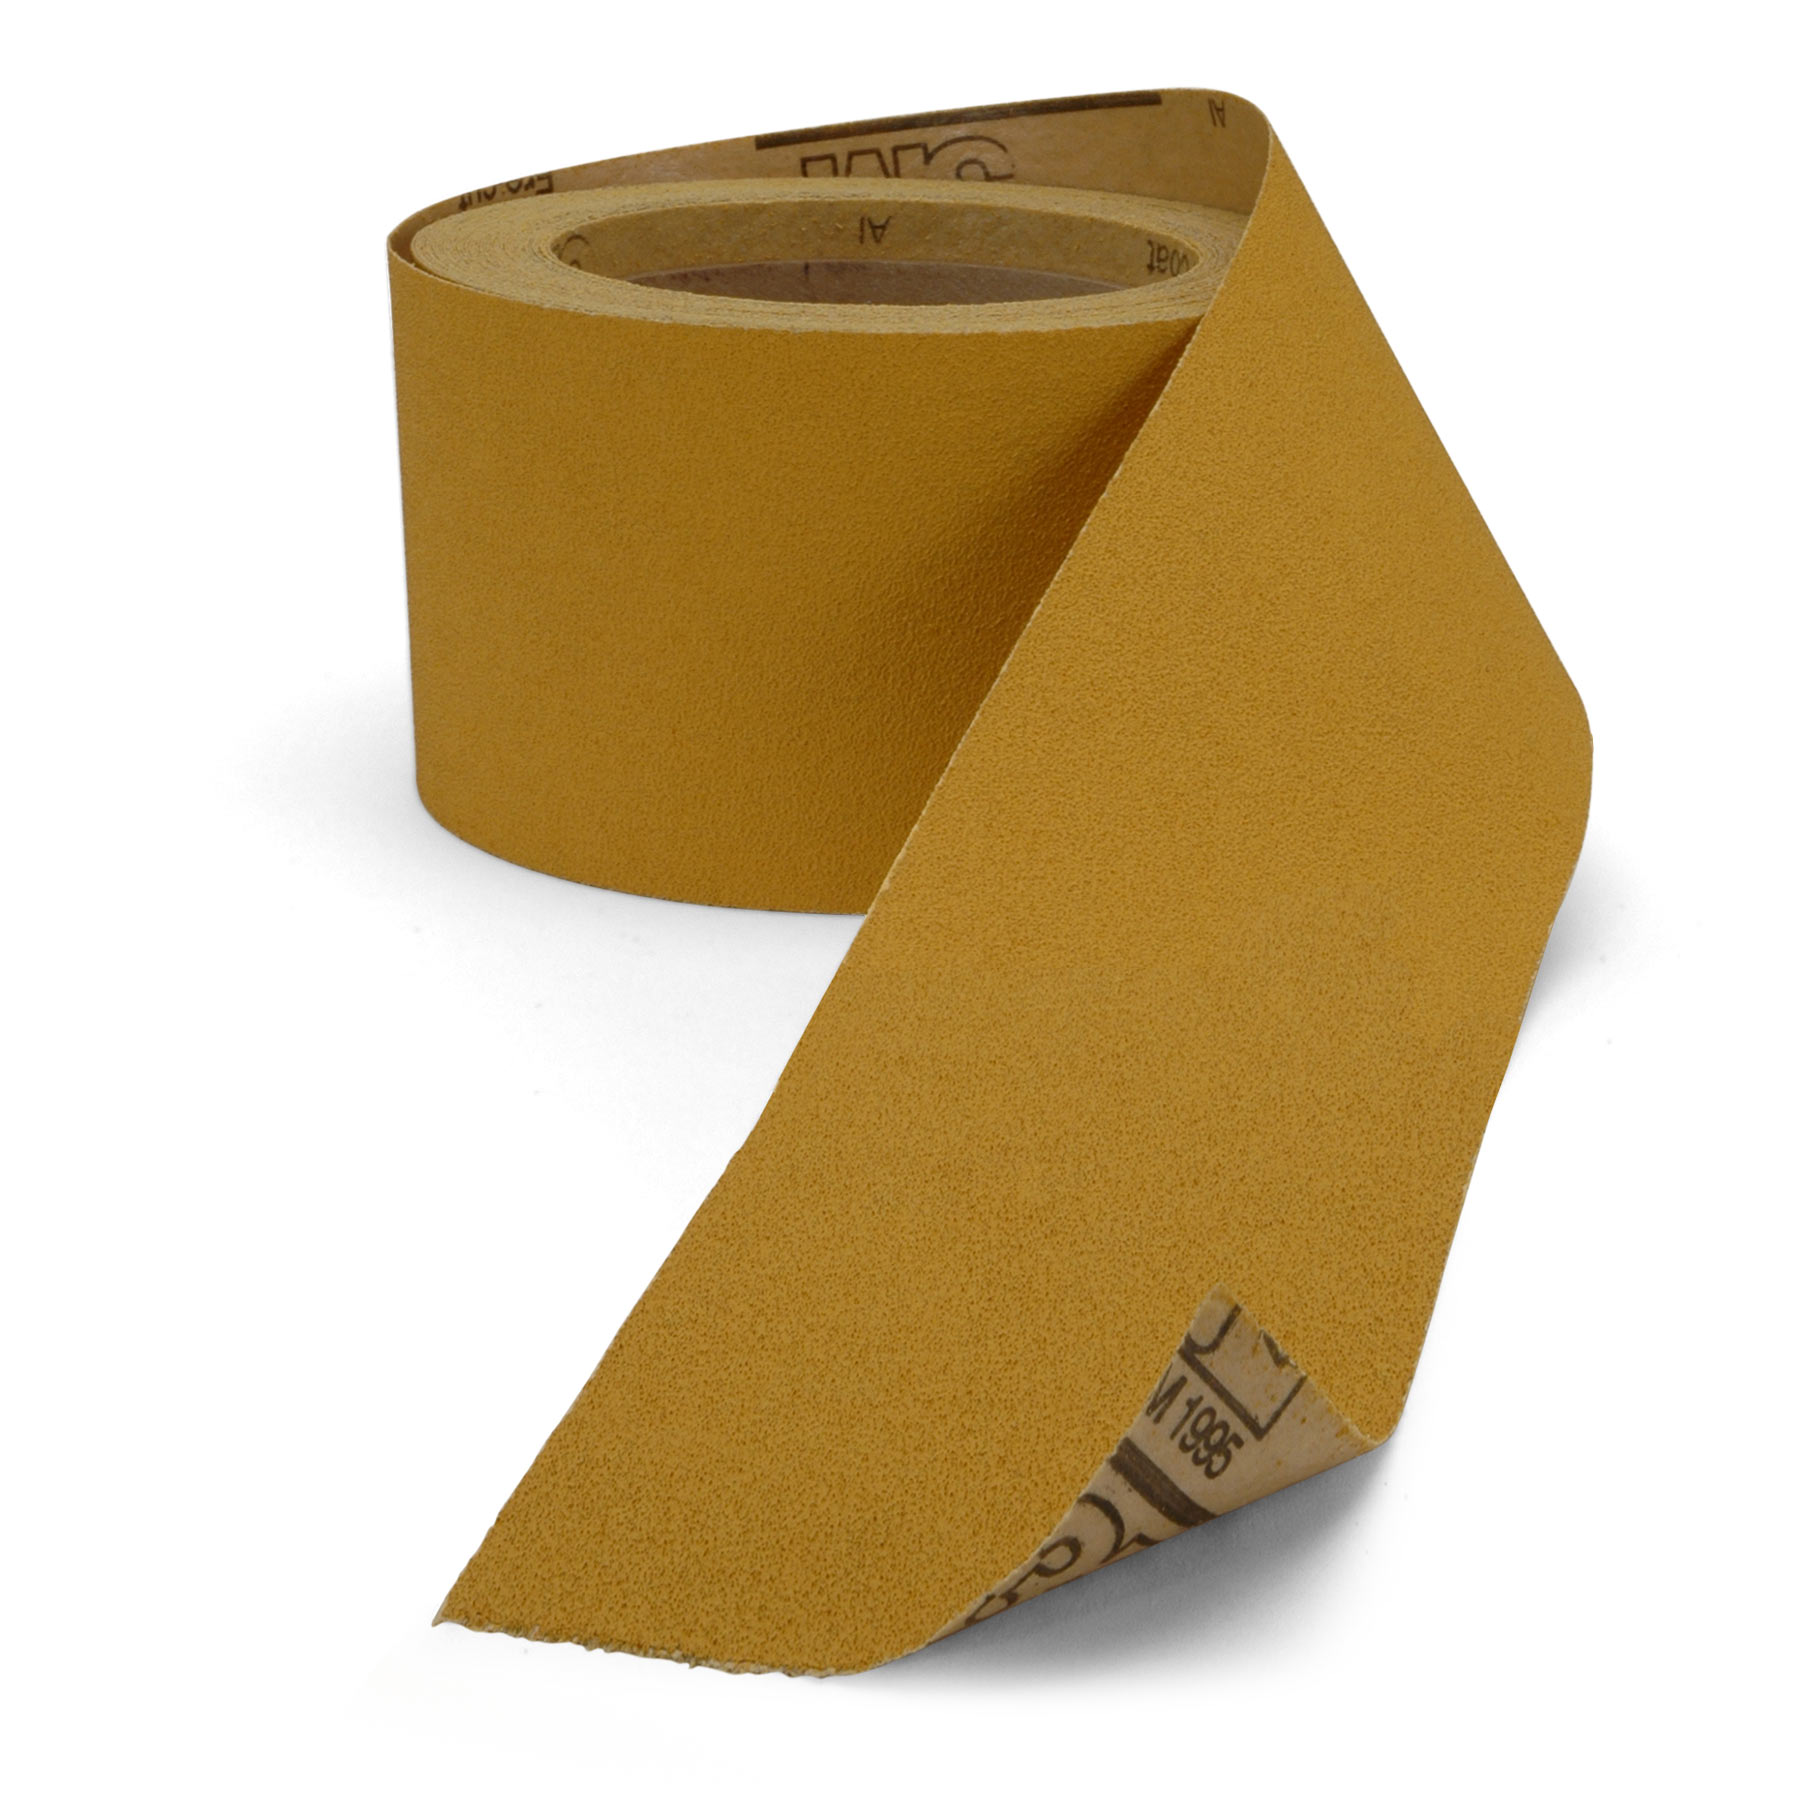
I sprayed three wet coats, with an hour in between coats. This is called scuff sanding. I'm using 320 grit Stikit Gold [on-screen text reads: 3M Stikit Gold Sandpaper], and it doesn't really matter whatever direction I sand in. You can almost go in swirls. You're knocking down the high spots and creating a powdery look for the next coat. That's the third wet coat. I know it looks heavy, but when the solvents flash off the lacquer shrinks into the wood and dries. It came in like that, and thanks to this bridge it's gone out like that. One, two, three, out the door.


