How to check and replace your guitar strap button - best method
Issue 339 October 03, 2019
If your strap button’s loose, your favorite guitar could hit the floor! Avoid expensive repairs and replace your strap buttons using a permanent solution that the pros use. Learn how to quickly replace your loose strap buttons so they stay tight and secure for a long time. Also includes tips on how to properly install strap locks.
- Splitting wood to create screw-hole gap-fillers
- Smashing a pencil? An interesting tip...
- How to create a permanent solution using a dowel
- Why cut grooves on the dowel before gluing?
Video Transcription
[on-screen text reads: StewMac tools + ideas for guitarmaking. How to Fix a Loose Strap Button]
Dan Erlewine: Today, I've got a screw loose, not me, on this Epiphone Riviera that belongs to James that works at StewMac with me. Gorgeous thing. The strap button is spinning. It's loose. Loose screws and strap buttons happen a lot, sometimes from the factory, but more often when somebody messes with the guitar, uses the wrong size Drillbit or wrong screw, maybe they're putting the different strap button on. Who knows? Make sure your strap buttons are tight. Check them out. Otherwise, don't be surprised if bam, if that thing ends up on the floor and you'll be bringing a broken peg head to a shop like mine. By tight, I mean, so its snug, so the screw doesn't turn on its own, and so the strap button doesn't rotate and vibrate around like this one. A lot of times, you'll see a strap button that has a felt washer that it goes through.
Temporary fixes for a loose strap button
That's more often on laquer, so it doesn't crack, but you still want to snug that up. There are many ways that you can fix a problem like that. Some of them, very simple.
Toothpicks or whittle wood from a dowel stick
Shoving toothpicks into a hole. Whittle wood off of a dowel stick and shove it in there. Then, I put a little Tightbond Wood Glue on the inside of that.
A lead pencil
You can take a pencil and smash it up and the lead will come right out, then you've got this nice little funnel of split pieces of wood. I'll put some Tightbond down into the hole, shove the pieces down in there. Then, you can reinstall the strap button and the screw will be much stronger than before, just the crushed pencil. But today, I would like to show you a more professional, definitely something that will last kind of way. Blake, my assistant here is going to show you how to do that.
A professional solution for a loose strap button
Blake: Before we go ahead and start fixing the strip strap button, I'd like to invite you to subscribe to our YouTube channel. It really helps our whole content team keep bringing you free videos about guitar repair.
Drill out the screw hole
For the method I'm going to be showing you, you're going to need to buy a dowel to plug this hole with, but we're not quite sure what size that hole is until we get this screw out, so let's go ahead and do that. I got a little StewMac Screwdriver Kit here. Oh, yeah. It's crusty. Here's all that saw dust, whole bunch of nasty crud that just came loose out of there.
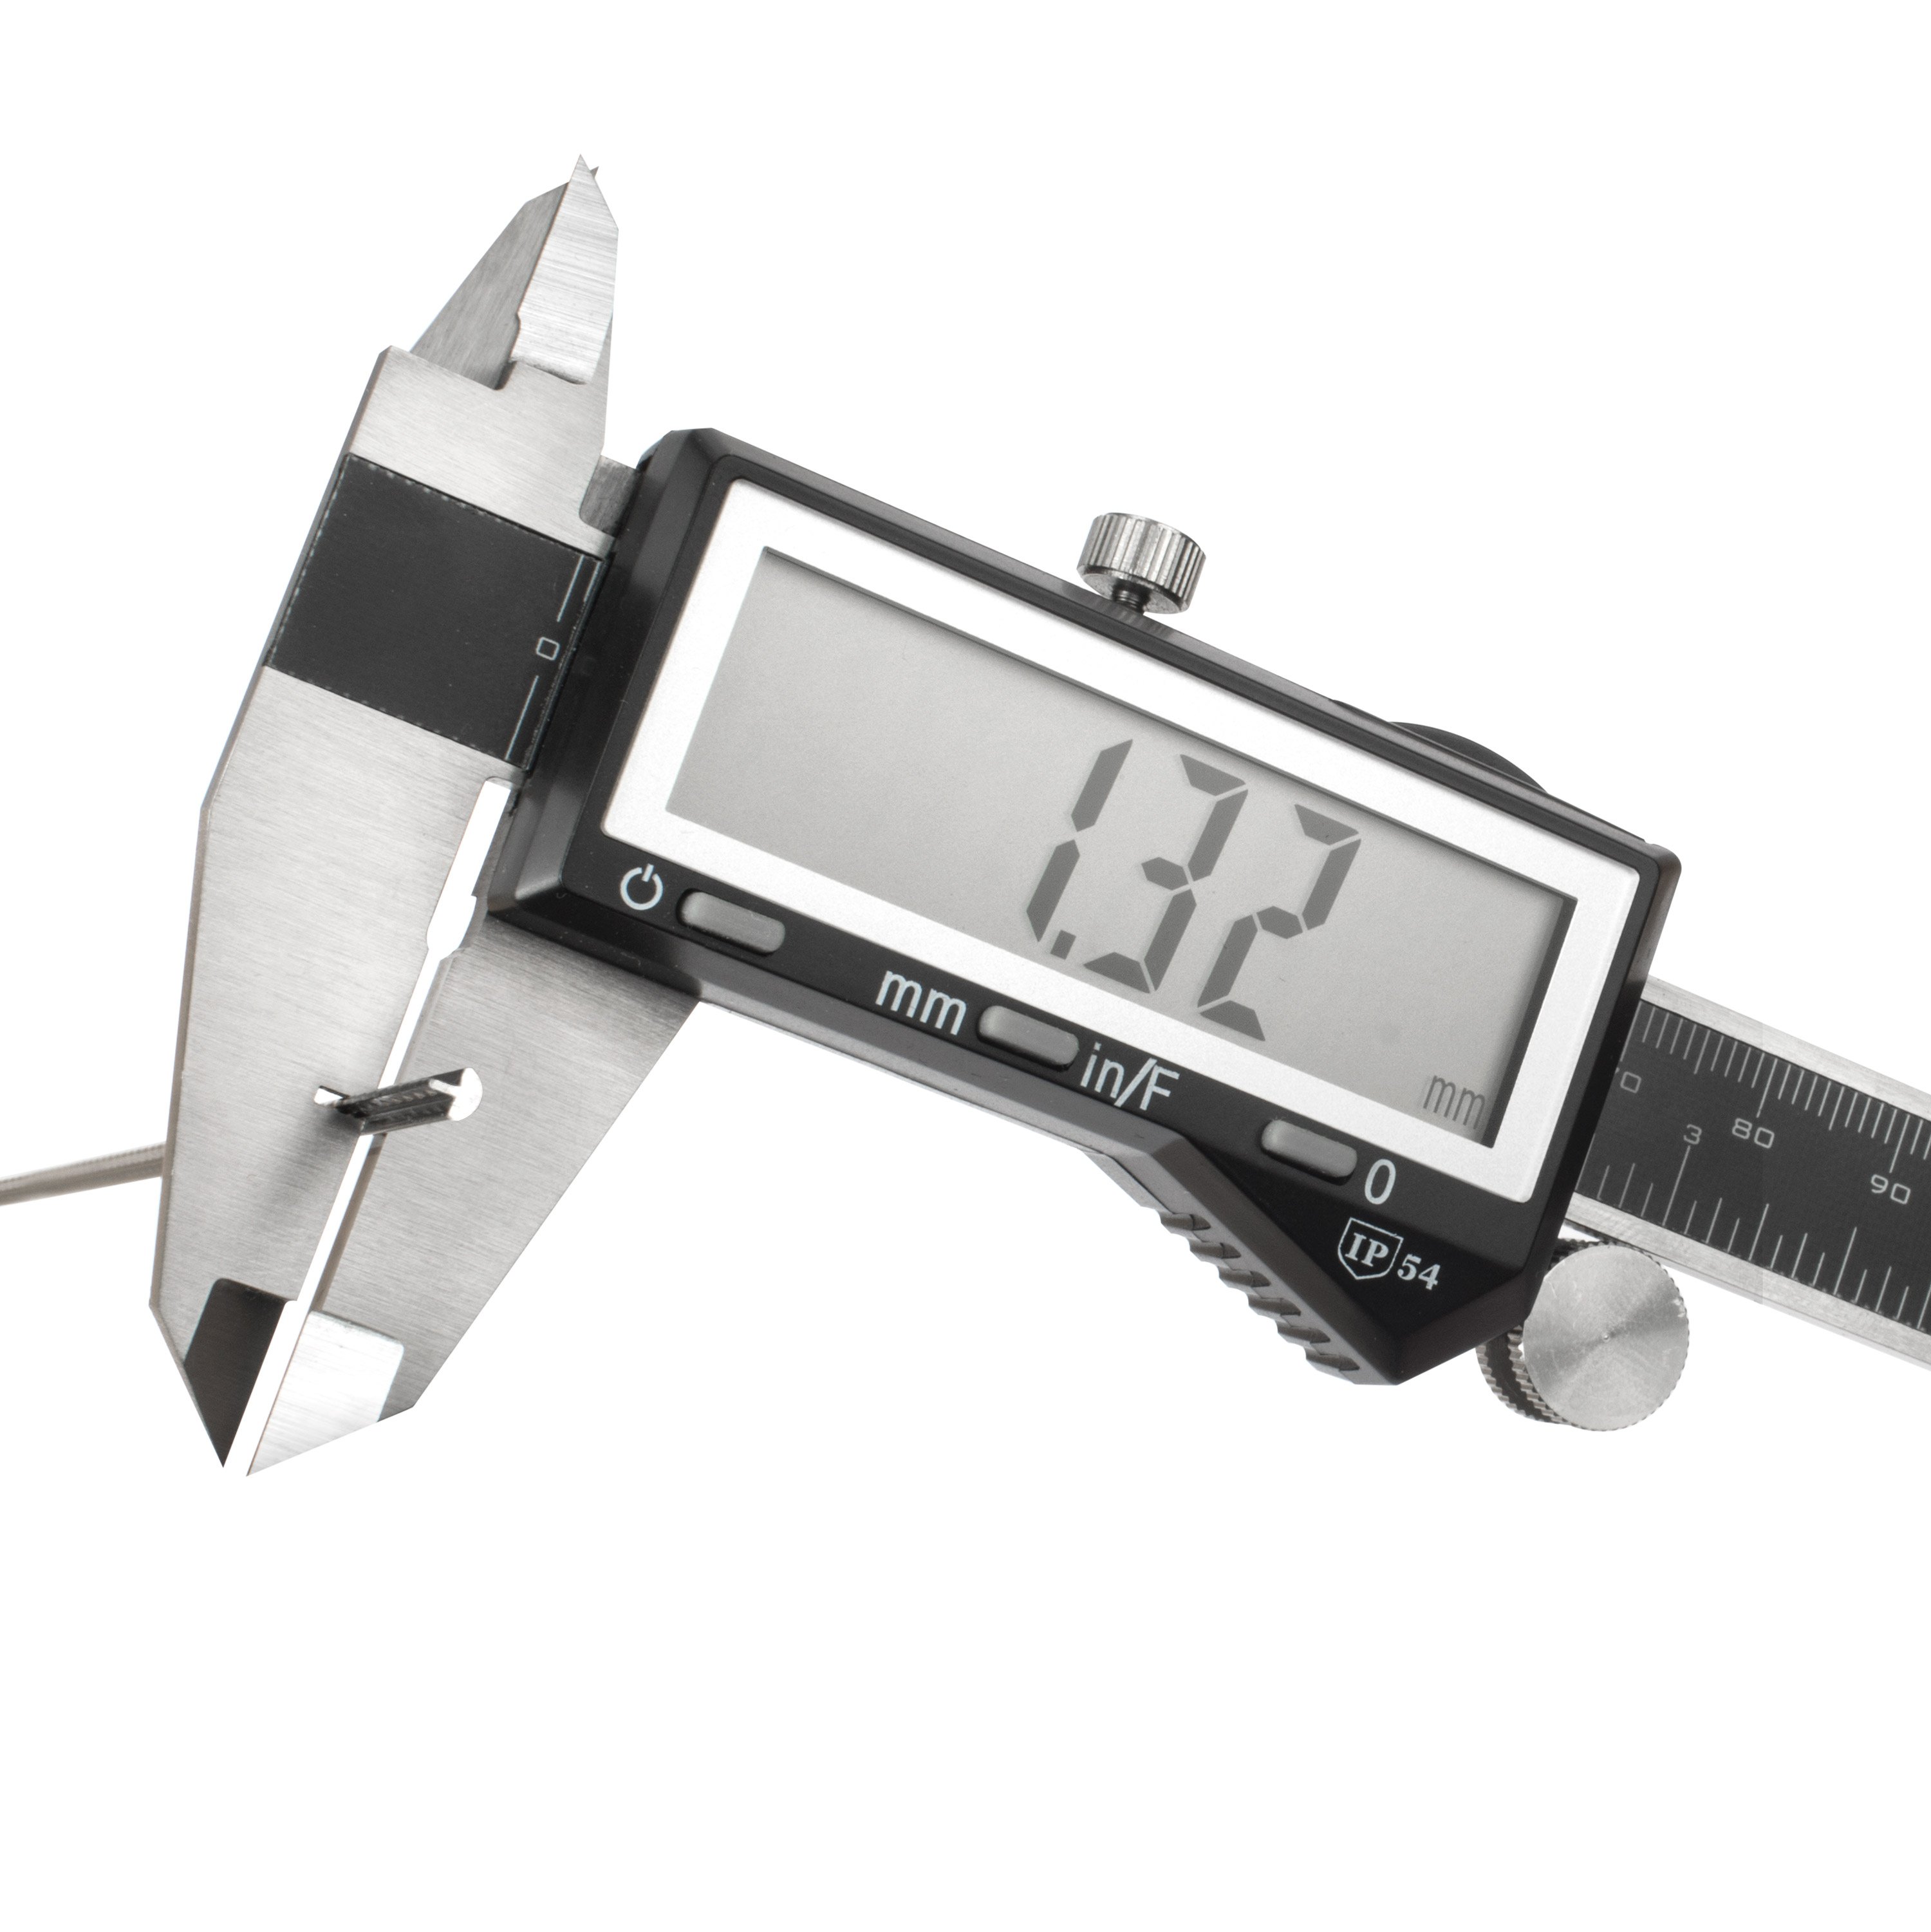
The threads on this are measuring about 153 thousandths [on-screen text reads: Luthier's Digital Caliper - stewmac.com]. If we use this caliper, we can convert that to a fraction. That's about 5/32. We'll be going, looking for a Drillbit that's that size are maybe just a little bit bigger. Now that we got our strap button out and we saw that saw dust fall out of there, we're going to go ahead and get this Bigsby off so we can start thinking about drilling it out. I'm going to be using a 3/16 drillbit. We're going to mark the length of the screw onto the bit using a piece of tape, so this marks our depth stop. Next, we're going to carefully drill out the screw hole using the tape as a guide. You want to go in straight and keep it straight. You don't want to wiggle around or drill at an angle. Now that we have our hole drilled out, we need to go ahead and find our dowel that's going to match and it's just about 3/16, pretty much a perfect fit.
Cut and install the dowel
I'm going to go ahead and just tape off this area while I'm thinking about it. This low tack tape [on-screen text reads: Low Tack Protective Tape - stewmac.com] will be used to catch all of our squeeze out, if we have any. You can measure the length of your dowel based off your screw or stick it back in the hole and then mark it this way. Either way works just fine. Now, cut your dowel on the length that you just drilled or tiny bit shorter. We're going to be going for the shorter side, so we don't have to come in and flush trim it with a chisel or a saw. Now, we're going to go ahead and file some slots into this guy [on-screen text reads: Japanese Curved-Edge Mini Saw - stewmac.com], just so the glue has some place to go in case it needs to.
They don't got to be deep. It's just some place for the glue to go. We're going to go ahead and be using some Tightbond to glue this guy in. Put a little bit on the end of a Q-tip that I took all the fuzzy stuff off of, spin it around, get it all over the place. Cool. Put a little bit of glue on our dowel as well. That is just under flush and we let it sit for about an hour while it dries.
Drill the new hole and re-install the strap button
Our guitar's dried for an hour. Now, we're ready to go ahead and draw our smaller hole and get this guy reassembled. I went ahead and measured in between the threads of this screw and it came right out to about 7/64. I went and got a 7/64 bit. I marked it for our depth and I'm going to go ahead and get ready to drill it. But first, use the awl to make a pilot mark for drilling and just like earlier, we want to try to be nice and straight and no wiggles. There's our new hole. We're ready to go ahead and put this Bigsby back on and screw everything in. This is the moment of truth. The strap button returns. Oh, yeah. You can hear it grabbing. I'm going to call that good.
No spin, tight grab. I can't twist it anymore. I'm not going to force it, but it's in there. This strap button fix is a really common one that we deal with a lot.
Other strap button problems and solutions
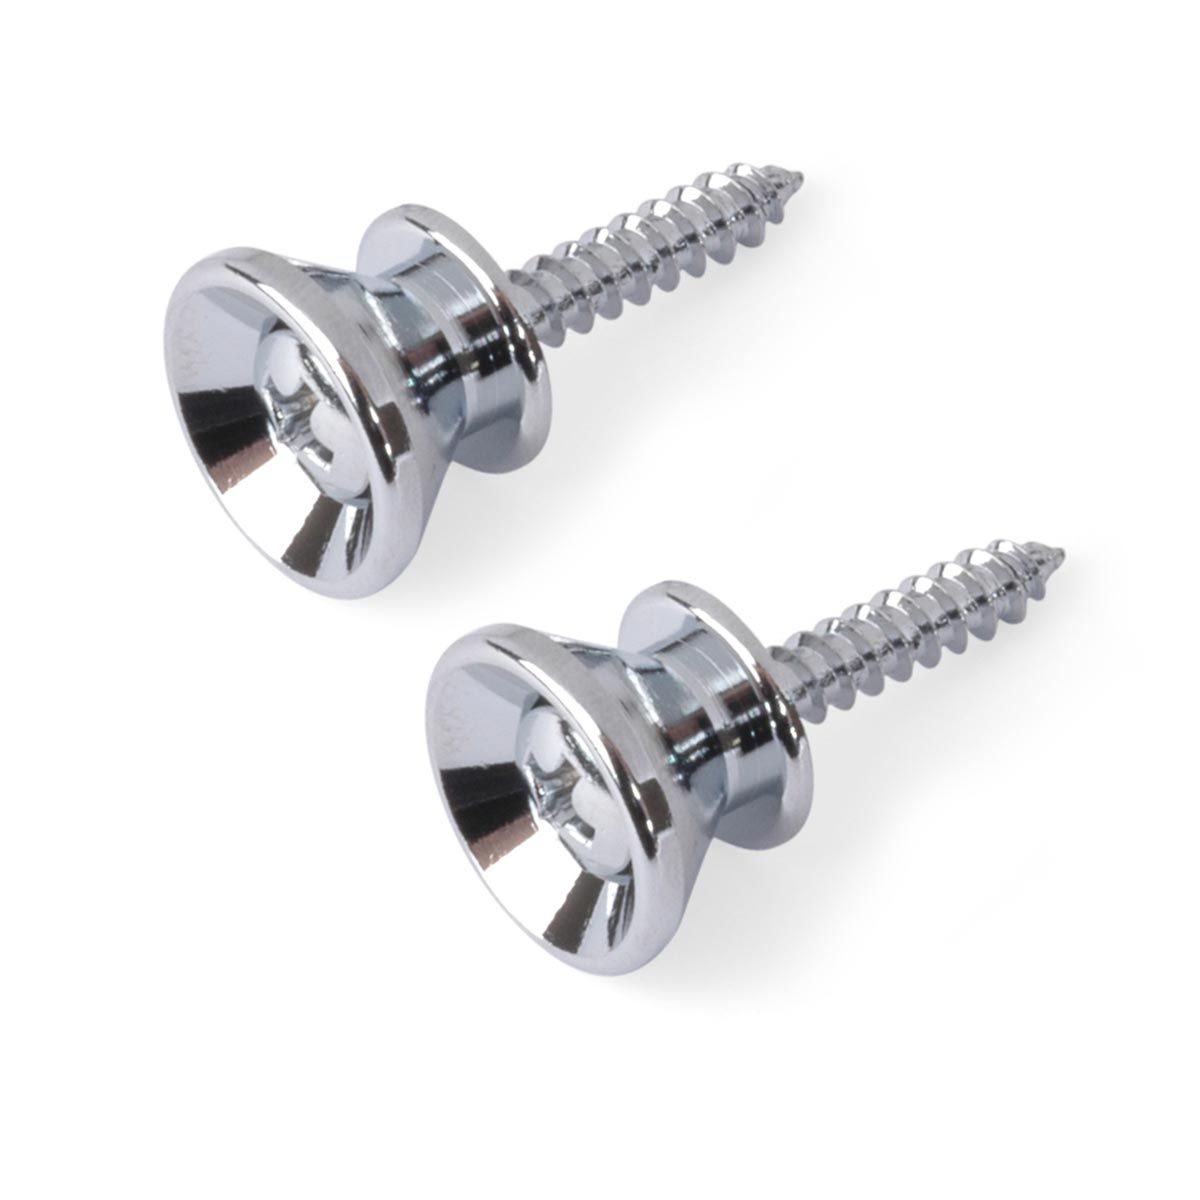
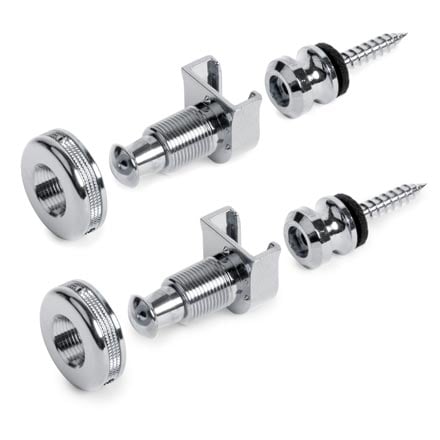
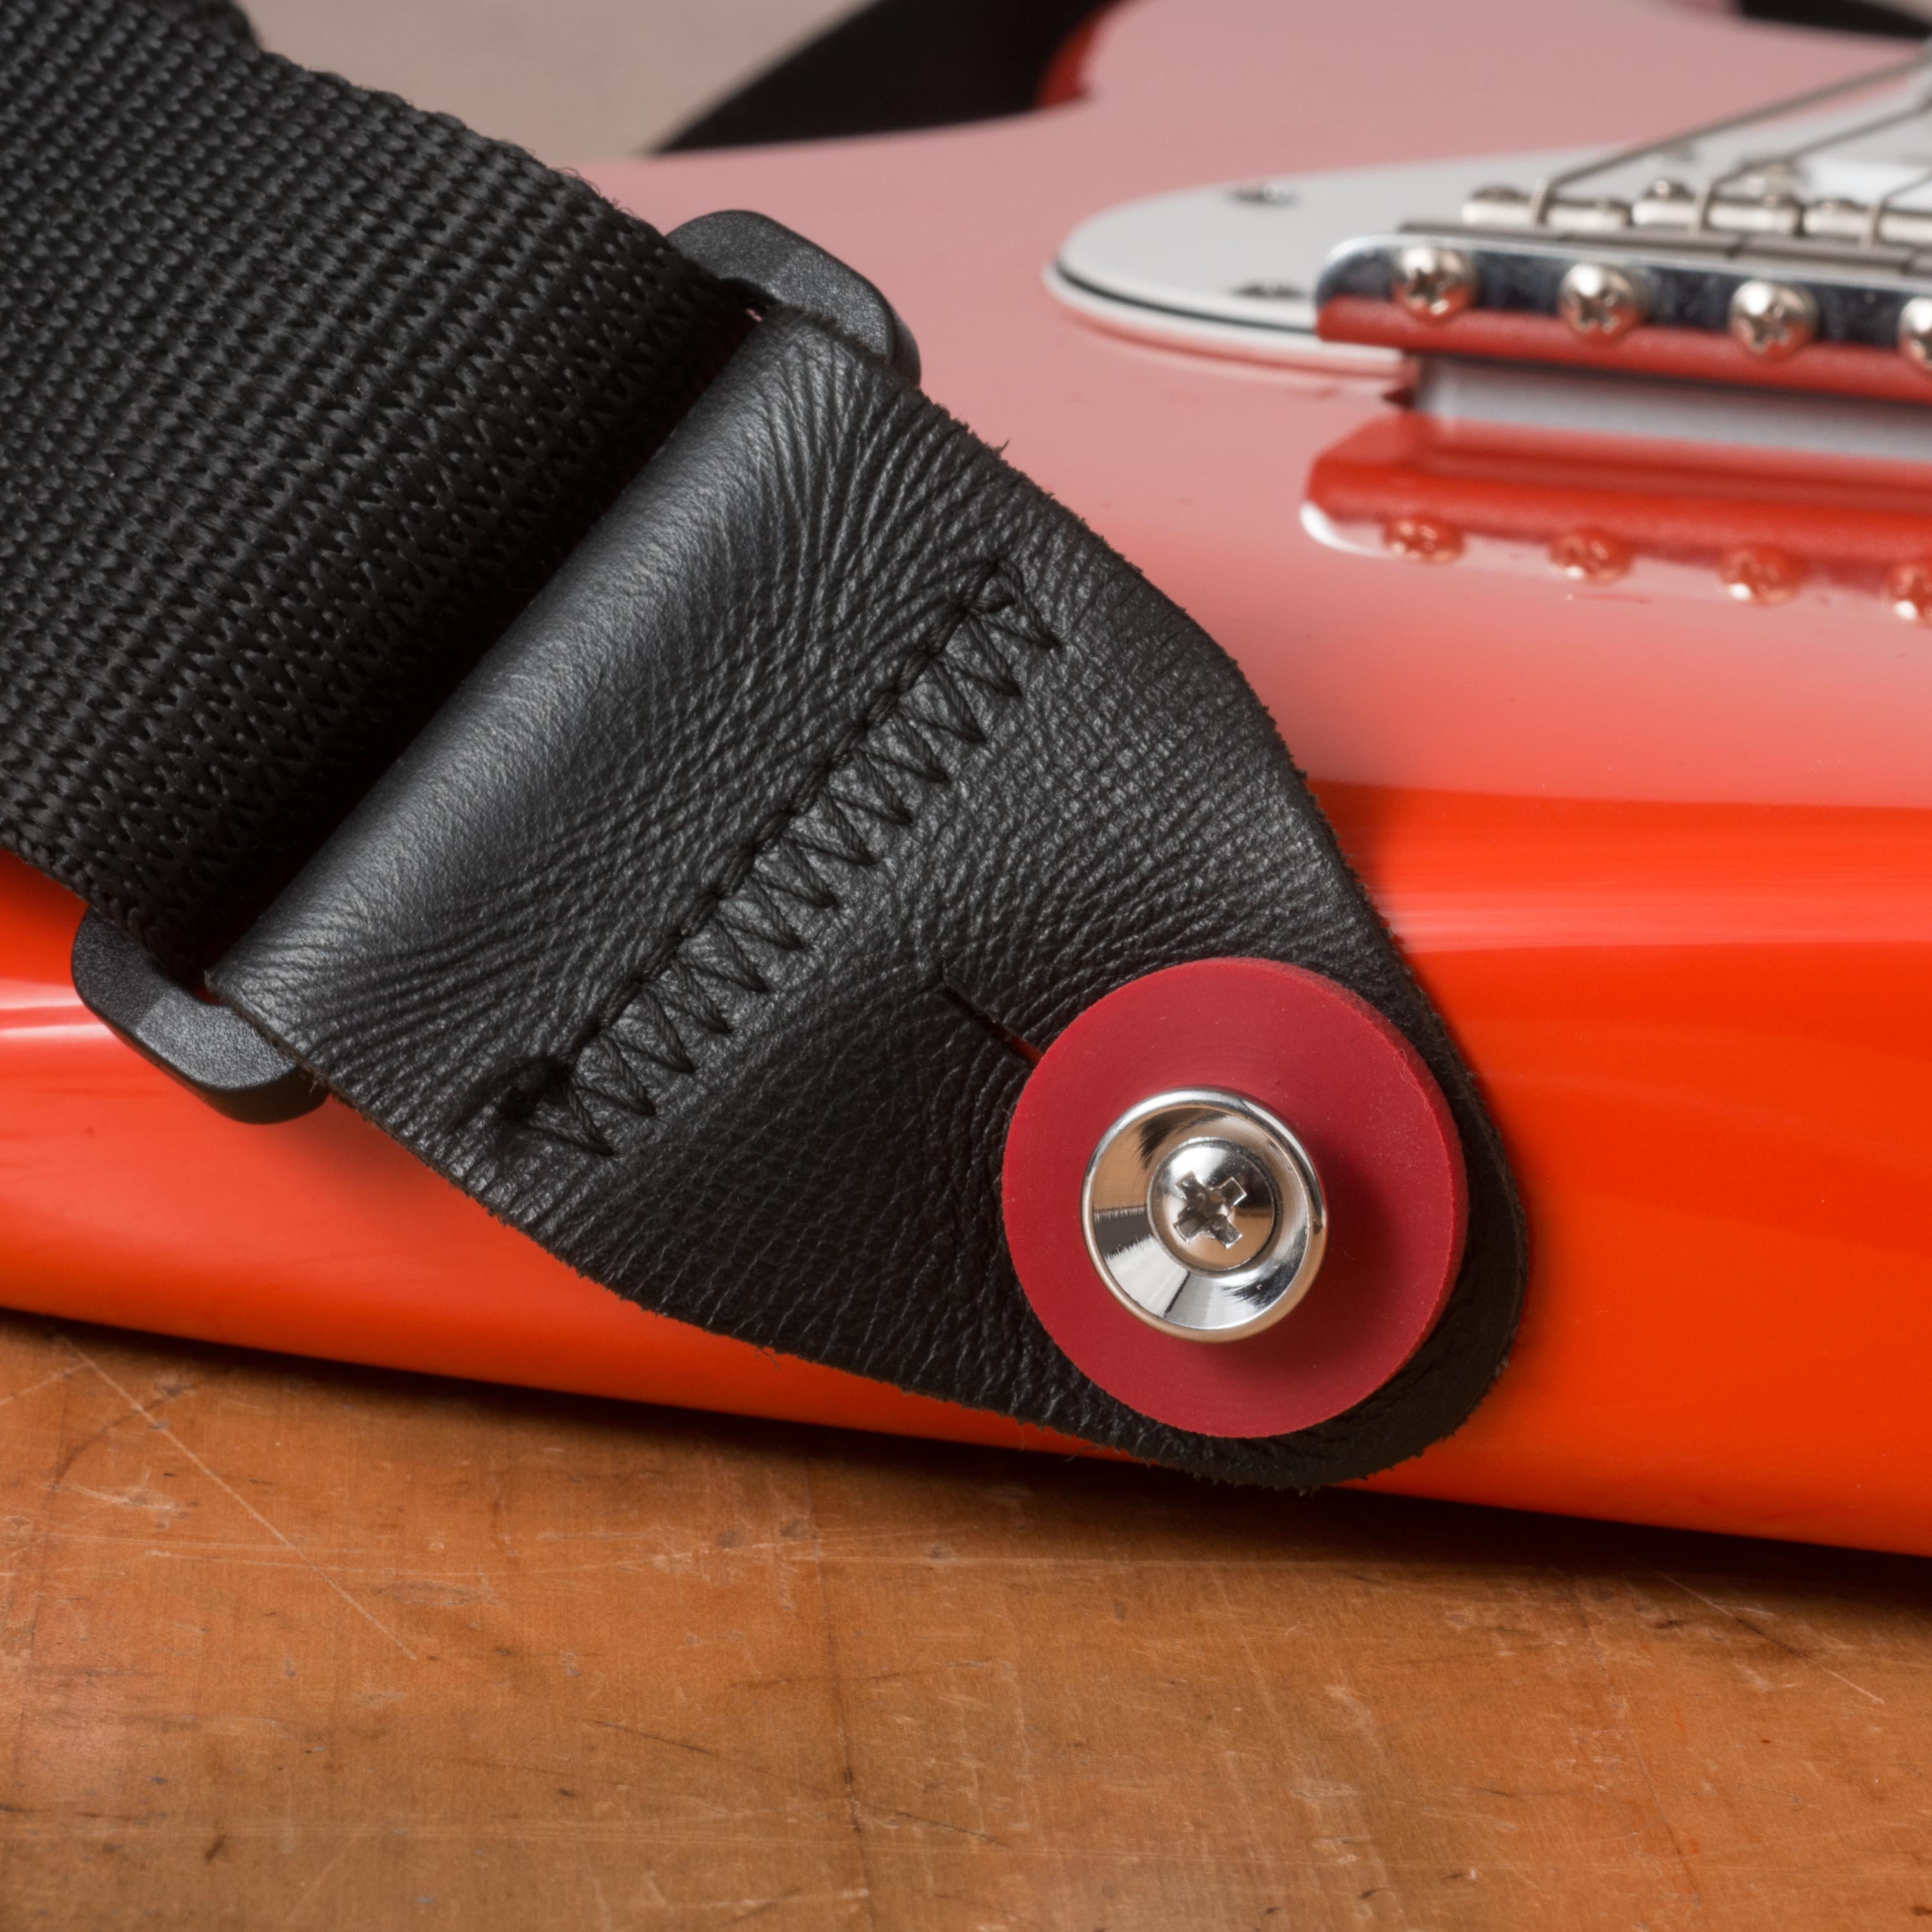
Another common problem that we have with strap buttons is that the strap pull itself can get worn out and loose. That means your strap starts to slip a lot, which could be really bad news if your guitar falls while you're playing. A couple of fixes for that is that you could get a newer, tighter fitting strap. You could get a larger strap button [on-screen text reads: Elliptical End Pin - stewmac.com]. You can get these cool little rubber washers [on-screen text reads: Strap Stoppers - stewmac.com], or you could get strap locks [on-screen text reads: Schaller S-Locks - stewmac.com]. I really love using strap locks. I put them on all my guitars because it makes me feel safe. Buying strap locks is a lot cheaper than paying for a broken headstock repair. All of these things, StewMac is selling. It's not outlandishly expensive. If you want to be safe, you should check it out.


