Hot tip: A new way to use your guitar repair vise
Issue 193 June 20, 2013
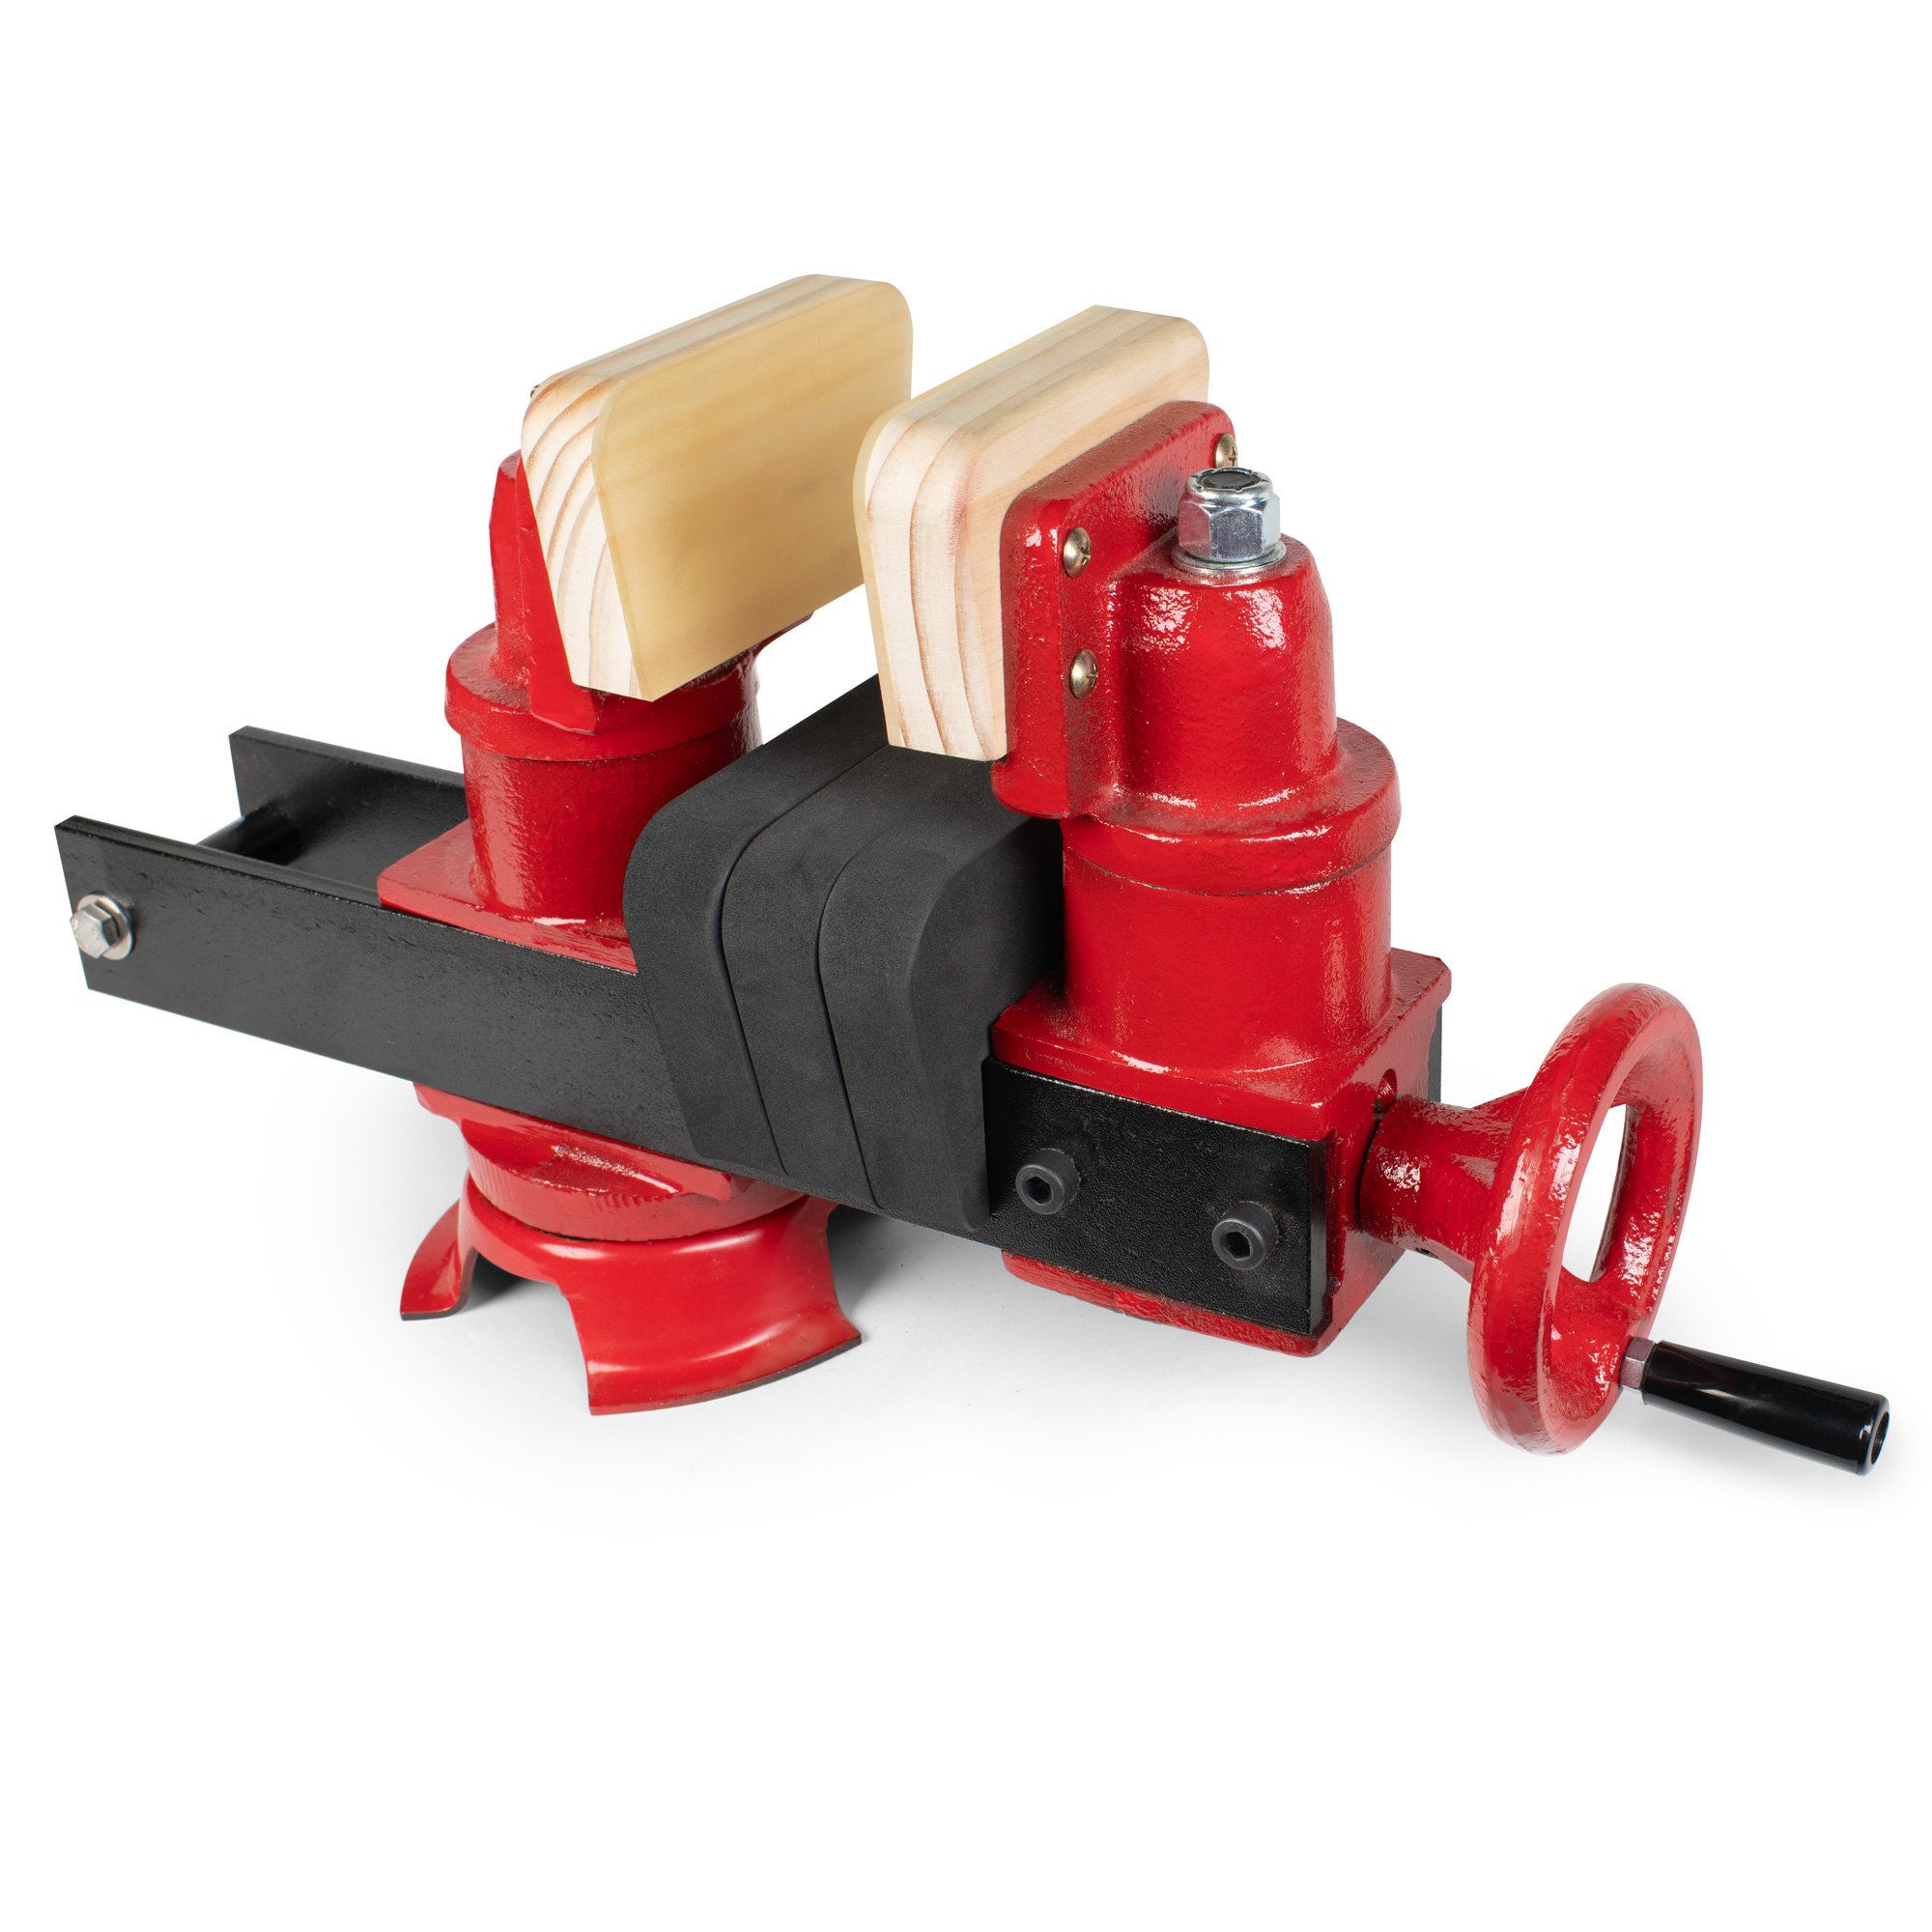
Compact, low-profile guitar repair setup: Dan Erlewine removes the mounting base and bolts his StewMac Guitar Repair Vise to the end of his bench, for a new low-angle working style. Also: a quick tour of Dan's customized workbench.
- New low-profile benchmount idea
- Customized workbench with built-in vacuum
- More customization: electric outlets and inspection light
- Adjustable workbench height and rotation
Video Transcription
[on-screen text reads: Dan Erlewine - Stewart-MacDonald]
Dan Erlewine: Last weekend, I come up with a new way of mounting my repair vice [on-screen text reads: The hub of your workshop - StewMac Guitar Repair Vise]. Instead of putting it on top of the bench, I bolted it onto the end. That brought the jaws down lower and gave me more room. I'll show you how I did it.
Low-profile benchmount idea
I installed two threaded rods in the end of the bench and the vice bolts onto them. You have to drill one hole in the steel side plate. That's a 5/16th hole, and I measured back 1 and 3/16th of an inch from that bolt hole. That hole I drilled slides over this threaded rod, and the hole in the end of the side of the vice slides over this rod. I drilled two holes into the end grain, and then drilled a half inch hole this way and dropped the barrel nut down in there. It's a slotted barrel nut used in furniture design. With the screwdriver slot, you keep it lined up as you thread into it.
Another way you could go would be to use a threaded insert. It's got a machine thread on the inside, and a knife edge on the outside, and you power that in with a driver.
Another way you could go, is drill the right sized hole and tap it. That's a 5/16ths 18 tap. That's the thread size I was using. You would drill it very cleanly, tap it, vacuum the sawdust, vacuum it out. Go in with super glue and swab it up. Let the glue sink into the wood grain. Tap it again. Super glue it one more time. Tap it again, and you'll have a really hard thread in end grain that will hold.
Since these two bolt heads stick out of the side of the vice, I drilled a couple of holes for clearance in the end of the bench.
Height adjustable with a built-in vacuum
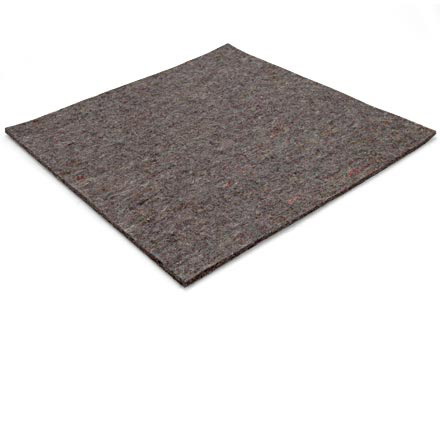
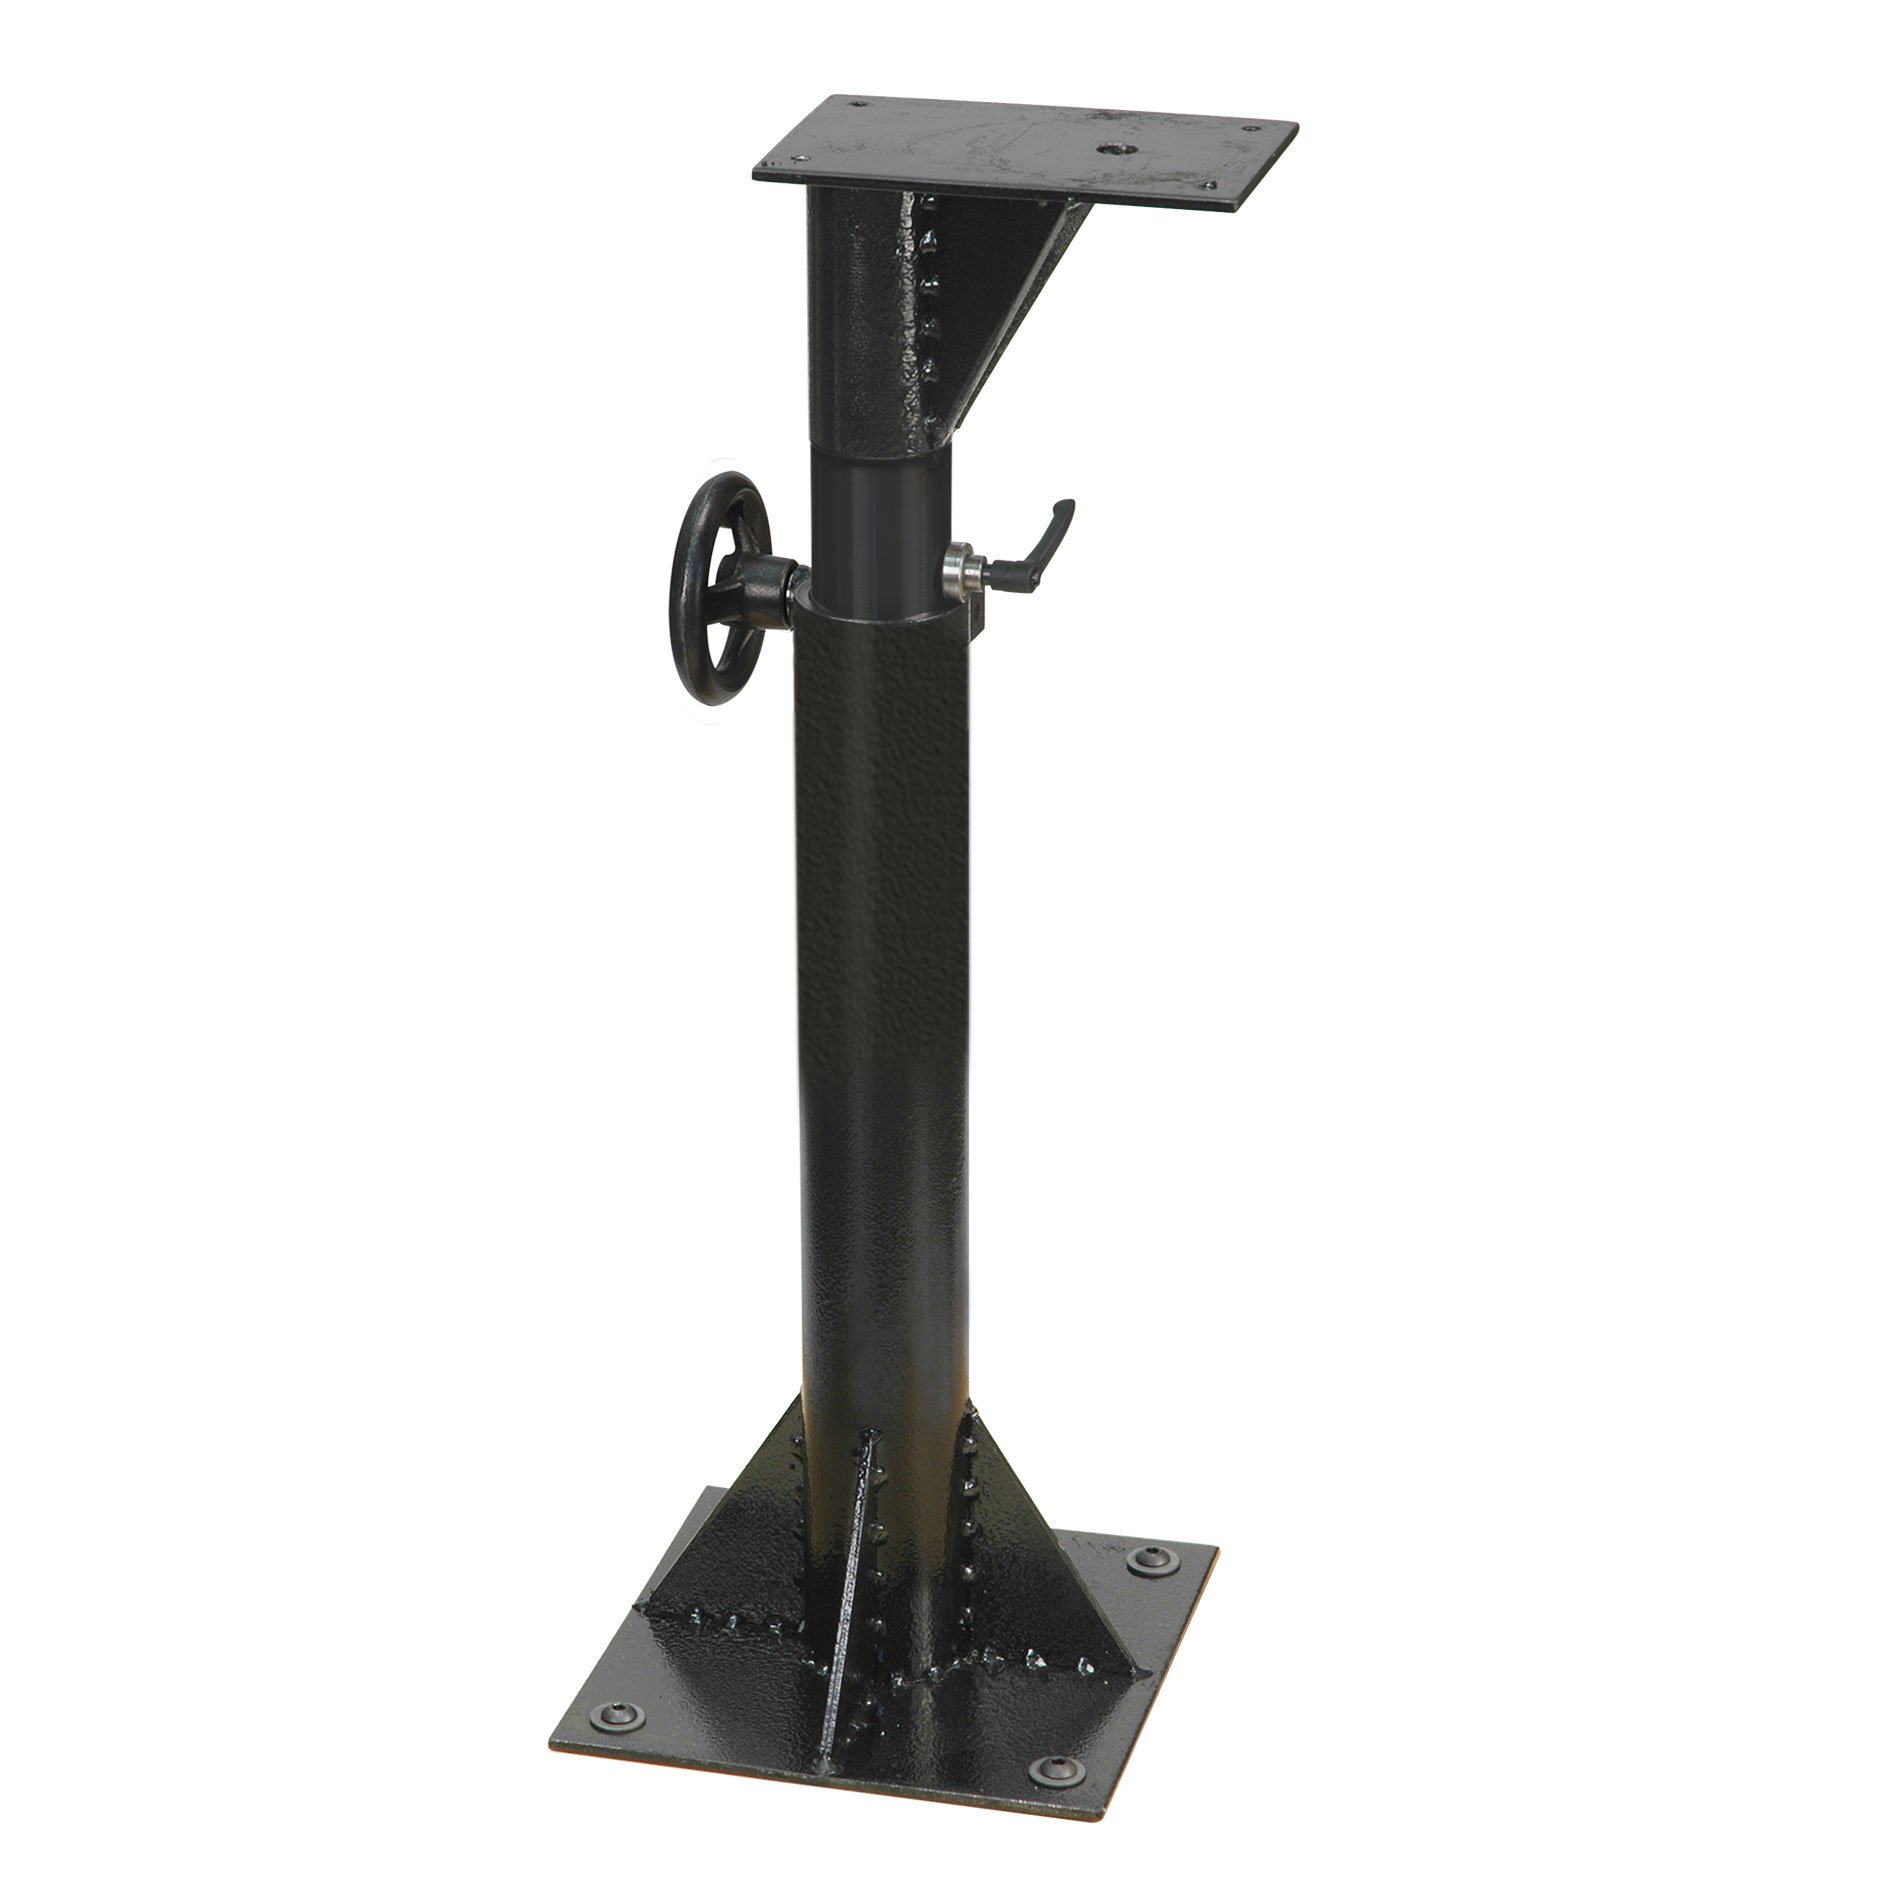
I thought you might like to see my work bench. It's covered with a piece of felt to protect finishes, or I can take off the felt and have a nice hardwood surface to work on, build guitars, or what have you. This is mahogany perfect plank, two inches thick. It comes laminated in eight foot lengths. I've had more than one around here. And it's mounted on a shop stand [on-screen text reads: Raise your work to your level - Erlewine ShopStand by StewMac]. Not an ordinary shop stand, because we turned it upside down and used a torch to cut a circle out of the bottom of the plate, and we ran a vacuum cleaner up through that, and electricity.
That's been very handy. I've got a power bar here, more power underneath there towards the column. It rotates 360 degrees. If you know this shop stand, it rides on a ball bearing, and it's height adjustable. I drilled a lot of extra holes in the column so I can put that bearing wherever I want it; drilled them and tapped them.
Electric outlets and inspection light
And over here you have a little power box, and this powers my lamp for inspecting inside of acoustic guitars. It's always there when I need it; go to the drawer and get out the lamp, and we're ready to go. This is the saxophone Inspection Light. It's the perfect size and gives me just what I want for inspecting guitars.
It's riddled with holes and bronze bushings. I put lamps in here, or other tool fixtures. Some of these things I can't remember what I did with him. Thought you'd like to see it.


