Frank Ford's drill press tricks!
Issue 297 January 11, 2018
The Gryphon Strings repair crew always has great tips. Today we have some "Why-didn't-I-think-of-that?" drill press tricks from the master repairman himself, Frank Ford!
- Drilling on center for a bridge pin inlay
- Quick and simple way to use the drill press as a lathe
- How else could you resize a pickguard soundhole cut?!
Video Transcription
Dan Erlewine: We visited Frank Ford at Gryphon Stringed Instruments in Palo Alto, California. And Frank had some really great trade secrets and a giant banjo that he made. This thing is huge. And he made the whole thing, because you can't buy banjo parts for a banjo that big. So he's a machinist, as well as a repair man. Something to see. He had a couple of great trade secrets for us too, using a drill press and a way to mark out a pickguard to fit the sound hole and hit it right every time.
Drilling a bridge pin
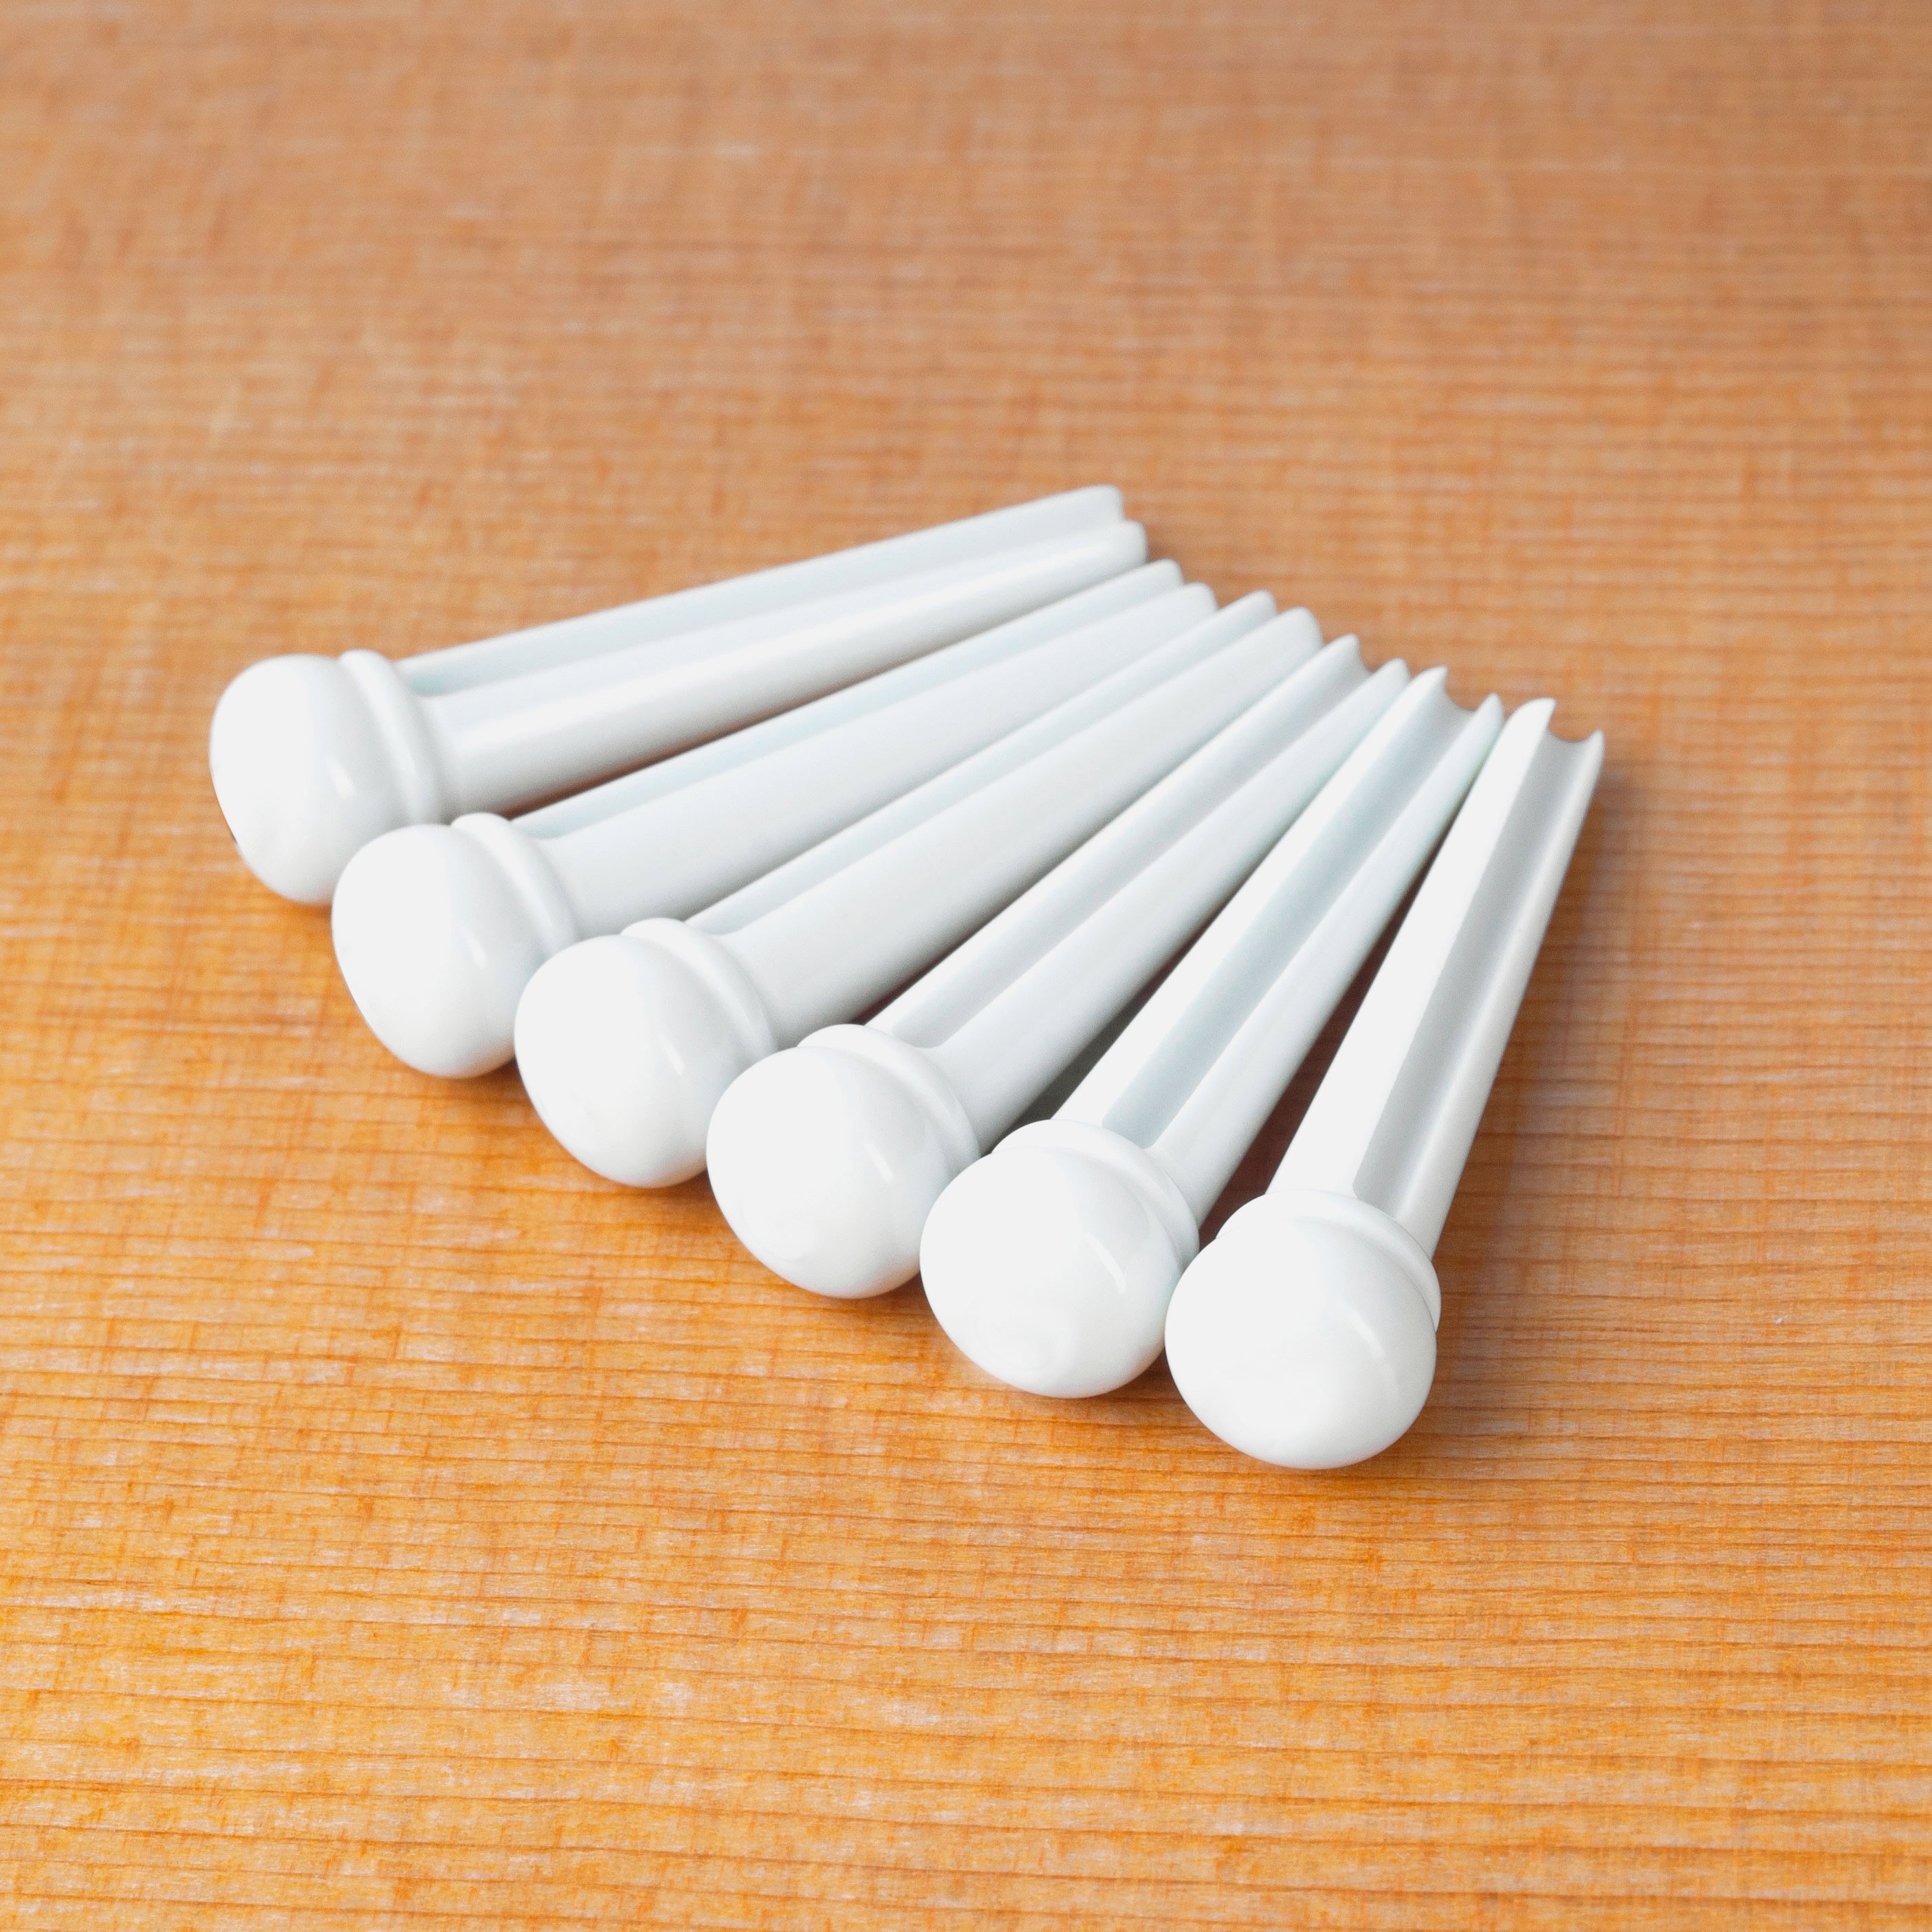
Frank Ford: Well, here's a cute little trick with a drill press. I'd like to inlay a little dot in this bridge pin [on-screen text reads: White Bridge Pins - stewmac.com]. It's a 3/32nd inch tortoise shell inlay that I'd like to put in the end of the bridge pin. And my problem is drilling the hole and keeping it on center. If I clamp the bridge pin in the vice of my drill press here and then try to drill it on center, the drill has a habit of wanting to wander off. But it turns out, if I work it the other way around and drill by spinning the bridge pin in the drill press, the drill wants to find center, instead of wander off. So I'm going to put my drill bit into the chuck backwards, with the cutting flutes up inside, and I'm going to lower the drill down into the vice.
Loosen the chuck. I now have my drill mounted upside down, directly on center. I put my little bridge pin in the chuck, very carefully aligning the flute, that's where it's grooved, away from the jaws that chuck. I can now turn on the drill press, spin it. And if you notice the little drill wobbled a bit, but went right to the center. And I have my hole drilled, lightning fast and deadly accurate. If you come in close, you can see how close it is to be on a center.
Resizing a dowel
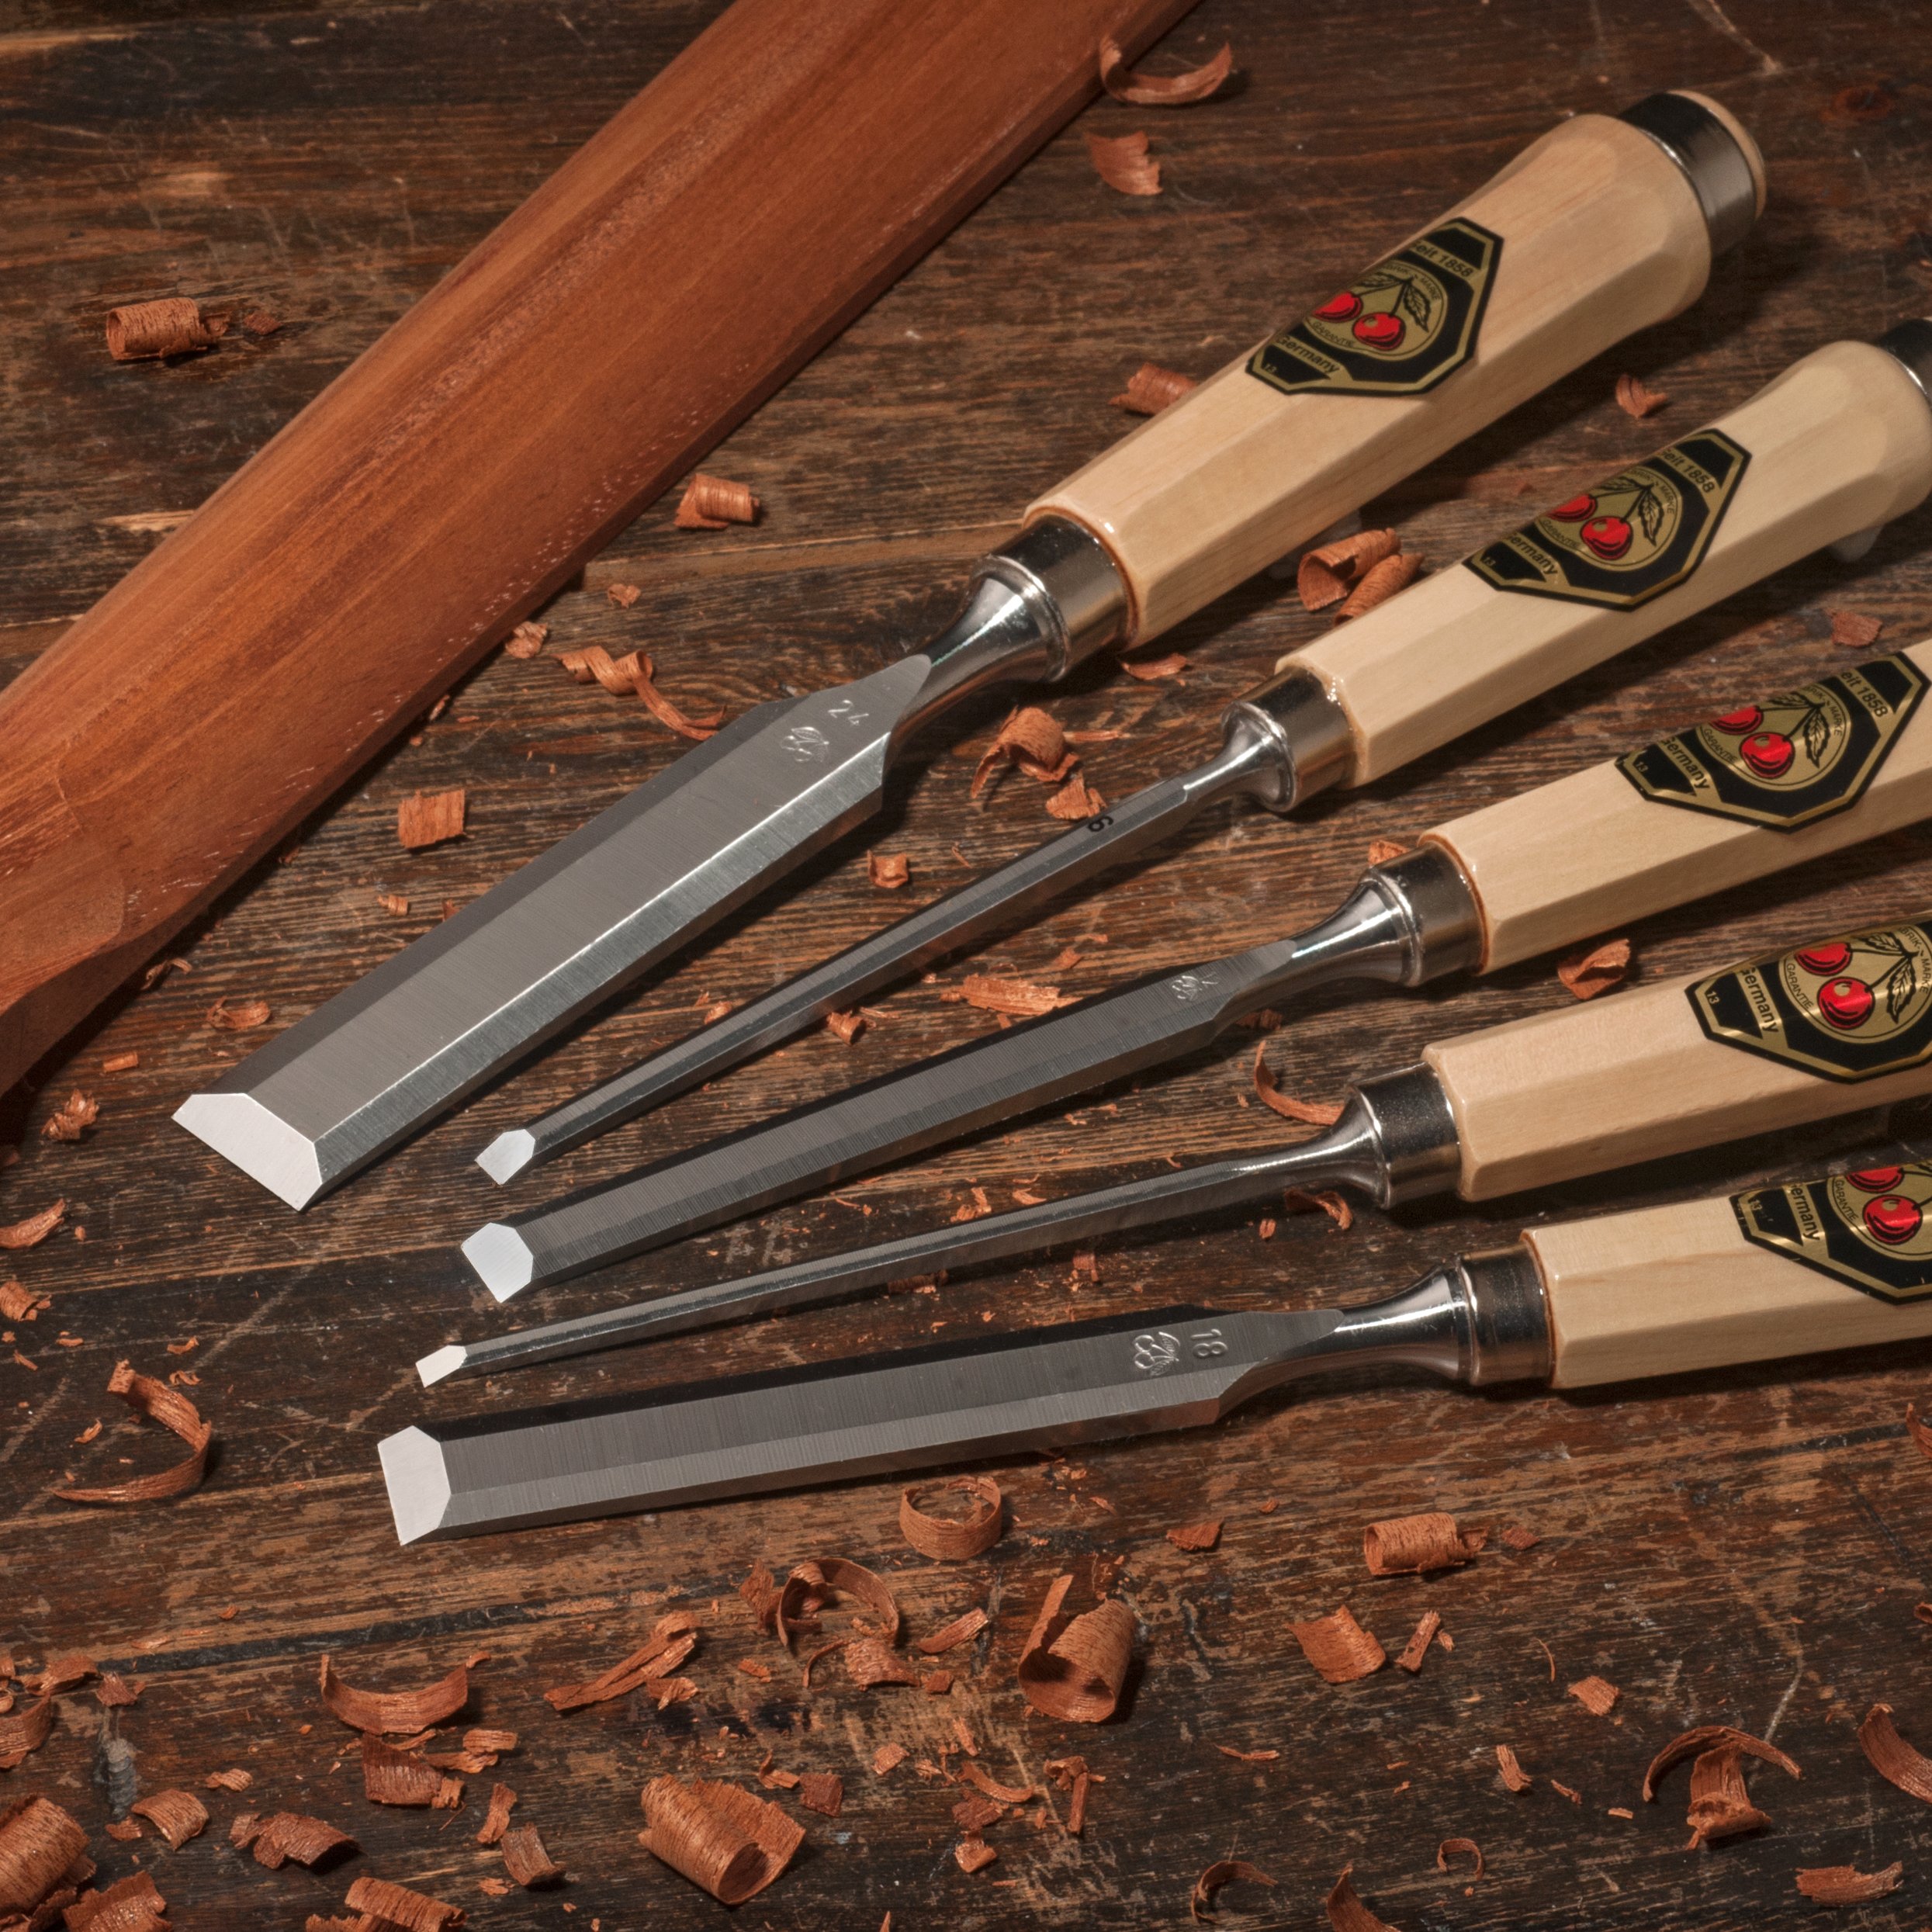
If I had my choice and I had this dowel and I wanted it to be a little bit smaller diameter, I would take it over to the lathe and chuck it up and turn it down. But gee, I don't seem to have a lathe here right now. I have a drill press. I'm going to take my dowel and chuck it up into the drill chuck here. And I don't have to tighten it very tight. In fact, I can just hand tighten it like that. And I have my lathe tool, which in this case, is a wood chisel. And I'm going to put my wood chisel in my drill press vice, clamp it down nice and solid. And this is a fairly heavy drill press vice, so I don't have to worry about it bouncing around too much.
I set it up for sort of a scraping action. Jockey the vice around, until it just barely touches the dowel. I'm just doing this by hand. It's completely rough and tumble. And I turn on my drill press and lower the dowel onto the chisel, taking off a very light little cut. As I do it, it's turning a beautiful symmetrical cylindrical shape. And I can now measure it to see how I'm doing. If I need to dust off an extra little bit, I can do this, repeat the same process, tapping the vice over just a tiny little bit.
And take a little more off, until I get the exact measurement that I want. It's a little trick I use all the time.
Resizing a pickguard
This is a little hand cranked drum sander I made a number of years ago. It's a cone shape, and that allows me to have a various diameters that I need to use to true up the sound hole ring area of a pickguard [on-screen text reads: Tortoloid Acoustic Pickguard - stewmac.com]. So within seconds, I can match any radius with absolute precision, because I just move it to the position on the cone and try it on the guitar to see how it fits. Like that.

