Easy Stratocaster mod: How to replace the nut on your guitar
Issue 326 March 07, 2019
One of the best upgrades you can make to your import guitar is replacing the factory installed plastic nut with bone or another high quality alternative. This week Dan and Paul illustrate a fast, easy way to replace a nut in a Fender Squier Bullet Stratocaster. The job is fast, requires almost no tools, and anyone can do it.
- Plastic vs. bone or TUSQ
- Drop-in nuts are easy time-savers
- Choosing the right size nut
- Gluing into a flat nut slot or a curved one
Video Transcription
[on-screen text reads: StewMac - tools + ideas for guitarmaking. How to Replace the Nut on your Guitar]
Paul Lamply: This is a very pink squire bullet strap on the bench today. It plays well, but one simple upgrade will dramatically improve the tone. If we replace this plastic nut, it's one of the best upgrades we could do to this guitar.
Selecting the ideal replacement nut
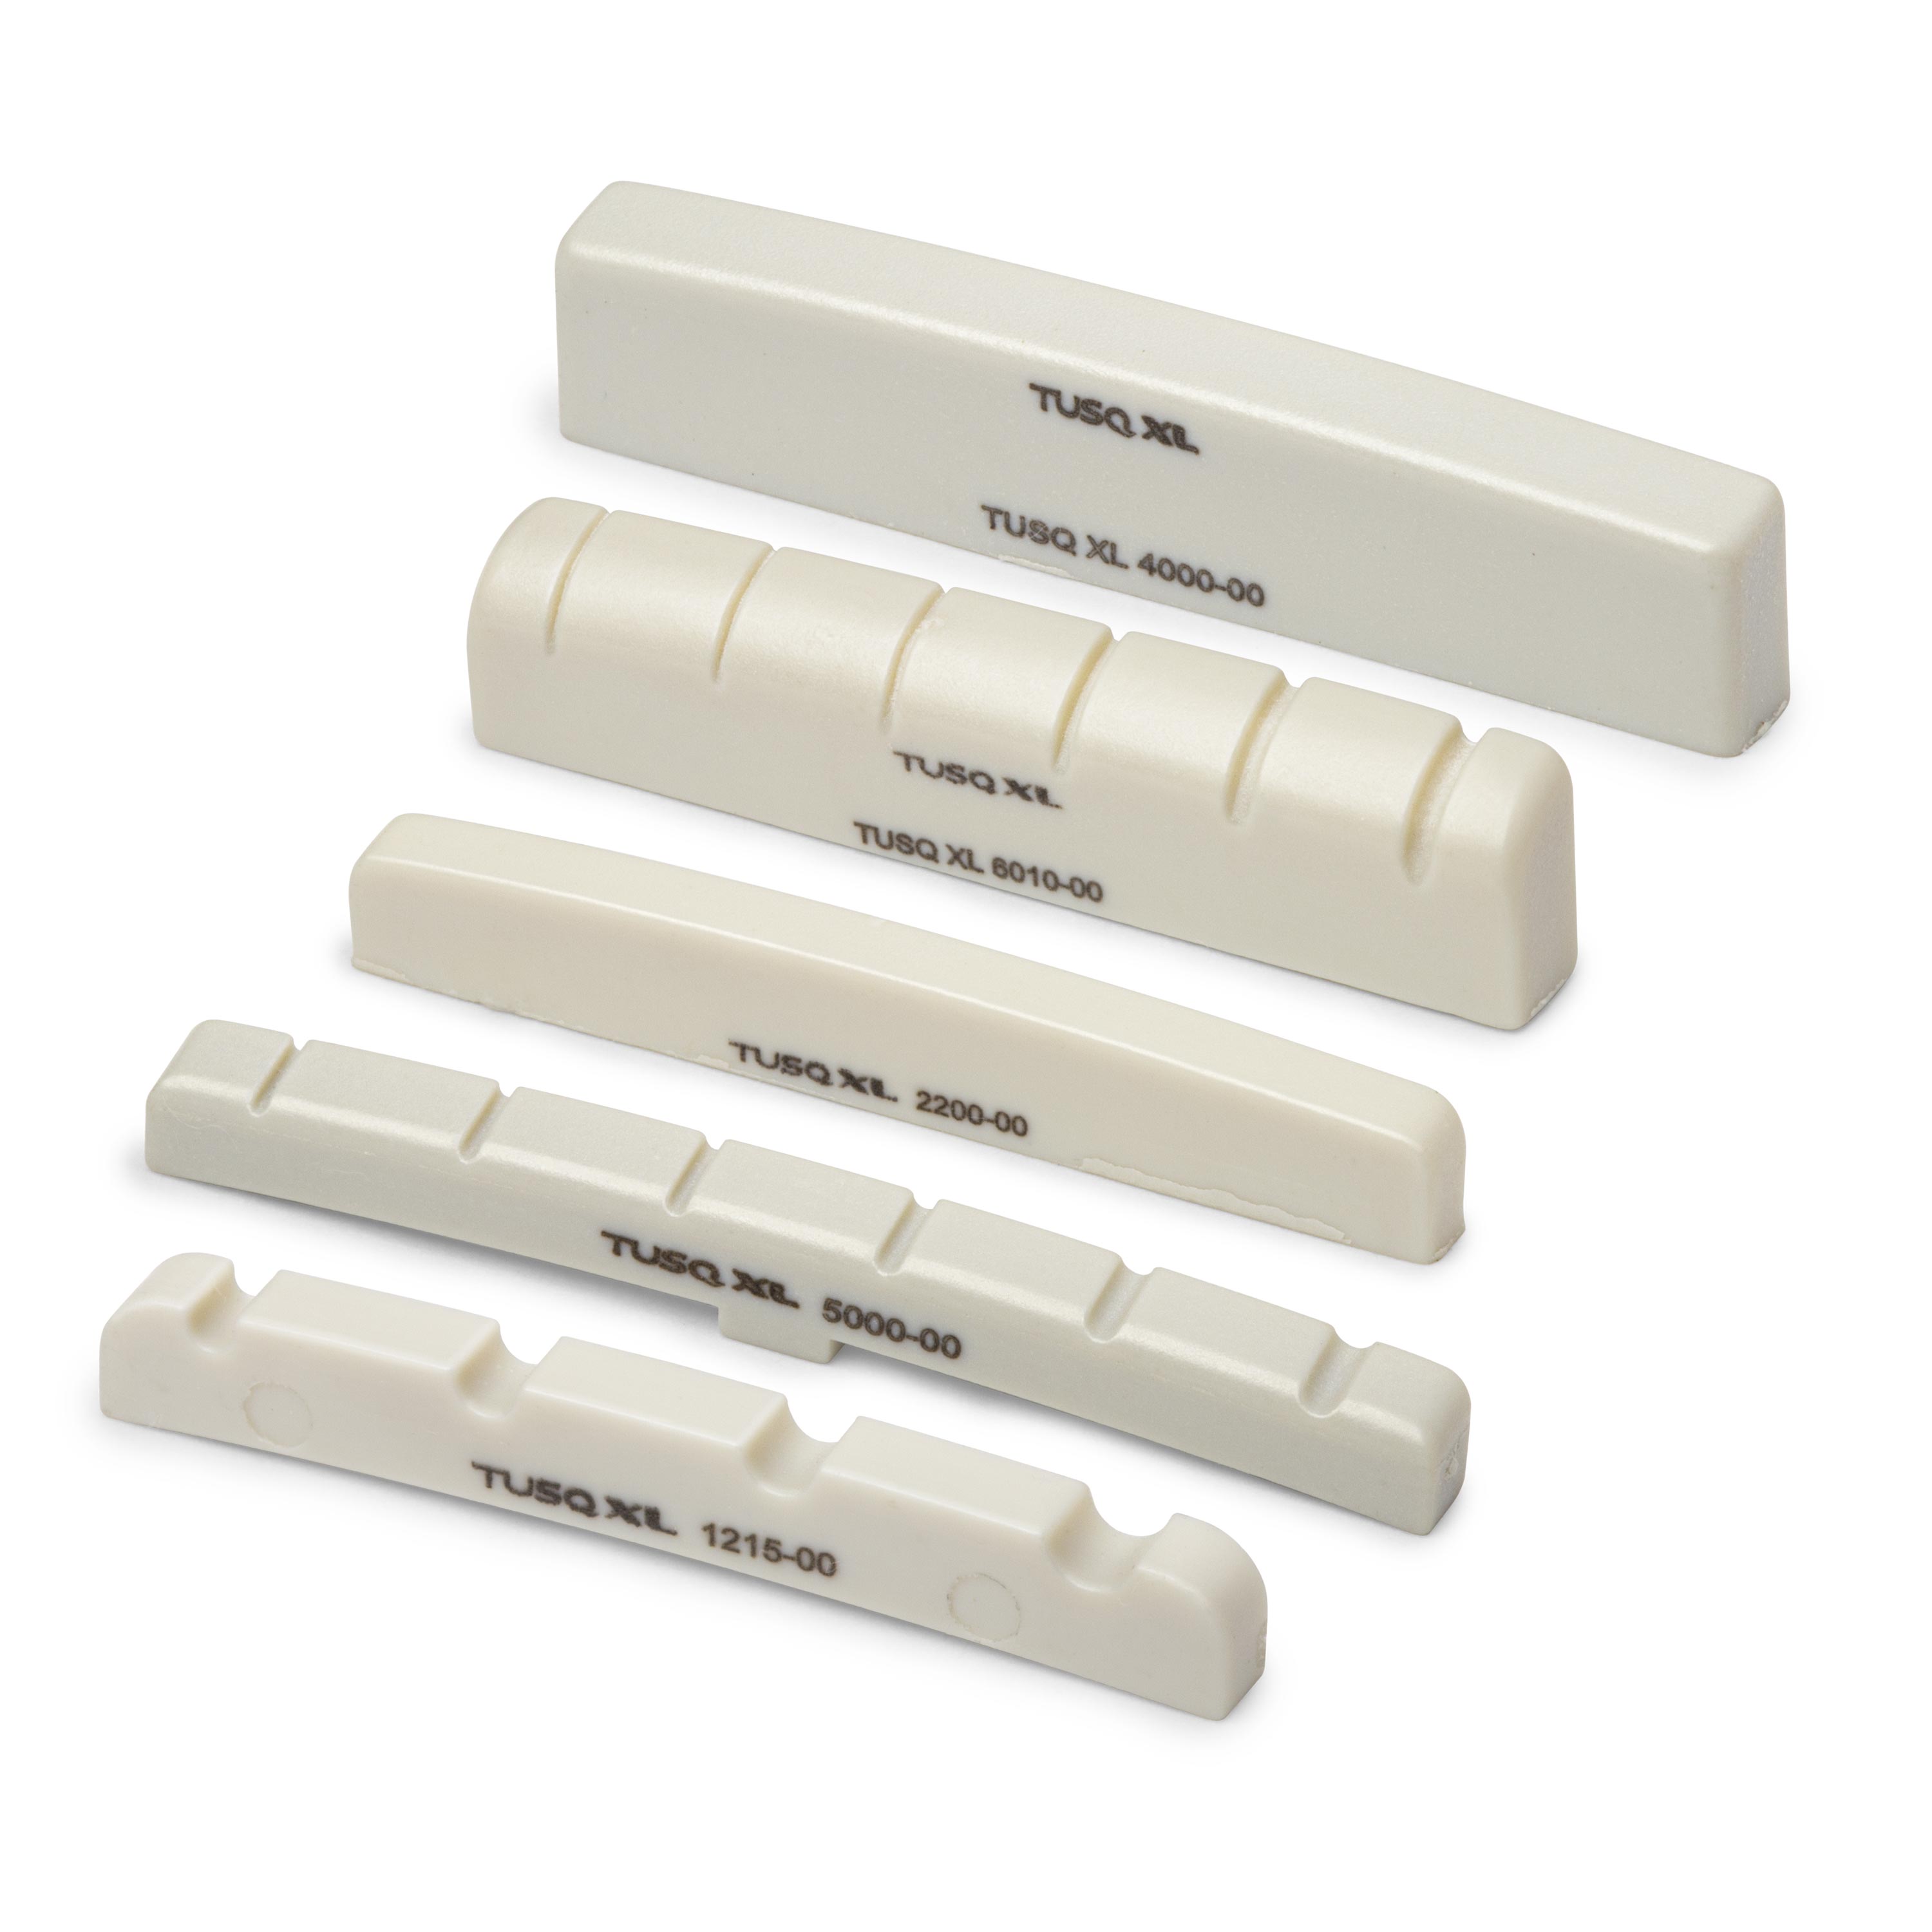
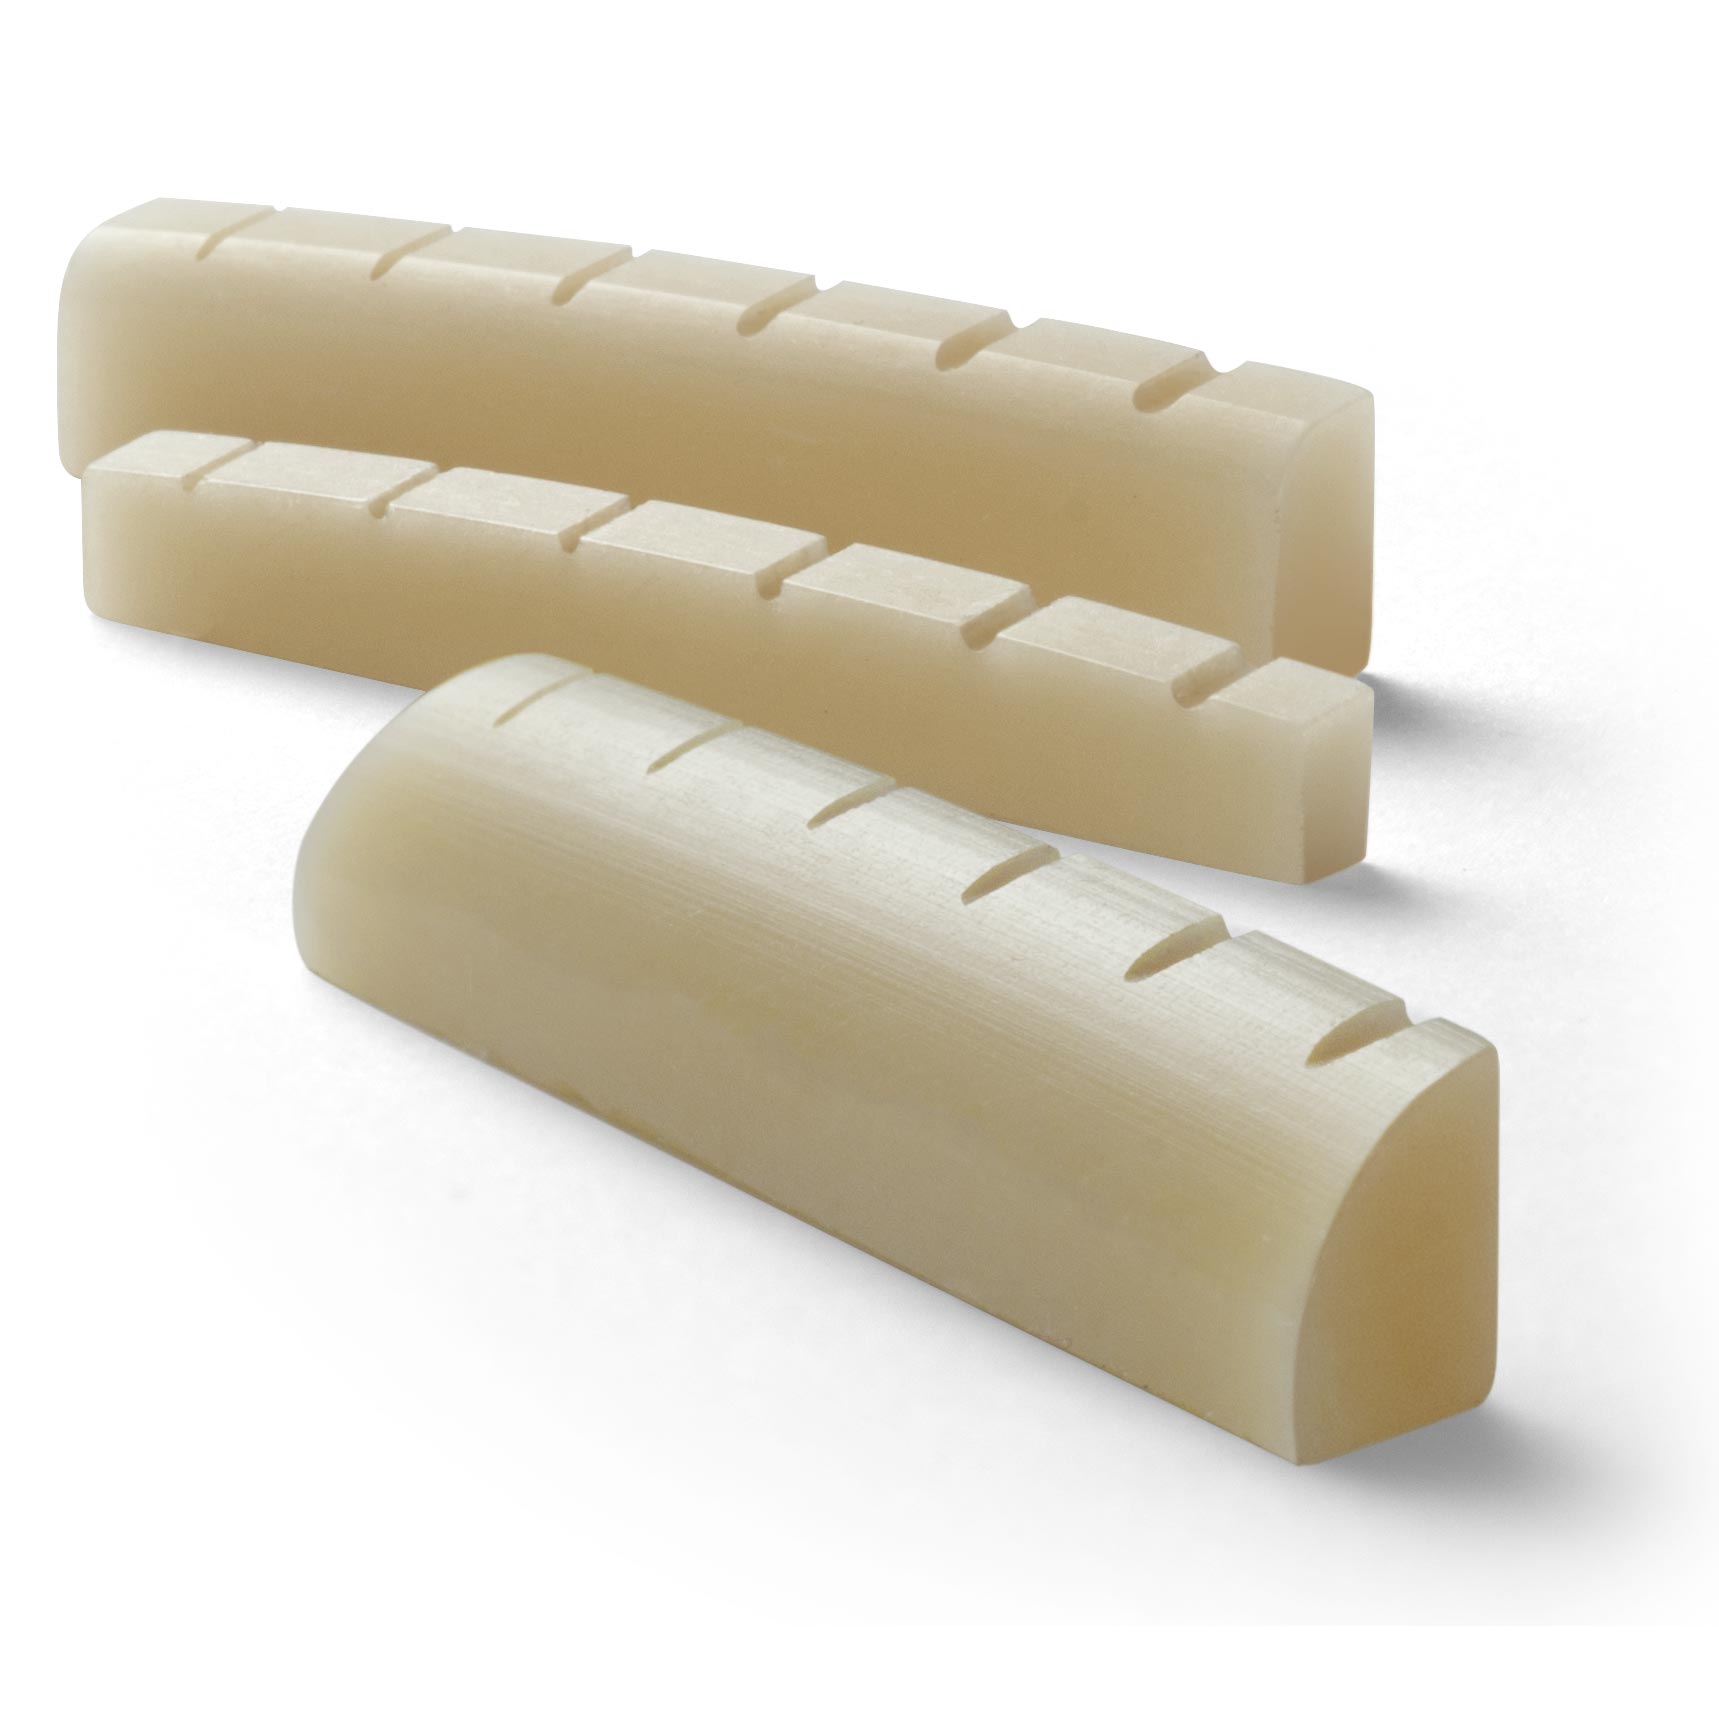
Dan Erlewine: I agree with Paul. I've got some replacements right here. We've got a lot of different nut blanks at StewMac. Some are plastic, some are bone. Some are tusks. Our favorites would be bone and tusk, because of the tone. My little test, is just to hear how it sounds on a hard surface. Here's a plastic nut. It's plinky. Now, here is tusk. To me, it's a bright, glassy sound. That's beautiful. To bounce, is energy. That's going to make that string vibrate more. Now, here's a bone [on-screen text reads: Slotted Unbleached Bone Nuts - stewmac.com]. A bright glassy sound with a softer edge to it. What are you going to use on this one?
Paul Lampley: I think I'm going to go with the TUSQ XL Nuts. It's hard like bone, but it's got Teflon in it, so the strings slide over it when you use the tremolo, or bend the strings. I use these to save time when I can, because the shaping's already done. This is something you can install yourself. It's probably the easiest way to replace a nut. So first, I'm going to use a StewMac Shop Rule, and measure the string spread with the strings on for a little bit more accuracy. I'm getting about 1 11/32. That's just less than one and three eights. And then, I'm going to take the strings off, to measure the nut with. So, the original nut here, is about 1 5/8 inch wide. Before you choose a replacement nut, this is how you know, if it's going to fit your guitar. We have pictures with dimensions for each nut at stewmac.com.
Removing the old nut
I'm going to take the nut out now. This one came out with little to no resistance, very clean, which is always really nice to deal with. But other guitars have different problems to consider, when you're taking the nut out. They can be lacquered in on the sides. You have to spend a lot of time cutting it cleanly, and digging it out. Or sometimes it can be so stubborn, you've got to cut through the top with the saw, and collapse it on itself. Now that the nut's out, the first thing to do, is to clean up any glue from the slot. In this case, there is hardly any. Put your nut in the slot, roughly on center, put on the two outside E-stings, to check for height. At first, you can just do this by eye, to see if you need to remove any material from the bottom of the nut. In this case, I can clearly see it's too high.
Making the new nut fit on a flat bottom nut slot
Mark the amount you think you need to remove on the bottom of the nut. You want this to be a little bit smaller than the amount you actually think needs to be removed, because you don't want to remove too much too fast, and be stuck. Sand the nut bottom on 220 and 320 grit sandpaper. Now that we've removed material from the bottom of the nut, we can recheck the height. Put in the nut slot, put your two E-strings back on. I like to use a bent guitar string to measure the action over the first fret. That's a good indication that you got your nut right about the same height you're looking for. We're looking good here.
Making the new nut fit on a round bottom nut slot
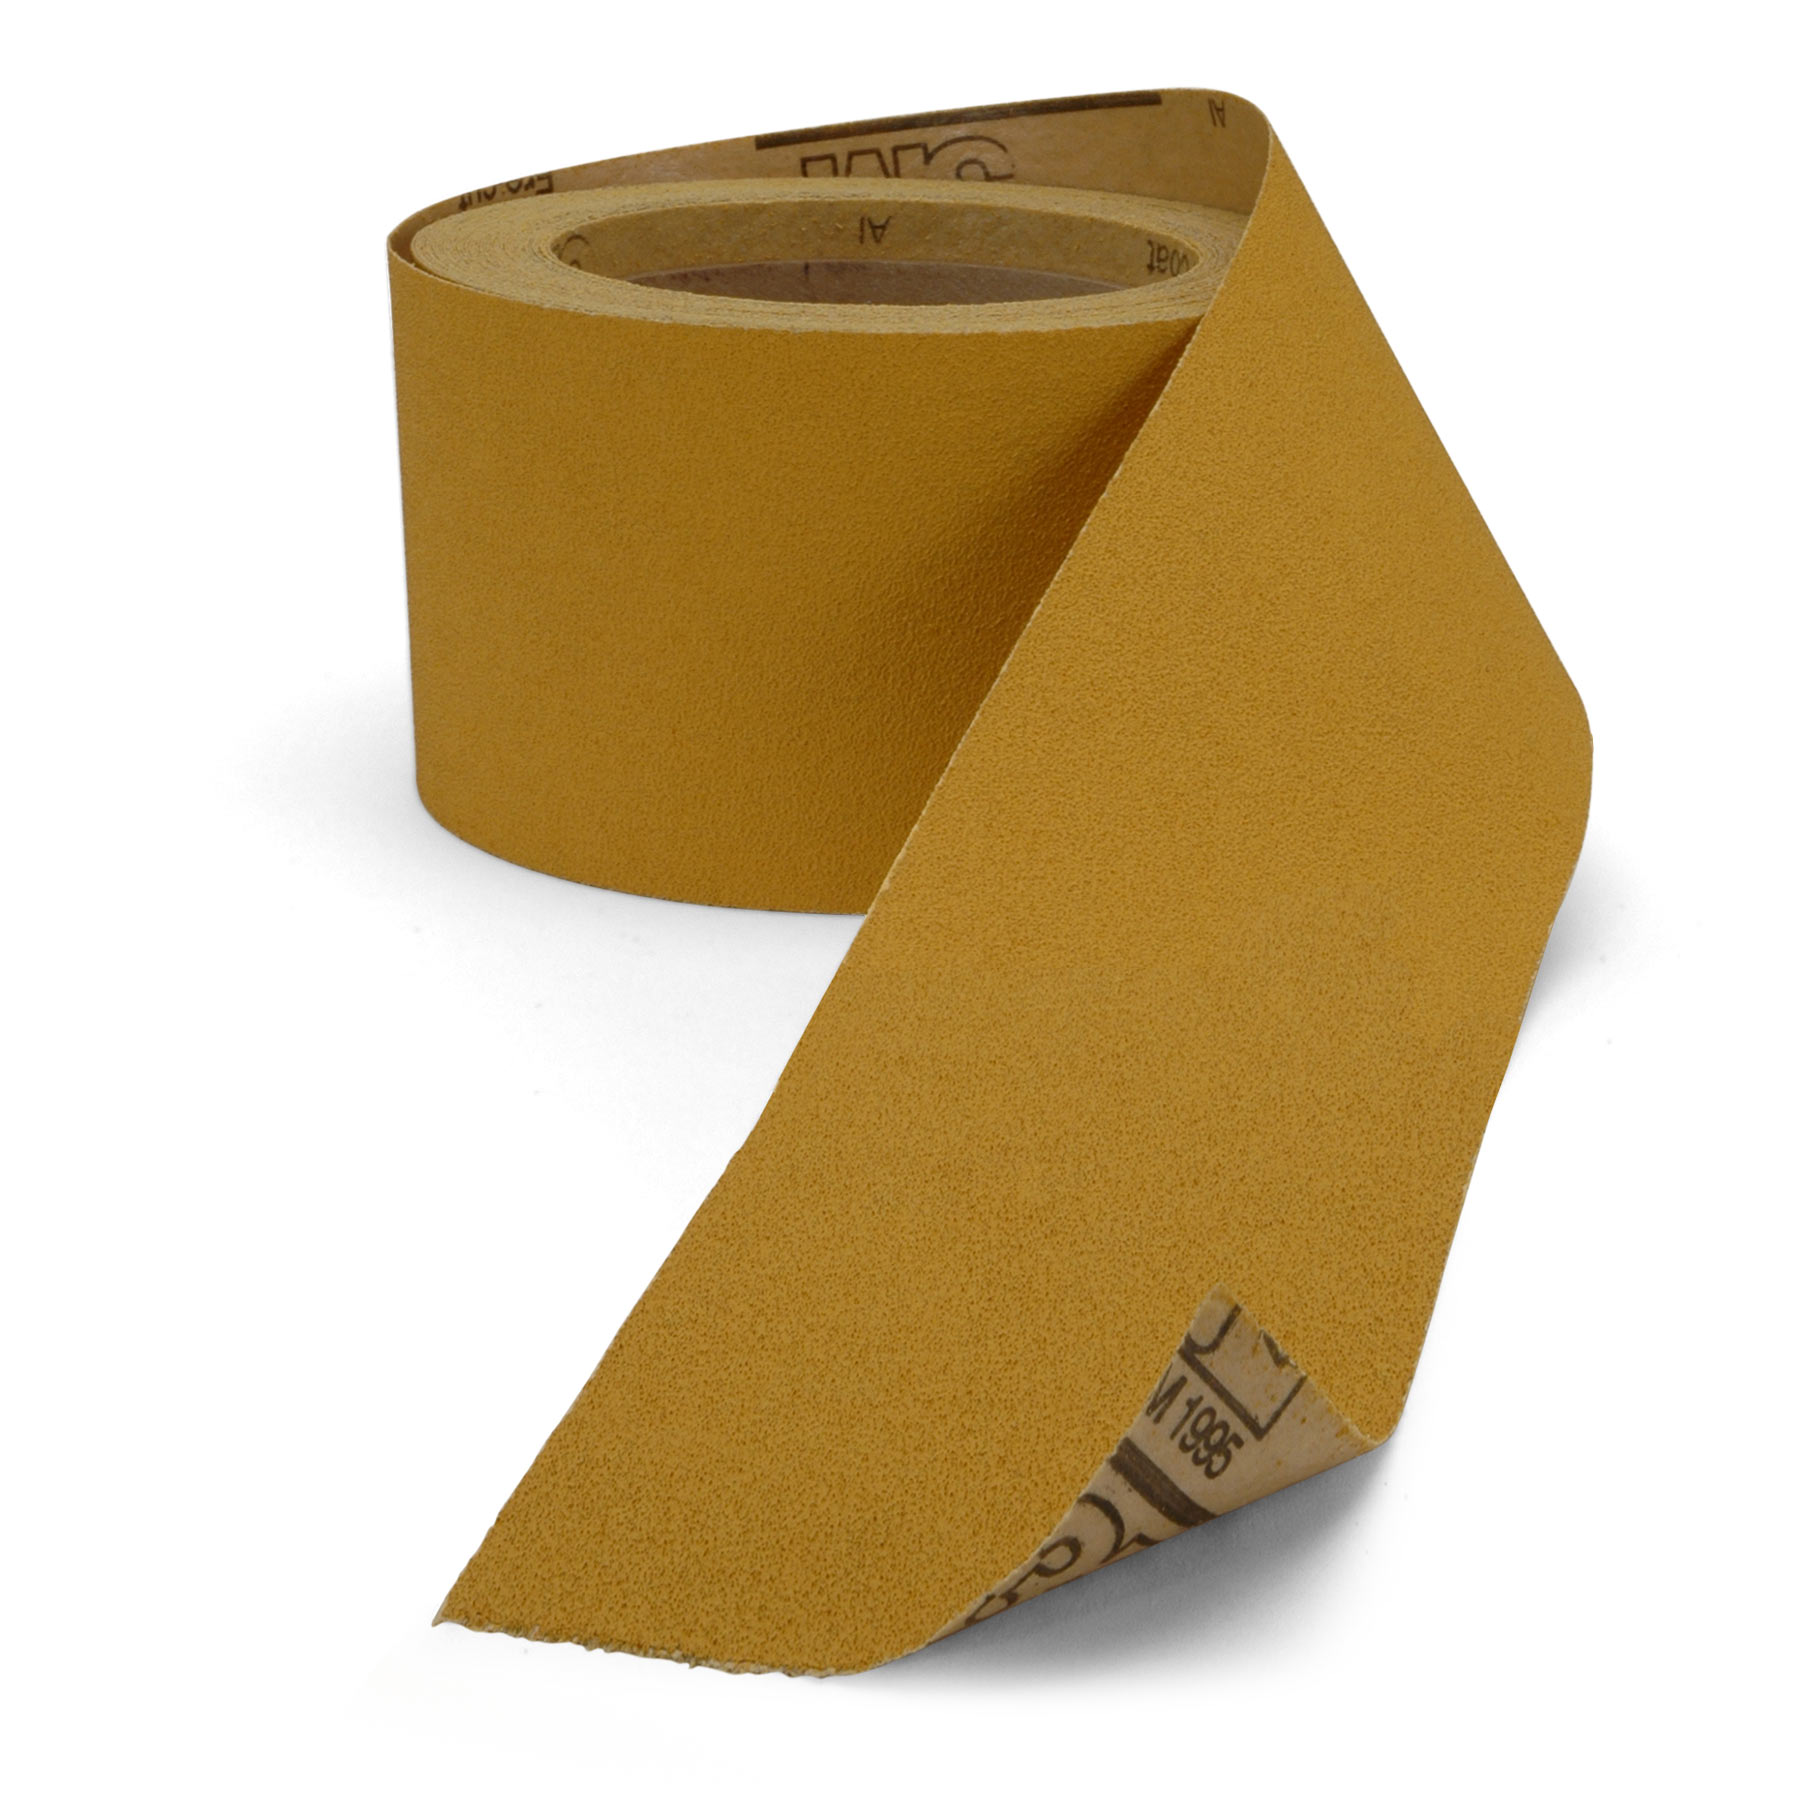
Dan Erlewine: So, with the nut and the nut slot on that Stratocaster, was a flat bottom at radius. That's not typical of American made fenders, like this Telecaster, this nut slot has a round bottom, just like the fret board. So, if you have a neck like this with a round slotted bottom, you're going to have to fit whatever your blank is to that. I'll take this as an example, you're going to cut some sandpaper into a strip, go up on one of the taller frets where it's wide, and sanding crosswise on the fret board, use the radius of the board to shape the bottom of the nut. I might do that twice. Once on that 120, and once on 220. So, it presses right in.
Checking the string radius
Paul Lampley: With the two strings on, feel for any overhang on the nut, on the bass and treble side. In this case, it lines up perfectly on the bass side. So, we just need to remove material from the treble side. You can use a file or just sand this off, like I am here, and round the nut ends a little bit. So, we have the length within a few thousands, because the polishing will get the rest of it exactly the size. Once I did that, I double checked the string radius [using the Understring Radius Gauge] at the bridge, to be sure it would match the fretboard radius, and it was spot on. So, we were good there.
Smoothing out the nut
Now, we're going to roll this edge on the side of the nut. That can be really sharp, and dig into your hand. We're just going to smooth that out. So, we just have a small piece of 400 grit paper. So, we're going to get the ends and roll it inward a little bit, and knock those rough corners down. And then, you're just going to check it with your thumb. All right, that should be nice and comfortable.
Polishing and buffing the nut
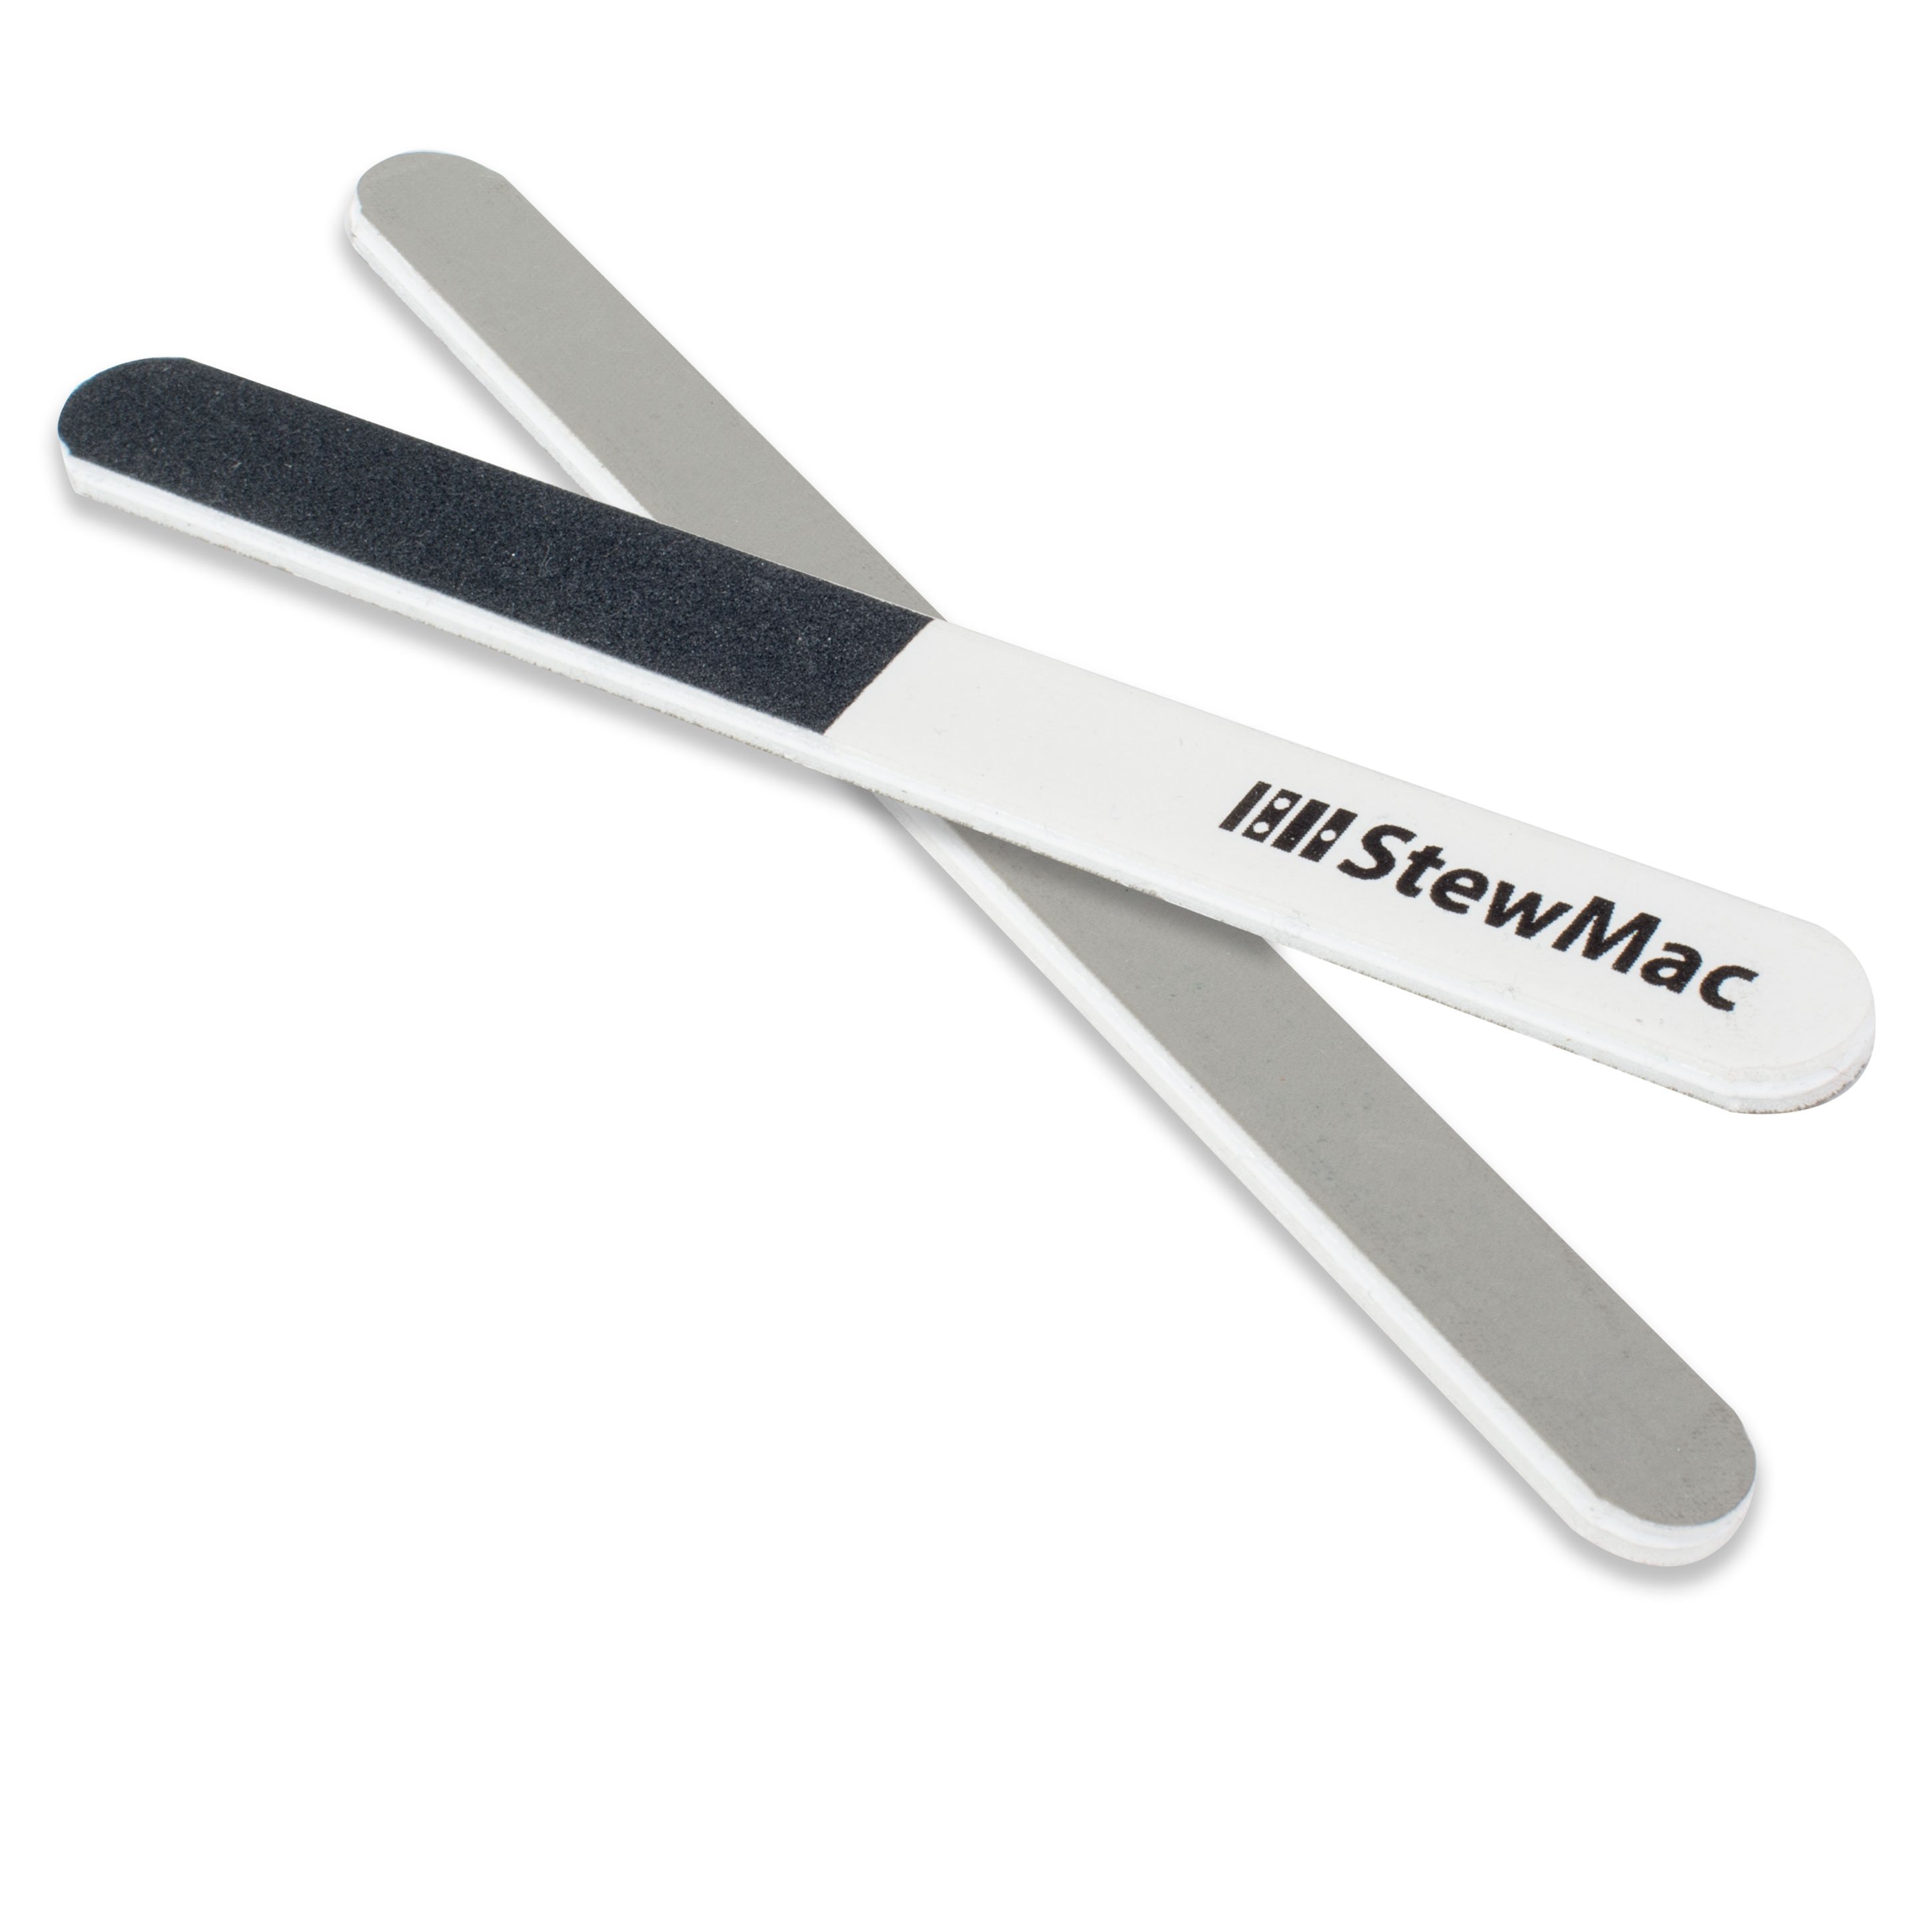
Now, we're going to do our final polishing and buffing. This is a micro-mesh touch up stick. It has one, two, three grits of micro mesh on it, and that'll get us to a real nice shine. So, we're just going to lightly take this and just hit those corners again, just to finalize them, hit the top a little bit. And then, this is why I didn't take the ends in all the way, this little bit of polishing, is going to take a few thousands off, and you don't want to be too short. Now to the next grit. Just a couple more swipes on the end, and make sure those are nice and clean. And that should do it.
Gluing in the nut
I like to cut the tip off of a toothpick. You don't need to do it, but I like the extra surface area to get glue onto. And just take your glue, just put a little dab on there. One drop towards the edge, one drop in the center roughly, and one drop towards this end. Set your nut in there, and line it up to where you want it. And it's a little slick because the glue's in there. So, you just want to hold it in place while you tighten your strings. You don't want to tune the pitch right now, just enough tension to hold the nut in place. It acts as a clamp in this situation. And I give it 30 minutes to an hour, and you're good to go. Certainly better than before.
Dan Erlewine: It is. That's tusk. It's got that bright sound of when I dropped those blanks on the granite, and it bounced up.
Paul Lampley: Yeah, exactly.
Dan Erlewine: That was a nuttie lesson, man, and a good one. Thank you, Paul.
Paul Lampley: Thank you, Dan.
Dan Erlewine: By the way, if you haven't yet subscribe to our YouTube channel to get these trade secret tips every other week.

Dan Erlewine
Guitar Repairman and Builder

