Conquering an UNDEAD Strat pickup!
Issue 308 June 28, 2018
This pickup is a zombie. Even though it has died, it's still making sound. Erick Coleman identifies the problem, and we watch him ever-so-carefully tear the pickup down and rewind it.
- Dead or alive? The multimeter says it’s neither.
- Cutting into the coil wraps
- Rewinding, while leaving the pickup looking original.
- How to protect against shrinking pickguards.
Video Transcription
[on-screen text reads: StewMac tools + ideas for guitarmaking]
Fixing a pickup on a '63 strat
Erick Coleman: Fender Stratocaster 1963. It's awesome. Three color sunburst. It's got a great big neck. Beautiful guitar. Came into the shop for a number of things that needed to be done to it. We started playing it, and realized that the middle pickup, while it is producing a sound, it's pretty weak, kind of thin sounding [Erick plays the Strat that is in for repair and it sounds dull]. On a different Strat, this is what the pickup should sound like [Erick plays another similiar Strat and it sounds brighter].
Testing the pickups
It's really not characteristic of what a true middle pickup fender sound should be. Before I dig into this guitar, I'm going to do a little test with my multi-meter to see what the pickups are reading. A quick check of the bridge pickups gives me a 6.3 kilo ohm [on-screen text reads: Fieldpiece Digital Pocket Multimeter - stewmac.com], which is exactly what I'd be expecting to see. The neck pickup is a nice 5.7 K, which again, is what you'd want to see, but when I kick it to the middle position, it gives me a real weird 0.260 mega Ohm, which indicates to me that there's something wrong in there. I'm going to take the pickguard off of this now so I can get a better look at the pickup. All these screws, they worn their age different ways. Some of them are coming in contact with palms of hands and they're getting kind of rusty and corroded and what not, while others are pretty pristine because they're out of the way of strumming and picking and things like that.
Checking for visible signs of damage
In order to maintain that look and have it be correct, it's important you take the screws out and put them back in, in the exact same places that they were taken from. What I have here is just a little wooden jig that I made. It's numbered 1 through 16, just depending on what kind of guitar you're working on. I'm going to go all the way around. I'm going to drop it into my little fixture here. That way I know exactly where they came out of, and I'm going to put them back in those exact same holes. I'm going to carefully lift this guard. I'm going to drop this pickup out of the pickguard so I can get a better look, but I'm not going to unsolder it yet. I just want to take a look at the coil and see if there's any visible signs of damage or anything like that I should be concerned about.
Carefully remove the pickup, just flip it over, take the cover off. Upon first inspection, no signs of any kind of trauma or anything like that. The pickup has obviously been wax potted. Some were potted with lacker in the olden days, some were potted with wax, some were potted not at all; but this is clearly wax. I can scrape it off with my fingernail and melt it in my fingers. Boy, there's no real signs of any damage here. A little bit of corrosion and crud around the B- and E- pole pieces.
Measuring the magnetic field using a Gauss meter
Another thing I'm going to do real quick is I'm going to check the Gauss to see how the pickup is charged, because then sometimes it might just be a weak magnet that needs to be recharged. Okay, yeah, they're reading right in the range where they need to, 25 south up. So it's definitely not the magnets. It's definitely not the charge.
Reflowing the solder joints
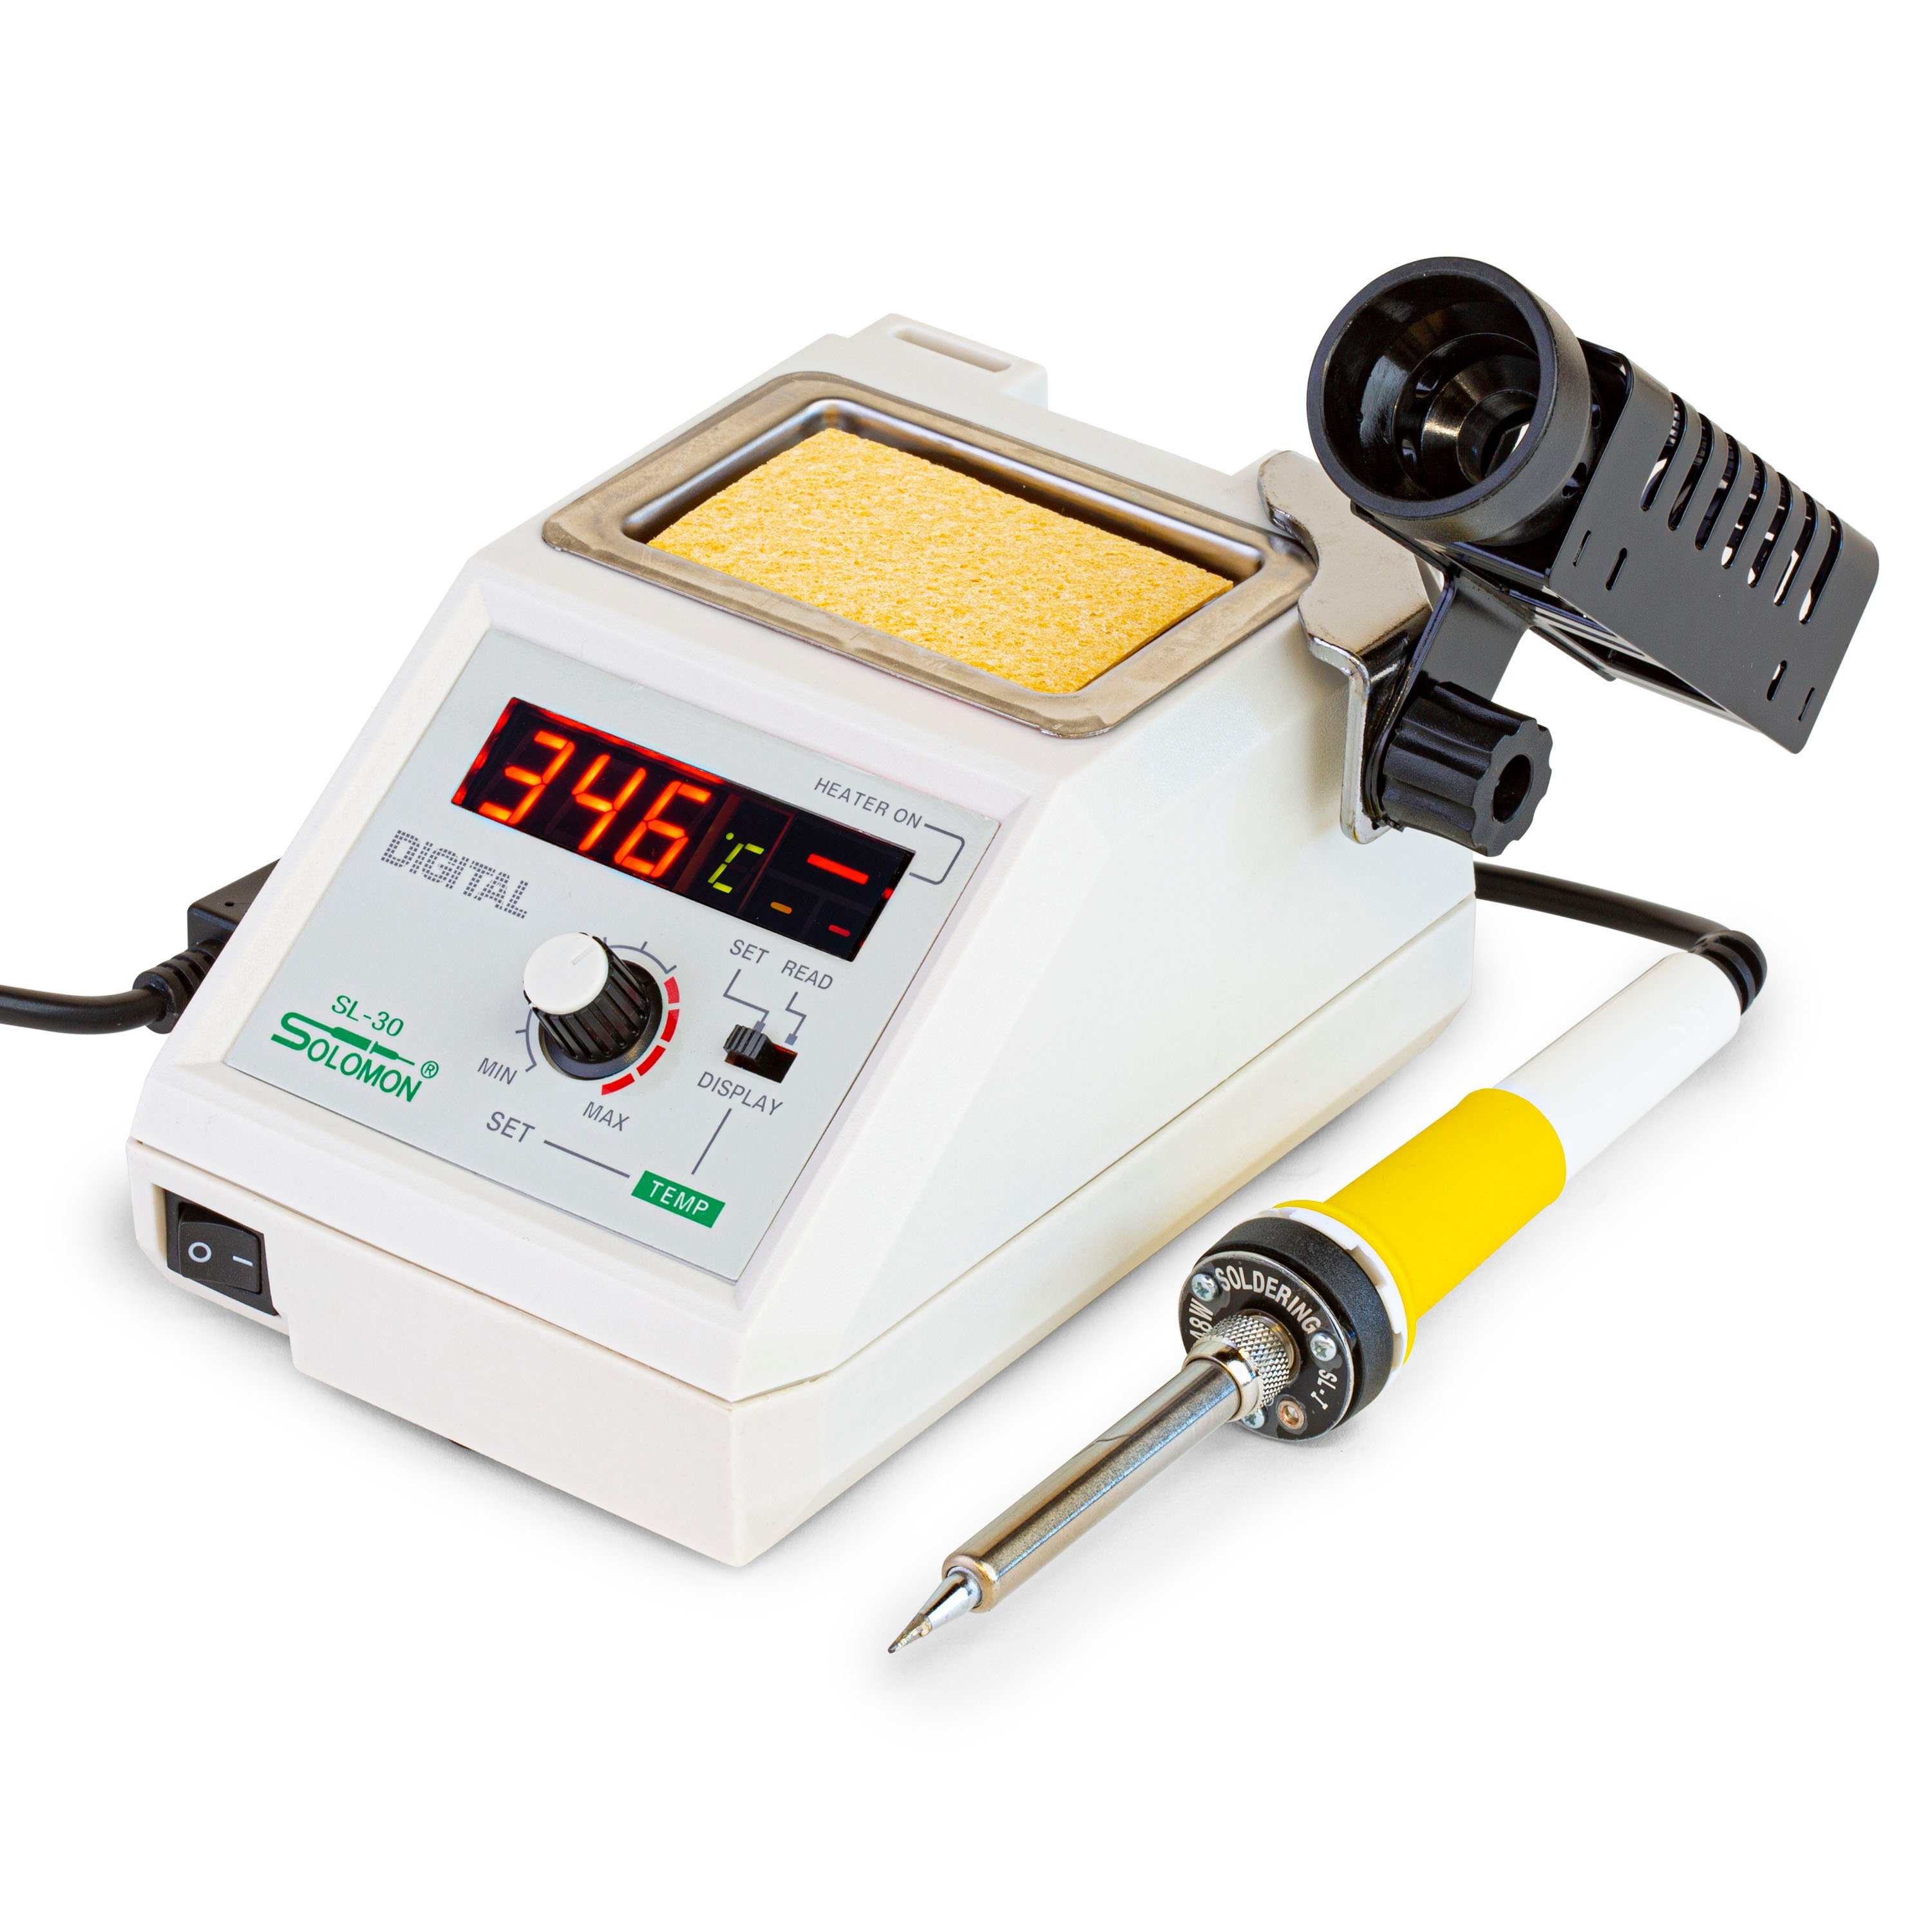
One more little thing I'm going to do before I actually unsolder this pickup, I'm going to heat up these two solder joints here at the lugs. Sometimes, occasionally, reflowing them can make things work again. Just to cover my bases, it is a vintage guitar, just going to reflow those joints real quick. Turn on my multi-meter, check it at the lugs. I'm not getting a normal reading there, so that's not going to happen for us.
Unsoldering the dead pickup
So I'm going to go ahead and unsolder at the lugs. It is the least invasive place to do so. When you're dealing with a vintage guitar, any kind of modifications you make are instantly noticeable. And if I would've unsoldered this pickup at the pot and the switch, you would have seen bright shiny solder joint, which nobody likes to see. So this is the lesser of two evils.
I'm unsoldering it at the bobbin instead of at the pots and the switch. All right, we have a loose pickup. These old celluloid pickguards are really prone to shrinkage. So what I'm going to do now, is I'm just going to stick that cover in that hole to help keep that hole open so it doesn't shrink up and make that pickup really tight. And at the same time, I'm going to put the pickguard back on the guitar and install all the screws. Because the pickguard too, the more it's off, the more likely it's going to start shrinking up. So you want to get those things put back on right away. All right, and I'm going to take this, I'm going to put it back in its case for safekeeping while I rewind that pickup.
Removing the wire from the dead pickup
In most cases, a dead pickup, there's a short in the wire and it's no longer making a connection or making sound. That's not the case with this one. It is making a sound. Over the years, the insulation on the coil wire has developed little cracks and flakes and stuff like that inside the coil, that have caused it to short out on itself. And so I'm just going to go ahead and cut this wire off the bobbin. And before you go cutting wire off of it, you want to pay attention to the winding direction. If you can look really closely, you're going to see this start wrap is buried pretty deep in the coil. The finish wrap is kind of running on the outside. So I'm going to lift this real quick, and I'm going to work the Exacto under there. And I'm just going to cut that wire, and then we've got the wire coming loose here. What this is telling us, is that this pickup was wound clockwise around the bobbin; and what that tells us now is we're going to have to run the winder counterclockwise.
So now I'm just going to go ahead and cut the wire off. I really hate to do it. Beautiful old Formvar wire, but there's clearly an internal problem here. I'm going to insert my knife at the bottom of the coil, and I'm going to do it kind of in between the E- and B- pole pieces because I'm still kind of convinced that they might be a source of part of the problem; and I just want to get close to them to see if I see anything. And you're going to cut towards the center because you really don't want to put any knicks or cuts into the flat work. You could catch your coil wire while you're doing the rewind. And so I'm carefully cutting inward, slowly, go slow, and there it comes.
Nothing too weird or obvious going on in there. There's no corrosion. Sometimes you'll see corrosion around the bobbin, around the coils that are fractured, and moisture has been introduced and caused it to do all sorts of weird stuff, but I'm not seeing that here. So it must have just been the insulation breaking down and causing the wires to short off into themselves. Before I put this on the winder, I'm going to clean it up just a little bit, little build up the wax and hard stuff, maybe a little piece of lacker or something on there that I saw. Both the top and bottom flat work. Just go around the edge of it with an Exacto, just a little bit, just to break any kind of sharp edges that might be there. It's ready to go on the winding machine.
Rewinding the pickup
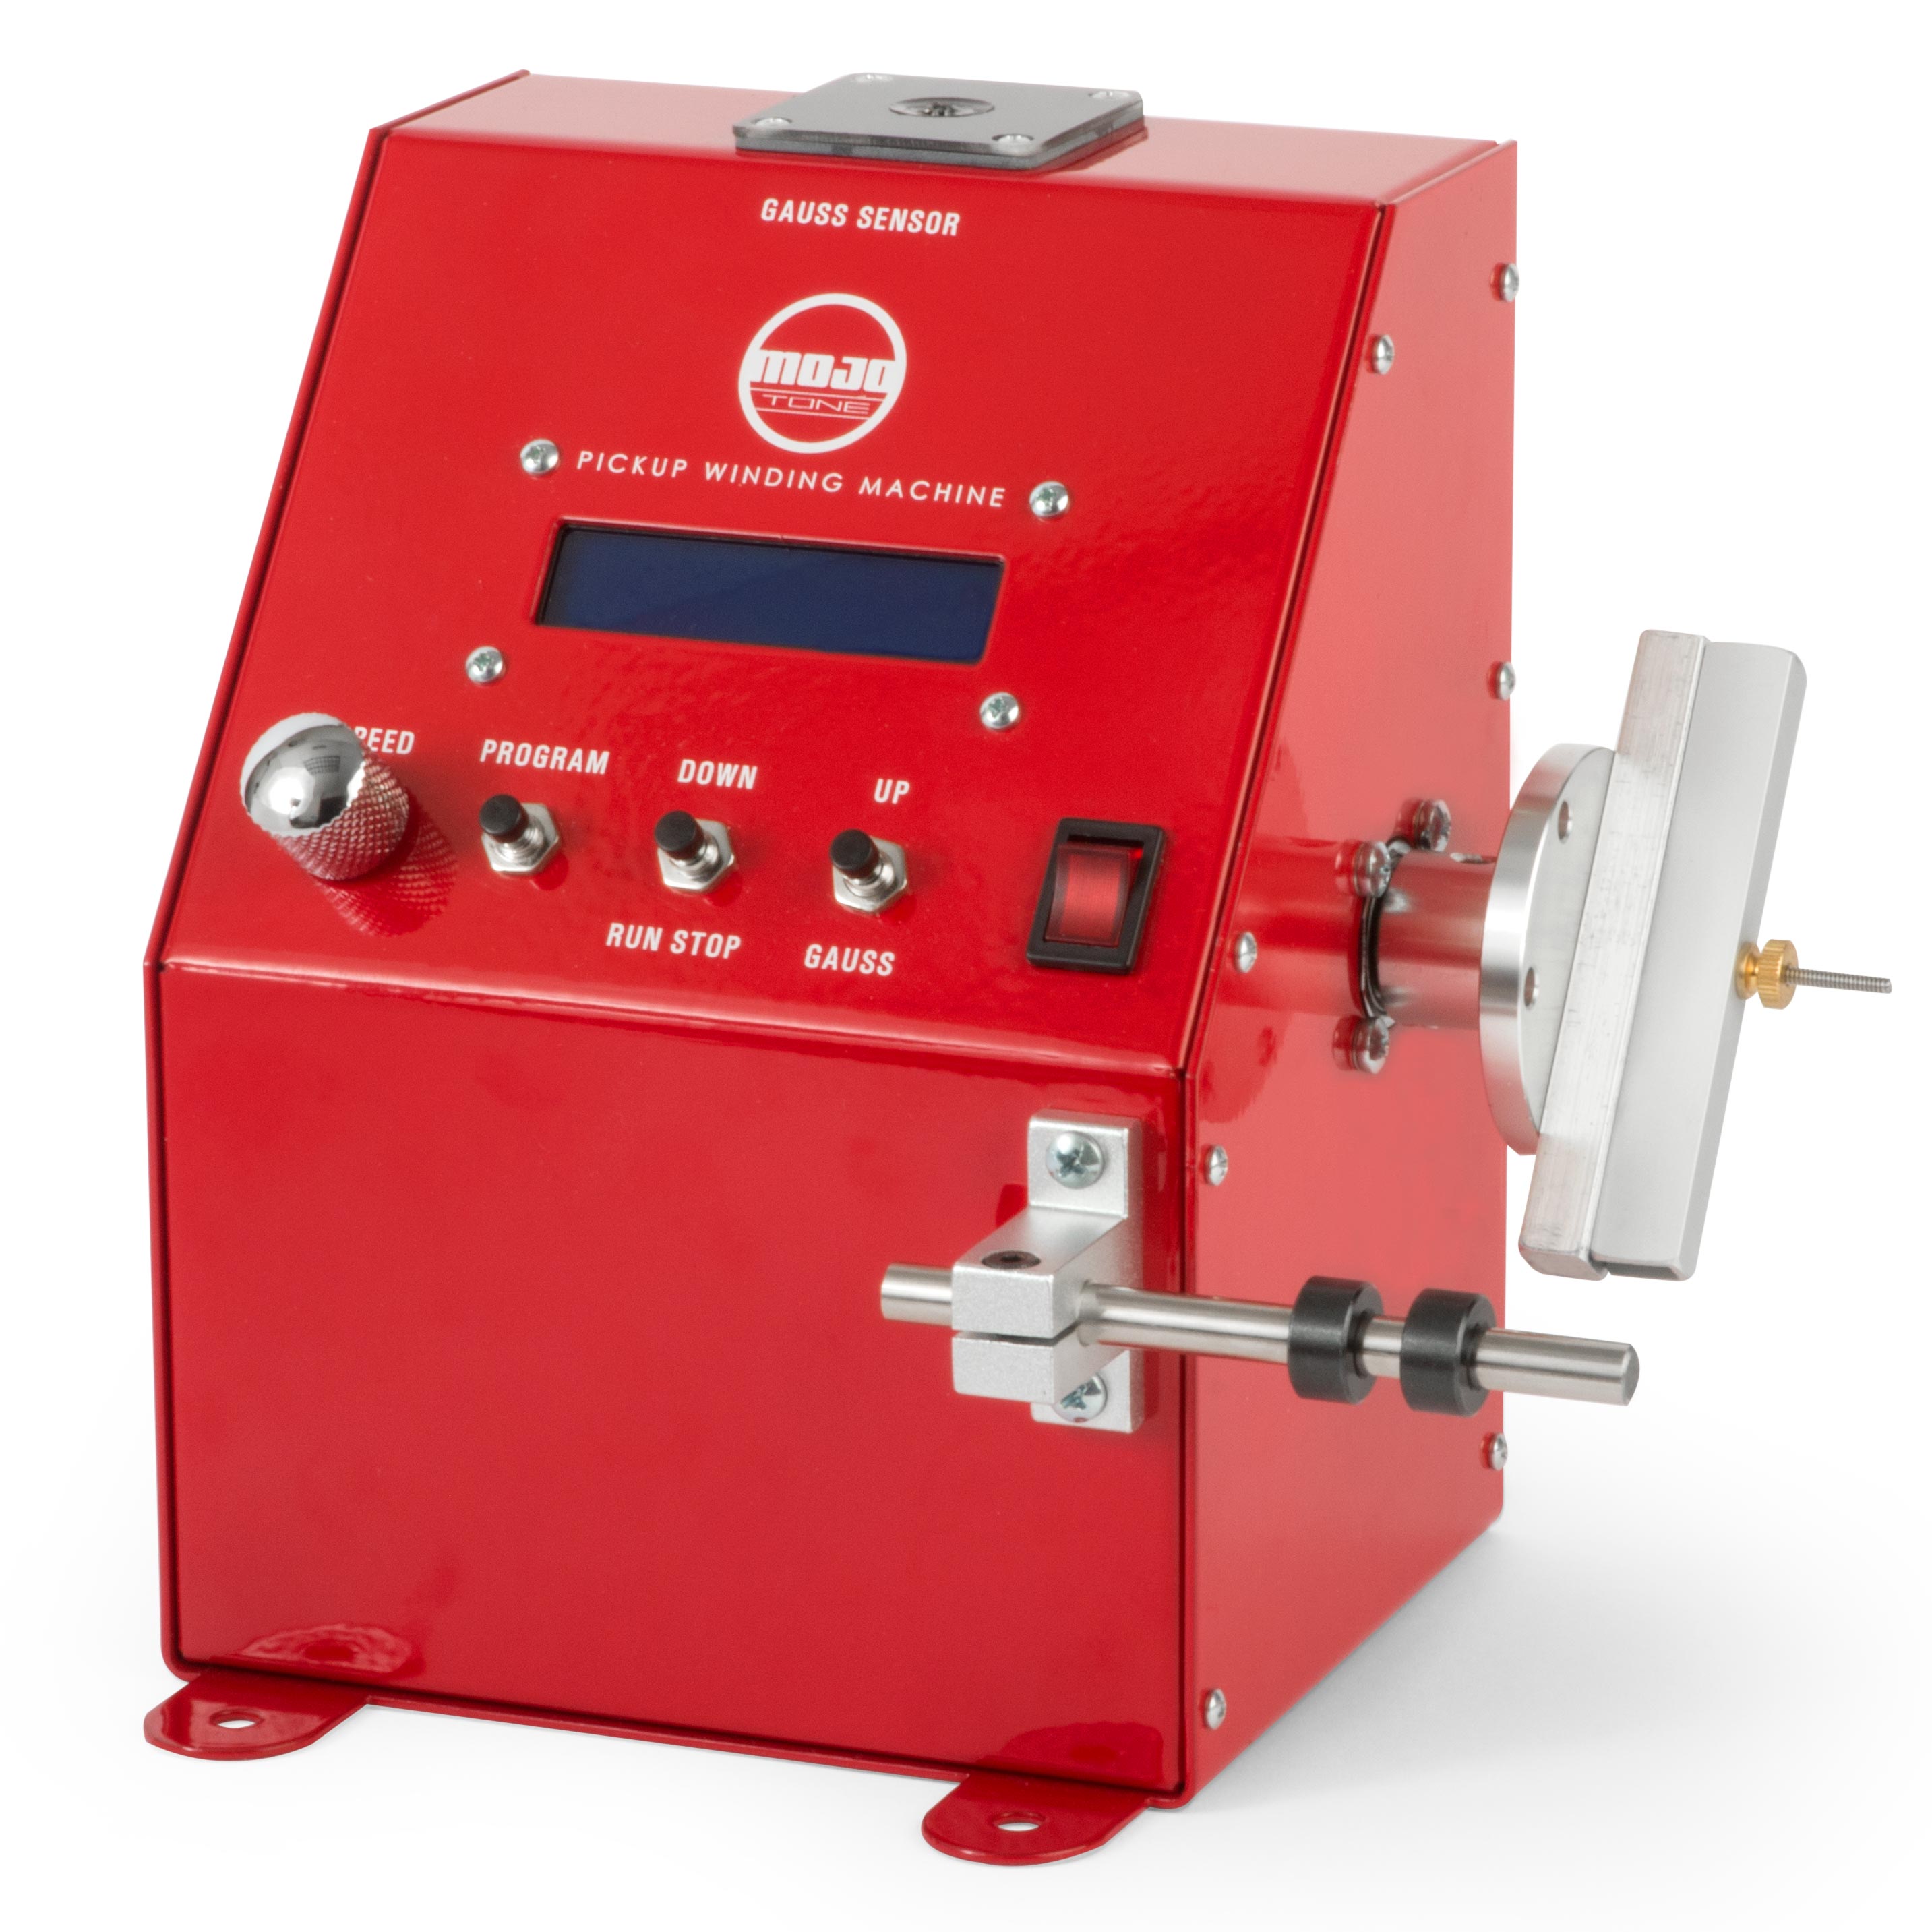
Okay, I'm looking at my notes, and I see that the start lug was on the left hand side when the bobbin was facing up. So I'm going to feed this wire through, loop it around, feed it through again. I'm going to pull it kind of tight there; and then I'm going to feed it through one more time. And I'm ready to put this on the winder. I have my Mojotone winder [on-screen text reads: MojoTone Pickup Winding Machine - stewmac.com] set up for counterclockwise operation, and I also have it set for 7,500 turns. When you're using 42 gauge wire, every thousand turns is about .8 K. What I'm shooting for is a pickup with an output that lands somewhere in between the neck and the bridge. At this set, 7,500 winds, that should put me right in around six K, and that'll make me happy. That'll be a nice balance between the two.
You want to have a nice uniform looking bobbin, no bumps or valleys on one side or another. I always kind of just run it at medium to low speeds. I check my work frequently. Looking a little lumpy on that left side there. I'll try to even that out. Back when these pickups were made, I believe it was primarily women that were running the pickup department, and winding all the pickups; and they were guiding that wire by hand, a super tedious job. This machine will make it a whole lot easier for me. A hundred to go.
And there we go. Overall, it turned out pretty good. Nice and even, and I'm happy with this. Now, just like I did with the start wrap, I'm going to feed the finish wrap through the eyelet, pull it kind of snug, not too hard of course, because you really don't want to break it at this point. Pull it through another couple times, just to make sure it's in there good. And we're done. For a preventative measure, I like to put a little, I call it a safety belt in here, where I gently tape a little paper sleeve around the coil; and if there's any solder or rosin that might be splattering out while I'm soldering it back up, this thing will protect the coil. Okay, now I'm just hitting the eyelets here with a little bit of solder so I can get a reading on the pickup and see how close I got.
I was shooting for right around six K, and it looks like I got right around 6.2 K, which I'm happy with. I'm going to install this guy. All right, I've peeled the little safety belt off. Remember, this pickup was wax potted. So we are going to wax pot it again, just like it was when it left the factory. So I'm going to dunk it in this wax here [on-screen text reads: Hold-Heet Electric Glue Pot - stewmac.com]. This is bees wax. You just kind of want to wait until there's no more bubbles, air bubbles, coming up out of the coil. And there's some right there, you can see the bubbles coming up. So we're just going to let that sit in there until the wax is thoroughly melted, and I'm not seeing an abundance of more air coming up out of that coil.
Looks like it's stopped bubbling. It's been in there for four and a half minutes or so. So I'm going to go ahead and pull this guy out, let it drain a little bit; and I'm going to set it down on this paper towel and just kind of gently start patting it down to soak up some of that excess wax that's sitting around on that bobbin. And don't touch the coil wire. Okay, so there's our waxed coil, ready to be installed. I'm going to undo the pickguard. We're going to drop this pickup back in. Okay, got that in there.
Okay, I'm going to prepare these wires for resoldering. Got the little safety belt back on. I'm going to start working these wires up through the bottom. All right, now those guys are ready to solder; and I'm going to put my thumb on that because, when I heat up this joint, it's going to soften that solder and I'm going to just push that right on in. Okay, I'm going to remove the little safety belt, put the cover back on, and we're going to drop this pickup back in. Pickguard's back on, the screws are in the same holes they came out of, and let's turn this pickup on and see what we got.
[Erick plays the guitar]


