Break it to fix it? Replacing a D-45 pearl inlay
Issue 275 December 15, 2016
The pearl was in the way! Working on this fine, pearly Martin D-45, Dan Erlewine needed to spot-sand the fretboard. He shows why sanding the pearl inlay at the same time just didn’t work. That inlay had to be destroyed and replaced.
About the guitar in this video: This is a top-of-the-line Martin: a D-45 model from 1980.
- Fixing an uphill slope at the first fret
- The differing hardness between pearl and wood
- Martin's amazing inlay fitting: hard to get out!
- Radius-sanding the pearl before installation
Video Transcription
[on-screen text reads: Removing and replacing a pearl inlay. Dan Erlewine, Guitar Repairman, Author]
Dan Erlewine: Most of us don't work on that many 45 style Martins in our careers. You're lucky if you do. This is a 1980 D-45 from a customer that had me reset the neck, wants a new saddle, get the action right, and refret it. I love the 45's. I've got to admit it, some people don't. I love the abalone, everywhere around the top. I love the way it miters on the corners, around the fretboard. Abalone is a mollusque. It's like a giant scallop. That's what I think of. I've had one 40th style Martin in my life and that was a 1929 00-42, and I loved that, but I had to let it go.
Fixing an uphill slope at the first fret
I'm leveling this fretboard and I started at the first fret because it's high. It goes uphill like a ski slope. I've already gotten on there with a scraper and a file. I'm trying to take the wood off, but the pearl is fighting me. It took wood away, but not the abalone. It's hard. I can't guarantee that I'll get what I want, but here that? That is a sharp blade coming across, catching on the edge of this abalone. This actually would rock here.
Instead of fighting this and accidentally taking off way more wood than I want to, trying to get that pearl, I'm going to take it out because it's doing this. It's creating a bow that shouldn't be there. I can get a 5 thousandths Feeler Gauge underneath that. If I lower this part, this'll be flat. The pearl is really what needs to be level and I think by the time I get through it's going to be too thin. Rather than waste time, I'm going to remove the pearl now and then make a new piece later. I did try to heat this thing out with a 100 watt sodering iron and I cut out a little piece of cloth and got it wet, and put this piece of aluminum foil on it and I heated it a bunch. But there's no place to pry this out. It's such a perfect inlay and it wouldn't budge whatever glue it is. Before taking it out, the other thing I did is I took a piece of Mylar pickguard material [on-screen text reads: Acoustic Guitar Pickguard - stewmac.com] and traced this shape out, and that'll be my template to lay on the pearl to cut to.
Removing the pearl inlay
As long as I have a template, I can remove that pearl and make one later. I'm going to start by drilling a hole in that pearl and then drilling another hole into that to make it bigger so I have a place to enter with a little Dremel tool bit. Yeah, that feels a little strange to drill into that. I'm going to drill a couple of different drill bit sizes. Just go up by degree. I just feel safer that way. Ending up with a pretty big bit. I'm hoping to have a buddy with me when I actually start routing this because of the dust. We'll see if one drops by.
I've got a spiral down cutter here about 330 seconds of an inch [on-screen text reads: Dremel 4000 Rotary Tool Outfit - stewmac.com].
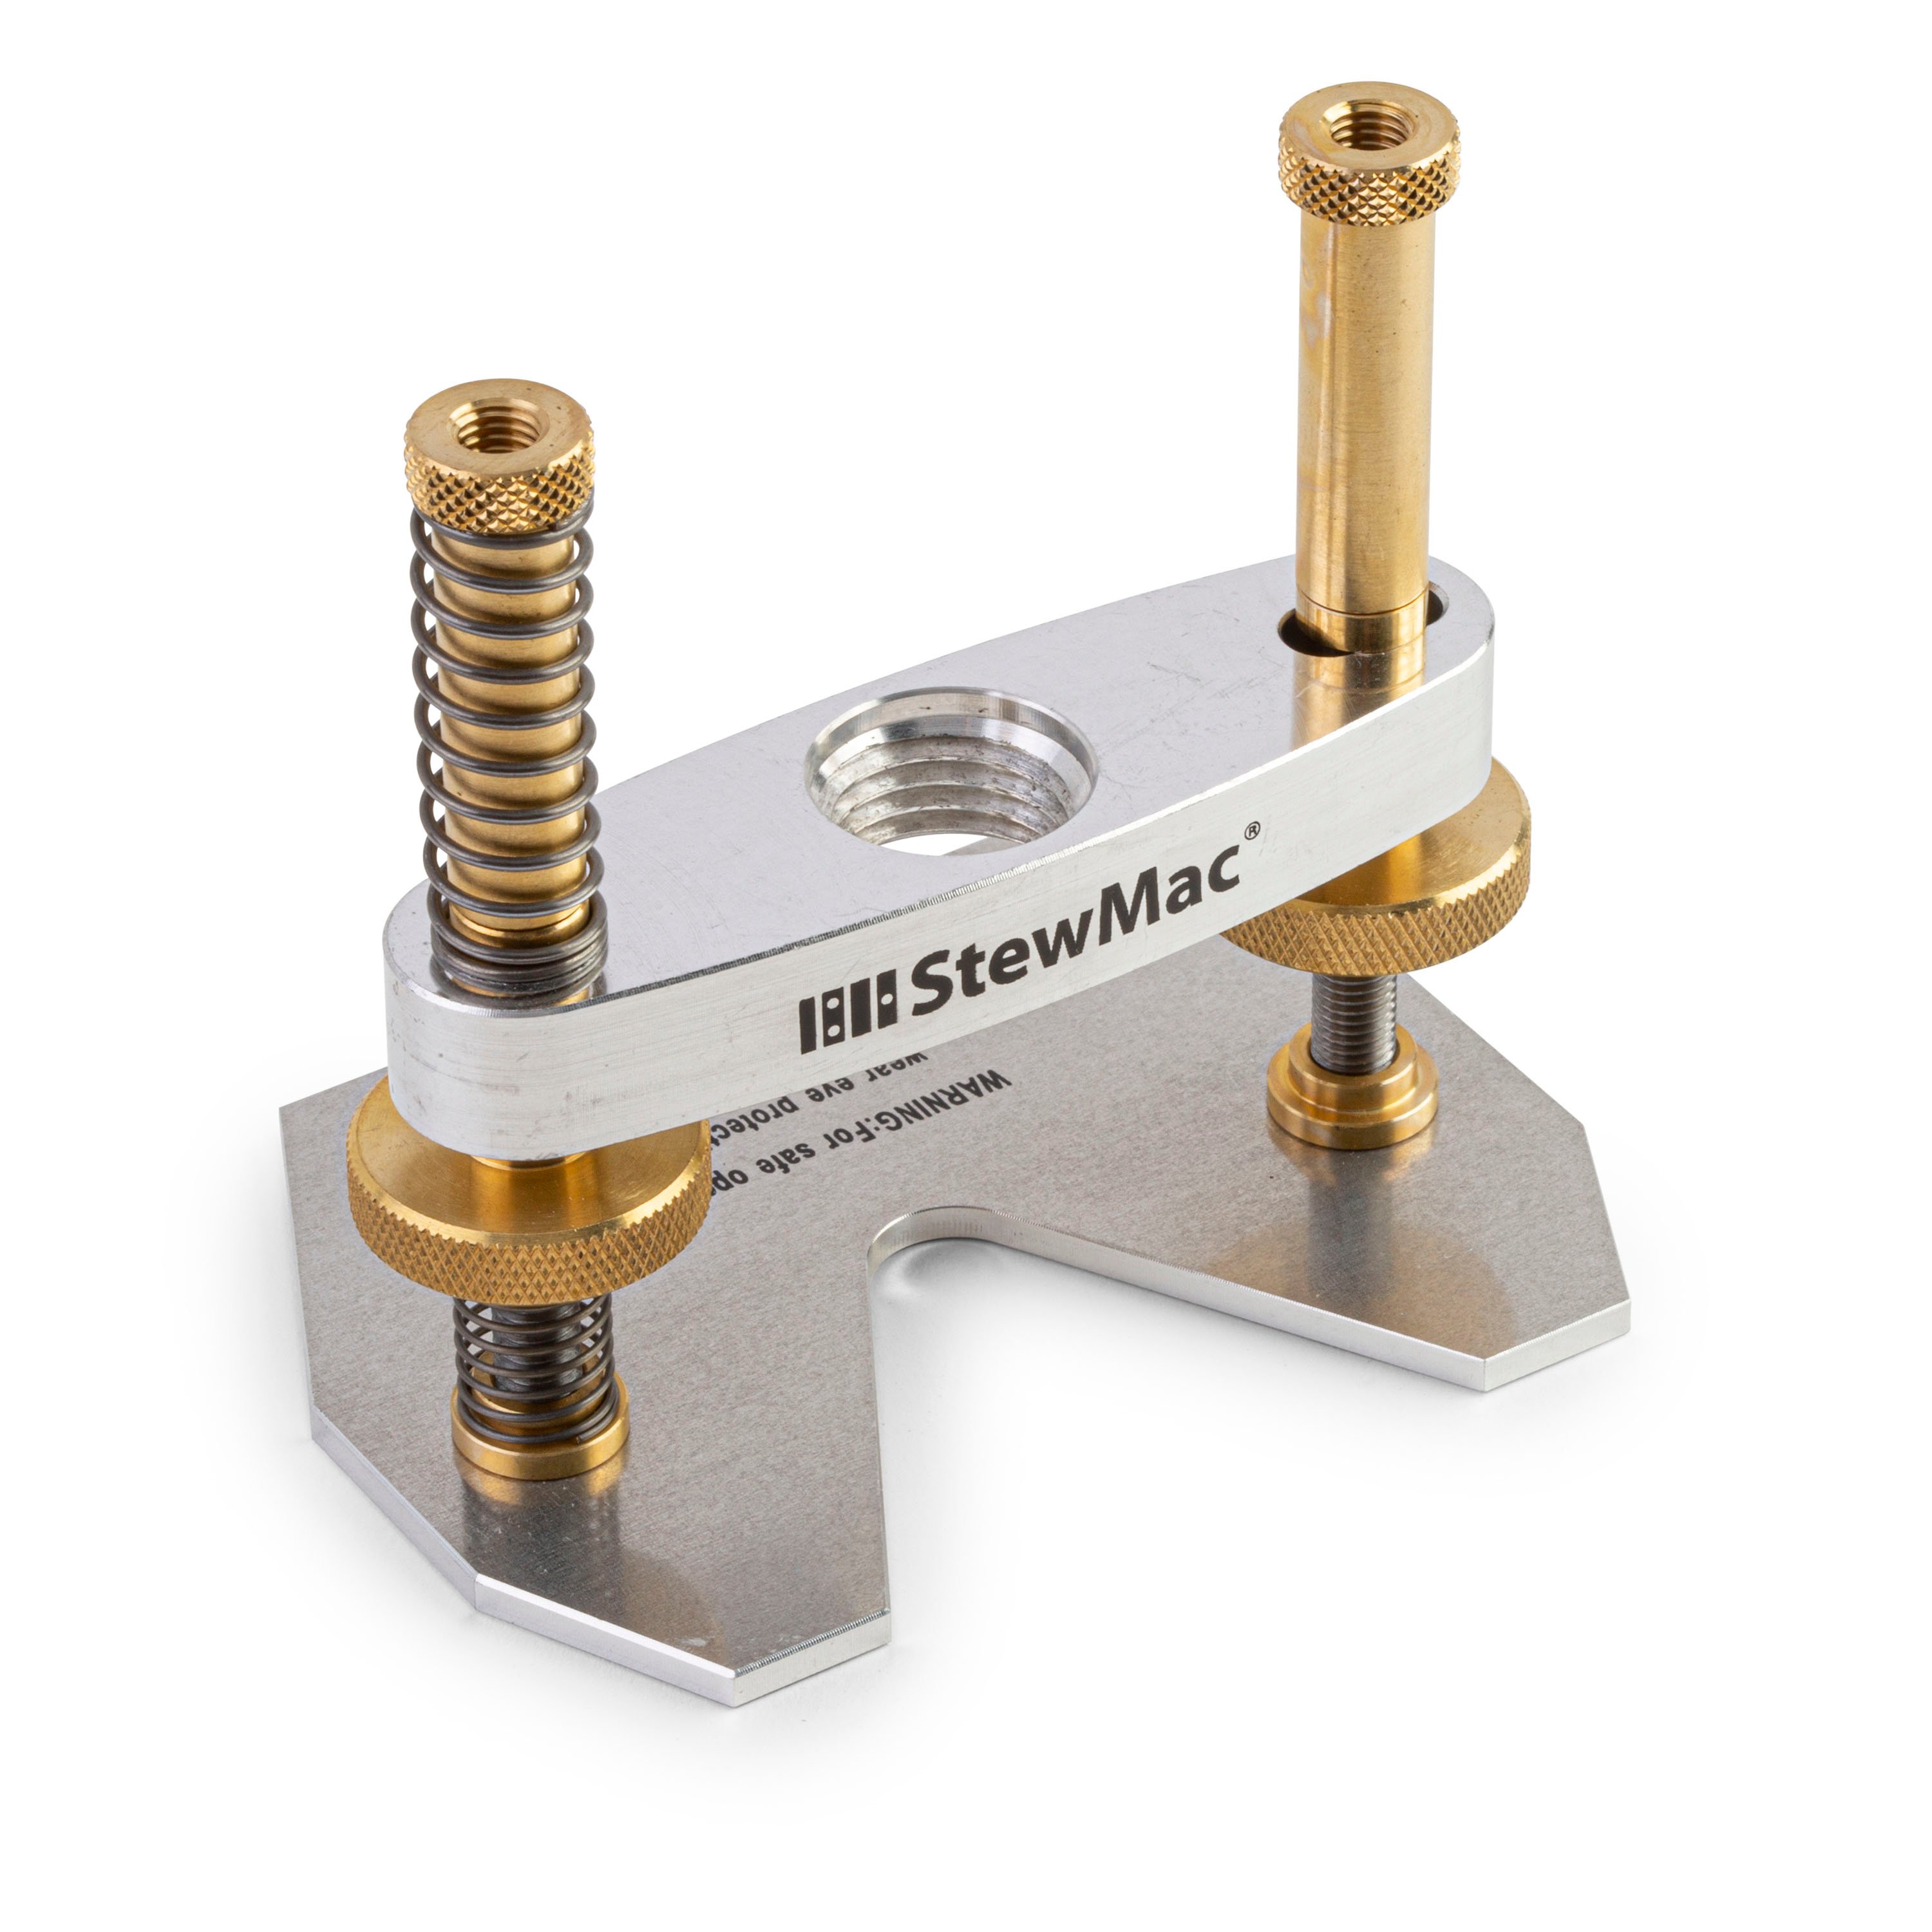
[Dan routes out the pearl inlay with a StewMac Precision Router Base]
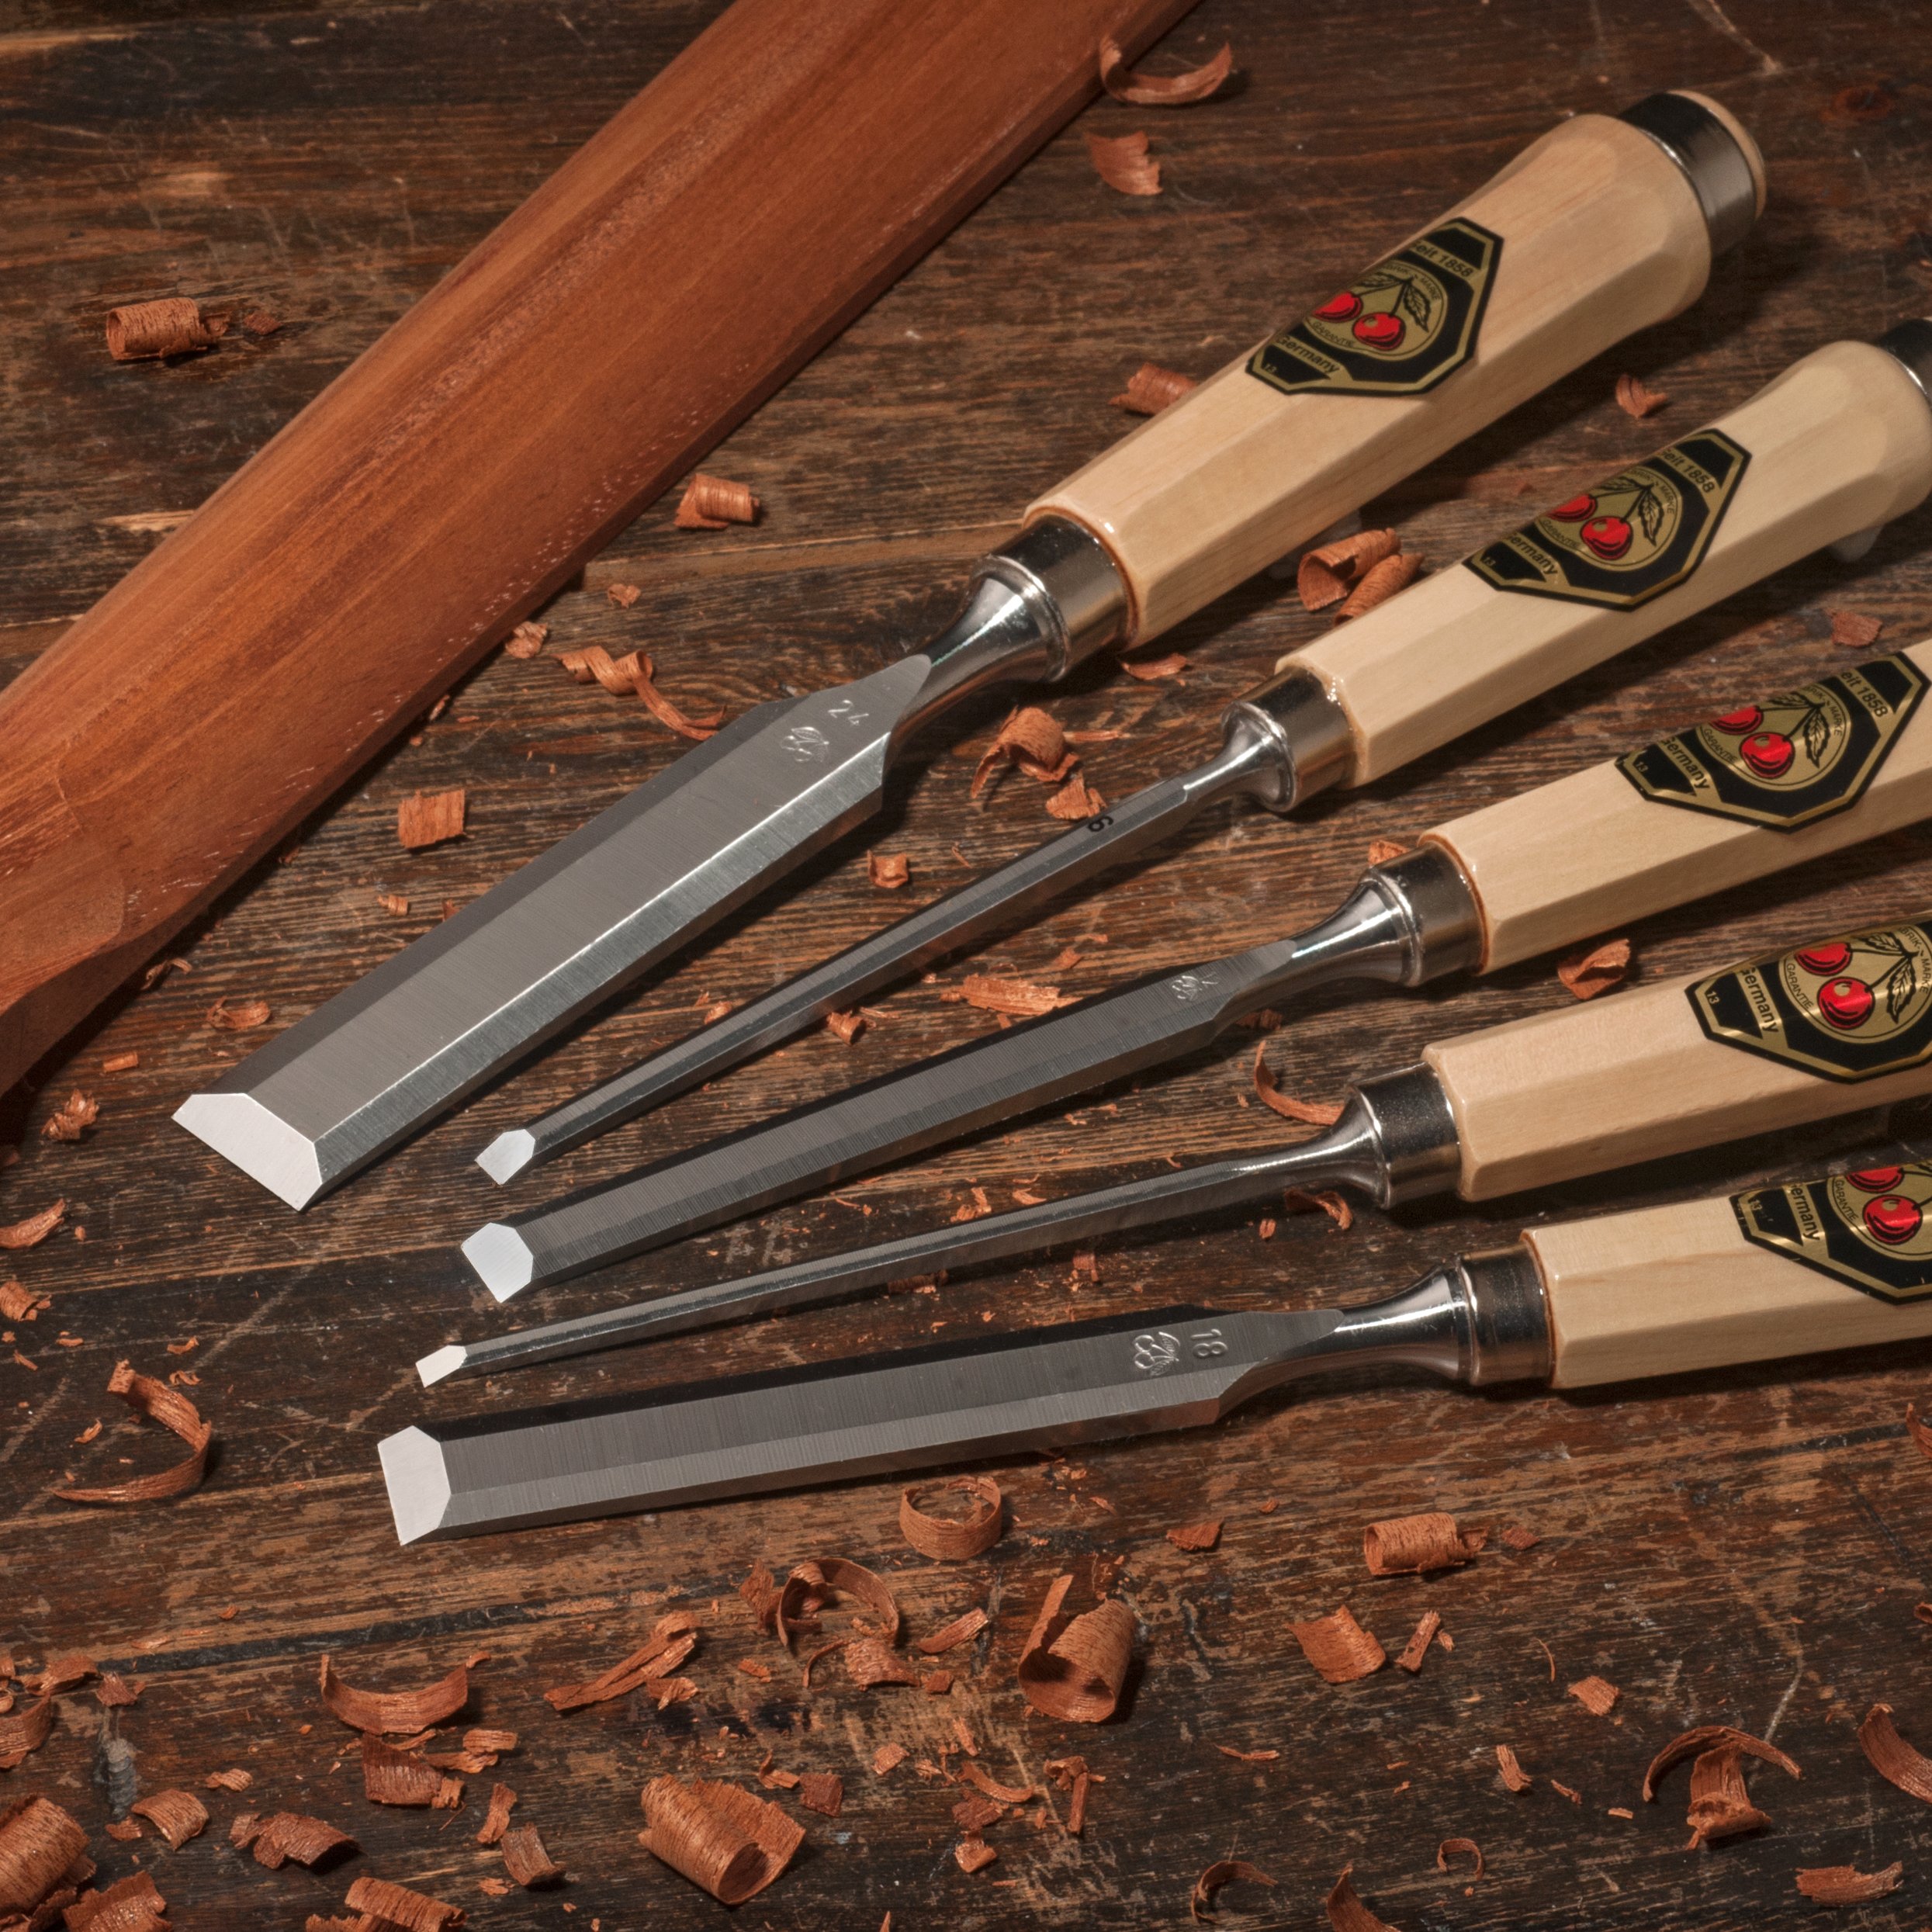
We'll see how sharp it is. I have a little ring of pearl around the outside. I think it'll chip free. I'm not positive of what glue was used. But here's one piece. Then I think I can start getting them. I think I'll get a heavier hammer [Dan places the Two Cherries Wood Chisel on the pearl inlay and taps it with a hammer]. Way harder than the wood. That's clean. Now I can go ahead and level the board the way I want. It's not going to be a ton of work. I just want to level that wood and then I'll inlay the new pearl to fit the board. It won't be high anymore. Get these smooth so a straight edge will sit on this real nice. That's pretty good. I can put it straight edge on this now. I don't have a one, but here's the two. The two won't go now. Before a five would go.
Cutting and radius-sanding the new pearl inlay
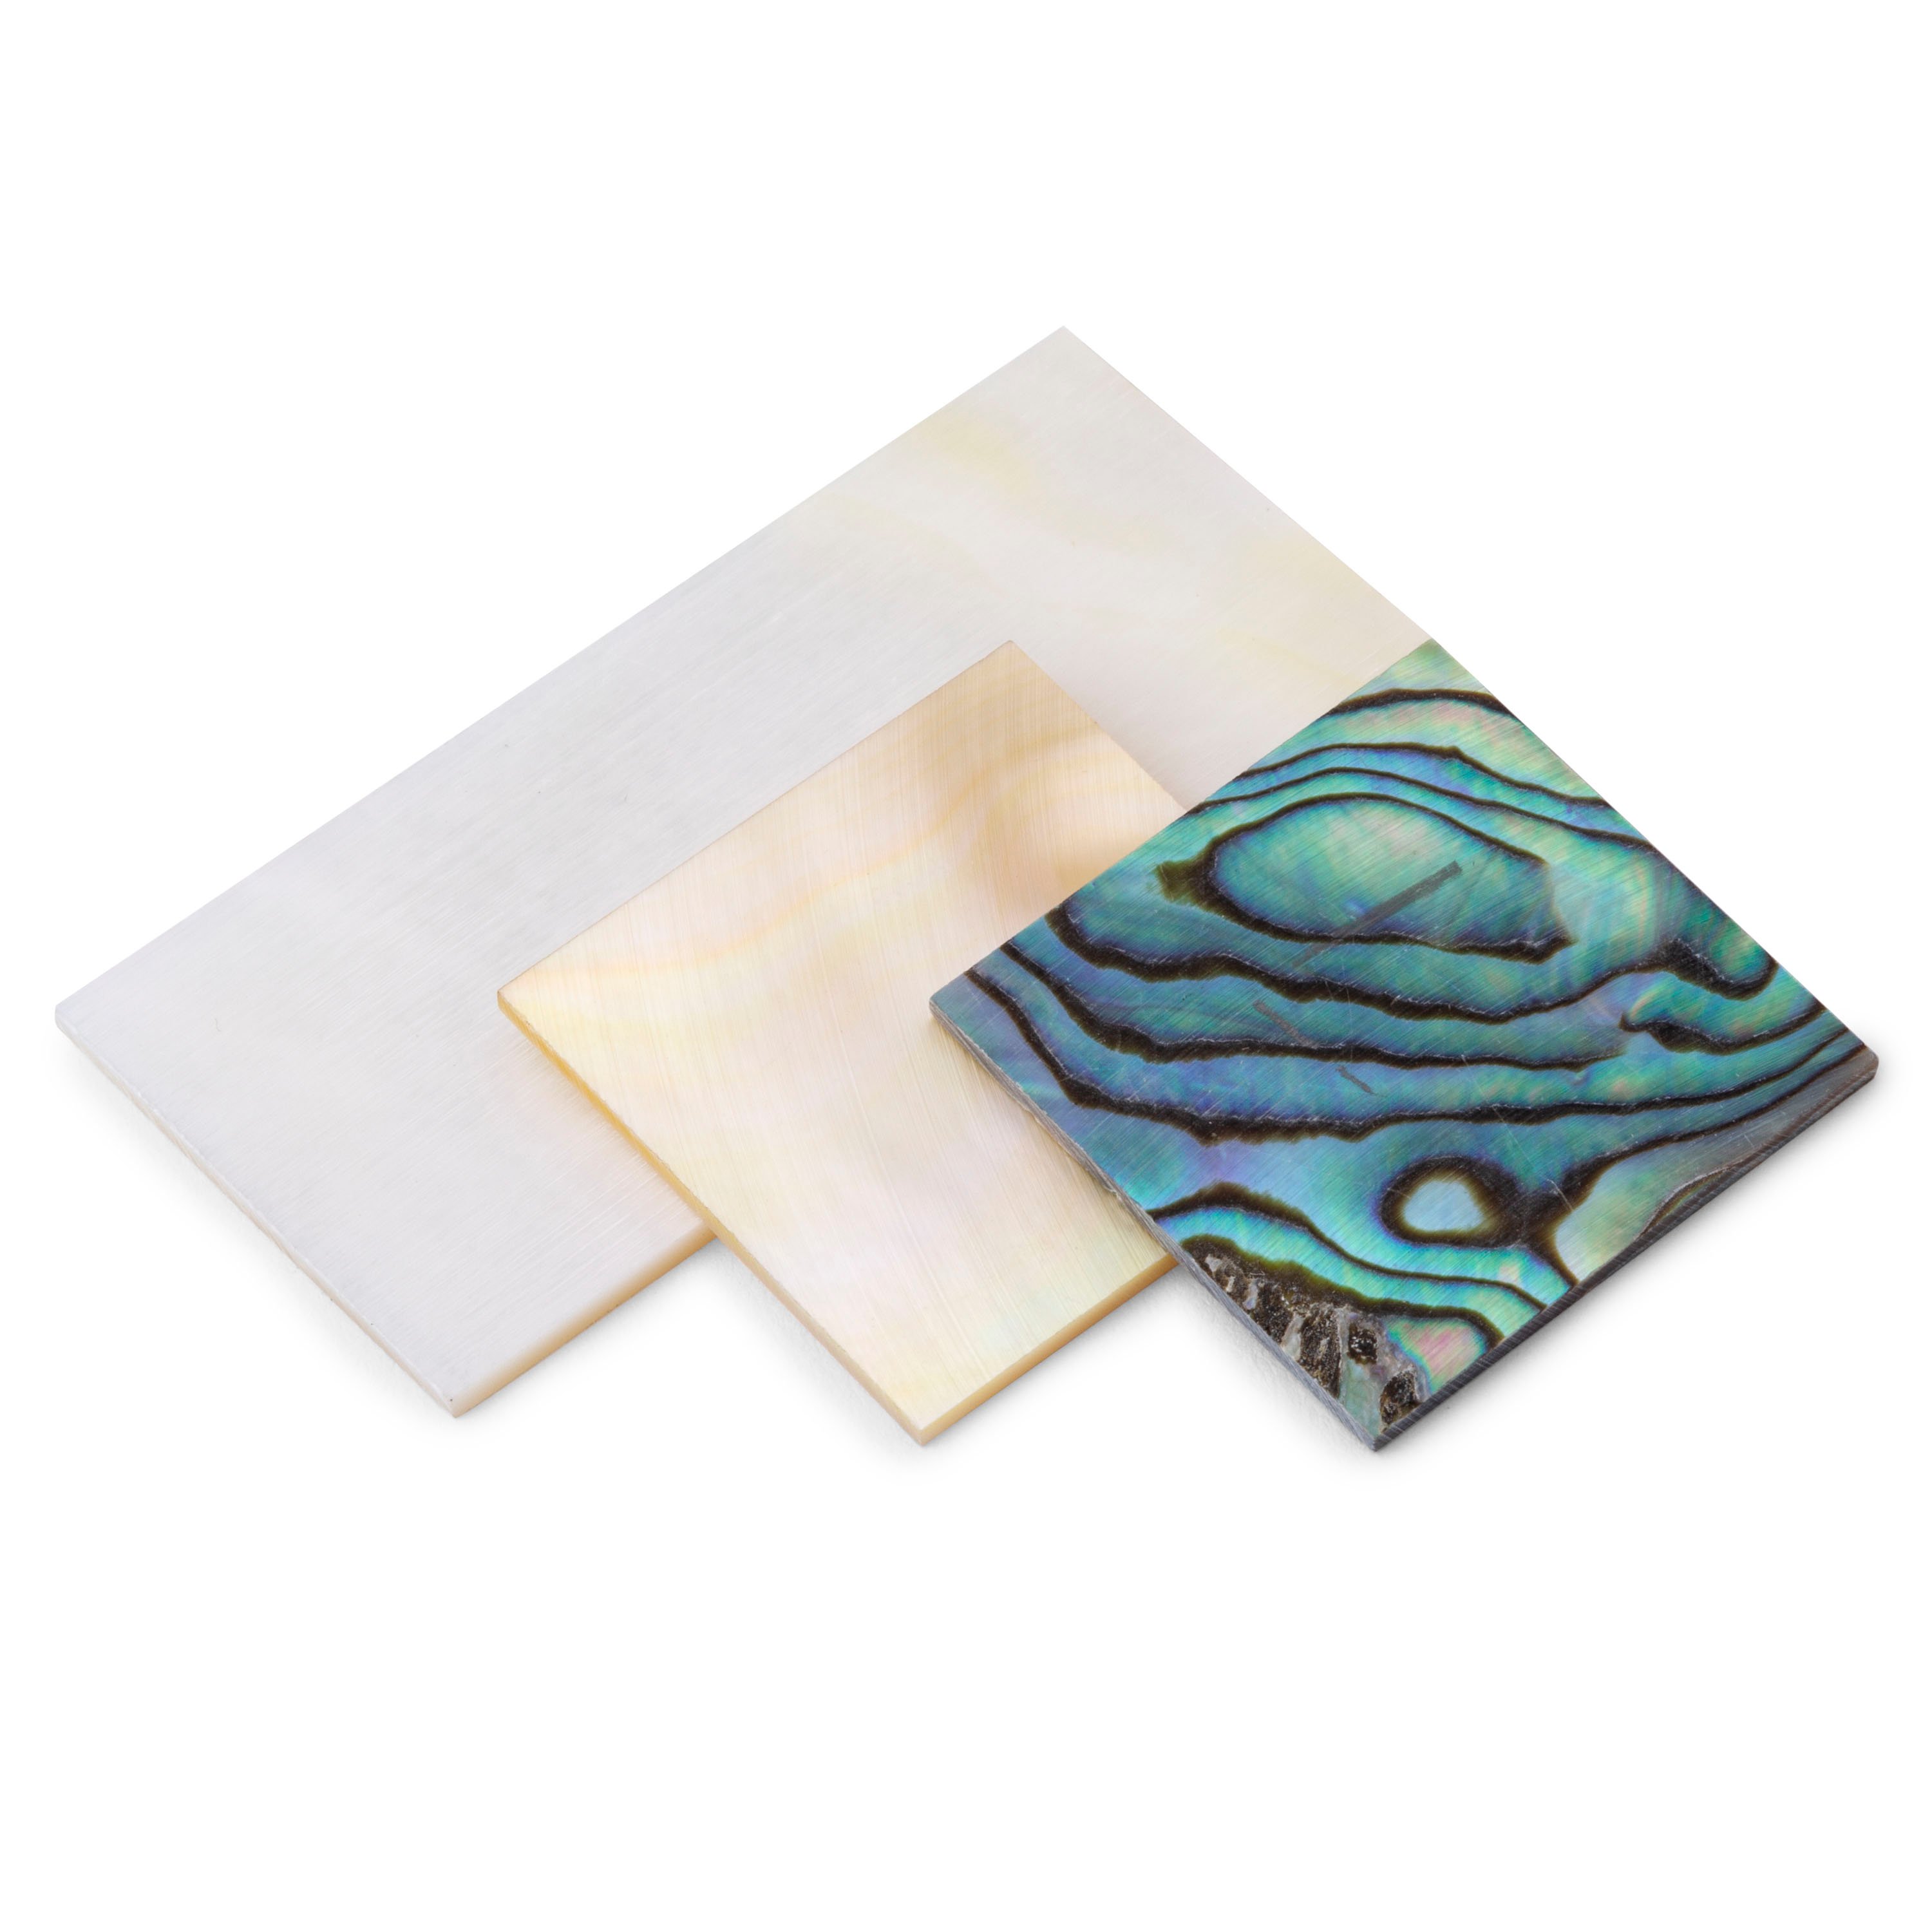
Okay, the board's just about perfect the way I want it, so I need a pearl. I'm tracing that little shape out on this piece of pearl [on-screen text reads: Abalone Inlay Blank - stewmac.com] using my template. That's not too hard. And next I got to figure out how I'm going to cut this out. I'm going to sand this last piece off right down to the lines on the little vertical sander. It's going to be a tight fit. Before I go any farther, I'm going to put a radius on this, just on a little bit of 220 on a 20 inch Radius Block. I want to match the radius so it won't be popping up. See how it's cutting on the outside? Just a little miniature radius.
I'll switch through a few papers and when I'm done I'll have a radius and it'll be nice and polished. That's pretty good. There's a point when you have to quit cutting hairs and put the darn thing in there, but that's going to be beautiful. I'm going to go soak this in some water and let the wood release from the pearl.
Gluing in the new inlay
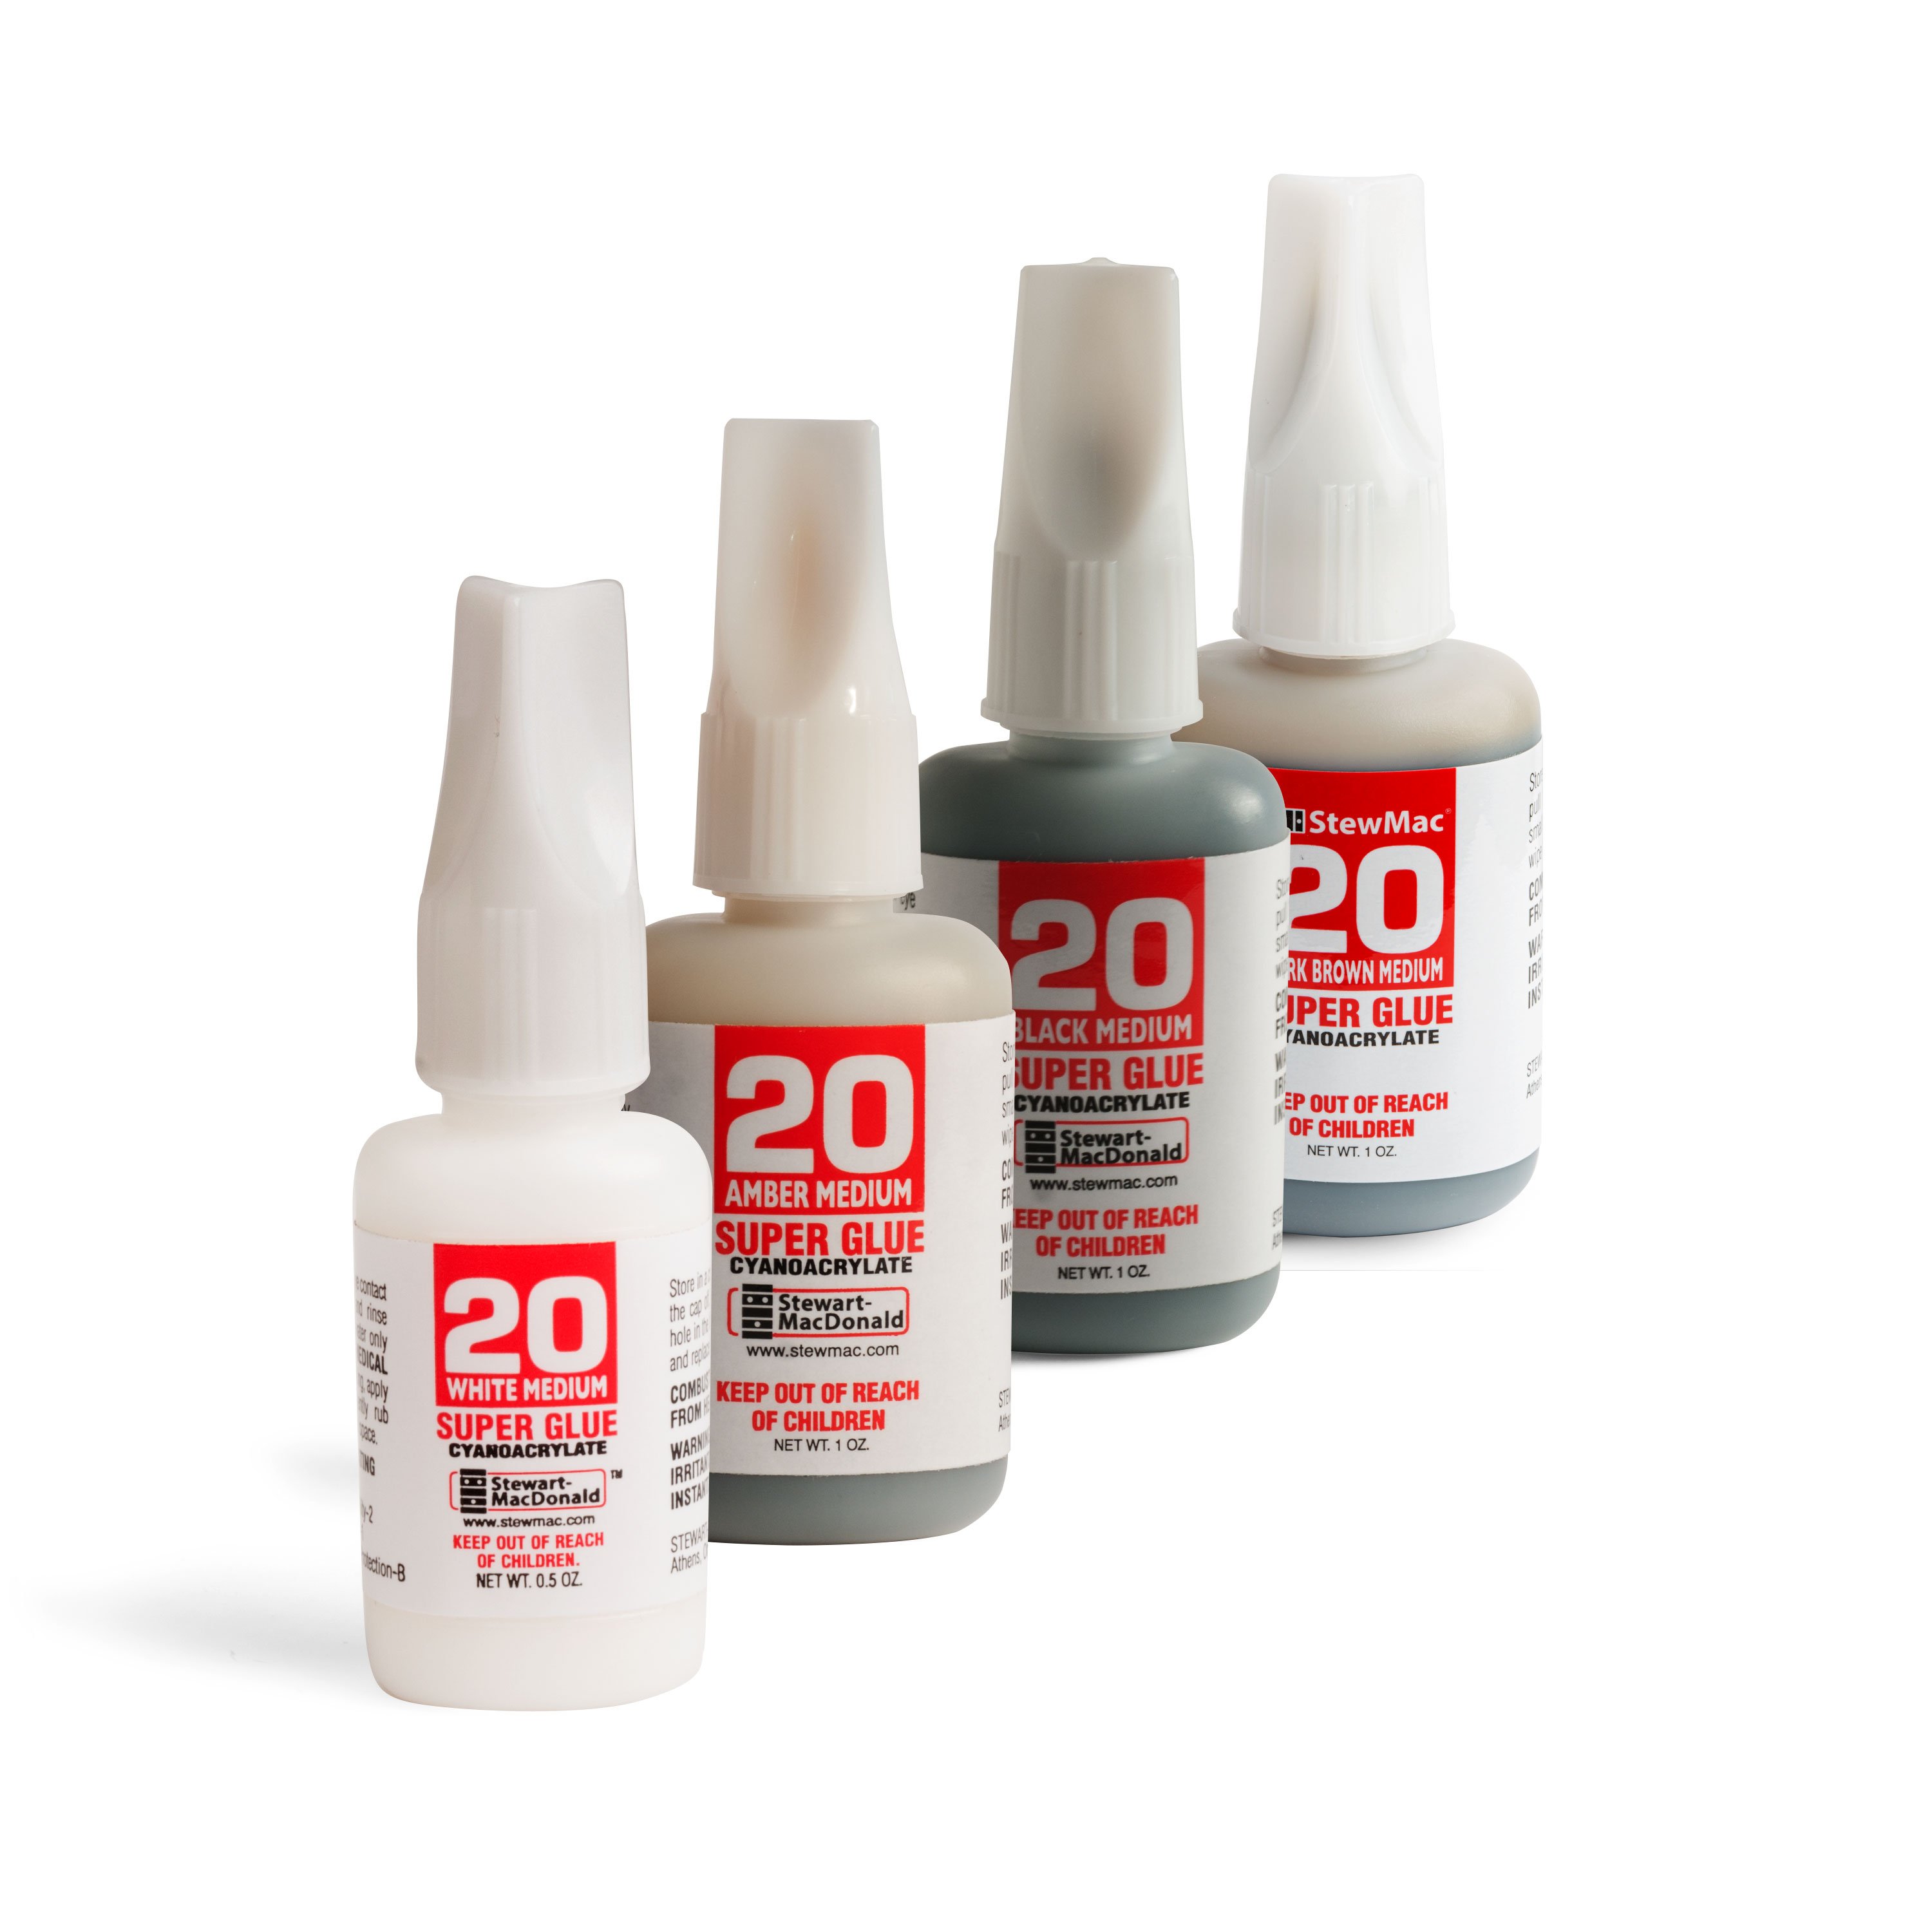
I took a little slice of spruce off of a scrap from soundboards and cut a shaving for the back corner to keep that pearl up on that end. I've tried a couple of pieces. I want just the right amount so that when I press this pearl in that corner won't sink down too deep. When I want to test it, I remove it on tape. That was a good fit, I'm ready to put it in. Even though I'm going to do some final sanding, I'm going to wax off around the board in that area to make cleanup easier and then I don't have to sweat the squeeze out. Makes the perfect filler for my little mistakes, not Martins. I don't know how the heck they get them in this tight [on-screen text reads: StewMac Tinted Super Glue - stewmac.com]
This is nice and black. I want a little to squeeze out if it does. If it doesn't want to, that's okay too. Obviously I use black super glue because this ebony's black. I'm just laying in there gently and just press it down in. Well, I got to say that's just perfectly leveled and smooth. I'm really happy with that. And once it's dry I'll polish up this board and this pearl will shine right along with the rest of them.


