Installing tuner knobs
V-0111
Dan Erlewine replaces rotted old tuner knobs, and shows a neat trick with a drill press!
Video Transcription
Dan Erlewine: I got a package from my friend Spencer Borne, down in New Orleans. He's got some rotten tuners on two of his old guitars and I'm going to replace the buttons for him. I've seen it a lot. I've got drawers full of them. The plastic shrivels up and cracks off onto the floor when you go to tune it.
Here's how you can take care of that problem. These are tuners off a super lap steel from the fifties. They're Kluson Deluxe and they're going to get the white buttons. These are from an old parlor guitar and they're going to get ivoroid buttons. The buttons are different and so are the shanks on the tuners. The white buttons have a rectangular hole in them and the ivoroid buttons have a round hole. Neither hole fits the way it is right now. So the first thing we're going to do is get our nippers out and remove the rest of the buttons.
Tons and tons of these turn brown shrivel up and they fall off. On both sets the knobs were crumbling, so now I just want them all chopped off and replace so he can go on and make his music. Each of these sets has one bent tuner and I'm going to probably fix that while I'm at it. This is Naptha, I'm just cleaning off any grease or residue that might be there. These came off pretty clean. If I just heat that and try to shove it into this tuner, a lot of times the tuner melts, so what I want to do is drill a hole that's 103 thousandths in the center of that rectangle. That's not necessarily easy to do. If you drill it crooked and it's not 90 degrees, you might as well have a bent tuner because it's going to flop around like a broken arm.
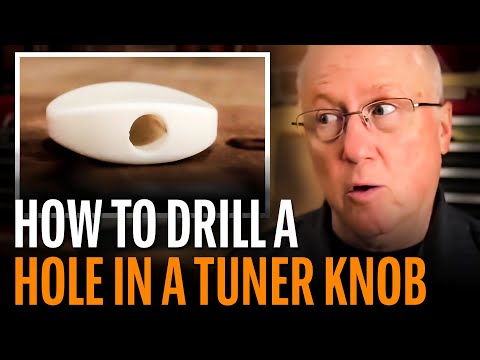
Trick for drilling holes in tuner knobs
To drill the hole, I took a brass hobby tube, and heated it up and filled the end with solder to make it solid, then I filed it square. Now I can take that, put it in the drill press and I'm square to the work and I can use it hundreds and hundreds of times. I'll swap my fixture out for our Number 37 Drill Bit, which measures 104 thousandths or just a thousandths larger than the center of the spear. Here's a little depth stop so I don't drill all the way through the button. I'm going nice and slow and clean, not in a hurry. I'm going right in the center of that rectangle and I'm going to do this six times and probably make an extra one in case I screw up.
That's dead on center. That's perfect. Now for my eye board knobs, all I'm using is a drill bit that just happens to be the perfect fit to hold it, to get into the vice and get on center just like we did the other set of tuners, but I had to make that brass holder for that one. This just works out good because I'm dealing with a round hole. What I want to do is drill the hole out larger.
I drill and release, drill and release. Those are nice chips. When you see them coming out like that, you know have a sharp bit and you're doing it right. By releasing it three or four times as you drill the hole, it doesn't heat up and you get a cleaner hole. Now I have an enlarged hole there that'll slide right onto the shank and the spear will cut its way into that ivoroid plastic. That's that. Our drilling is done.
Straighten tuner posts
To straighten the shanks that are bent. It's hard to get in there with one pair of pliers and grab it and still have room to straighten it and you can see where it's bent. When a post is crooked, you can only straighten it as much as you feel comfortable doing. So I need to bend it down this way, but it's kind of weak there and if you just try to bend that shaft, you're going to break it.
So I have this little tool that we made. I made this some years ago out of aluminum and it worked, but mine wore out and so my friends Don and Al that work together with me for StewMac made this out of steel and it works much better. Now I'm going to slide into the groove, bring it up, tighten these down, get a pair of pliers and really tighten that hard and then I'm going to slide this steel tubing over that. Now I can grab in there and bend this and I'm holding onto the shank. Otherwise, I just bend the whole tuner and break it. It's not perfect, but it's good. It still has a little curve, but it turns. Instead of this, I had kind of like this. Now it's a lot better than this. Now that these are straight, I can go ahead and put the knobs on.
Install the tuner knobs
I know people that have just heat these shafts up and stick them in there and it sort of works, but I've blown that a lot of times. So I used my nut and saddle making vice and clamped right on the end and squeezed them on using heat. You can see the loop on this iron has been cut. There's no contact, so that won't get hot until either I put them together or touch a part with them and complete the circuit. This is the bent one, the worst bent one. There's a couple of bent ones. I'm just heating enough to get it started. That aluminum puts pressure on the end of the shaft.
Once the heat gets through that part, you can tell it all of a sudden releases and just starts going right on. You can feel it good when it's going on and you'll smell it. That was the worst one, and it's pretty good. It looks real simple. It's not very hard to do this, but you have to have the right stuff. I've done it all the different ways. This is the neatest and the cleanest and the least likely to hurt the tuners.

