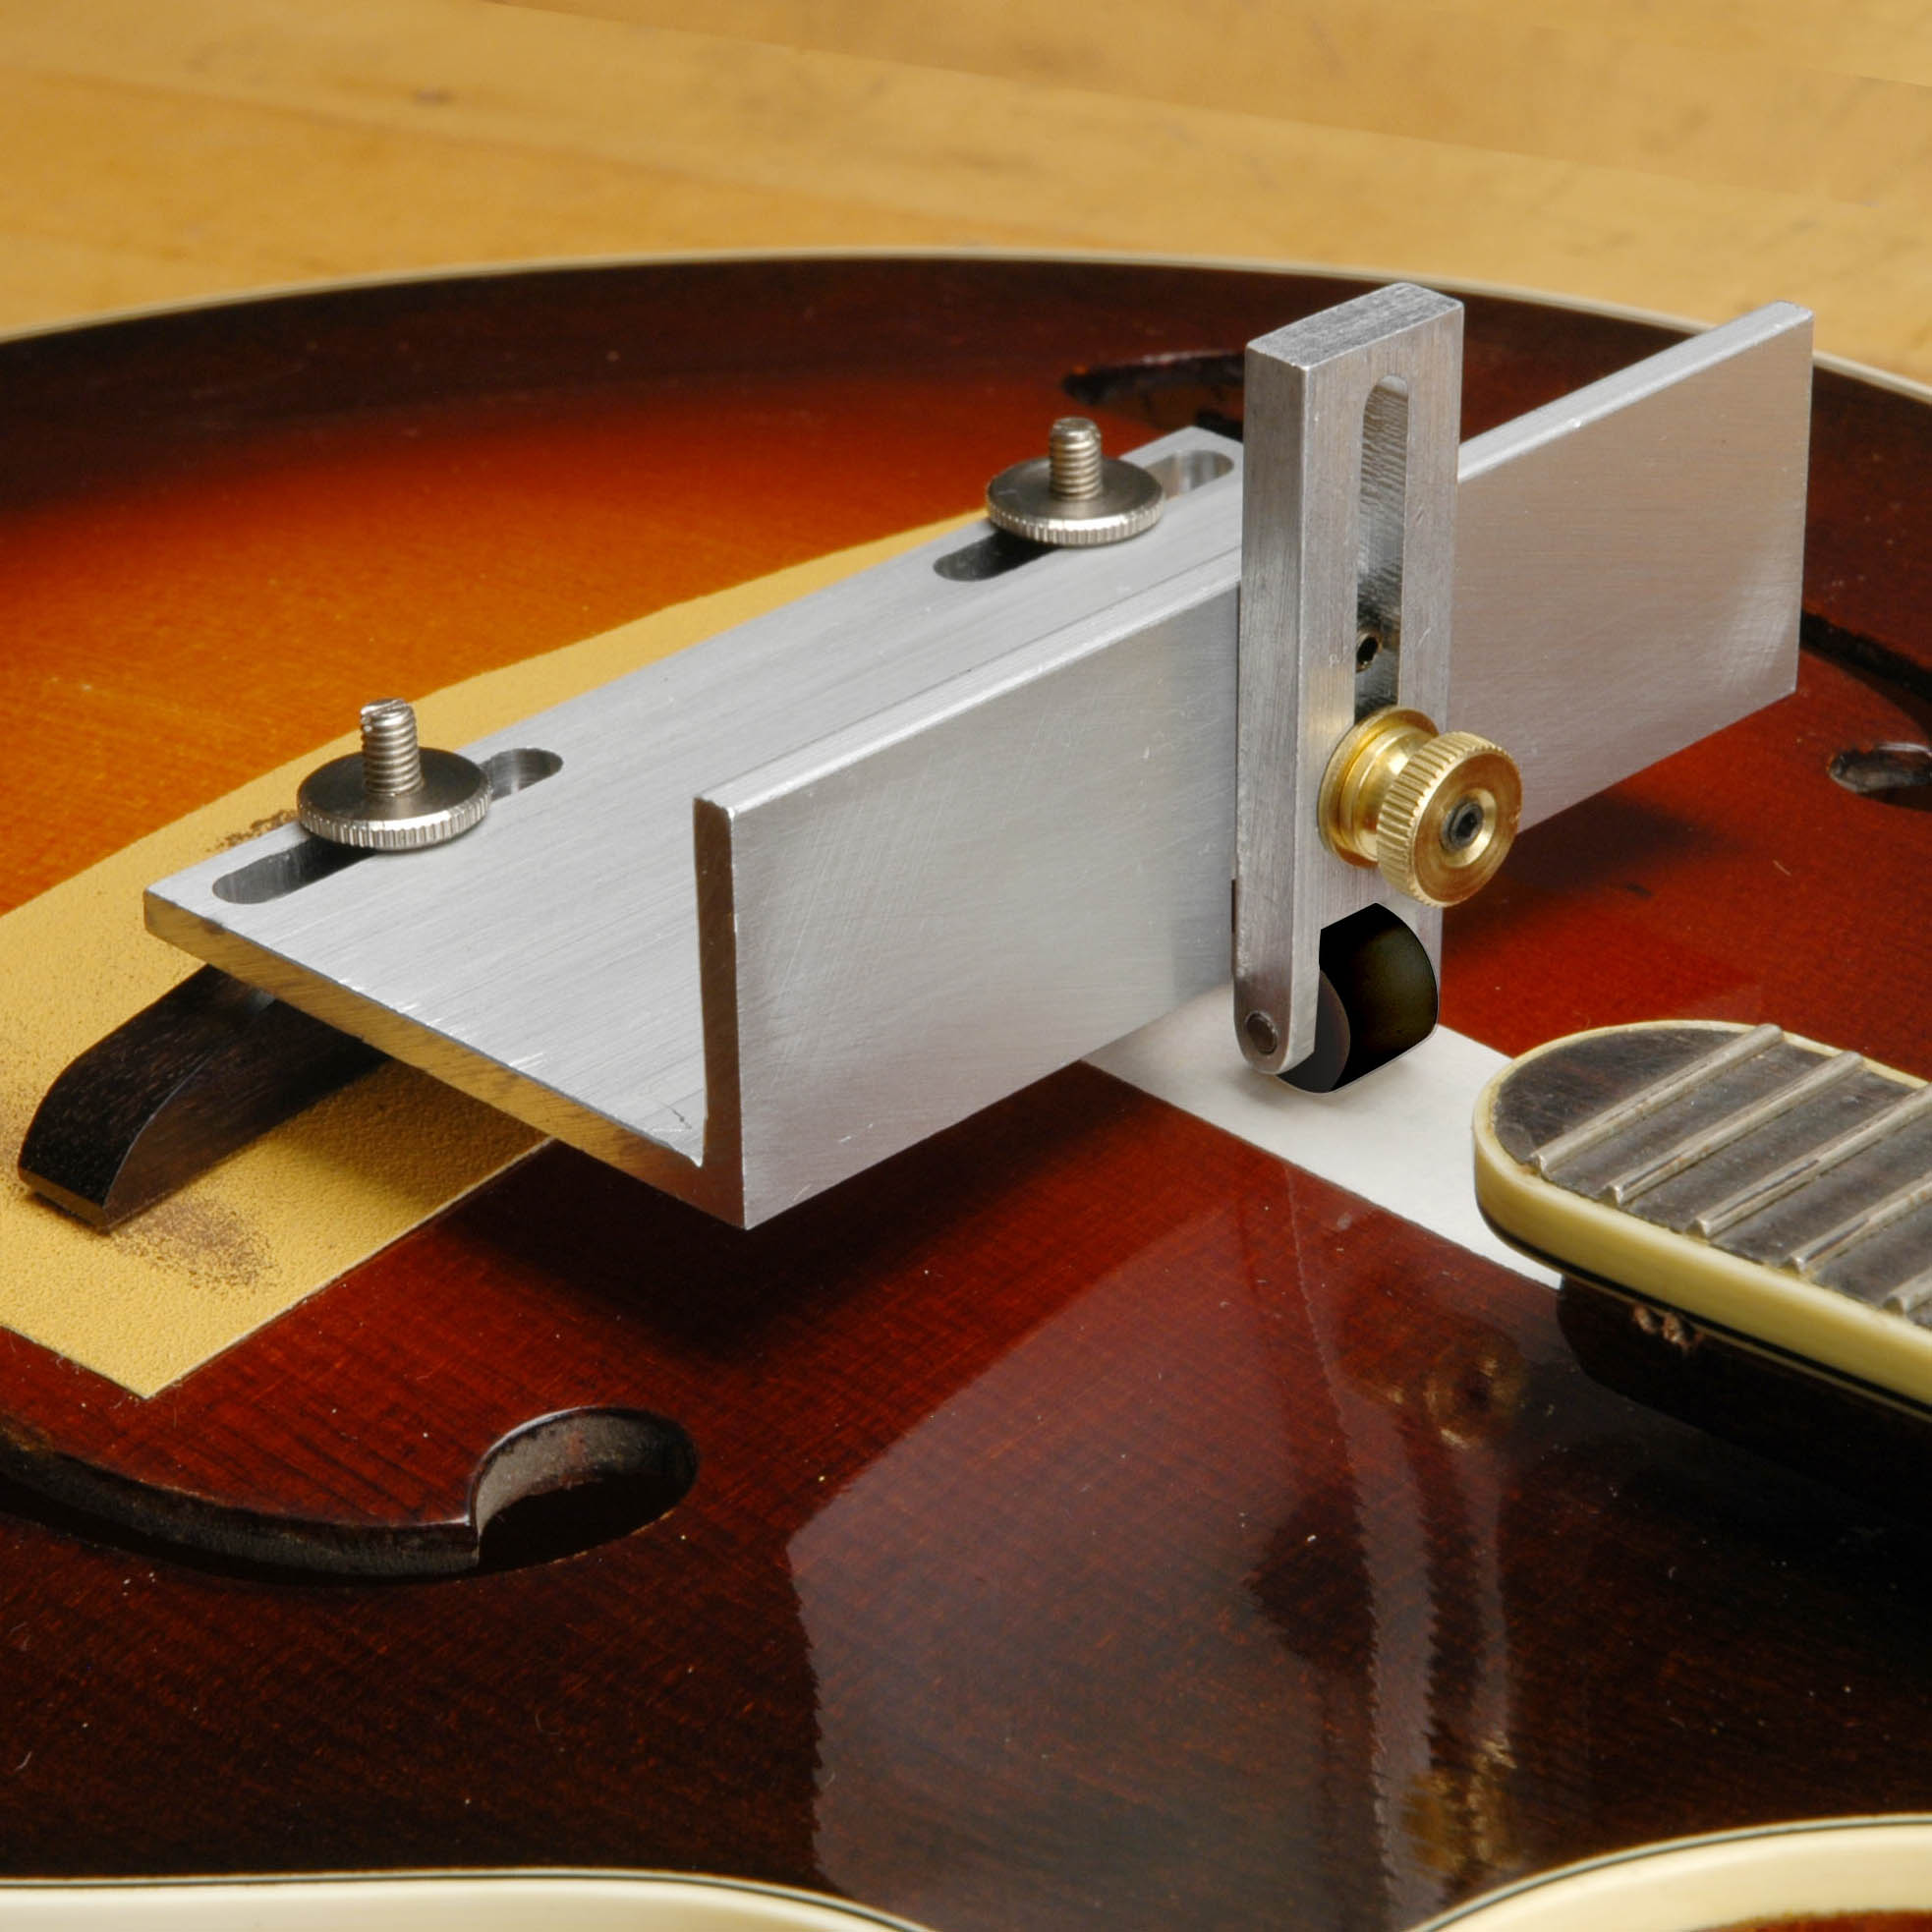
Archtop Bridge Fitting Jig
V-5046
Dan Erlewine gets a perfect fit on a Washburn archtop.
Video Transcription
Dan Erlewine: I'm putting a new bridge on this Washburn archtop. This particular bridge has a pickup built into it. With an archtop bridge, you have to fit the bridge base to the curve of the top. And this one has a lot of clearance underneath it, so I've got a lot of fitting to do. There's a gap under the bridge base of about a 16th of an inch, and this is 60 thousandths binding. That's a 16th of an inch. And this pencil mark is what I'm going to work to. Right off the bat, I'm going to cut some of the wood off the ends on the bandsaw.
Fitting the bridge
Now, I use the Archtop Bridge Fitting Jig for the final shaping, working it back and forth on sandpaper to get a good fit. To protect the finish, I'm using Low Tack Tape and then find my center line to locate the bridge.
Sanding the bridge
Now, I'm going to put sandpaper down. I'm going to start with 80 grit, Stikit Gold Sandpaper, and transfer those pencil marks I laid out to the paper so I always know where I should be sanding. The jig holds the bridge by the post and thumb wheels. I set it on the top on the sandpaper and hold it down tight and then adjust the roller wheel until everything is rigid and I'm ready to sand. Watch how fast I can remove these bandsaw marks.
Before Don McRostie came up with this jig, fitting an archtop bridge was a real hit or miss situation for me. Now, it's easy. I've switched to 120 grit gold paper, spent a couple minutes with that and I'm done. I'll peel all this off and check my fit on the top. That's a perfect fit. Now, I'm going to put the strings on, cut the string notches, wire this baby up.


