How To Use A Guitar Capo
Getting your first capo? We've made this guide to help you choose the right one for you and how to use it properly.
There are many different types of capos out there. They can be used on pretty much any stringed instrument with frets, but we're going to be focusing on guitar capos: how to use them and how they change the sound of the instrument.
A capo is a clamping device that fastens the strings at a chosen position on the fretboard, and shortens the playable length of the string. It's essentially like moving the nut up or down the guitar neck.

By shortening the string length, you raise the pitch of the guitar, which is helpful when a singer is trying to find a comfortable key to sing in.
Raising the pitch of the guitar changes the feel or the timbre of the instrument, which will really brighten the sound. If you move the capo way up the guitar neck, you can make it sound similar to a mandolin or a ukulele.
Each fret you move the capo raises the pitch by a half step. For example, an E Major chord fretted normally becomes a G Major with a capo at the third fret.
But you don't really need to worry about how to transpose when using a capo, though it's helpful. When you play a song and decide to alter the pitch with a capo, you can use the same chord shape and same fingerings. It's just in a different key.
Types of Capos
I've seen people for a long time using a pencil as a capo. You put a pencil over the fretboard and put a rubber band around the back of the neck. If you forgot your capo and really needed one, it's a good go-to trick, but it's not going to work very well. If you're using that all the time, you might as well spend a few dollars to get your own capo.
Strap Capo
Next is a strap capo, which is a piece of rubber with an elastic band that goes around the neck and snaps over the strings. It's an upgrade from the rubber band and pencil, but they're a little bit clumsy. Not my favorite.

Trigger Style Capo
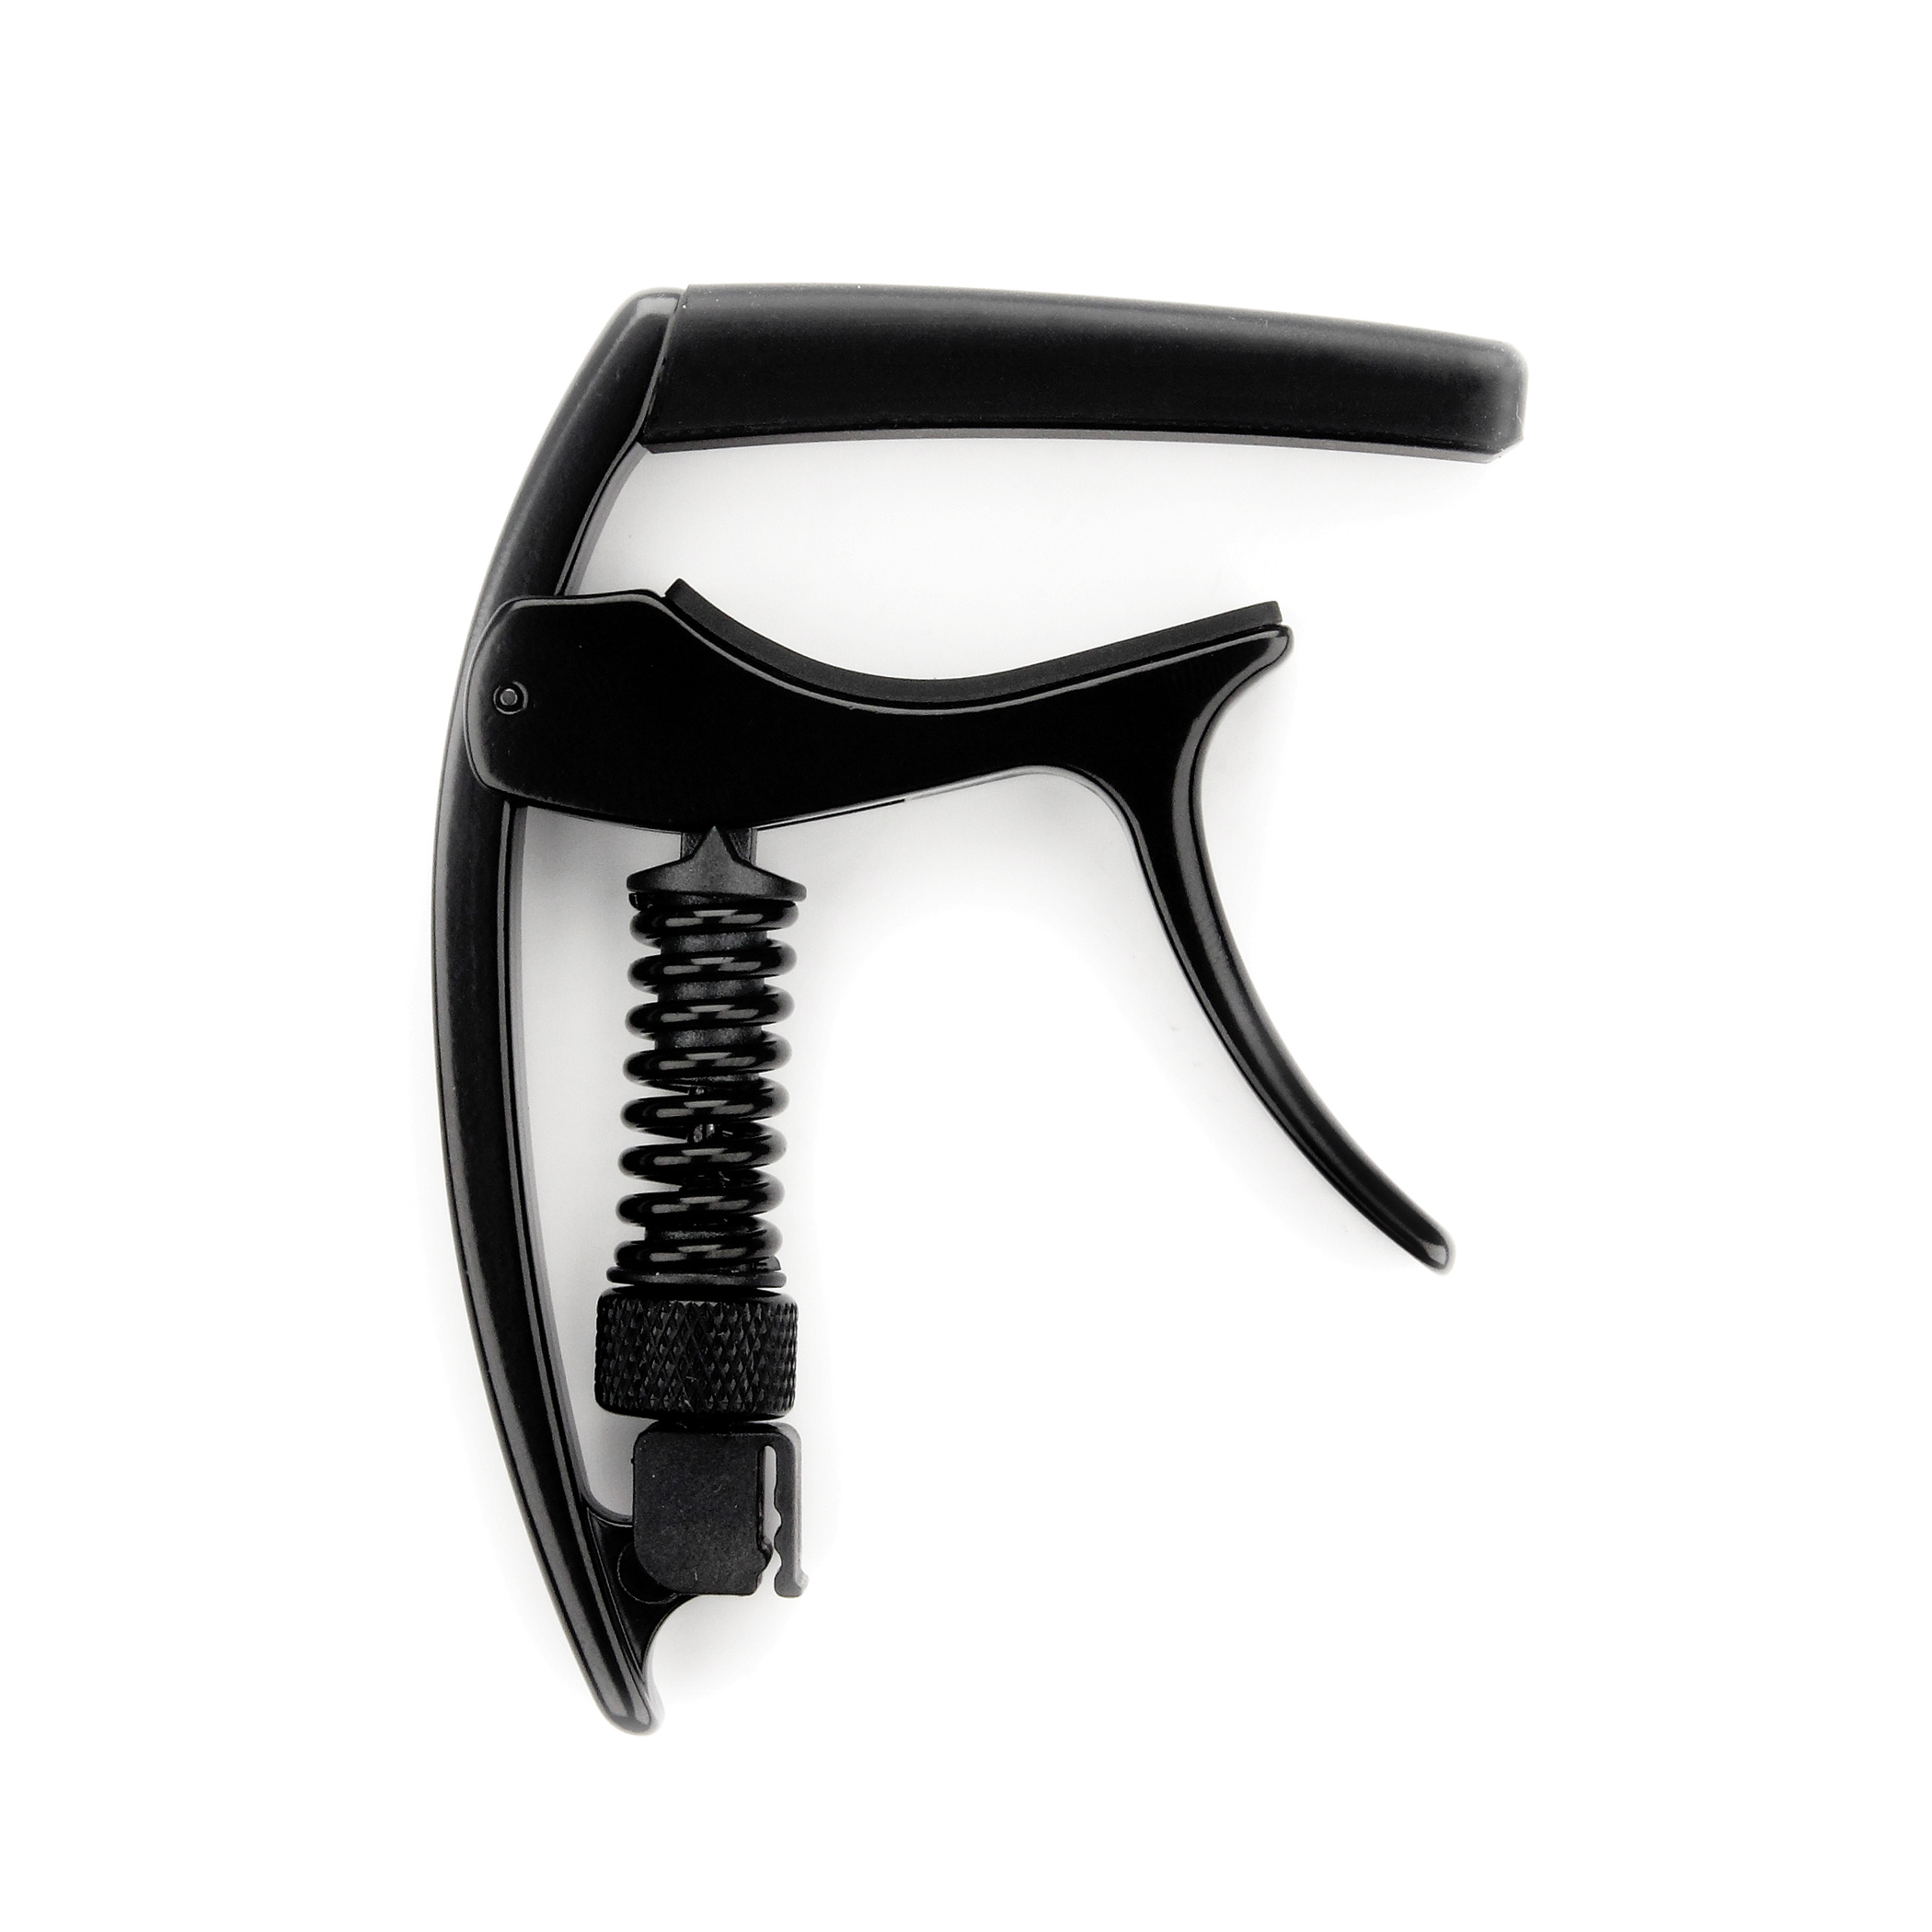
This is a very popular capo. It's a trigger style capo. It's simple and easy to use. You just squeeze the trigger and move it to any fret you want. This one's so quick that you could use it to change keys in the middle of a song.

I've talked to some players who use this type of capo because you can store it by clamping it on the headstock of the guitar. Leaving the capo clamped to the headstock convenient but I don't endorse doing it. Clamping anything to the headstock for any period of time has the potential to dent or damage the finish and it's just not worth the risk.
The drawback to this design is that the tension is not adjustable, so the amount of pressure you use at the first fret is going to be the same as at the seventh. The whole idea is to use as little tension as necessary. Too much pressure can cause tuning issues, it can cause premature fret wear and it can also kink the strings.
Schubb Deluxe
A Schubb Deluxe Capo does have adjustable tension. This allows you to find the perfect amount of pressure at any fret position. Loosen the screw, put the capo in the desired fret position, close the clamp, and tighten the screw until it's snug.

Test for clear ringing notes from each string. You'll have to experiment a little to find the sweet spot. You'll probably have to unclamp and then tighten the screw just a little bit, reclamp, and test again. Repeat this until you get clear ringing notes.

The amount of time it takes to use this capo is a drawback to some, but others think it's worth it because you have the least amount of pressure you need to hold down the strings.
Trigger Style Capo with Adjustable Tension
This one here is a hybrid of sorts. It's a trigger style capo with adjustable tension. Just put the capo next to the fret like you would with any trigger style capo and adjust the nut to find the right tension.

Cradle Capos
Cradle capos have a horseshoe shape that goes around the back of the neck and a bar that latches down the strings. It also has adjustable tension.

Drop Tuning and Spider Capos
Some capos are designed to create alternate tunings, like a drop tuning capo or Spider Capo, which has individual pads for each string.
Capo Etiquette
There's a lot of theories on where to put the capo, but I believe directly behind the fret and perpendicular to the center line is the best placement. Putting it here helps eliminate string buzz on the new first fret.

Be sure to tune the instrument before putting on the capo. This allows you to clearly hear and see any changes the capo may have on the tuner. If you want to be sure you're perfectly in tune, check and retune after the capo is on.
Always remove the capo when you're storing the guitar. Leaving the capo on the guitar can cause unnecessary wear on the strings, the frets, and the capo itself.
Now that you know how to use a capo, you can research and find the capo that's best for your playing style and just have fun experimenting with the new sounds and tunings you're going to get from using one.

