StewMac Plunge Router Base Instructions
Operation instructions
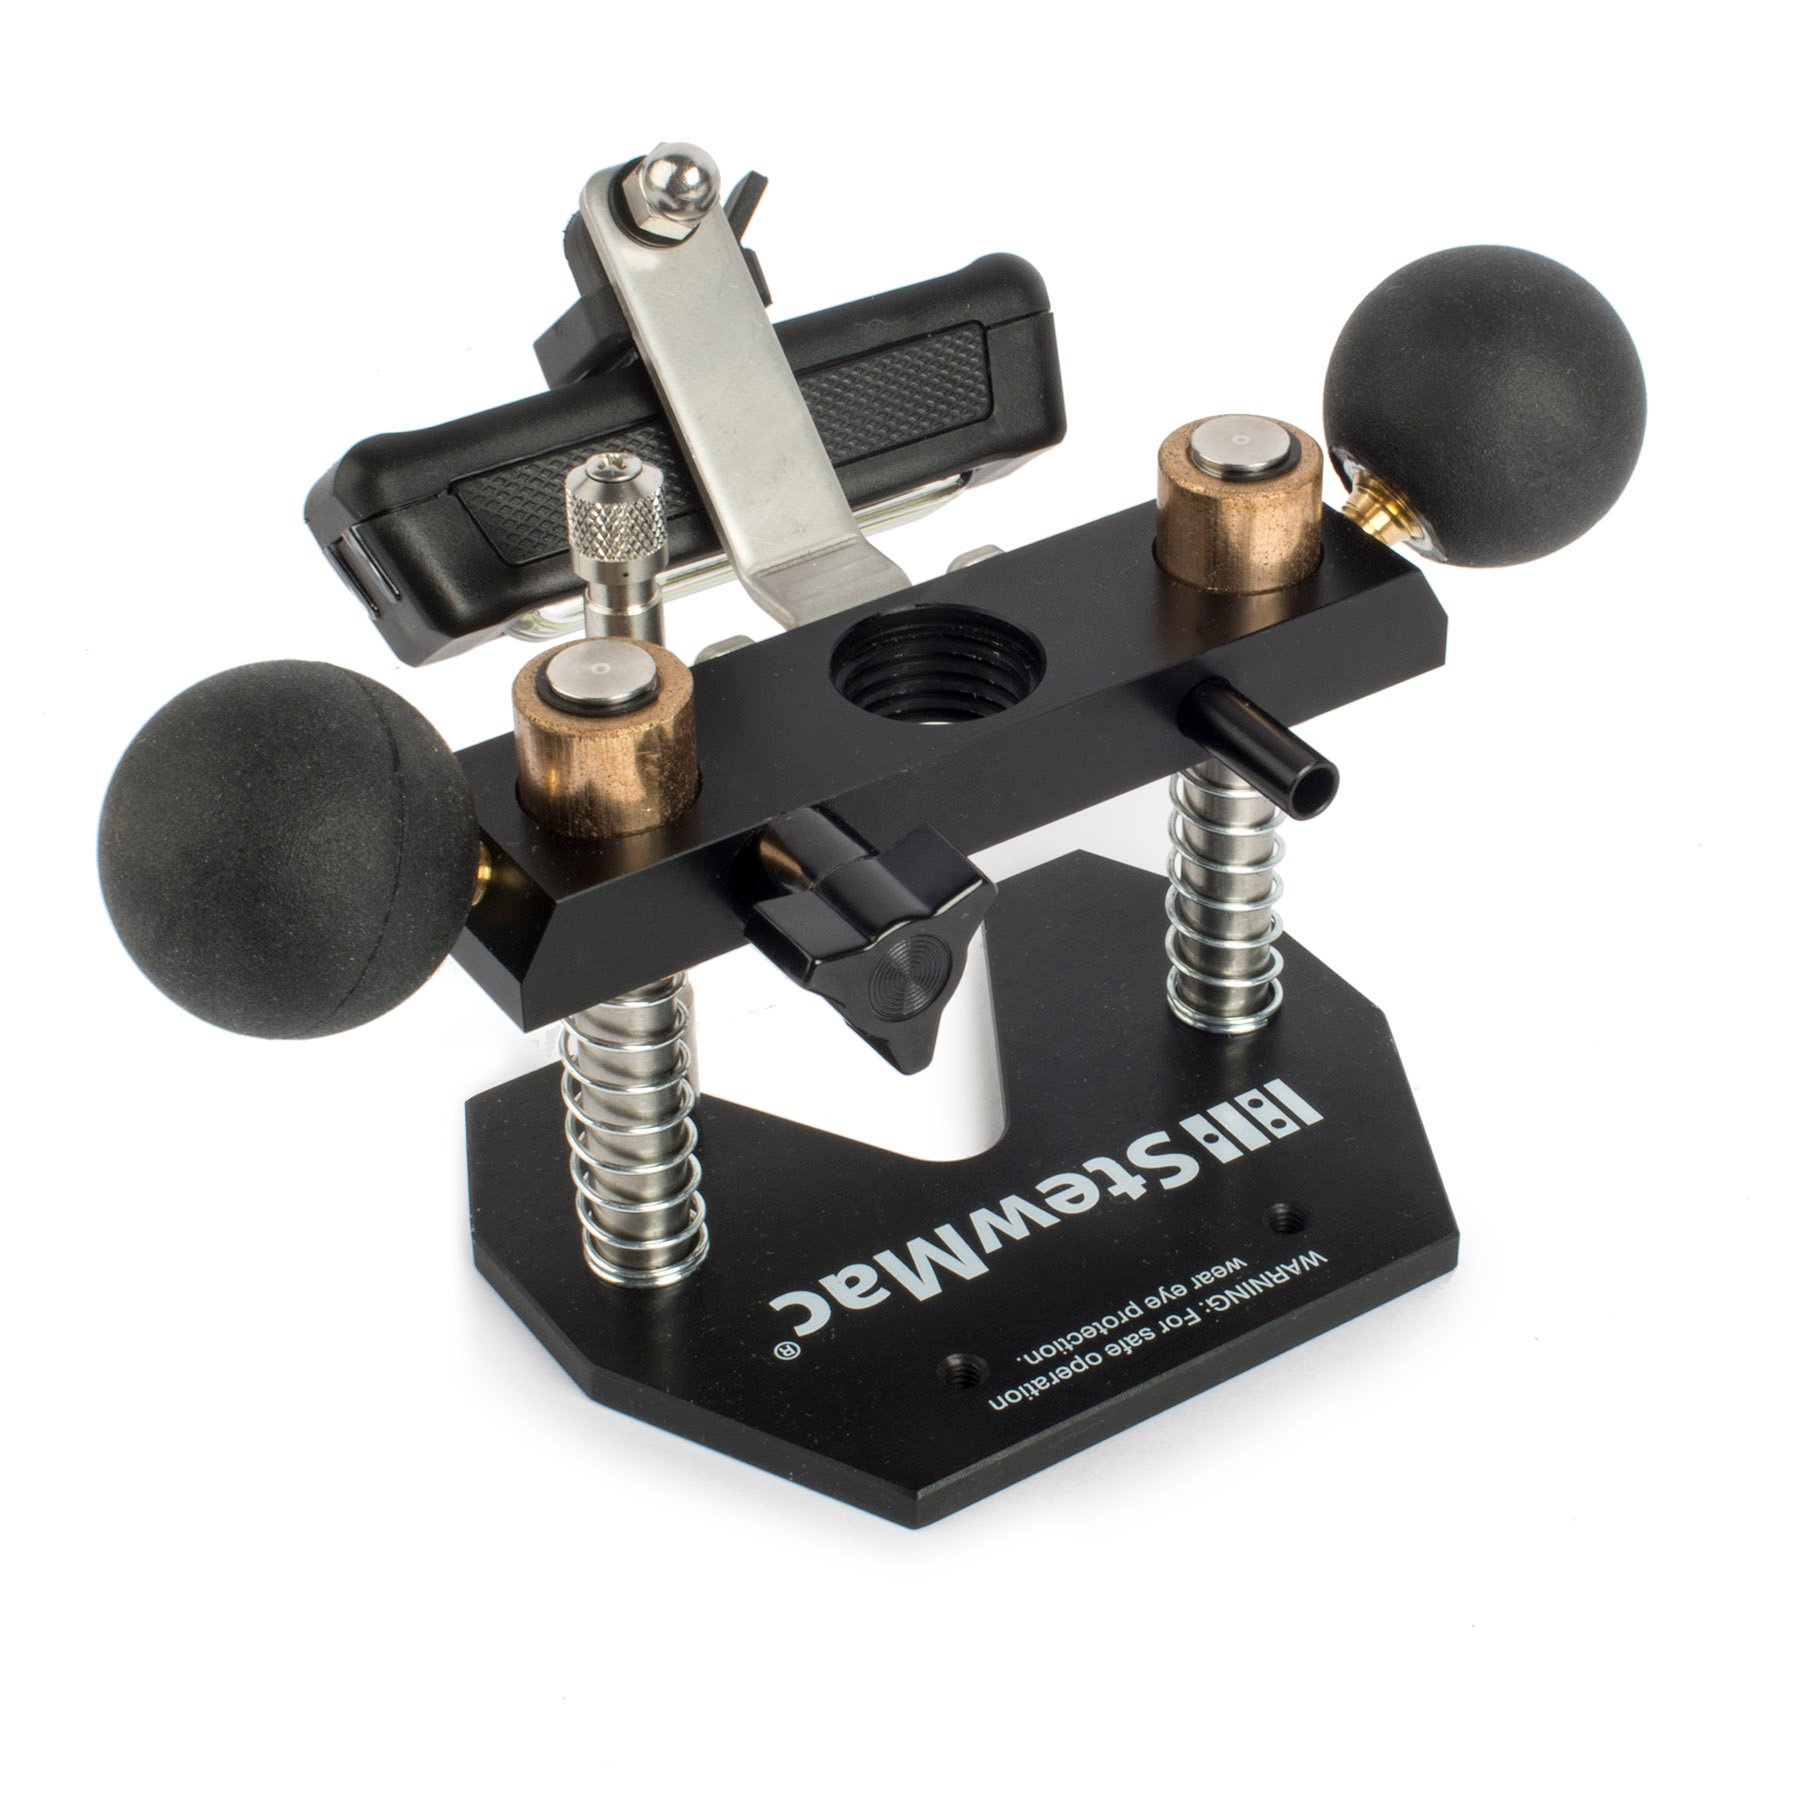
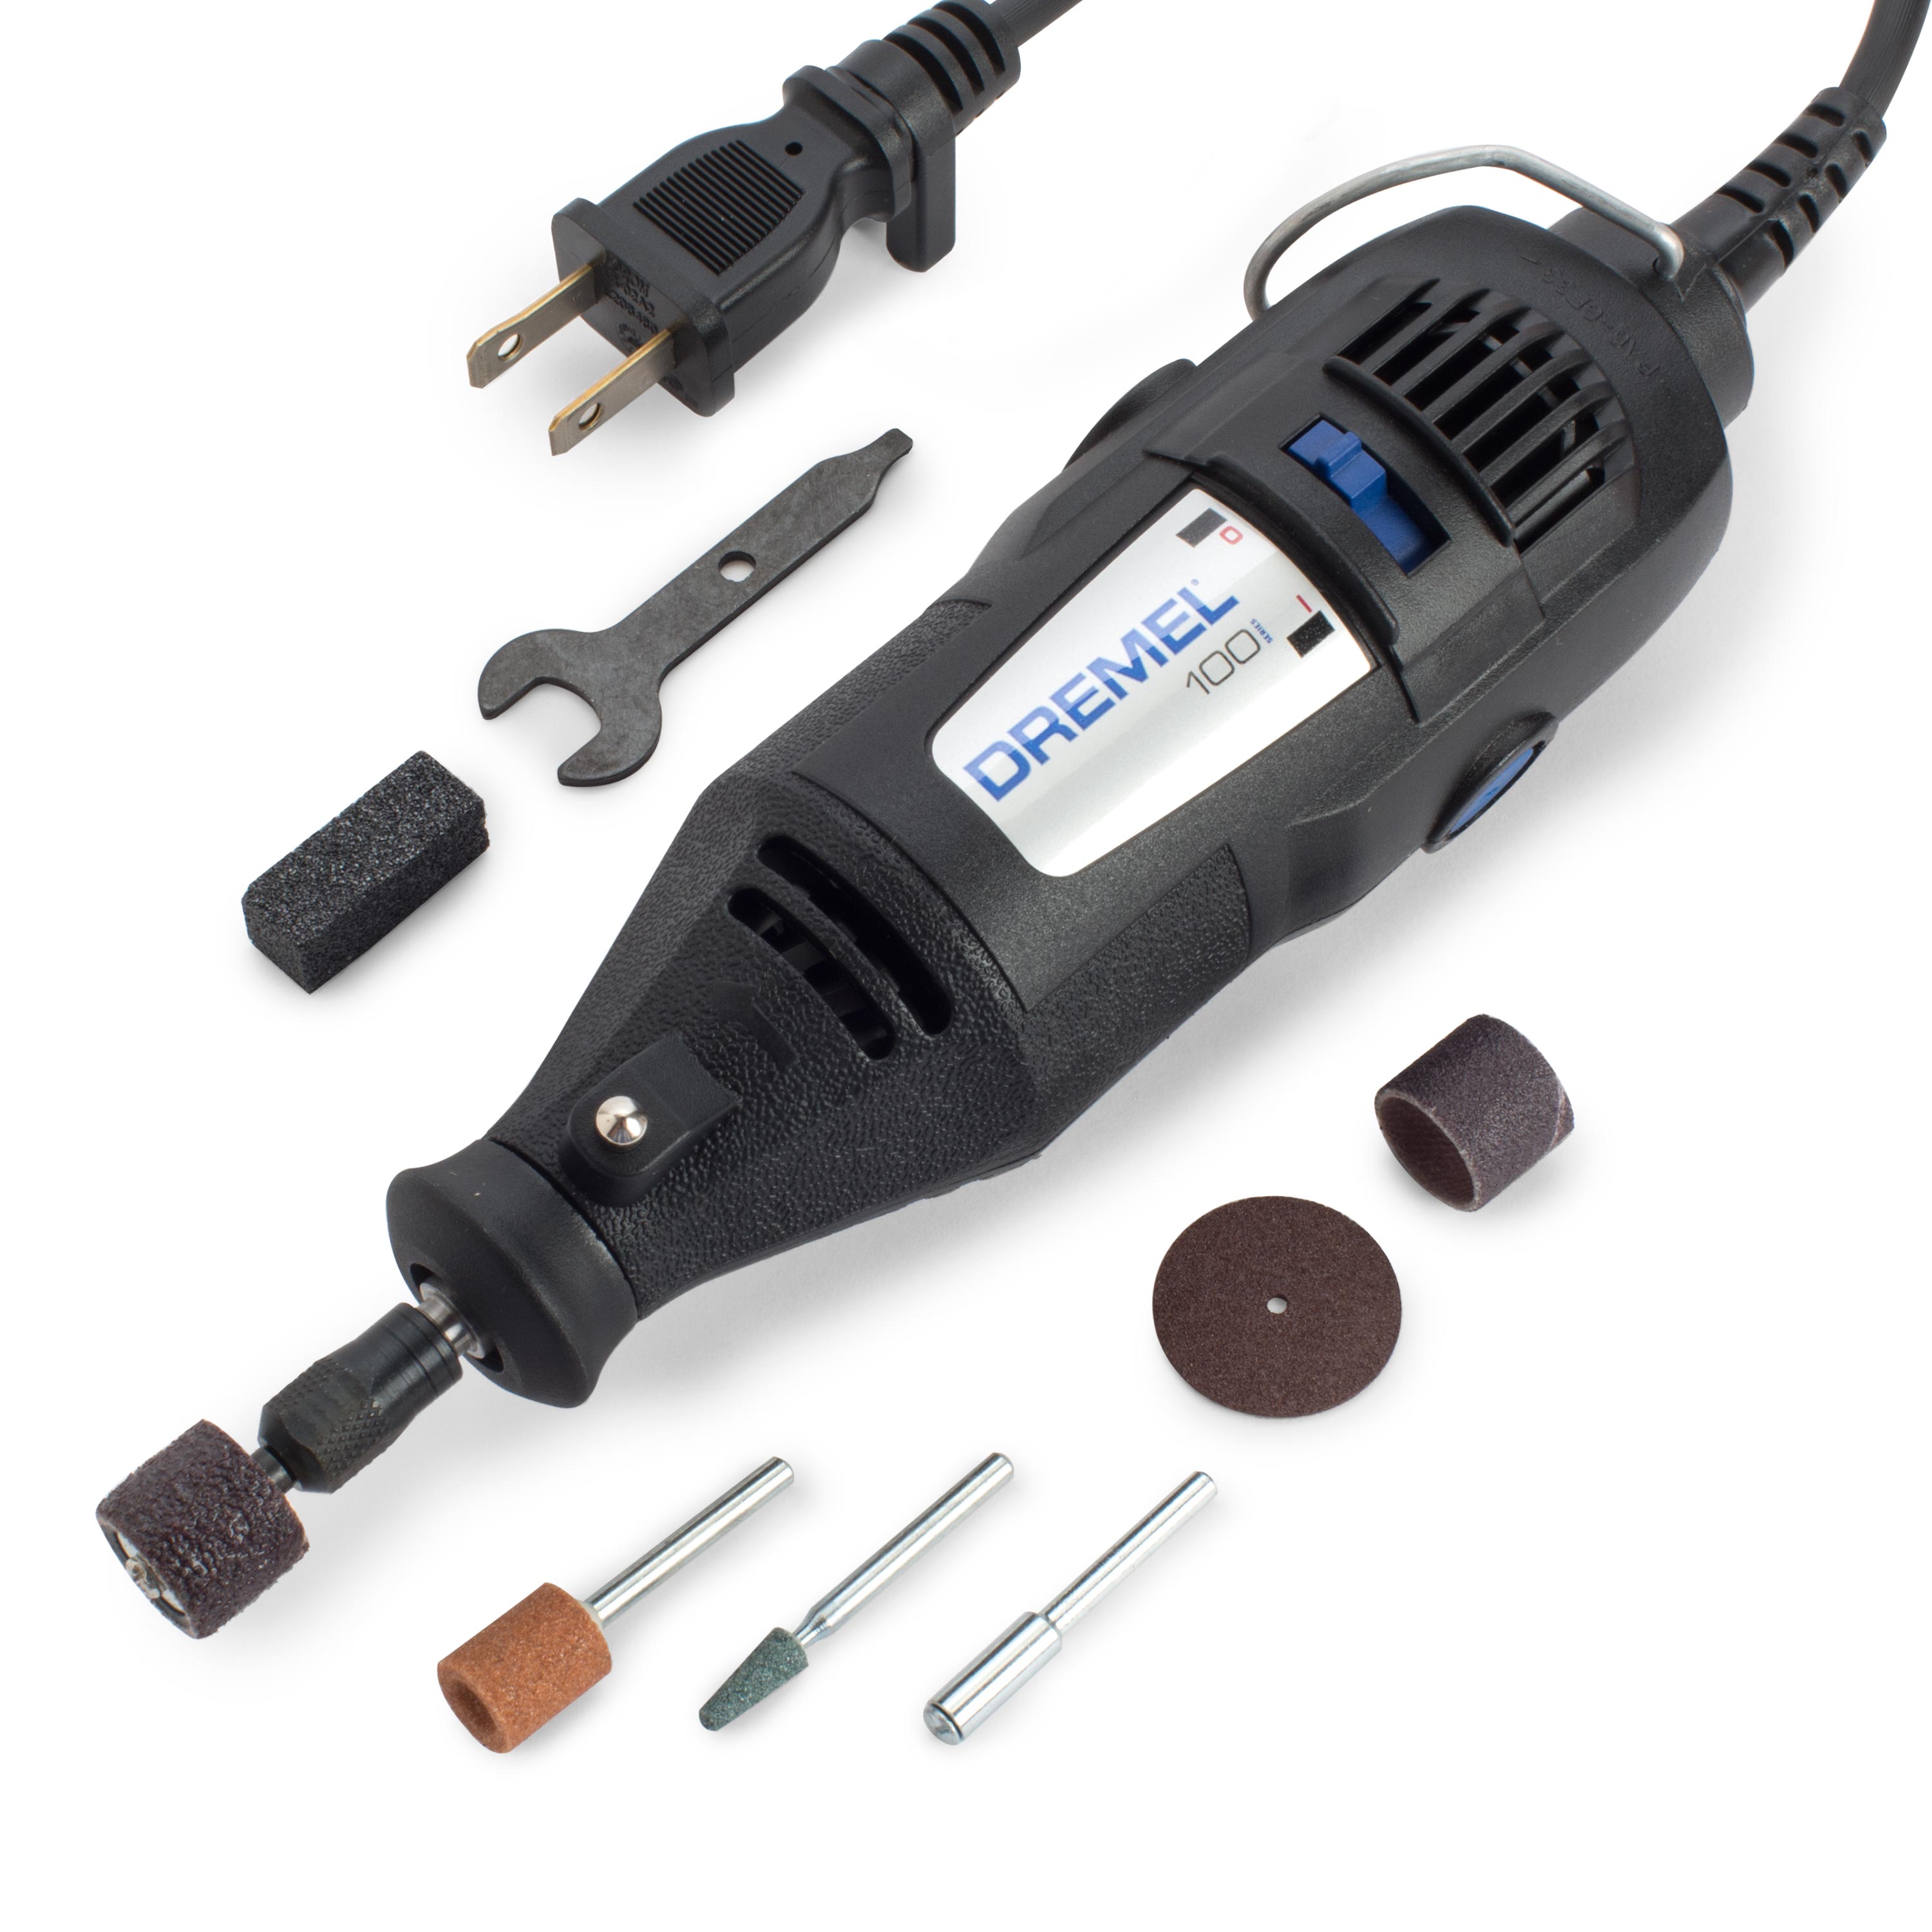
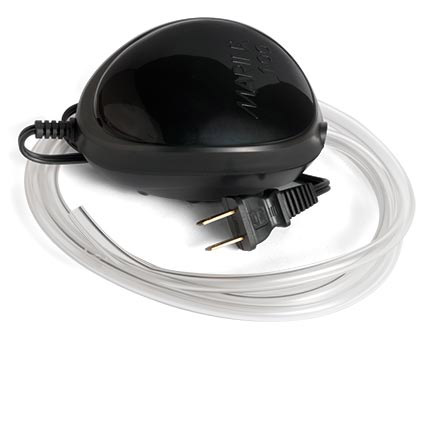
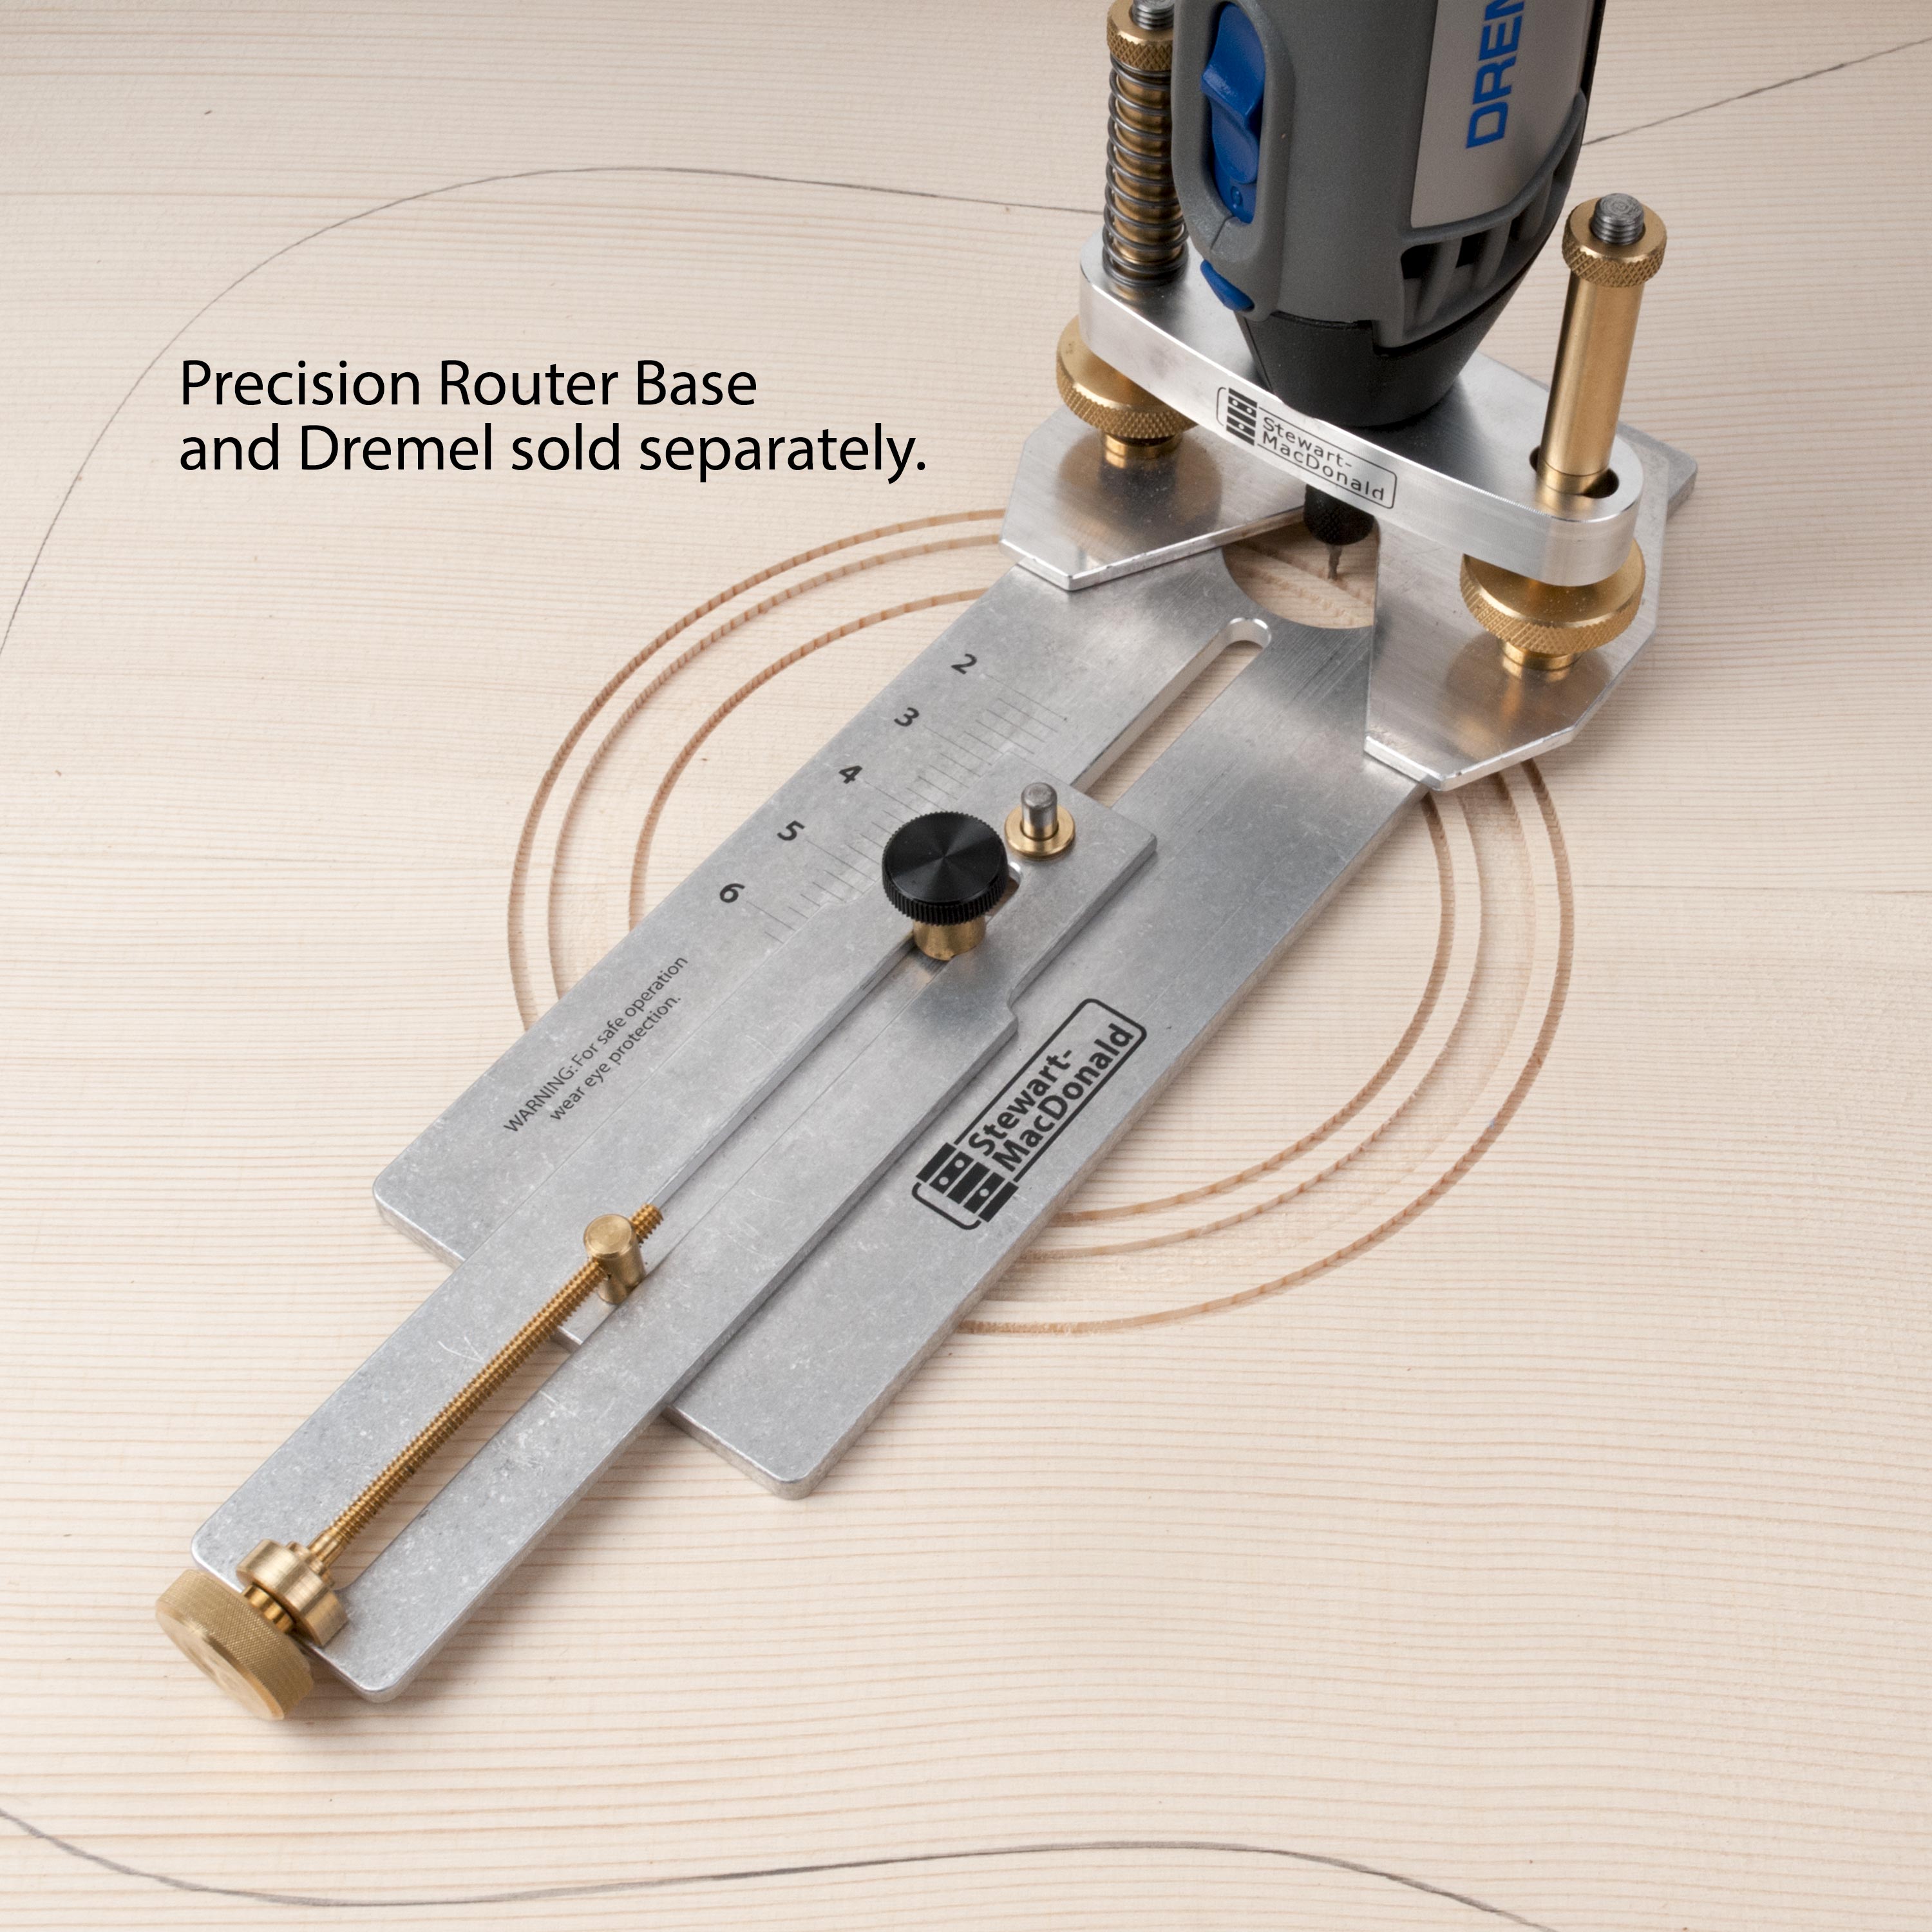
Plunge Router Base fits these rotary tools with a 3/4-12 threaded plastic collar: Before attaching the Plunge Router Base, unscrew the threaded plastic collar from the rotary tool, and install the desired cutter bit in the collet. Screw the Plunge Router Base onto the tool until snug. The ball grips used to guide the tool also control the plunge lock. Loosen the grips to plunge, then tighten to lock the unit in place. Some bits are longer than others so the amount of downward plunge needed can vary. Use the primary adjustment knob on the back of the unit to get you in the ballpark, then use the micro adjustment to dial in your exact depth. This adjustment has approximately 1/2" of plunge depth. Set the micro depth stop adjustment to be in the middle of its plunge for adjustment in either direction. Each full turn of the knurled knob gives around 1/32" of adjustment. The rechargeable LED light cycles through three brightness settings. The included micro USB charging cable can be used with any USB power adapter capable of handling 500 mAh. Built-in nozzle for attaching our Mini Air Pump to continuously blow away the dust while routing. The base plate is drilled and tapped to fit our Soundhole/Rosette Routing Jig, Saddle Routing Jig, and Edge Guide.
Ball grips + plunge lock
Primary depth stop adjustment
Micro depth stop adjustment
LED light
Dust-blowing nozzle
Base plate
