Video: Plugging stripped holes in bolt-on guitar necks
Issue 176 October 25, 2012
Dan Erlewine shows what he does when a bolt-on neck's mounting bolts aren't holding tight anymore.
- A common problem for do-it-yourselfers, but it shows up on checkmarkfactory-built necks like this one, too.
- Shopping for necks on eBay? Watch for stripped holes.
- Dowel gauges for measuring holes.
- Old woodworker's trick for fitting and drilling for dowels.
- How to resize dowels so they're perfectly round.
Video Transcription
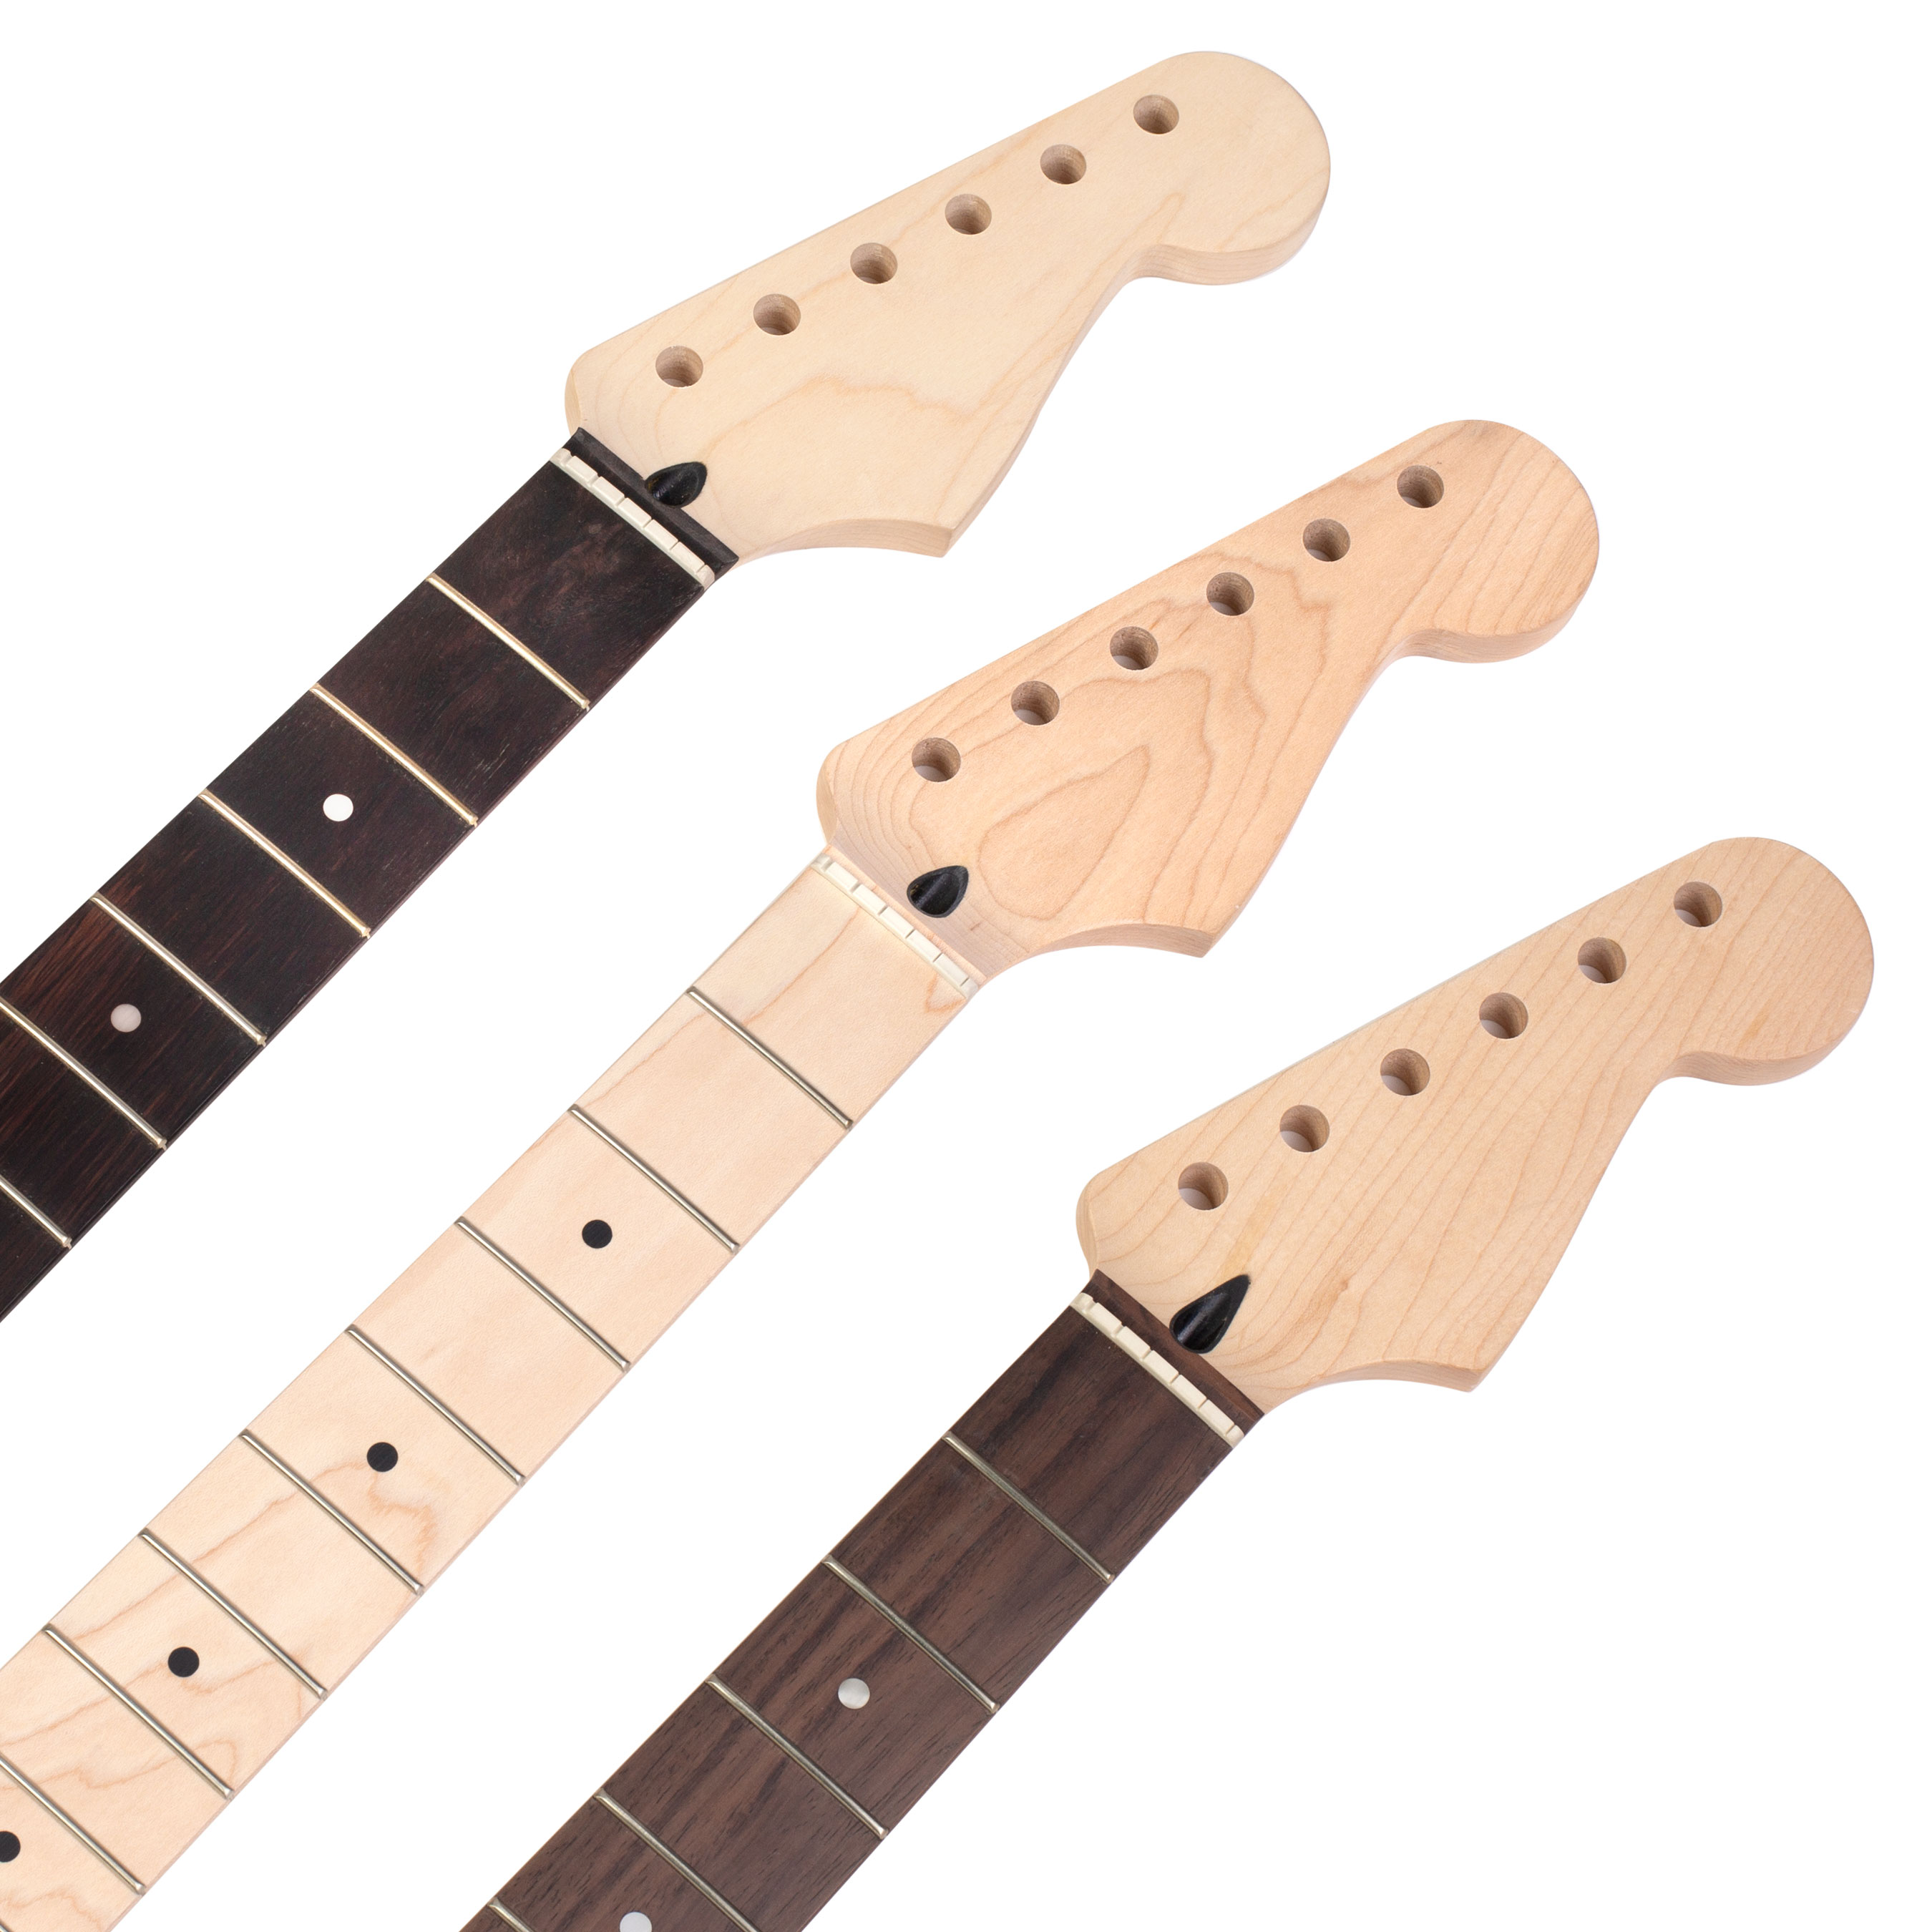
Dan Erlewine: Here's the job. You'll do a lot in your lifetime, plug stripped holes on bolt-on necks. This is a real fender neck, and it's got a strip hole here. I don't know how that happened. You see it a lot on bolt-on necks off the shelf when someone's putting a kit together and they don't get the holes, right? And they plug them and redraw them sometimes a couple of times, somewhere along the line, they strip it out. Often you get that neck up on eBay for sale, and the body goes somewhere else.
Measuring the holes
I'm going to show you an old woodworker's trick for fitting a dowel into this perfectly. It's pretty obvious that hole's not going to hold a mounting screw. If I want to see what size that hole is, I use a dowel gauge, they're numbered on the side. This is 173 thousandths. These come in a set from very small other web to a quarter of an inch, every thousandth of an inch.
That's how you measure holes. The dowel I want to use is a 316th from the hardware store. That's approximately 187 thousandths. It's too big for the hole, so now I've got to choose the drill bit that's bigger than 173 and smaller than 187, so I get a tight fit. I'm going to use a number 14 drill bit that measures 182 thousandths, which is 5 thousandths smaller than 316ths, so it'll be a tight fit.
In the sixties I started out with something like this that I'd get at Sears and then I thought that was great, but I couldn't drill all the holes I needed to. Then I started hanging around with better wood workers and machinists and found out about numbered bits and letter bits. The full index, that's what they call it. Okay.
Drilling out the holes you are going to plug
Now I'm using my dowel gauge to center the hole. Once I get that in position, I'm clamp tight. I've got a radius block here to support the curve of the fingerboard. So I'm level to the table and I'll switch it out for a drill bit. I'm not taking much out just sizing that hole up from 173 to 182, and it's around now and clean on the walls. We now have a clean hole in the neck.
Sizing the dowel
And one of the tricks I learned from some of those guys was, if you want to size a dowel, you drill a hole in a piece of steel, could be a quarter of an inch thick or thinner or whatever. You clamp that down on your drill, press and drill a nice clean hole through, and you drive the dowel through it and it sizes it. It'll shave wood off or it compresses it down and it makes it round. There's a number 13 drill bit. It measures 185. I'm drilling into a quarter inch piece of steel that should drill pretty easy. When you drill metal, you can get flying chips, wear your safety glasses.
In a minute I'm going to pound a dowel down through this hole to size it. And before I do that, I'm going to taper the end to make it go through easier. You can cut off a dowel this small with a hobby knife. Just roll it to center till it pops off. Go through a couple of times and that takes the dowel that's out around and too big and it's going to bring it down to just what I want. It'll be round and it'll be 185 thousandths in diameter, a tight fitting dowel is fun to hammer through.
That's the depth of my hole. There's the tapered end of my dowel, it will be driving down into the hole and there's where I'm going to cut it. And I'll have about the perfect depth before I even go to put it in.
Installing the dowels
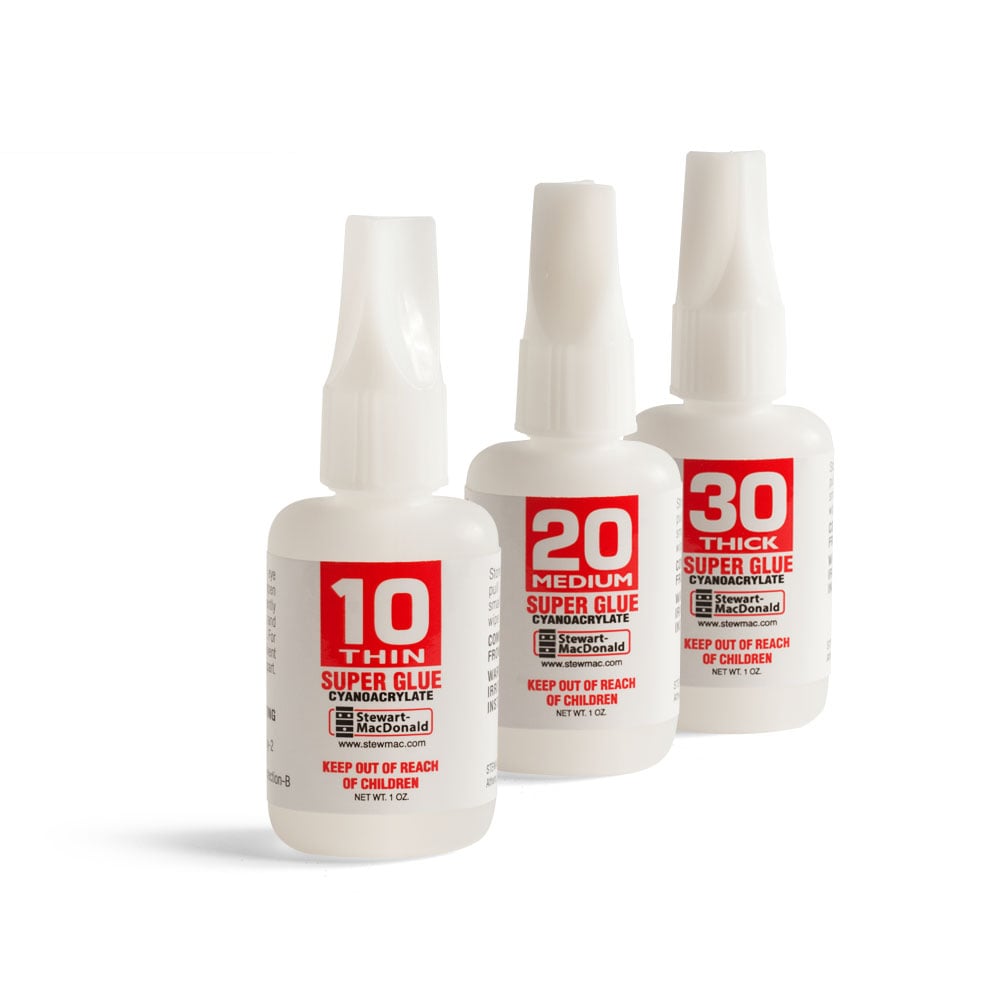
When I pressed that down in there, it's going to be a tight fit. And when I re-drill it for the screw for the right size hole, there'll be a little bit of wood on the side walls held tight because I got the good fit. I'm using a leather punch to cut a hole in a piece of tape, and that's going to go around the dowel and protect the finish from the super glue that I'm going to use to install the dowel with. I use Q-tip to get down in there, medium viscosity, #20 super glue, plenty of it, and I got to work fast because it's drying. You can see the smoke come off that Q-tip even, it's drying that quick. Get the glue in, pull off the tape, get the dowel down in there.
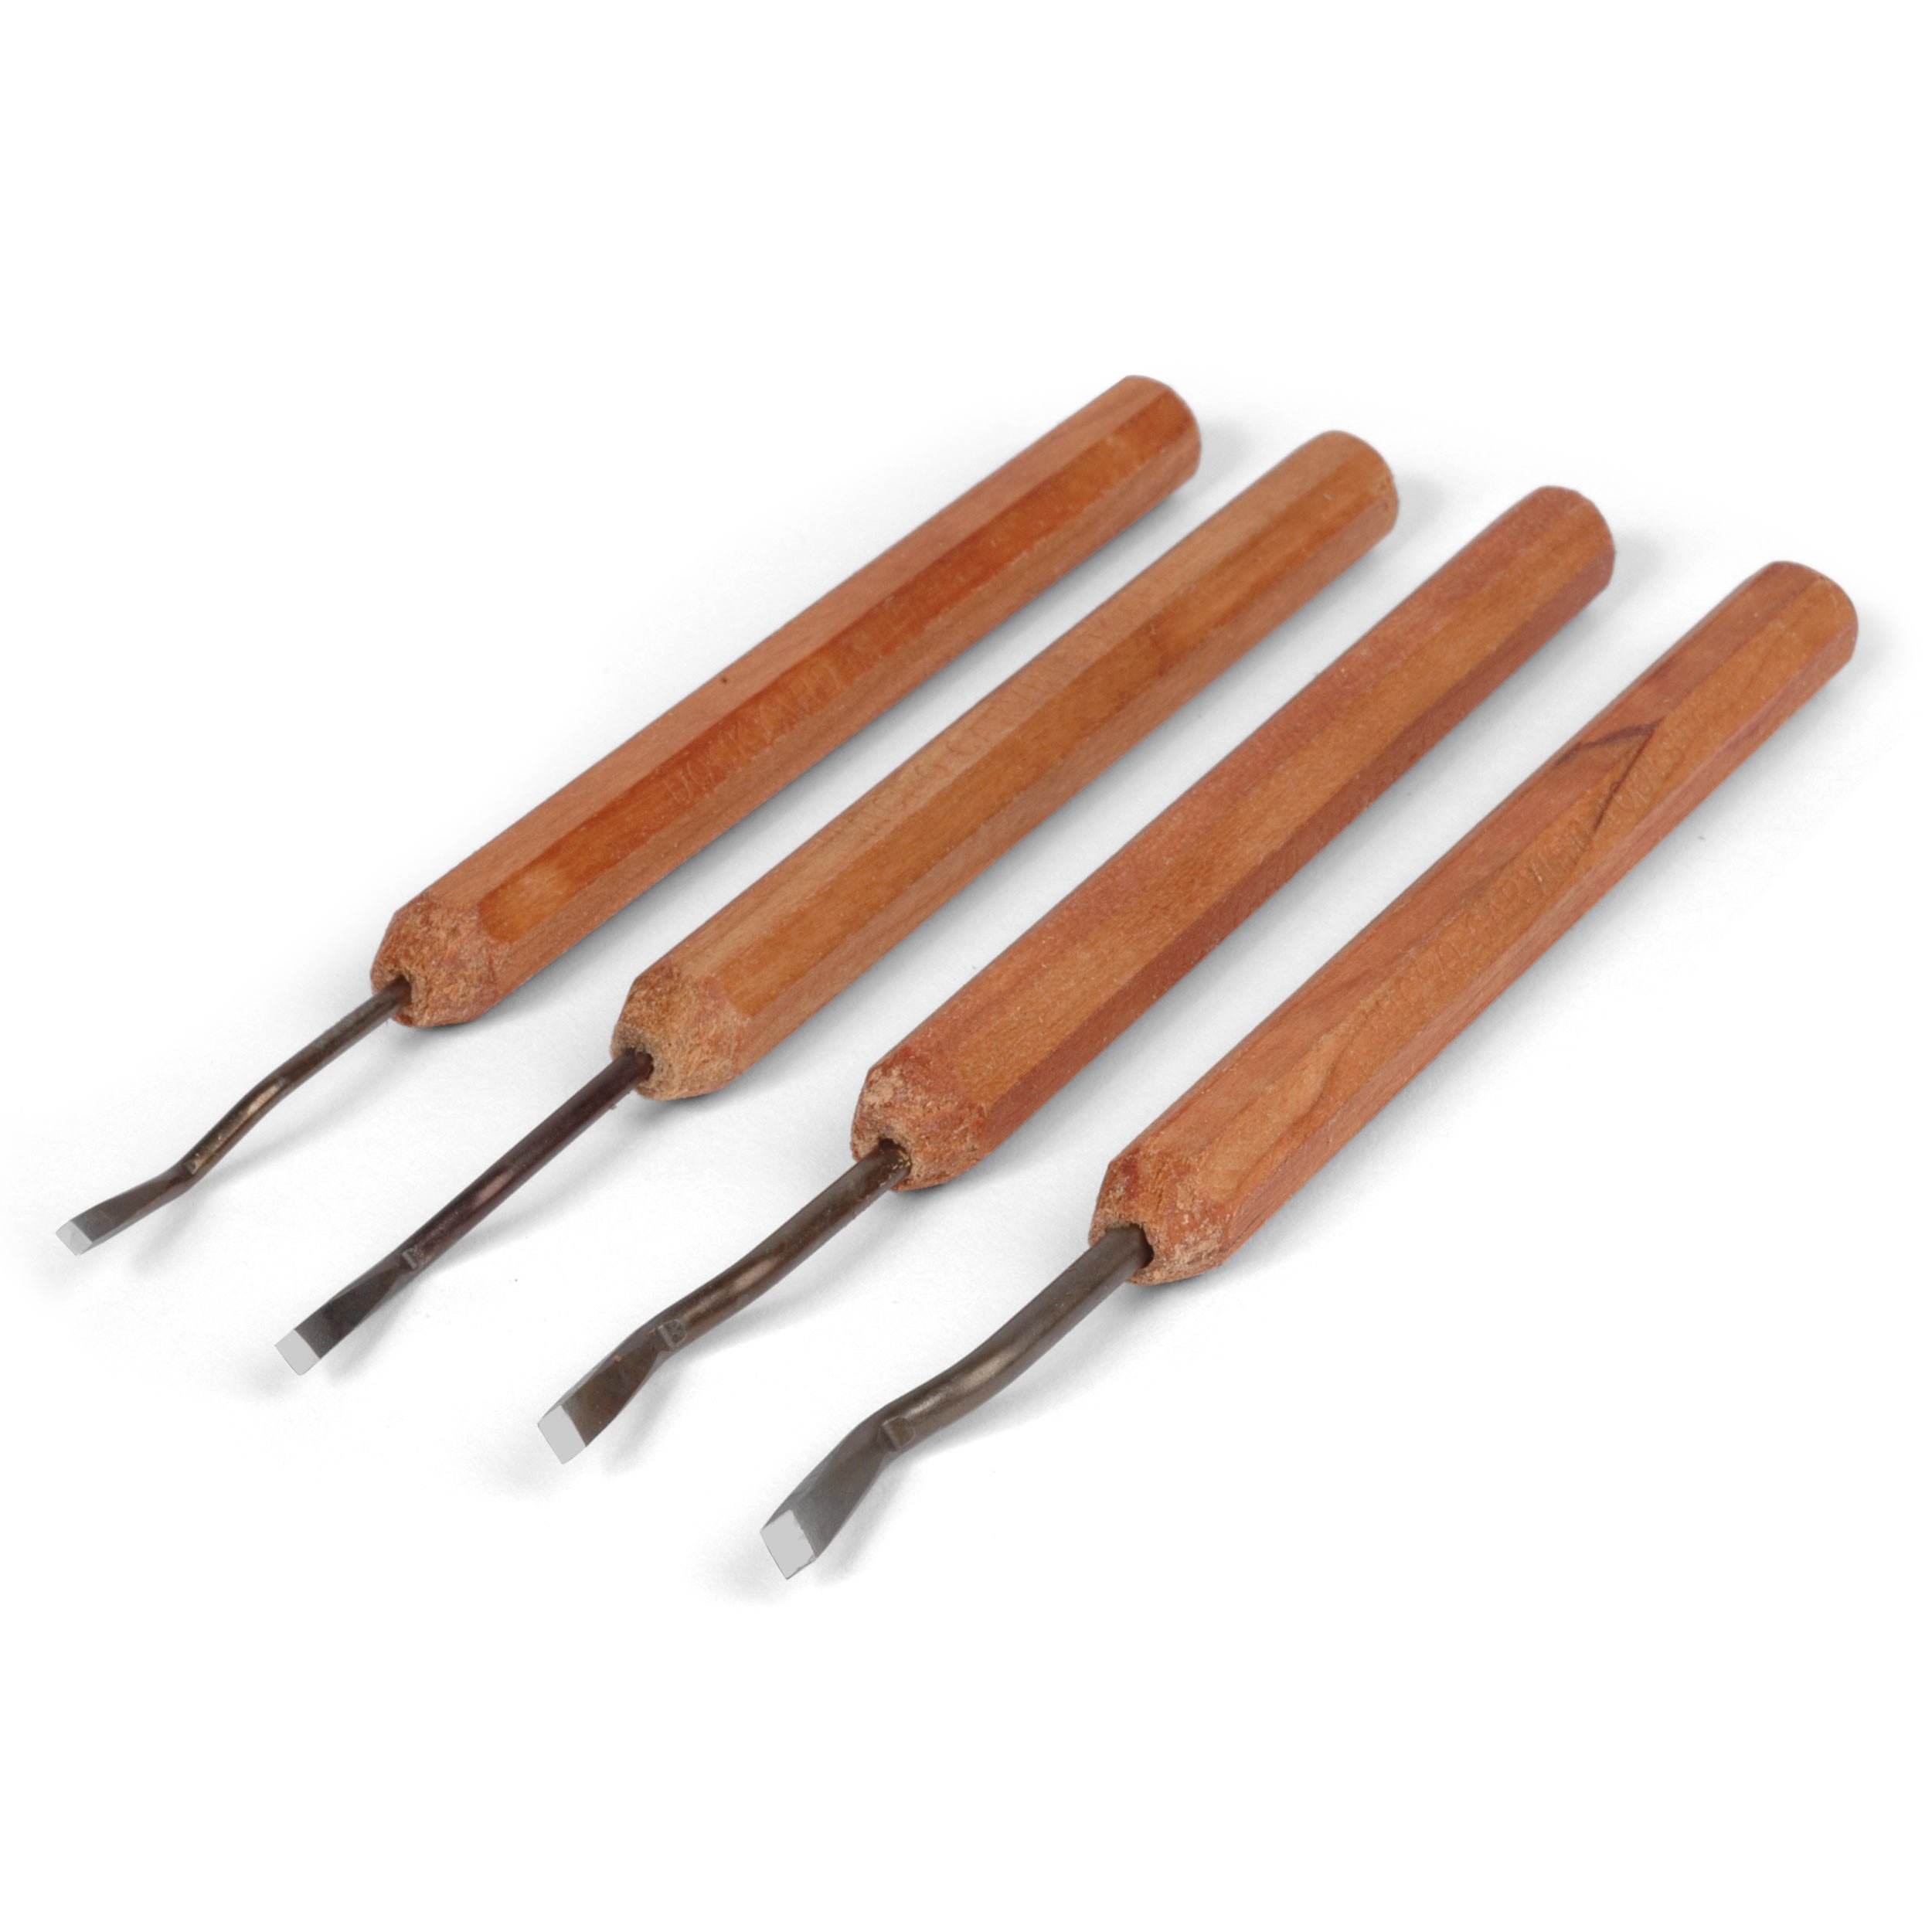
As it turns out this dowel didn't go all the way flush, but darn close to it. So I let it dry about 20 minutes and then come in with a real sharp chisel and work around the outside and pair it flush to the surface.
Drilling the new holes
I used two drill bits because the first one is smaller and it'll stay concentric, that's the pilot bit. That was a number 51 drill bit. Once I drill the hole with that, then I can follow with a bigger bit and it won't run out on me.
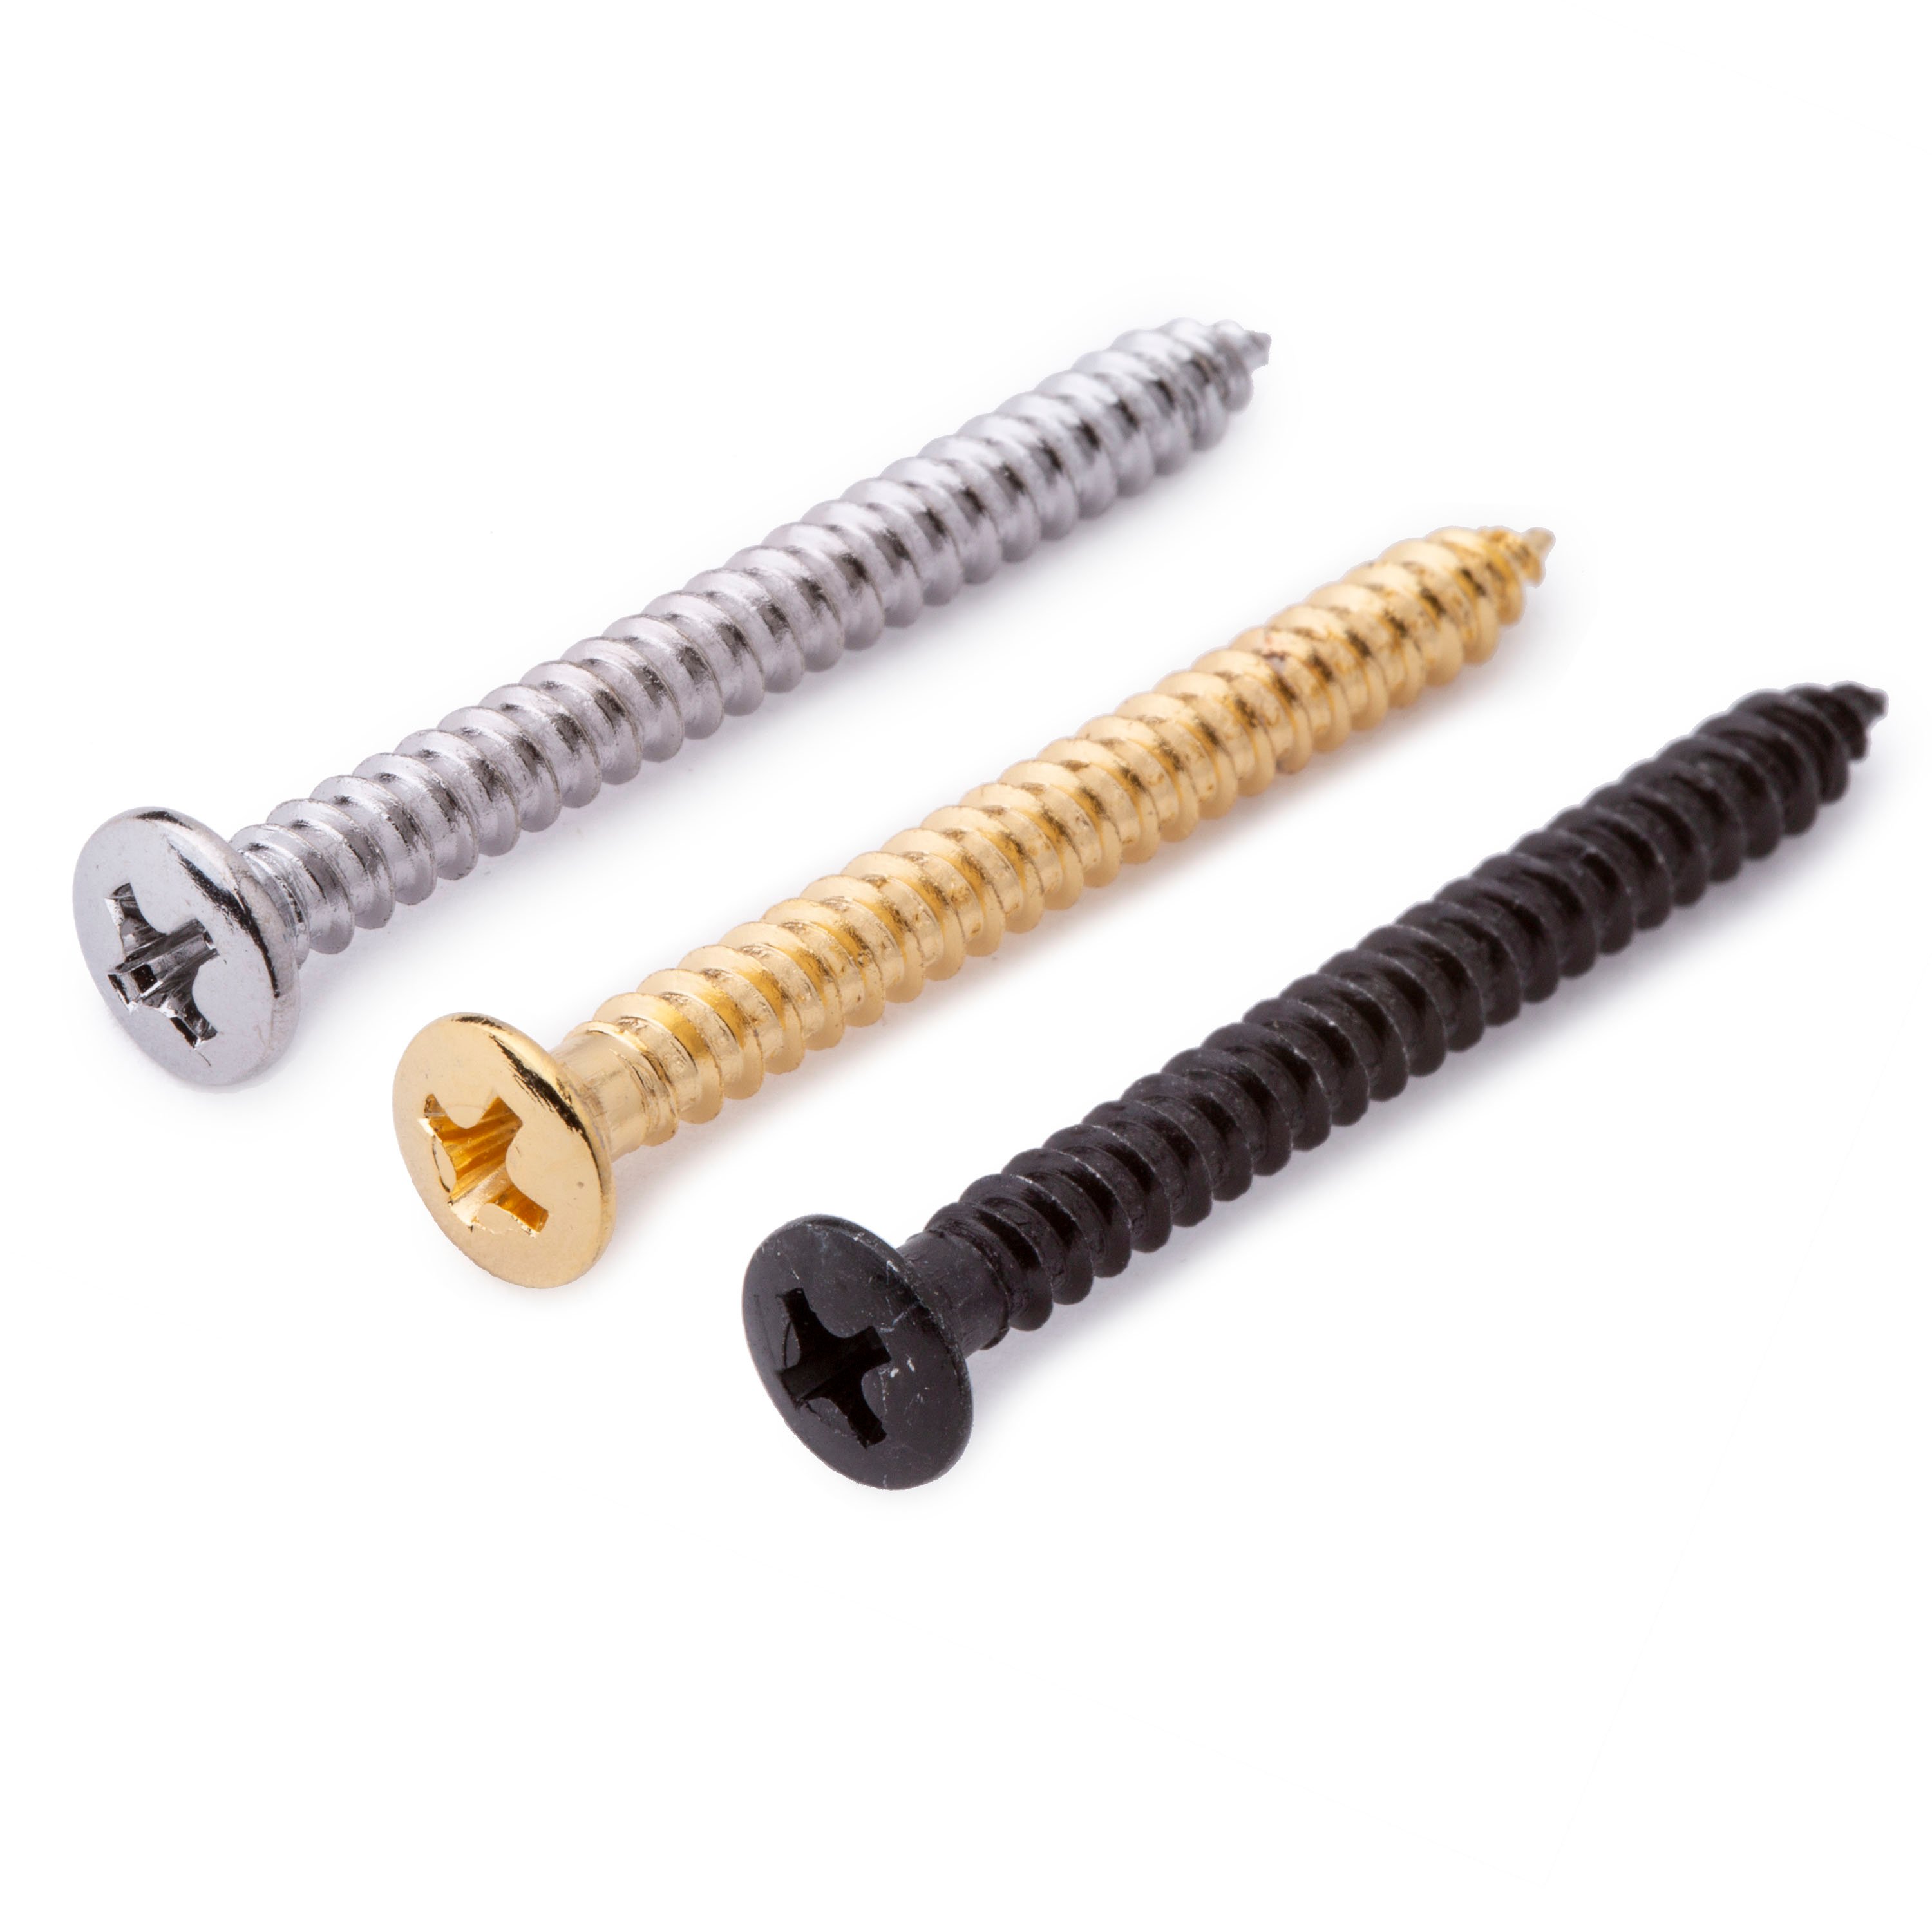
I'm going to follow that with a number 30 drill bit that measures 128 thousandths. That's my final hole for the threads to cut down into. This is bees wax, you could use parafin or pace wax. It lubes those threads as they go in and kind of seals up the wood. Remember this dowel in there is ingrained dowel. That's not the same as the wood the neck is made out of and it's weaker. That's why I drrilled a little bit bigger hole than the original factories. So I wouldn't go in there and be fighting that wood and strip it all out. Even then it's a tight fitting thread. It's just what I wanted.


