Gluing a broken peghead
Issue 224 August 28, 2014
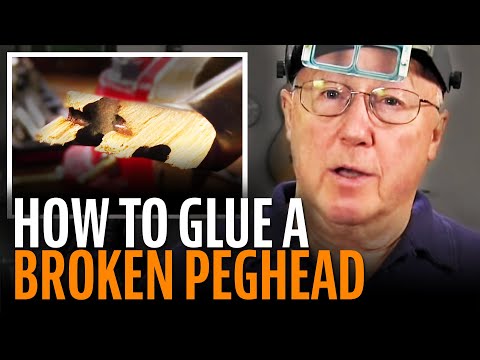
Dan Erlewine's got a nasty broken peghead on a yard sale guitar. He shows how to fix it, and shares his thinking on which glue to use and how he does a glue test. This is actually a double break needing two repairs at once.
This yard sale special is an old plywood guitar from the '30s. The braces and neck joint are loose, and the peghead was run over by a pickup truck!
- Liquid hide glue: make sure it's fresh
- Hardwood wedges for opening a crack
- Using a file brush and X-Acto knife to line up the wood fibers
- Tip: A suction cup forces glue into the crack
Video Transcription
[on-screen text reads: Trade Secrets! - Stewart-MacDonald]
Broken peghead!
Dan Erlewine: Oh boy [Dan pulls off the end of a broken peghead]. I bought this guitar the other day because it's a good teaching guitar [on-screen text reads: Dan Erlewine, Stewart-MacDonald]. It's cheap, 1930s little plywood guitar. It's got a loose top and braces, loose back. The neck's going to come off. I use these for teaching on and now I'm going to teach how to fix the broken peghead. I'll get a chance to show you a pretty complicated break, but there's a lot happening here where the pieces of wood have to go back together like this.
Clean up the broken peghead
Right now I'm going to get some little tools and pick out all the dirt and get all the pieces and shards of wood lined up so it'll work for me. I'm using a pair of manicure tweezers and an exacto knife with a number 11 blade. Picking out anything that's going sideways. The wood's supposed to go that way. This part's pretty clean. Up here we got a lot of crush fibers- I'm going to actually pick out the ones that I think will keep the piece from going together right, like that. I don't need that piece because I wanted those pieces to get together like this where it's bent down. Sometimes I'll use a little brush and just dust. This little File Cleaning Brush is nice too.
Glue the peghead back together
For a glue, I'm going to use Hide Glue. I'm not going to use the hot hide glue that I normally would use because it gels pretty fast and I might not have enough time for a complicated job like this. I'm using the Liquid Hide Glue. It has an expiration date on the bottle, but I always test it and I did that last night with the test board and it dried it hard as a rock. Before I can put the peghead on, I've got another crack here that's running down at an angle through the grain. I'm going to open that up with a couple little wedges. I've got some hot glue here. I just keep it in the glue pot to get it warm.
Need a little suction cup, so force glue down into that crack real nice. This is just hot water. With these bottled hide glue, I've got plenty of time to get glue on the surface right now. If I was using the hot hide glue, it would've gelled on me. I would have had to start all over again.
The hammer drives the pieces together. It's like driving a nail. You can see the joint close up.
Clean off the glue
I'm cleaning all the glue off and I'm washing out the part where the woods missing. Whatever I stick in there later, I'll have cleaner surface to stick to.
Clamp down the peghead
May get to play this guitar after all. Wax paper, some acrylic, more. [Dan places a plastic block on top of and below the peghead and tightens down 3 clamps to hold the 2 peghead pieces together]. It's not going to be perfect, but it's going to be really strong. That's a big break. There's a lot of glue surface there that will probably be stronger than the wood ever was. We'll check it out tomorrow or later today. I don't expect it to be perfect, just repaired and I'm going to find something to fill that chip with. Probably mix up some epoxy, maybe. I'll deal with that later.


