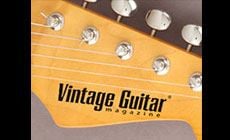
Custom Peghead Decals
Tony Nobles of Precision Guitarworks in Austin, Texas shares his tips on making custom peghead logo decals.
Tony Nobles sent us this tip way back in 1999. This, and many more helpful tips can be found in our Trade Secrets books, a two volume compilation of tips and tricks sent to us over the years. Here's Tony: "The decal I used for the guitar giveaway in the February 1999 issue of Vintage Guitar magazine was made at a Kinko's copy shop while I waited. They computer-scanned the "artwork", which was simply the logo torn from the magazine, and transferred it to the same clear Mylar film used for overhead projectors. I had the logo printed in reverse, with the ink on the bottom, so I could steel-wool the decal to match the neck's matte finish. I've made decals before, and usually have the ink printed on top. That way I can lay the Mylar into the wet finish early in the finishing stage, without having to worry about the ink blurring from the solvent. Then I spray several light dry coats of lacquer over the ink. This locks the ink, before building up successive coats of lacquer on and around the .004" Mylar. Eventually, the Mylar's outline disappears into the clear coats. Either way, bottom-printed or top-printed, be aware that the solvents in lacquer may soften the decal's ink. Another option is to have your decal printed on self-adhesive Mylar. Then, you can lay the decal on top of the final rubbed-out finish." Tony Nobles

Precision Guitarworks
Austin, Texas