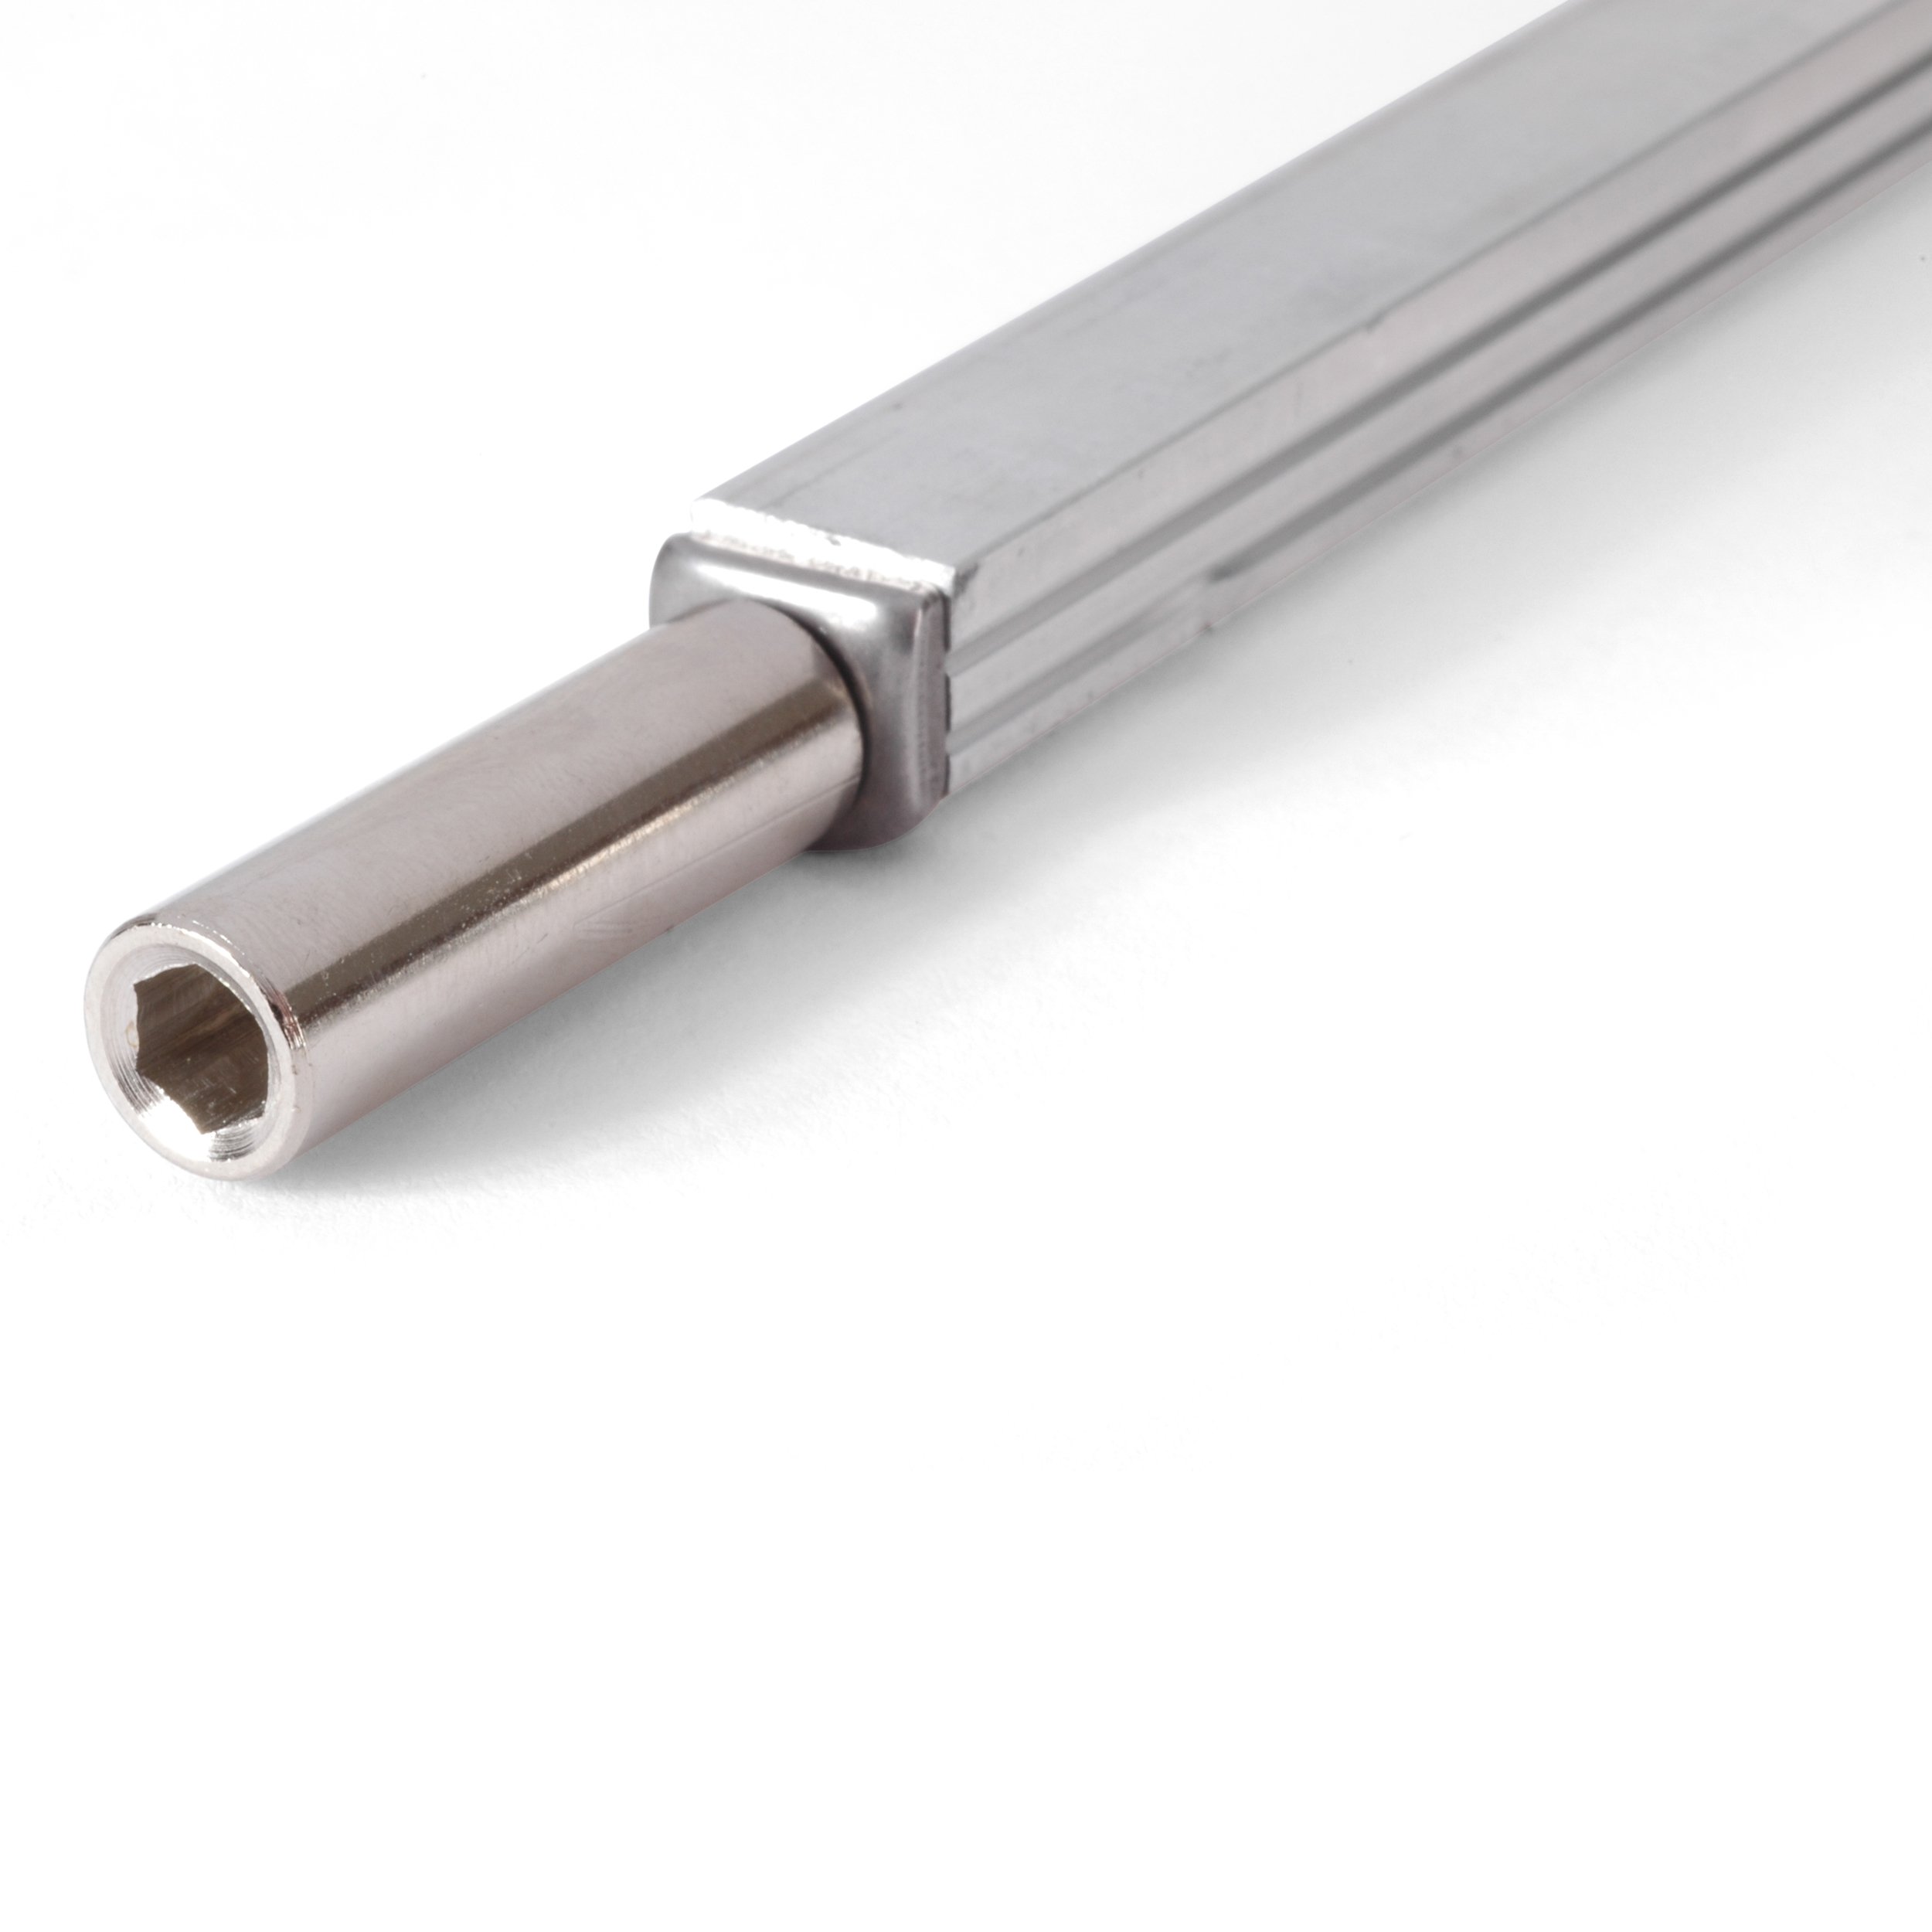
Truss Rod Installation
Single-action adjustable truss rod for Martin installation instructions.
The single-action adjustable truss rod requires a straight 0.400" deep slot (measured from the flat/fingerboard surface of the neck). Depending on the type of neck the rod will be installed in, an access hole on either the peghead end or the neck block is required to reach the adjustment nut.
Run a thin line of epoxy down both sides of the bottom of the slot and install the truss rod with the rounded side (with the masking tape) down. The flat surface of the rod should be facing upward, almost flush with the top of the neck. Do not remove the masking tape that is on the rod. It prevents the glue from getting into the mechanism, which could cause adjustment problems. Clamp the rod into the slot and promptly remove any glue squeeze-out. Leave your clamps in place until the epoxy has properly cured.
Prior to gluing the fretboard onto the neck, we suggest placing 3/4"-wide masking tape down the centerline of the neck, over the installed truss rod. Spread the glue evenly over the neck with a glue brush. Remove the tape and clamp the fingerboard in place. Glue squeeze will take care of the small bit of dry wood previously covered by the tape, and excess glue won't get on the metal truss rod.
After the glue has dried thoroughly, the rod can be tested and used with care under string tension.Turn the nut clockwise to correct an up-bow, and counterclockwise to correct back-bow.
As with any truss rod, if you encounter excessive resistance, the neck should first be eased into a corrective bend with clamps. The rod can then be adjusted.

