Reaming a truss rod channel to fit a Low Profile Truss Rod
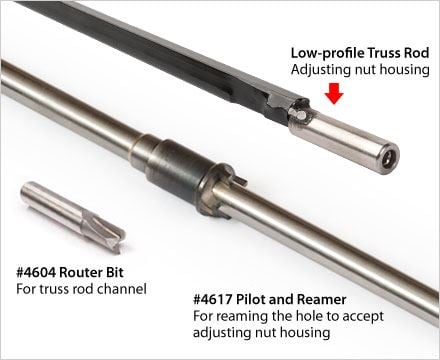
Our Low Profile Truss Rod fits a routed channel 1/4" wide x 3/8" deep. Our Router Bit is designed to rout this channel. After the channel is routed, it needs to be modified to accommodate the metal housing that holds the adjusting nut. The Piloted Reamer is for making this modification.
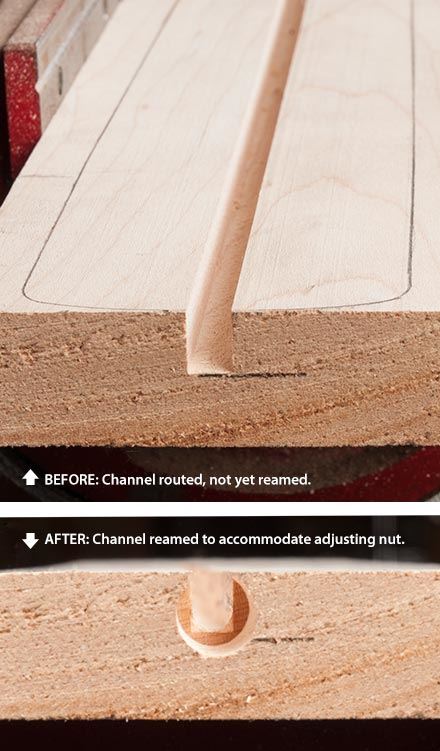
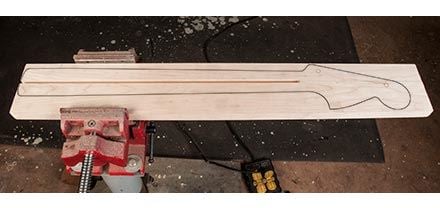
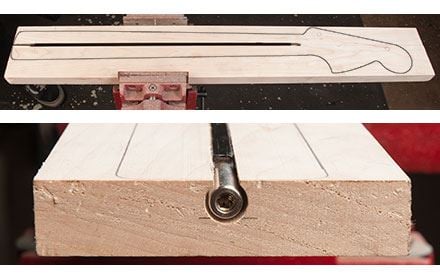
To accommodate the truss rod's adjusting nut, a hole needs to be reamed at the adjustment end of the truss rod channel. This hole is 3/8" in diameter and 1-1/2" deep. TIP: Rout your truss rod channel before cutting your neck to shape. Working with a rectangular neck blank makes it easy to clamp the work in a vise and to set up a fence for routing a straight channel.
How to use the piloted reamer:
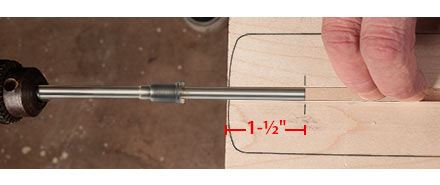
After the truss rod channel is routed, mark the depth of the hole that you will ream to match the length of the adjusting nut housing (1-1/2"). Slide guide rod into channel, pressing it flat to the bottom of the channel. Keeping it flat in the bottom of the channel will ensure that the hole is properly centered.
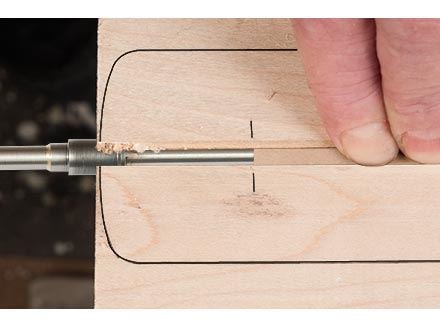
Use a temporary filler strip to hold the pilot flat in the bottom of the truss rod channel. Ream slowly, running your drill in the range of 200-300 RPM. Watch your pencil mark to know when to stop cutting.
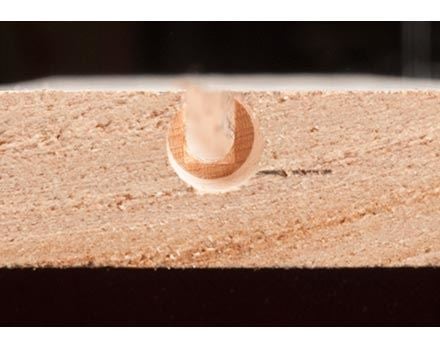
The finished hole. Clear away any chips and sawdust from the channel.
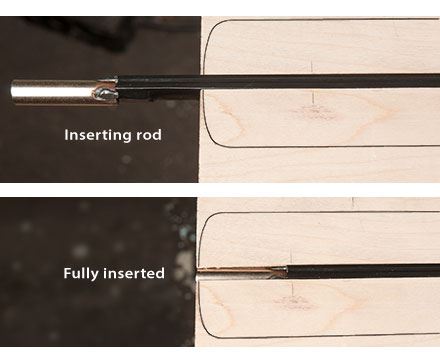
Slide the truss rod into the end of the channel. The flat side of the rod faces up toward the fingerboard. If the rod is tight, tap it in gently with mallet to seat it home.
The installed Low Profile Truss Rod.
