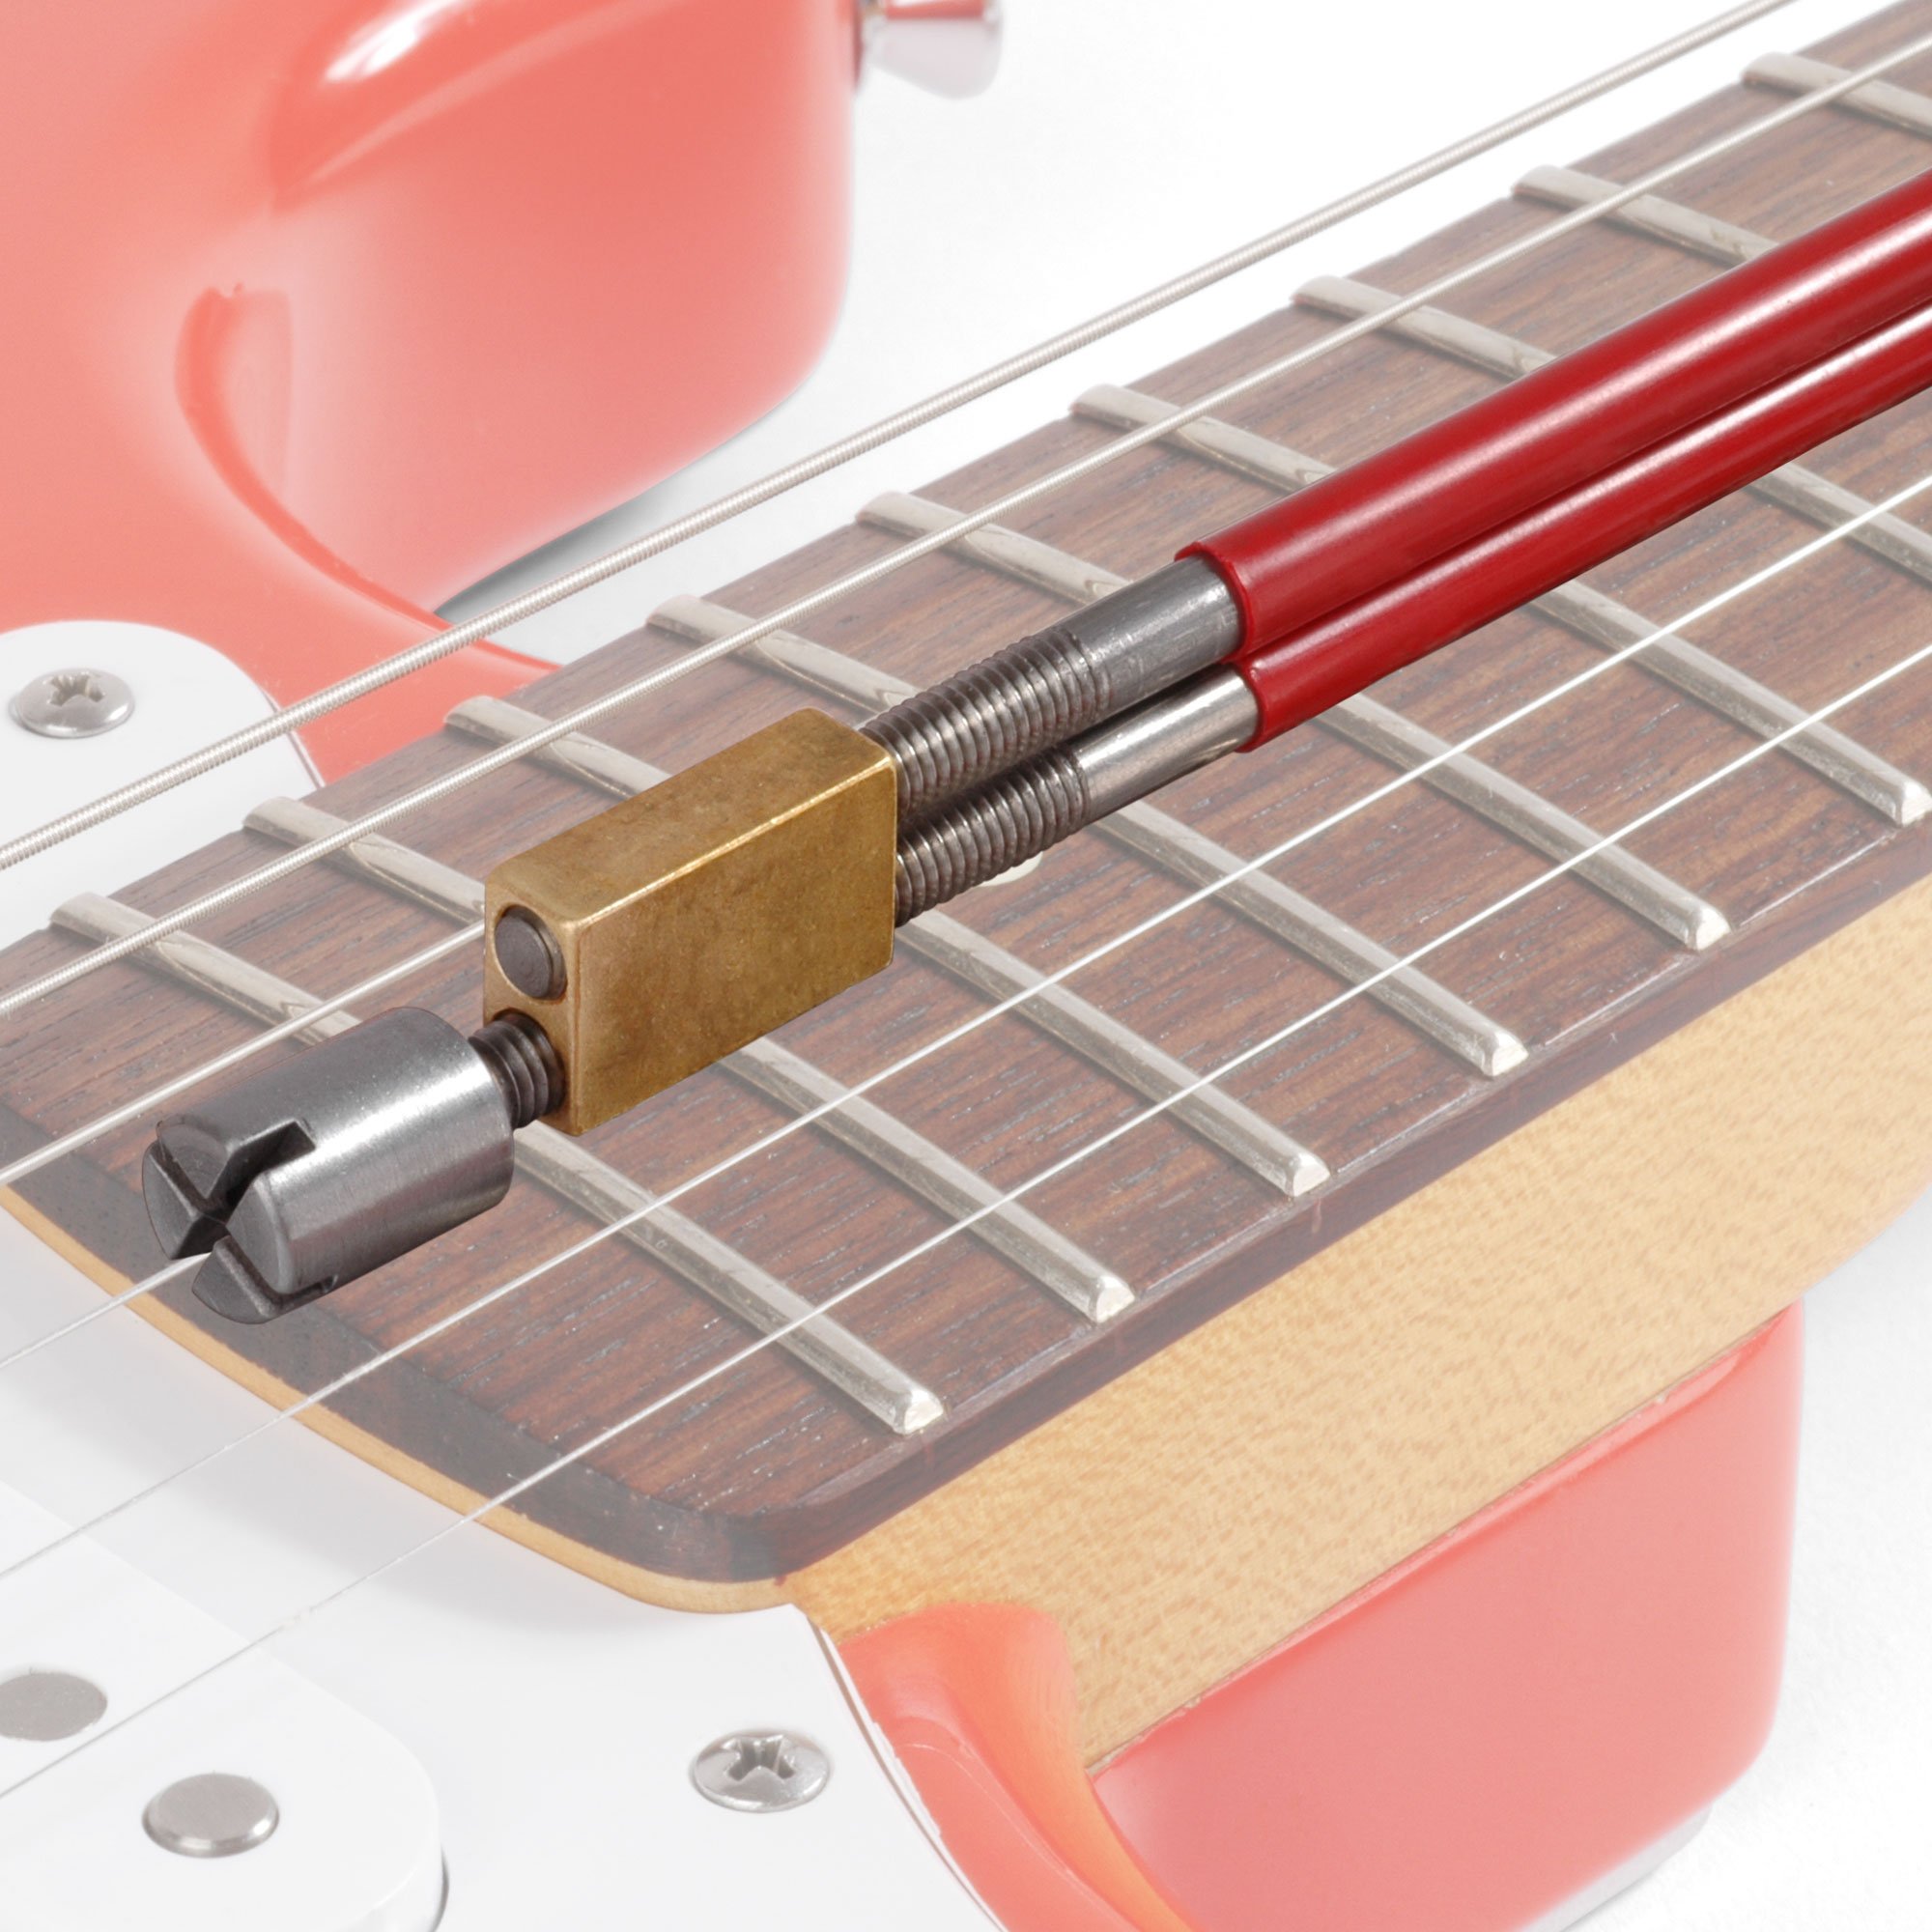
Hot Rod Adjustable Truss Rods
Installation and adjustment instructions for Hot Rod Adjustable Truss Rod.
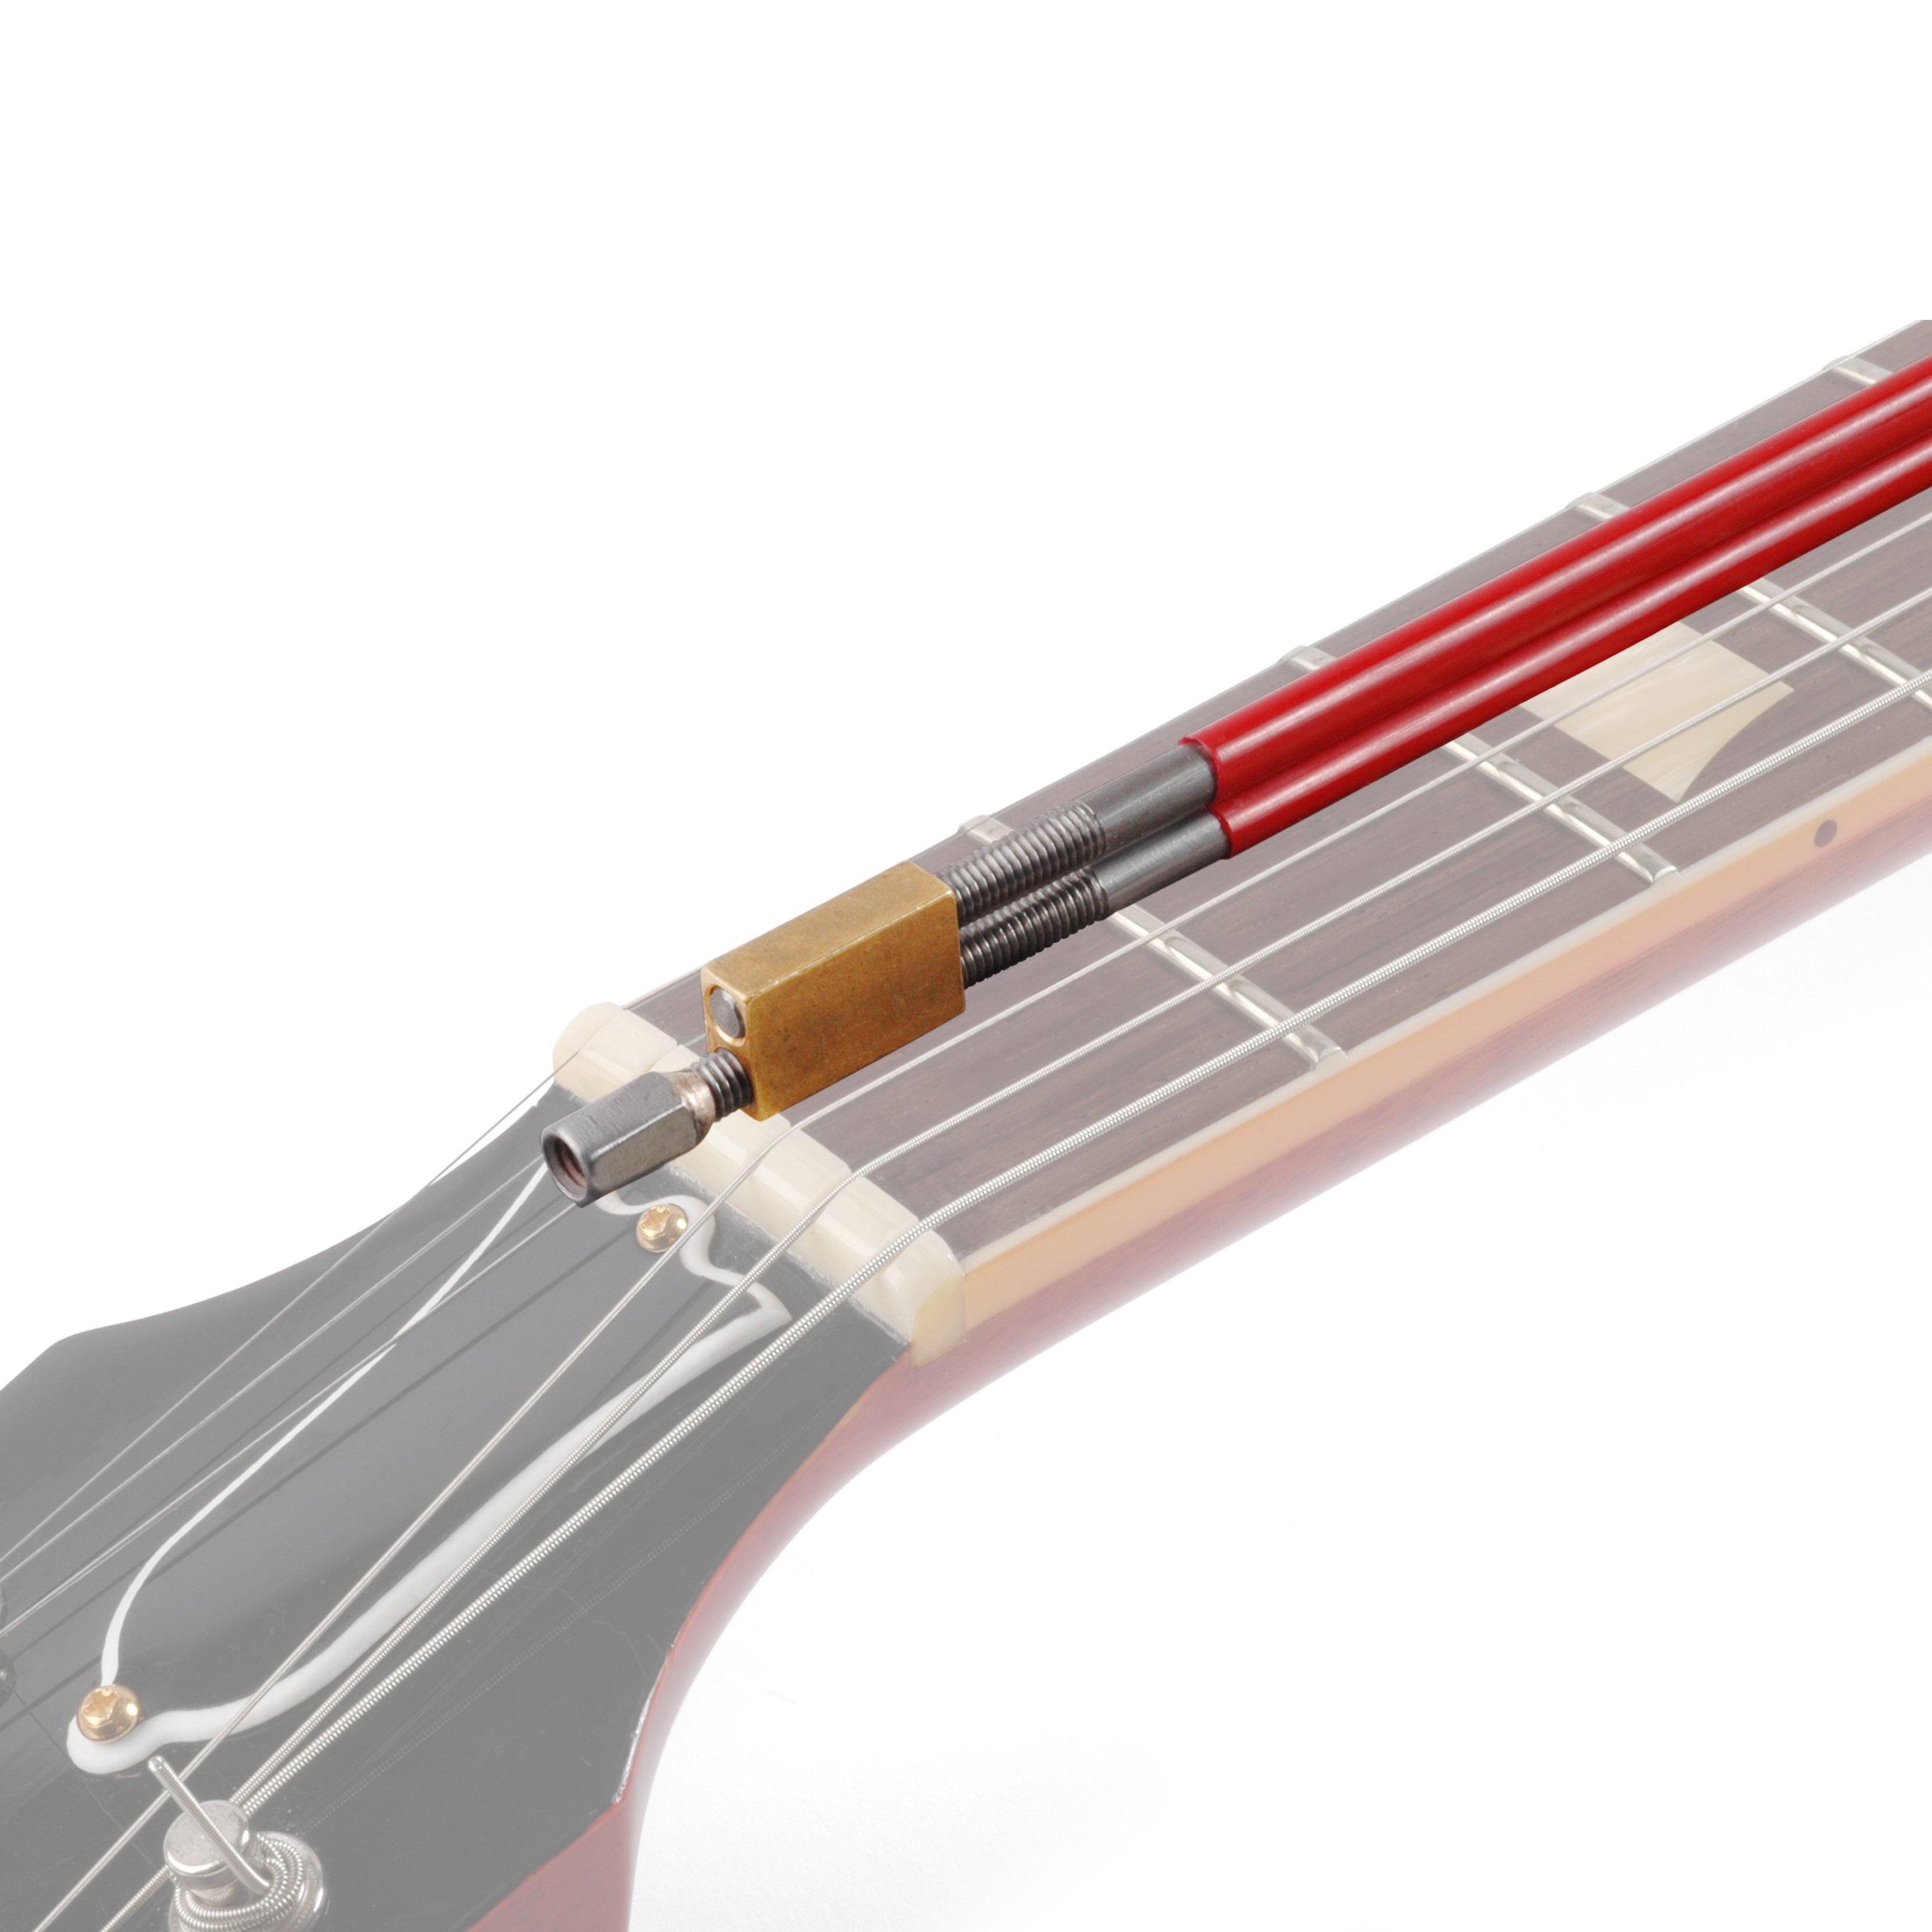
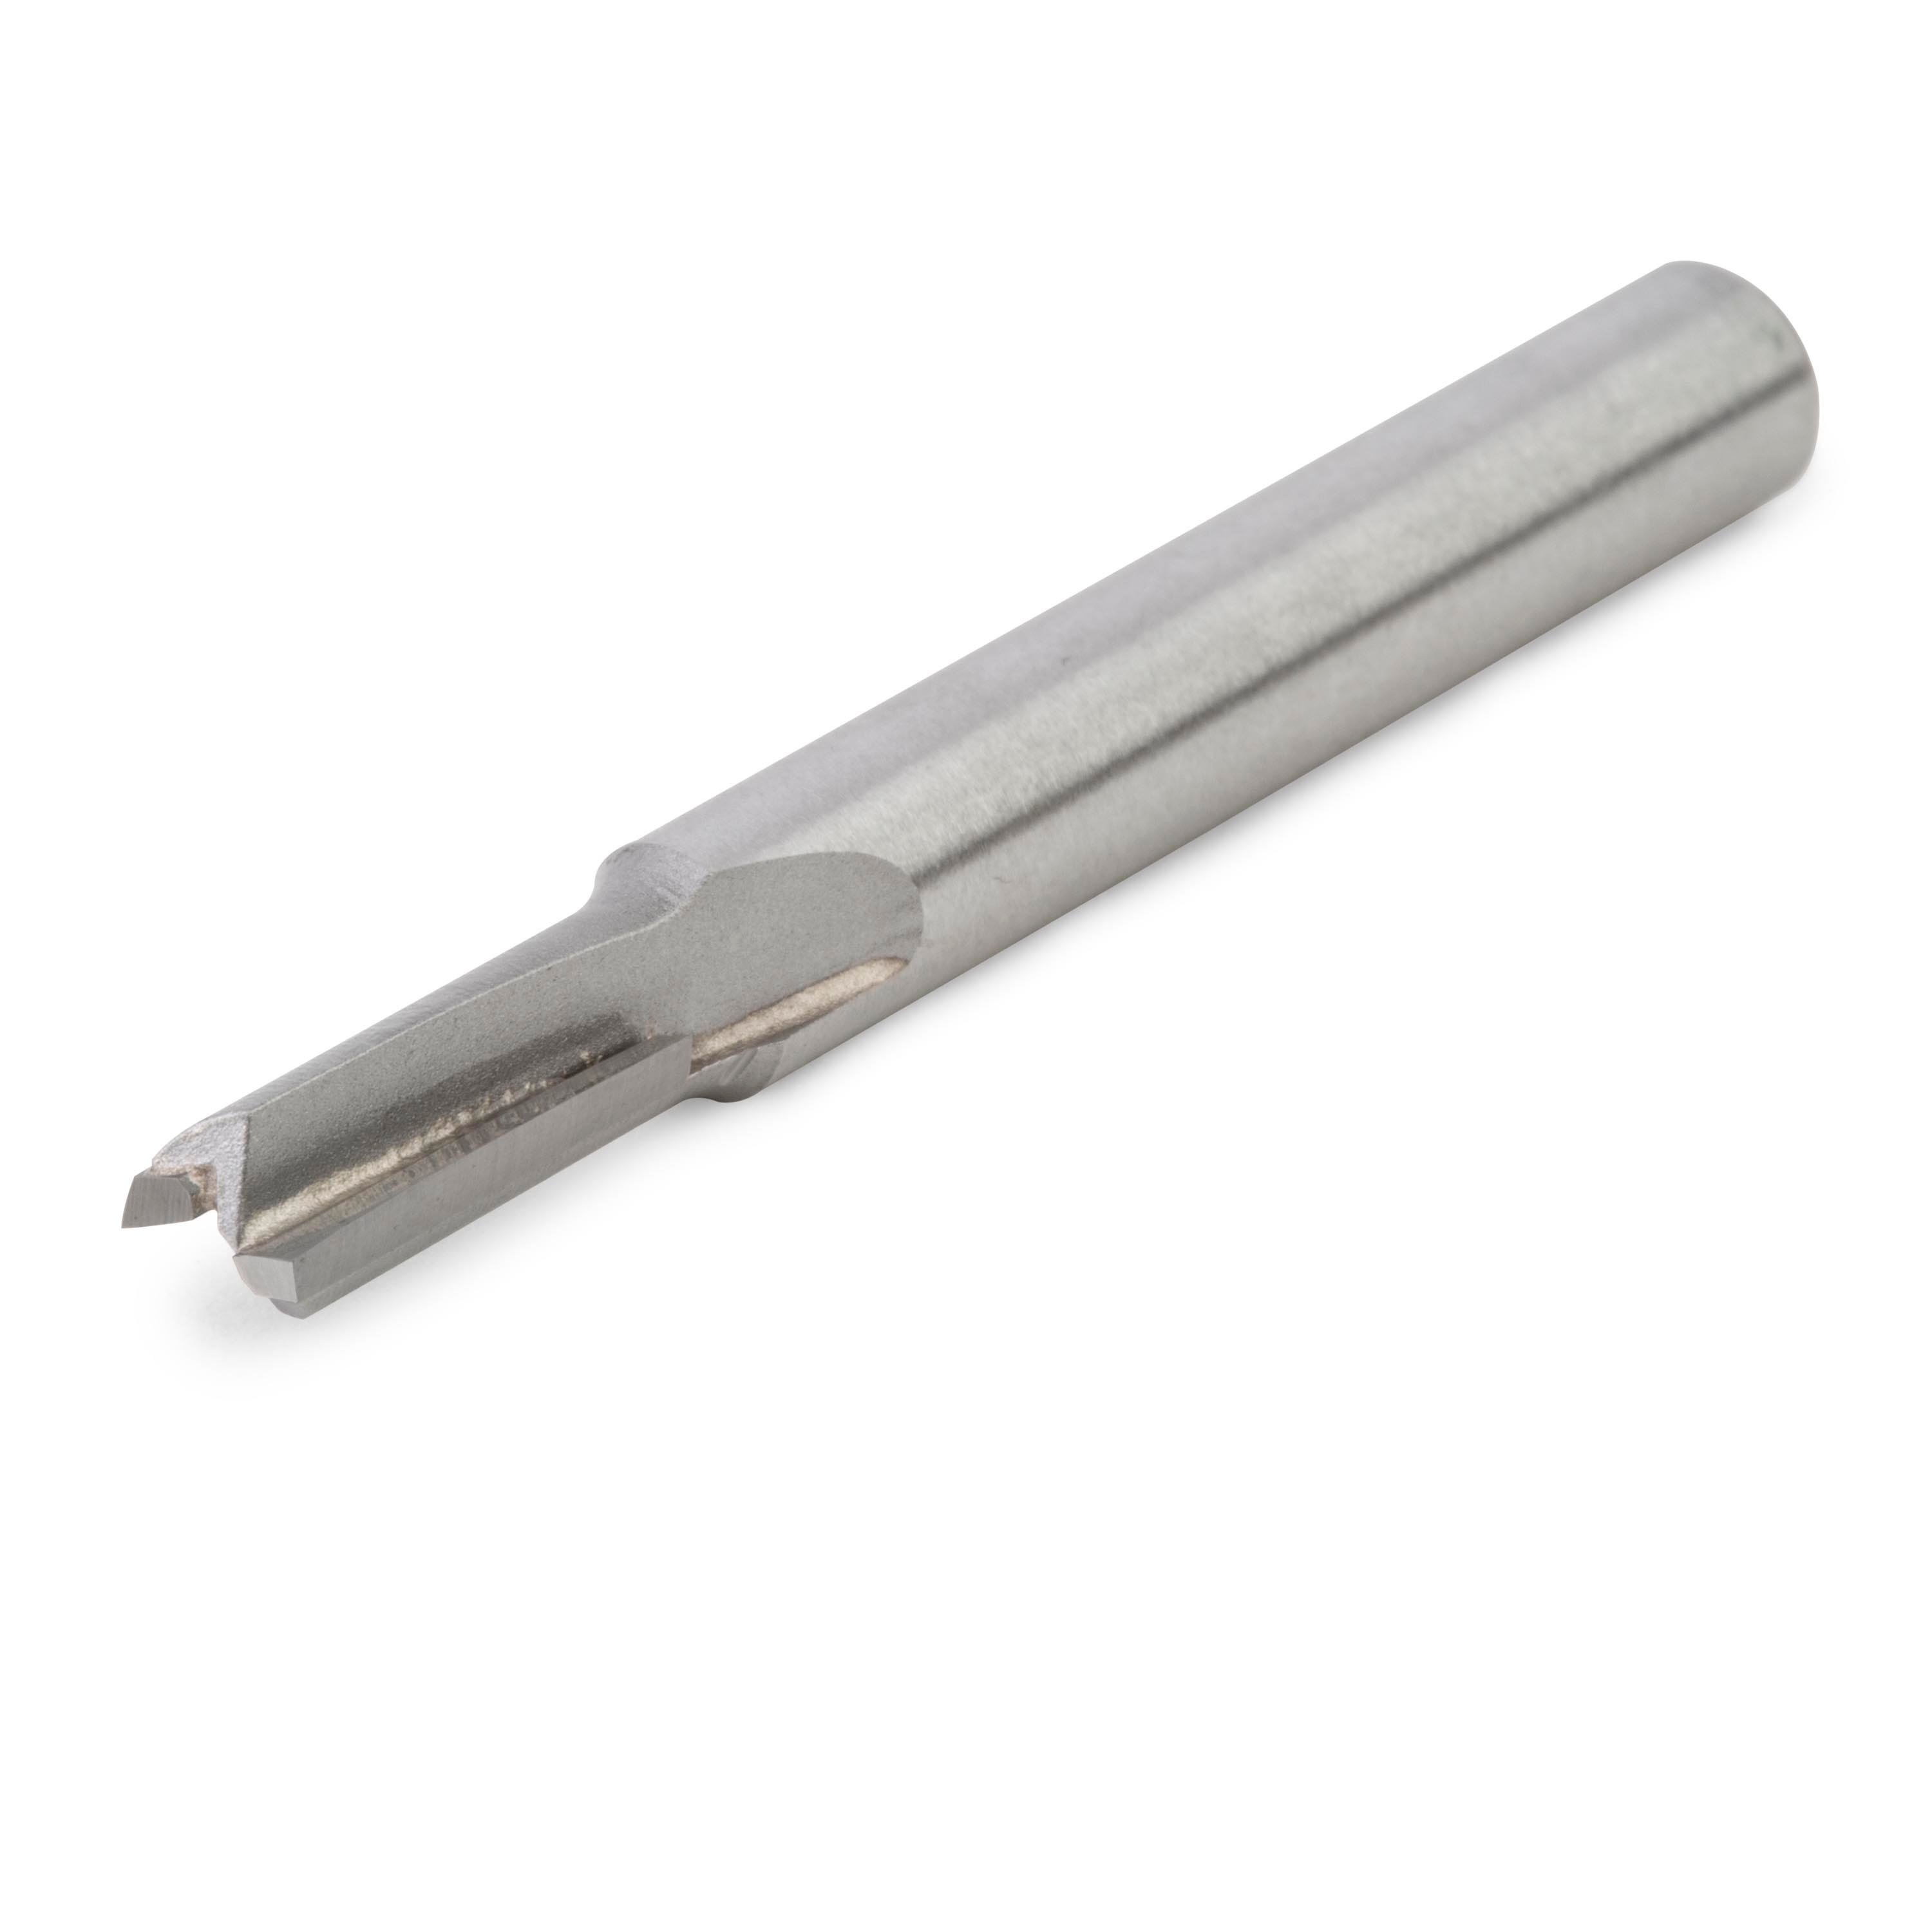
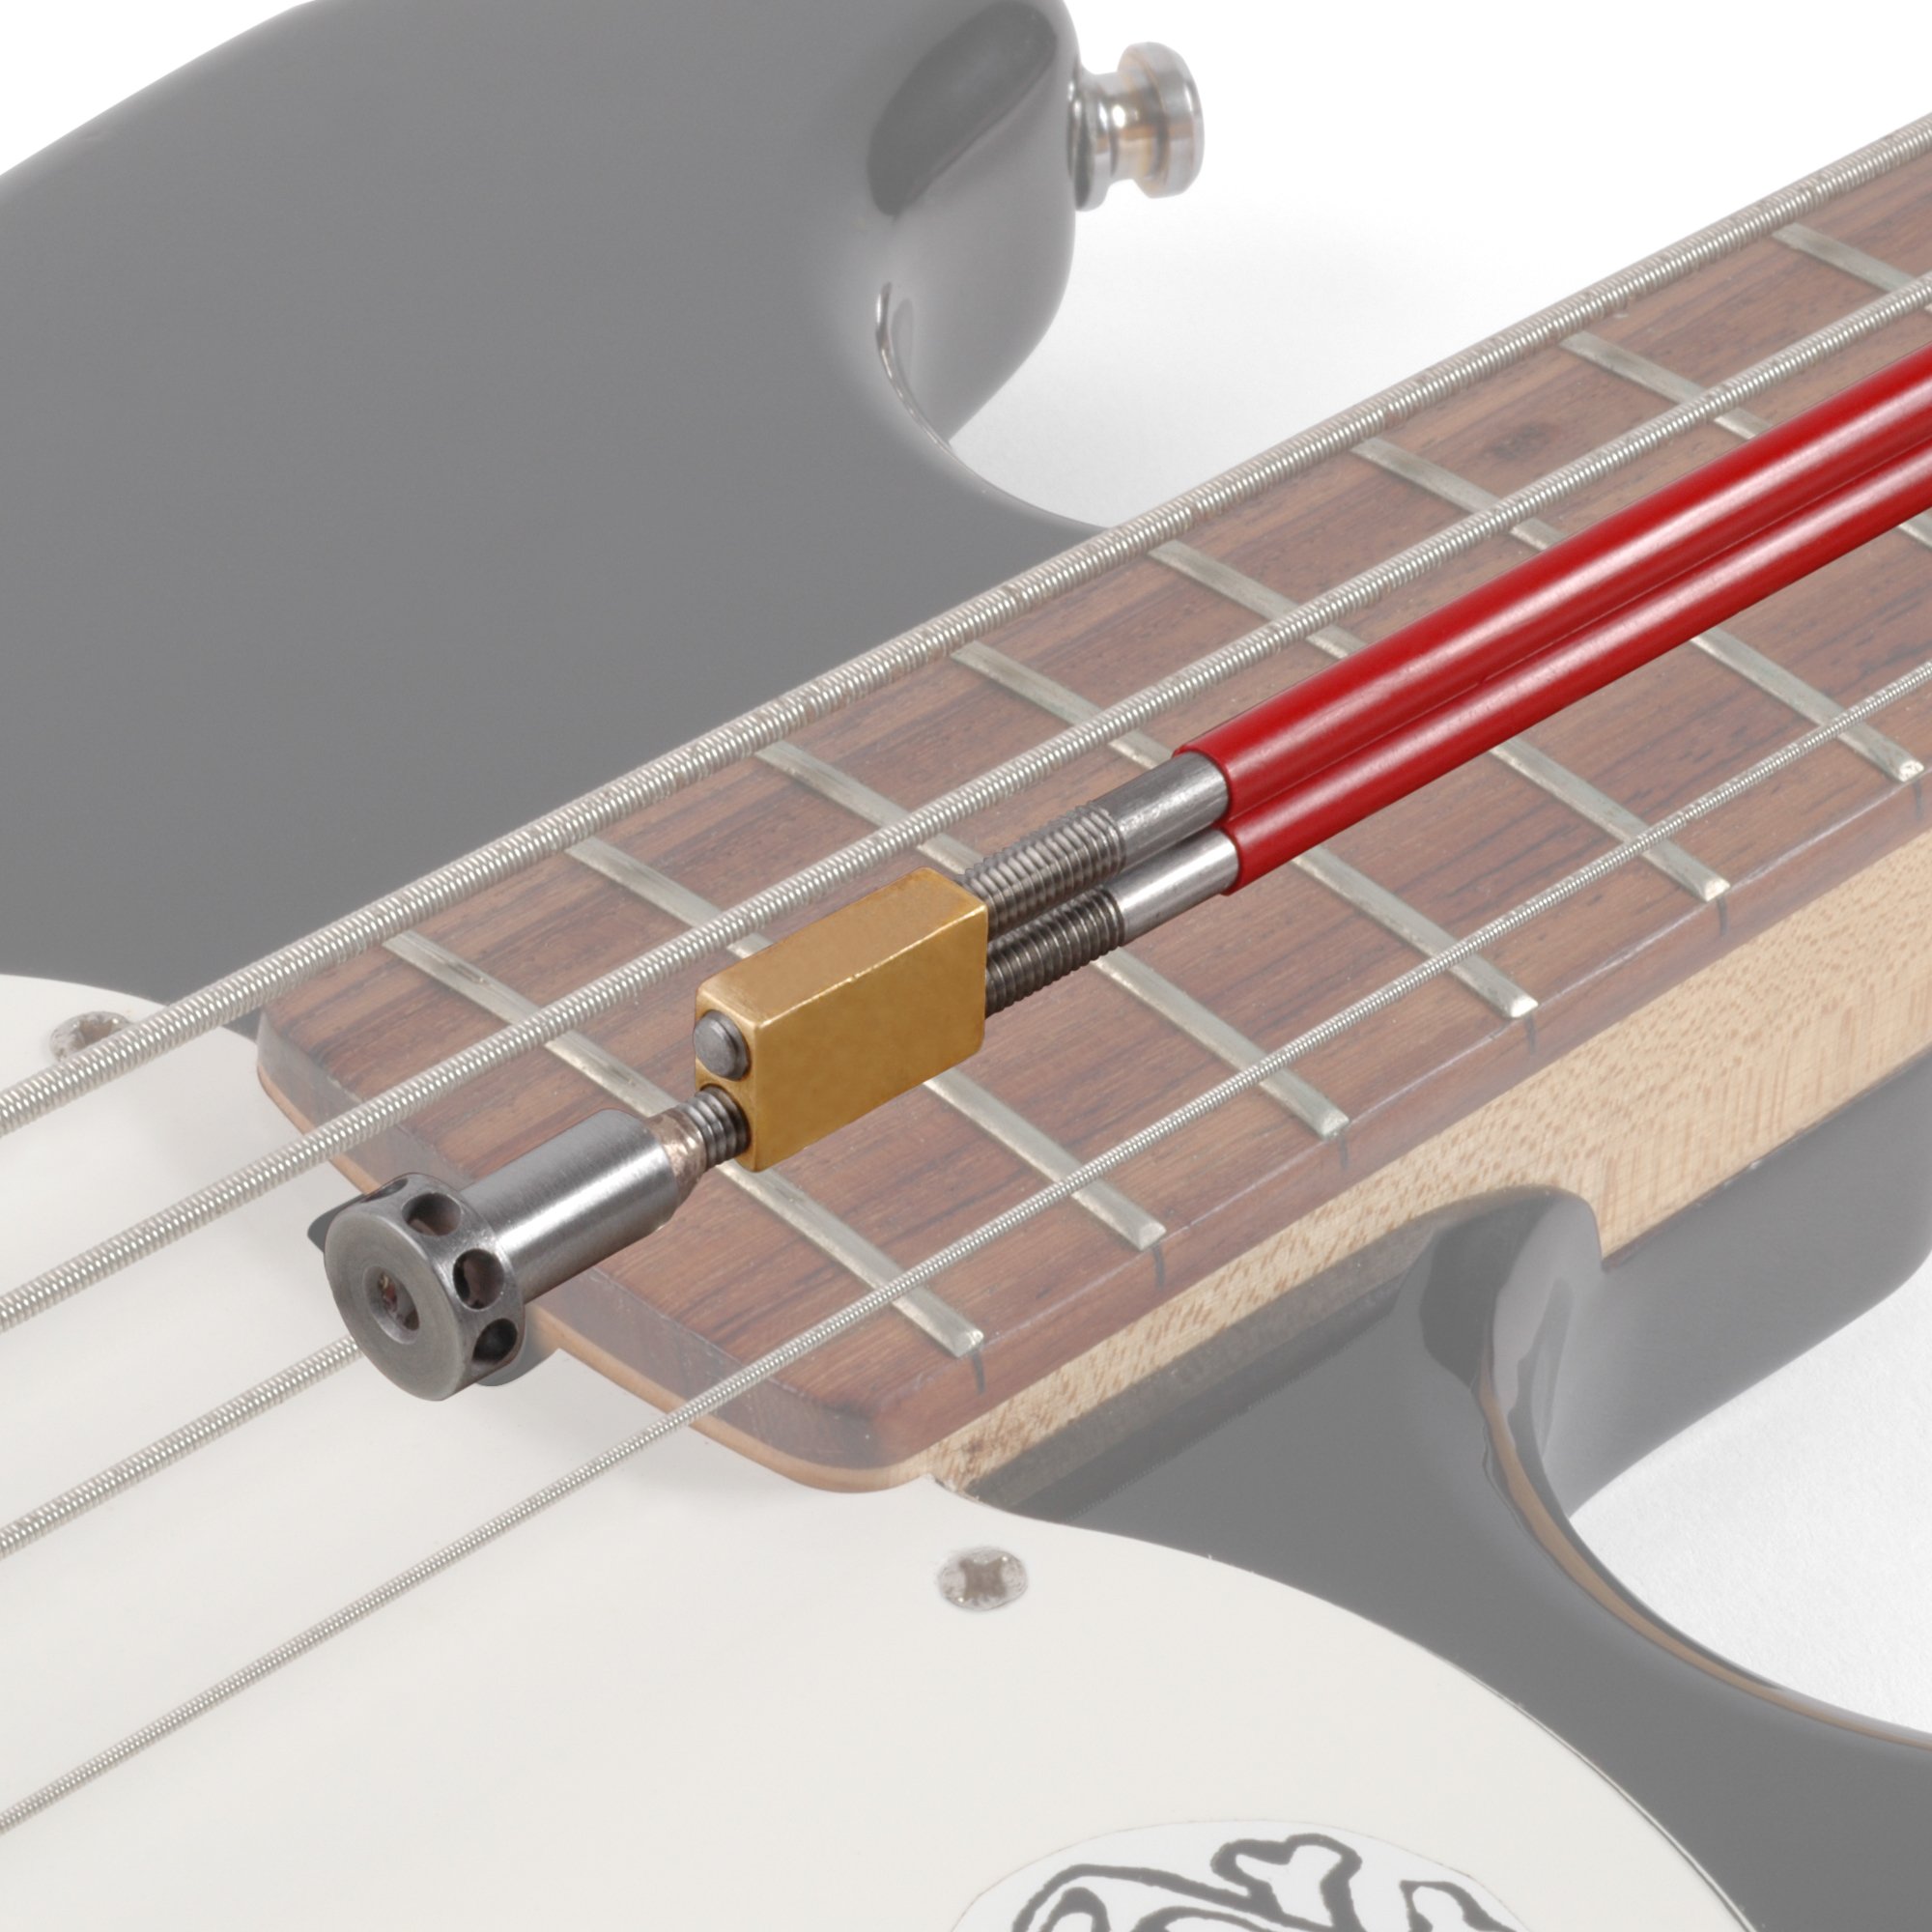
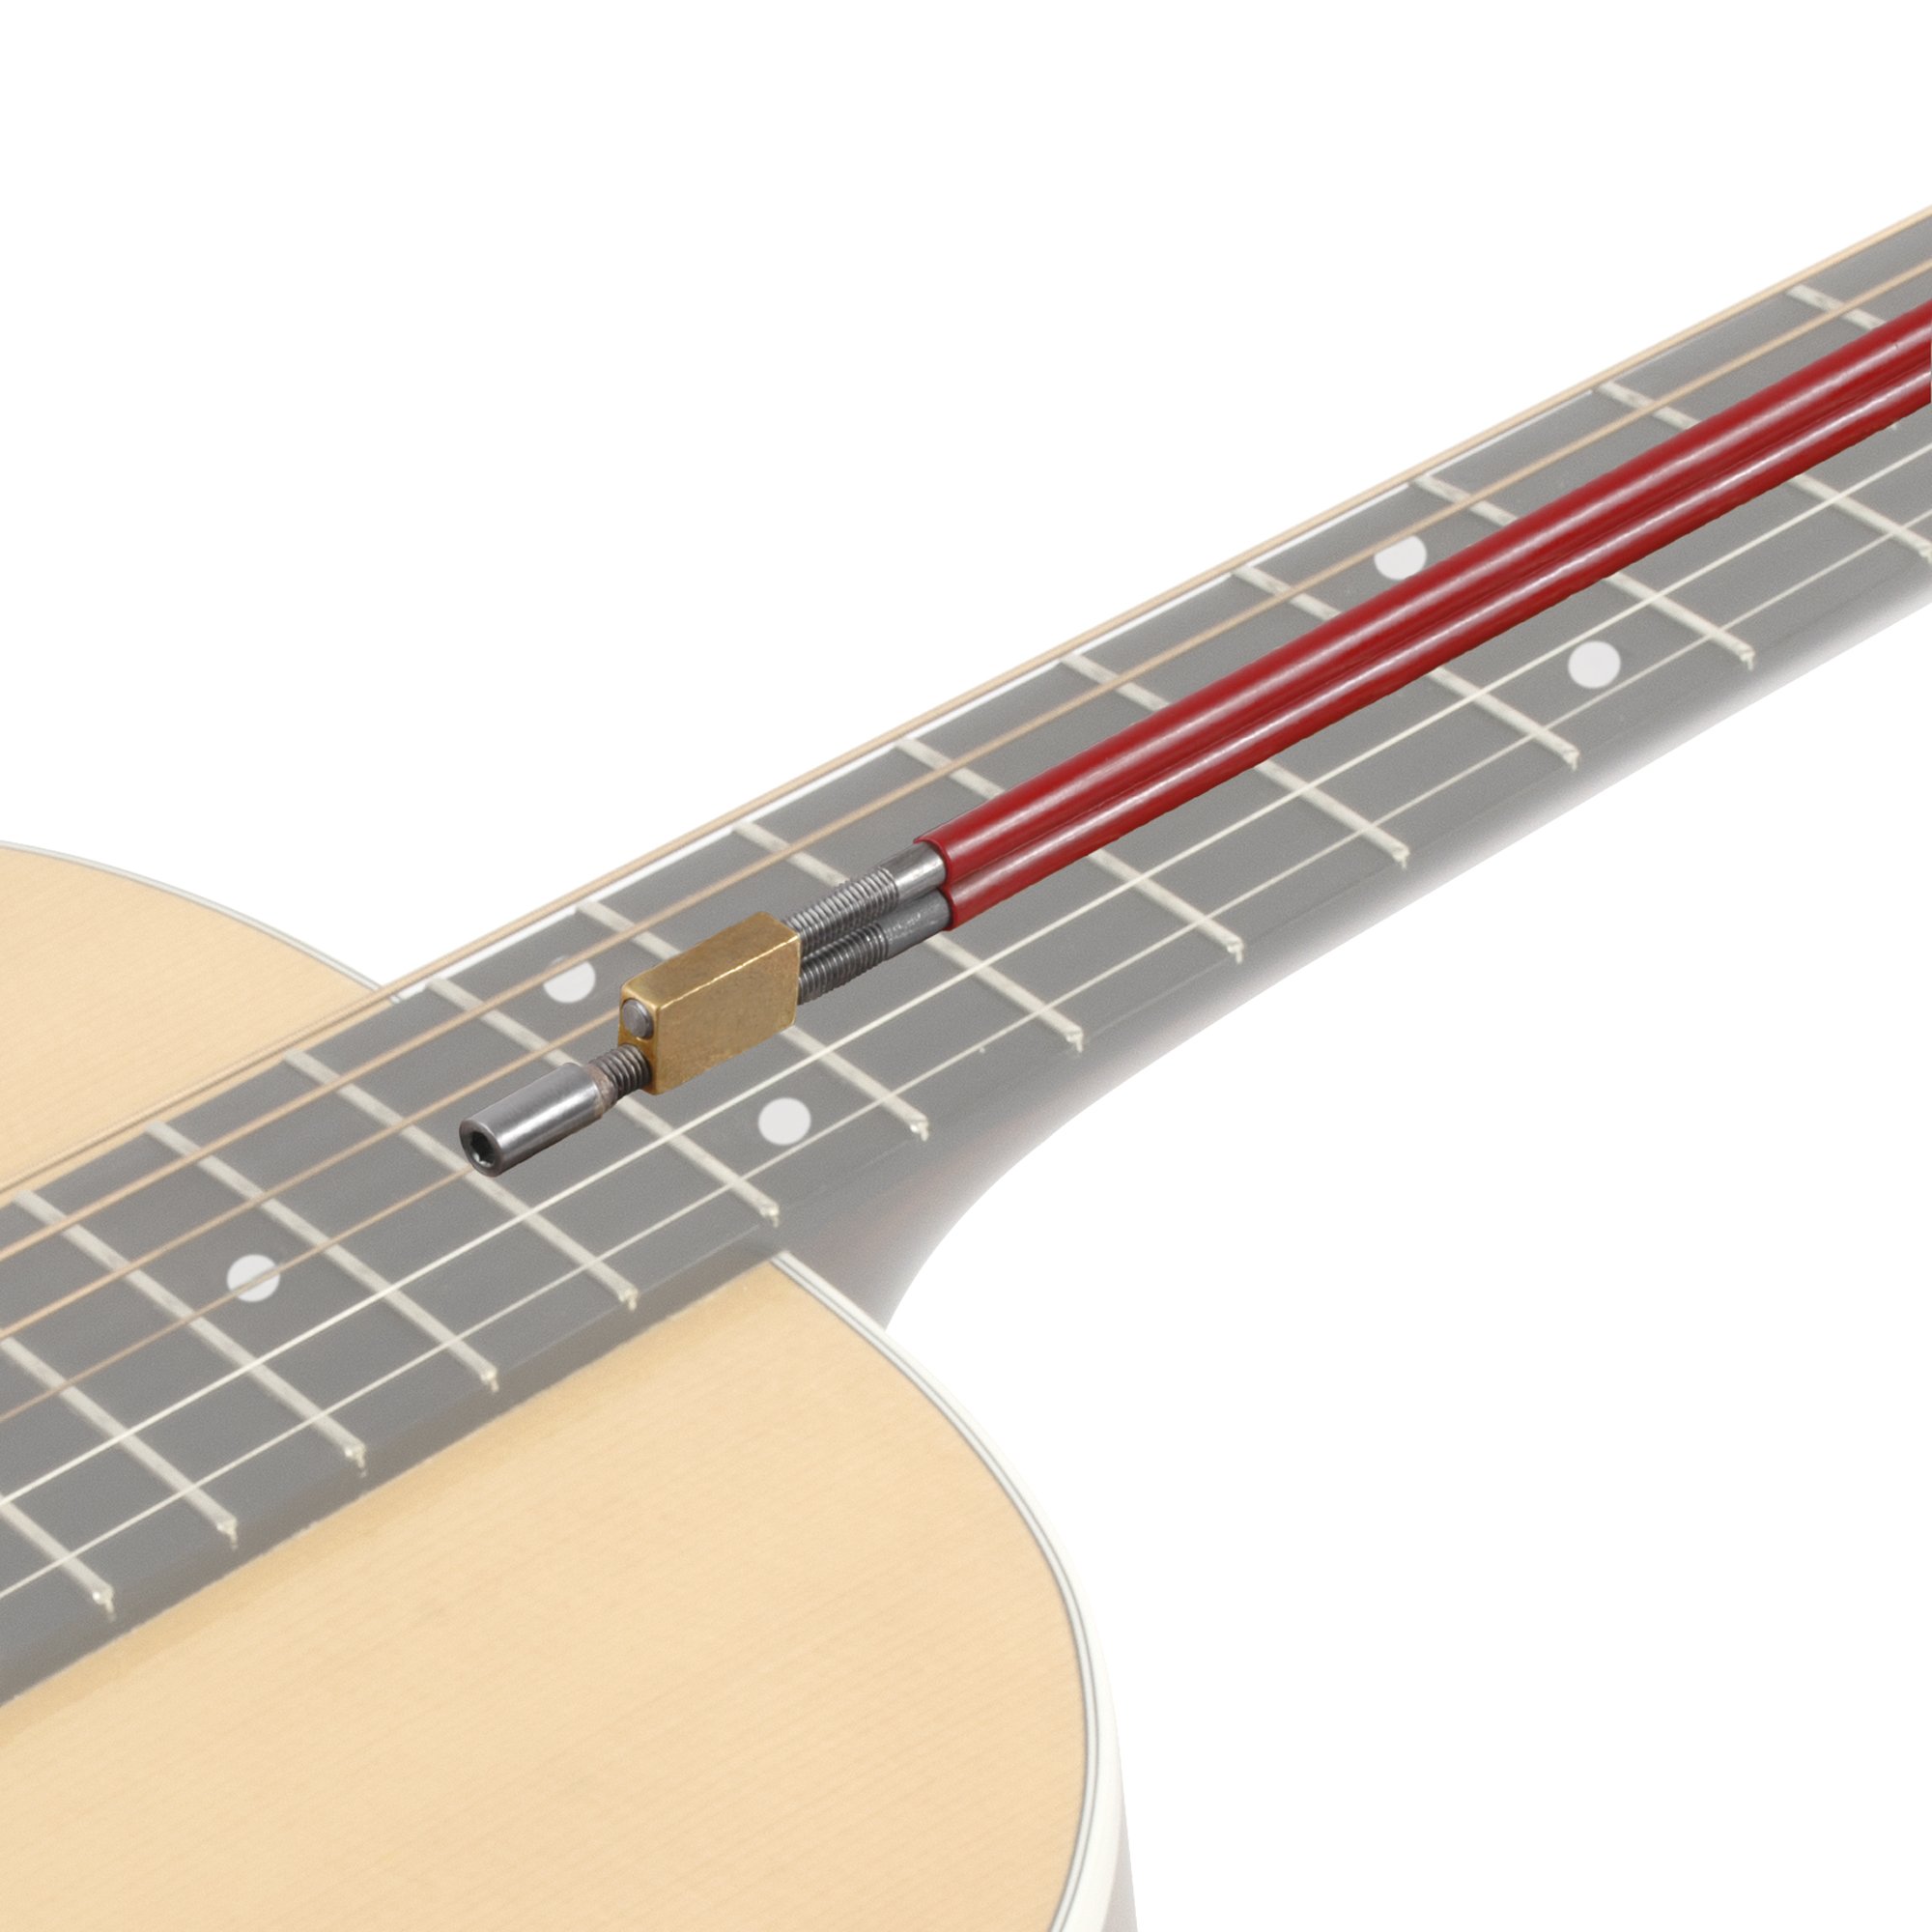
Hot Rod variations include Allen nut, Slotted nut for Fender, and Spoke nut. Our Hot Rod® truss rod is an anchorless neck adjusting system that can correct a neck having either upbow or backbow. It does so uniformly throughout the length of the rod. Installation is simple, and compared to other truss rods, relatively fewer turns of the adjusting nut are required for neck correction. Follow these steps to install the rod: 1. Saw or rout a slot down the centerline of the neck, 7/32" (0.218") wide and 7/16" (0.437") deep. Provide an access for the adjusting nut: For the Slotted nut, you'll need a 3/8"-diameter recess, 1/2" deep on line with the active rod, to accommodate the adjusting nut; for the 4mm Allen nut, use a 1/4" recess, about 1/2" deep; for the 1/4" Hex nut, use a 7/16" recess, about 1/2" deep. The recess can be made with a piloted drill bit, or by clamping a hardwood filler strip into the slot, and drilling as though there is no slot. The acoustic guitar version can be installed for adjustment at the peghead or the neck heel. For heel-adjustable installation, the neck block must be notched or drilled to access the adjustment nut. The truss rod is not designed to extend into the neck block or beyond the neck. This allows neck removal as per a normal dovetail neck reset. To install the "spoke nut" truss rod, counterbore a -3/8"-diameter hole 3/4" deep to accept the shank of the adjustment nut. Allow at least 1/16" clearance between both flat sides of the spoke nut and the guitar's neck heel and neck/body cutout. This will prevent the nut from binding on these surfaces as it is adjusted. A 1/4" x 5/8" access rout in the instrument's pickguard/top and the neck/body cutout is required. 2. Set the truss rod into the slot. Although the rods are cushioned with PVC tubing, we recommend extra cushioning at the nuts to eliminate the possibility of rod rattle. Apply a small amount of silicone bathtub sealer in the slot at the double nuts, then press the rod as deeply into the slot as possible. Use only enough silicone for minimal squeeze-out. A spot or two along the double rods can also be cushioned by a little sealer. 3. The absence of glue in the neck slot will ensure that the truss rod can be removed without "hanging up." Therefore, it's essential to avoid excess glue while installing the fingerboard. We suggest placing 3/4"-wide masking tape down the centerline of the neck, over the installed truss rod. Spread the glue over the neck with a notched glue spreader. Remove the tape and clamp the fingerboard in place. You'll notice a small area on each side of the truss rod that has no glue, but if done properly, the glue will spread just to the edges of the slot and not beyond. After the glue has dried thoroughly, the rod can be tested and used with care. Turn the nut clockwise to correct an upbow, and counterclockwise to correct backbow. As with any truss rod, if you encounter excessive resistance, the neck should first be eased into a corrective bend with clamps. The rod can then be adjusted.
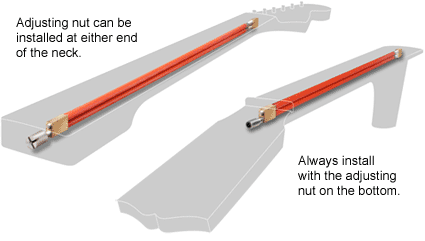
Adjustment
