Basic Set-up Instructions
Erick Coleman walks you through basic set-up instructions to have your guitar playing great in no time.
Basic Setup Kit:
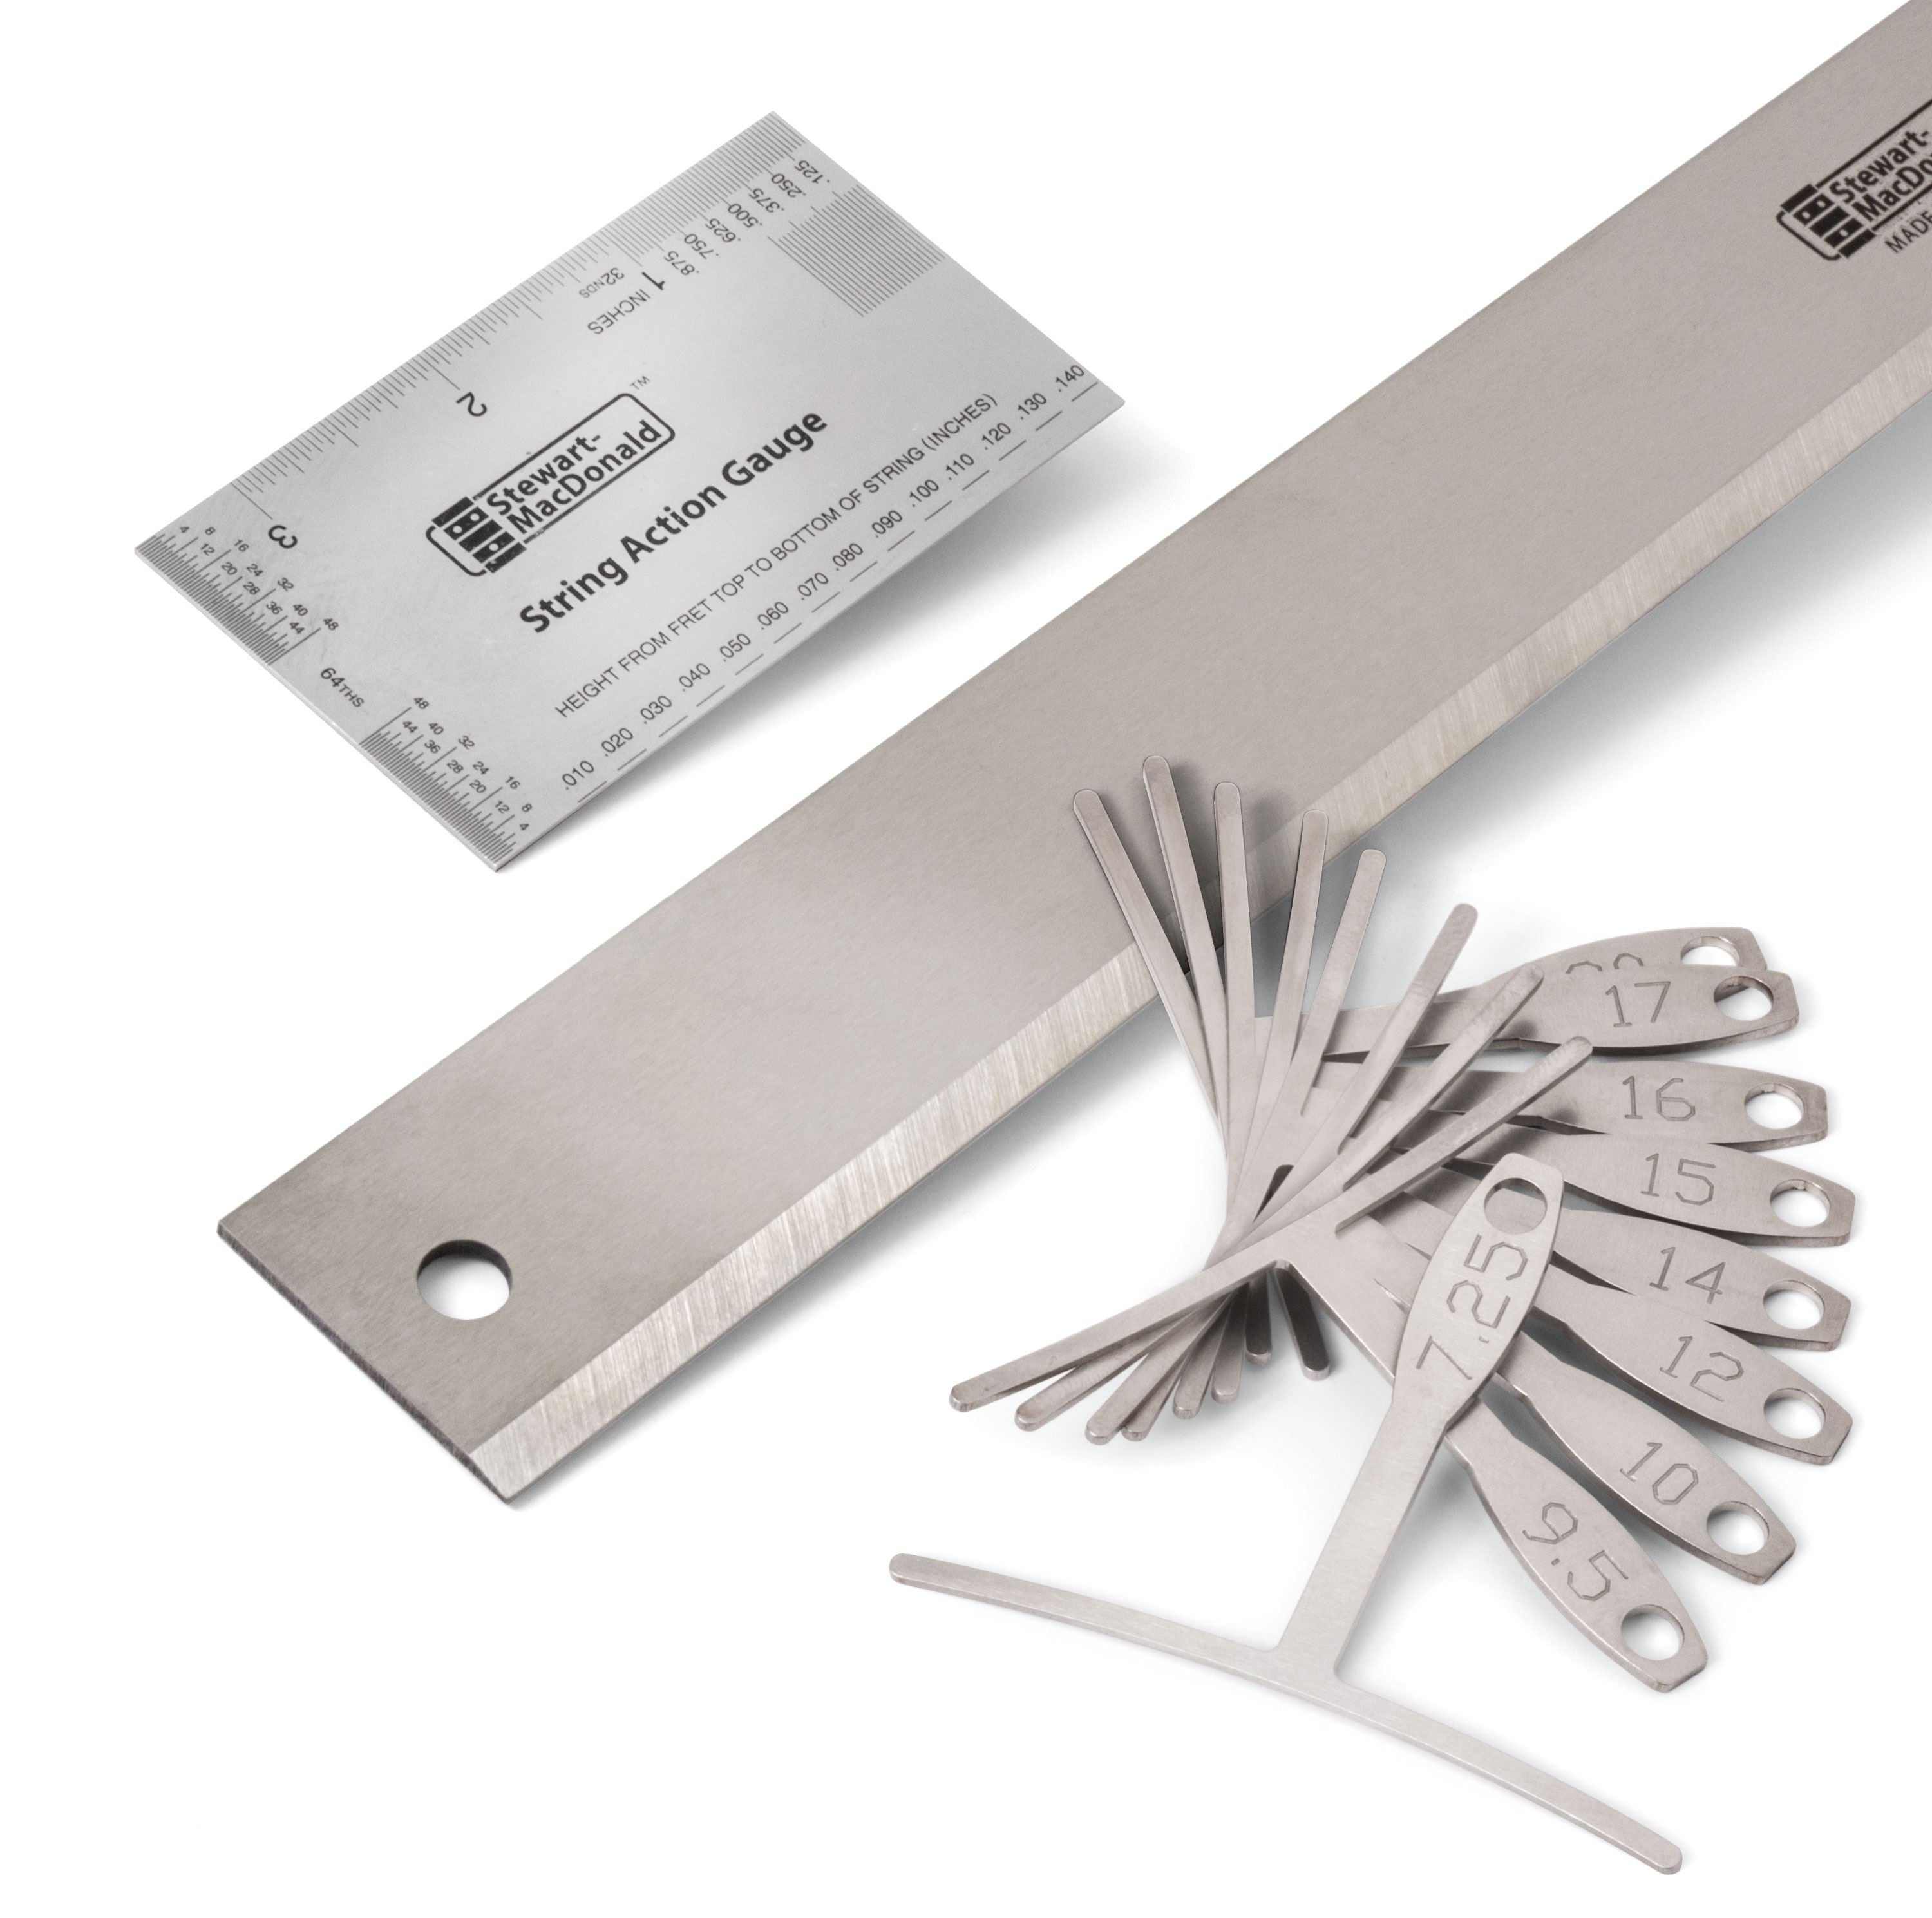
- 18" Staightedge
- String Action Gauge
- Understring Radius Gauges
Additional supplies:
- Truss rod wrench
- Lubricant (petroleum jelly)
- Stiff brush
- Sharpie marker
Setting up a guitar involves working with the bridge, nut, and neck adjustments to dial in the playing action to suit the player.
First, sight the neck just to see what condition it's in. With the guitar on its side, look down the fingerboard edge for overall straightness, back-bow, relief (forward bow) and humps, as well as high or uneven frets. Check the nut to make sure the slots are not too deep, and the bridge saddles to make sure they fit and functioning properly. Compare the fretboard and bridge radii to make sure they match.
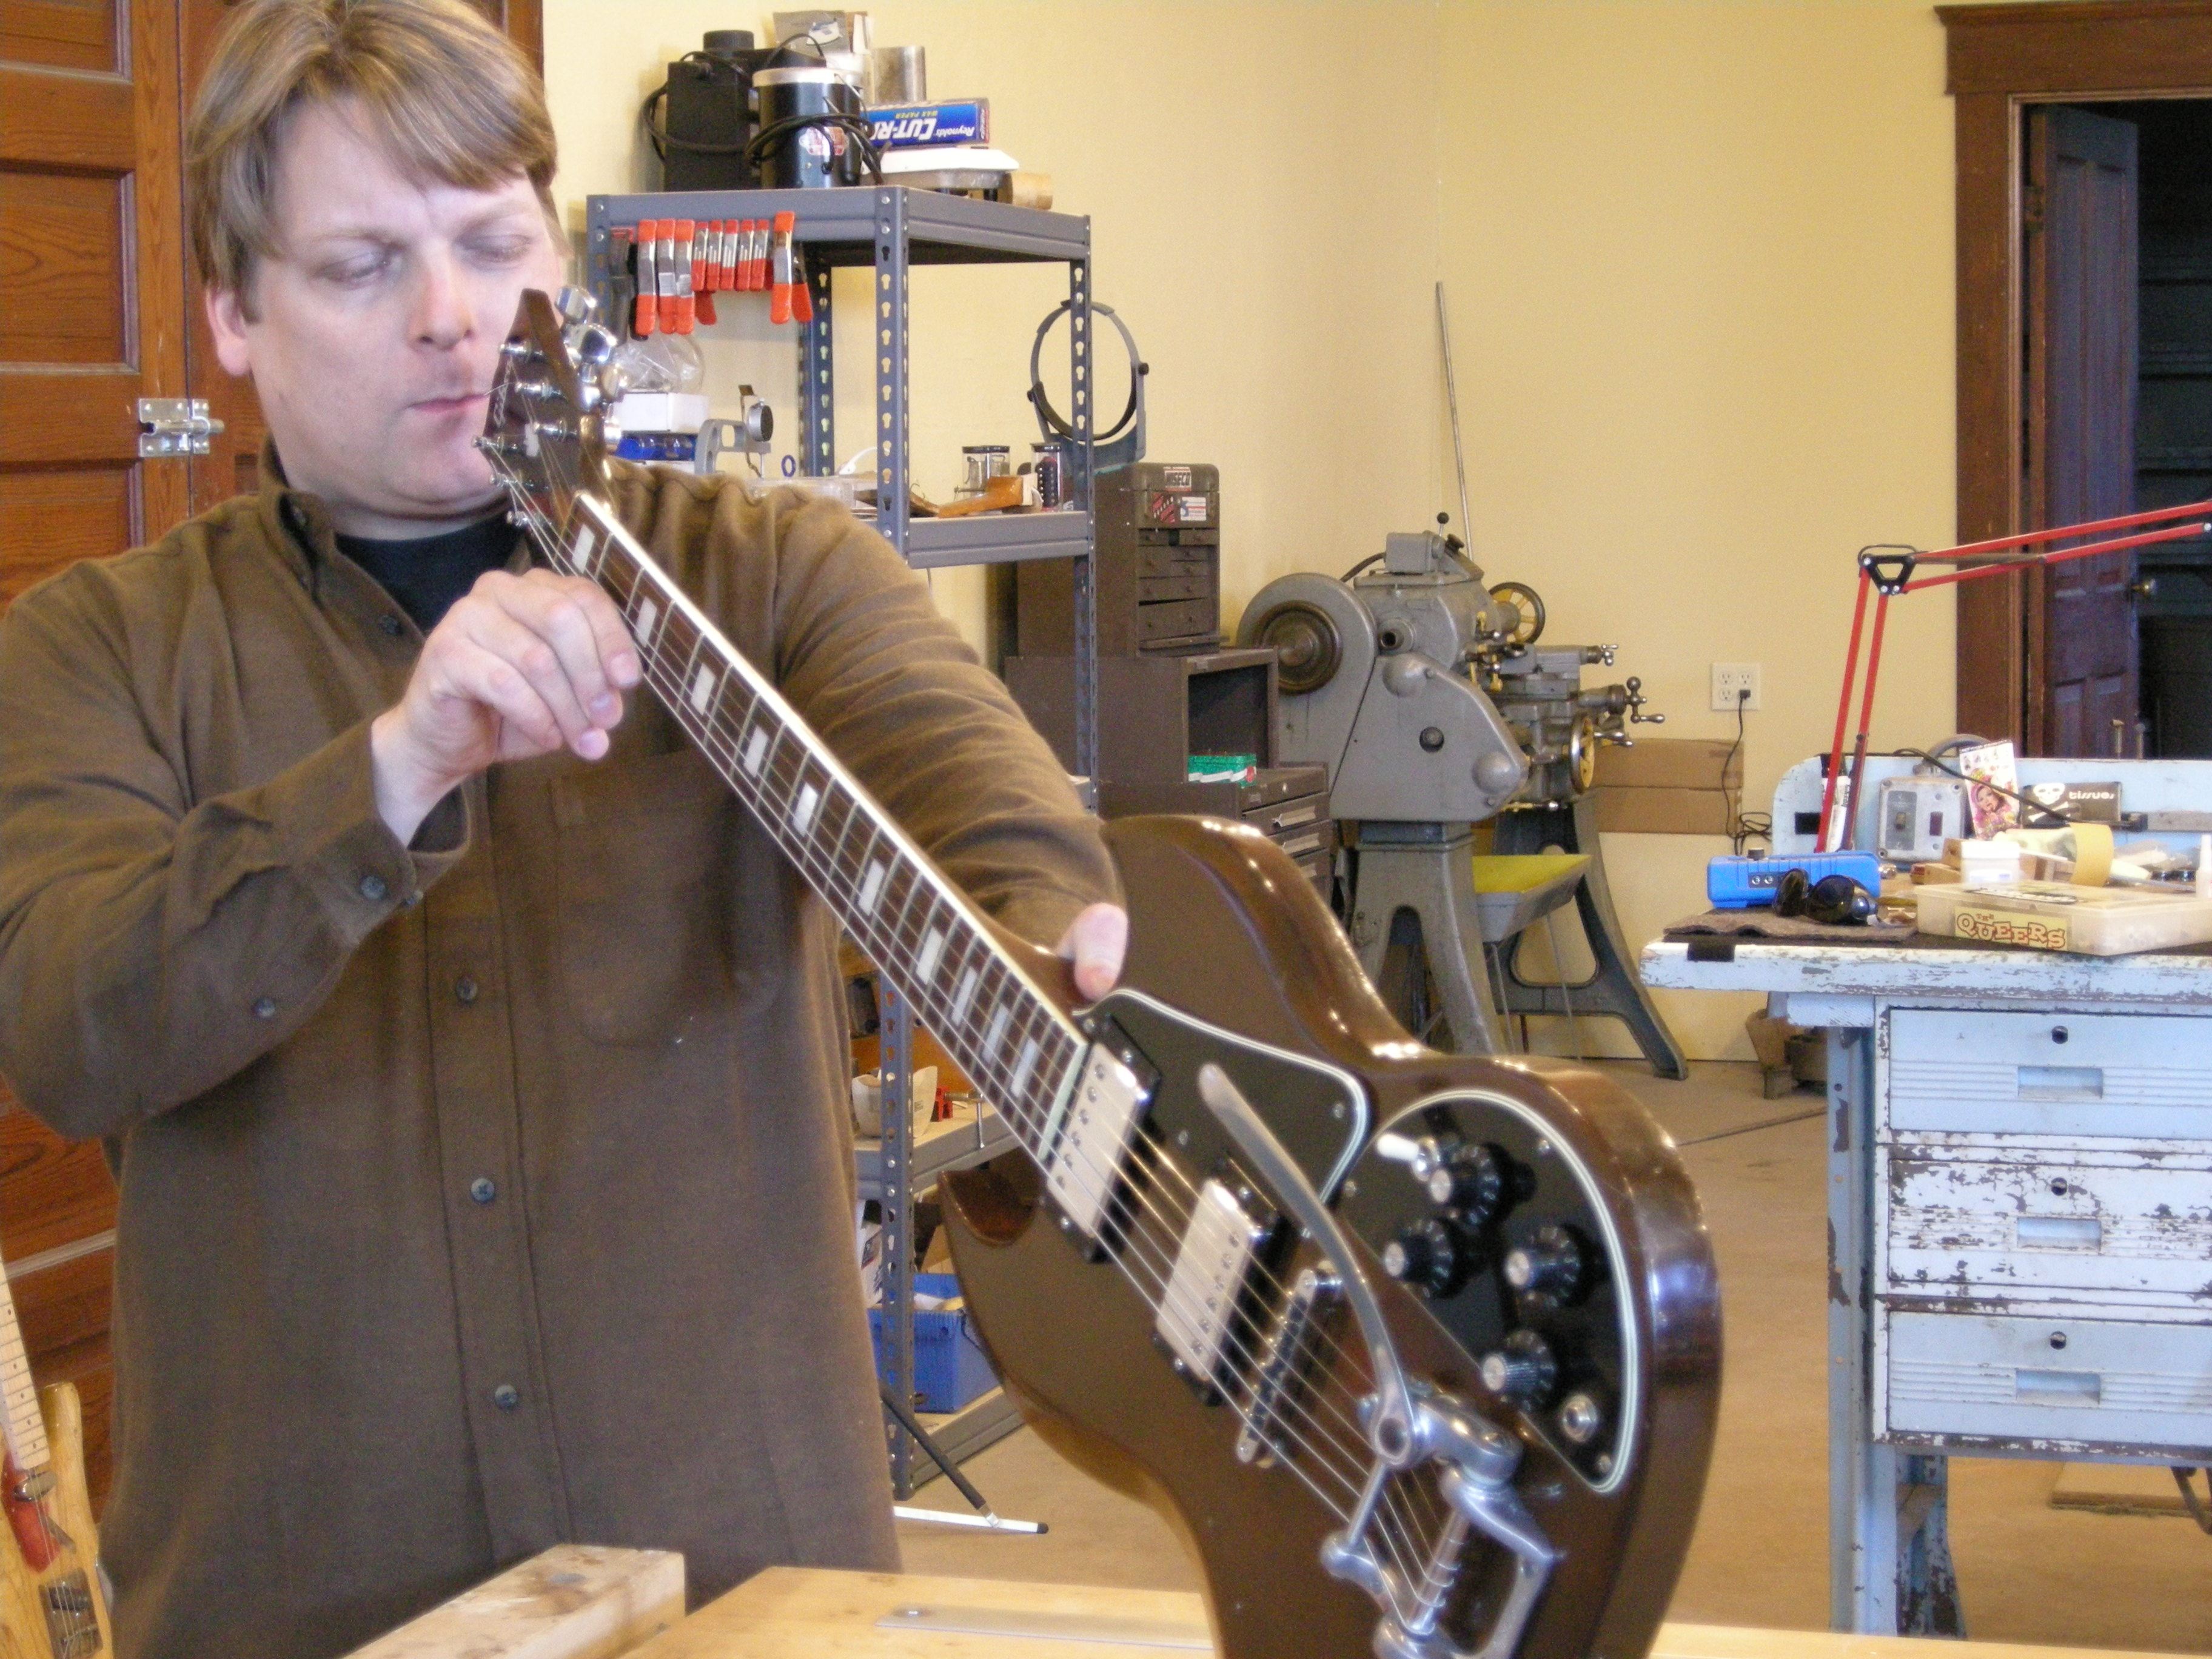 With the guitar on its side, look down the fingerboard edge to evaluate the neck's straightness, back-bow or relief.
Loosen the strings and the truss rod nut, so you can clean and lubricate the truss rod before making any adjustments. Always loosen the truss rod nut first, as it could already be maxed out. This prevents the possibility of shearing off the nut.
Use a small brush to remove built-up debris, lacquer and polishing compound from the threads and the bearing surfaces of the nut and rod. Compressed air works well for removing dirt and fine particles. After cleaning, apply a very small amount of lubricant to the threads on the inside of the truss rod nut using care not to get any on the bare wood.
Without putting any tension on the rod, reinstall the nut until it is just snug and mark a line on it with a pen. This marks your starting point, and will be a good reference when adjusting a truss rod.


With the guitar strung up to pitch and held in the playing position, use your straightedge to evaluate relief. Measuring in the playing position is important because of the effects of gravity: a guitar laying on its back will give different measurements than it does on its side (playing position). If the neck is in relief (bowed forward), tighten the nut until the straightedge lays as flat as possible on the frets. If the guitar is in a back bow, loosen the nut until the straightedge lies flat on the frets.This process will likely reveal any loose or uneven frets.


It's important to achieve a straight neck. This is the preferred setup for most players, and it's a necessary starting point for all setups. Some players, especially those who play with a heavy attack and like low action, will prefer to have some relief in the neck: this small amount of up-bow reduces buzzes and fret noise for these players. It's a matter of personal preference.
Address any problem frets or nut and saddle issues before proceeding to the next step. When these are taken care of, you're ready to fine-tune your setup.
The idea is to have the bridge and saddle radii match, to have the neck straight (or with a small amount of relief if you prefer) and the action adjusted to a comfortable height for the player. Action and relief are very much a matter of player preference, so talking with the player will help you decide what approach to take.
Use the understring radius gauges to first determine the radius of the fretboard, then check the radius at the bridge to make sure they match.
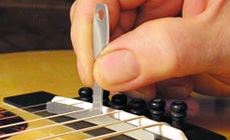
Use the setup suggestions included with the String Action Gauge as your starting point. Adjust the truss rod to add relief to the neck, if that's what the player prefers. Then, measuring with the String Action Gauge, adjust the string height to the player's preference. This may involve adjusting the height of the saddles or of the string slots in the nut.