Using three different glues: where and why?
Issue 210 February 13, 2014
Titebond or hide glue? Hot glue or bottled? Dan Erlewine uses three glues for this repair, and each has different properties. He explains why one glue can't cover all the bases. And he's created some pretty interesting cauls for clamping this job together while it dries!
About the guitar in this video: This 1930s Kay Deluxe is a fixer-upper that Dan worked on in the previous issue of Trade Secrets. This is the second step on its road to recovery!
- Titebond: Loads of uses for repairs and caul making
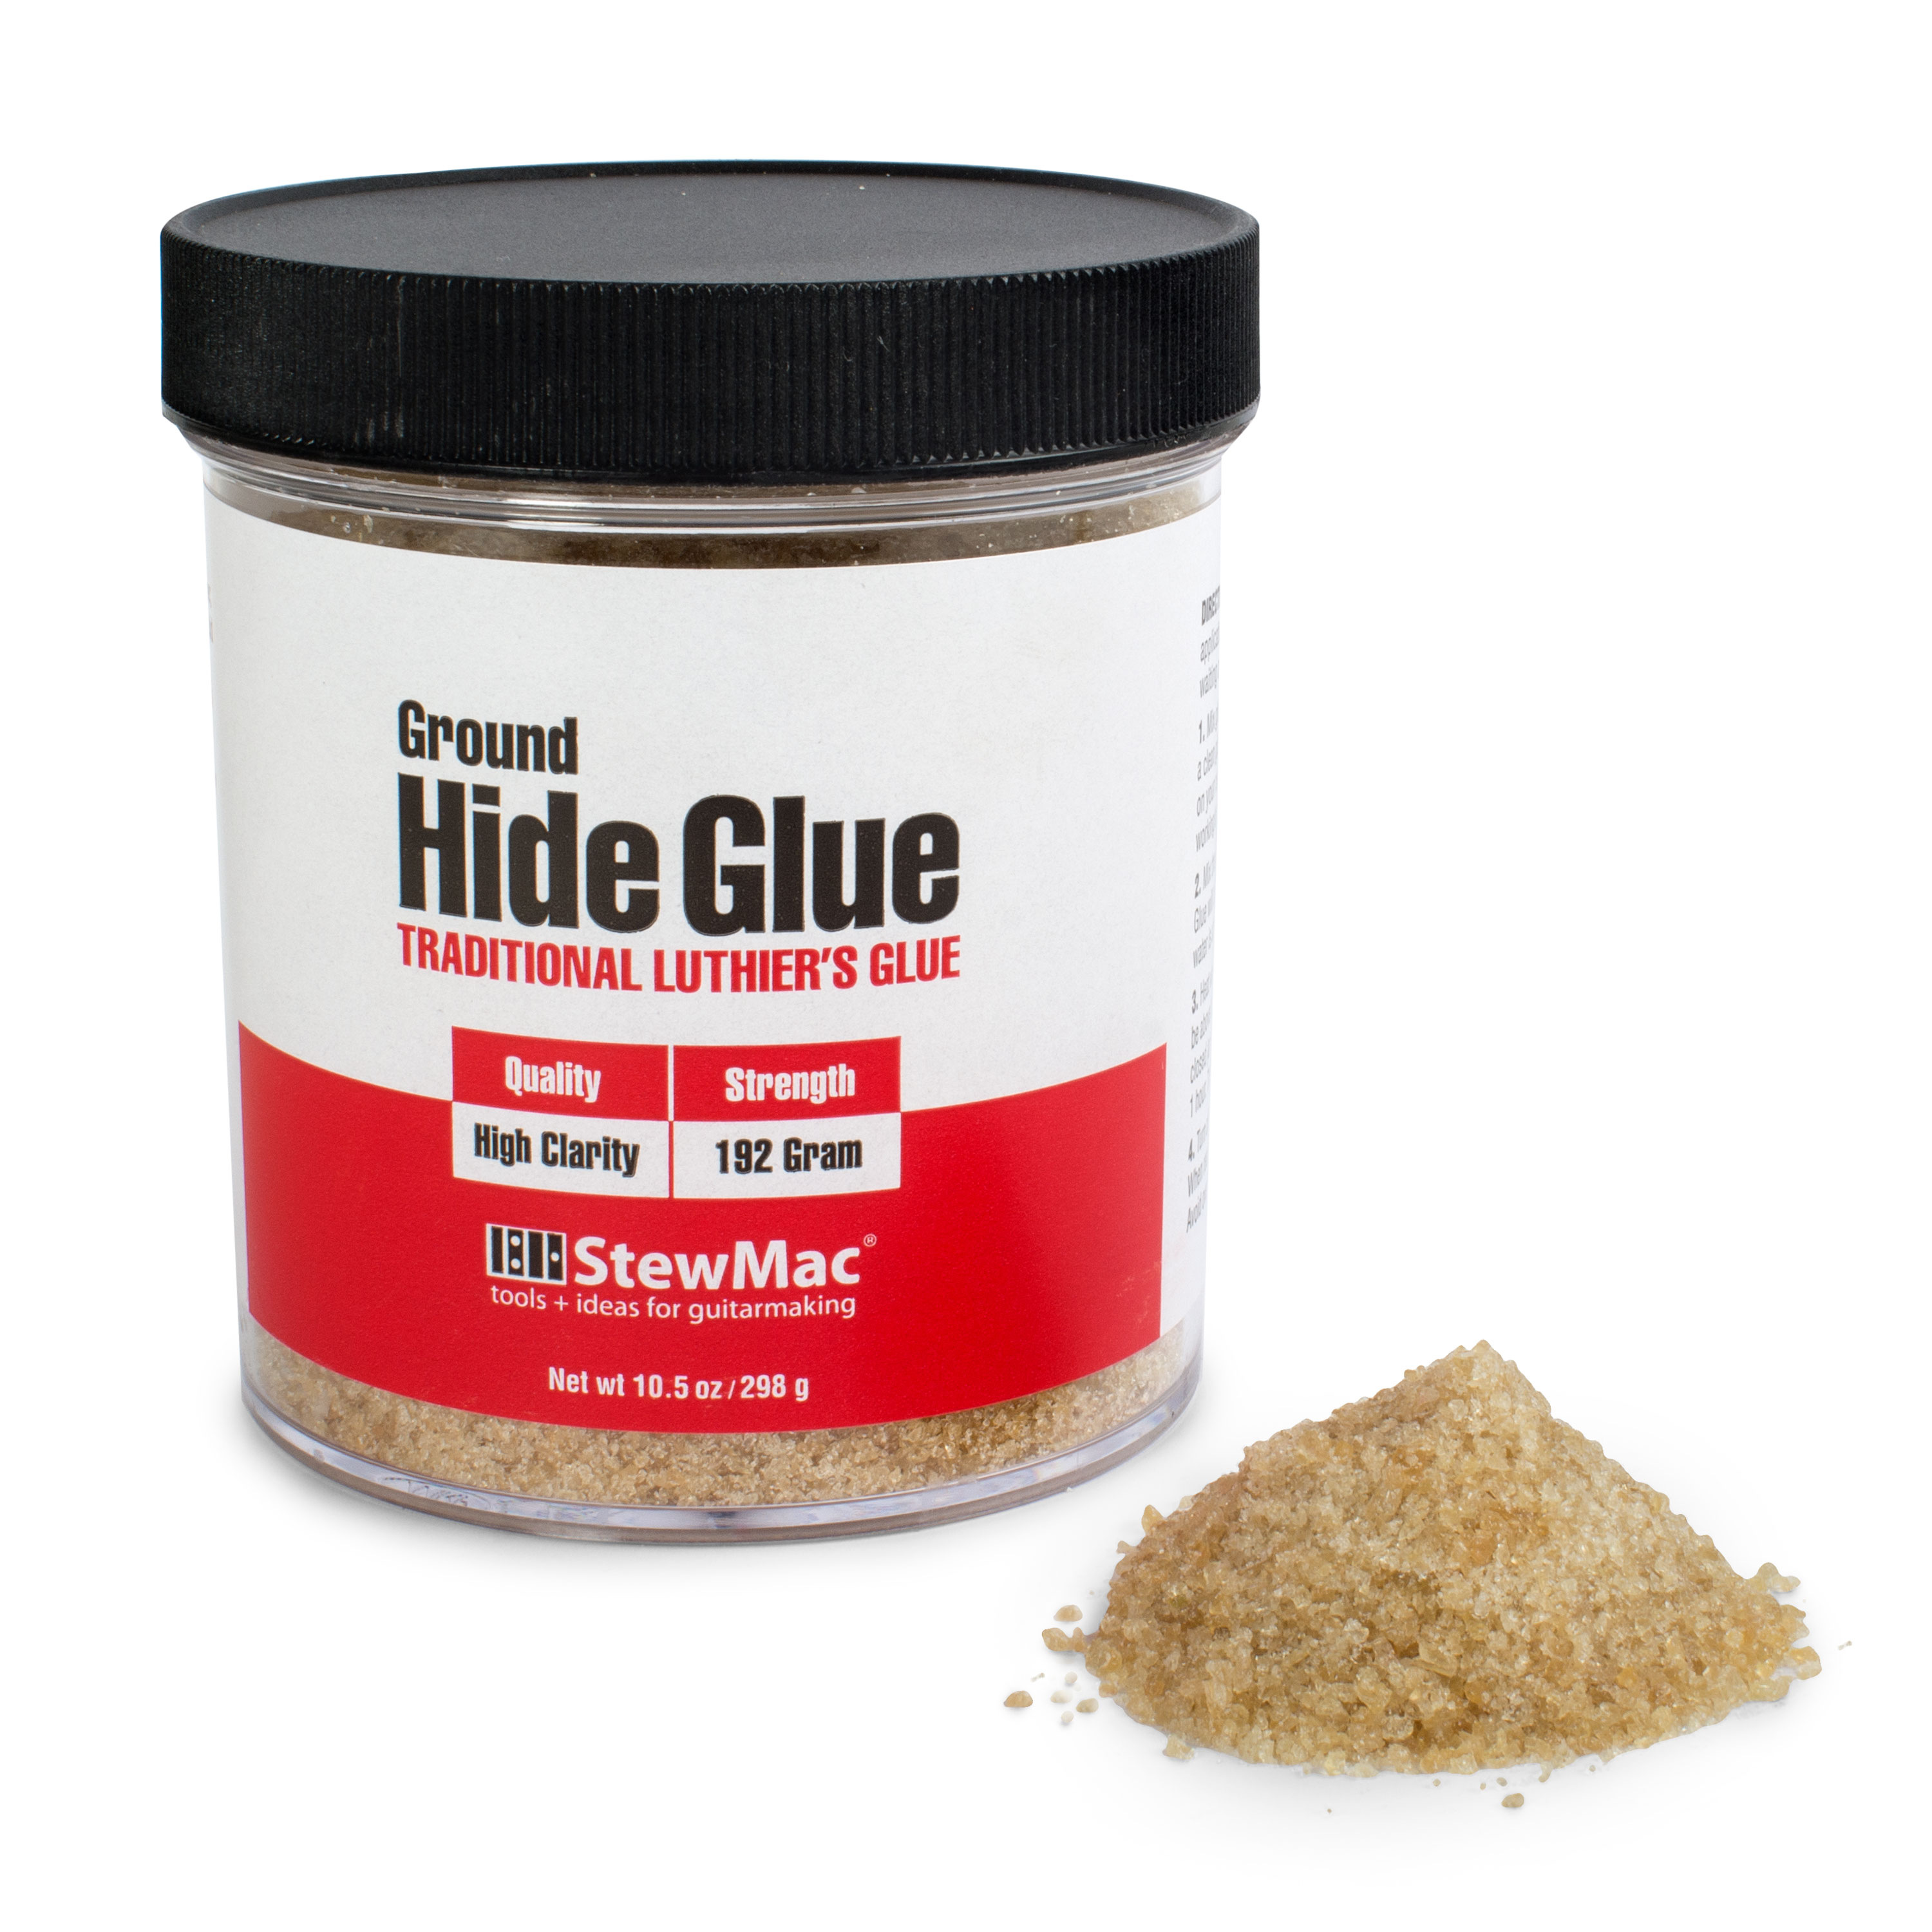
- Hot hide glue: Dan's favorite, but it has a very short working time
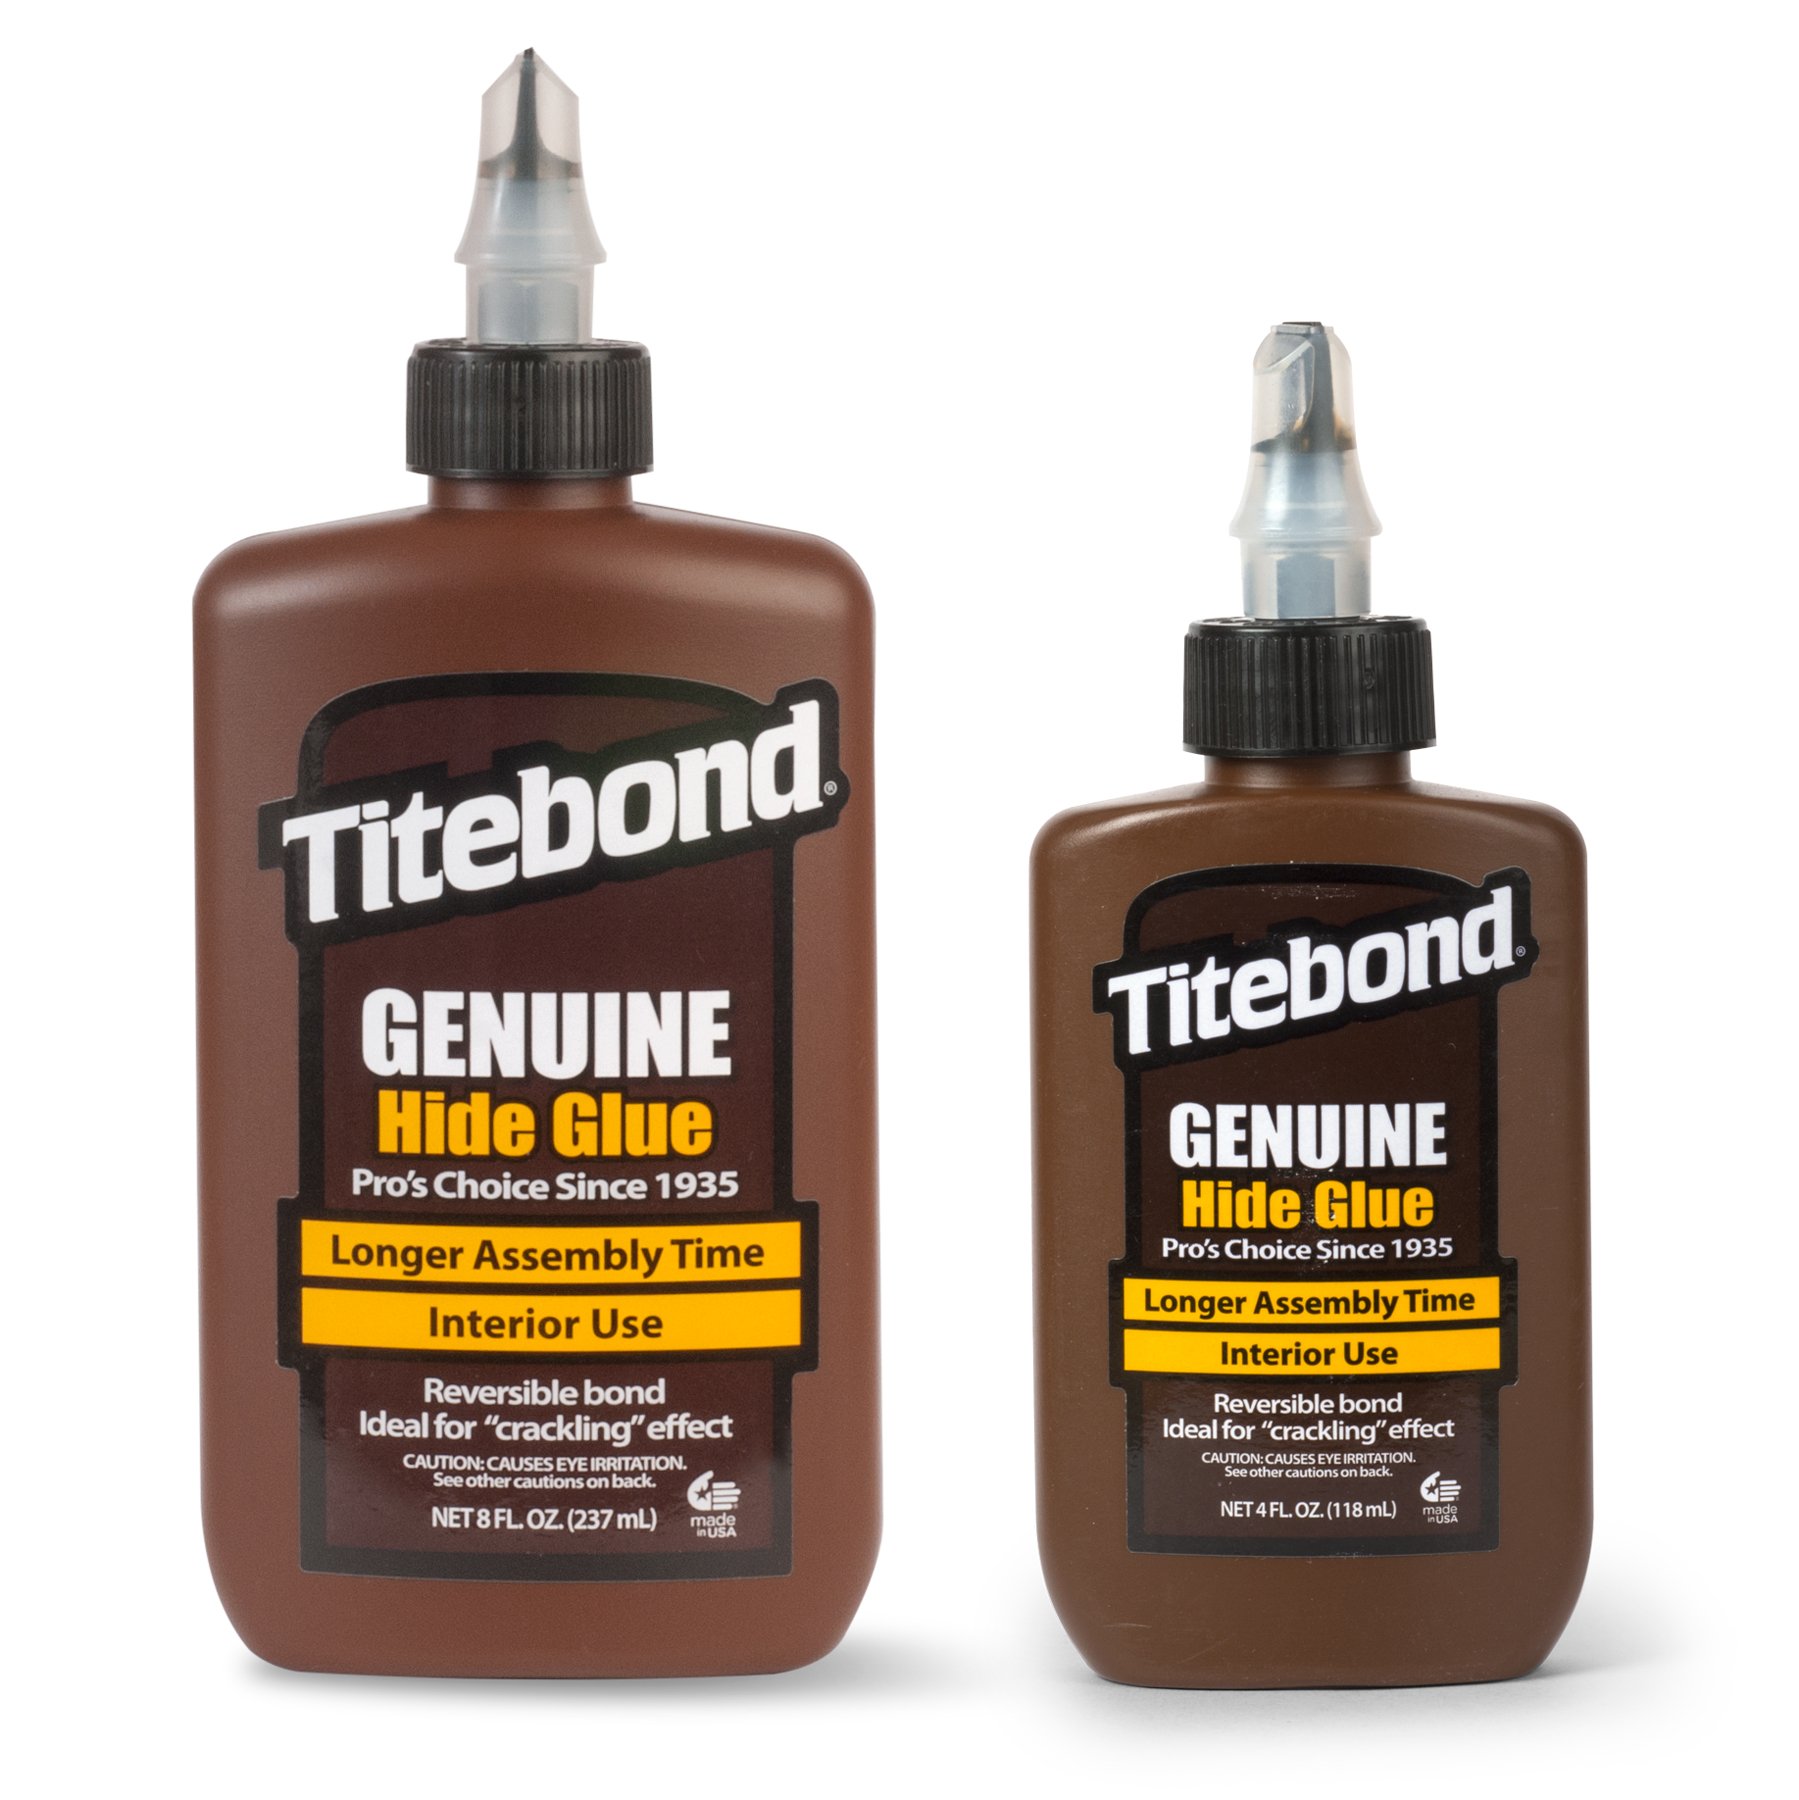
- Bottled hide glue: Similar to hot glue, but much more forgiving working time
- Cauls: Take the time to create the right cauls - It pays off in good results!
Video Transcription
Dan Erlewine: Last night I cleaned out the loose neck block on this old Kay Deluxe and I glued it up. I went to a good deal of trouble to make these cauls that are pressing the block into shape where I wanted it. And I used three different types of glues on this job.
Hide glue or Titebond for guitar repair?
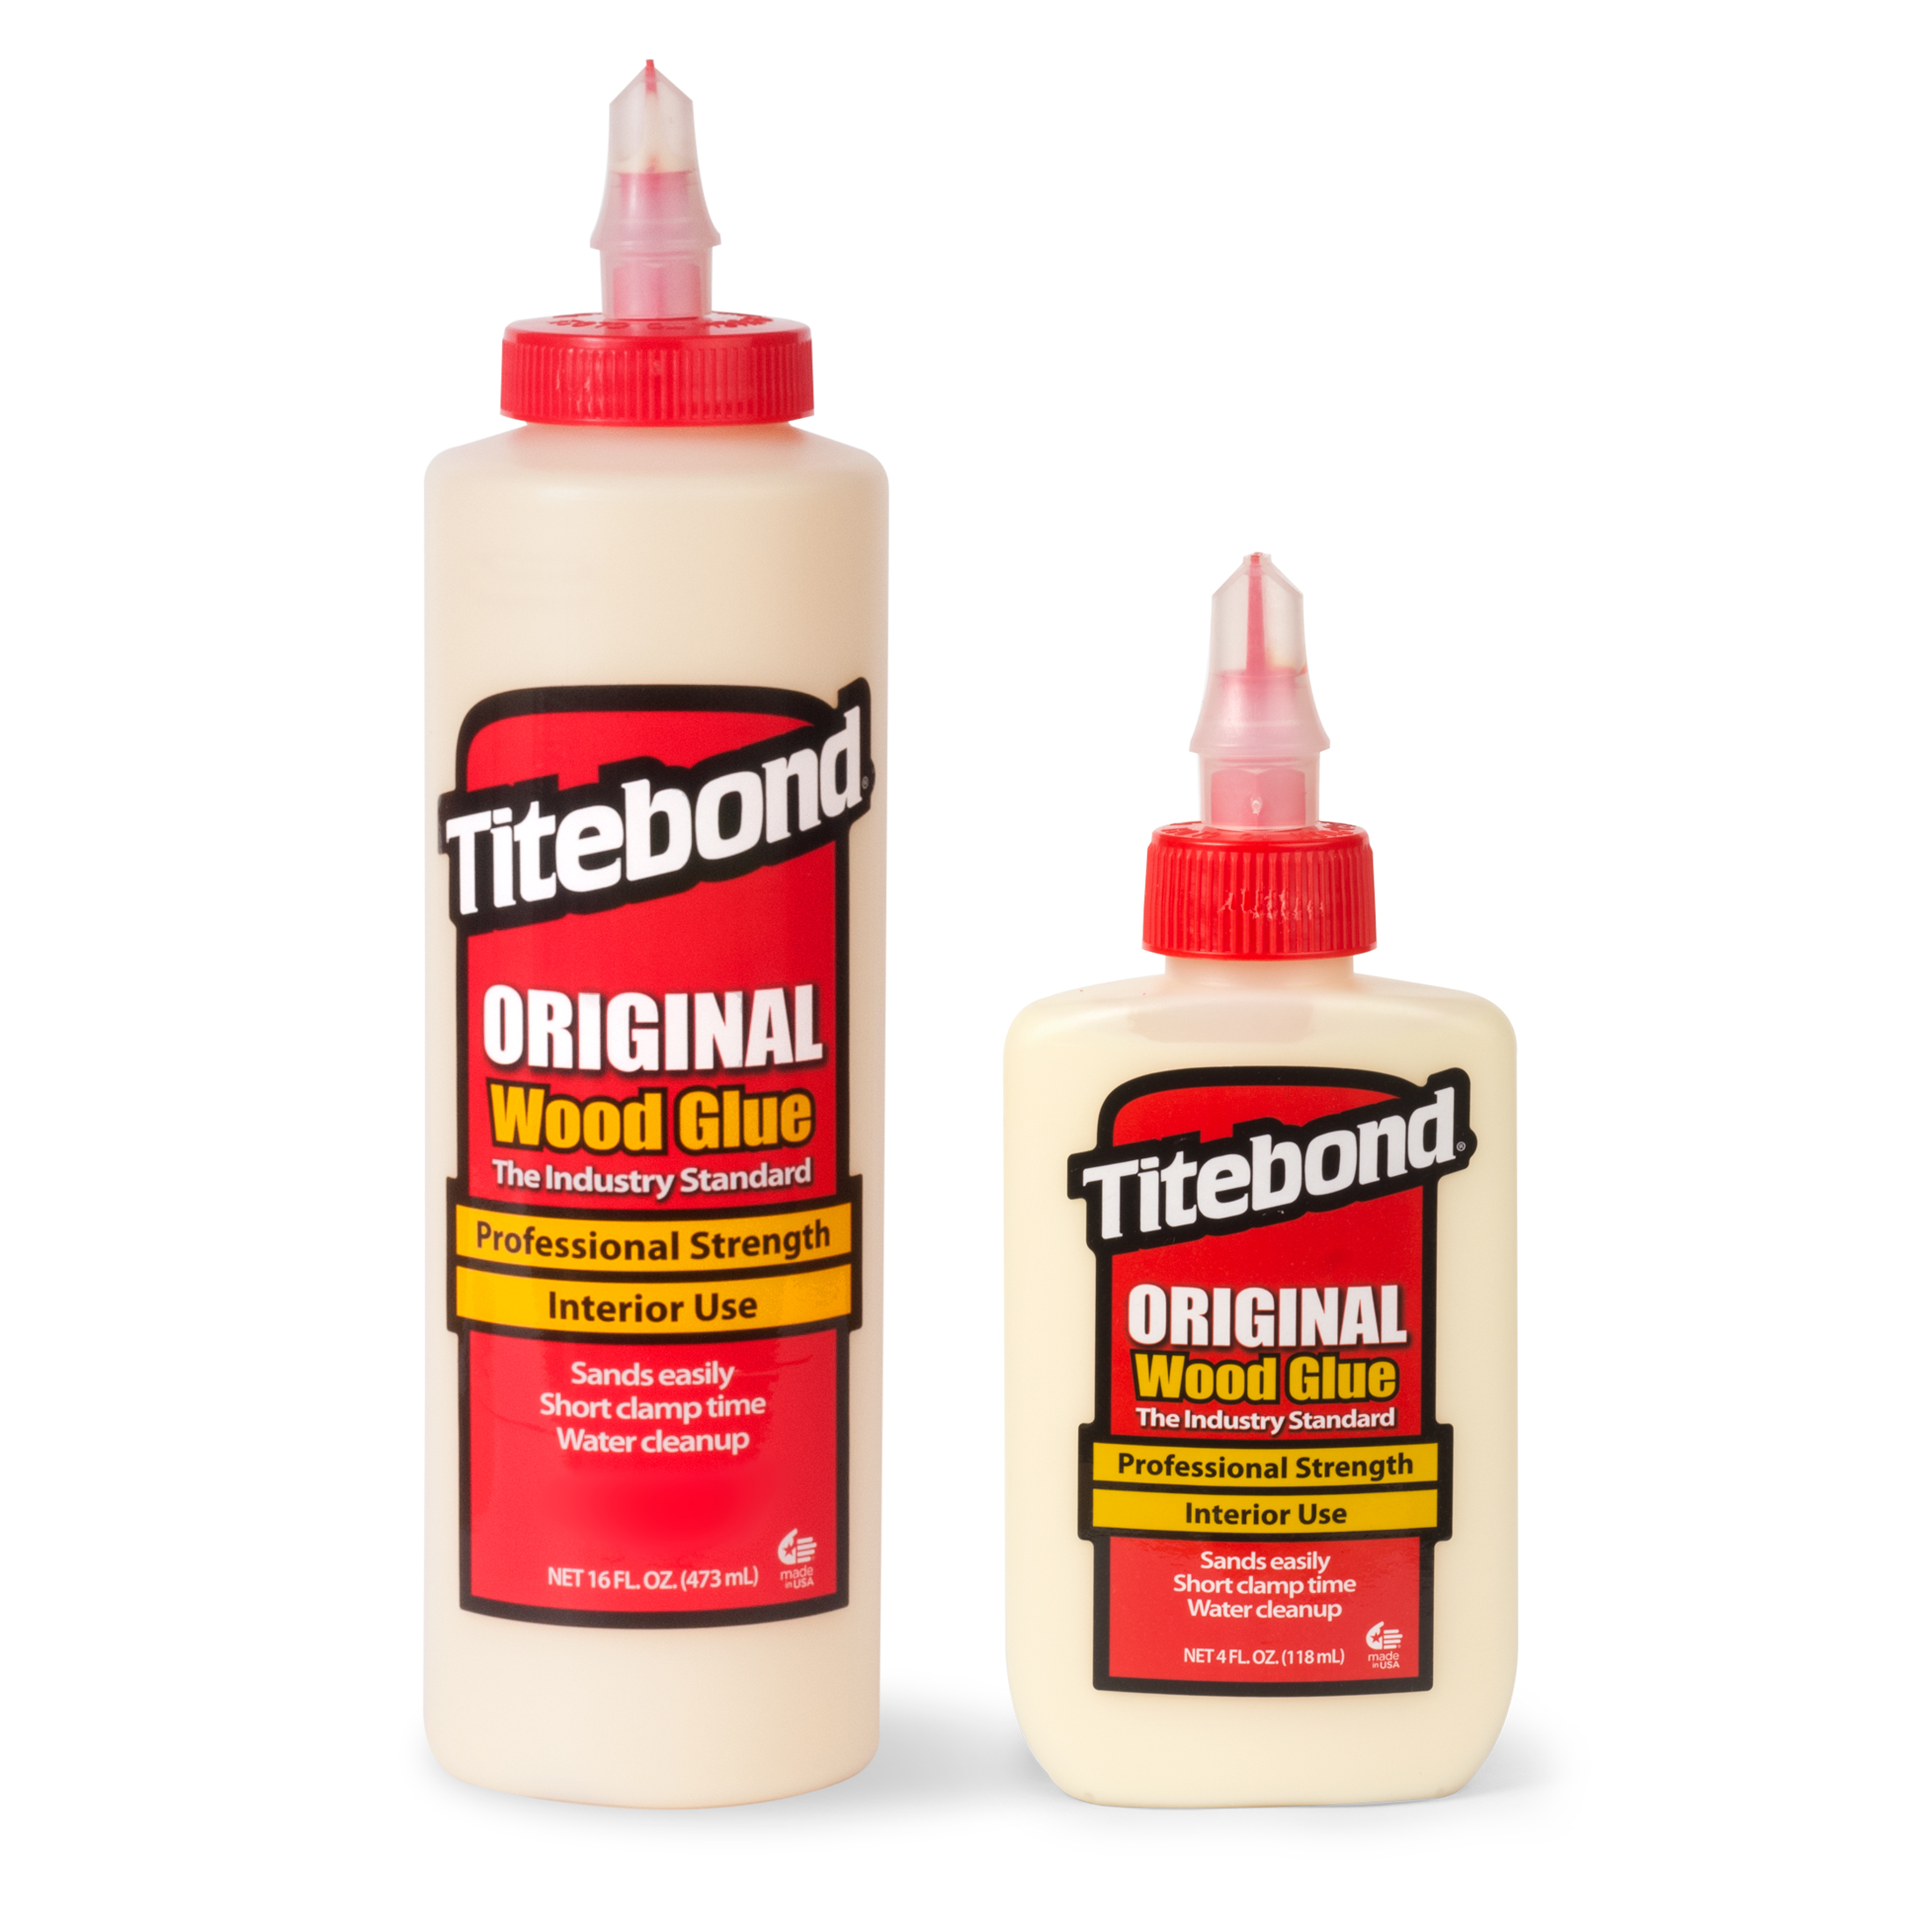
Titebond [on-screen text reads: The luthier's favorite glue - Titebond III Ultimate Wood Glue from StewMac] is just a all around good wood shop glue. It's a woodworker's glue and we use it all the time. Bottled hide glue is what you use when it's an old guitar and you're dealing with a hide glue joint and you don't have the time to work with hot hide glue, which gels pretty quickly. Hot hide glue is the favorite for vintage instruments and for really strong joints. It's the first glue I go to when I can use it. I thought that by going through my clamp process backwards would be a good way to show you why I used three different glues and where I used them.
One thing I found on this guitar I haven't seen before is a giant shoulder brace. It's shaped kind of like a mustache. It's curved and then straight across here. It's big and it's thick. Nine sixteenths of an inch, made of spruce and it's glued in a way, that I couldn't get at the neck block through the sound hole if I'd wanted to for cleaning or applying glue. And it was loose on the bass side where you see this clamp. So I had to glue this at the same time that I did the neck block. I used the Liquid Hide Glue here because it has a long open time.
Hot hide glue
Gave me time to get through that small sound hole, get the glue in there, clean it up, leave that, and go to the main block and put the Hot Hide Glue in there and get that clamped up. And then I came back and put this final clamp in through the sound hole.
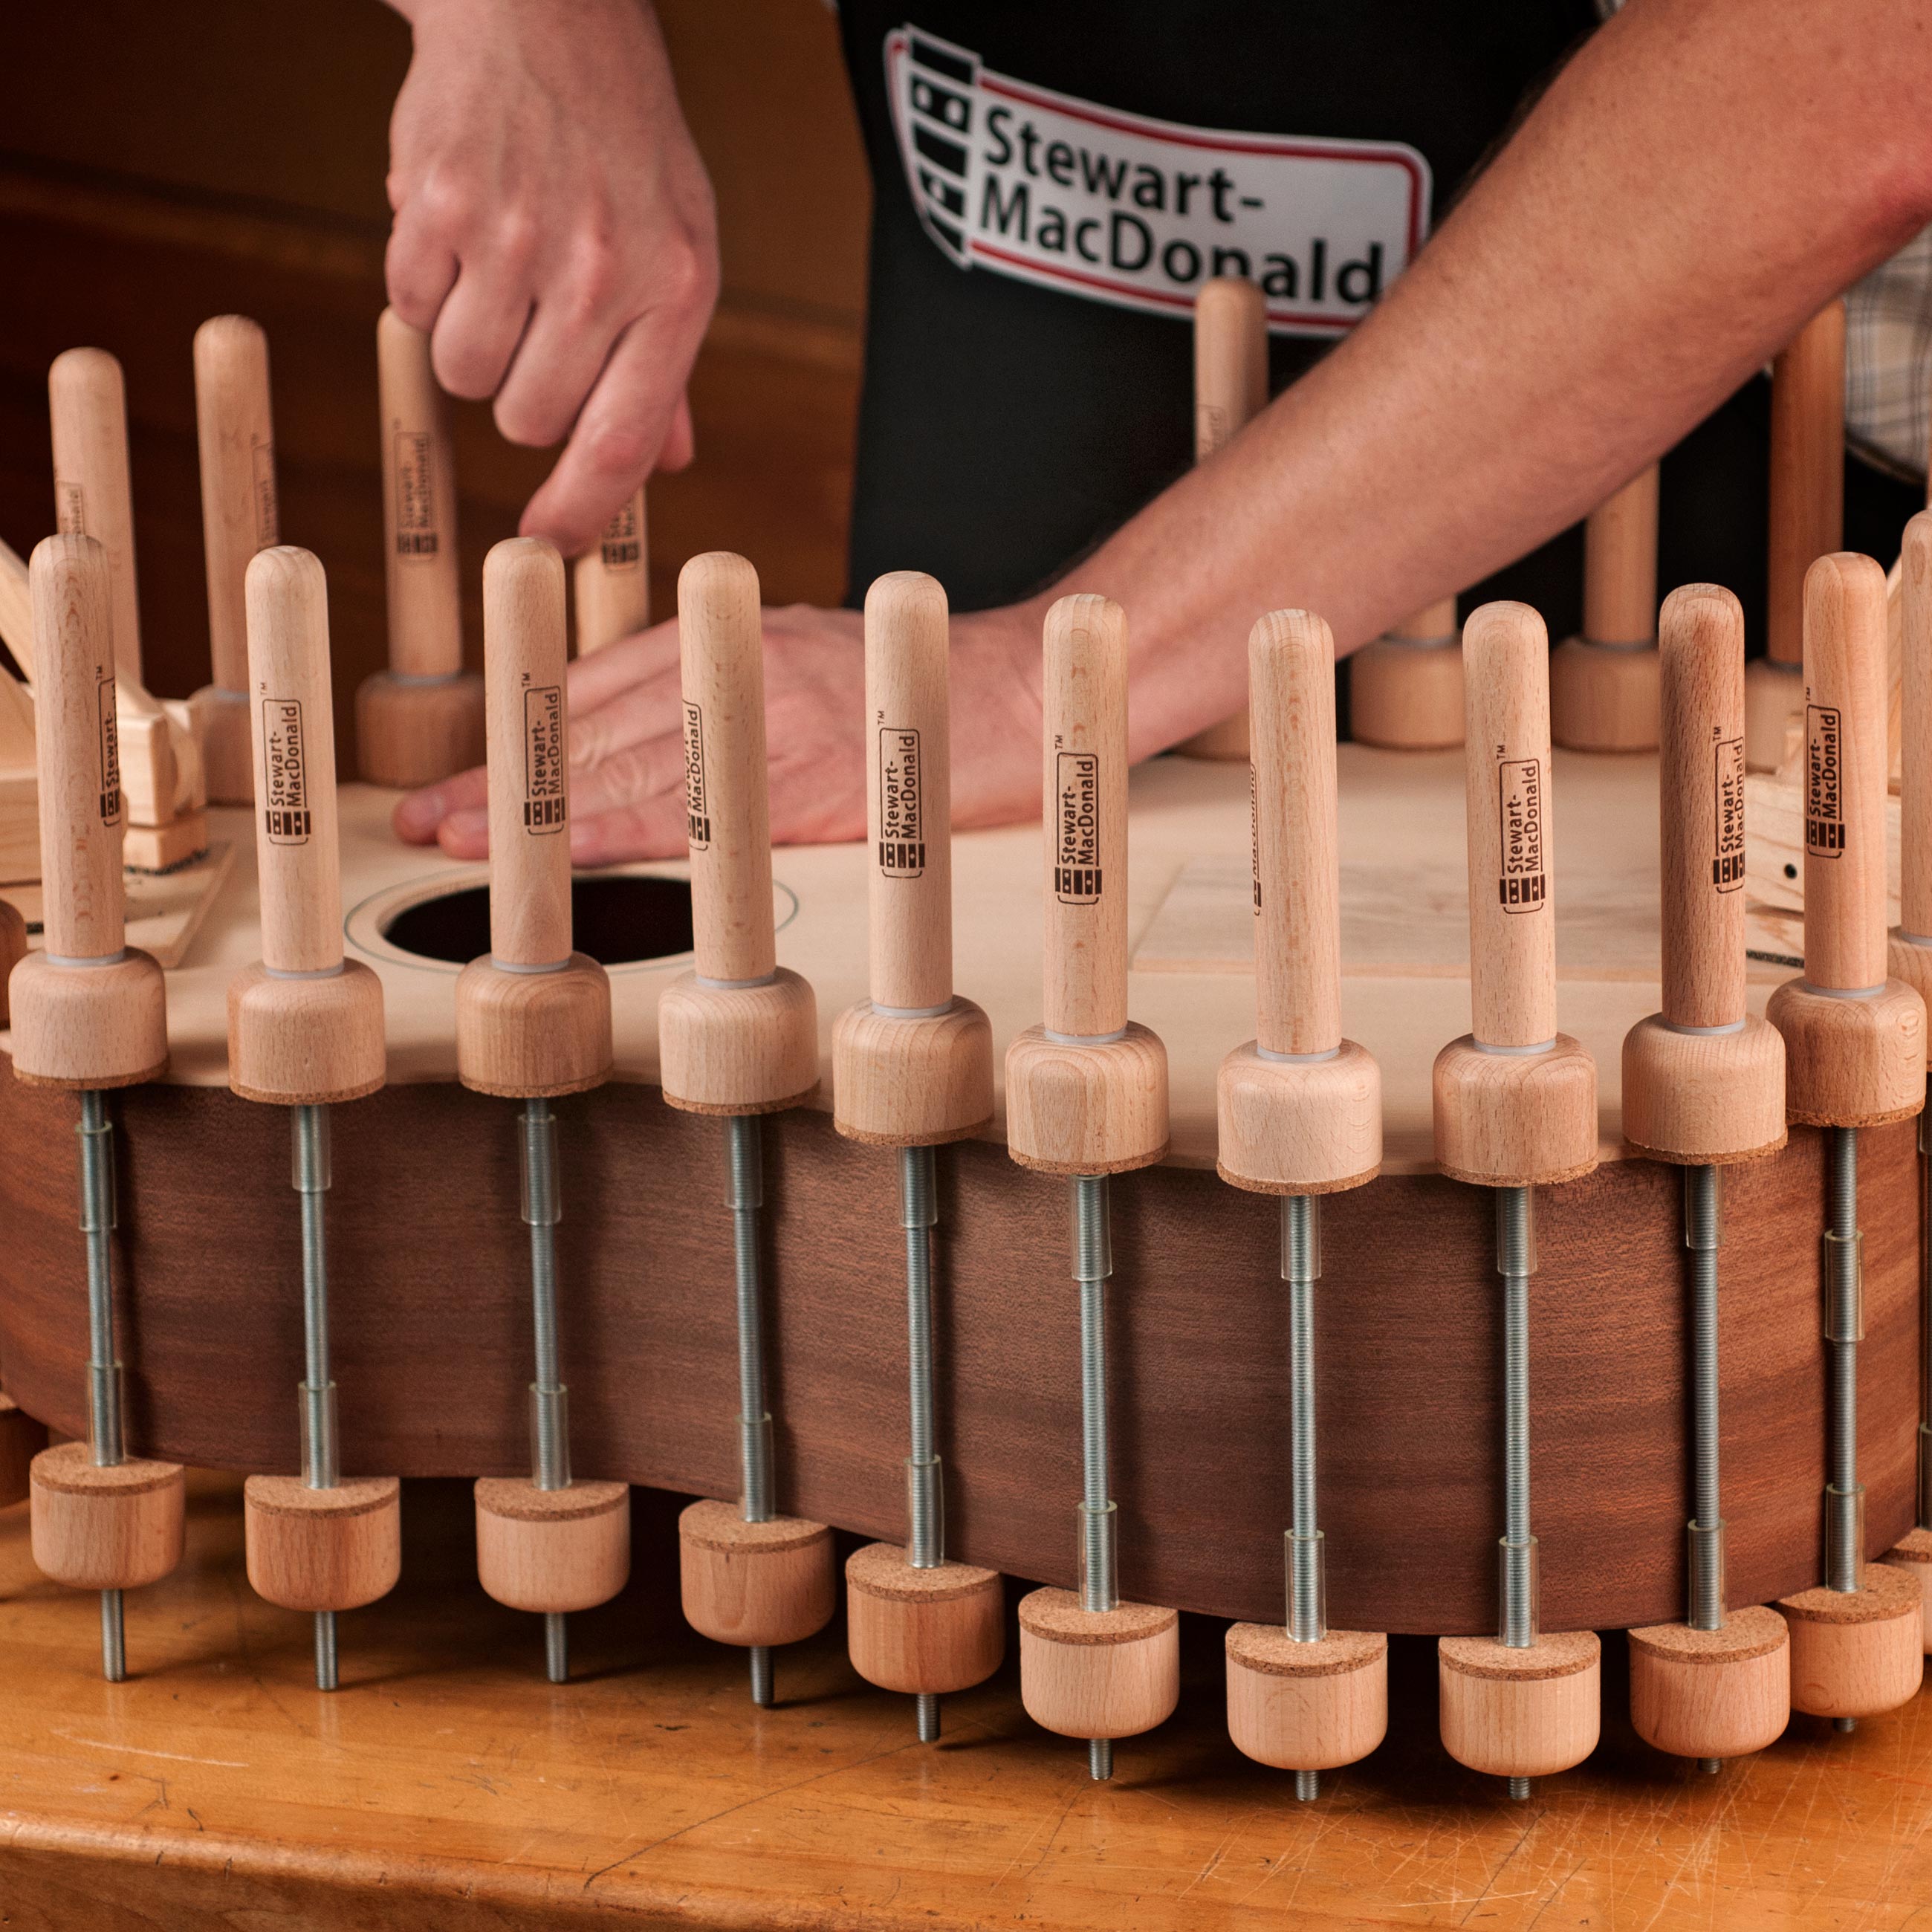
I couldn't do any of this if it wasn't for this special caul I made here. And the one here that pulls the block into shape. And if you notice that these spool clamps are sawed flat and sanded so that they could reach underneath my bridge, I have a drawer full of these that I use on a lot of jobs because when you have one flat side on a spool clamp, you can get closer to the next clamp to it and get a more even pressure [on-screen text reads: Clamps and more clamps - Find All the Clamps You Need at StewMac]. So that's hot hide glue.
Bottled hide glue
This is bottled hide glue. This is a bridge that lets me clamp the sagging neck block back into position, which I did. And this bolt is holding my block in place so I wouldn't fumble and drop it inside the guitar.
Titebond wood glue
There's where I used the Titebond. The first thing I did on this job was take some two by fours, smooth the service and glue up a block that took about 35 minutes to dry. At that time I made this. So I kept moving the whole time. After about 35, 40 minutes, this was dry enough to band saw to shape. And the whole idea here is that this passes over the shoulder brace. That's how thick it is. It doesn't touch the real neck block, it pokes it at the top. So all the pressure came here and I was able to take a real sag out of the shoulders and it's almost the same shape as the bottom edge now.
I'm really happy with the way this job came out. If you see the curve of the shoulders there, that's the way the guitar was built. Up towards the top of the neck block was caved in. The opposite of what you see here. I've almost got it as perfect as the bottom edge. And I did that with this caul because it pressed on the top edge. If you look here, my caul is even curved. I wanted to put pressure in the center of the block to be sure it came out there, and I did. Now what I'm going to do, is make some replacement binding for the section where it rotted out and fell out. And then I'll be done.


