Removing a pickguard: easy way and hard way
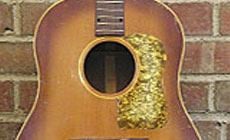
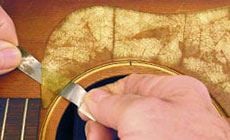
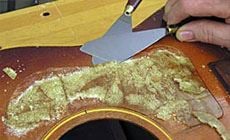
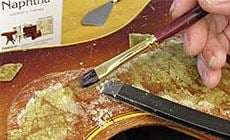
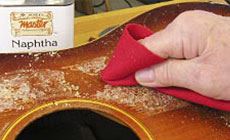
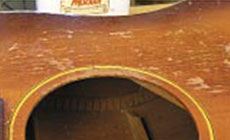
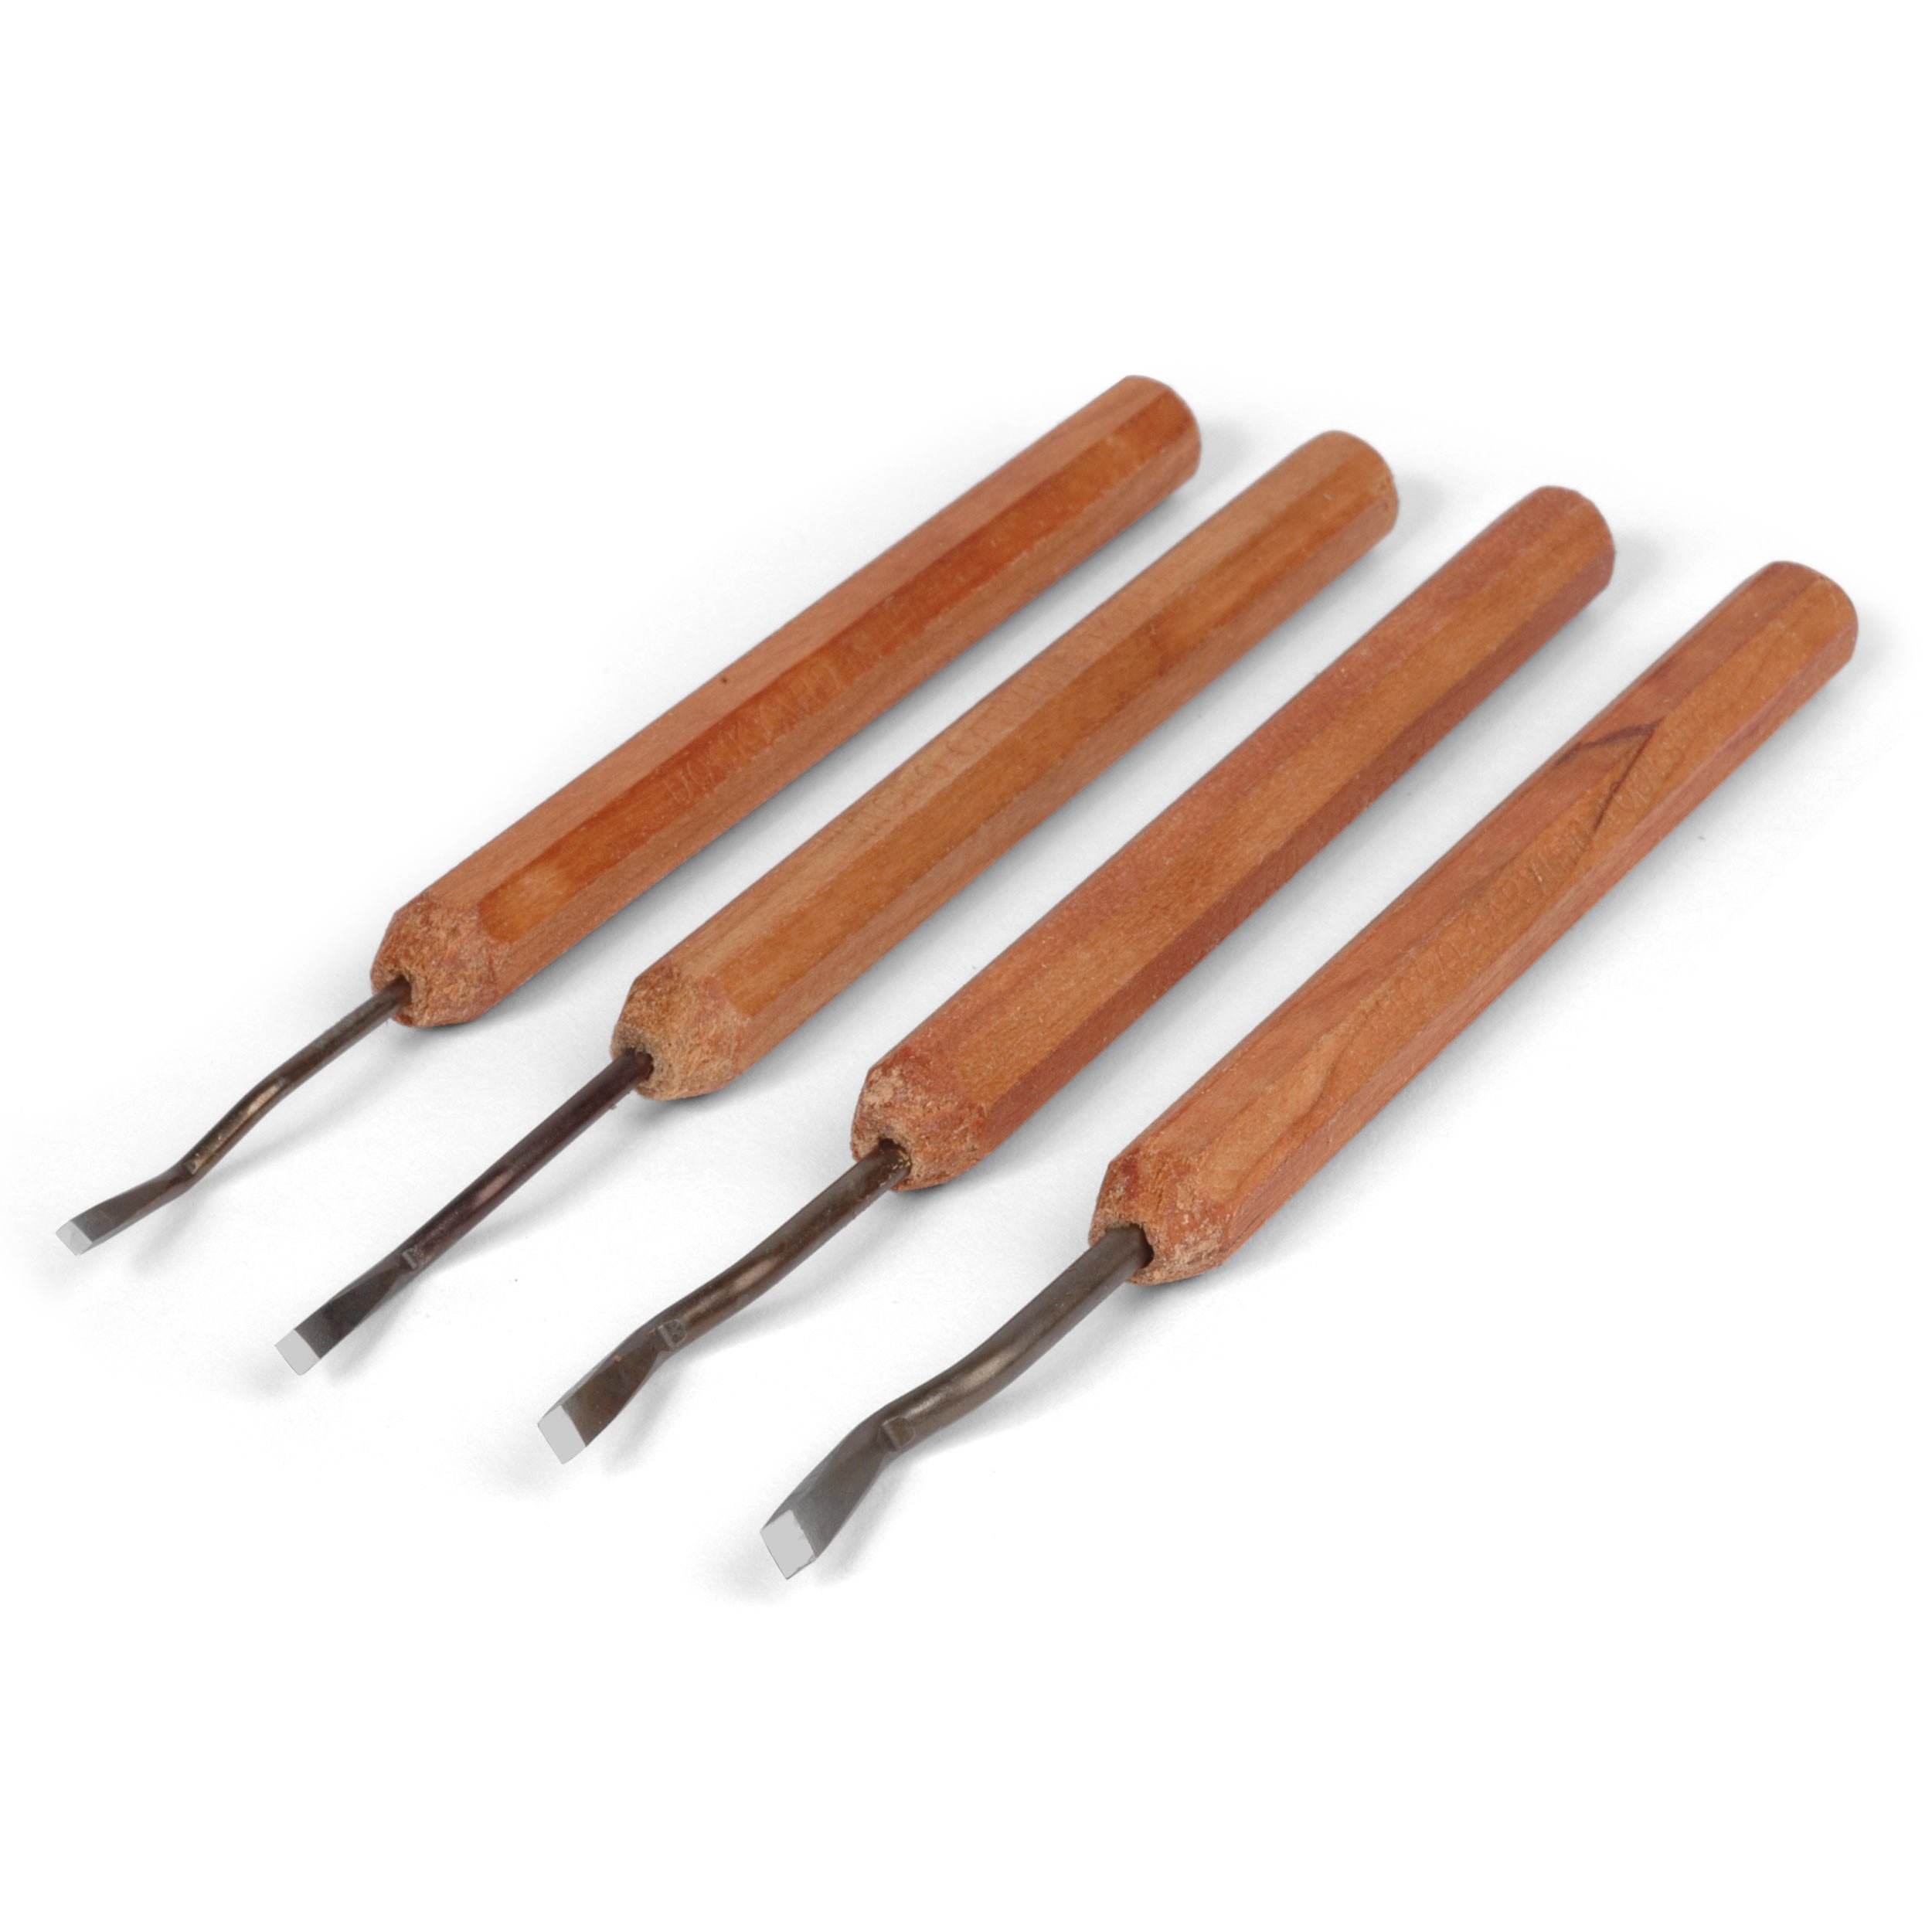
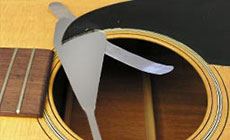
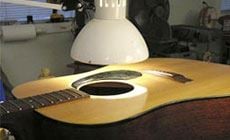
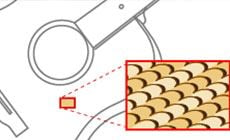
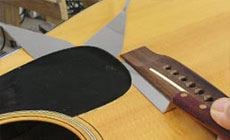
When a glued-on pickguard shrinks, it can pull hard enough to crack a guitar top. The Martin D-18 in this issue already had two splits from the pressure. Time to replace that pickguard! Removing a pickguard shouldn’t be a big problem, and this Martin gave it up just the way it’s supposed to. I’ll show you how I did it, then I’ll show you the other side of the coin: a pickguard that wouldn’t give up without a fight! Thin Martin pickguards like this one usually come off cleanly when you get under them with bridge removal knives. Sometimes a little heat helps things along — that’s what I’m using the desk lamp for here. Don’t leave it heating long; you just want to warm it, then gently lift the plastic as it releases. I worked a .003" feeler gauge under one edge, then followed it with the first knife. Peeking under the pickguard I could see/hear/feel the grain runout of the spruce: it was running toward the neck. This means I have to be extra careful moving a knife in the opposite direction of this grain runout: it’s easy to gouge into the spruce when working against the grain. For this job, I pulled the handles off my removal knives. This allows the blades to lay absolutely flat on the top. “Grain runout” refers to the grain orientation of the spruce. Like microscopic shingles, the grain is smooth when a scraper is moving with it, but when you scrape against the grain, the blade catches and wants to dig in. I switched to the other end of the pickguard so the knives moved with the grain, then I worked at it all around the edges of the guard. Here I'm using a disassembly knife to work in the narrow gap next to the bridge. In minutes the pickguard came off, easy as you please. That’s the way it’s supposed to happen, but sometimes it doesn’t. Check out the next job: devil’s own pickguard removal! Ever see one of these? This is the first one to come through my shop. Manufactured by National in 1951, it has a National neck joined to a Gibson J45 body. It wasn’t unusual for National to put their name and bolt-on neck onto bodies from other makers. That’s a new pickguard I put on it, but before that went on I had to get the old one off (below). It was glued on with some sort of contact cement that wouldn’t release the way that the Martin did. I spent 4 hours or more wrestling with this! Again, I was able to get a feeler gauge worked under the edge and a good ways in. I used the removal knives as before, leapfrogging one over the other so that the working knife was always between the pickguard and the second knife below it. The plastic crumbled off, leaving pieces stuck, so I switched tactics. I wetted small areas with naphtha, which penetrated through the cracks to the glue below — softening it enough to let me work the plastic off with a curved brace chisel. I lifted chunks of plastic away. Eventually, it came down to working away tiny bits with a micro-chisel until only a layer of glue remained. I never forced any tool or solvent to do more than it wanted to — it’s important to be patient and let the tools do their work. The glue was definitely some type of rubbery contact cement that rolled away when I rubbed it. With naphtha, a piece of felt, and patience, it all came off. The result wasn’t as clean as the Martin: if I’d been hoping to install a see-through pickguard I’d have been out of luck. But my goal was the pearlescent plastic guard you see in the full-length photo above, and it worked well. I brushed clear shellac onto the small areas of bare wood before installing a new pickguard. That pickguard was fun to make, and may be worth a Trade Secrets story itself!A shrinking pickguard can crack your guitar
Taking the pickguard off can be easy... or not!
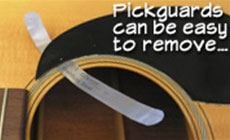

This Martin was easy

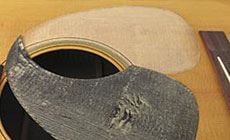
This “Gibsonational” was trouble!
