Making custom-colored patching filler baking soda
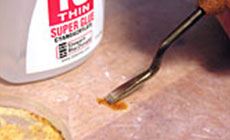
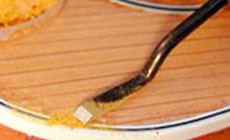
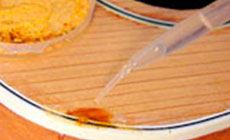
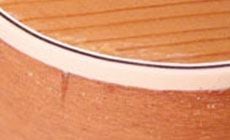
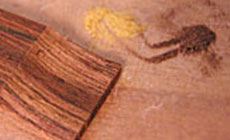
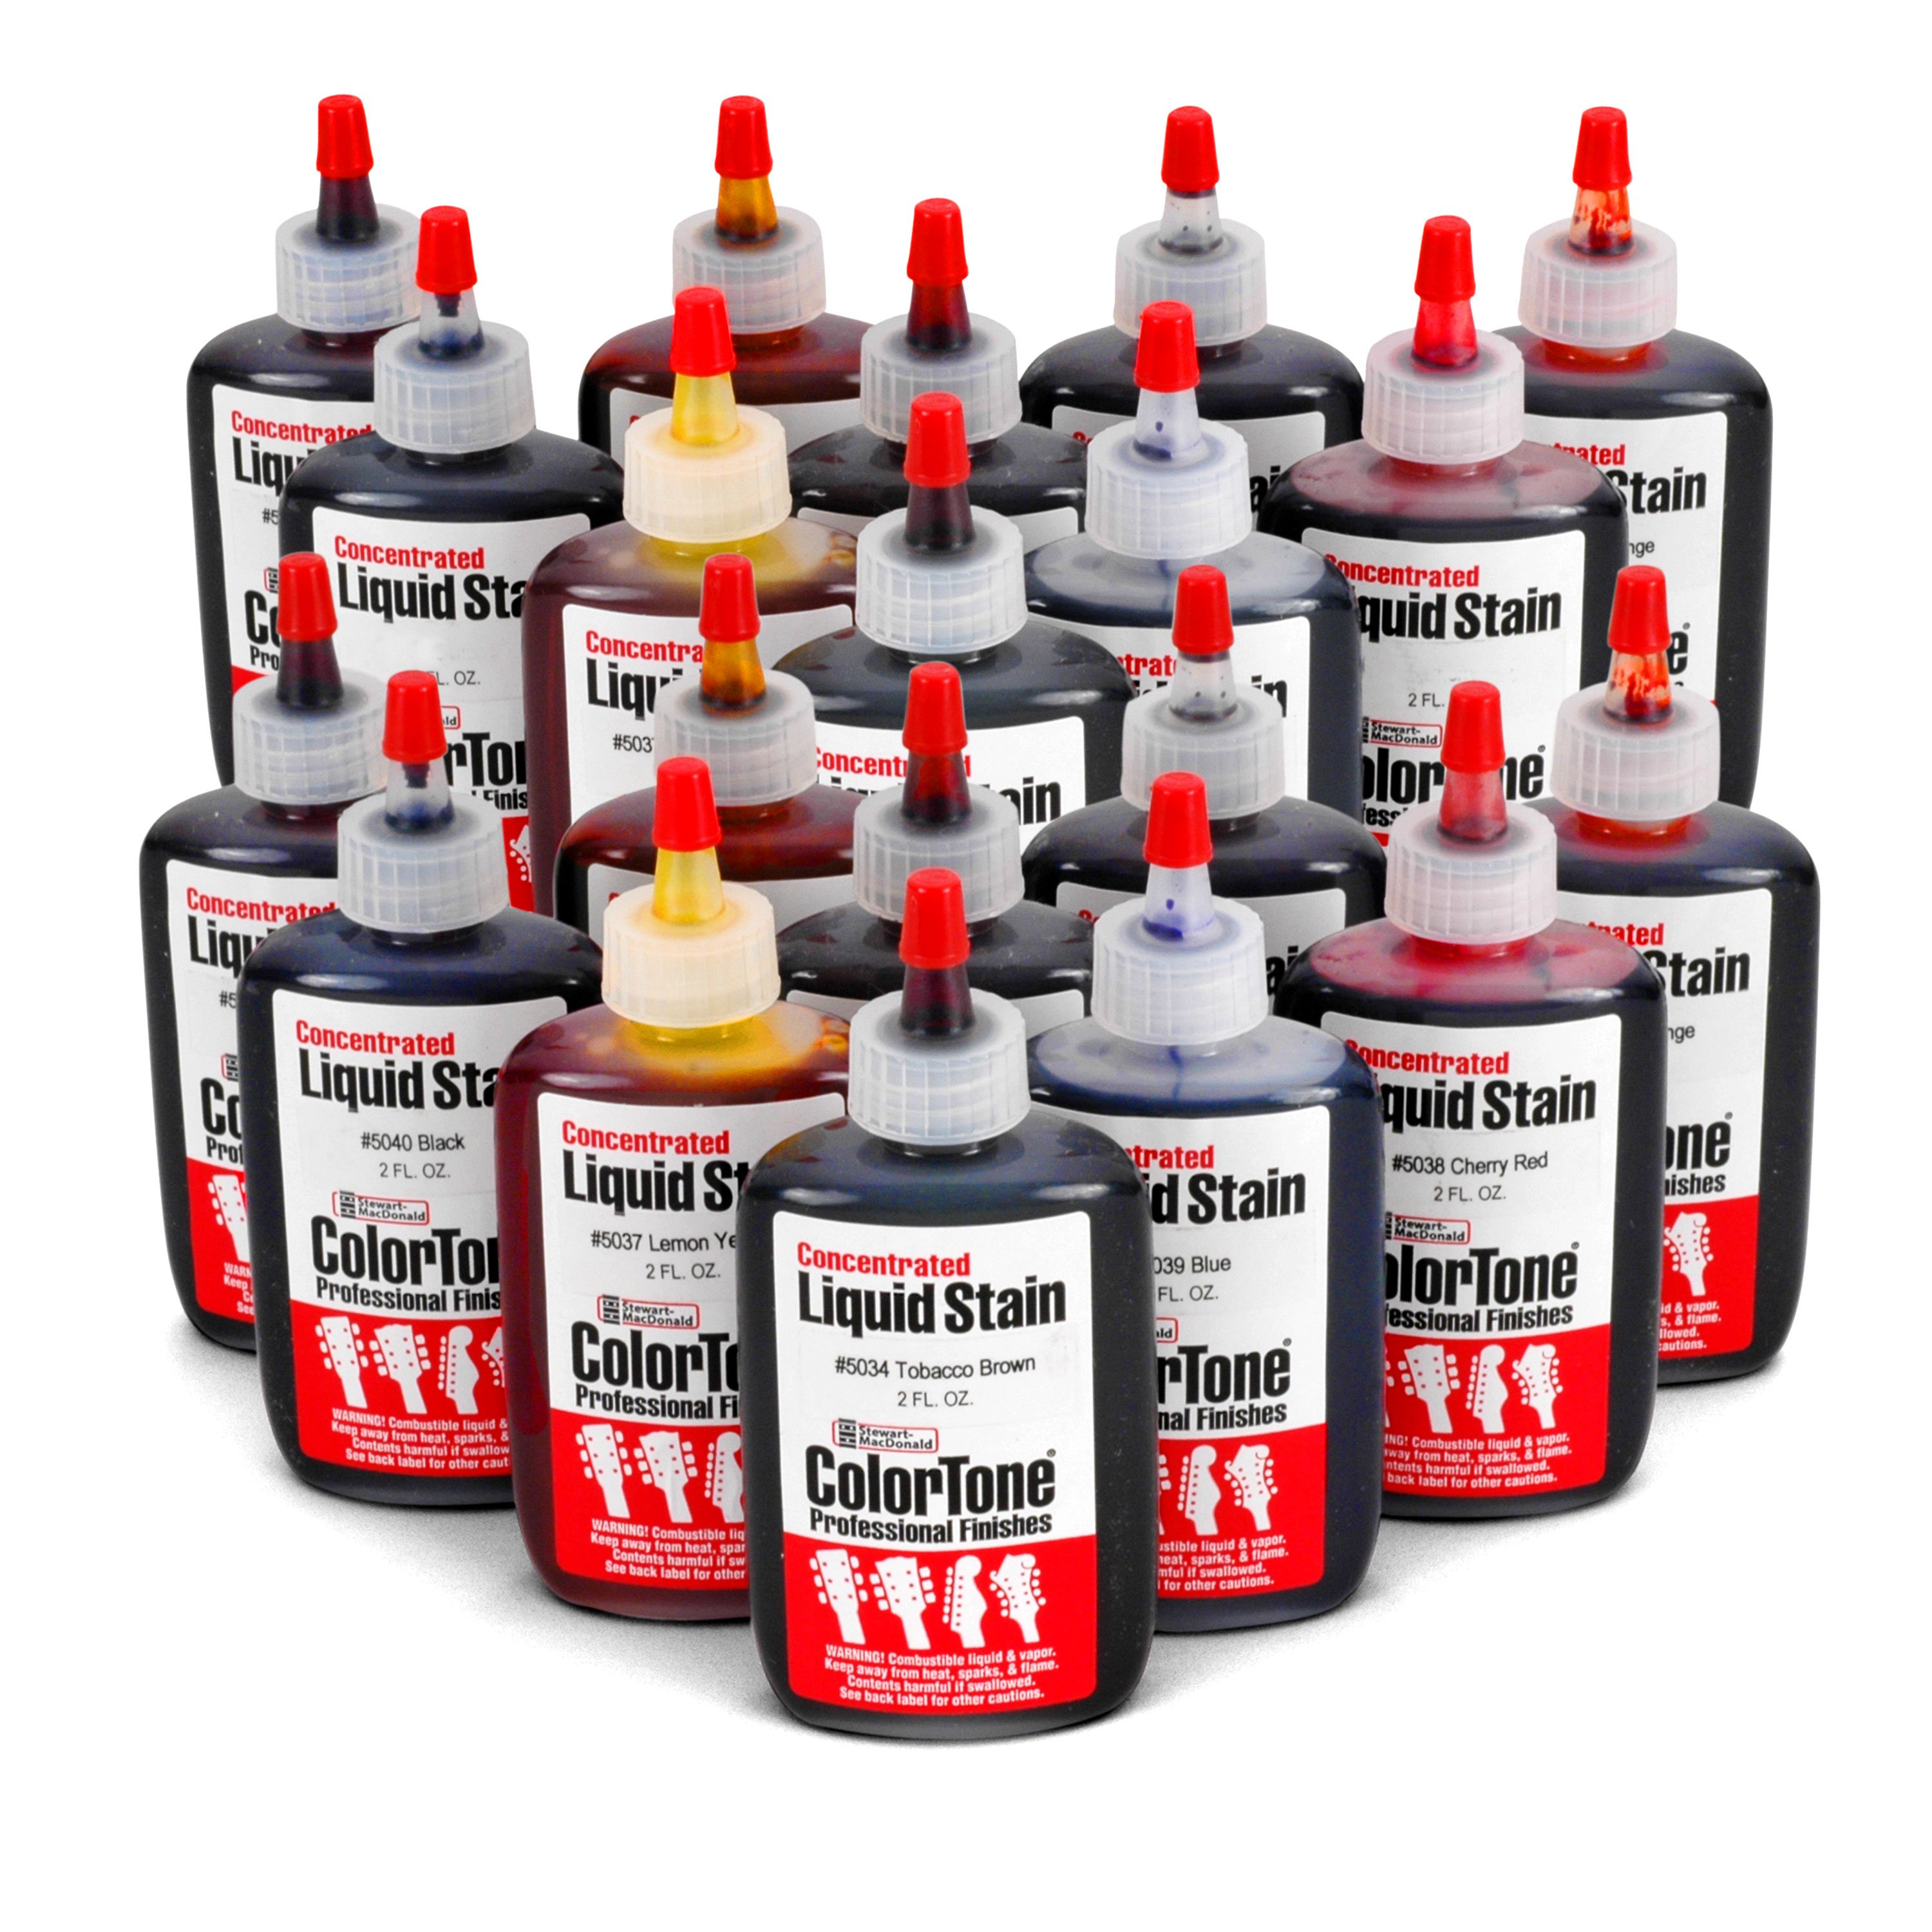
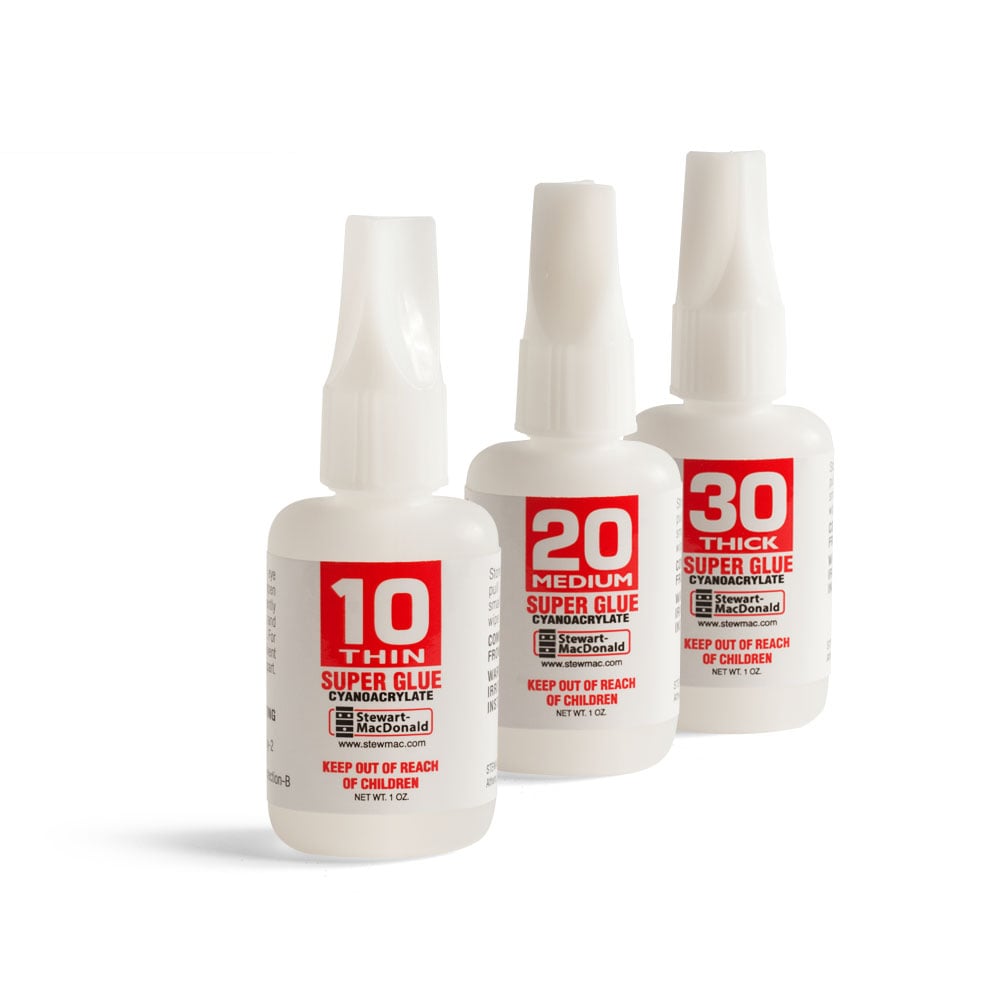
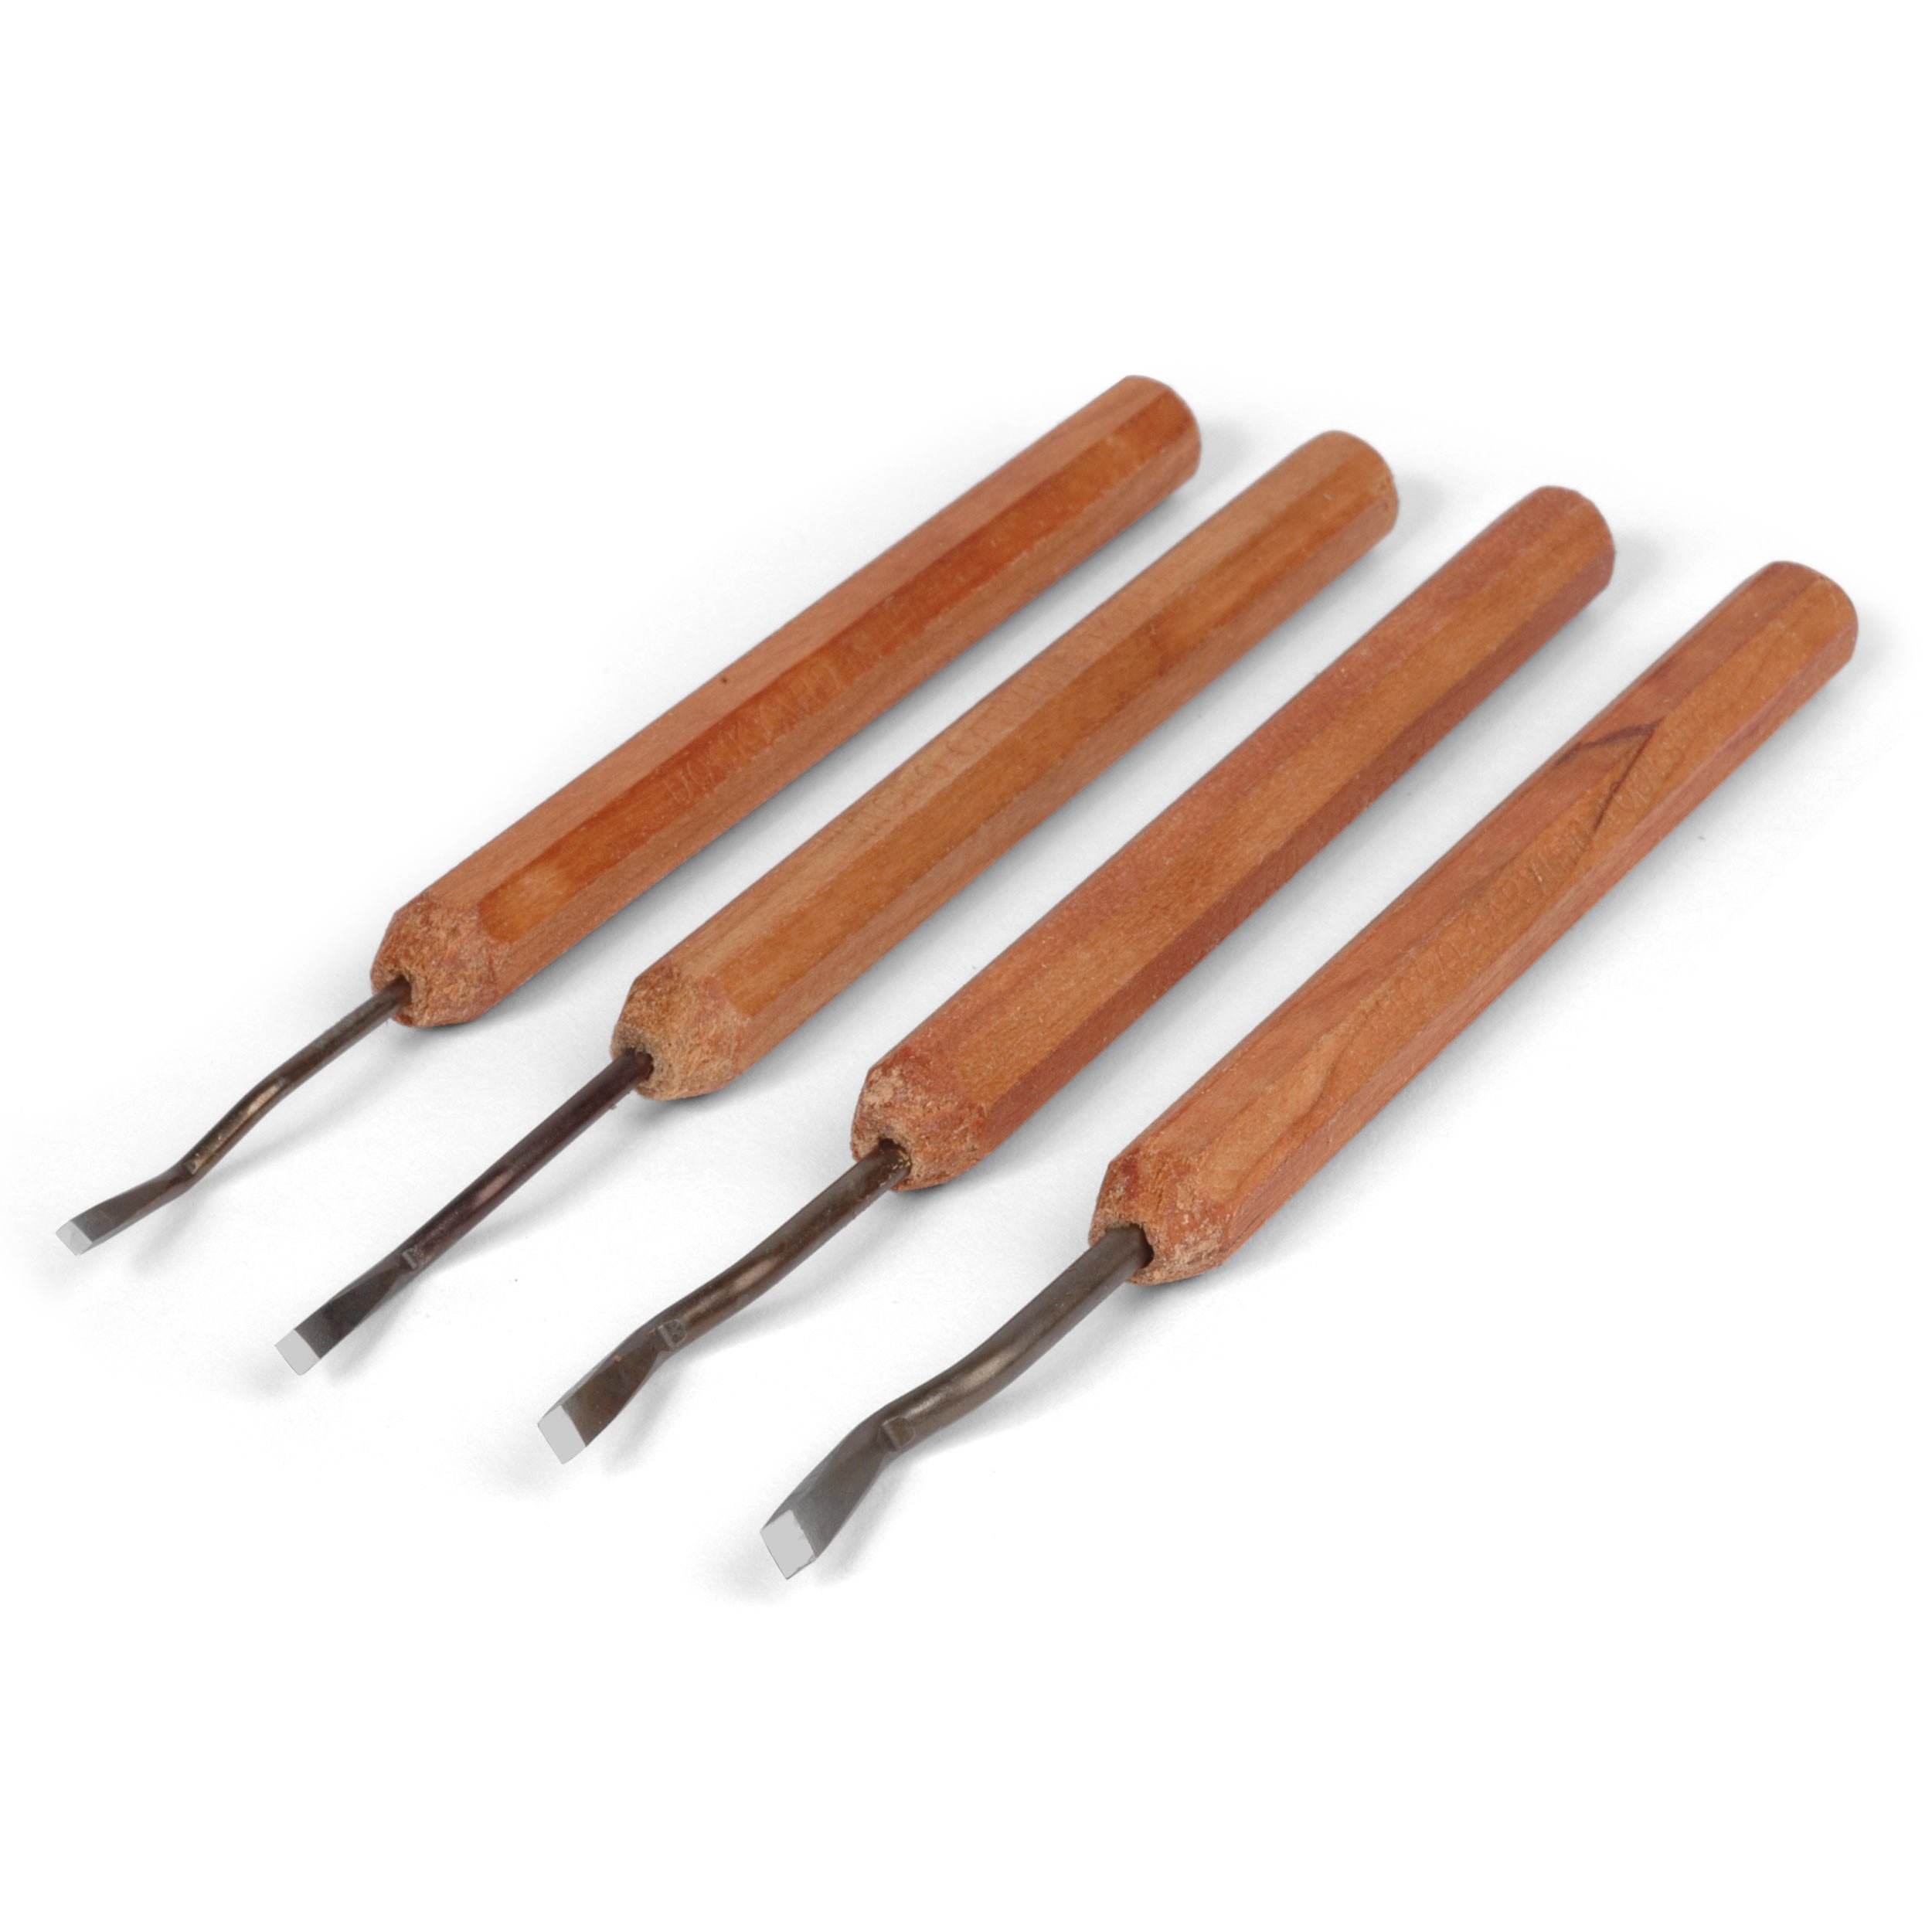
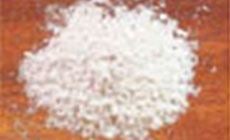
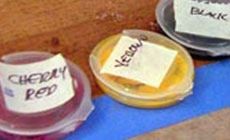
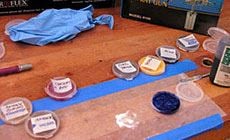
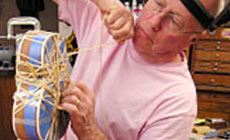
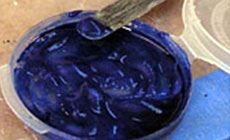
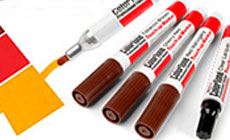
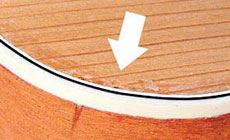
Maybe you already use the “Baking Soda and Super Glue Trick” as a fast patch, but here’s a new twist. Mixing baking soda with super glue has long been a short-term fix for damaged string slots in a bone nut. I don't know what the chemical explanation is, but the two react like magic to make an instant cement-like patch. If you add sawdust to the mix, you get a fairly good color-matched fill, but I find that if you add ColorTone® stains instead, you get a baking soda/glue fill with a truly controllable color match! By wetting baking soda with ColorTone-stained water, I can make baking soda in any color I want. After it dries out, it crumbles right back to its original powder form, and stores like regular baking soda. Add a drop of super glue, and it makes a custom-colored filler that hardens in seconds. I save the small plastic boxes that our repair magnets come in, mixing and storing a different colored powder in each. I used this new discovery the other day while building a tiny copy of my 1939 Gibson J-35 for my granddaughter Kate. While routing the binding ledges, the router tore out a couple small chunks of the cedar top, and when drilling the pin holes for the bridge I lost a little piece of wood too. This ColorTone/baking soda idea saved the day. I thin the strong color with plenty of H20 — the amount of water added makes the color weaker or more intense. Then I heap in the baking soda. The result is an intensely colored wet sludge that must be left in the open container until it is bone dry. Once it’s dry, the tight-fitting plastic lid keeps it that way, so it’ll stay dry and powdery. ColorTone guitar colors and clear lacquer in pen form, for on-the-spot touchups! The four colors needed most for repair work, and clear guitar lacquer, too. Here are the chips I mentioned, next to the binding in this cedar top. They’re surrounded by residue from the Weld-On cement I used for the binding job, which will be scraped and sanded away after the chips are filled. I’m mixing glue into pale Vintage Amber powder. A wide (3.25mm) micro chisel crushes and stirs the dry powder to an even color. I add a drop of water-thin #10 super glue to see how the final mix will look. With glue added, the color will be much darker than the dry powder, so always test before doing the real patch. I pack the powder in pretty tightly, keeping it in the chips, and off of the surrounding area. The binding glue squeeze-out around the chips will help protect the top from the color in the powder, and from the super glue coming up next. A drop of #10, applied with a pipette, hardens the powder instantly. After a quick filing, scraping, and rough-sanding I dampened the area with water to see the color match. It’s pretty good! And it will look even better when I finish sanding the top. For darker woods, use darker soda. You can mix the colored powders together, just like you do with the stains themselves. For a chip in the Brazilian rosewood bridge I deliberately didn't mix two powders thoroughly, so the resulting patch is streaky, like the woodgrain. (I'd show you a photo of this patch, but hey—it worked so well that you can’t see it!) Gotta get back to work, if I'm going to have this mini-guitar done in time for Baby Kate’s 2nd birthday.Why did I change the color of this baking soda?
I’ve made a colorful discovery

Come into my laboratory
Here’s my “tool” list
Check It Out!
New! ColorTone® Touchup Markers
Repairing chips in a cedar top
Test the powder with glue first
