ColorTone Aerosol Finishing Kit Instructions
Tips and instructions for achieving a professional finish with the ColorTone Aerosol Finishing Kit.
I-1850
 |
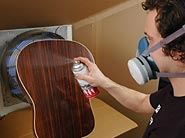
Always follow safety precautions as instructed on each product. Always use in well ventilated areas. Wear a NIOSHA-approved respirator to avoid inhaling vapors, spray and dust.
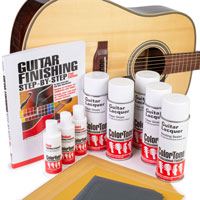
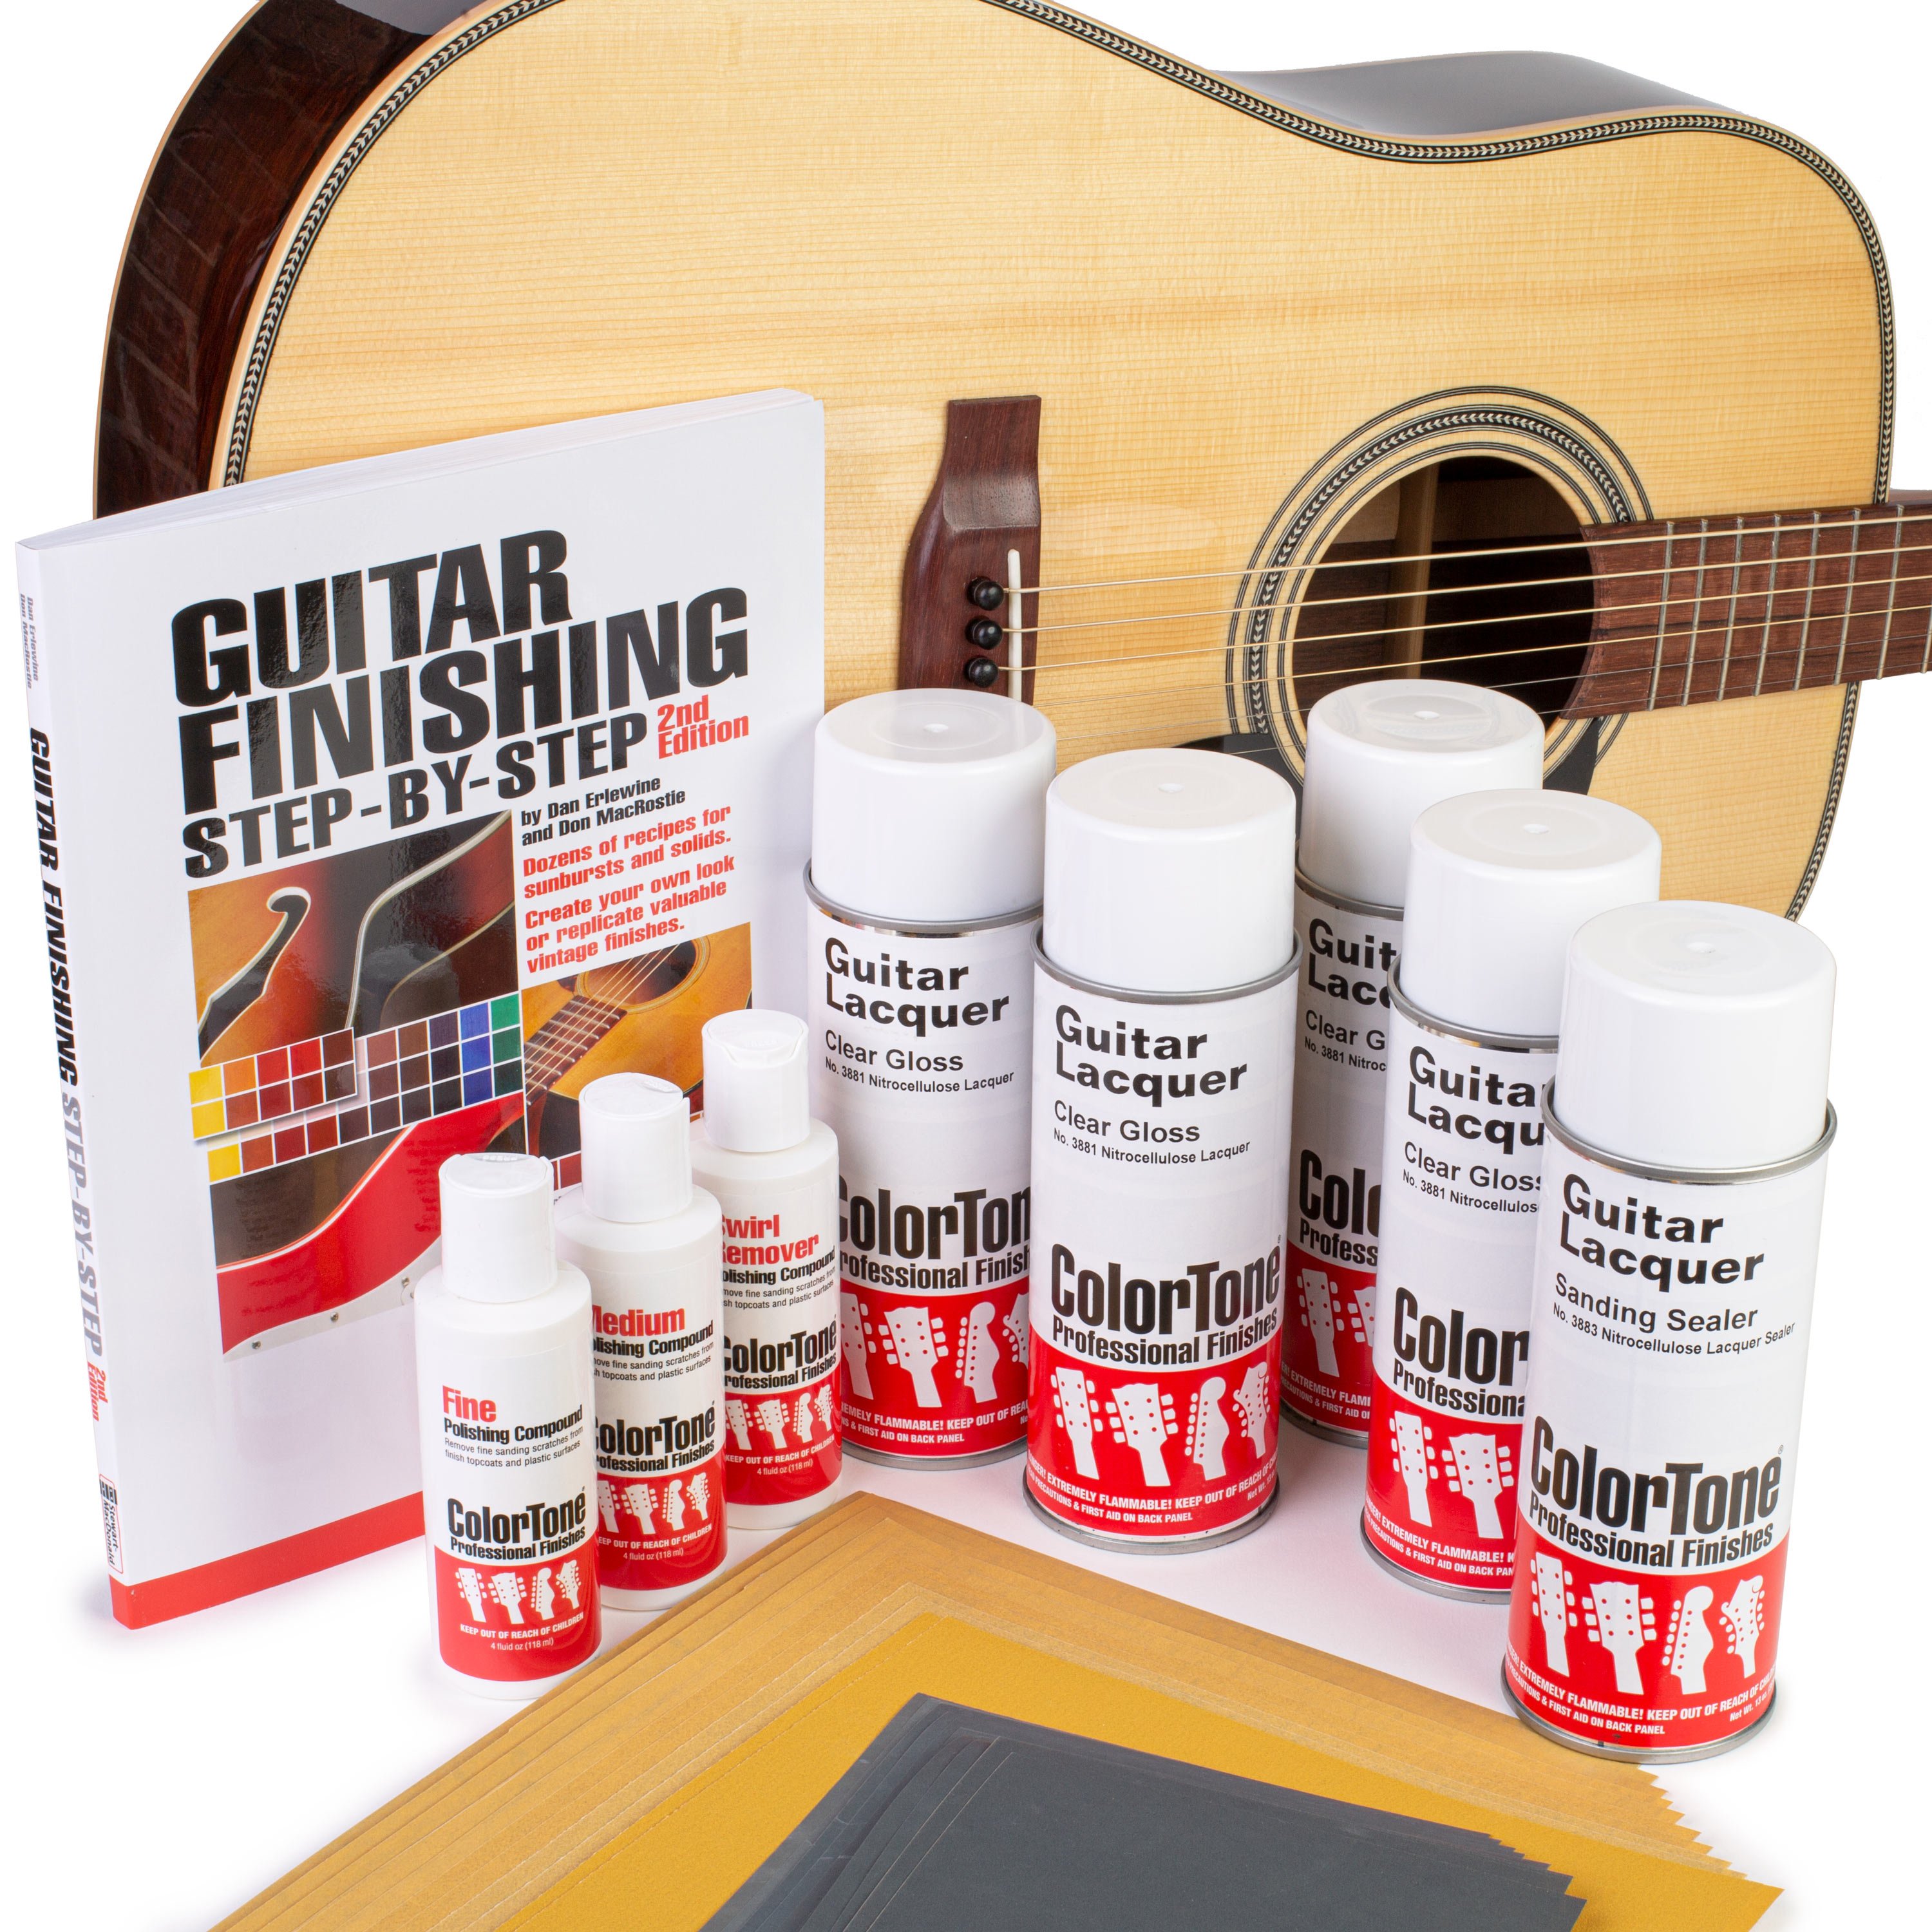
Included in this kit:
Gold Fre-Cut™ Sandpaper assortment: two sheets of each grit:150, 220, 320, 400, 600, 800
Sanding Sealer (1 aerosol can)
Lacquer (4 aerosol cans)
Micro Finishing Paper assortment: two sheets of each grit: 800, 1000, 1200, 1500, and 2000
Polishing compounds (Medium, Fine, and Swirl Remover)
Guitar Finishing Step-by-Step book
Spray tips!
 |
Before spraying, we recommend placing your spray cans in a container of warm tap water. The increase in temperature helps the lacquer flow better and reduces unwanted spitting. When an aerosol can starts to feel cold during use, we recommend switching to a warmed can as chilled cans are more likely to spit. Place the chilled can back in the water so it can be warmed back up and used again!
To clear the spray head, invert the can and spray for 2-3 seconds. Keep the spray tips clean by soaking them in lacquer thinner between coats. This helps prevent clogging and spitting.
Before spraying
Sand the wood to 220-grit or finer with the Gold Fre-Cut Sandpaper. Use a tack cloth and vacuum to remove dust.
Fill the wood (optional)
Fill the pores of open-grained woods such as mahogany, walnut, ash, koa and rosewood before spraying sealer.
Build a level surface with Sanding Sealer
Shake the can for at least one minute after the agitator rattles.
Don't spray too heavily. We recommend multiple thin coats, with the aerosol held 8-10 inches from the surface of your instrument.
Spray 3-4 coats, allowing at least four hours between coats. Wait 24 hours before level-sanding.
Between sealer coats, sand very lightly using a sanding block with 320-grit sandpaper to remove any fuzz or lint that may appear. This is not the same as level-sanding: use a light touch, being careful not to sand through to the wood.
A low humidity environment is important for best results in spray finishing.
Lacquer coats
Remember to shake the can for at least one minute after the agitator rattles.
Don't spray too heavily. We recommend multiple thin coats, with the aerosol held 8-10 inches from the surface of your instrument.
Nitrocellulose finishes should have a total of 6-12 coats — sealer, color, and clear coats combined. The total number will depend upon how thick your coats are, how much sanding you do, and what your final desired finish thickness is. Beginners should spray 10-12 coats to avoid sanding or buffing through the finish. As you gain experience, you'll find that fewer coats are required.
The first coat is your "tack coat" — a very light mist that prepares the surface for the regular coats to follow. About 45 minutes after spraying the tack coat, apply your first regular coat. Keep all the coats thin: don't try to build up the finish too quickly, or you'll get runs or sags. (This is especially true at edges, where the finish tends to build up heavily.)
Allow at least four hours between coats, and wait 24 hours before level-sanding.
If you do get a run or sag, simply let the finish harden for 24 hours, then level-sand the blemish using 400-grit sandpaper on a backing block.
Cure the finish
This is very important: let the finish cure for 10-14 days before final sanding and buffing. A hard-cured finish will buff out well, while an uncured finish will drag and soften due to the friction of buffing.
Final sanding and polishing
Wet sand starting with 800-grit and finer Micro Finishing Papers. Hand polish or buff to a high gloss using finishing papers and polishing compounds. The compounds provided are formulated to be applied by hand with a soft cloth, or with foam rotary polishing pads.
If final sanding is done with 1200-grit, start with Medium compound. Fine follows Medium for a super-high gloss. Swirl Remover applied with a foam rotary pad removes extremely fine sanding scratches and buffing marks. Wear eye protection and a respirator mask when using a rotary polisher.
Learn more
Use the Guitar Finishing Step-By-Step book to learn about materials, and equipment, and to expand your finishing vocabulary. This book gives beginners a solid base of knowledge, and also includes advanced techniques and recipes for professionals.
